 fl@C@
fl@C@So, I know not too many people do this anymore.. But in an effort to simplify my design stage..I went for hand wiring the boards. Instead of using Eagle first (like I did first)....and then making correction after correction, I'm going back to basics.. and it's working. I pretty much have completed the main controlBoard, and the power controlBoard as well. My patience isn't what it once was, and my soldering on this board wasn't my best by any means..but I'm in a hurry and I'm not making any more excuses.. :)
Here's the main controlBoard from the top...
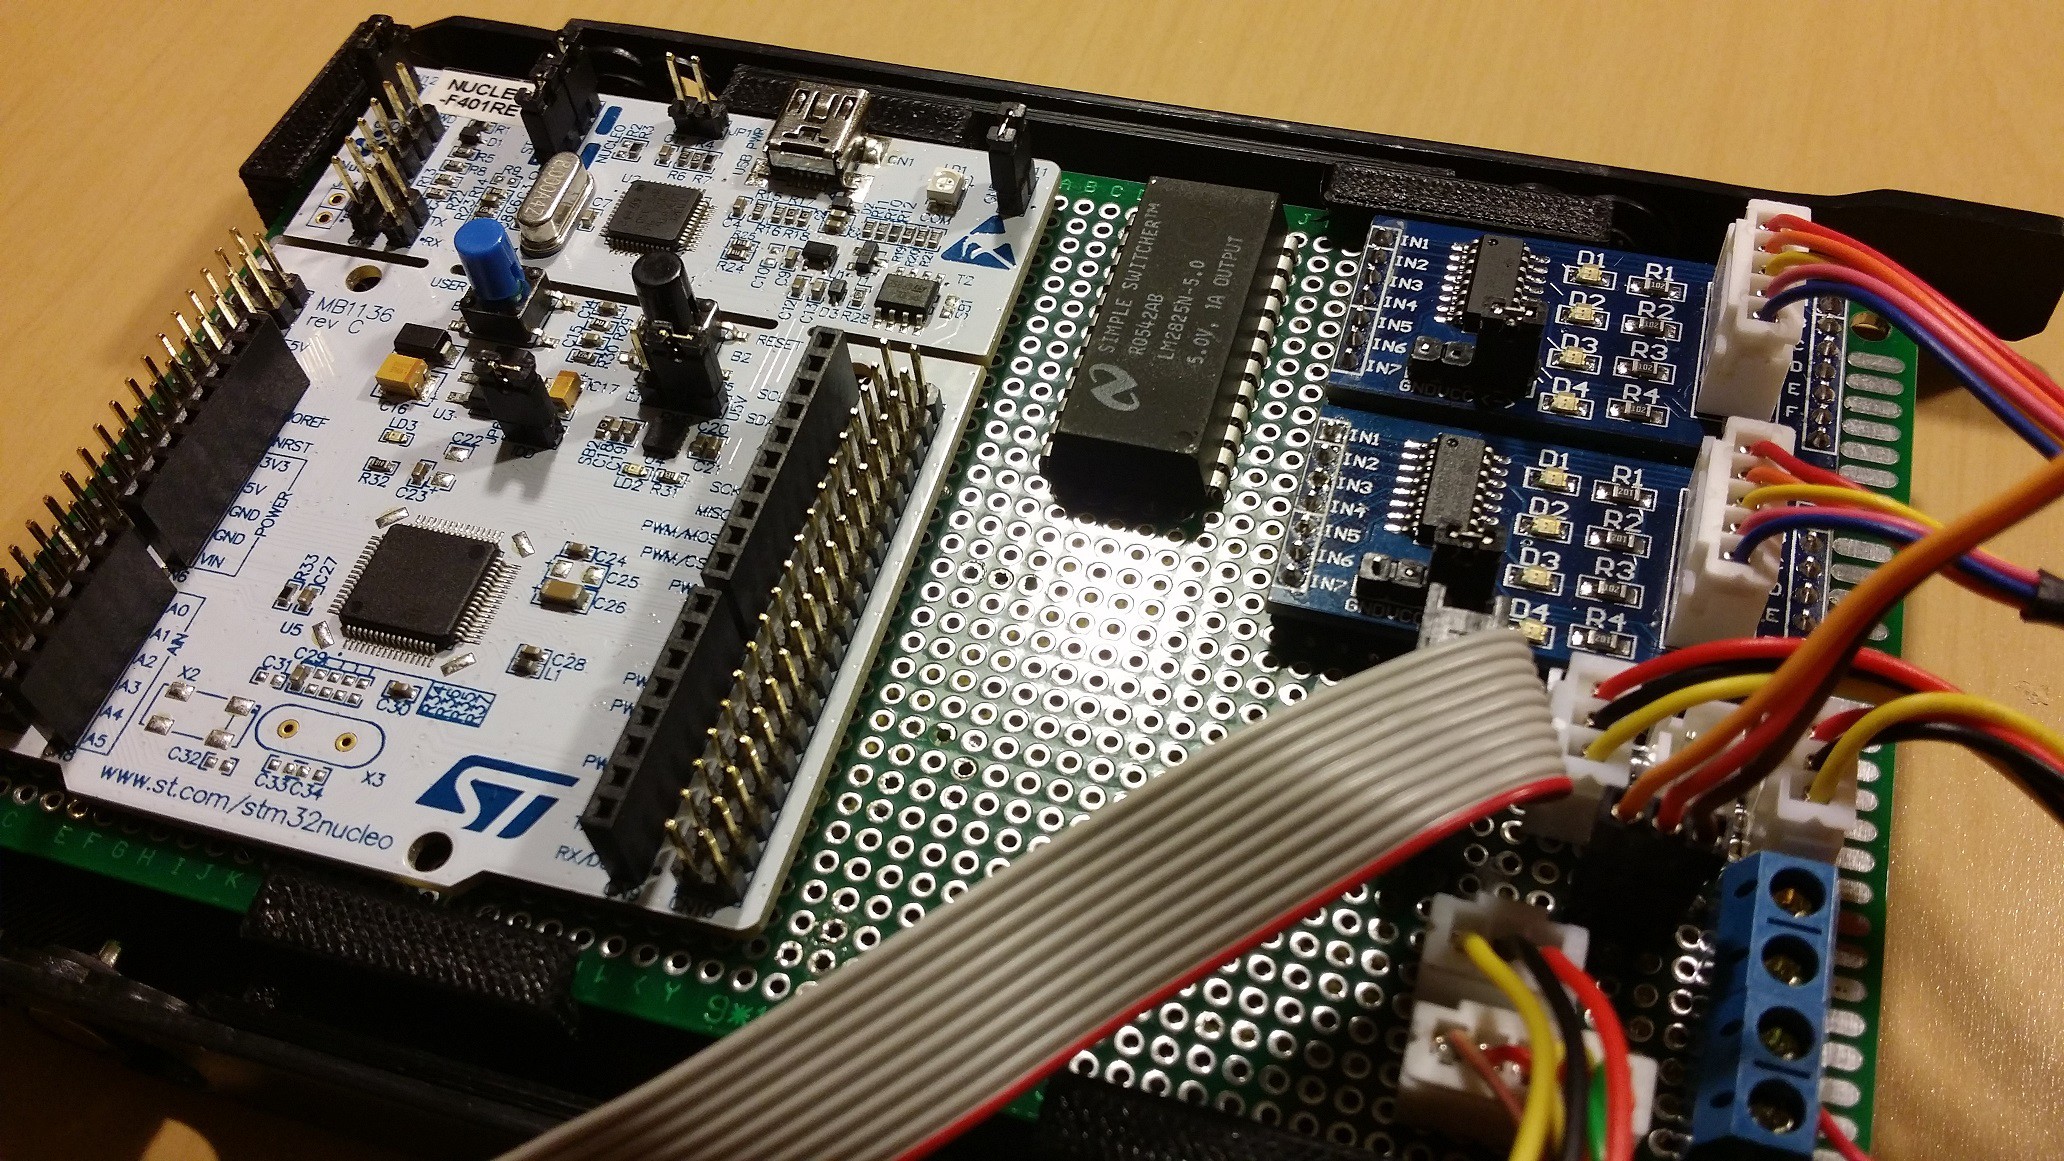
Here's an overview of the control board and some of its peripherals..

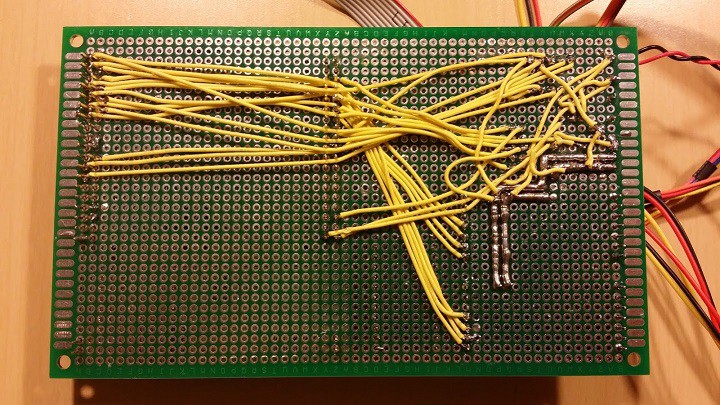
Here's the bottom side of the main control board with my ghetto wiring/soldering job...
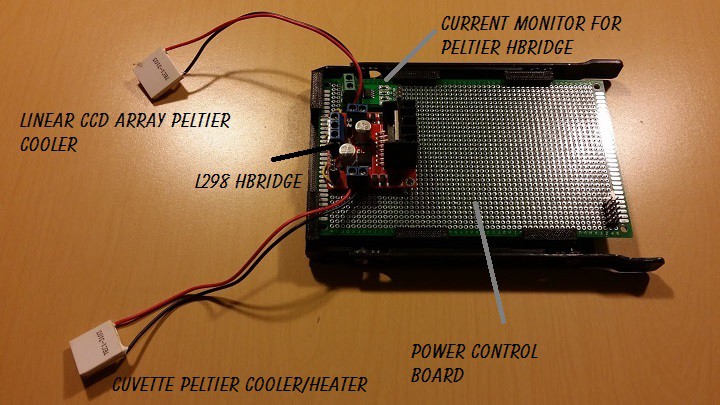
Here is the beginnings of the power control board.. Right now it just has the HBridge and current monitor for the peltiers.. Top view...
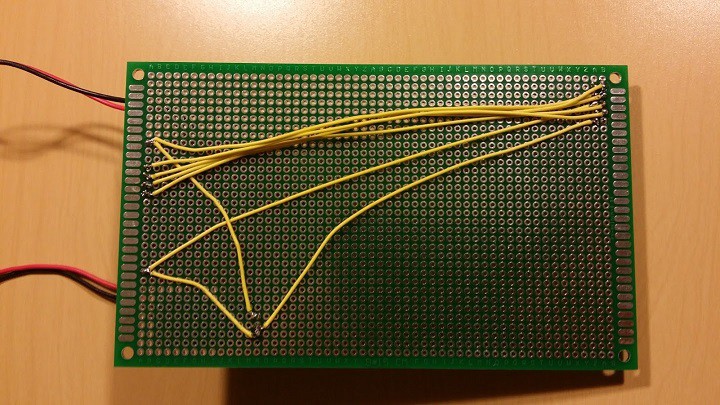
And the bottom view, with it's equally ghetto wiring/soldering job...
And here are the boards seated in the cage inside the case...along with the raspi, etc..

As soon as I get these working perfectly, and all the kinks worked out... I'll be doing the design with Eagle..and posting those up on gitHub!
So far I've tested out the stepper motors, the temperature sensors, the servo, and the HBridge Peltier setup... everything checks out fine! I'll be posting some source code up as soon as I get something that's not complete spaghetti.. Also, I will be throwing a schematic up soon... All I have is a hand drawn one right now with a few edits... I'll get that cleaned up and post it as well!
Discussions
Become a Hackaday.io Member
Create an account to leave a comment. Already have an account? Log In.