 Vinch
VinchNow that the prototype board is fully functional, I decided to create a nice looking enclosure for it. Of course, 3D printers are the most appropriate tool for this purpose, but I have no access to a 3D printer and also I've never used one. I can only spend a limited amount of time for it, so the best solution I found, for now, is to make it with cardboard paper. The dimensions of the board are small enough to obtain a quite strong enclosure even with paper.
My experimentations showed that a paper of 270 g/m2 is enough, and still can be used with most inkjet printers.
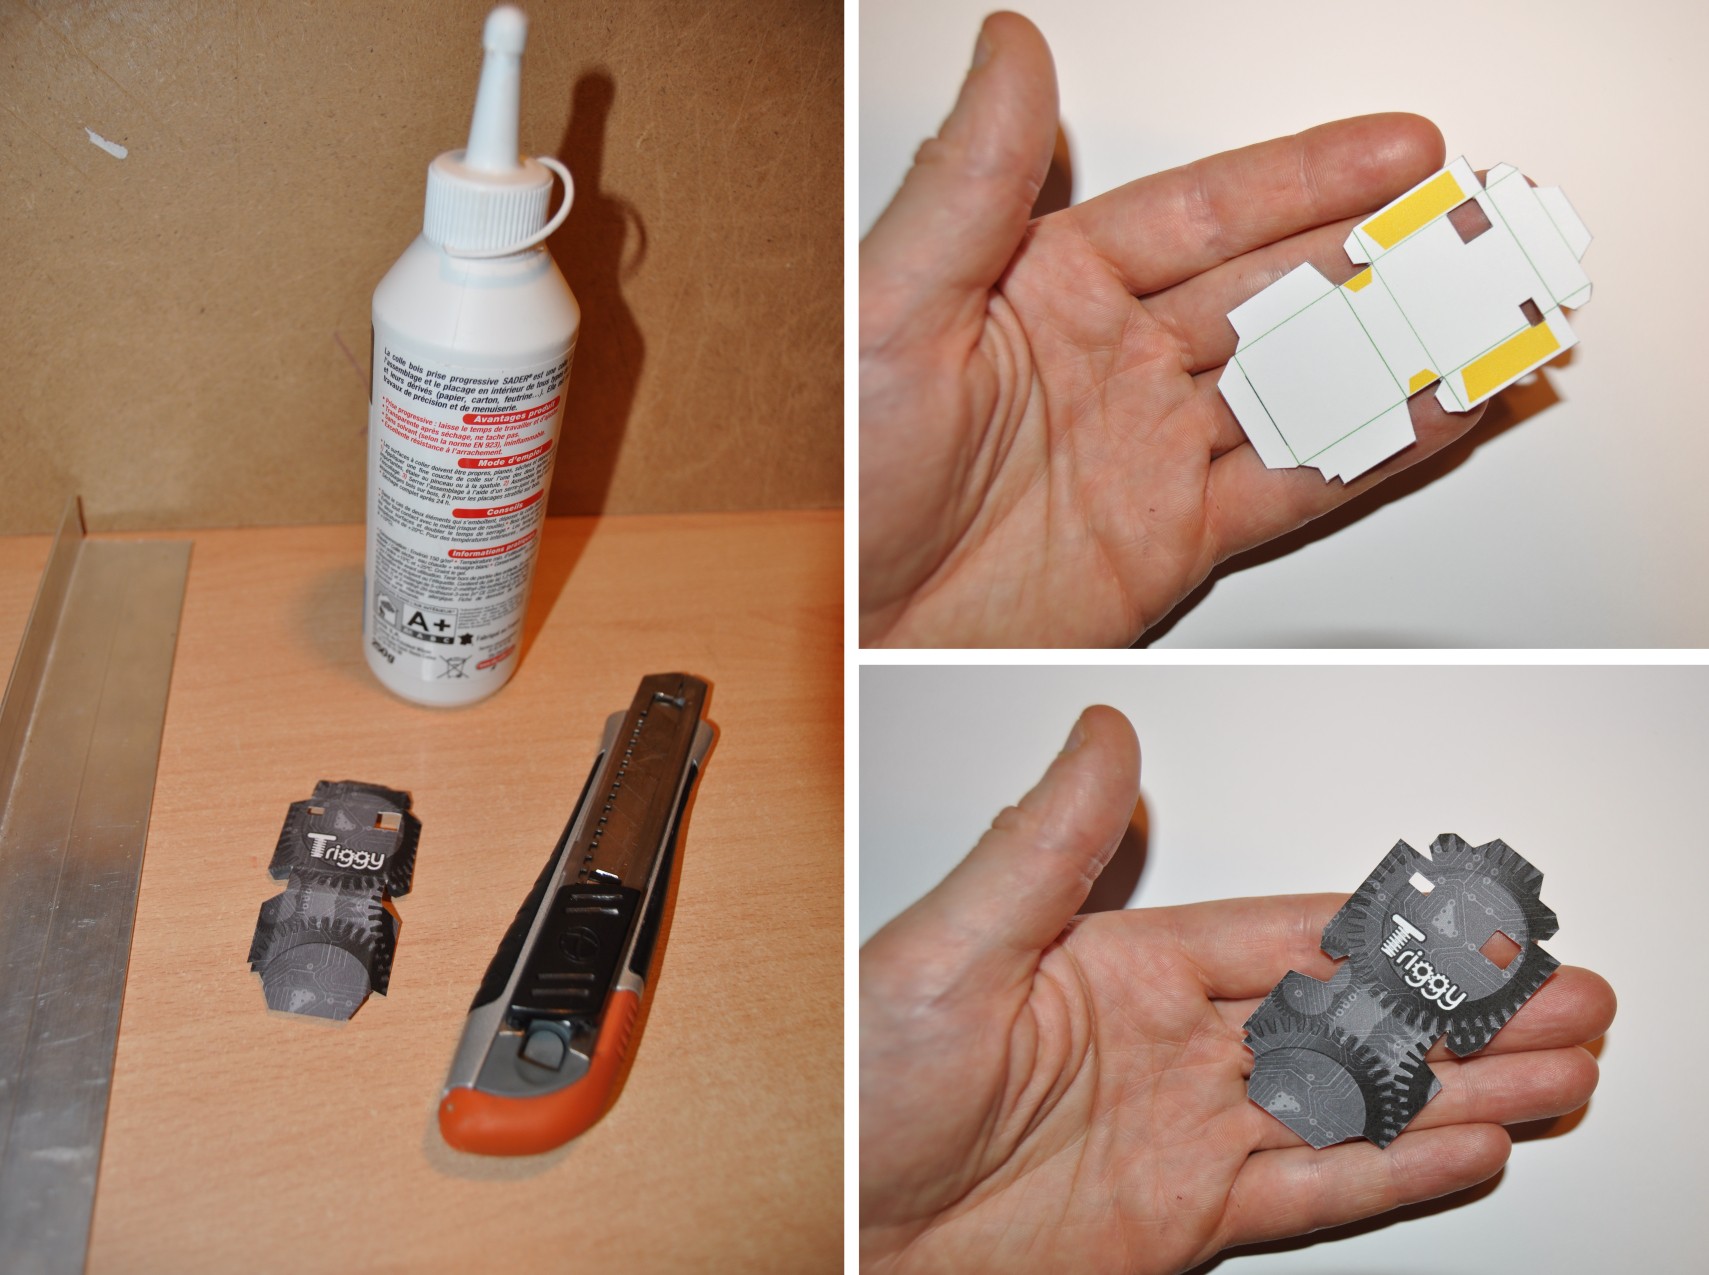 This is the equipment used and the result obtained once printed and cut
I used the following equipment, in addition to an inkjet printer:
- An A4, 270 mg/m2 paper sheet
- An iron ruler
- A box cutter
- Wood glue
The result
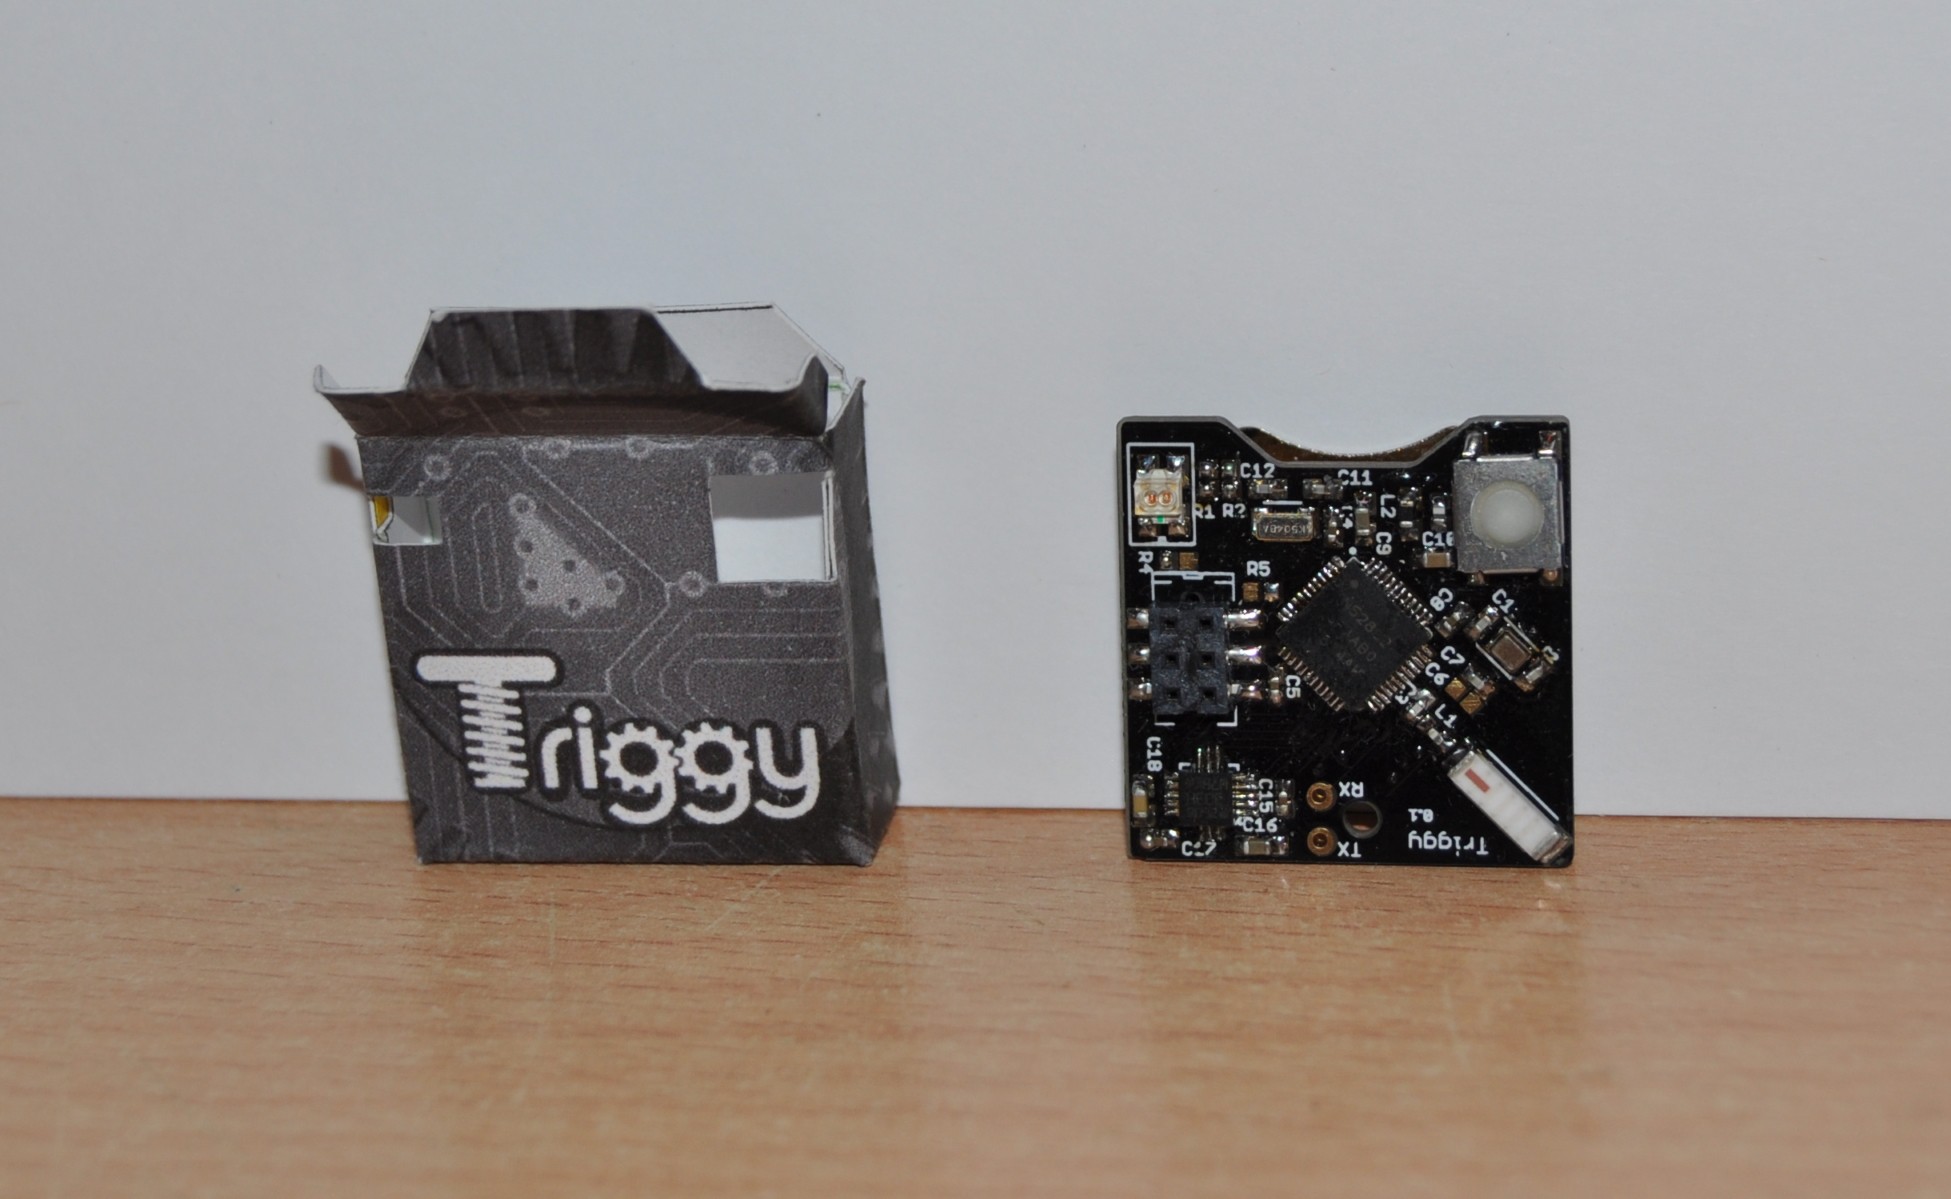 The enclosure once folded and glued
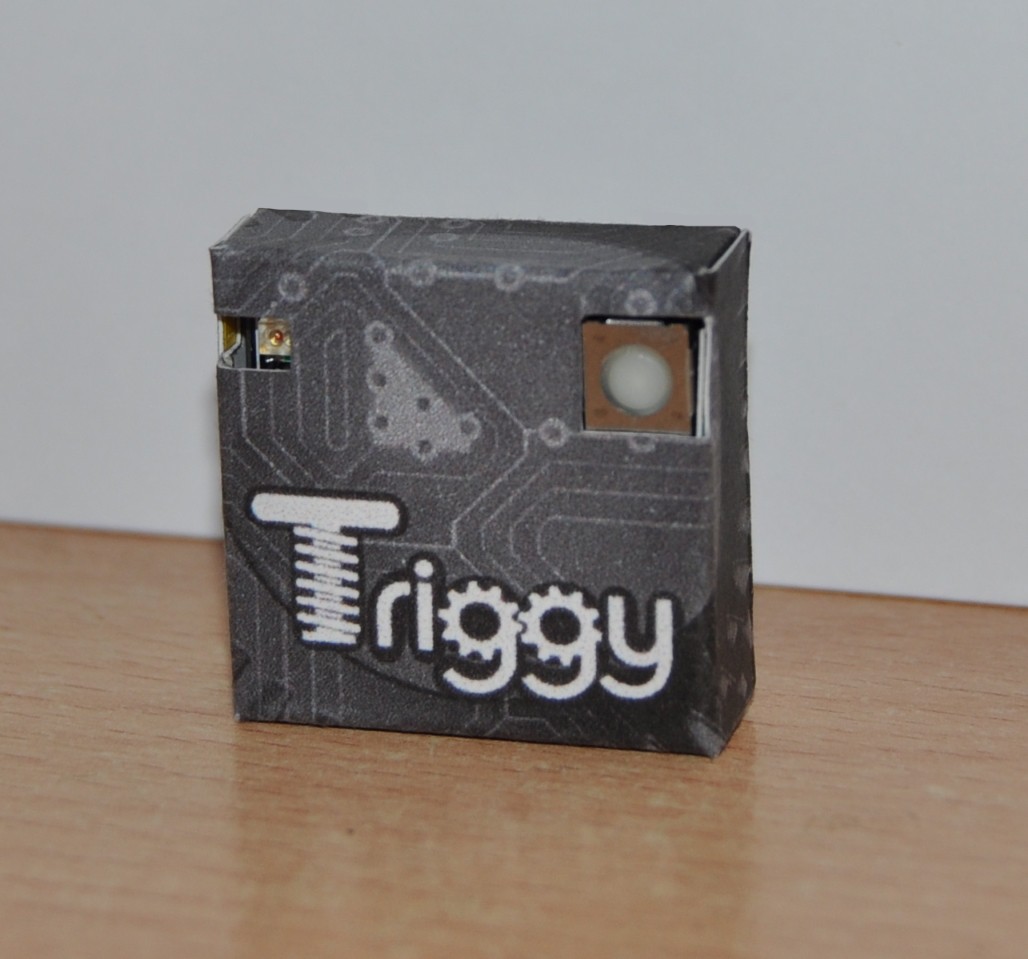 The triggy board in its box
I've put the printable pdf files of the enclosure (front and back) in the files list. It has correct sizing for A4 paper.
Discussions
Become a Hackaday.io Member
Create an account to leave a comment. Already have an account? Log In.