 Max.K
Max.KTo navigate through a menu, the watch needs some kind of input method. My original idea was to copy the apple watch with its digital crown (which is a fancy word for an encoder). I even found a fitting encoder from ALPS(http://de.farnell.com/alps/ec05e1220202/encoder-horiz-5mm-12det-12ppr/dp/2064967). I then modeled and printed a case and glued in the encoder. While it may have worked, properly fitting the component and a 3D-printed knob inside the case would have been impossibly complicated.
What I wanted to avoid, was having cheap through-hole-buttons stick out of the case. The buttons should be separate printed parts. These would then activate tactile switches on the pcb. The idea sounded simple in my head at the time, but getting it to work was a real challenge.
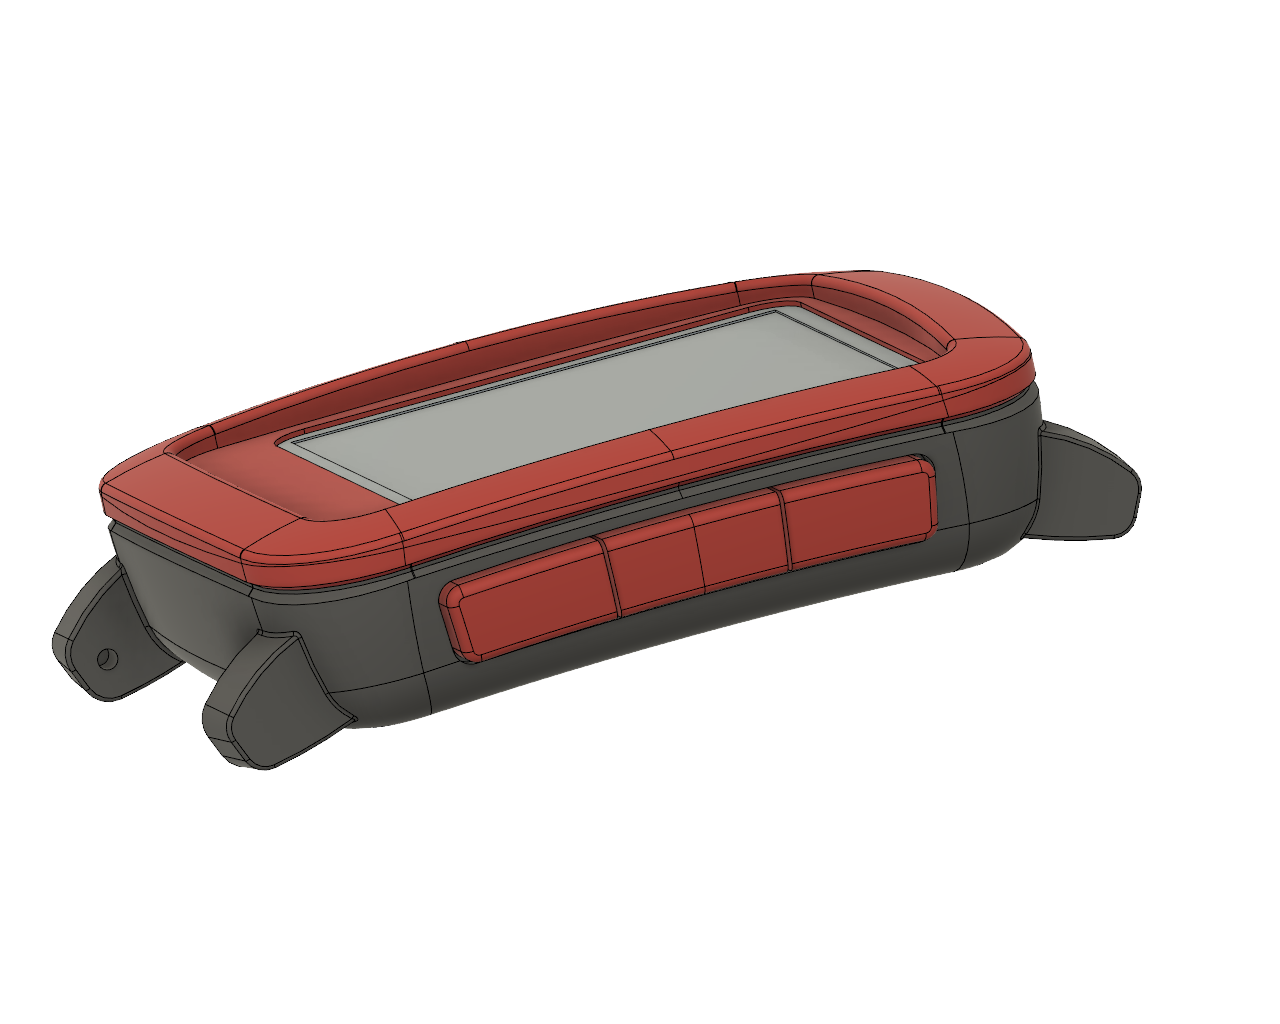
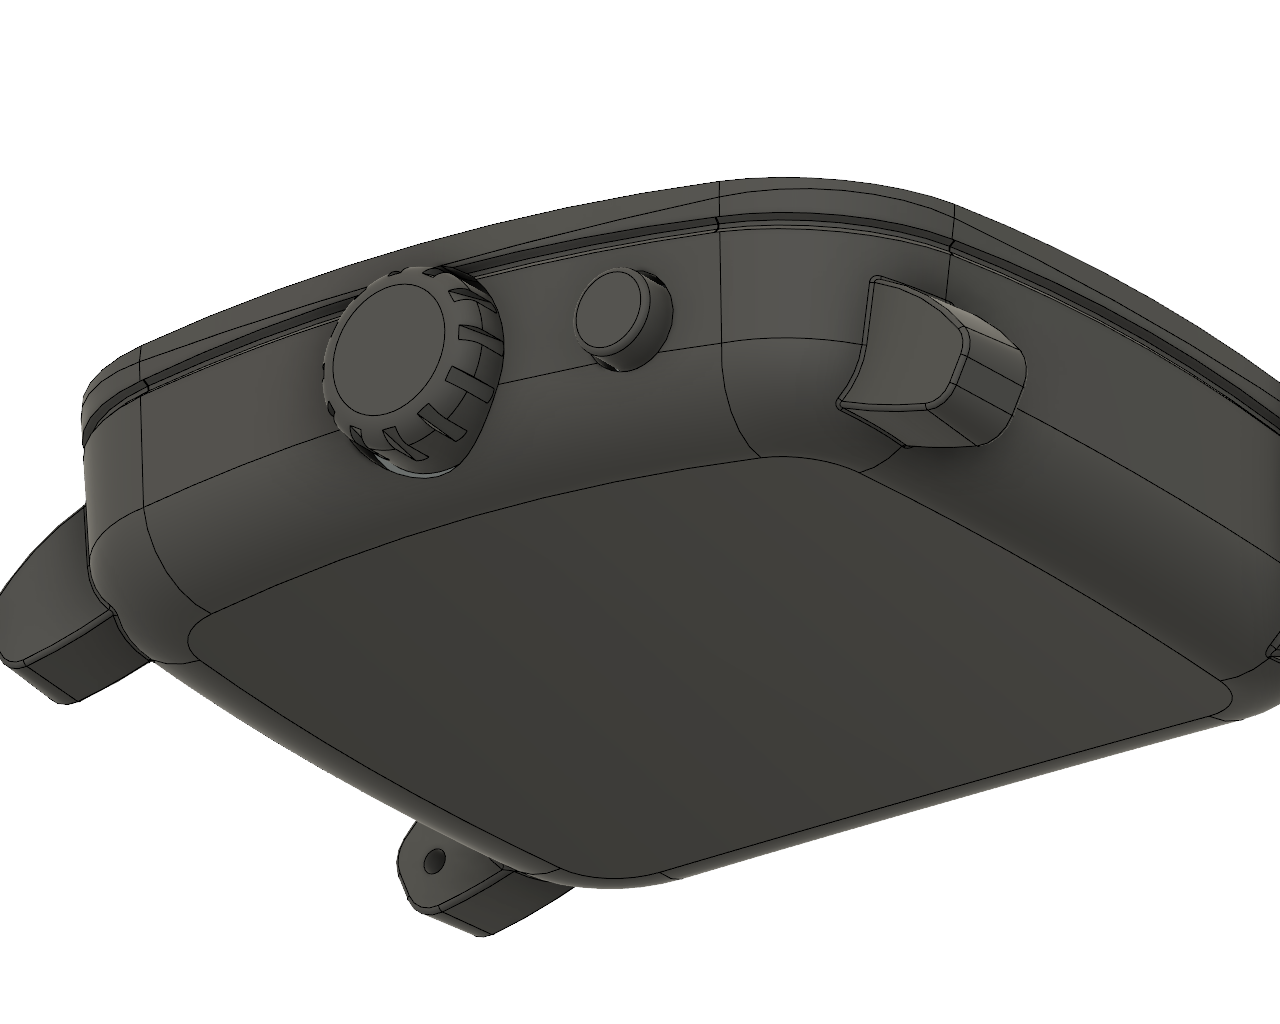
The first step was modeling the buttons. I wanted to get close to the Pebble Time, while still getting parts that can be printed without supports. This is achieved by having a curved surface on the outside and a flat surface where it is connected to the watch. Also, the whole thing should take up as little space as possible. I then made different versions, varying in how the printed buttons would be split from the case and they would be connected to the switches.
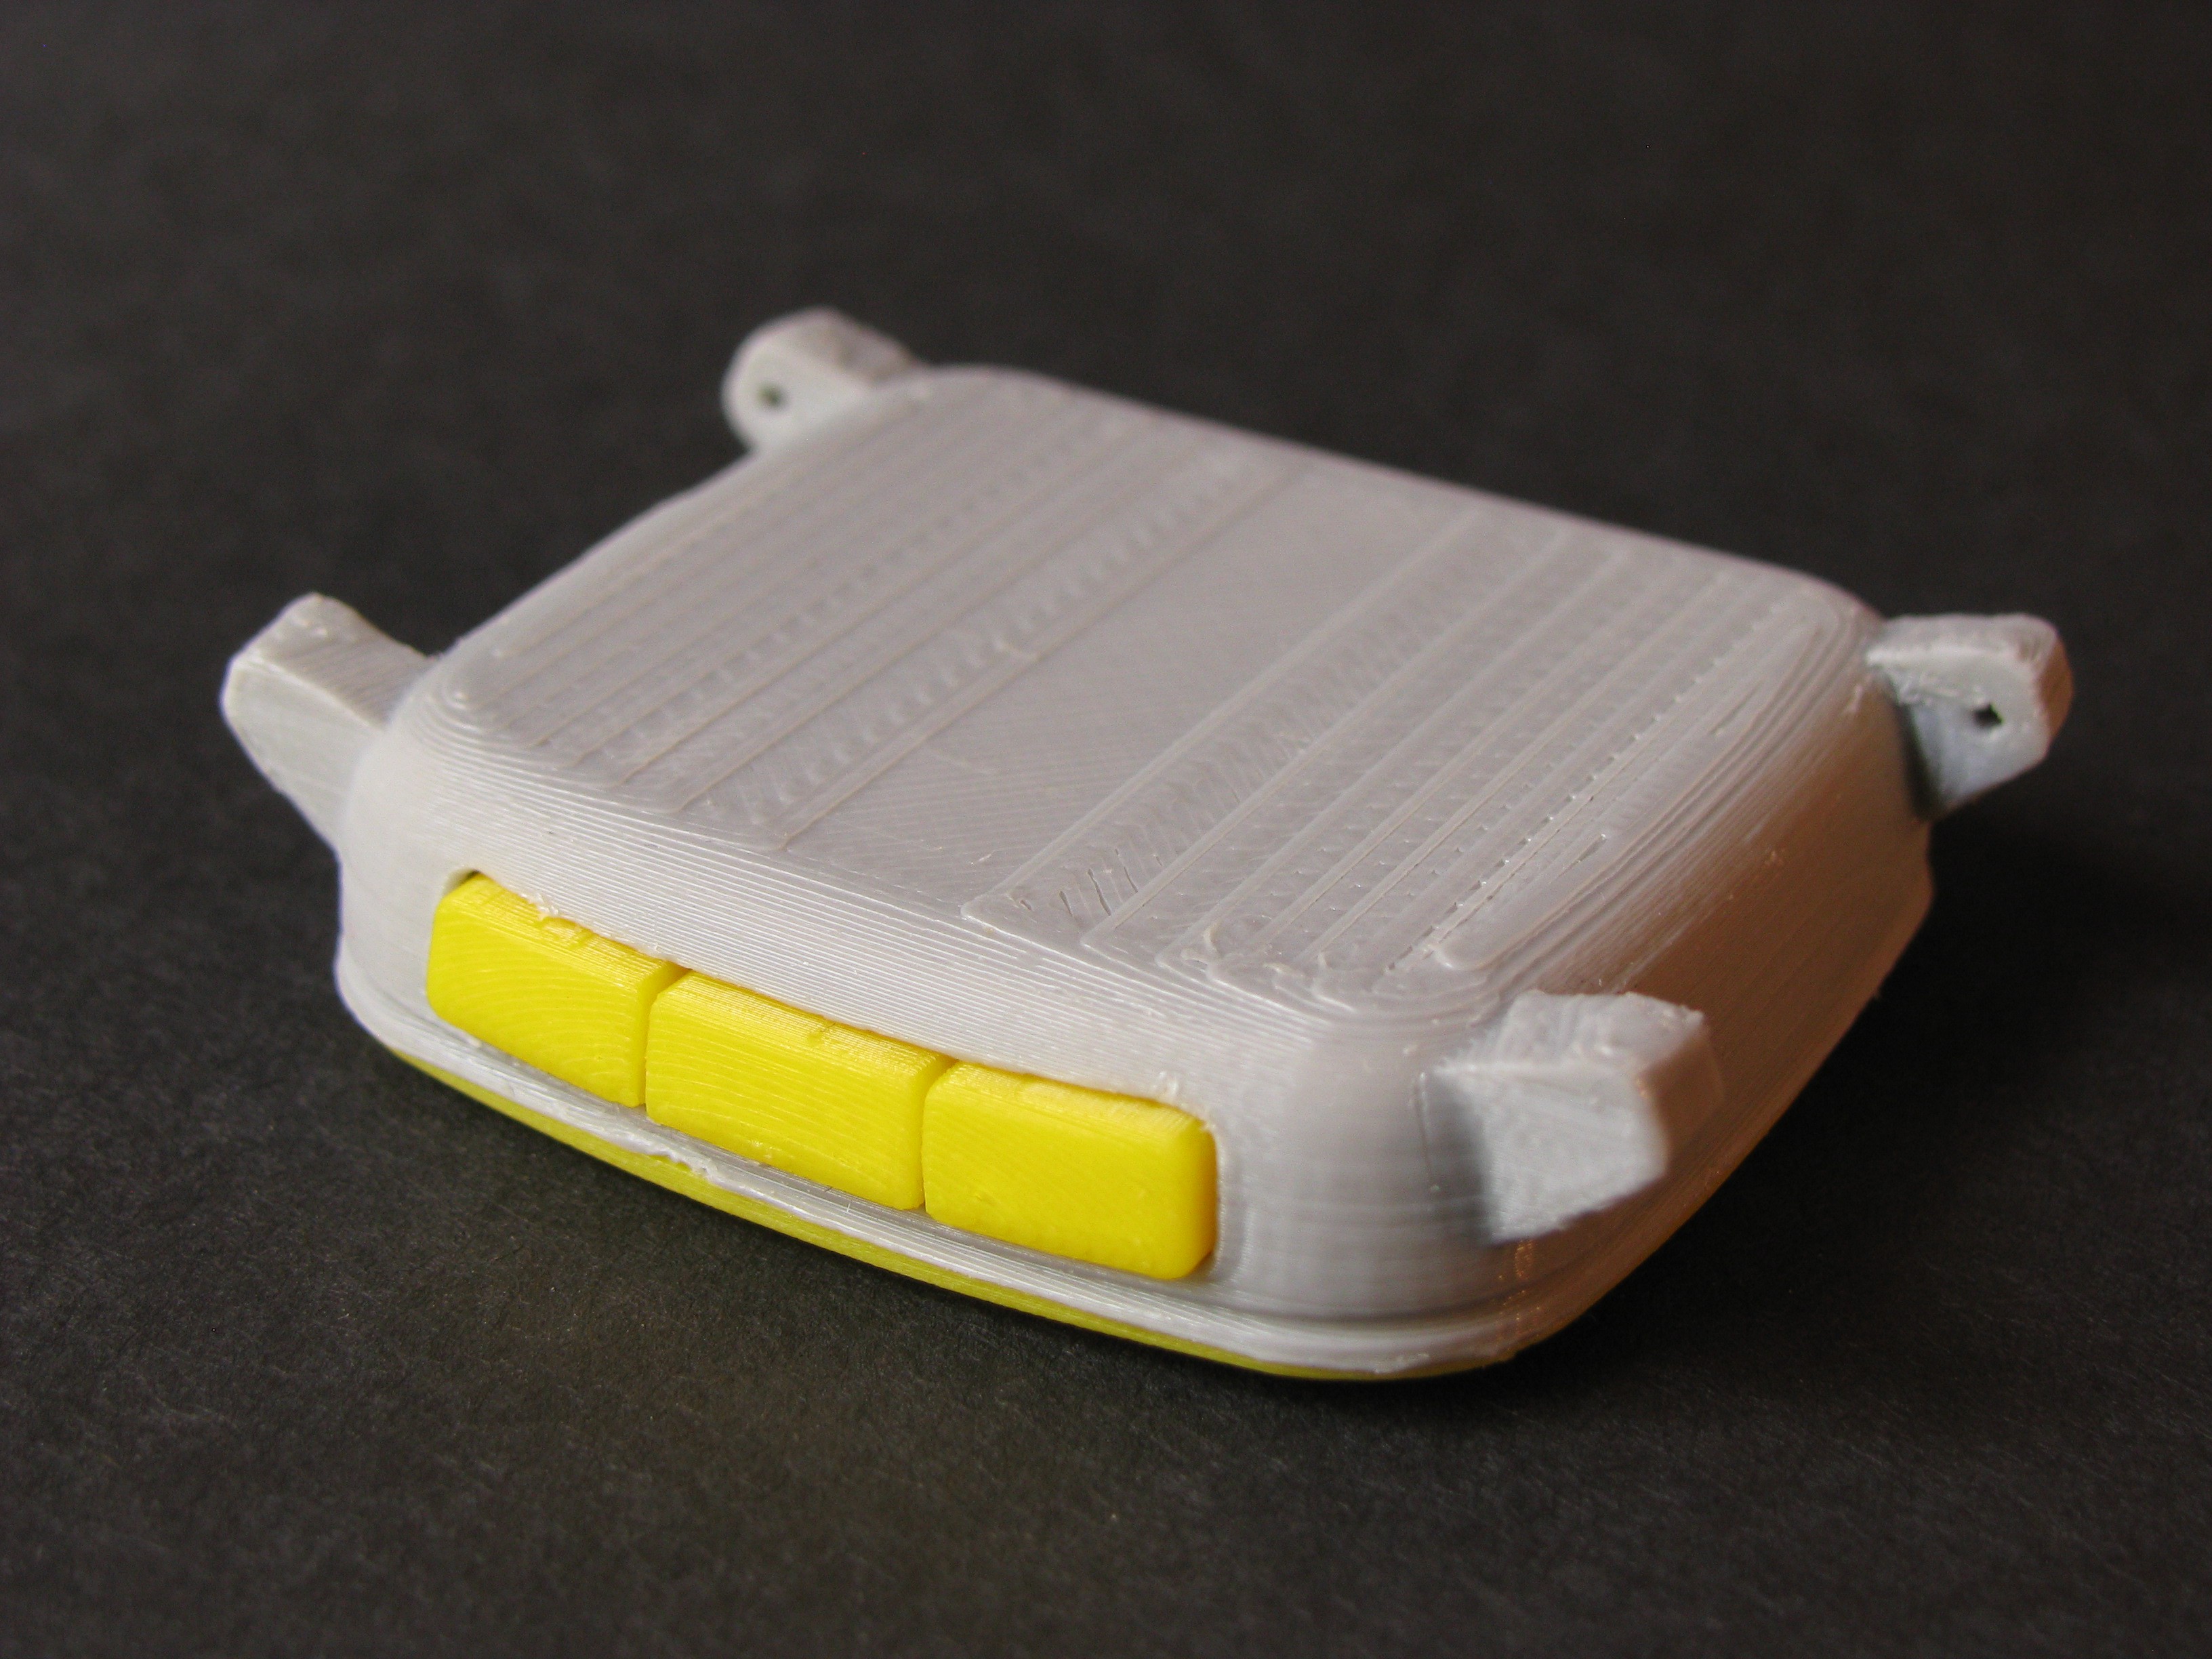
Version 1 already used a single part for all three buttons, connecting them with only a single layer of plastic to remain flexible. The case has a cutout for the buttons and three holes to the tactile switches. These were then glued to the inside. In a last step the printed buttons would be carefully glued to the protruding parts of the switches.

Version 2, which is used in the final build, solves these problems by mounting the buttons from the inside of the watch. A small seam prevents them from falling out of the case. The PCB with its switches secures the printed buttons from the opposite side.

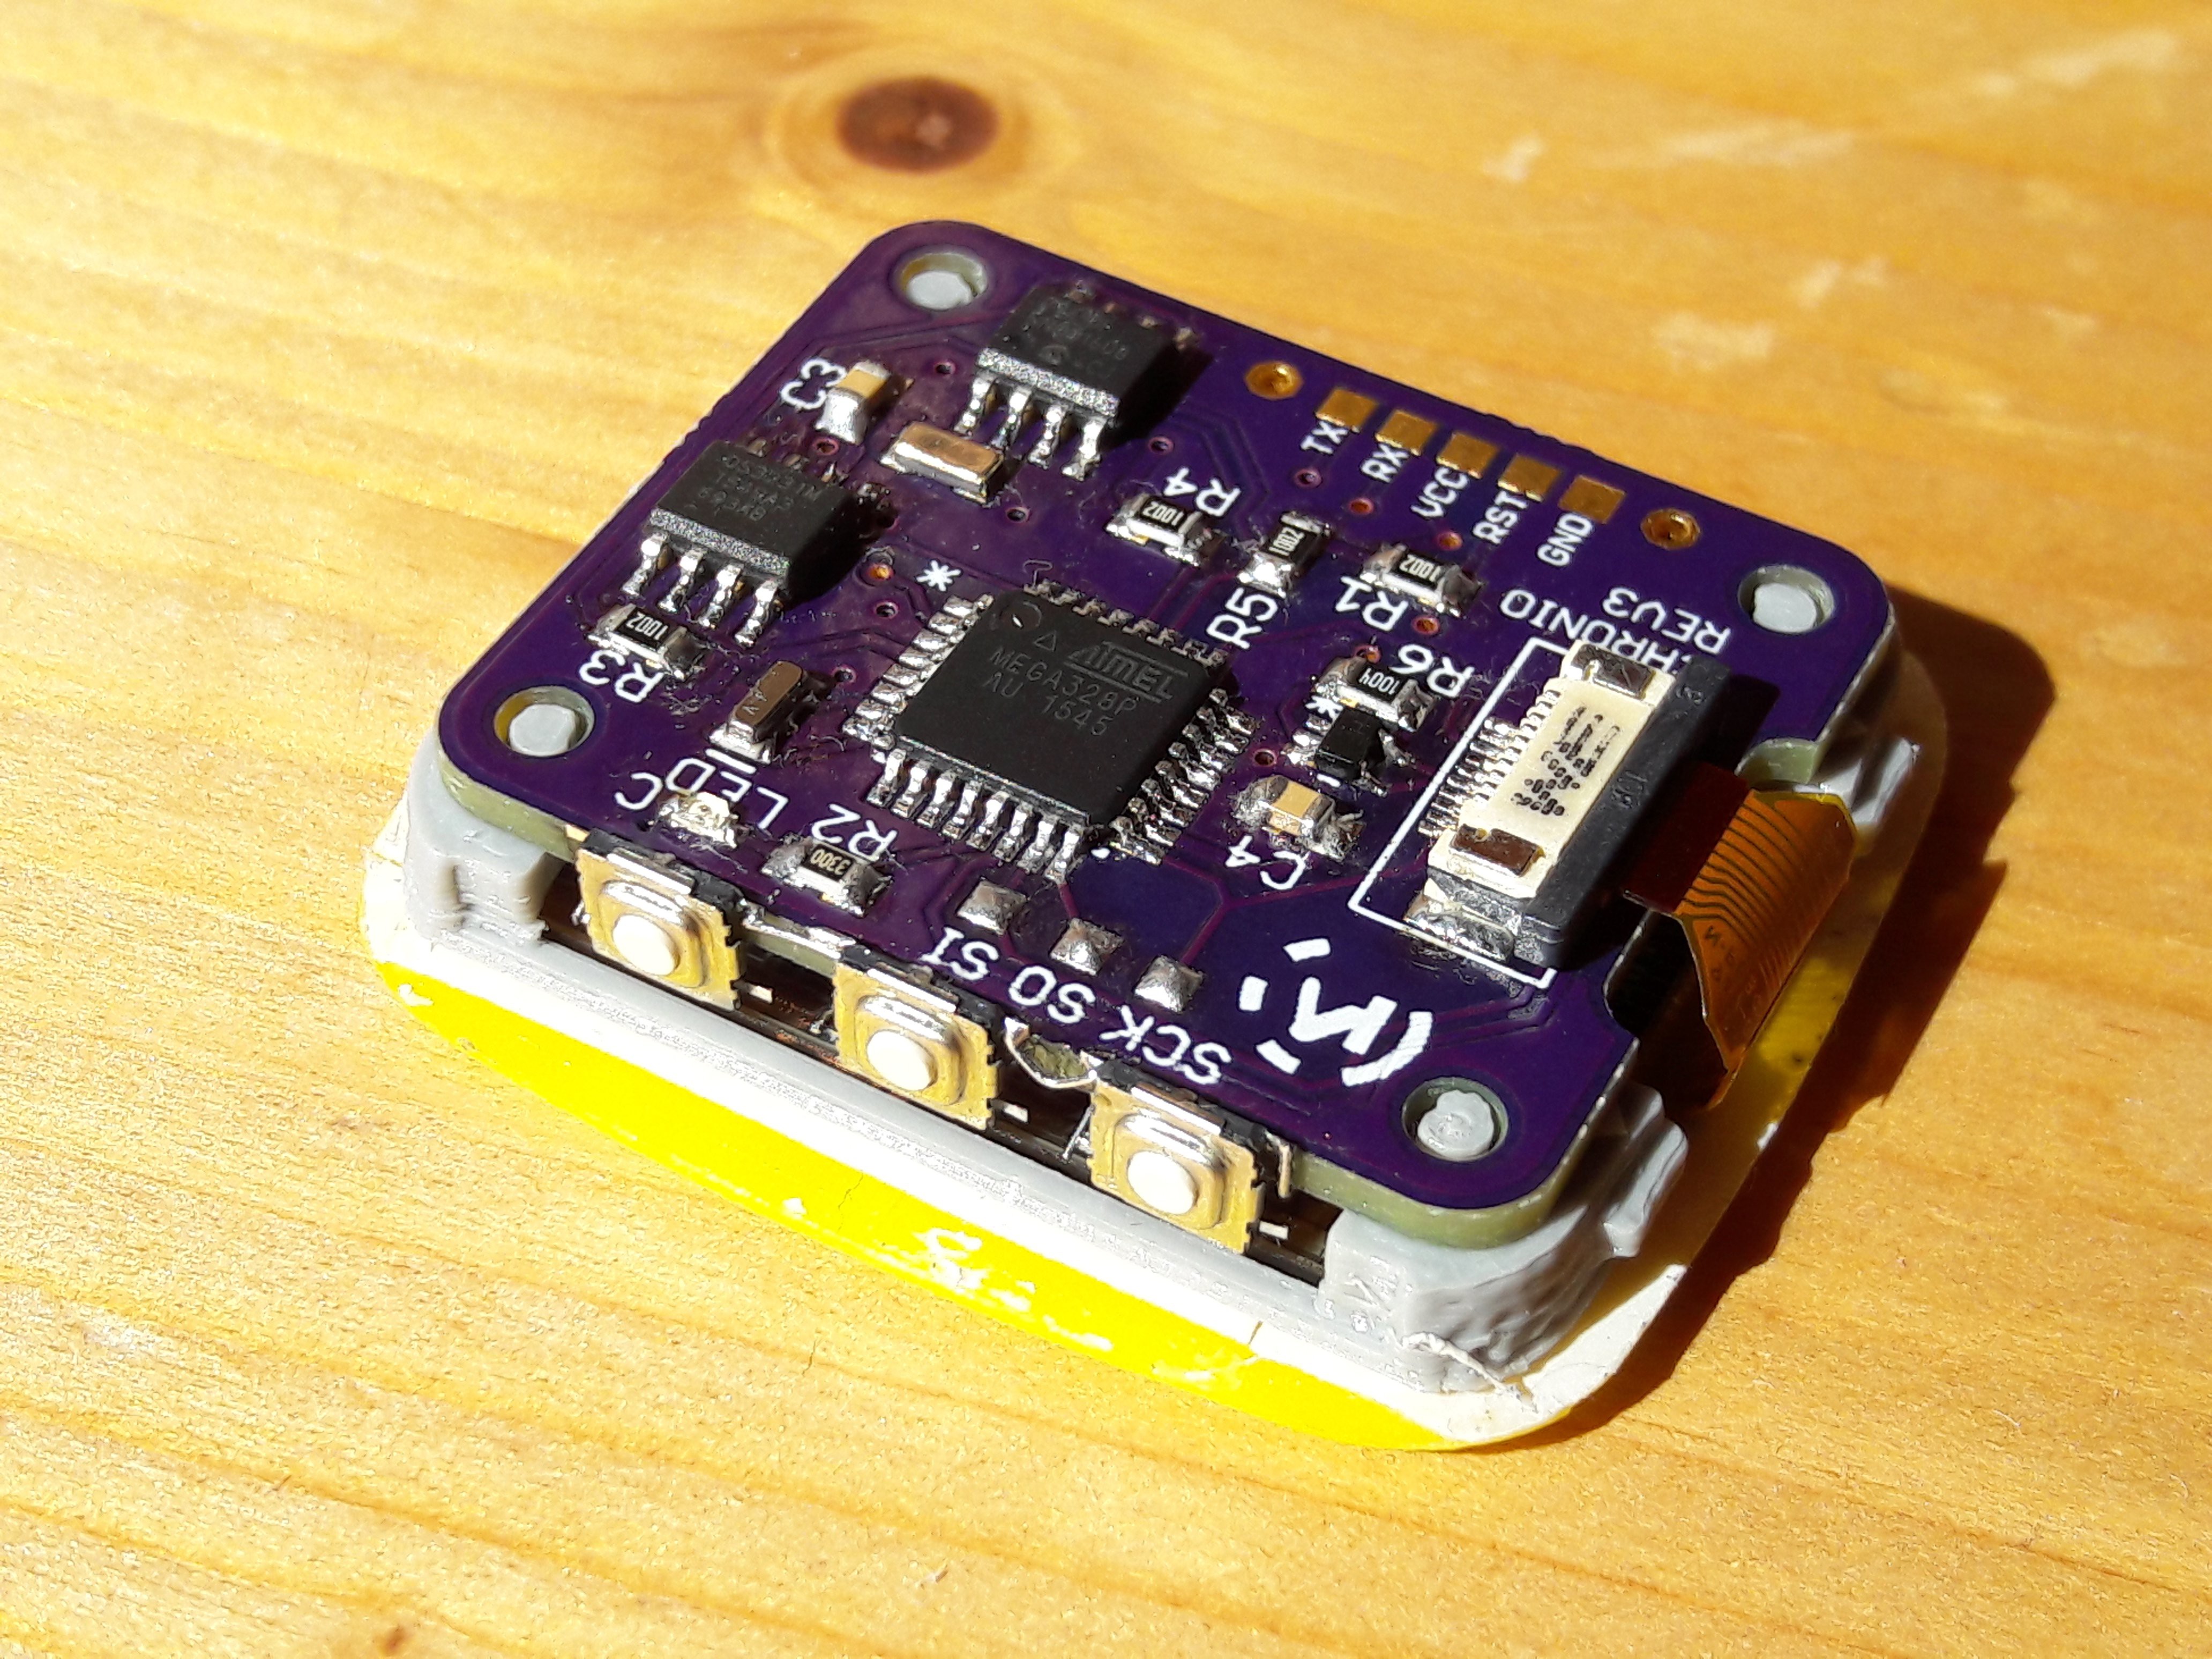
This version is working very well at the moment. The only problem is the weak actuation force of the SMD switches I am using. I solved this by gluing top-actuated switches to the edge of the PCB and connecting them with short wires. It's not a perfect solution for mass-production but pressing the buttons has a nice feel to it. It actually seems more sturdy than the mushy buttons on my real Pebble Time. I guess this is because they needed water-protection and used very thin switch domes.
Discussions
Become a Hackaday.io Member
Create an account to leave a comment. Already have an account? Log In.