 biemster
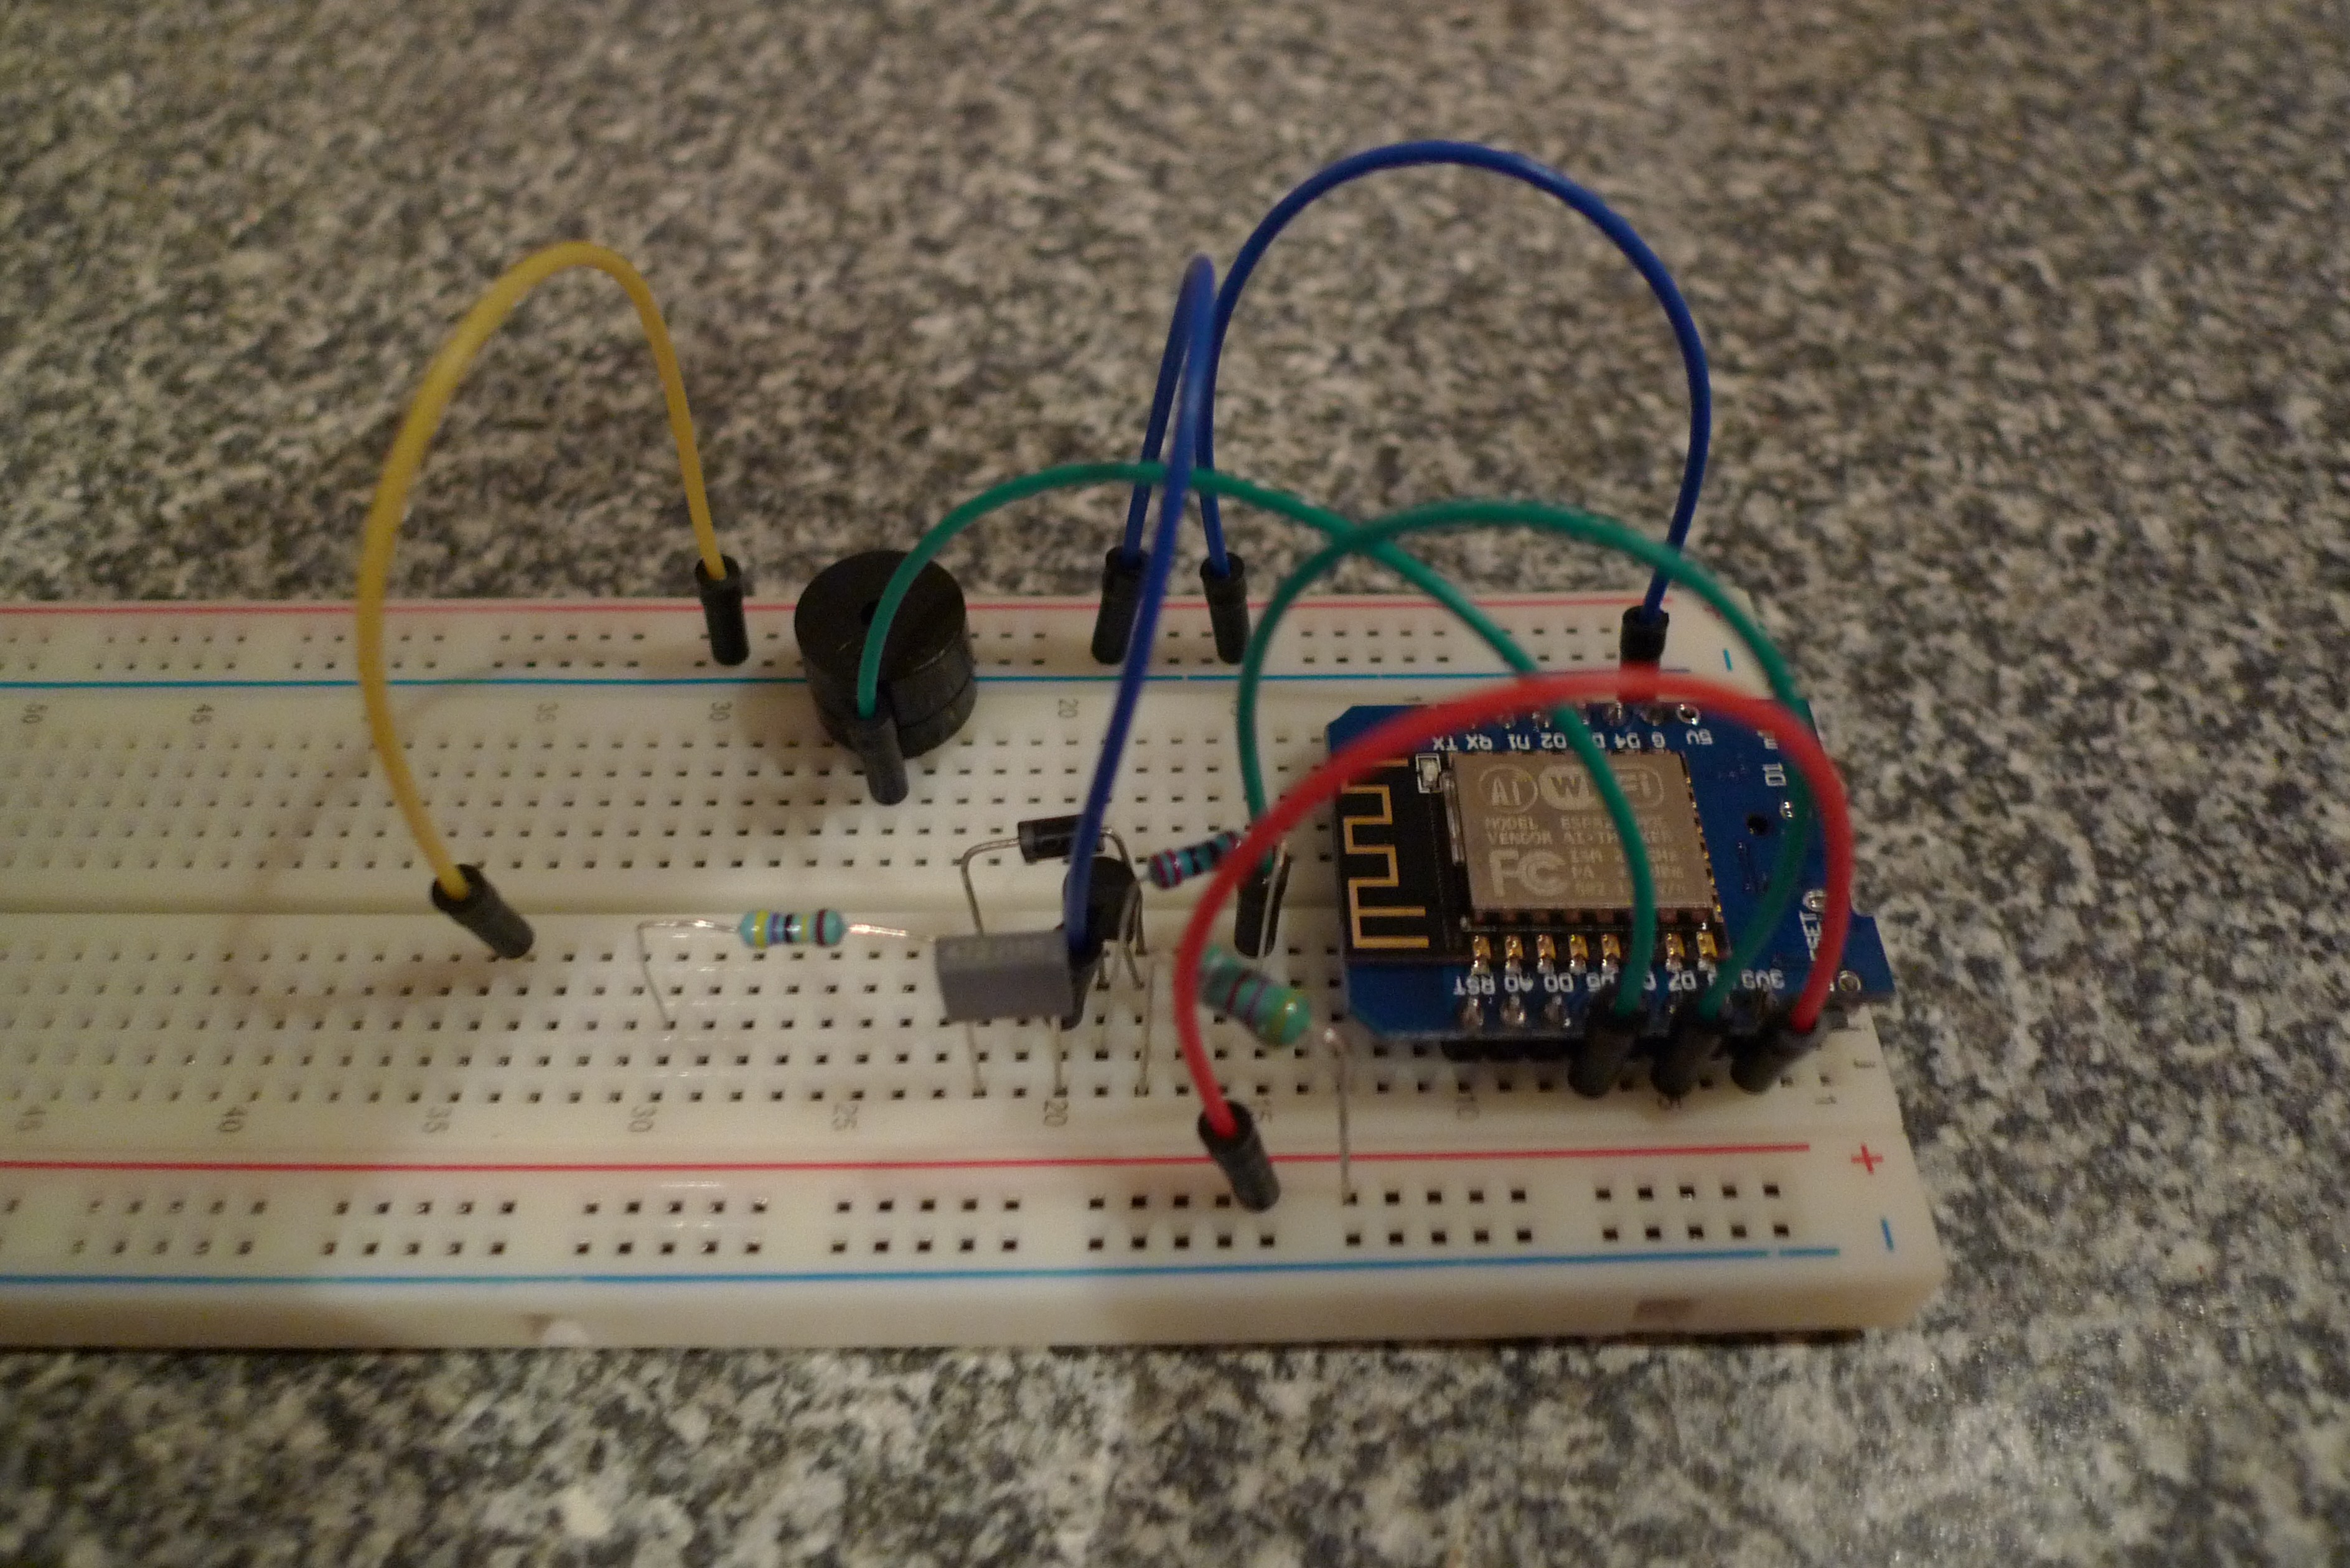
I've built the HV part on a breadboard, and with the main.py and ESPGeiger.py as committed to github it appears to work as expected. The circuit gives a very nice and faint high pitch beep if I listen very closely.
When I try to measure the HV directly with my multimeter (which has an internal resistance of 1M), I get a reading of a couple of Volts. This is due to the low current in the circuit. If I measure via the 4.7M resistor as a voltage divider, I get a readout close to 30 Volts. This indicates that the voltage at the HV point is indeed pulled down by the DM. Unfortunately at the moment I don't have a gigohm resistor to build a large enough voltage divider, or a 1000x probe to measure the HV correctly.
I'm going to assume that the setup like this is indeed capable of generating the necessary 400V, as is shown in the links from the LINKS section in this project.
Next step is to put the rest of the circuit (2 resistors and one transistor) on the breadboard, and run the ESPGeiger.calibrate() routine to find the Geiger plateau as a function of PWM duty.
Discussions
Become a Hackaday.io Member
Create an account to leave a comment. Already have an account? Log In.
I have a simple guide for making a HV probe for geiger-counters, specifically if you only have junk parts lying around. I made a guide yesterday on it - check out my Instagram feed:
#paulhoets
It works really well for adjusting and determining if you're really hitting that 400V or not!
Are you sure? yes | no
Very easy and straightforward, I like it! thanks!
Are you sure? yes | no