 the.wretch
I wanted to make a 3d printer for so long and never got around to actually make one. Sure there were some attempts in the past but never non of these produced a part that was actually useful.
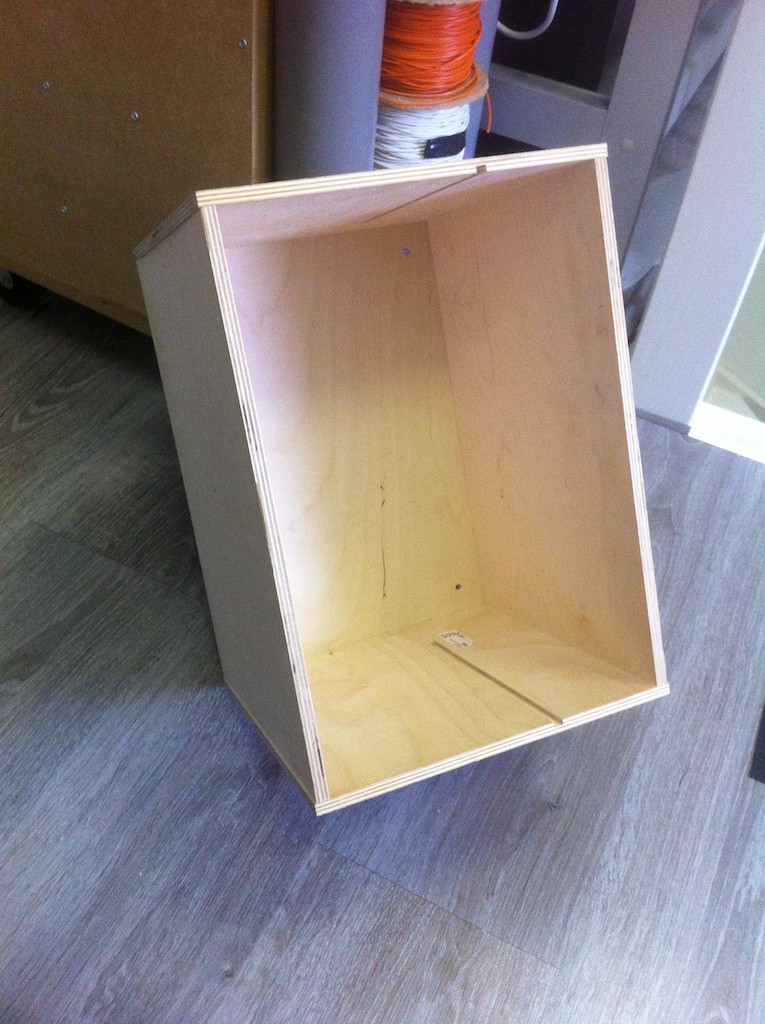
So... where do you start? for me it started with the frame. One day I was looking around in the attic and found a old IKEA storage box (called the Moppe). This had the dimensions I had in mind and was stable enough basis.
There are many sorts of 3d printers out there and my first thought was to build a Ultimaker kind of printer where the and I started with a prototype to test how this would work.

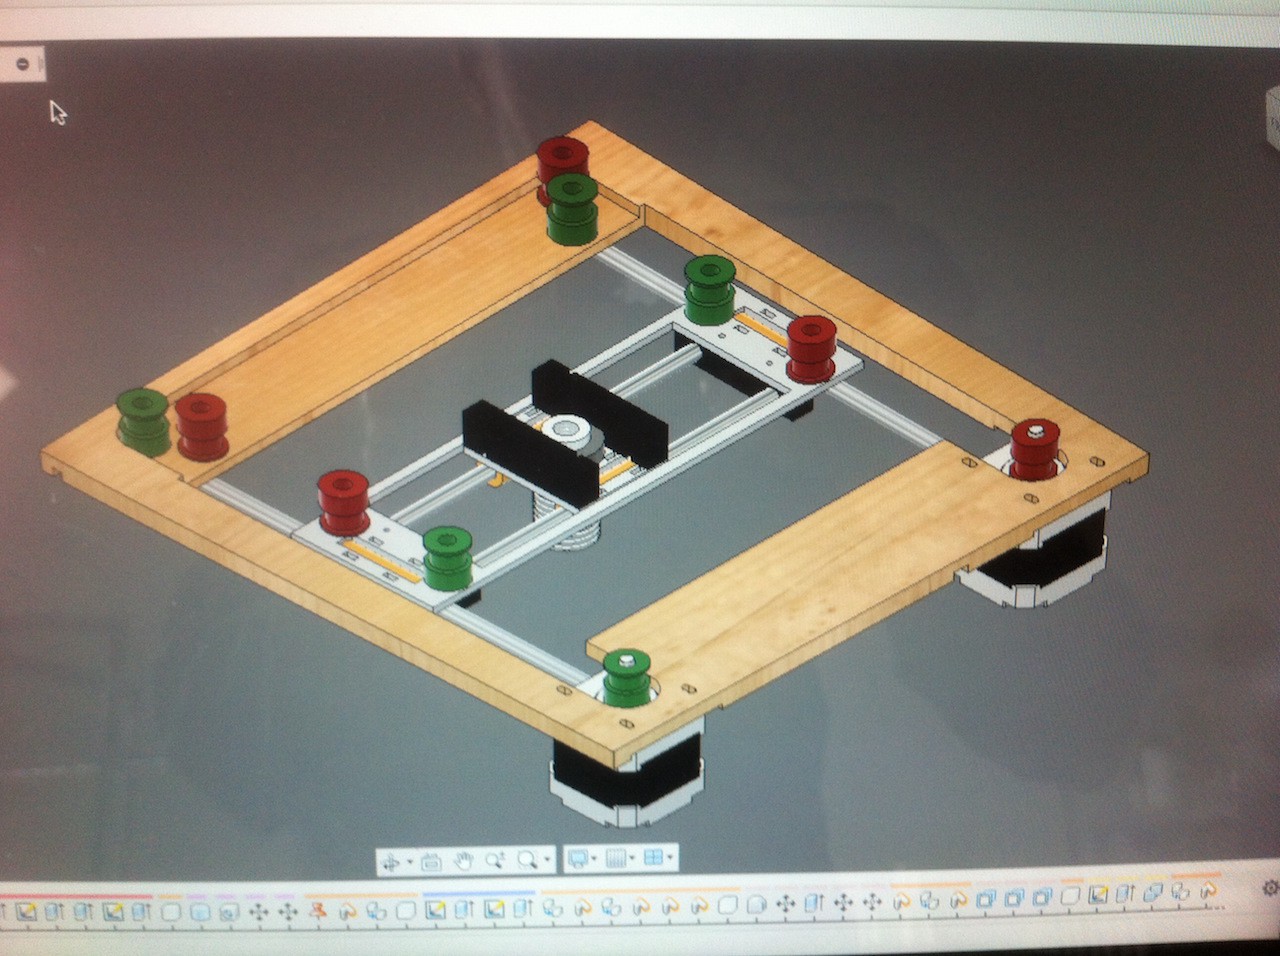
After a while of playing around with this I ran into a 3D printer setup called a CoreXY and I really loved this.
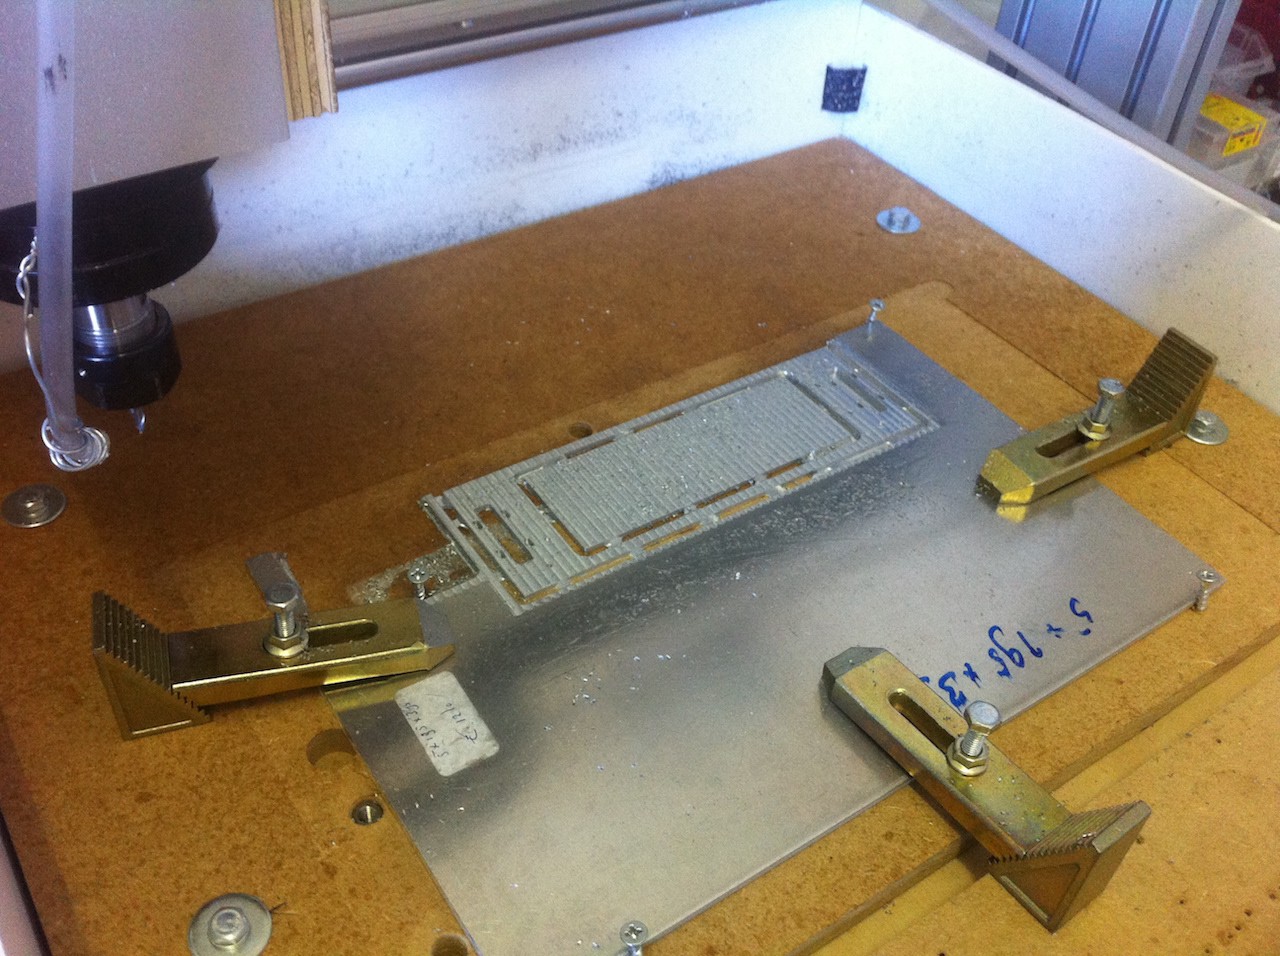
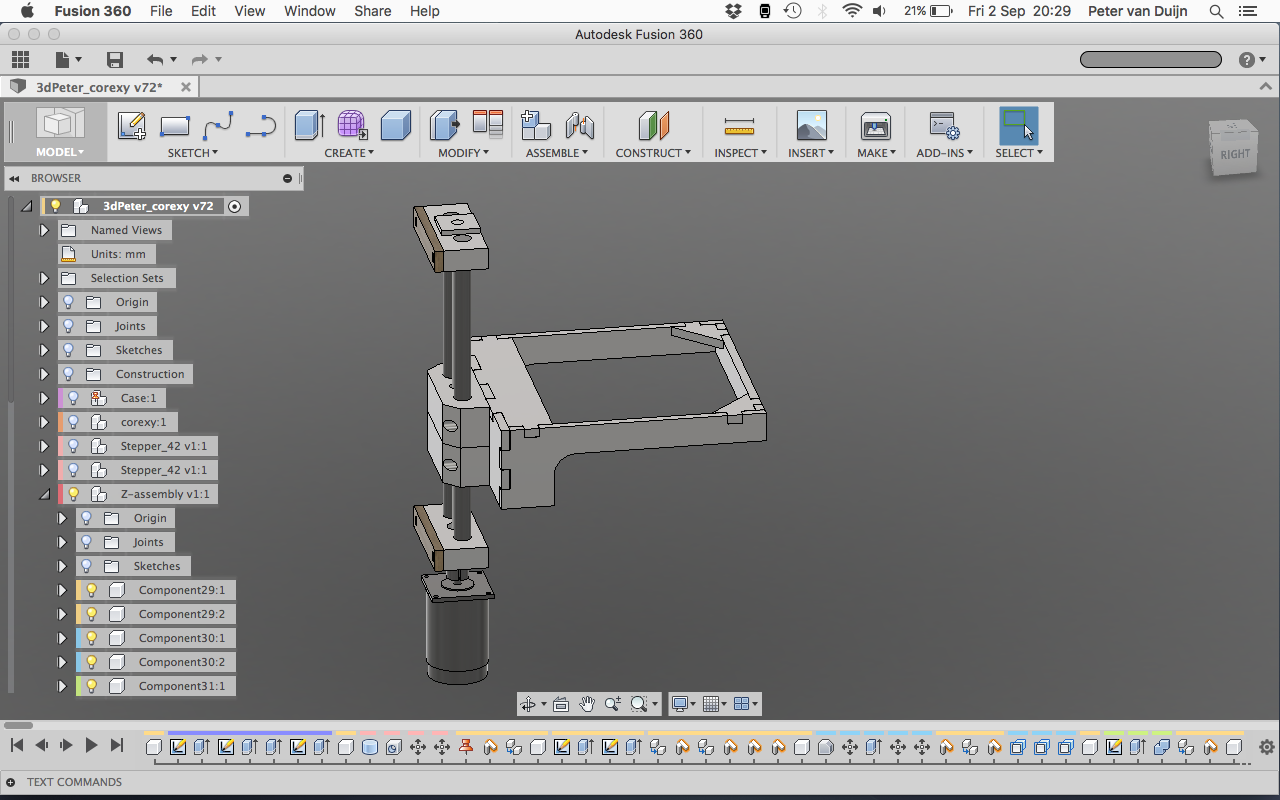
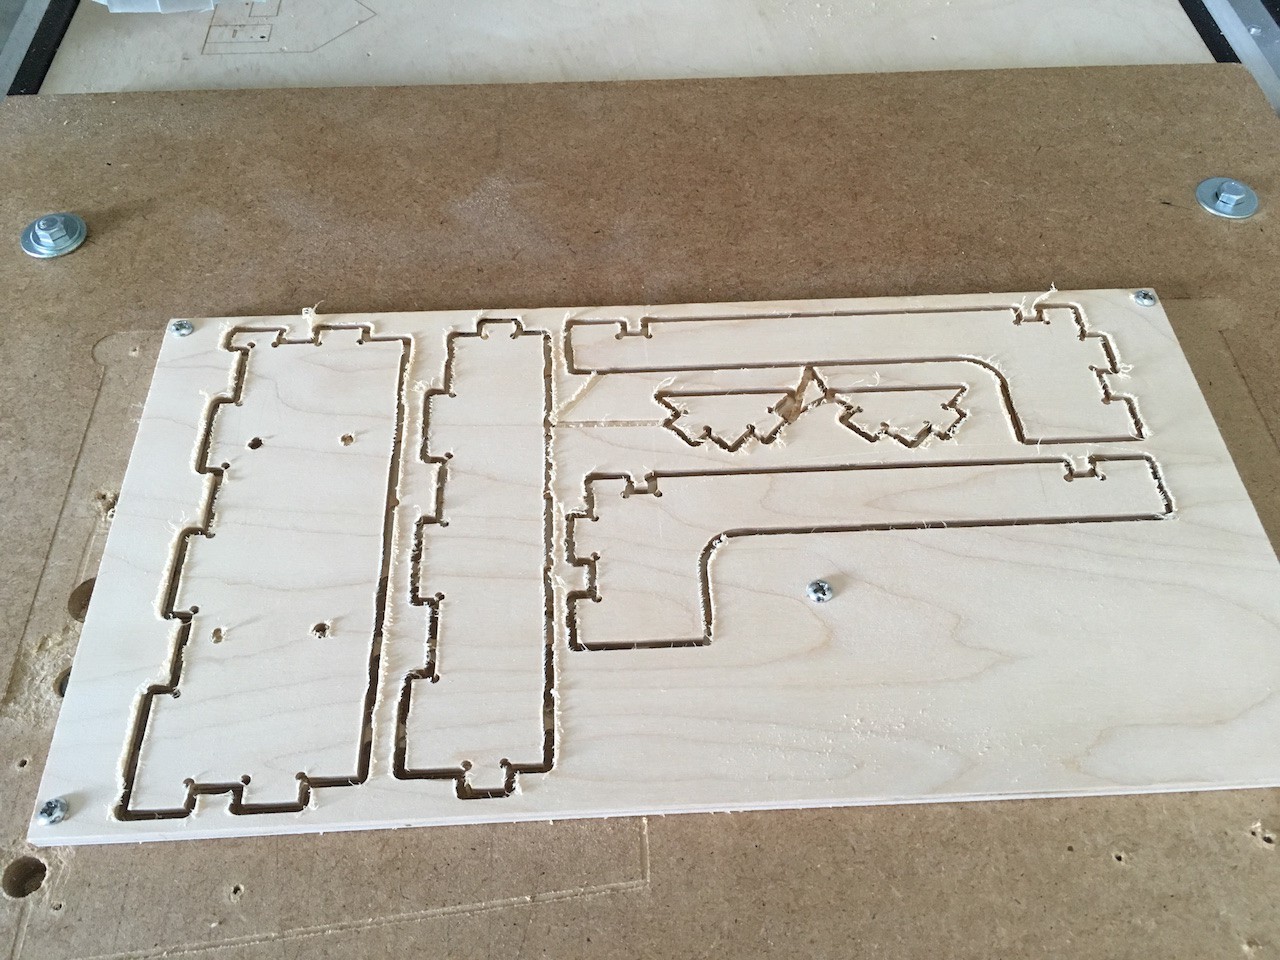
One of my earlier projects was a CNC mill so obviously I wanted to use this to create the parts for my 3D printer. For the last year I use Fusion 360 to do both the CAD and the CAM.
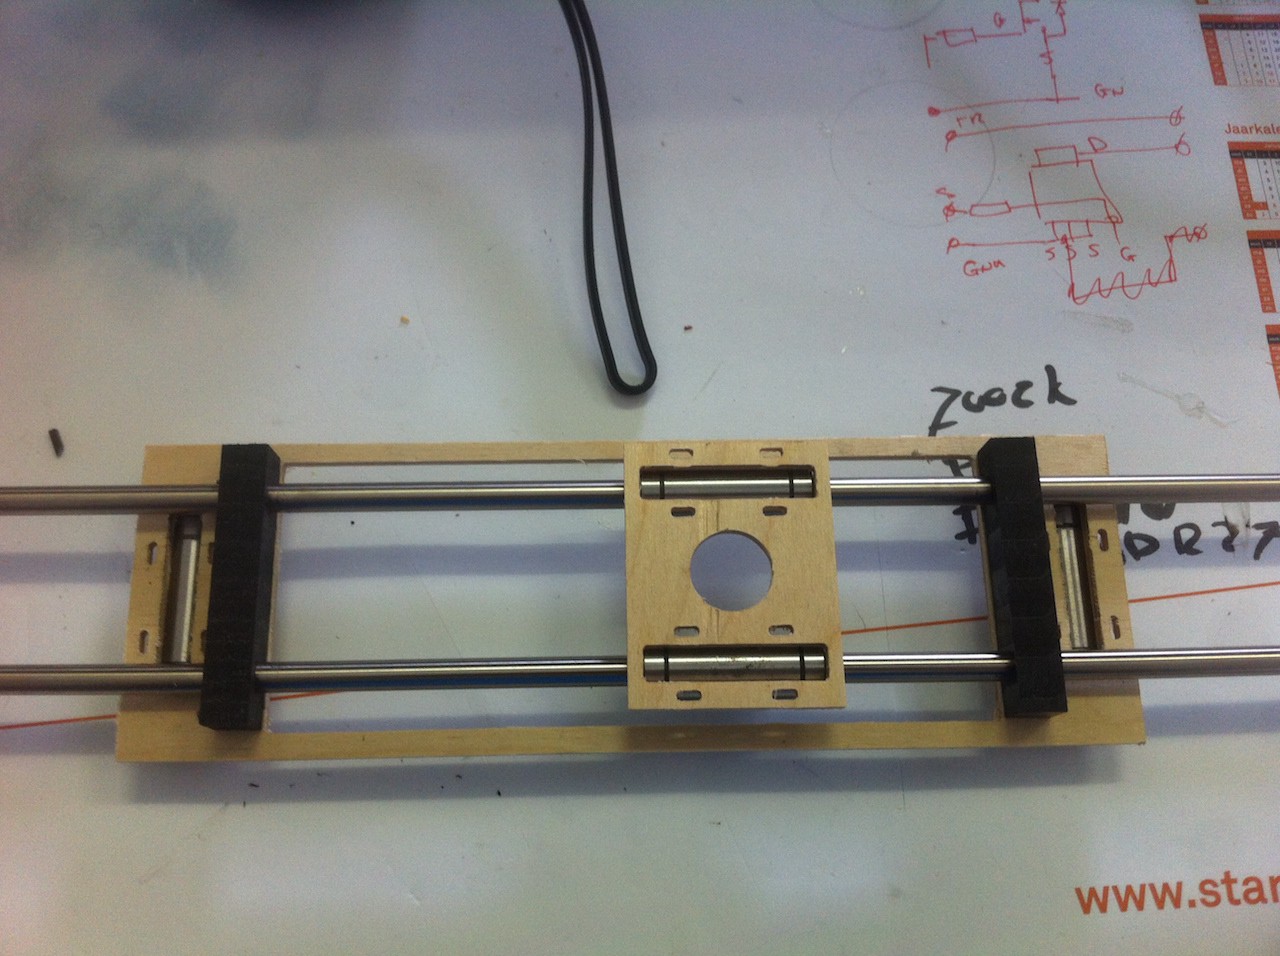
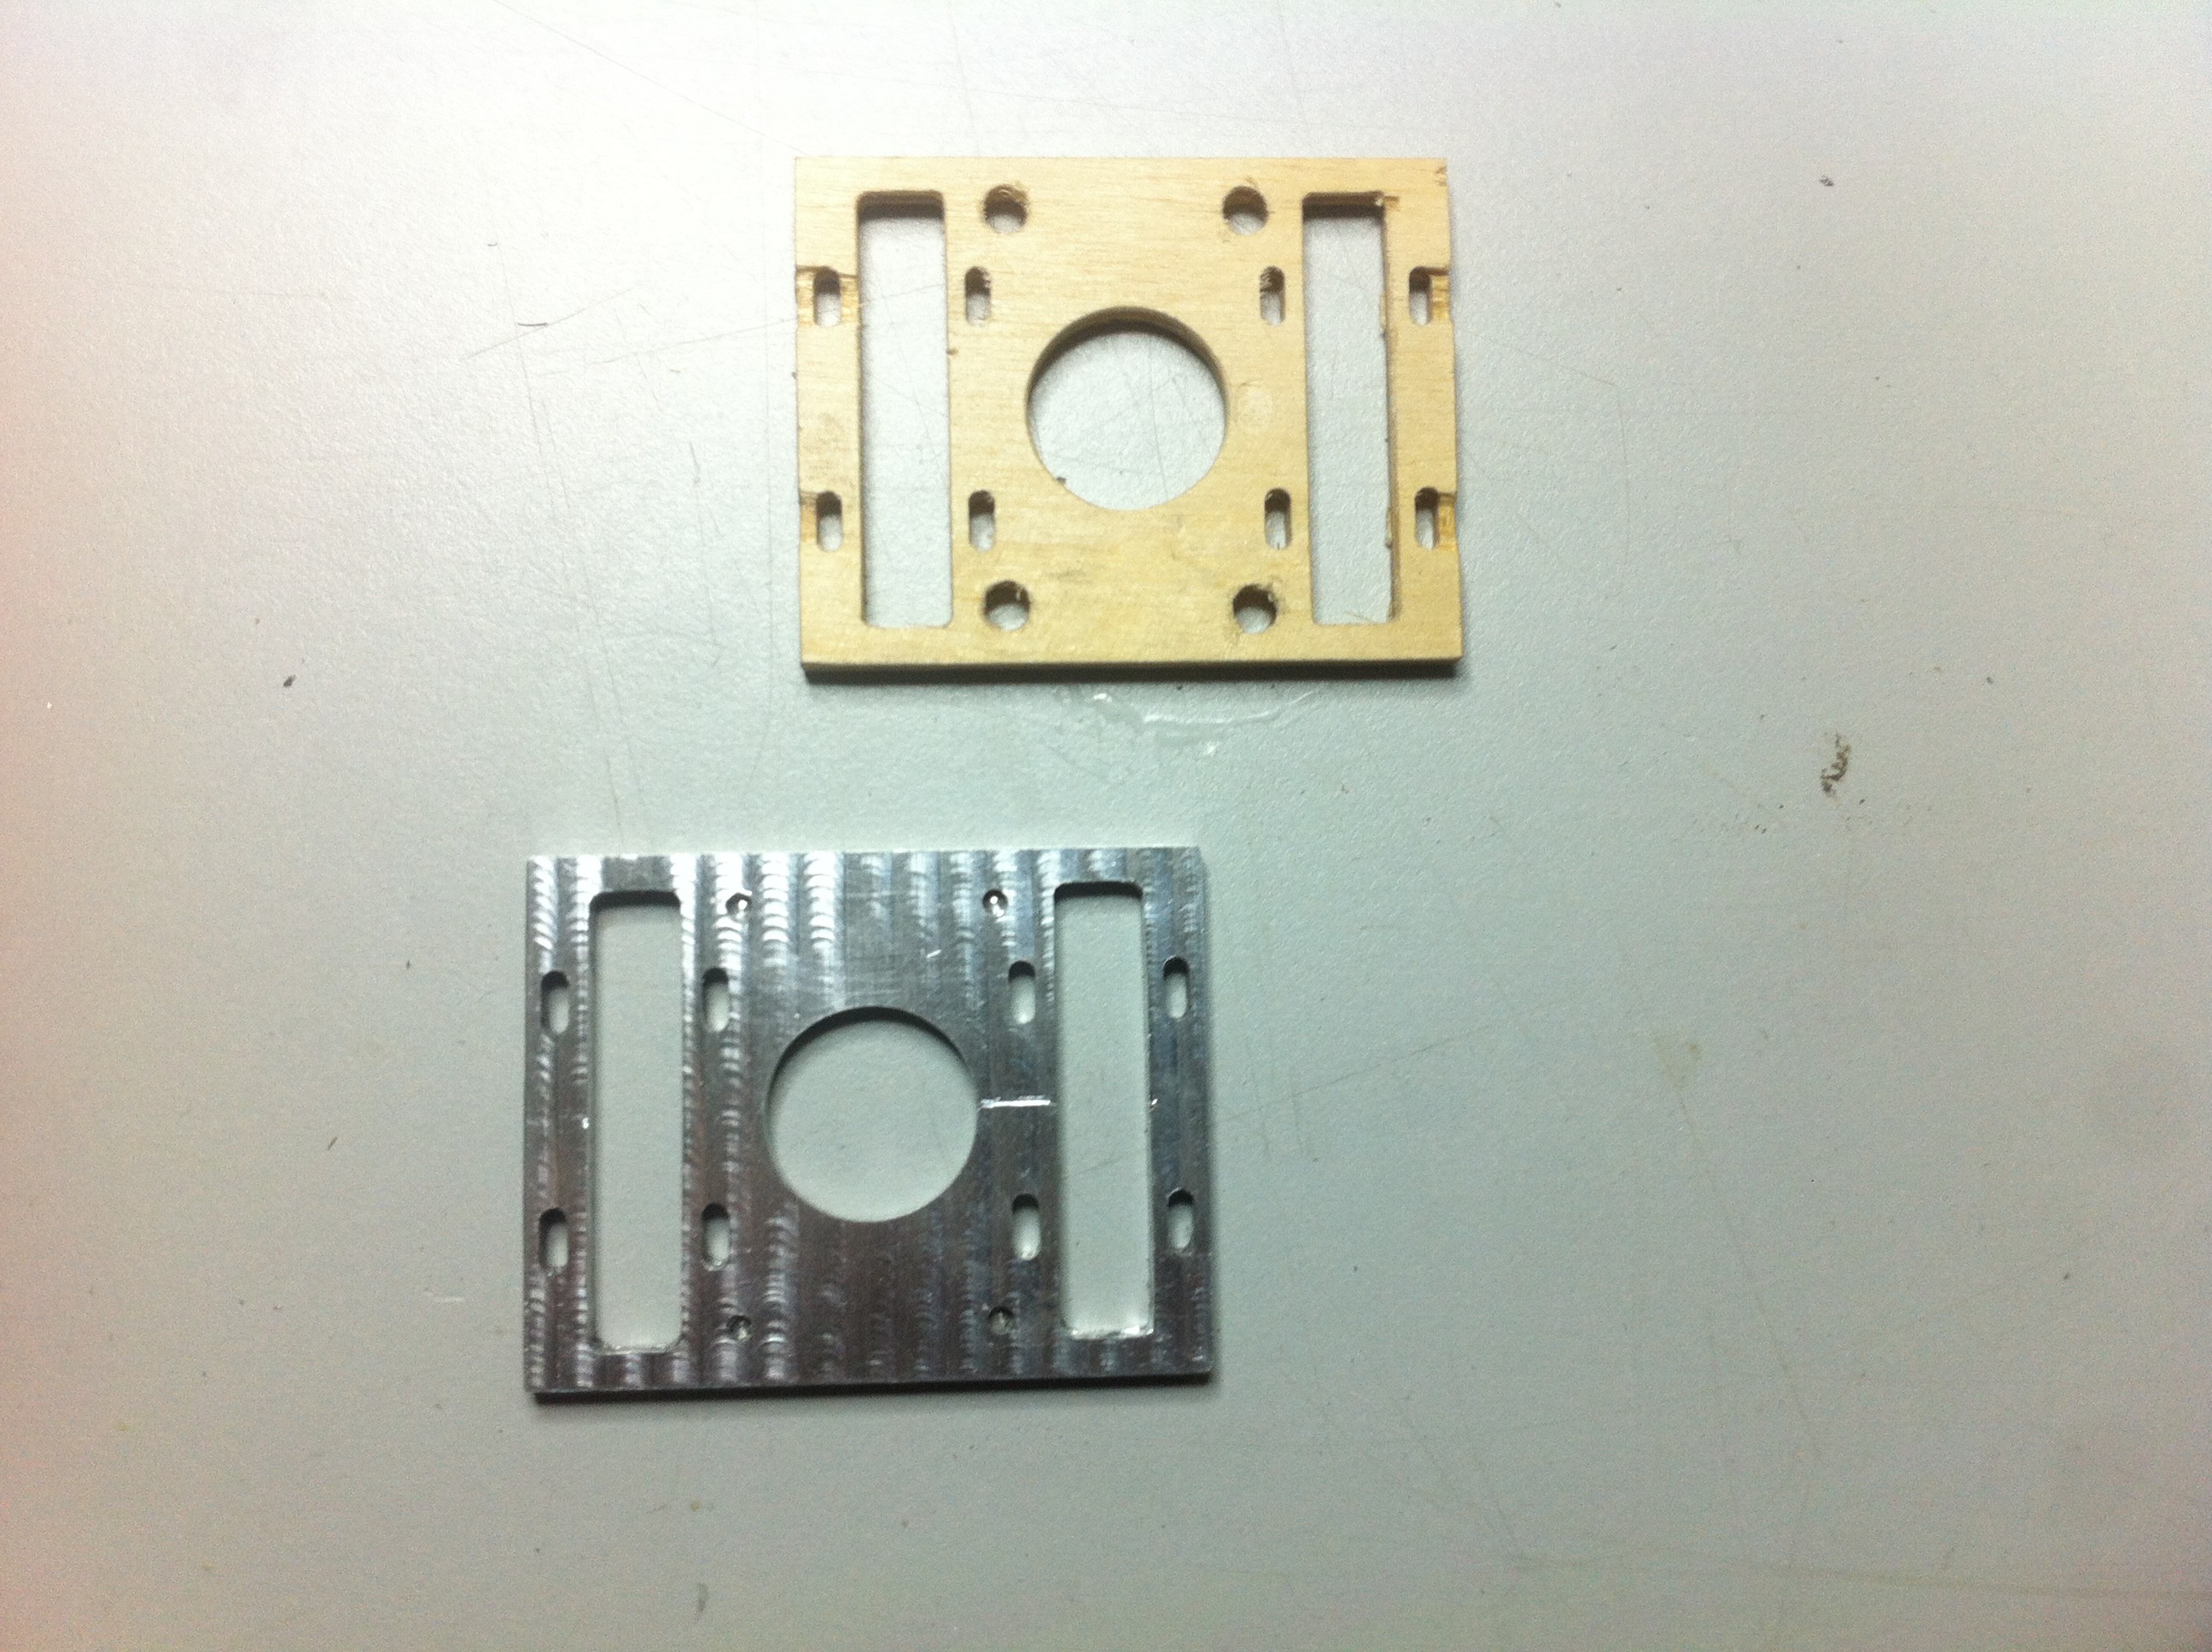
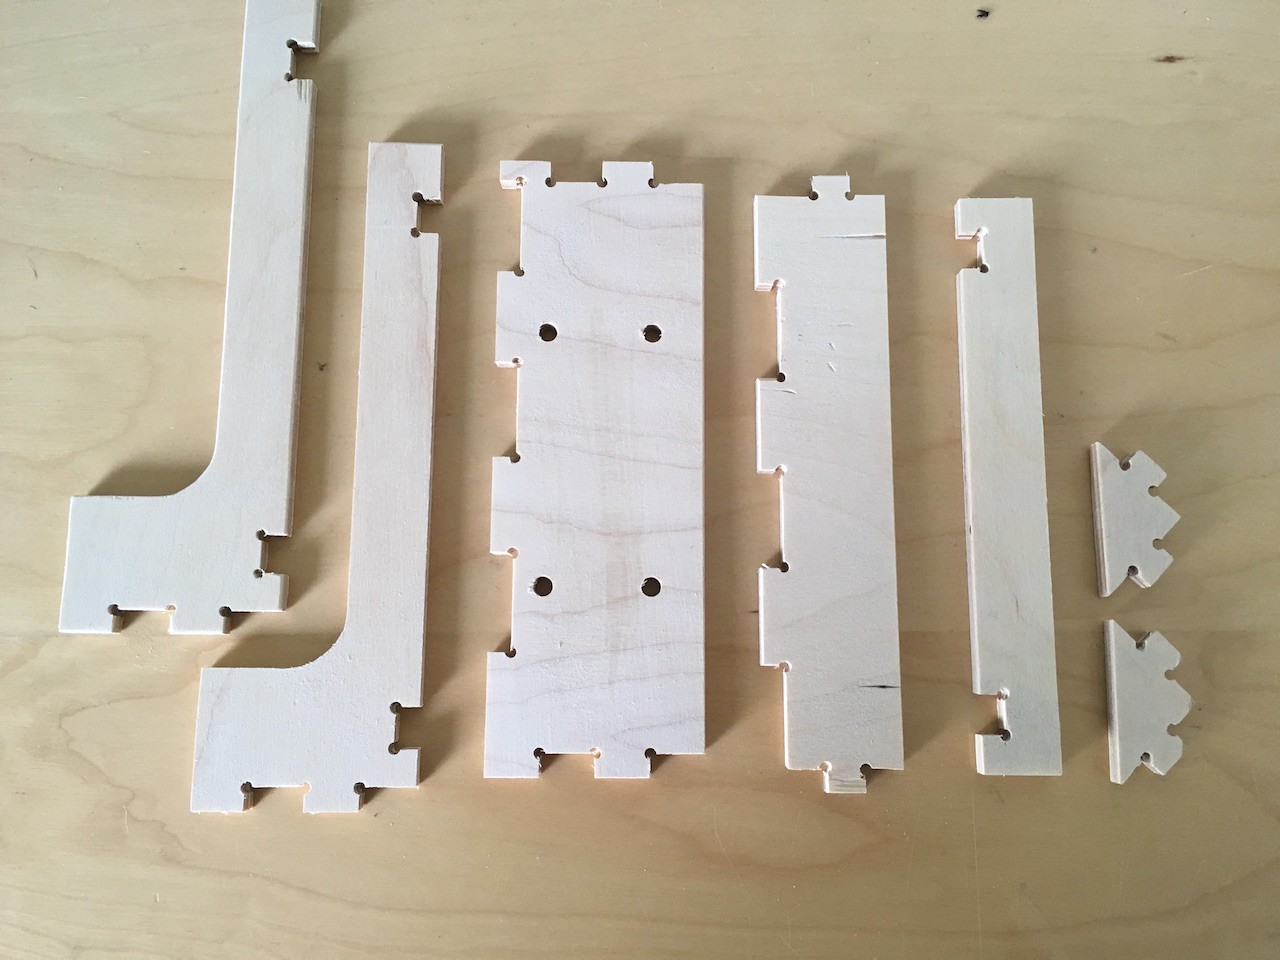
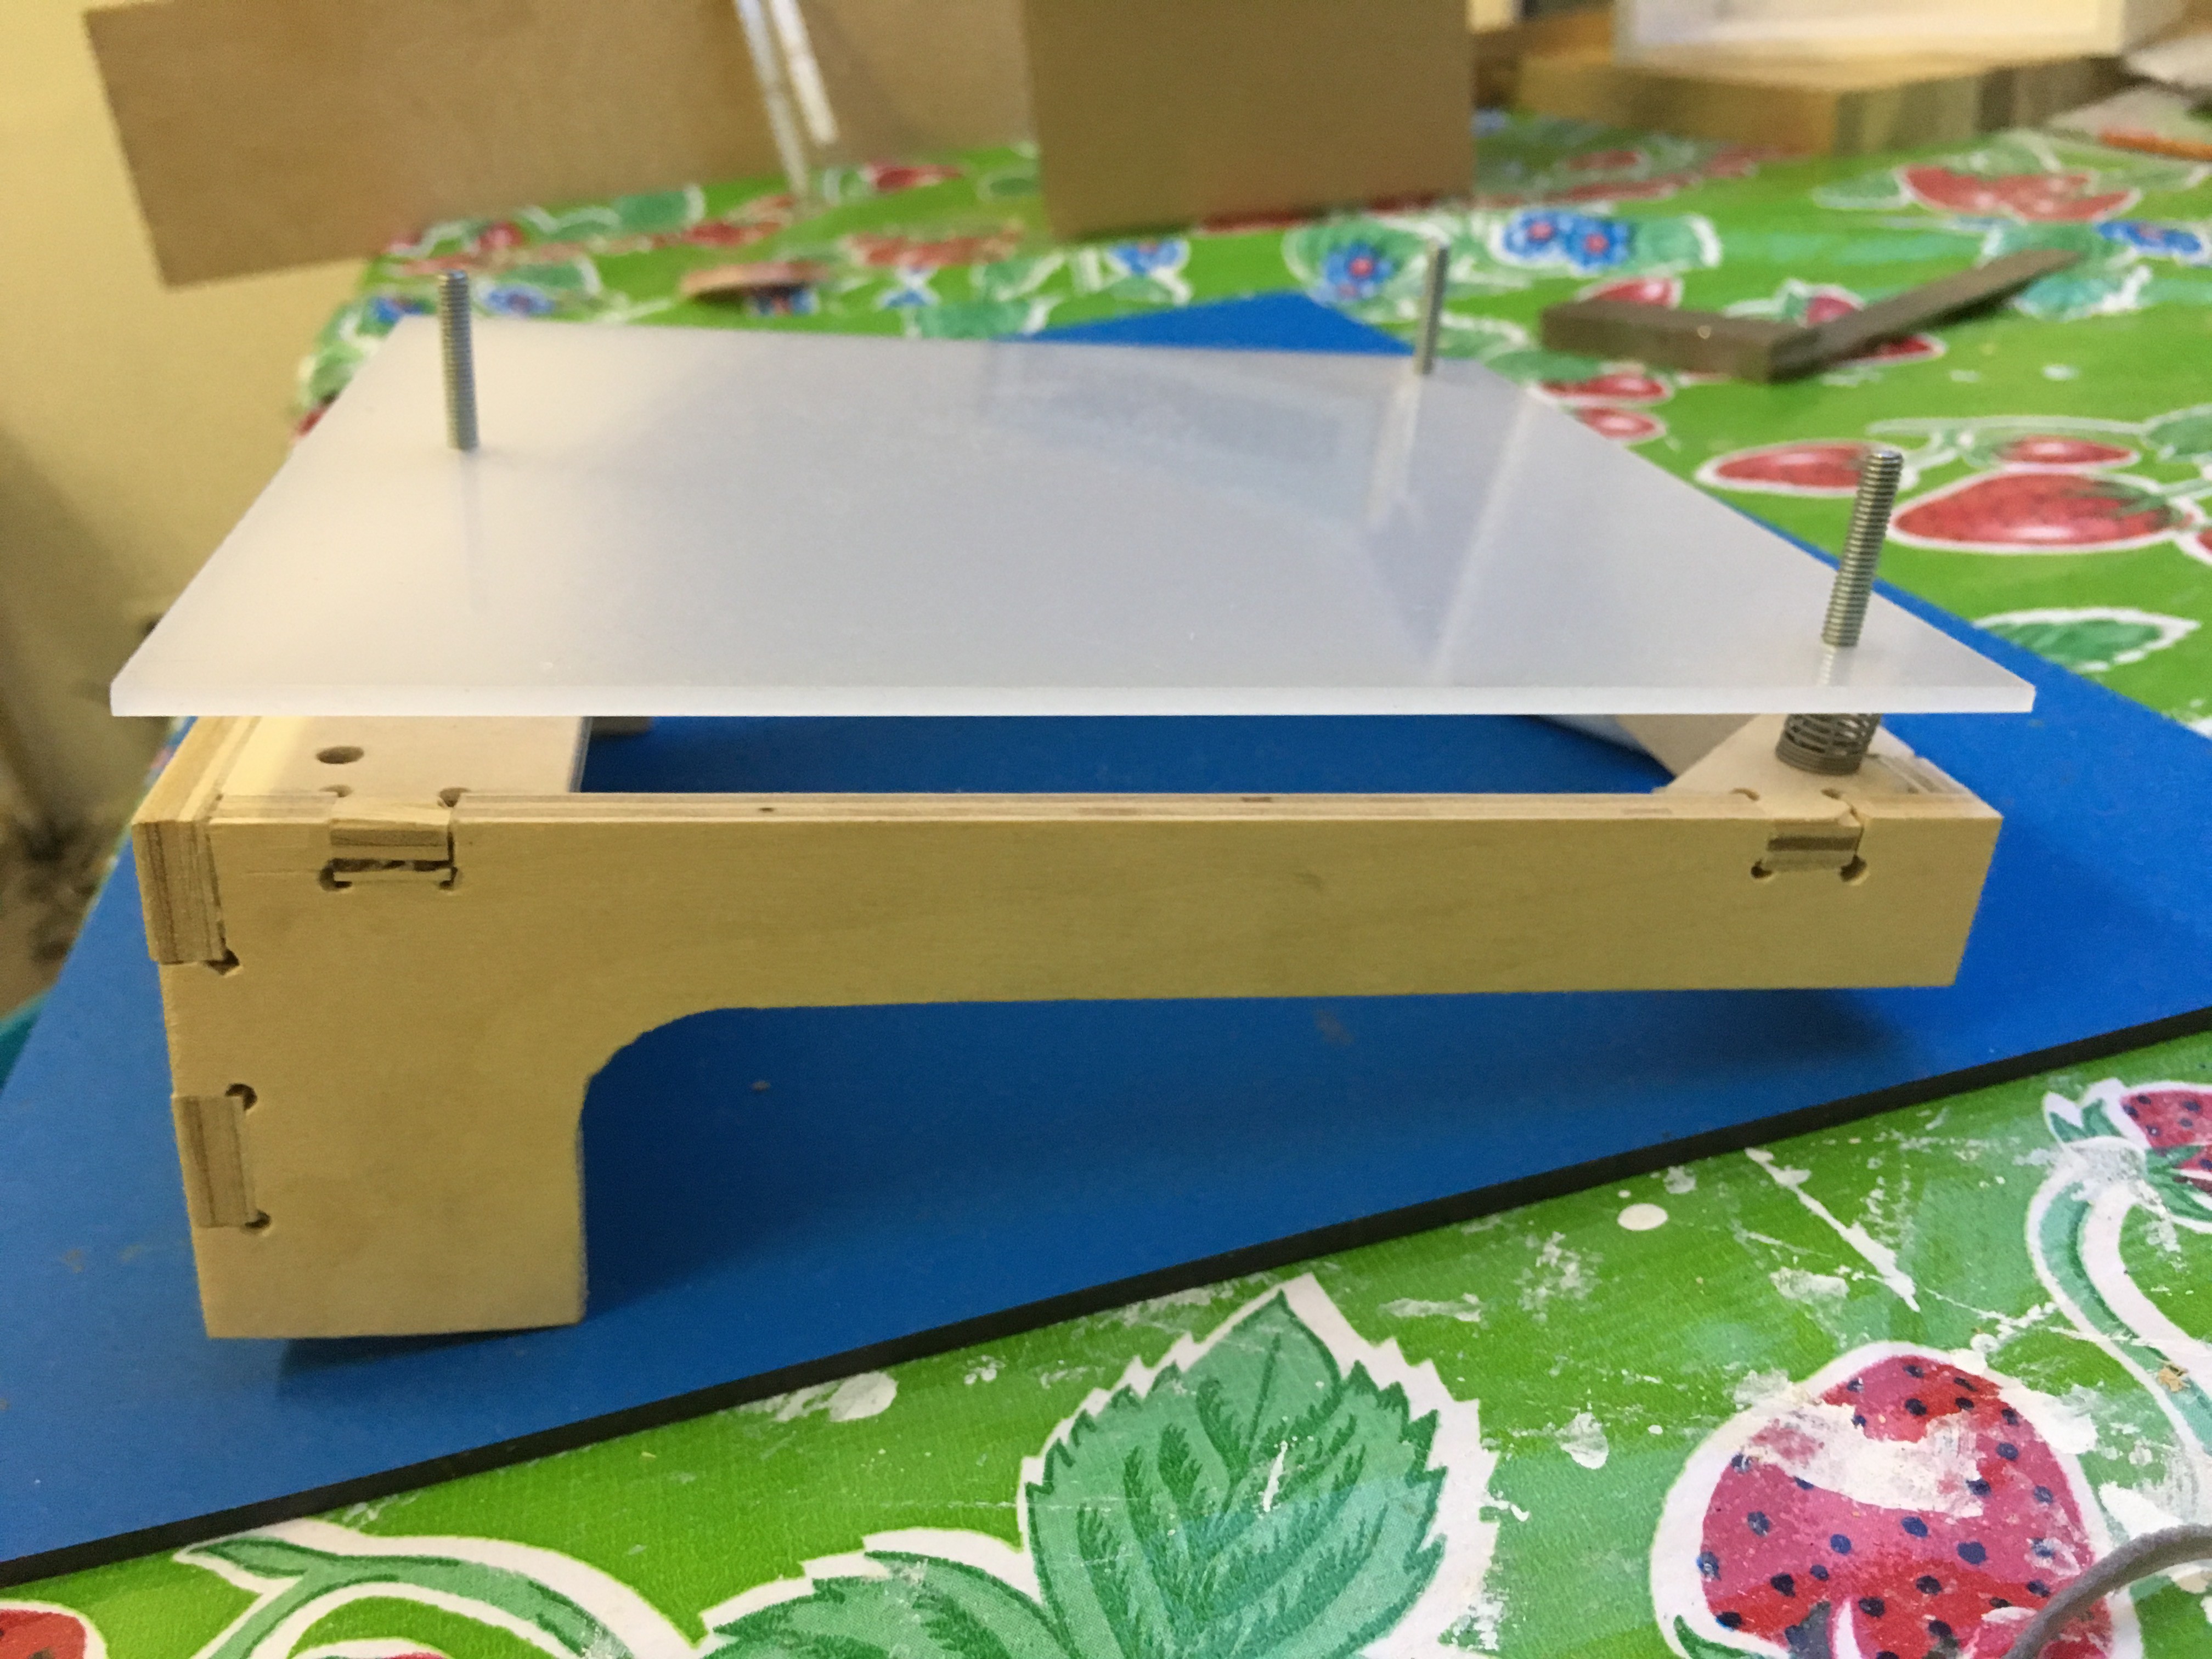
First I milled the parts from 5mm triplex before creating them from aluminium.
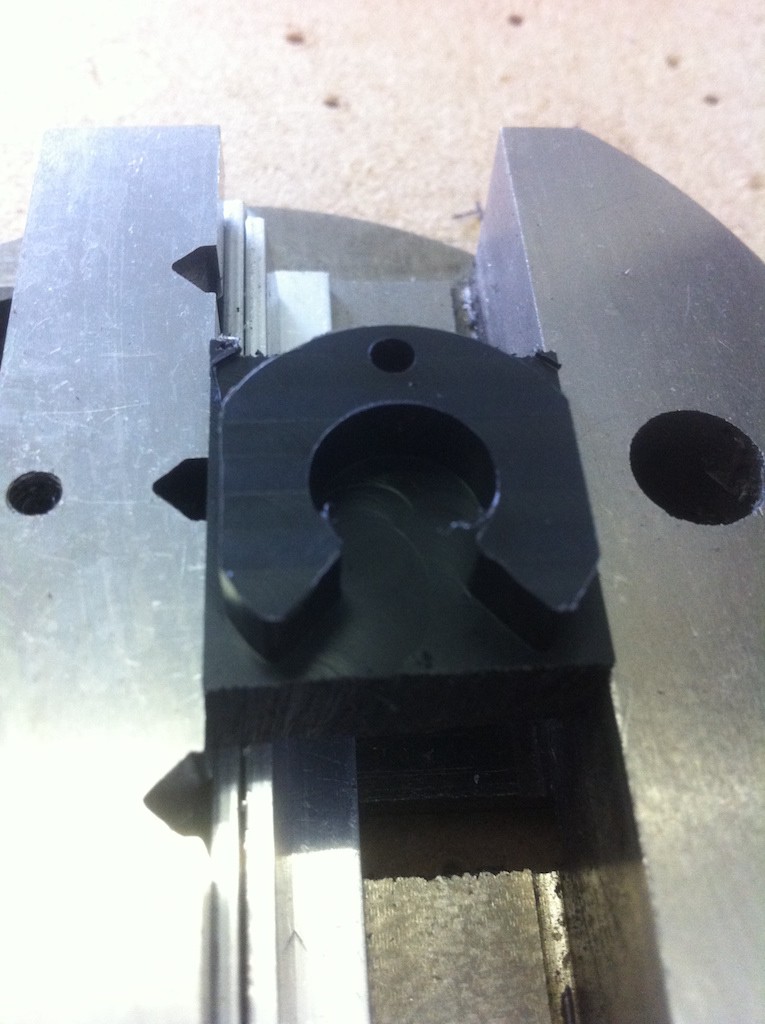
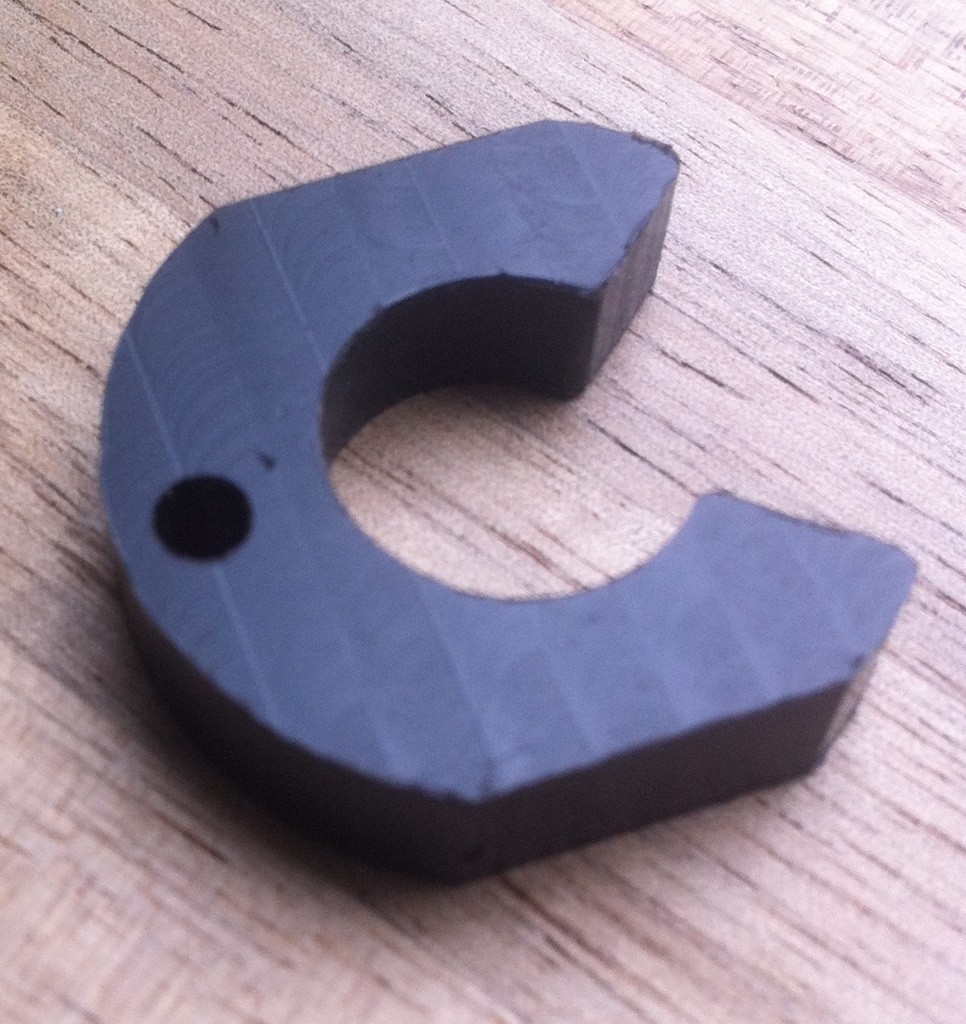
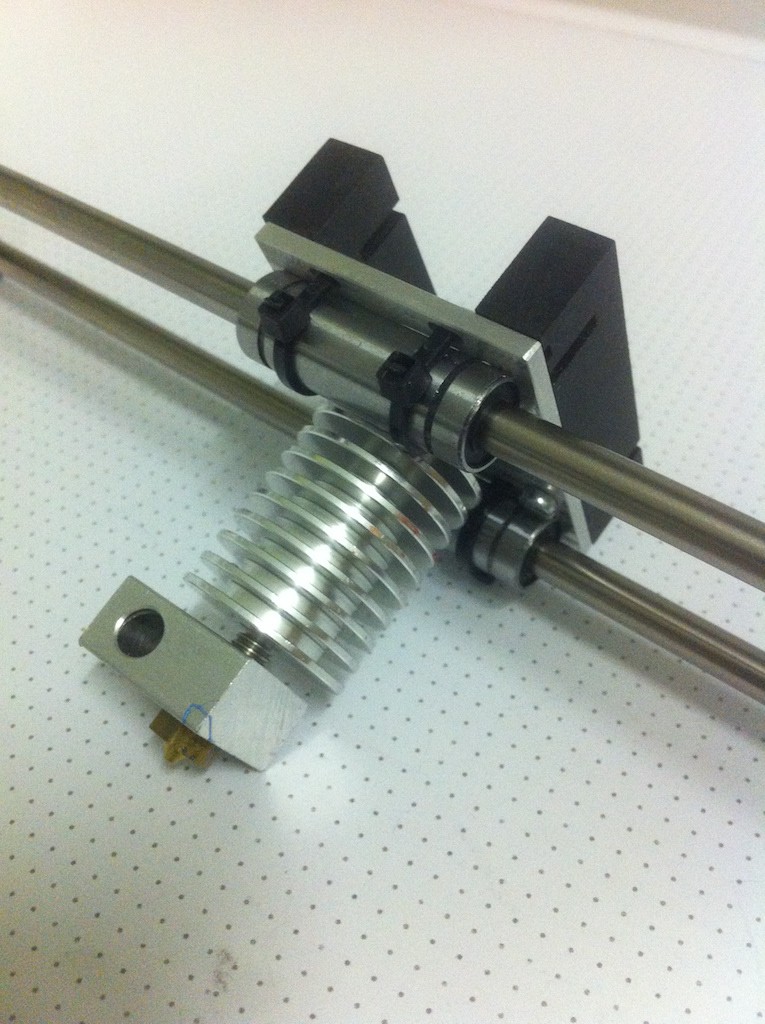
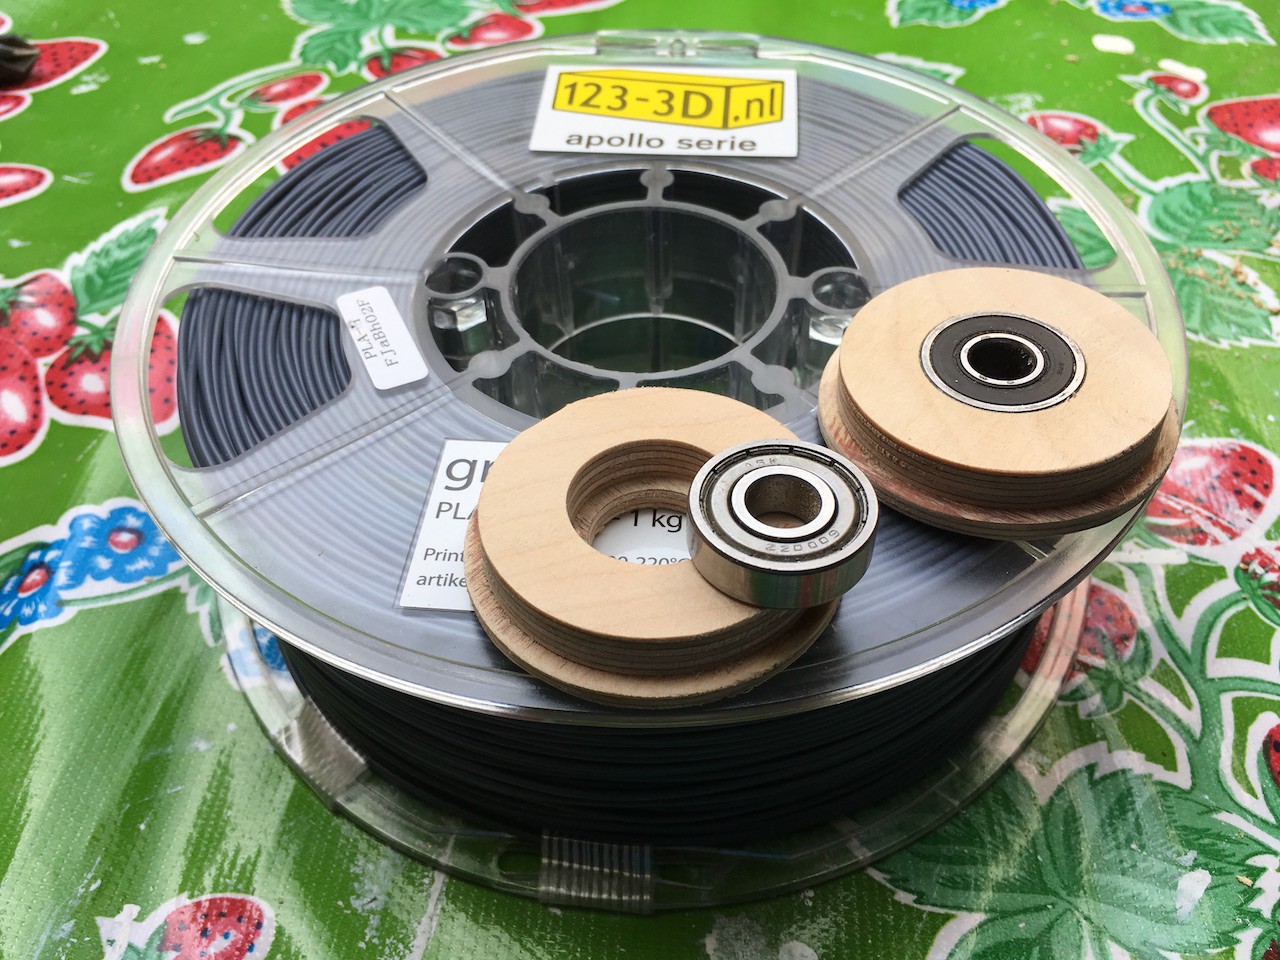
I ordered a E3D style knockoff extruder from Banggood and created a clip to mount it out of some delrin I had laying around.
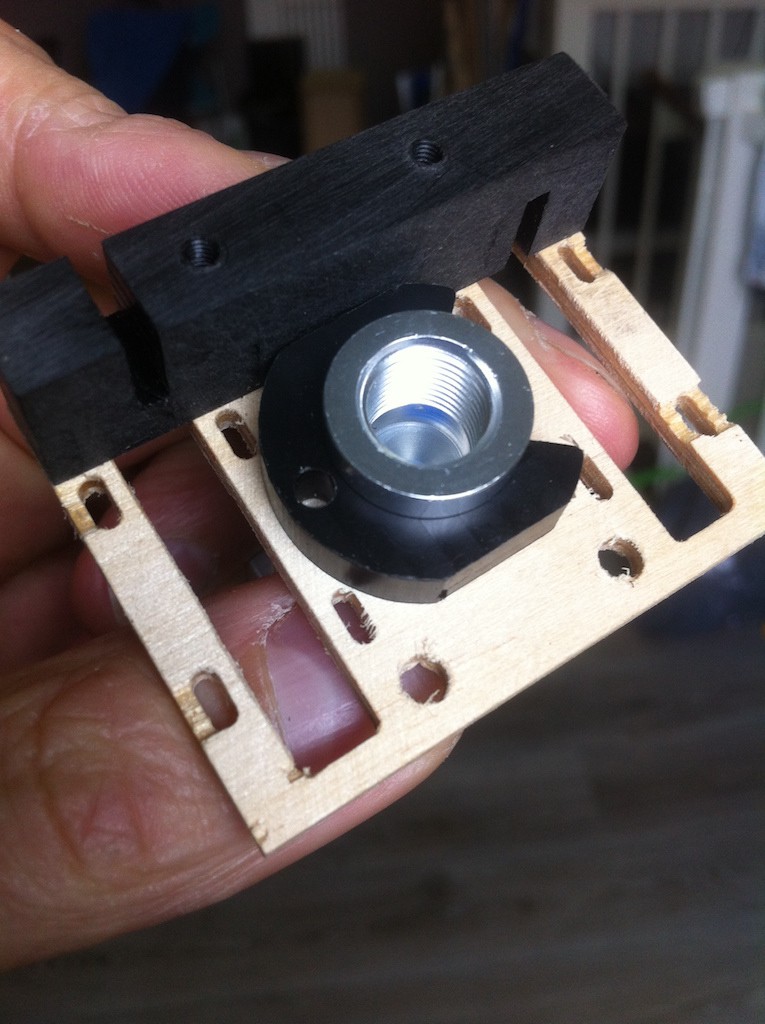
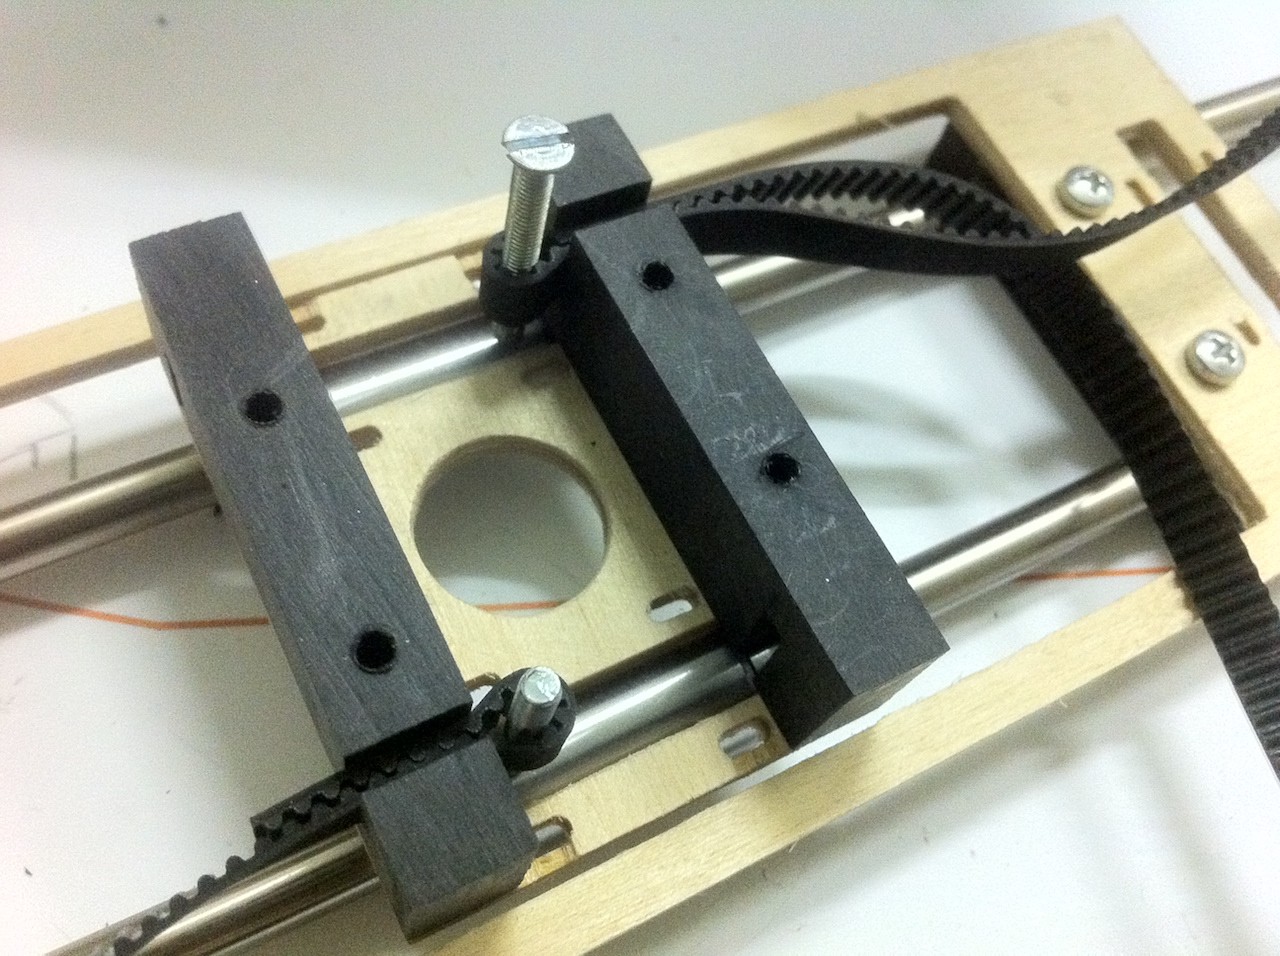
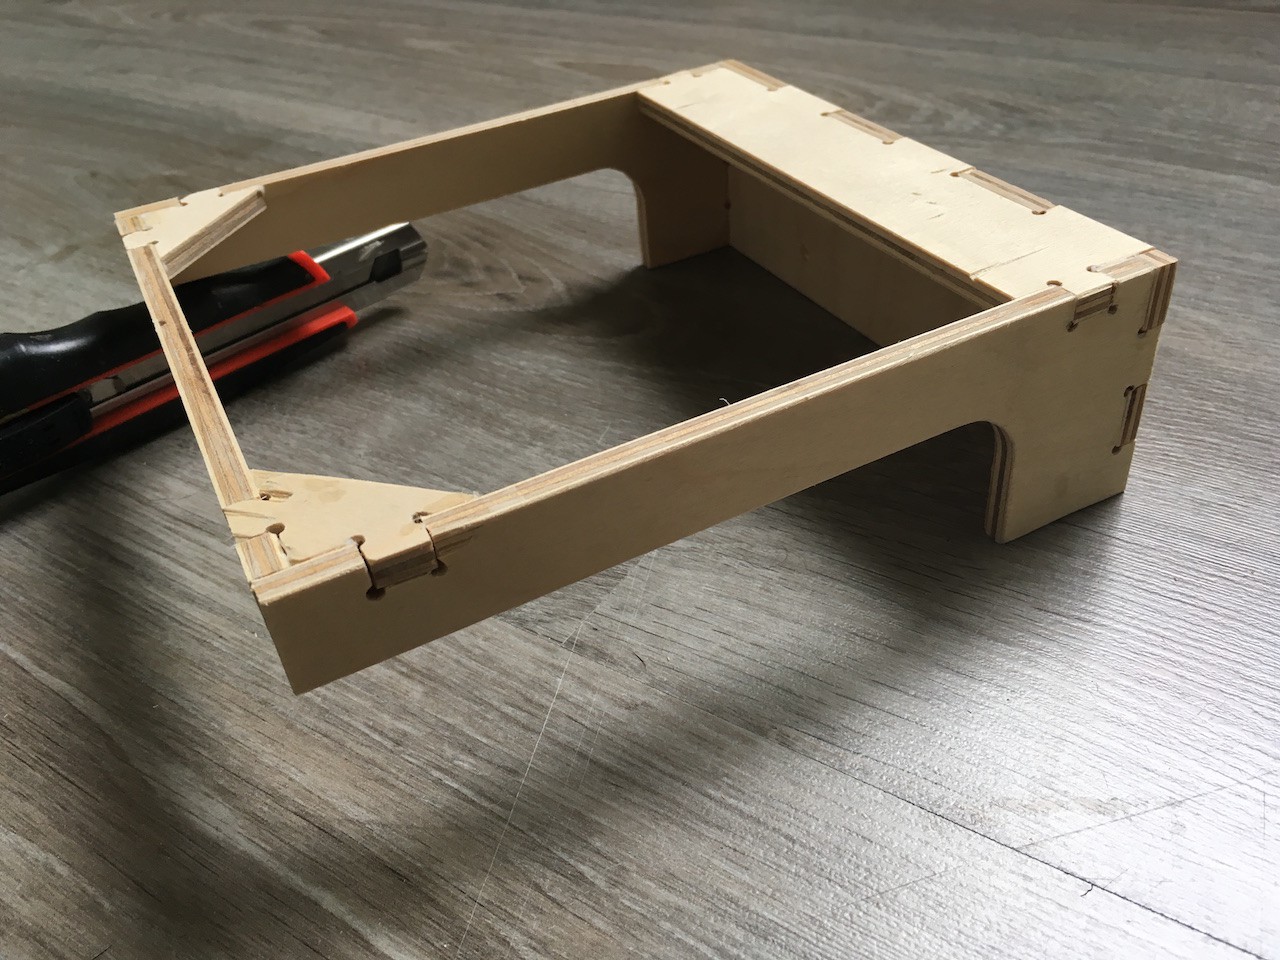
The wooden parts proved that all the measurements were correct so I started created the same parts but now from aluminium.
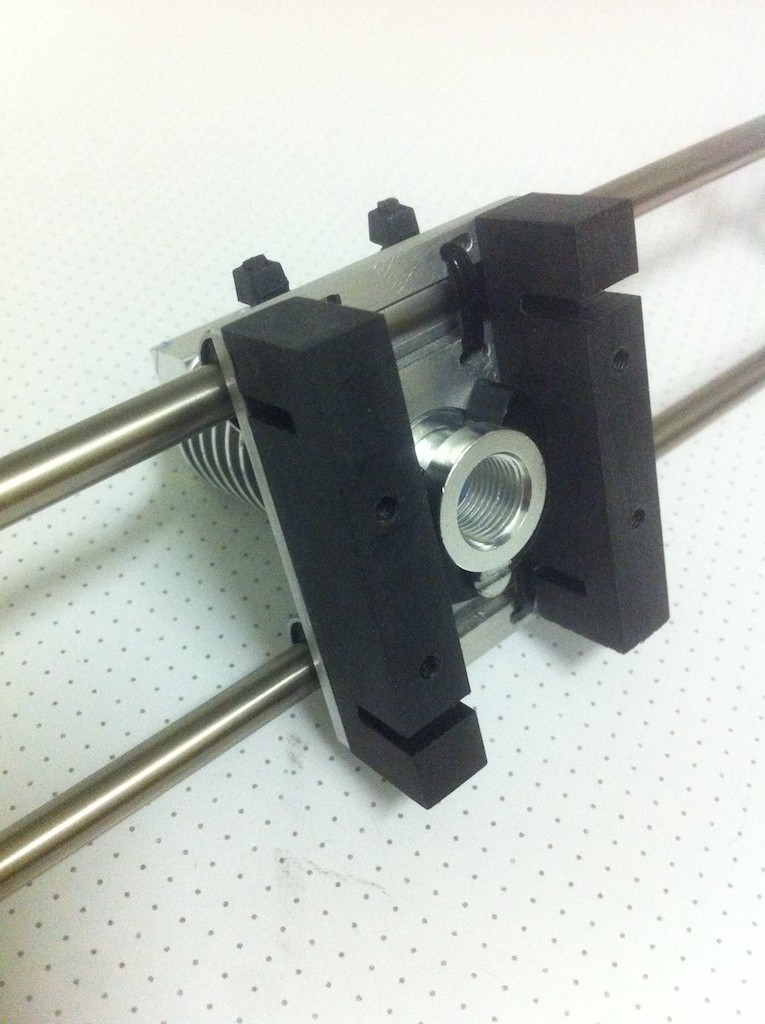
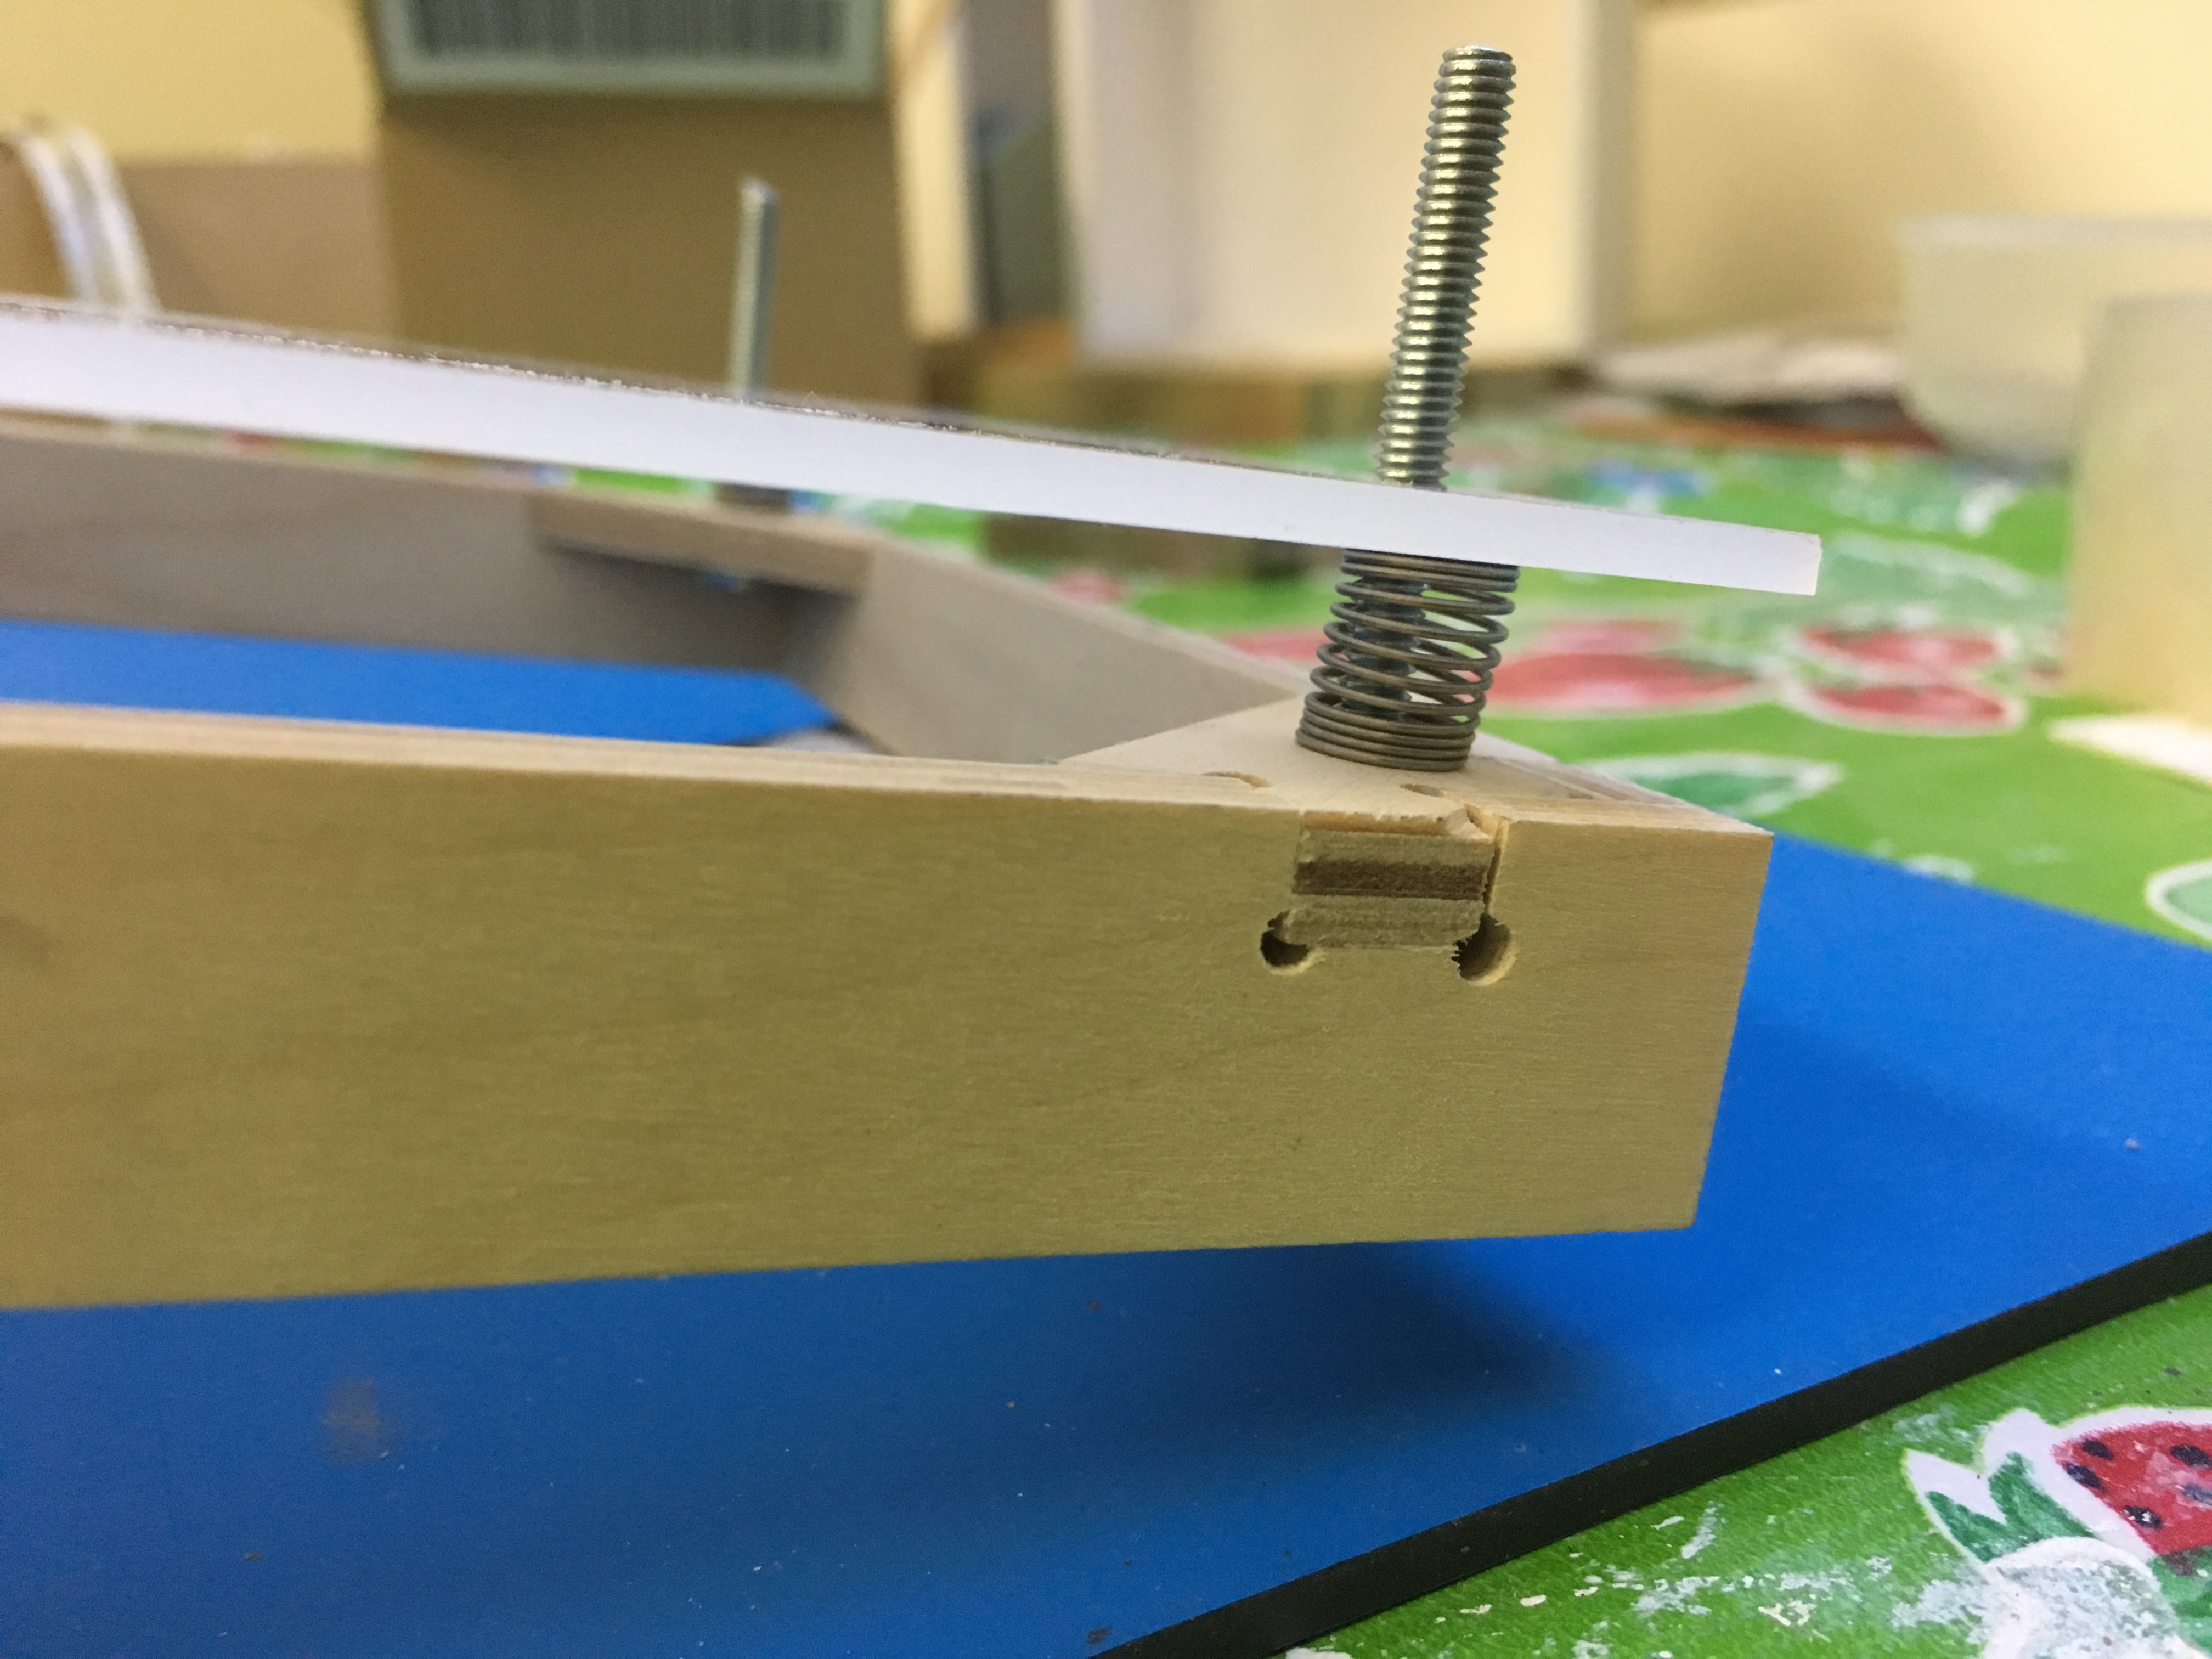
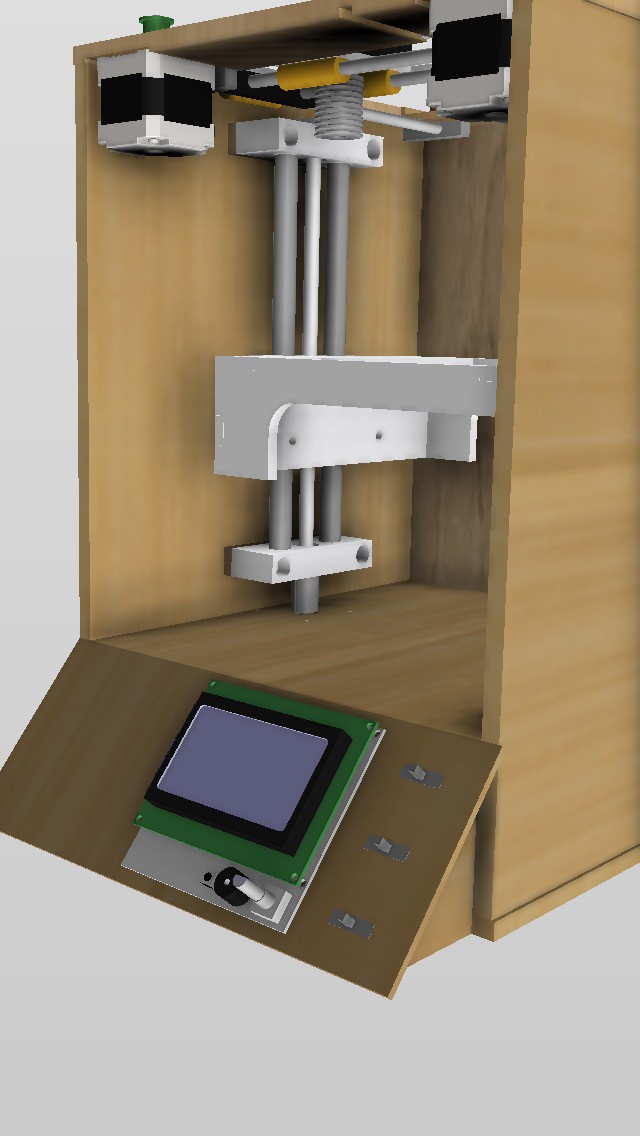
With the X and Y axis in place it was time to create the Z axis. So starting up the Fusion engine again...
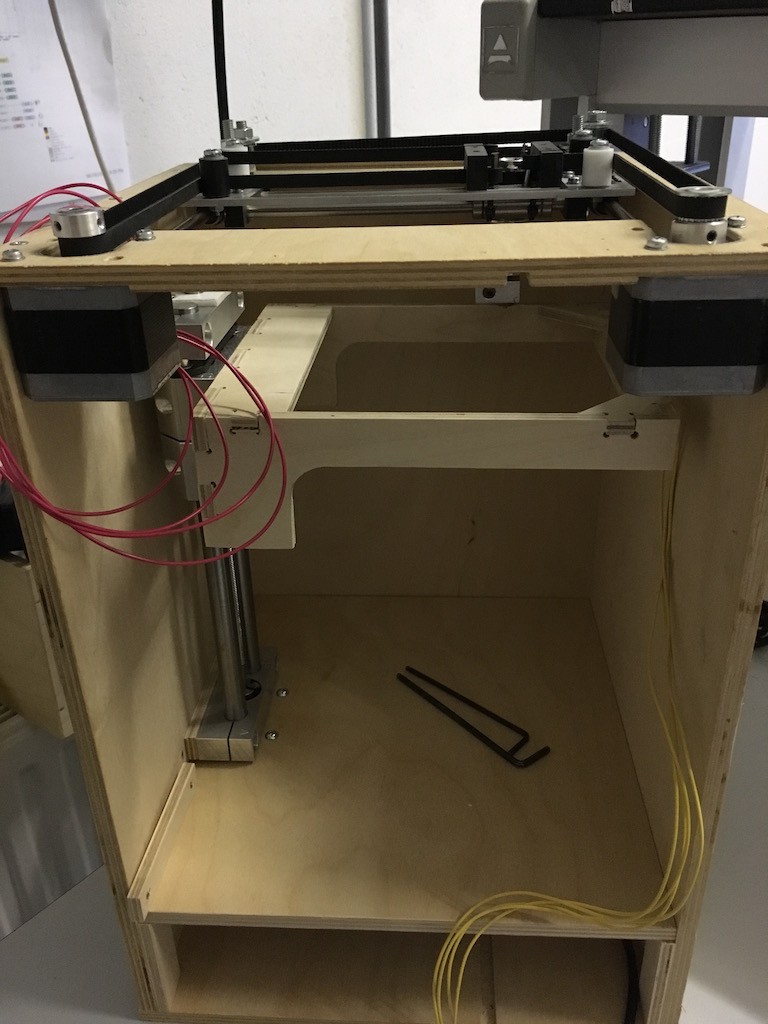
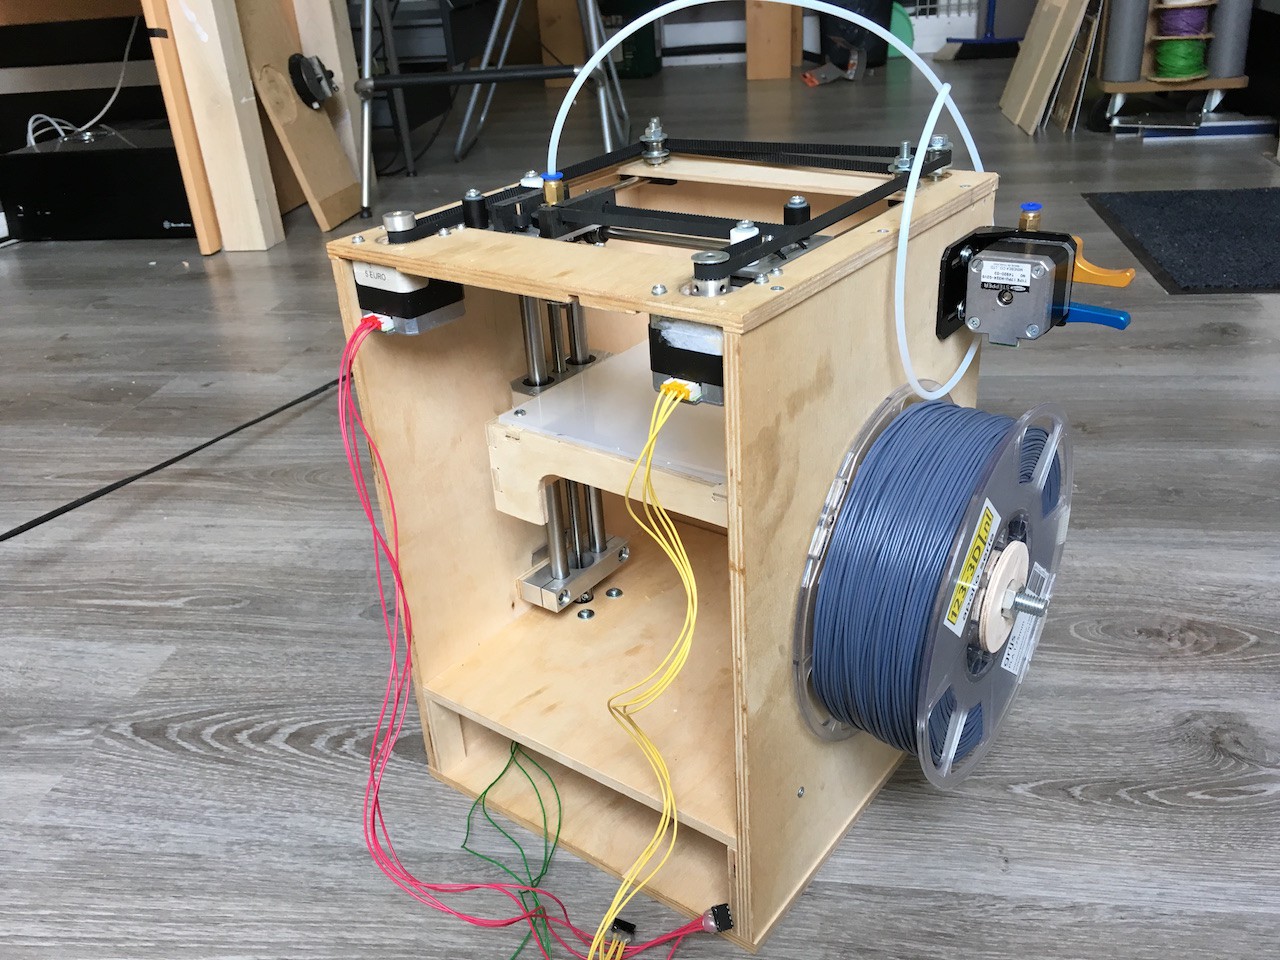
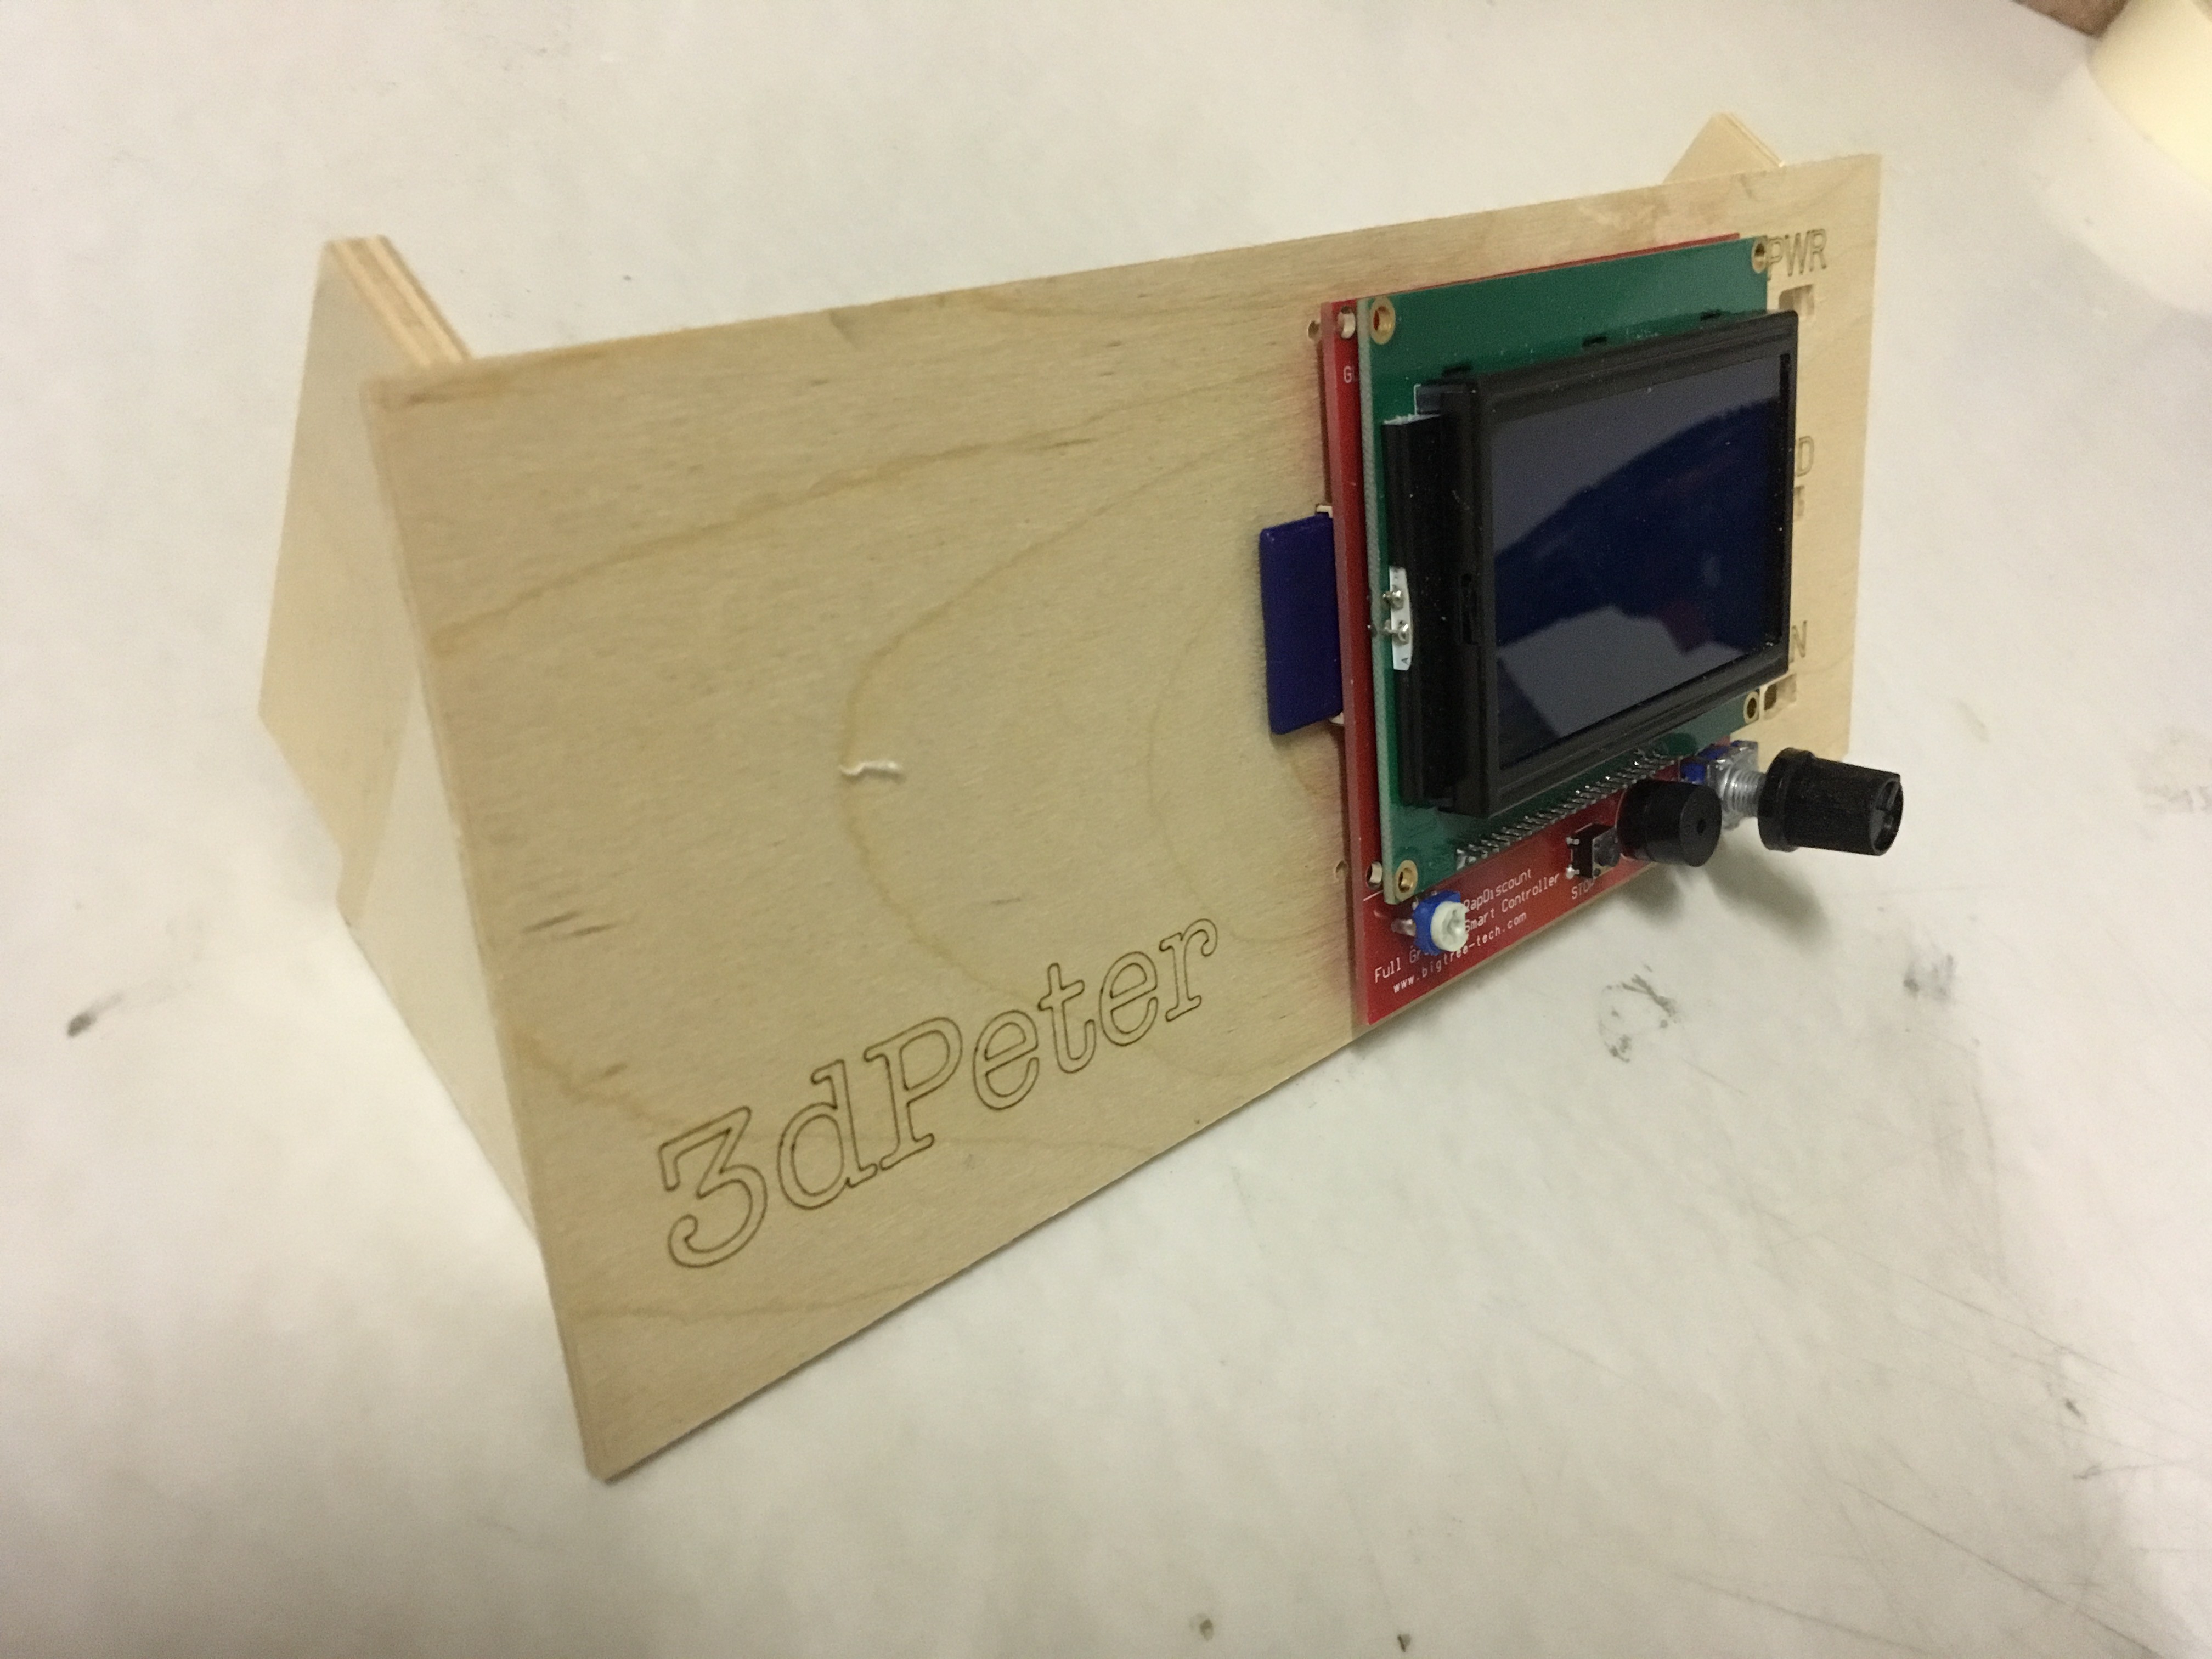
The last thing the do before the first test was to mount the filament roll on the side and hook everything up to the Ramp board.
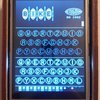
So...its time for the first print.....1, 2, 3 go....
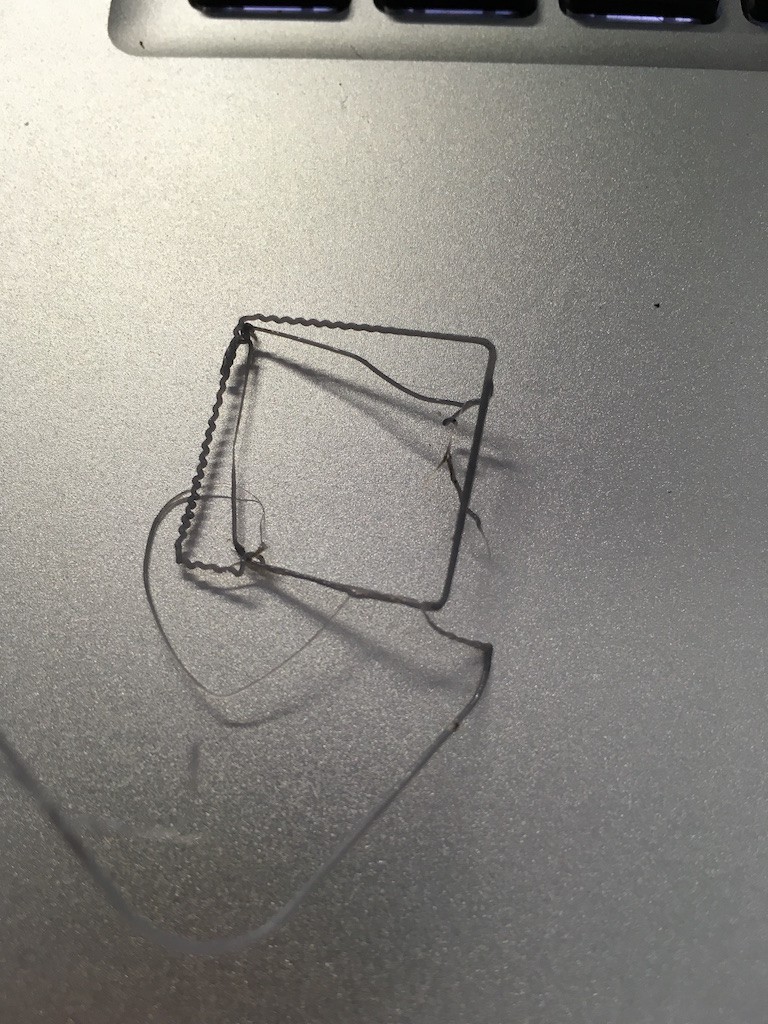 O, not really the result I was hoping for :) Fixed some settings the the Marlin firmware, adjusted the temperature to 185 (printing PLA) and started a bit closer to the table this time and .....
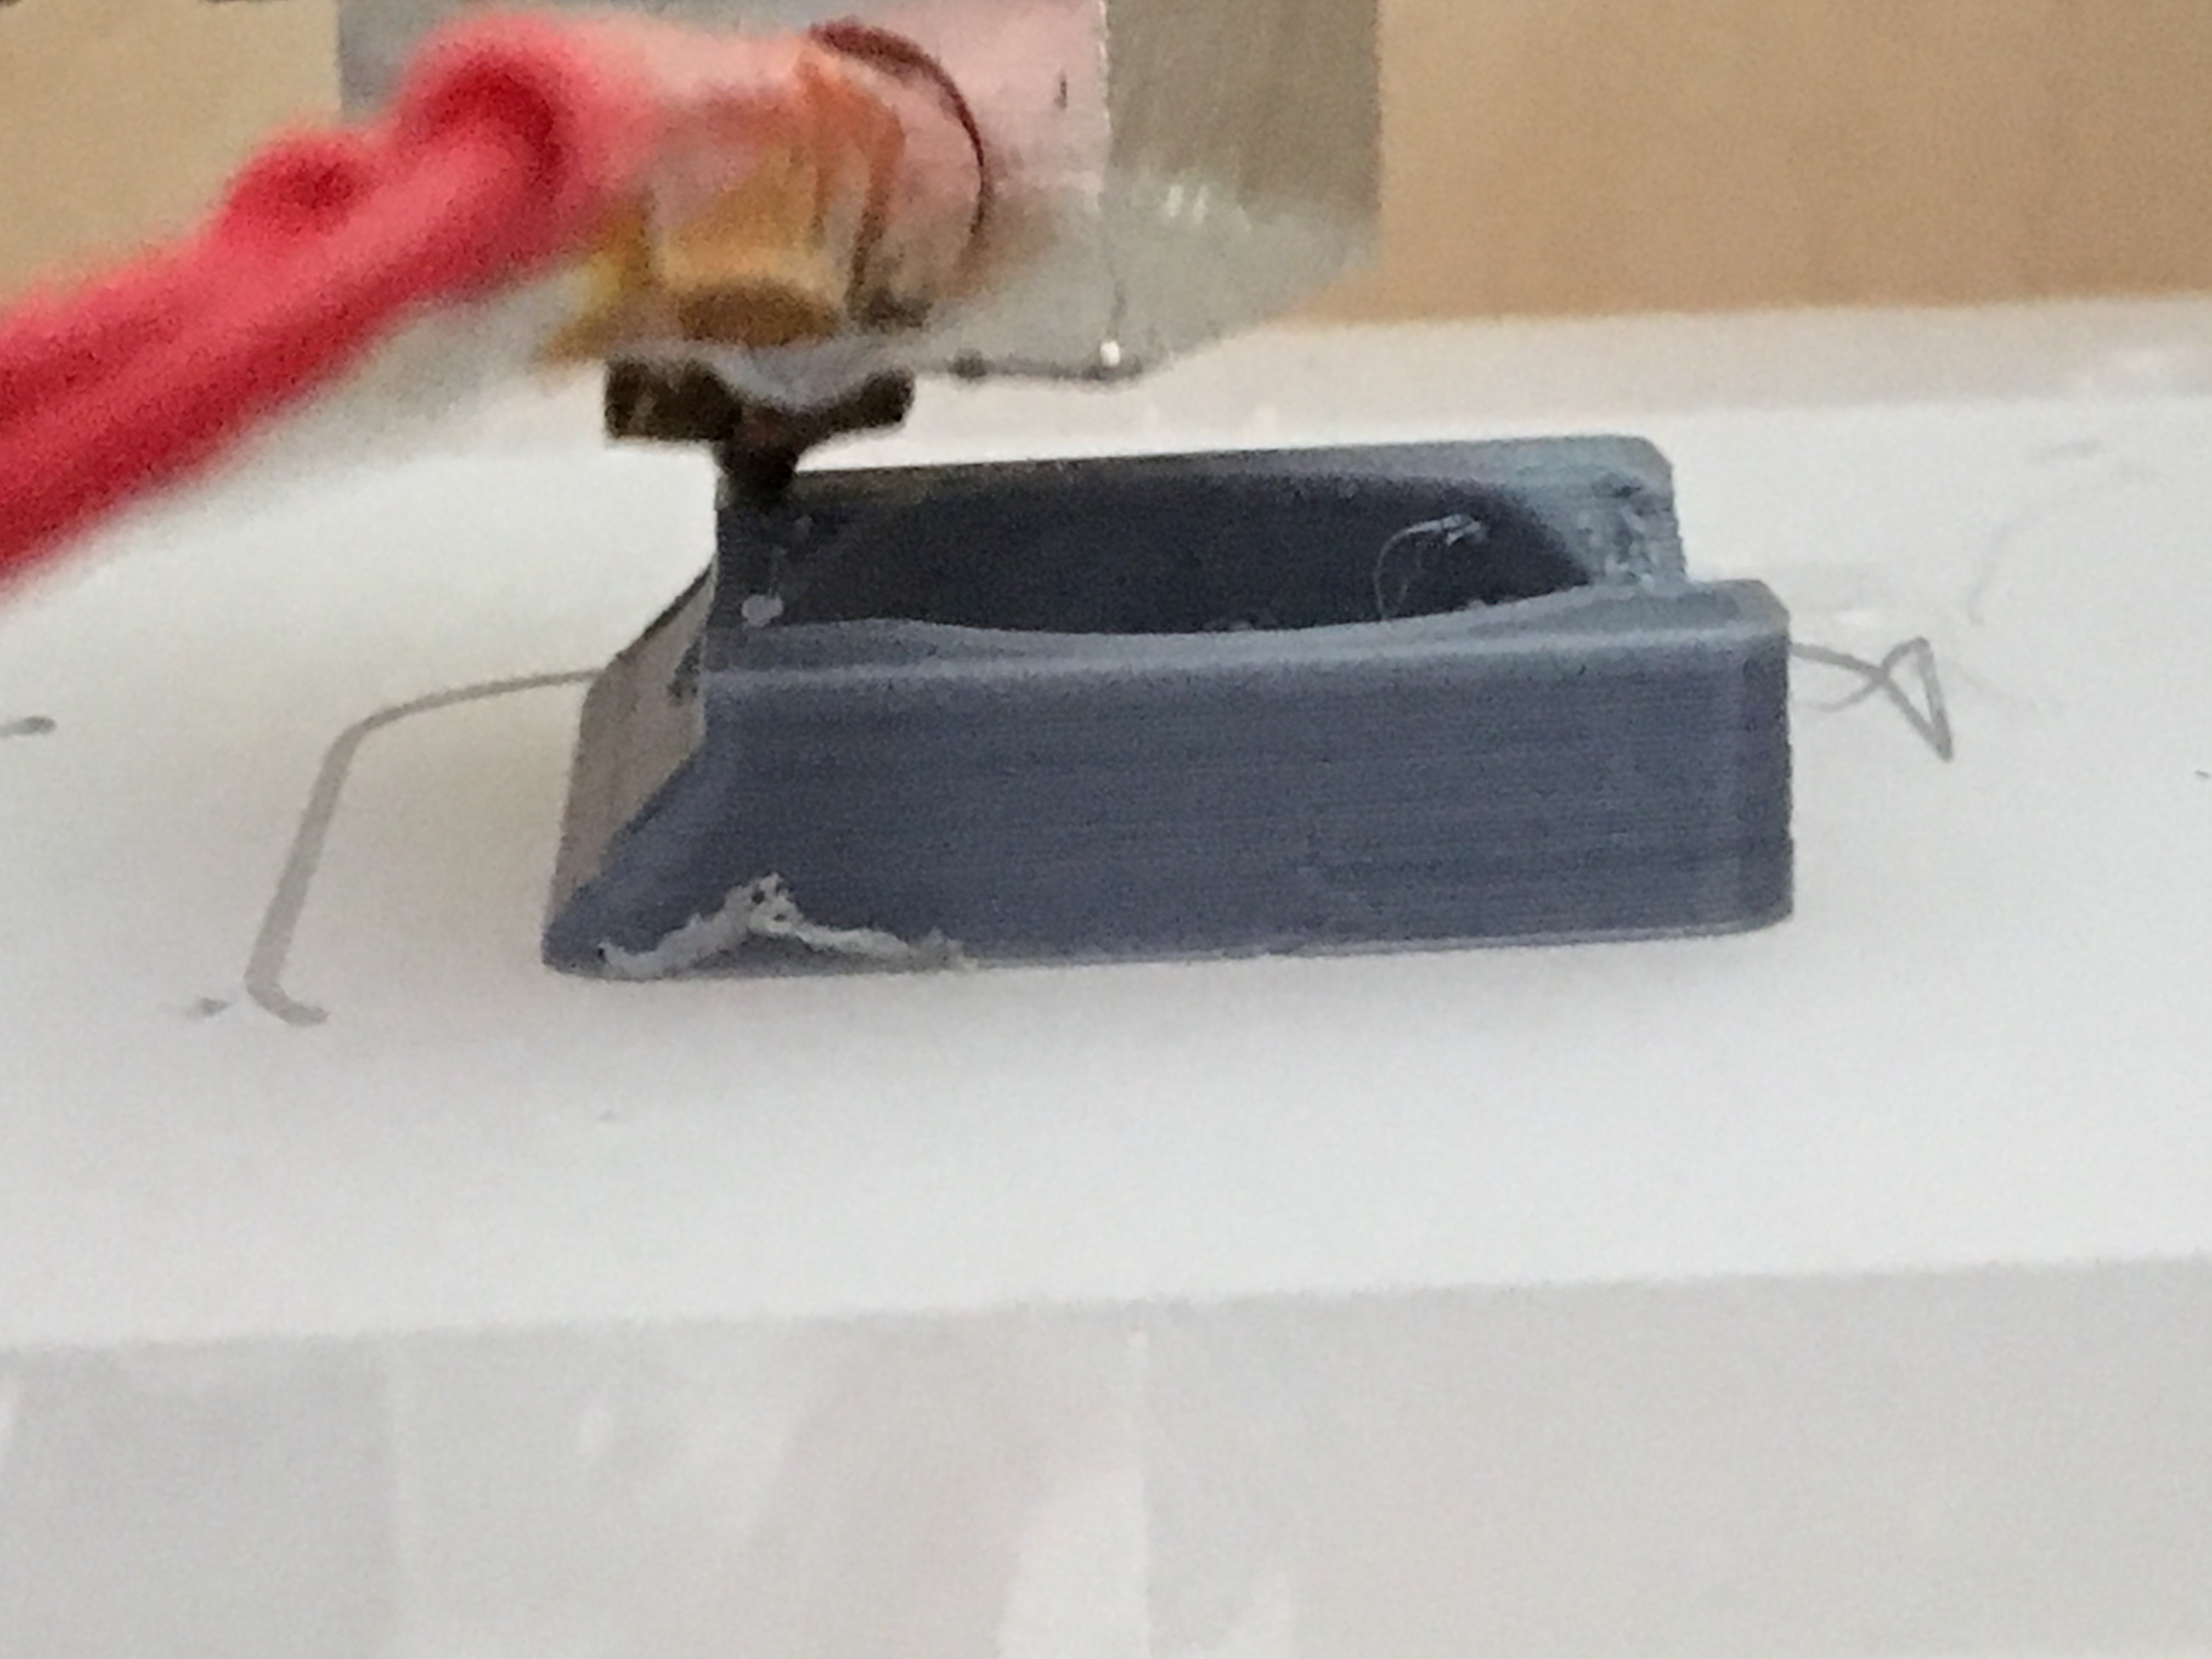
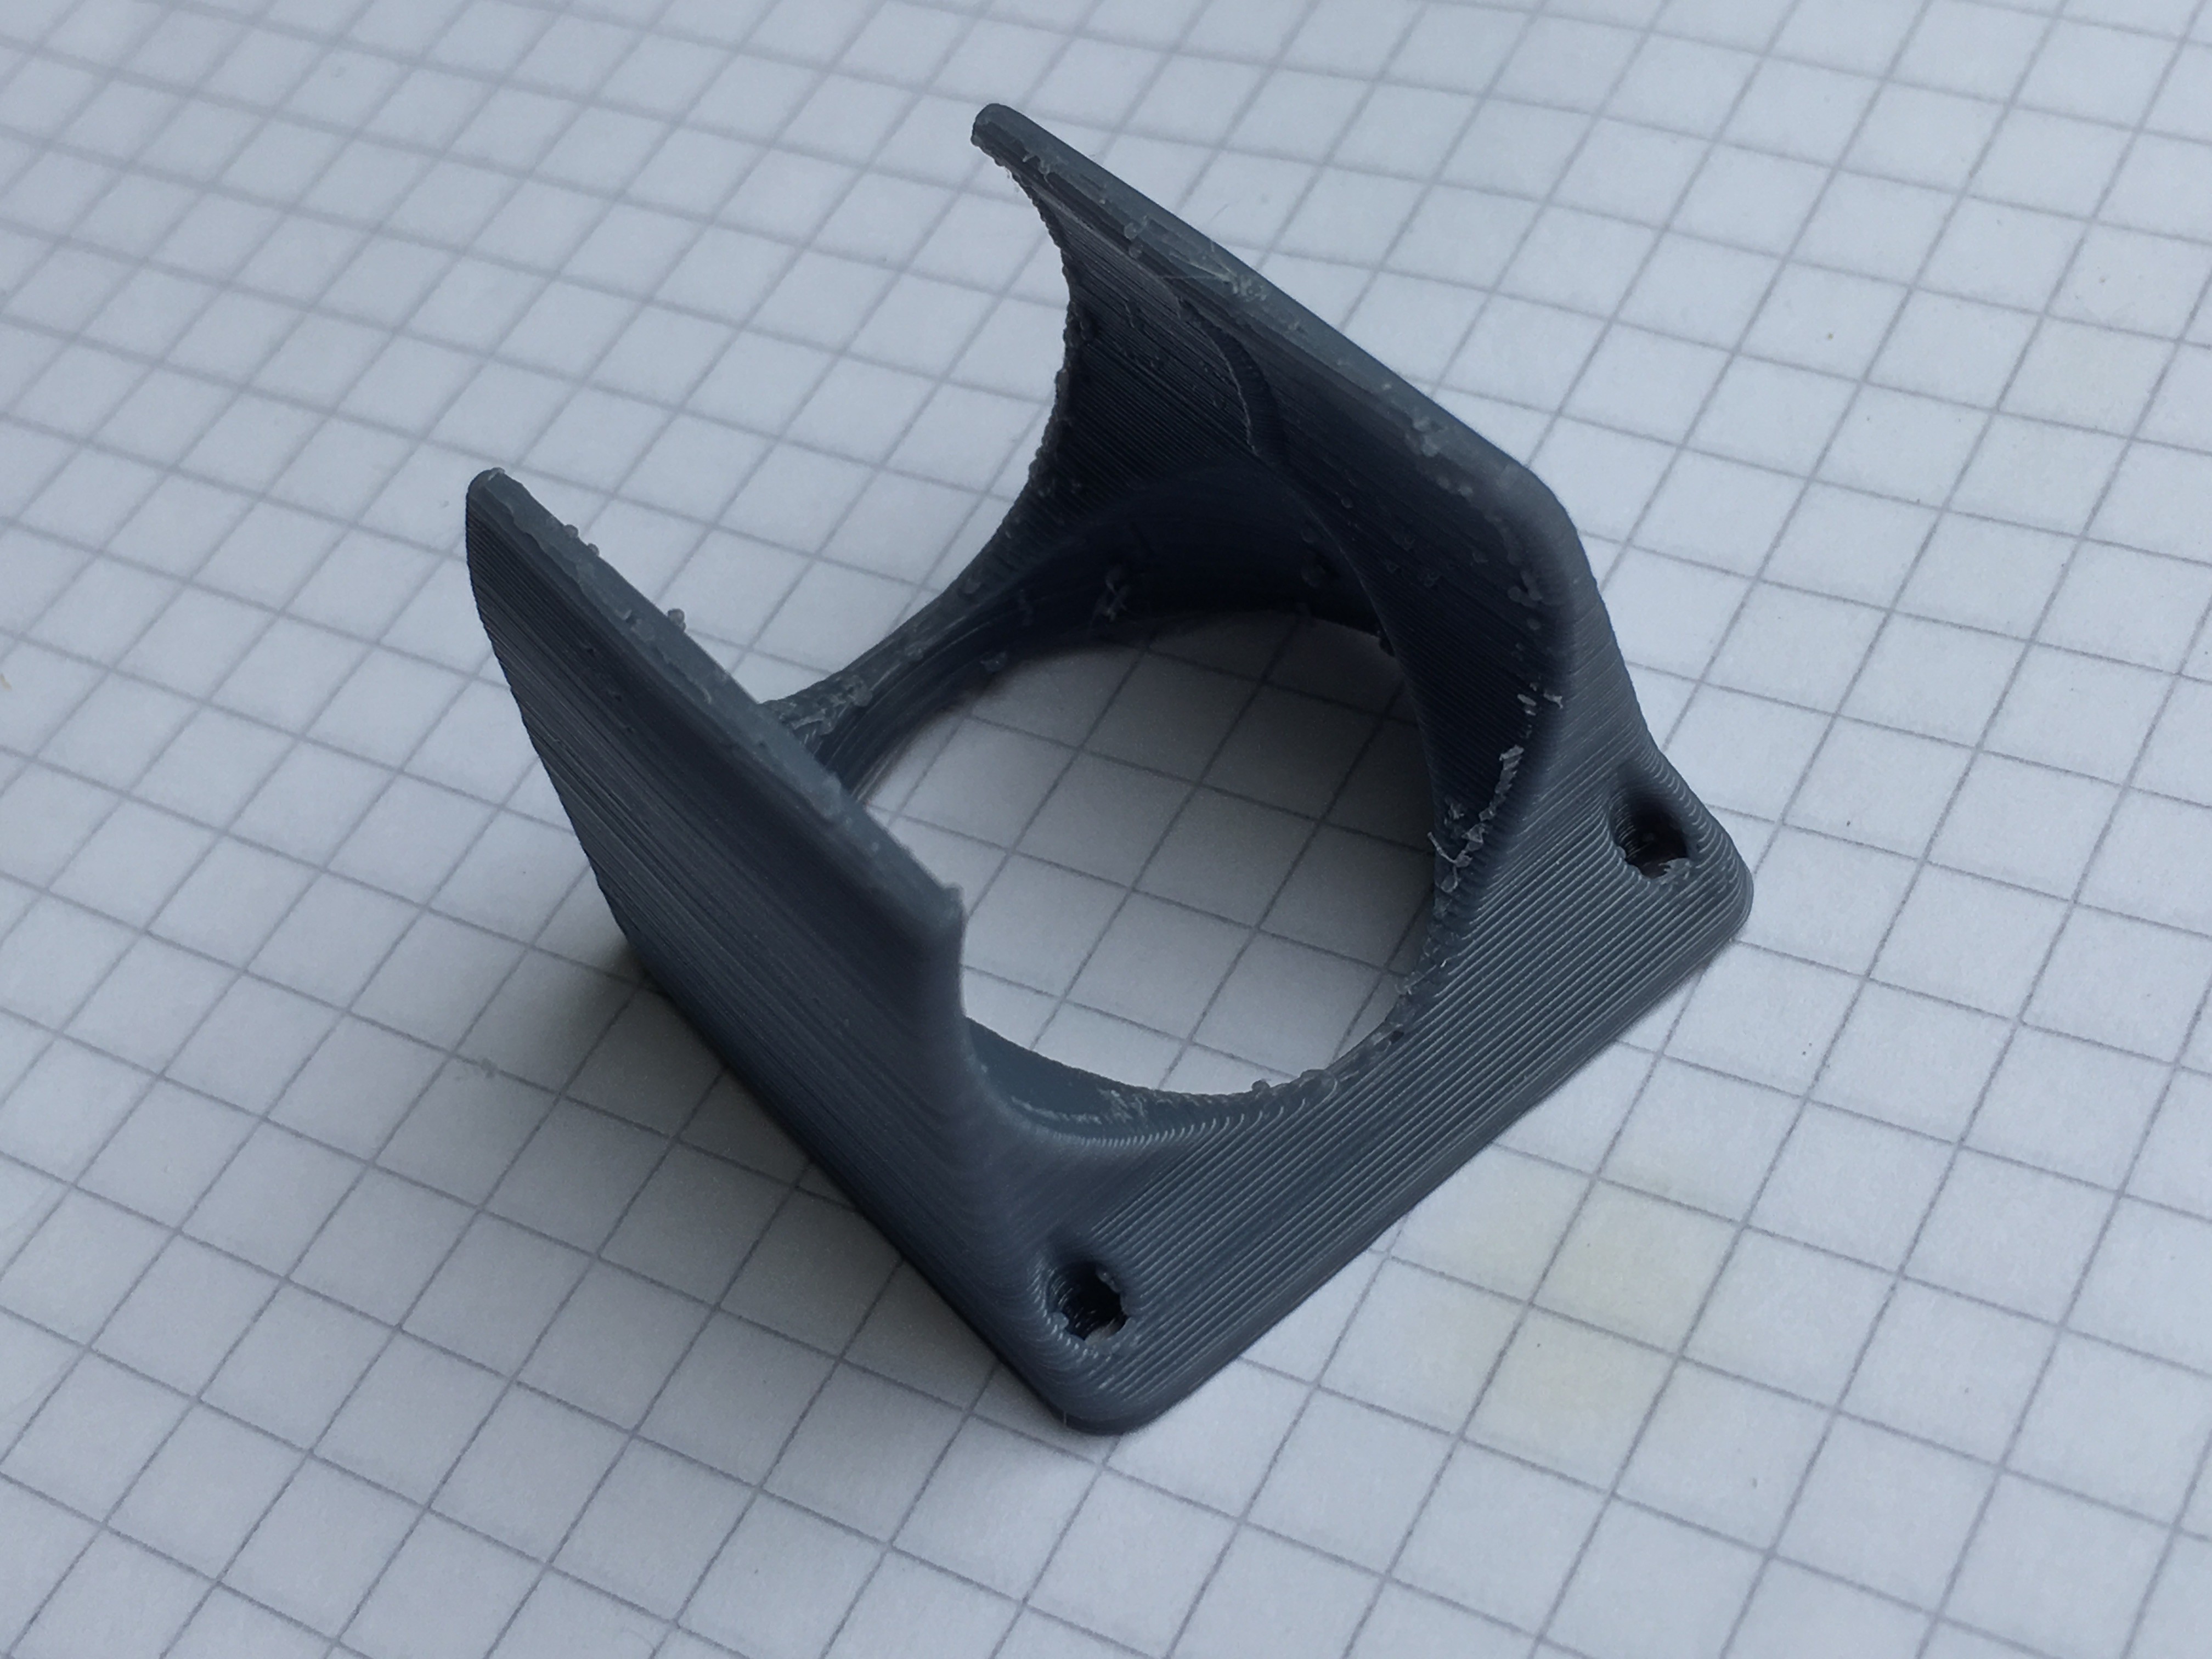
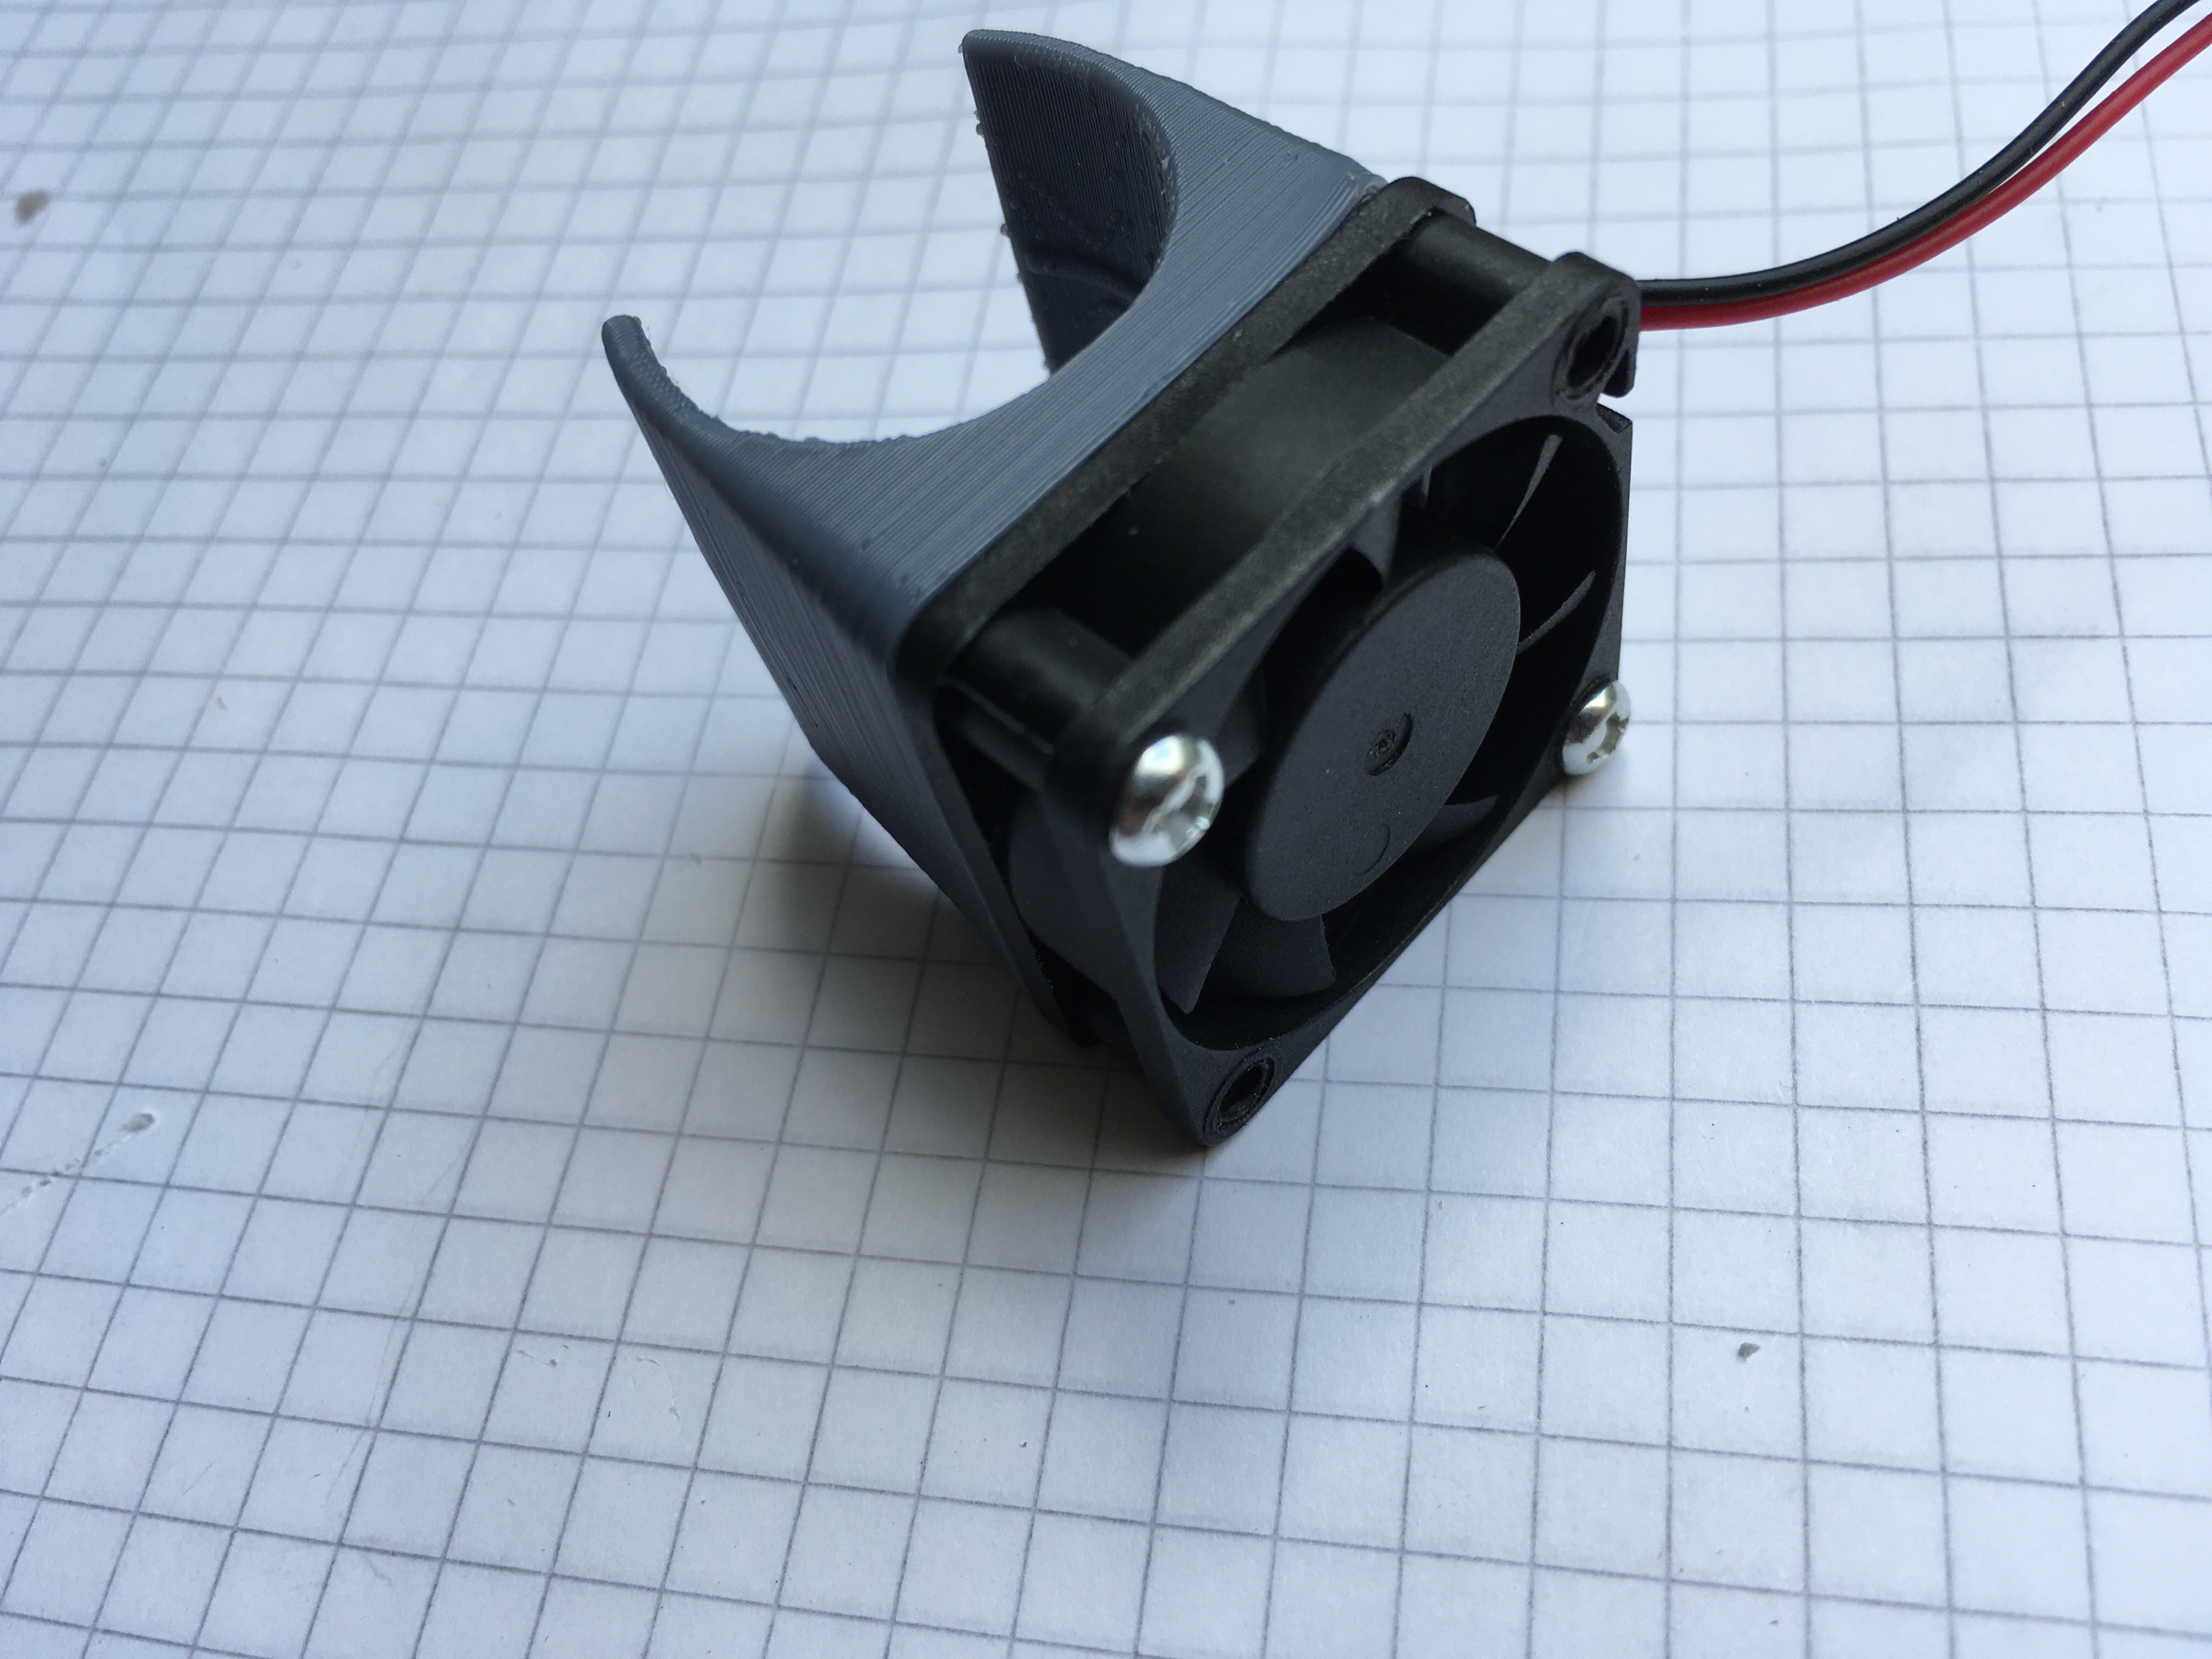
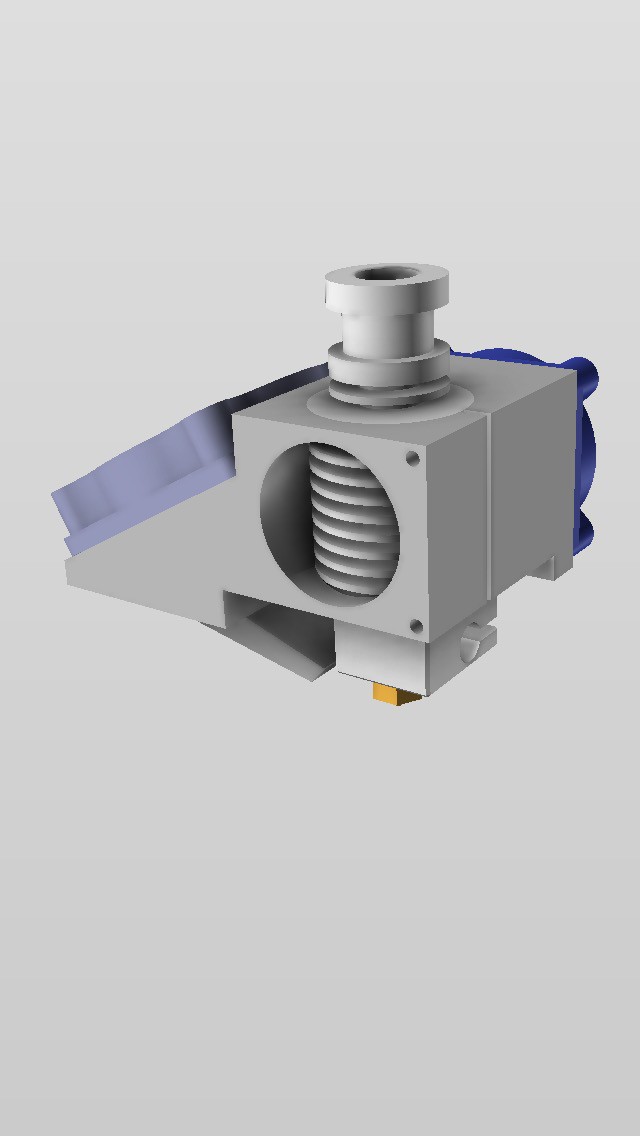
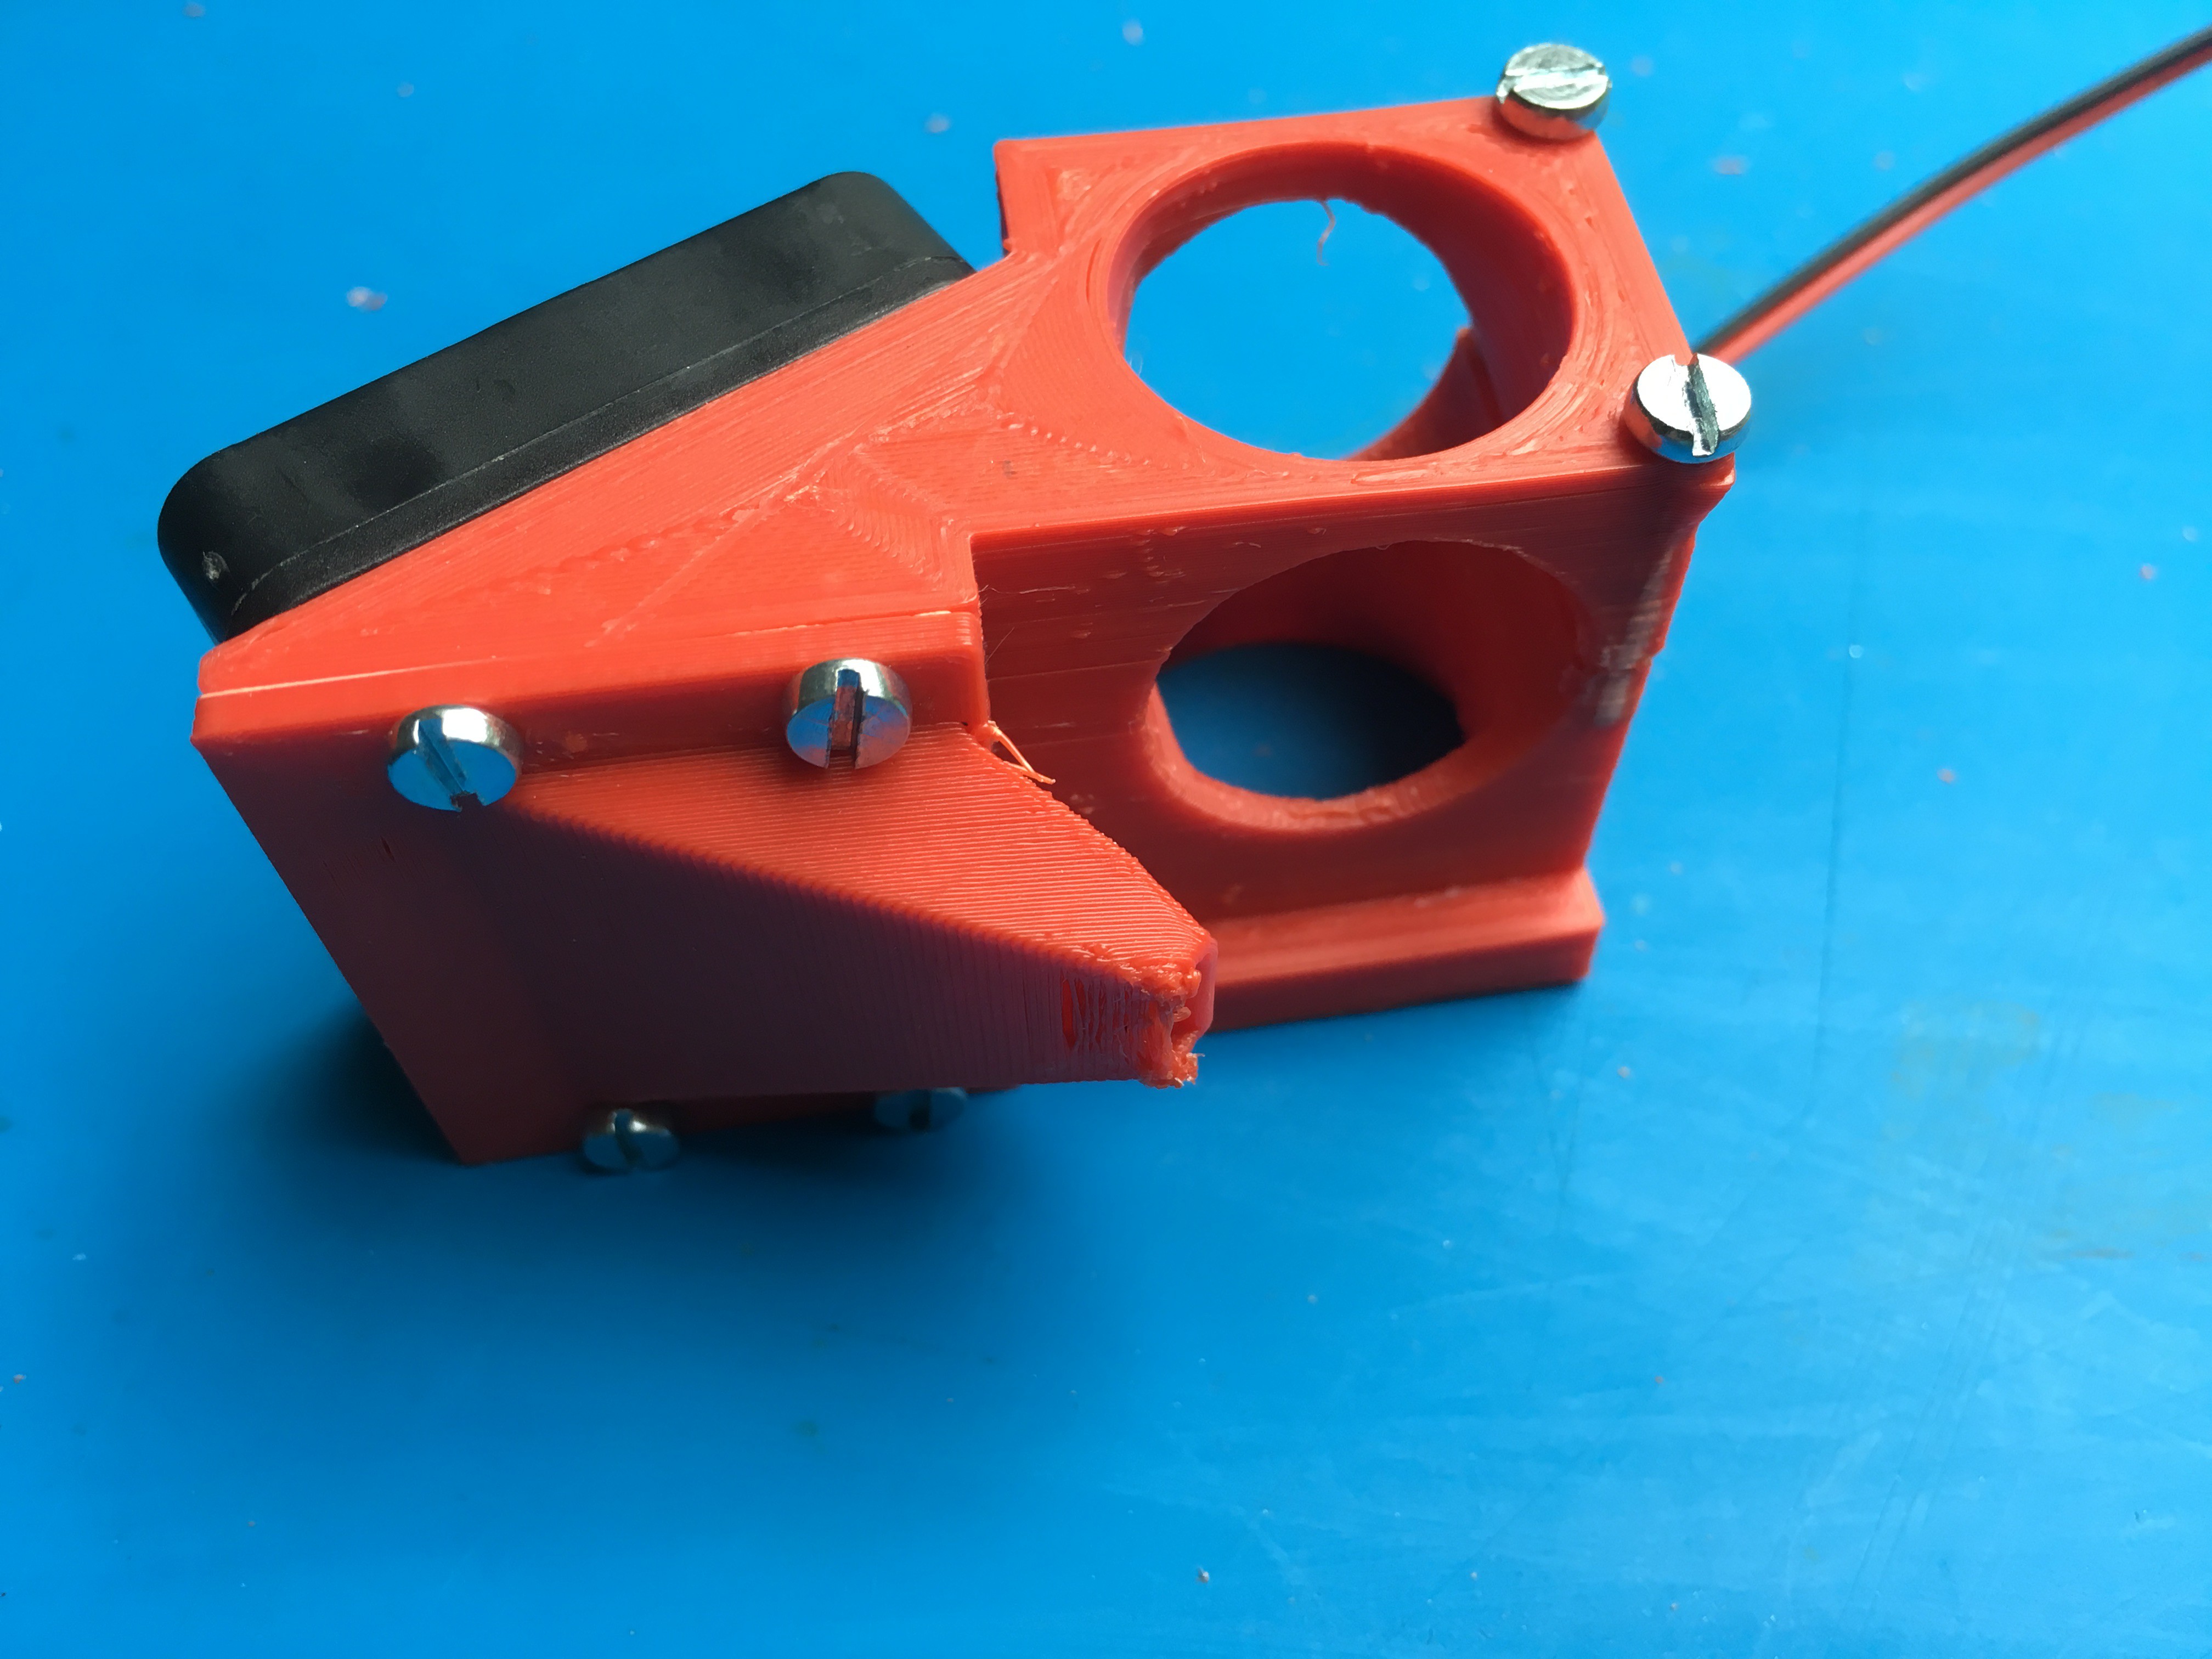
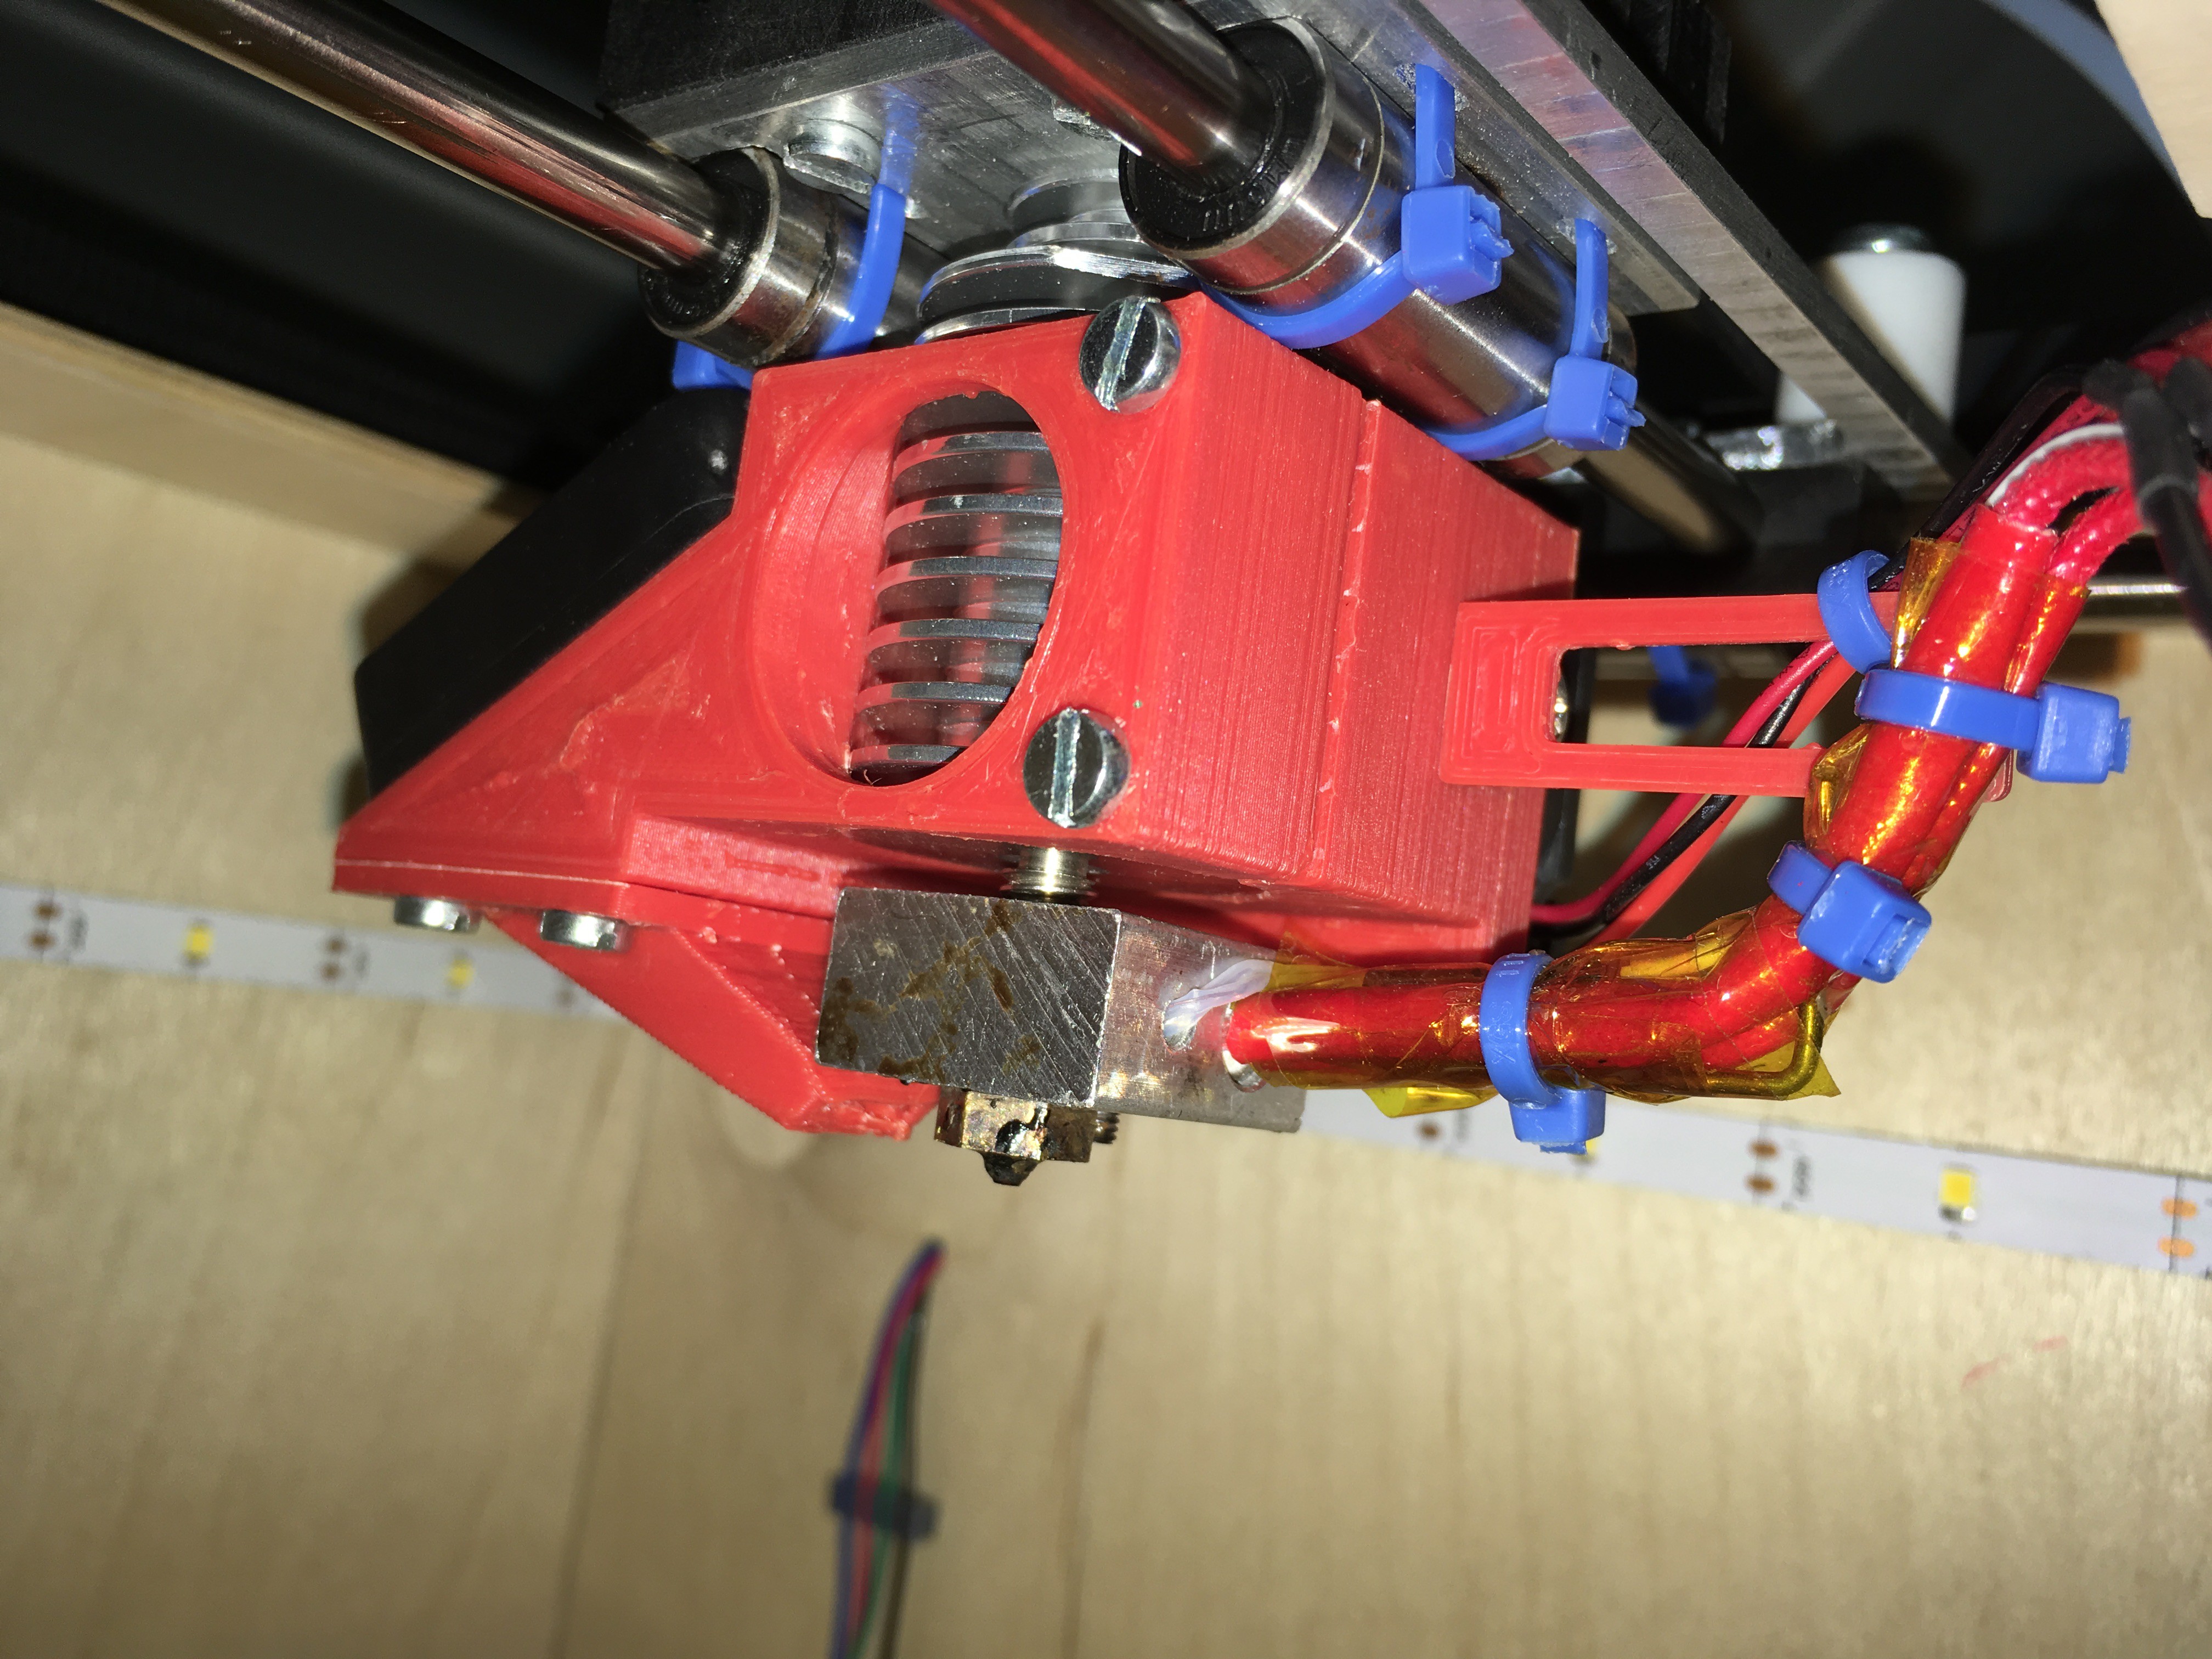
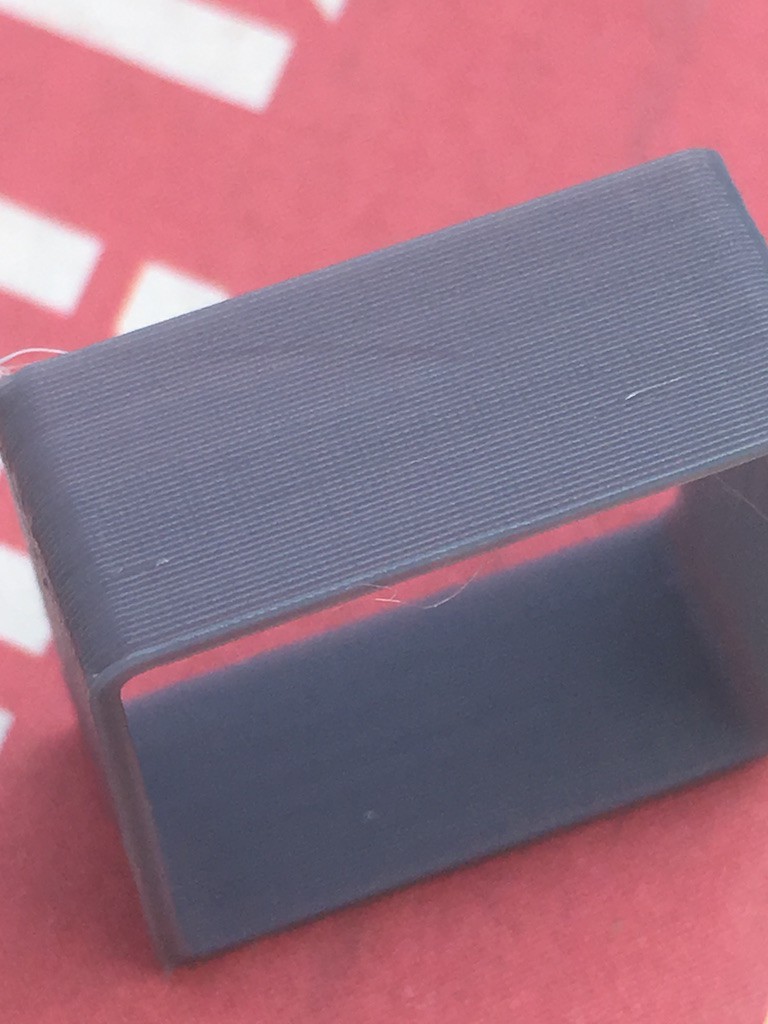 That's more like it. Although this print looks this a couple of thing I needed to tweak. One things that went wrong was that when I was doing more small prints straight after each other the filament sort of crumbled up in the extruder. A quick google learned that I was missing a fan on my j-head that keeps the top part of the extruder cool. Since now I have a 3d printer a printed my self a 30mm fan duct.
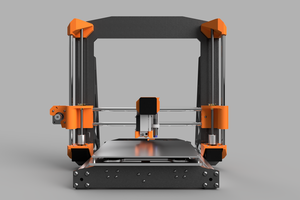
 There are still a couple of things that I need to add (switches, leds, auto levelling, etc...) but for now I finally got my self a 3d printer and I'm a happy maker :)


 Luke Brandon
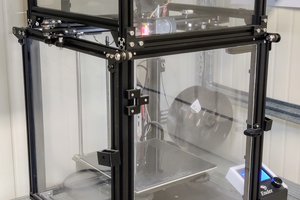
 Federico Virdia
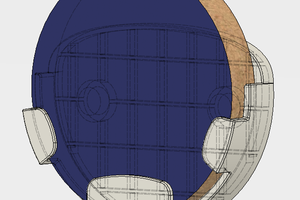
 Giovanni
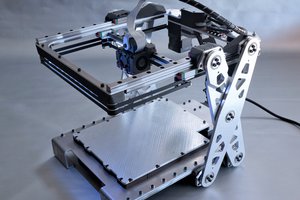
 Malte Schrader
Now you can print yourself a better printer!