 Victor Frost
My brother (who was the driving force behind my Robo-Roach) loves Iron Man. So, I decided to make the lil guy a chest arc reactor. I found a model of one on Thingiverse, and I followed it to a point, but I ended up needing to make my own parts to make it really work. This project went from idea to completion in two days and it was too much fun to keep to myself. There are no specific build instructions per-se, but the build log pretty much tells the tale.
Links to my custom designed parts and the original arc reactor model itself can be found in the links section.
0%
0%
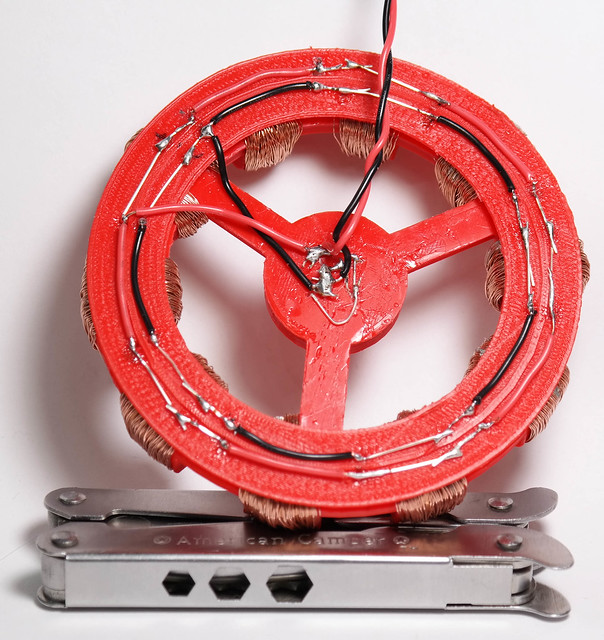
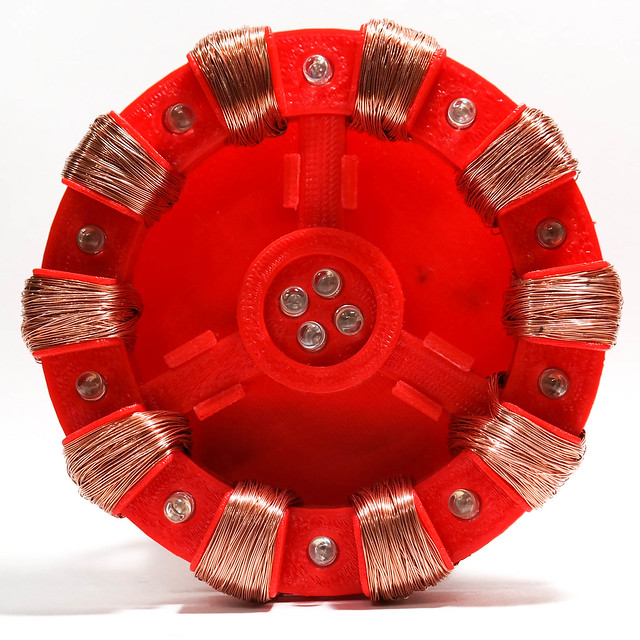
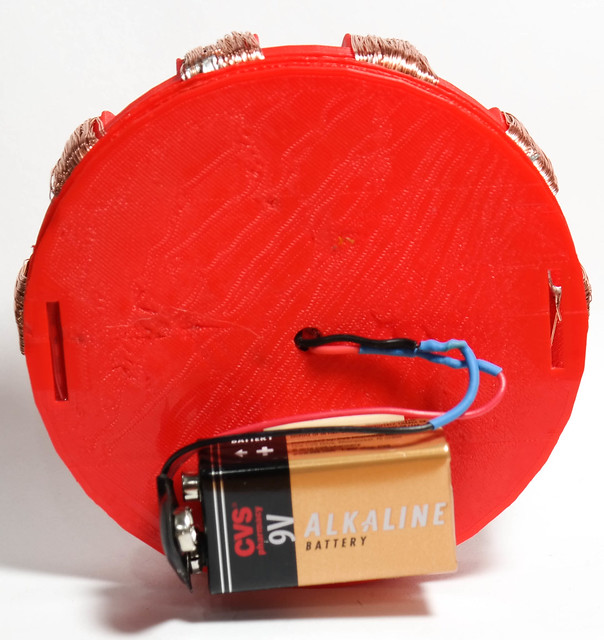
Chest Arc Reactor
When you have a 3D printer and a little brother that love Iron Man, there's only one thing to do.
Become a Hackaday.io member
Already have an account? Log in.
Just one more thing
To make the experience fit your profile, pick a username and tell us what interests you.
Pick an awesome username
hackaday.io/
Your profile's URL: hackaday.io/username. Max 25 alphanumeric characters.
Pick a few interests
Projects that share your interests
People that share your interests

 shlonkin
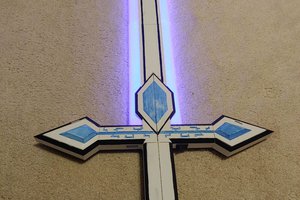
 Padfoot
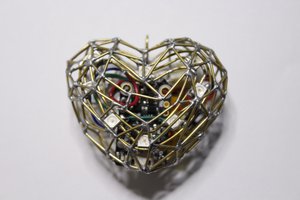
 Miroslav Zuzelka
 Colin Russell-Conway