 Matthew James Bellafaire
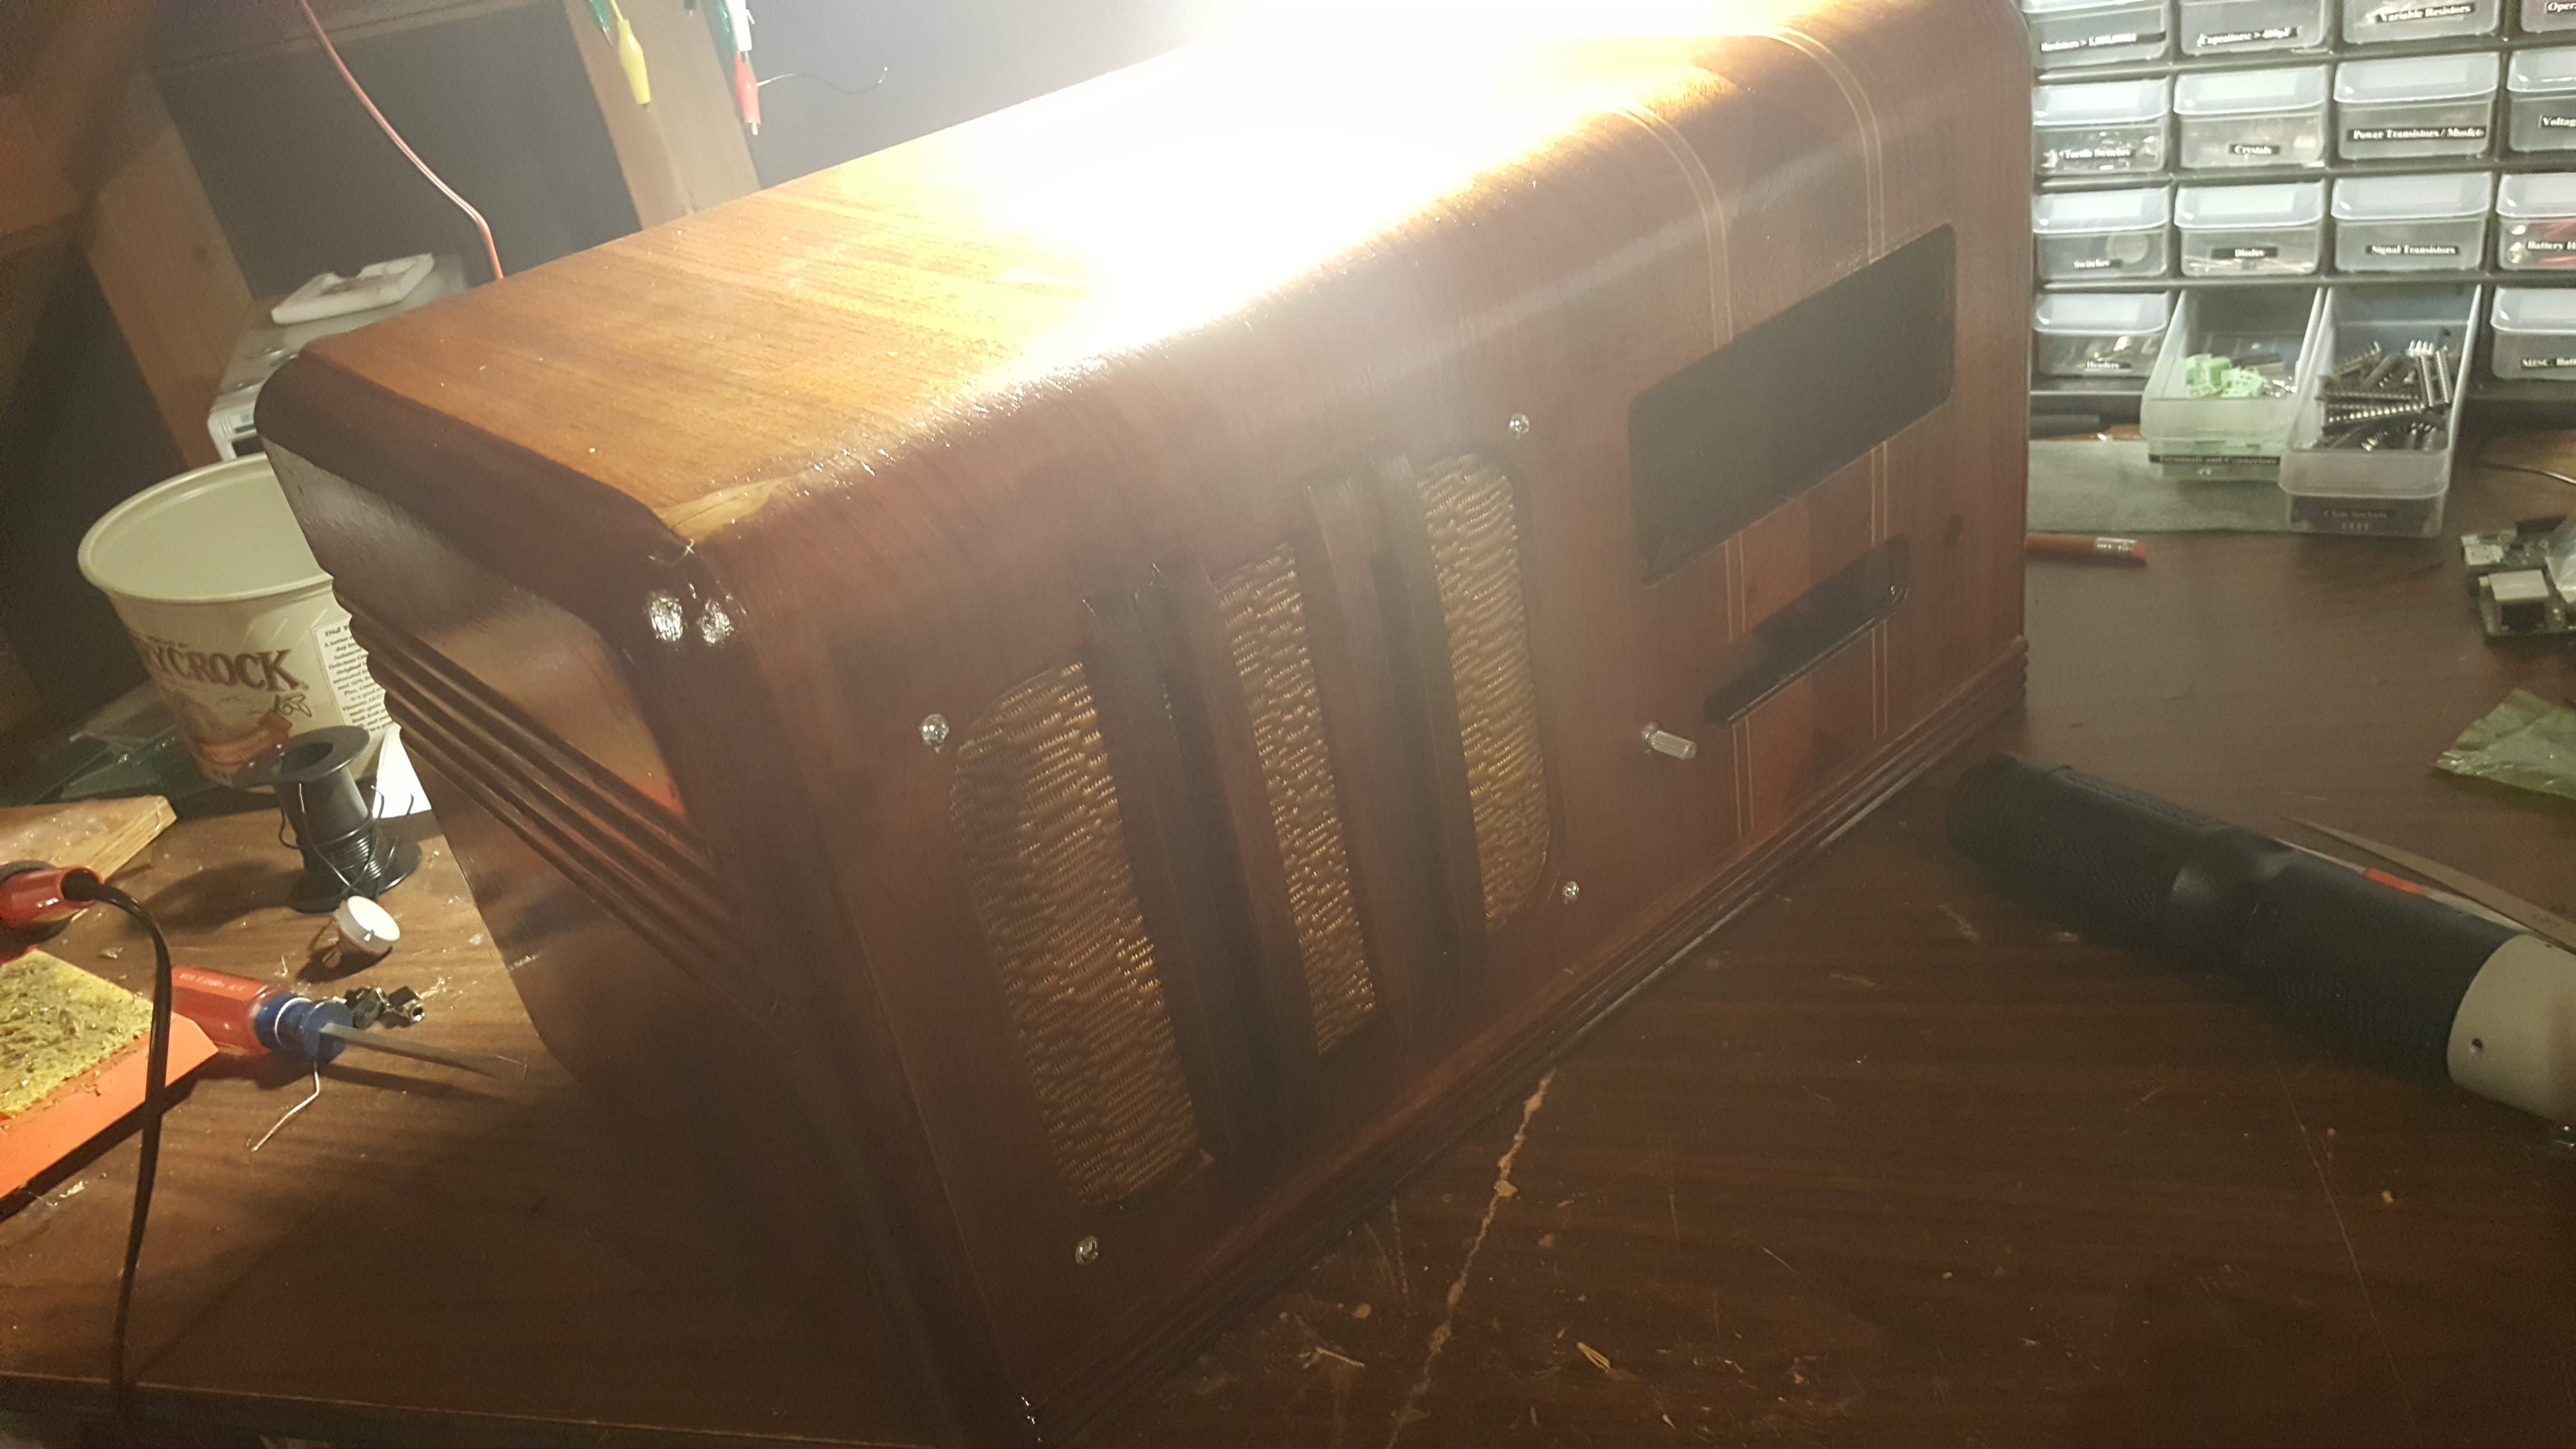
the project was actually finished today but i think that i'm going to split up all the steps i took into separate logs, just to prevent having one massive log. first things first i added two more coats of polyurethane, although this image doesn't show it very well on account of the awful lighting it is noticeable in person.

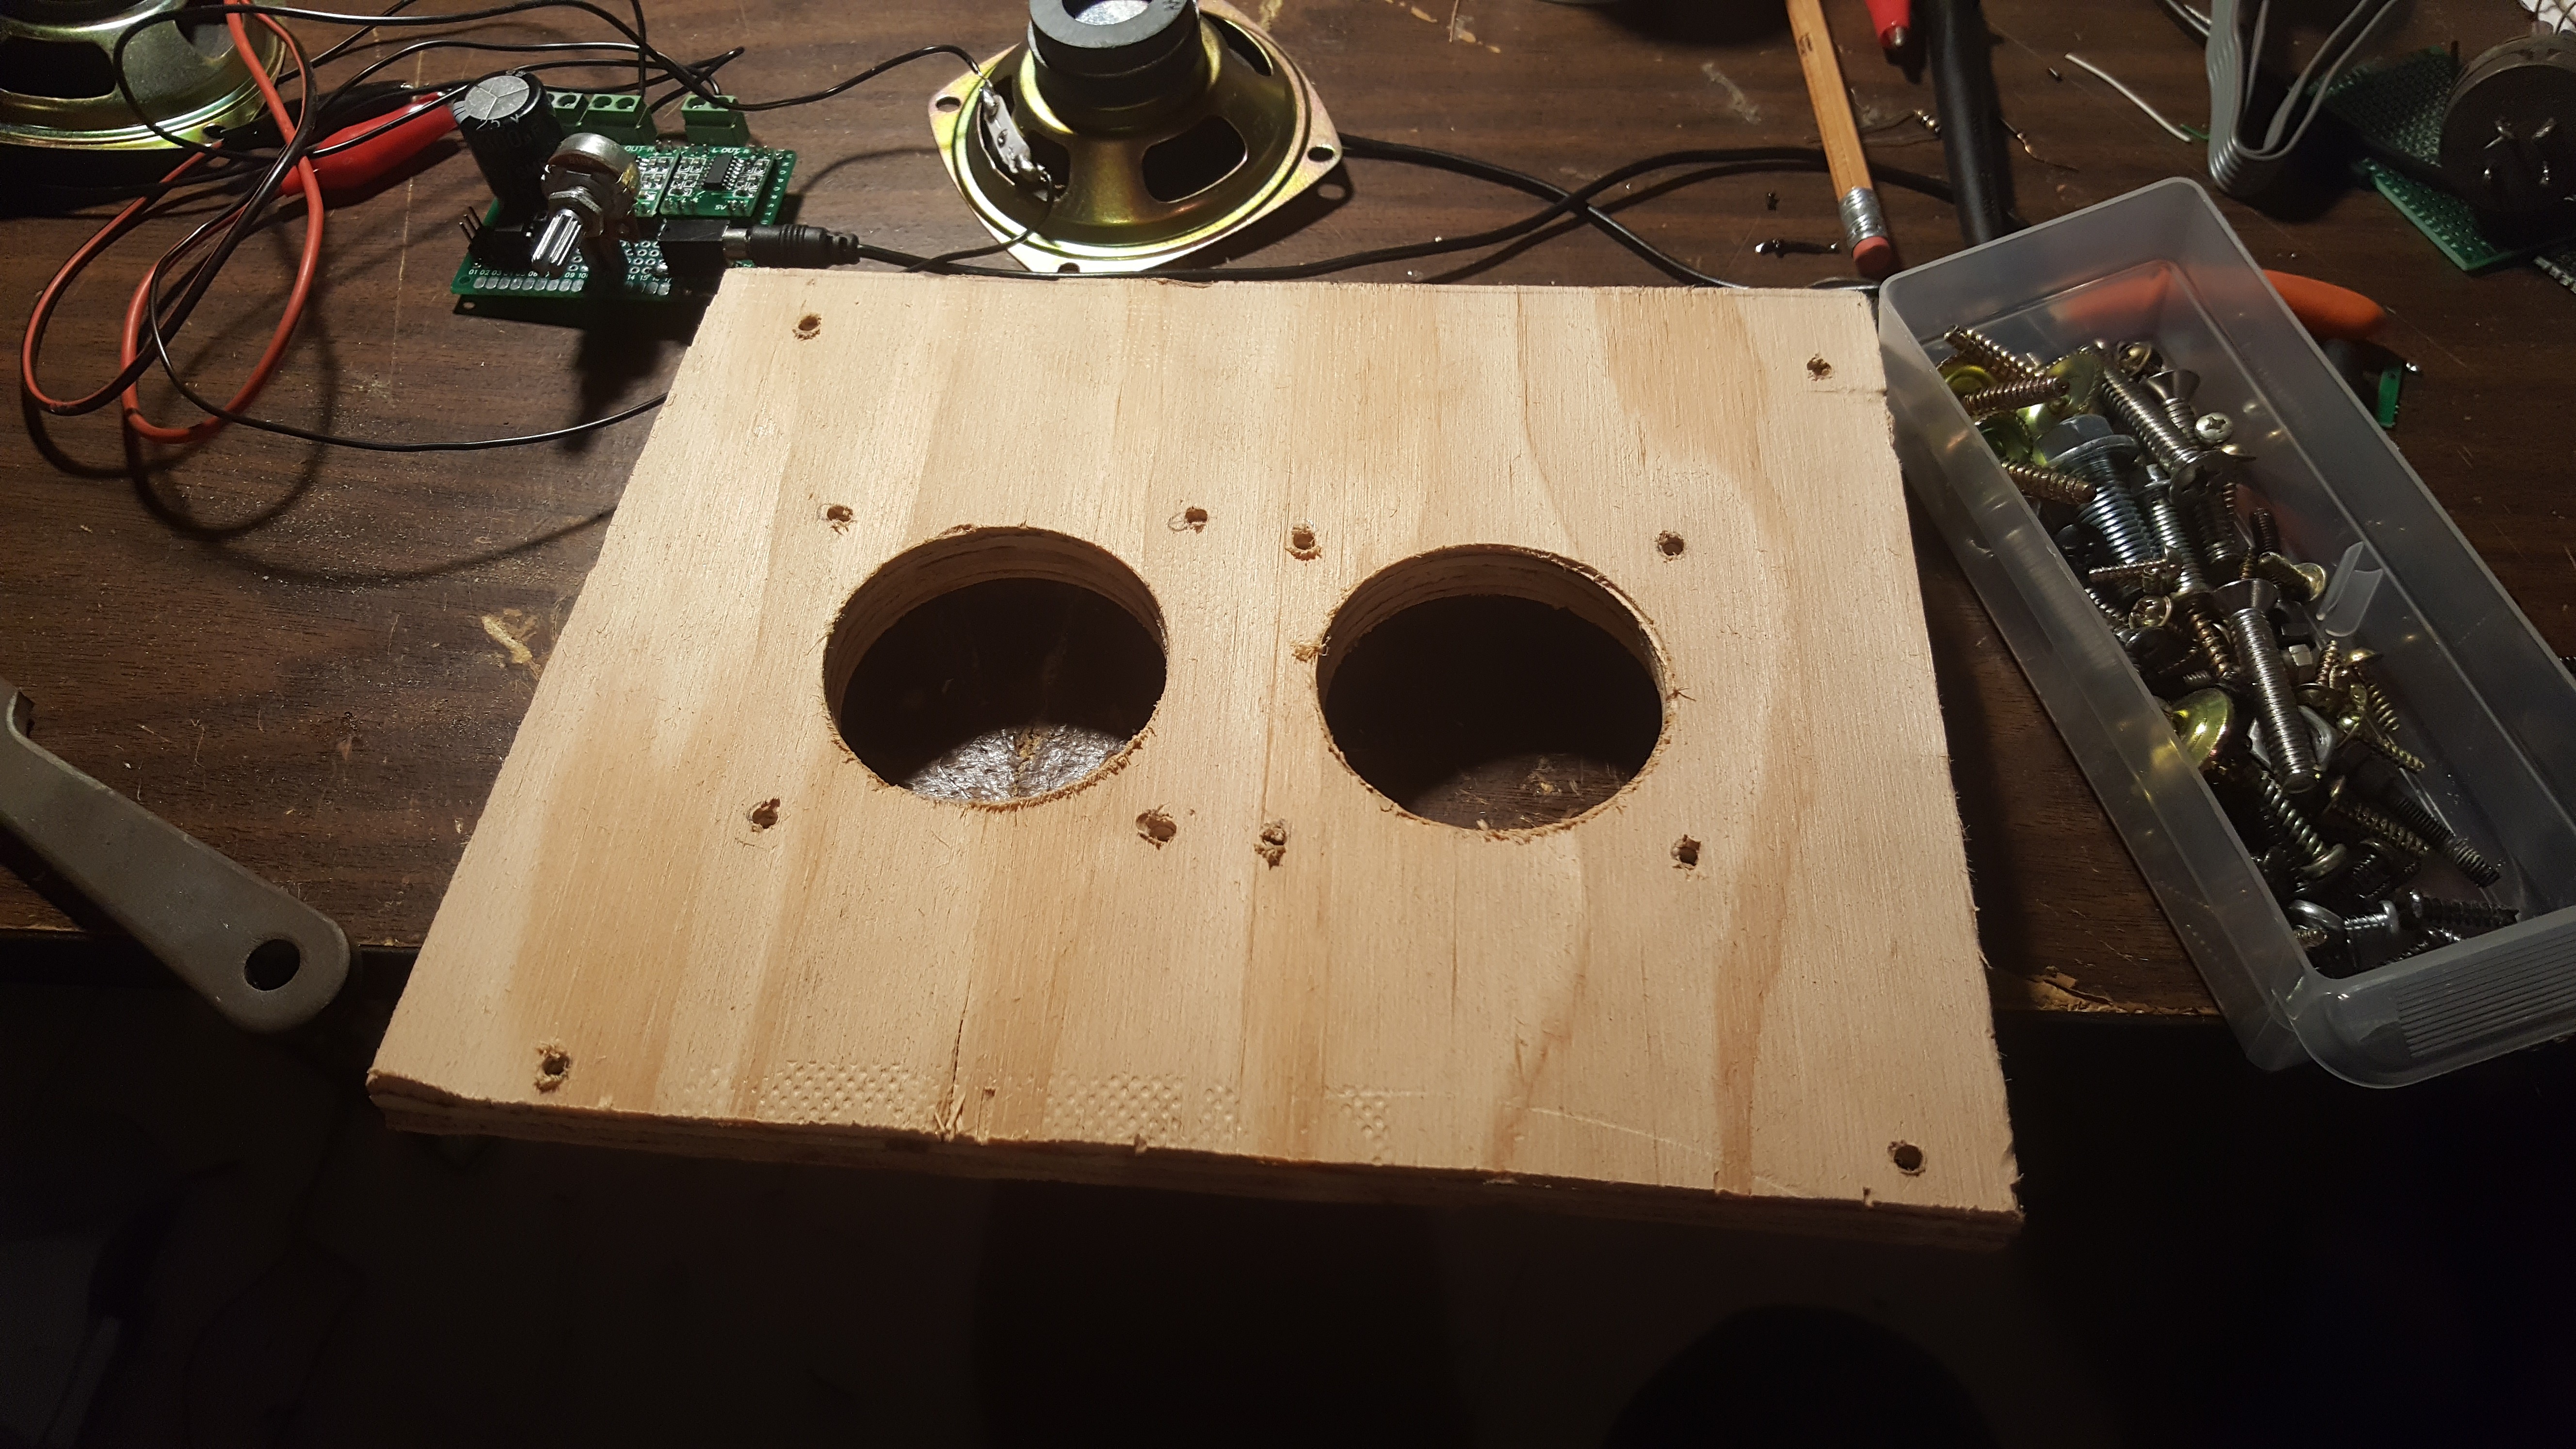
i started with the plywood, then marked out and drilled the appropriate holes.
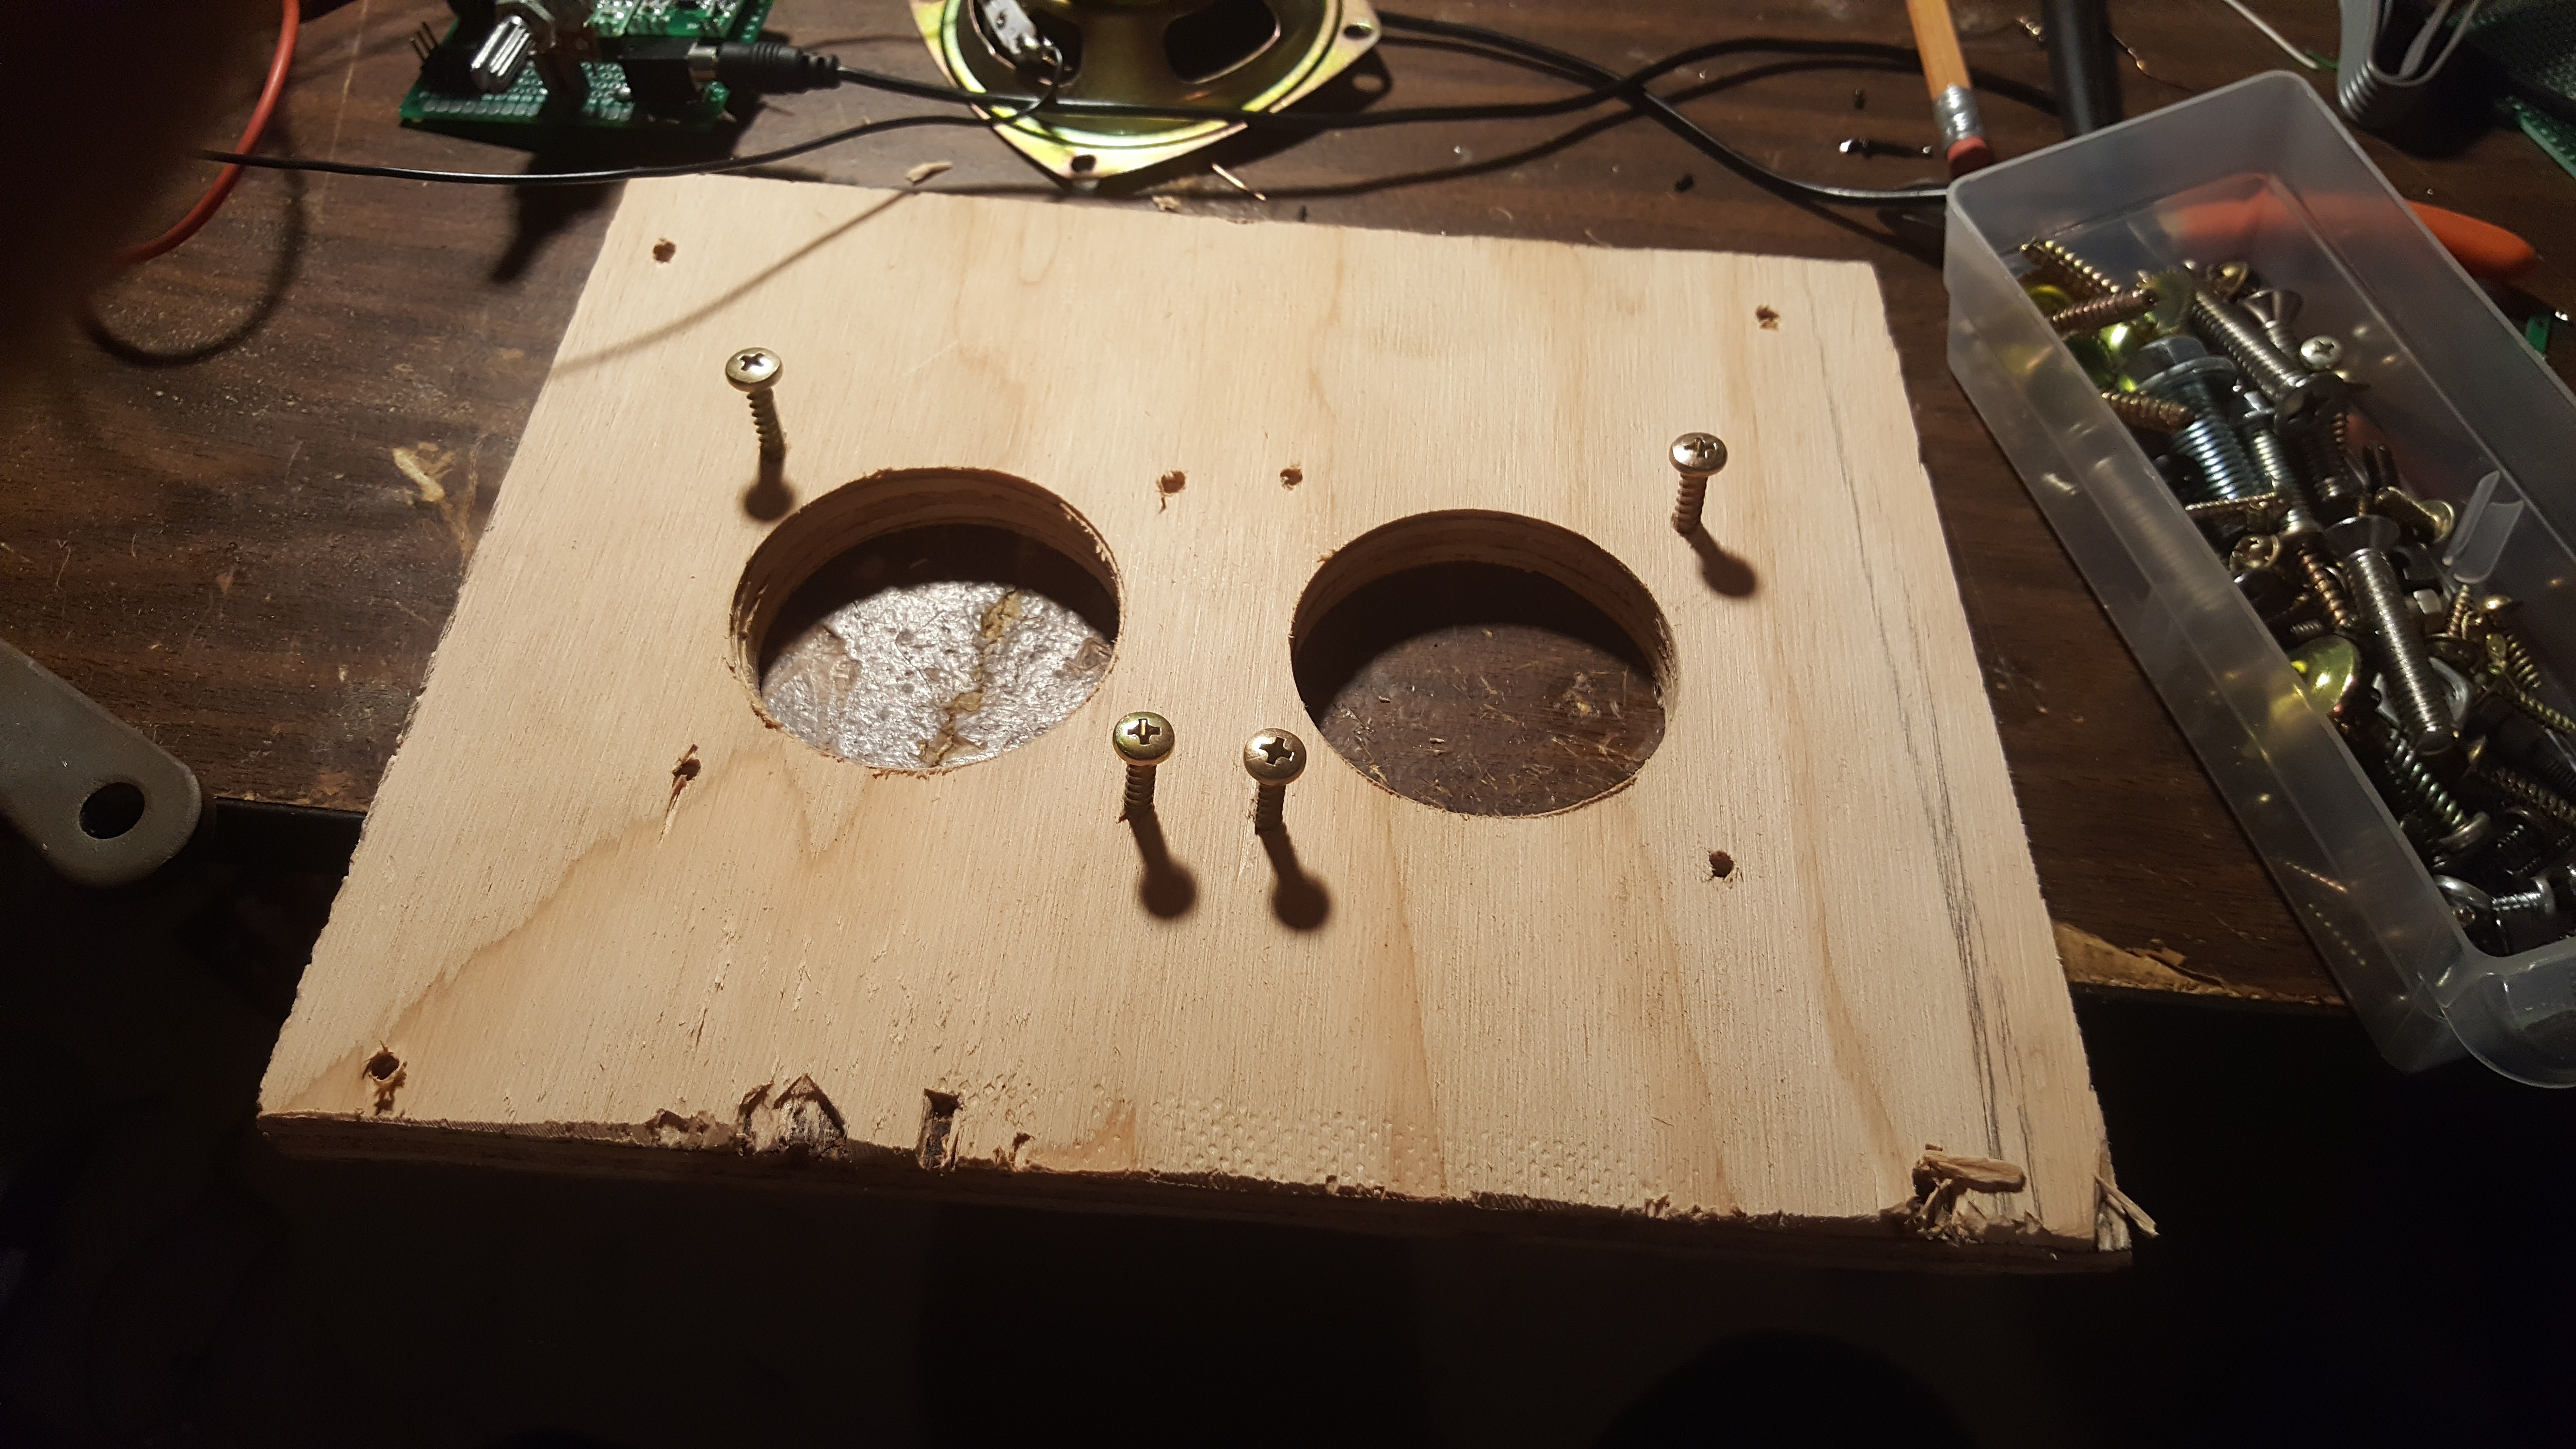
found some screws.
and mounted the speakers. 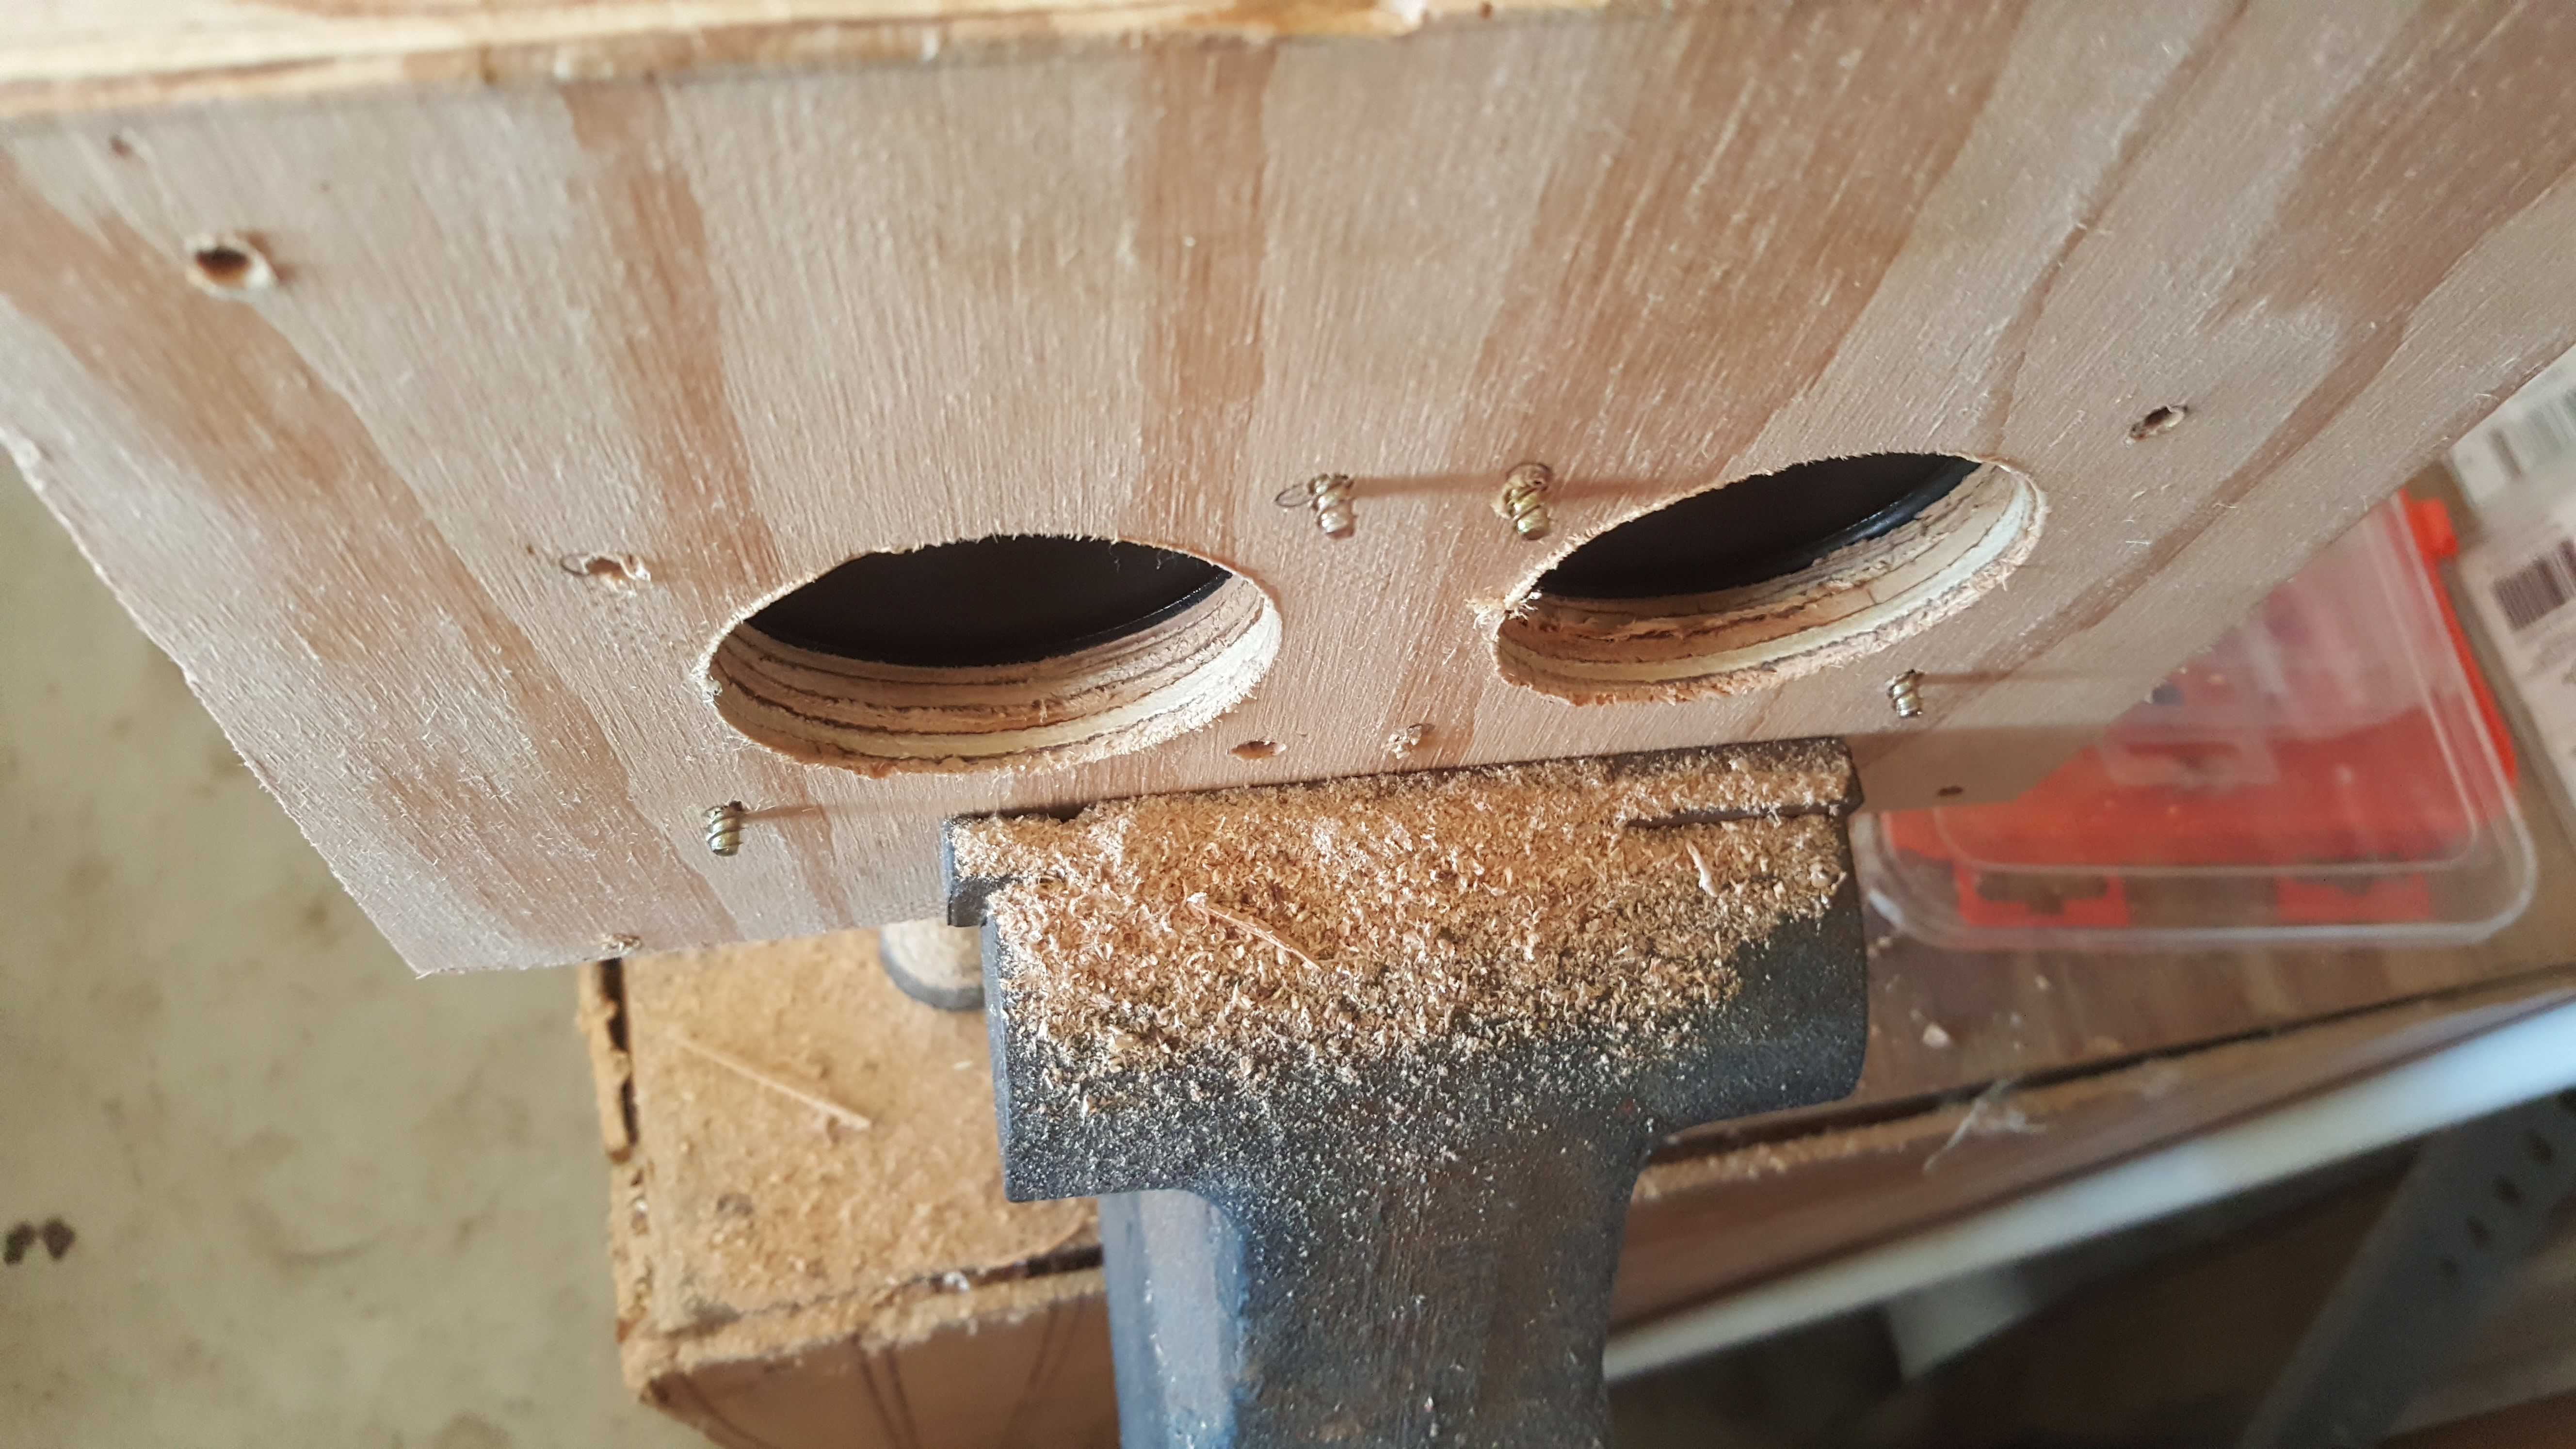 the only thing left to do on the speaker assembly was to flatten these screws which would definitely poke holes in the grill cloth.
  its not very clean but it gets the job done, plus the wood here won't even be visible from the outside due to the grill cloth.
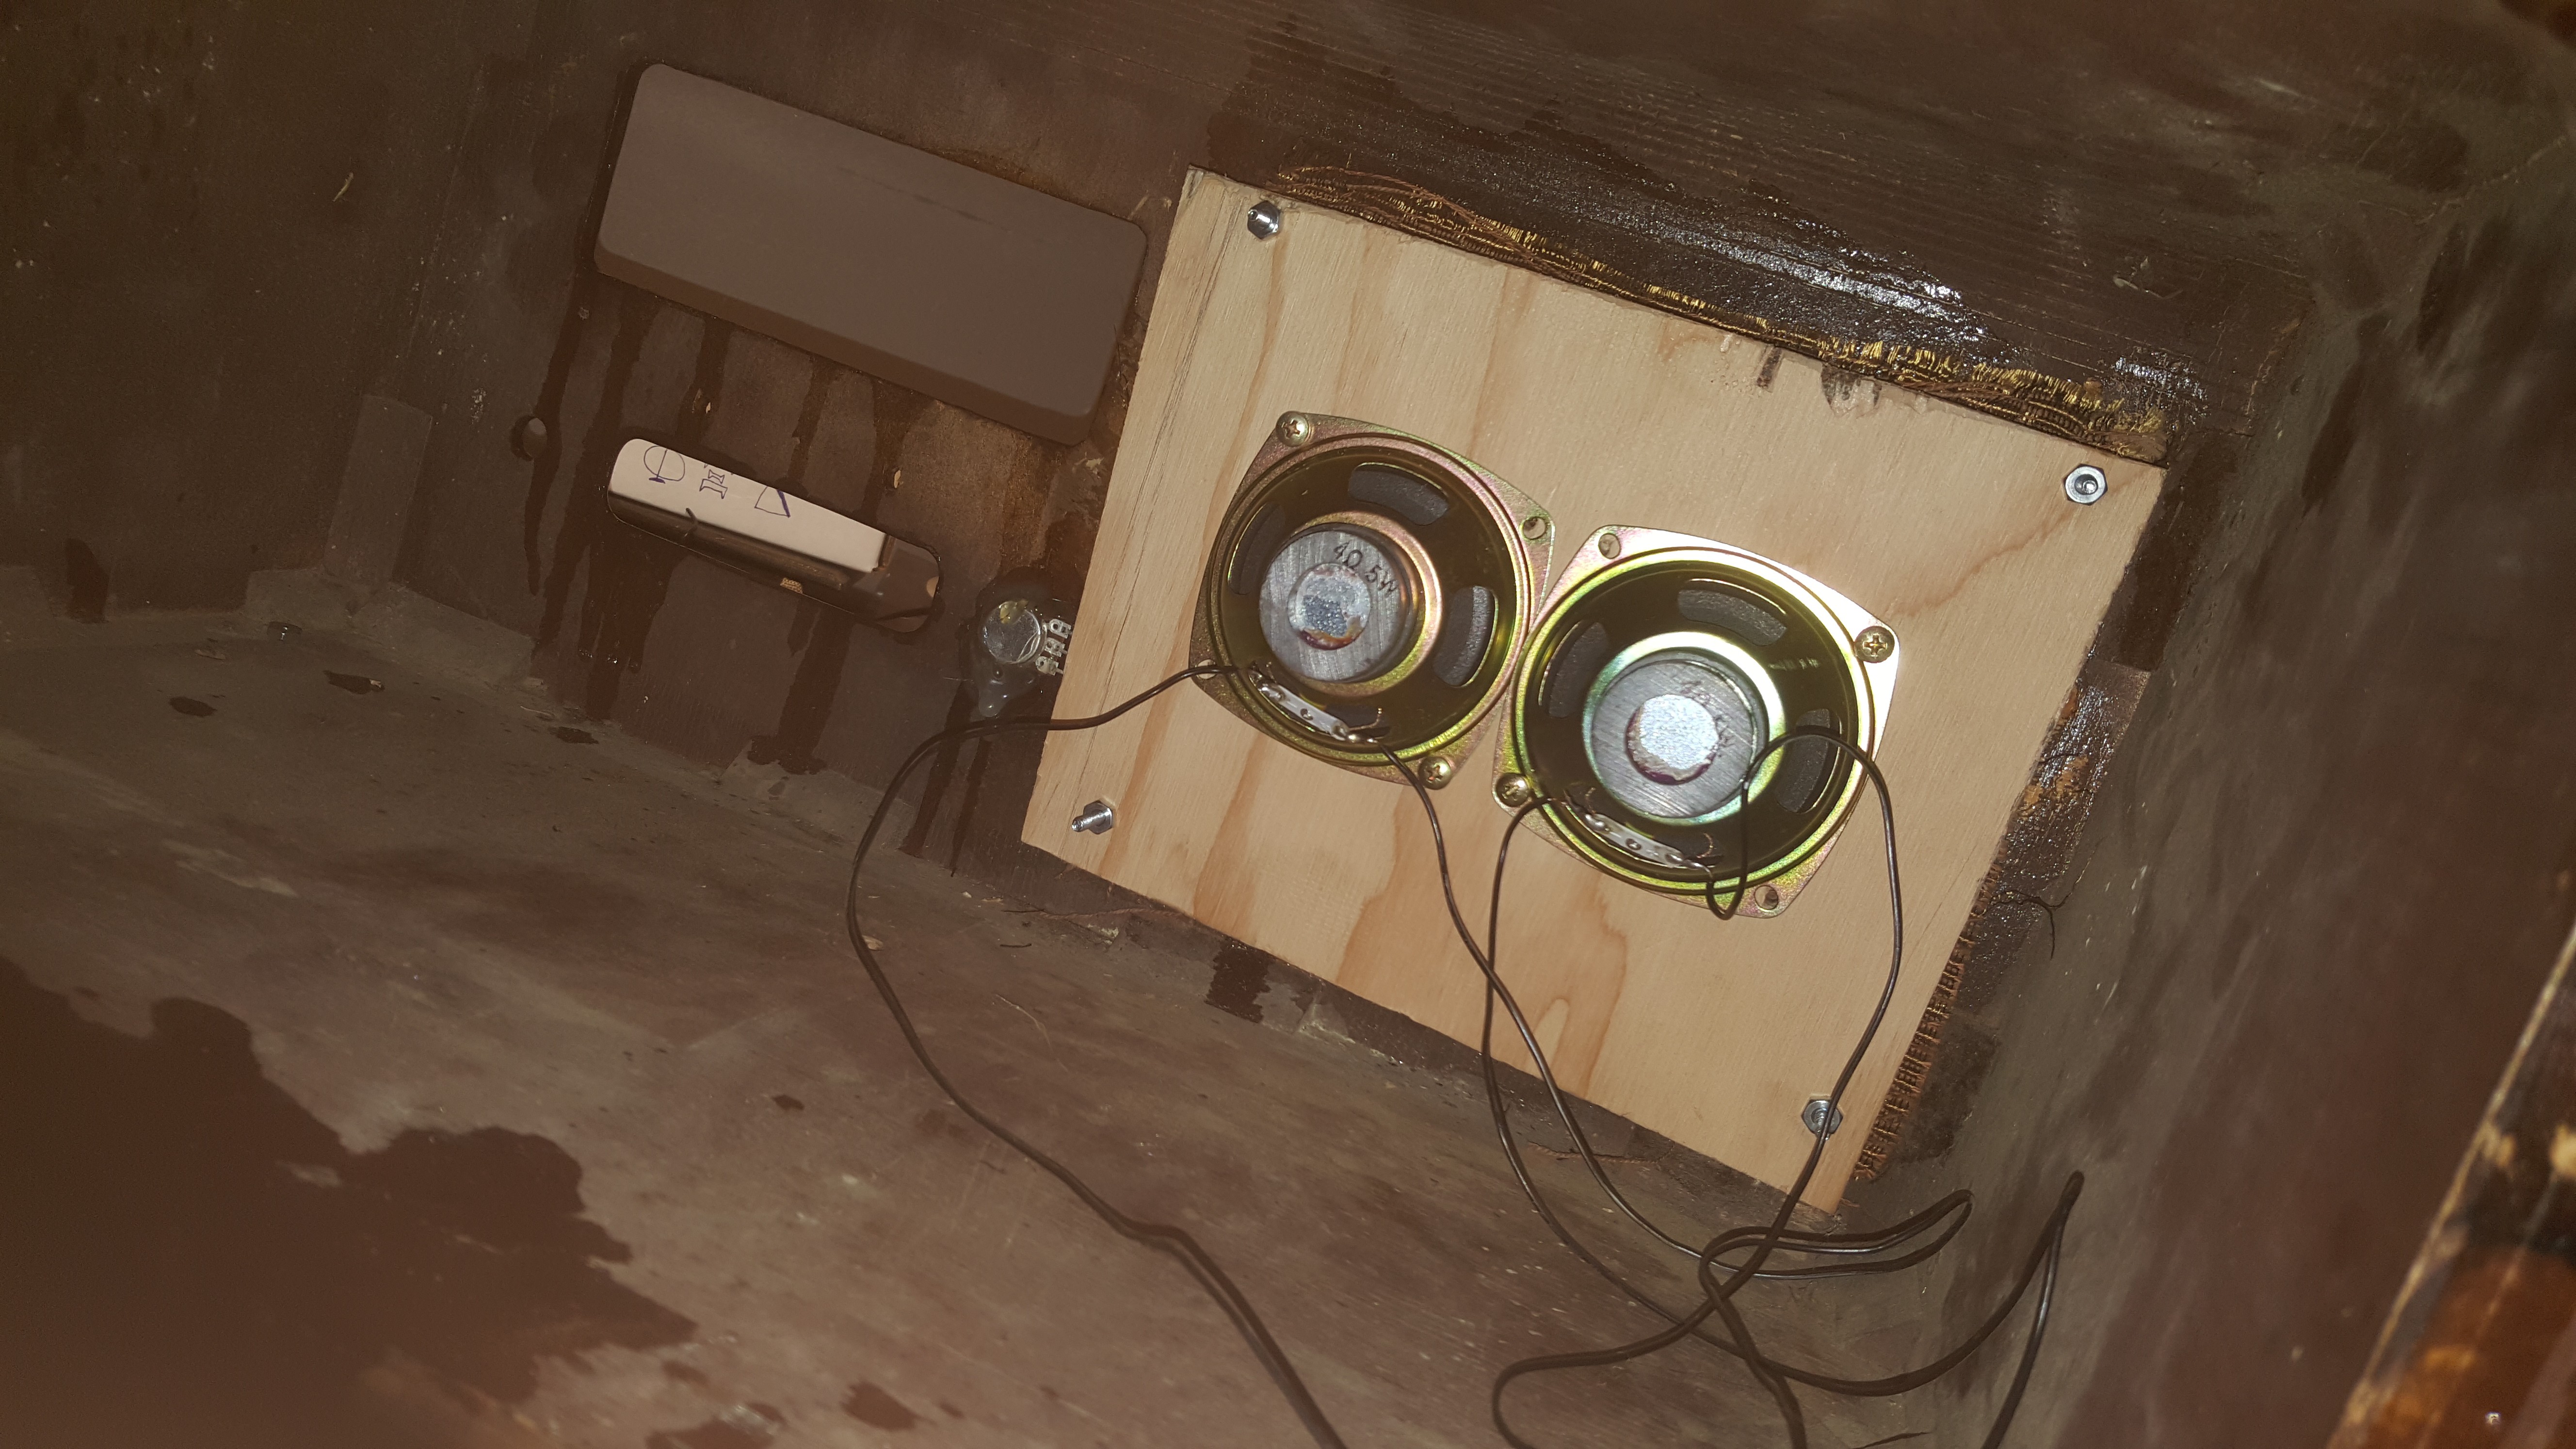
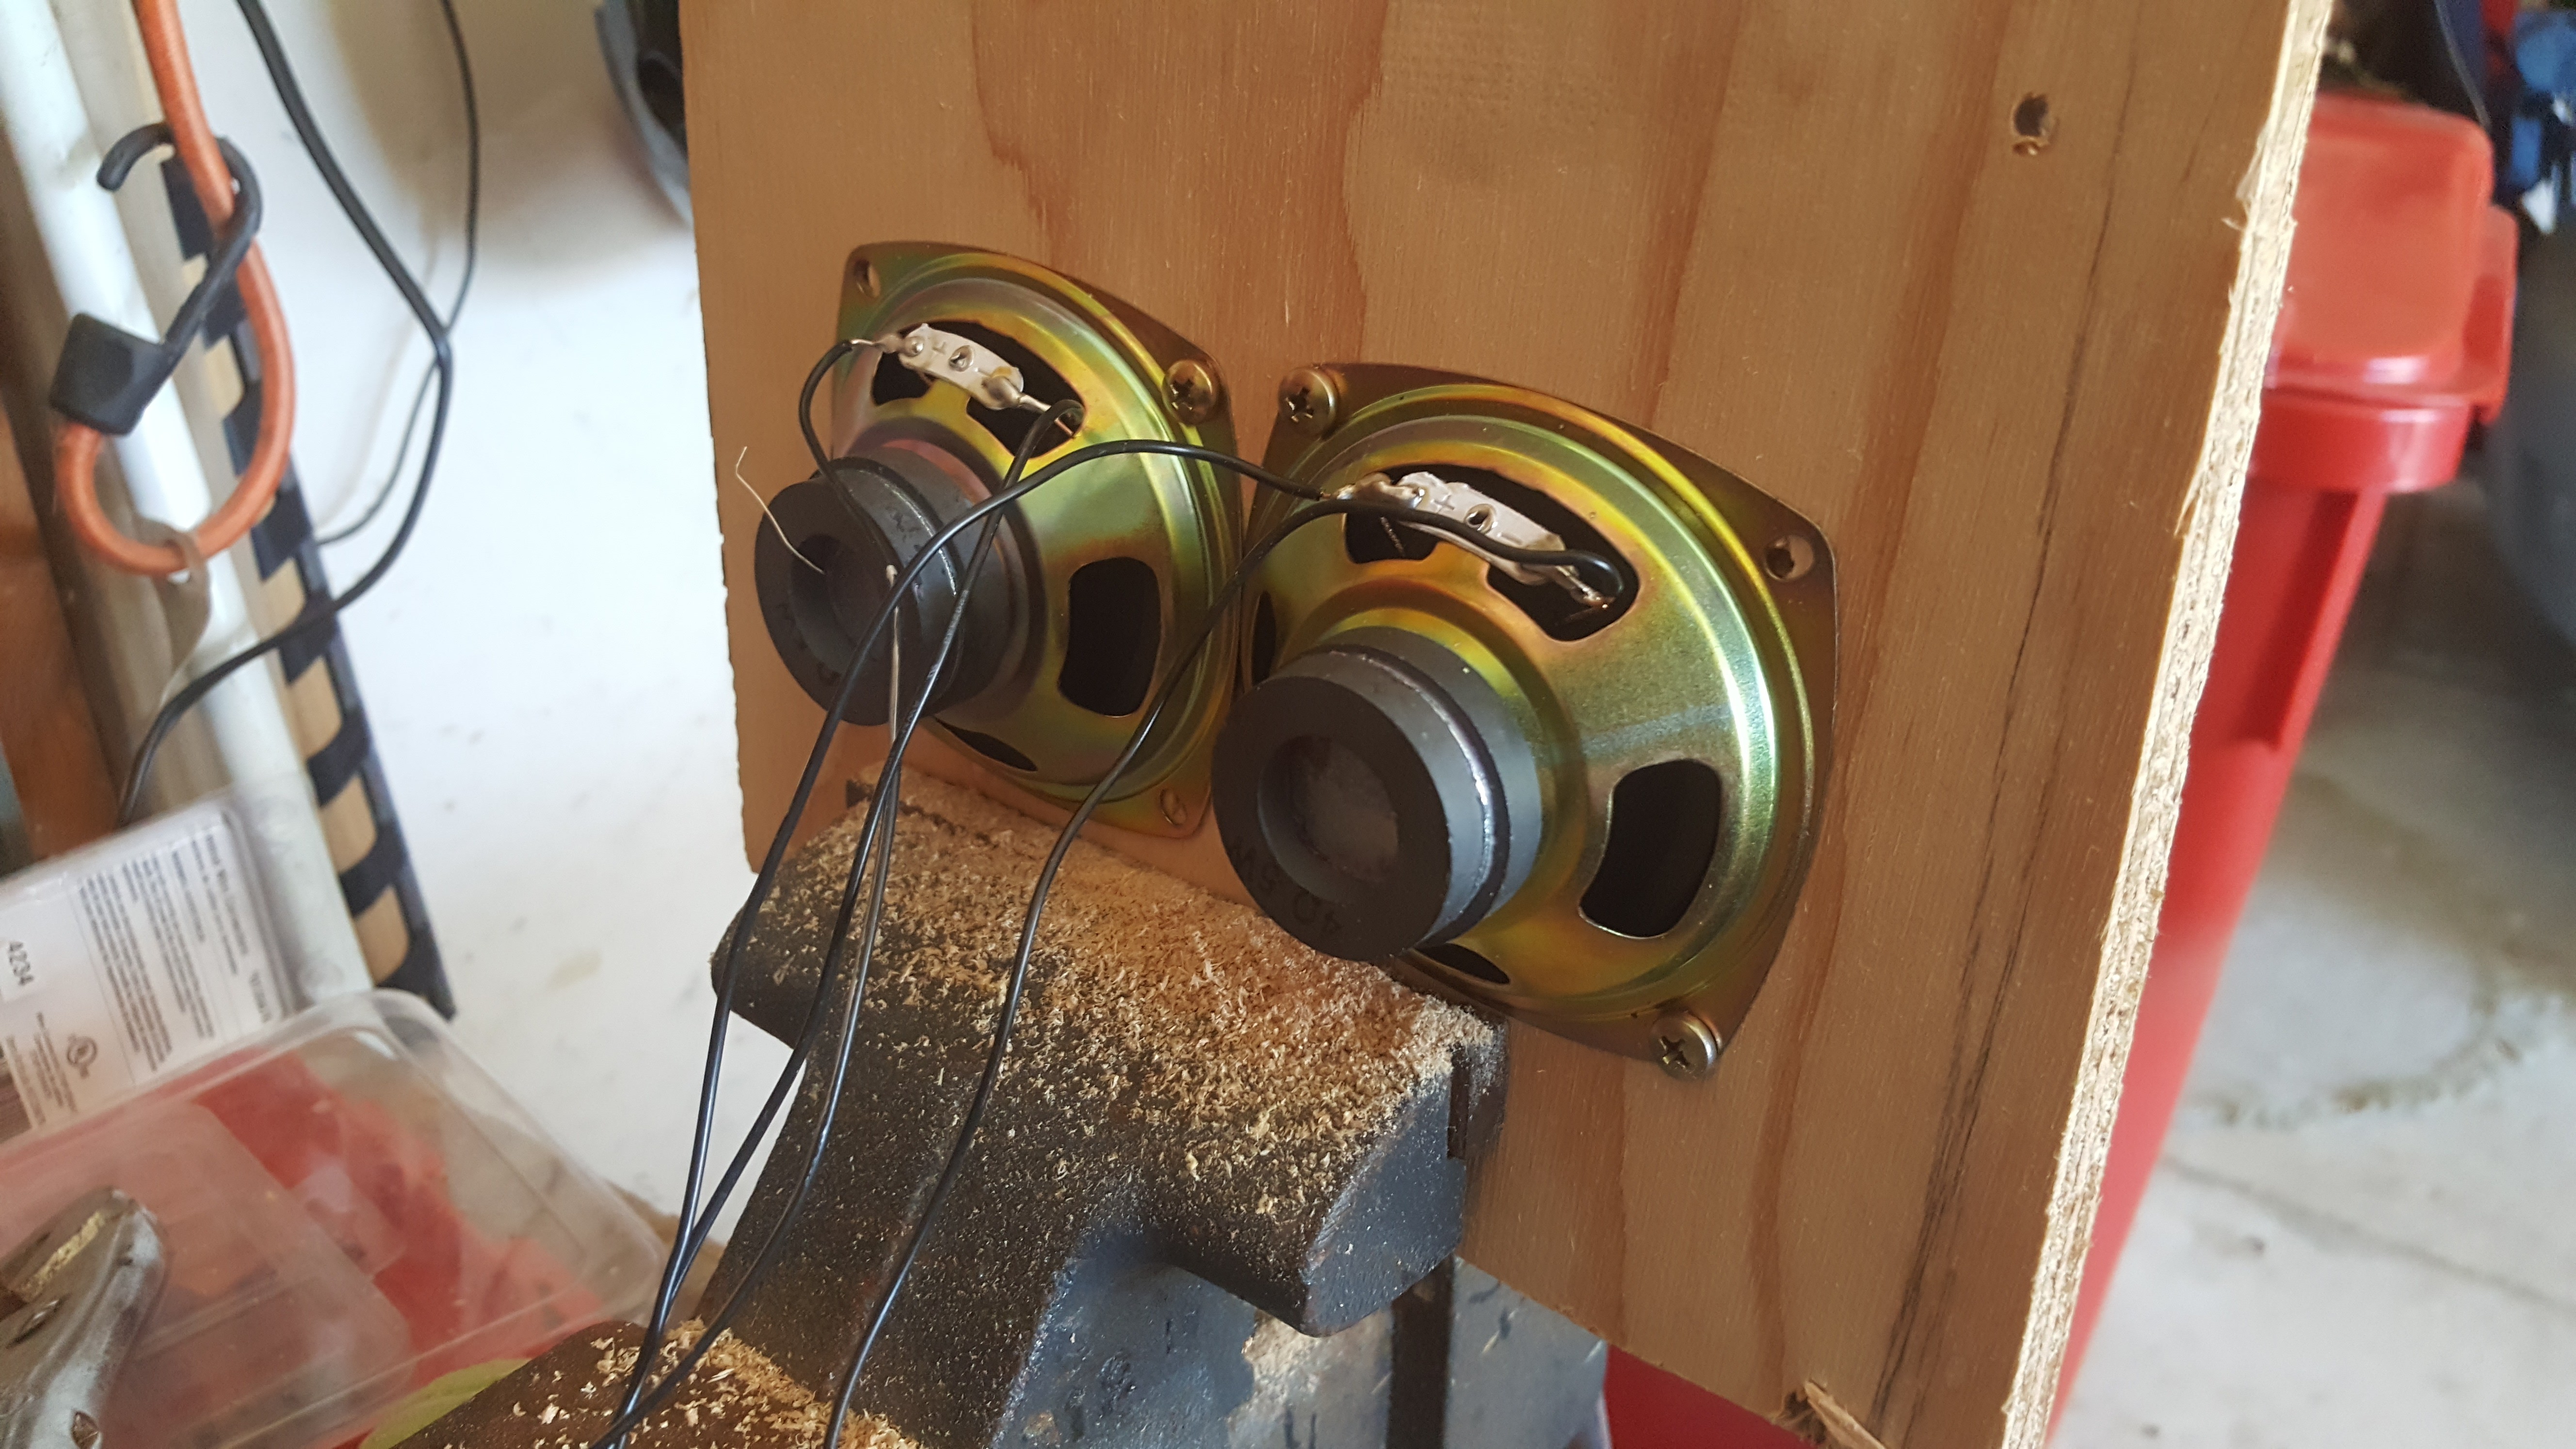
i put the screws in first, then ran the grill cloth over the screws to ensure that it stayed even. the grill cloth was then held down by putting the speaker assembly on behind it which firmly holds it in place. some nuts keep everything in order.  Everything came together pretty well, the grill cloth is both supported and held in by the plywood to its back and both the speakers are held in tight. in the next log i'll go over some of the smaller restorations i made to the front.
Discussions
Become a Hackaday.io Member
Create an account to leave a comment. Already have an account? Log In.