 Matthew James Bellafaire
With the entire front face of the radio complete it's time to move to the internals which actually make the thing do its jazzy magic. I'm not going to say everything was clean or professional, but for the most part it looks good and functions very well as long as you don't get into the fine details (or hate hot glue).
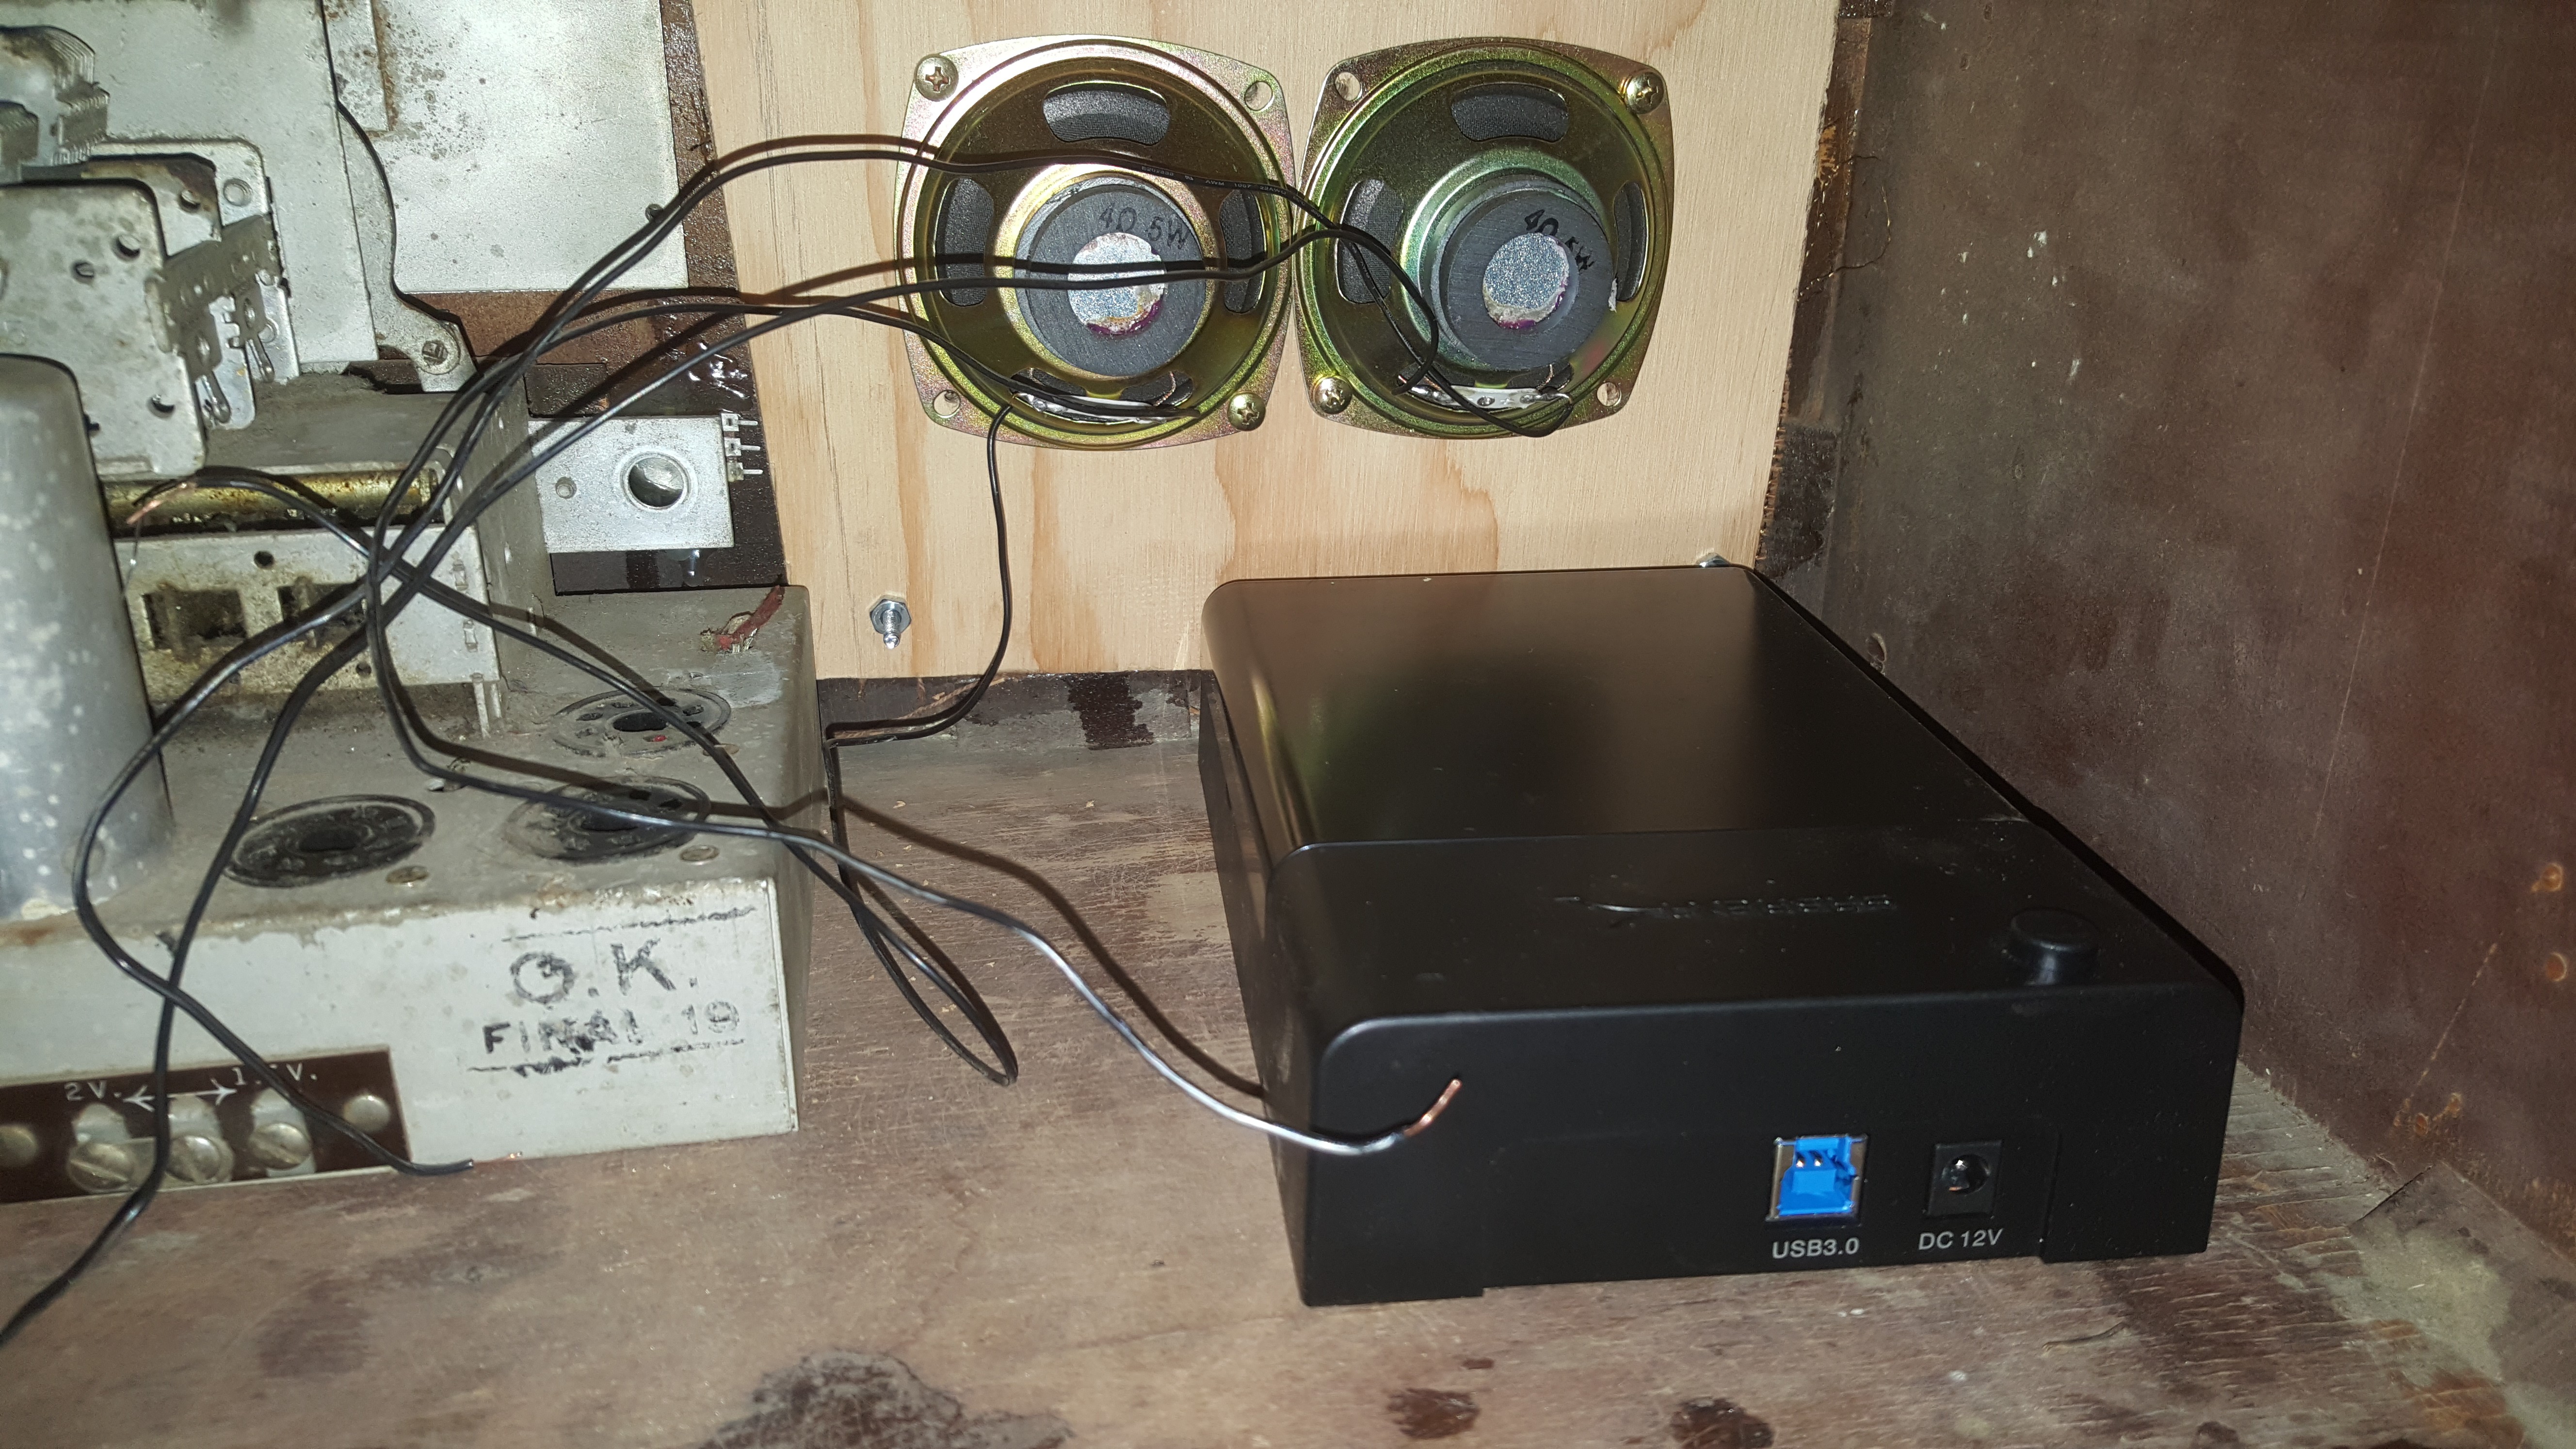
i started with the hard drive since it's by far the largest component in this assembly. I also decided pretty early that this was what i was going to mount the pi and the audio board on top of, since it has so much real estate being wasted on its top.
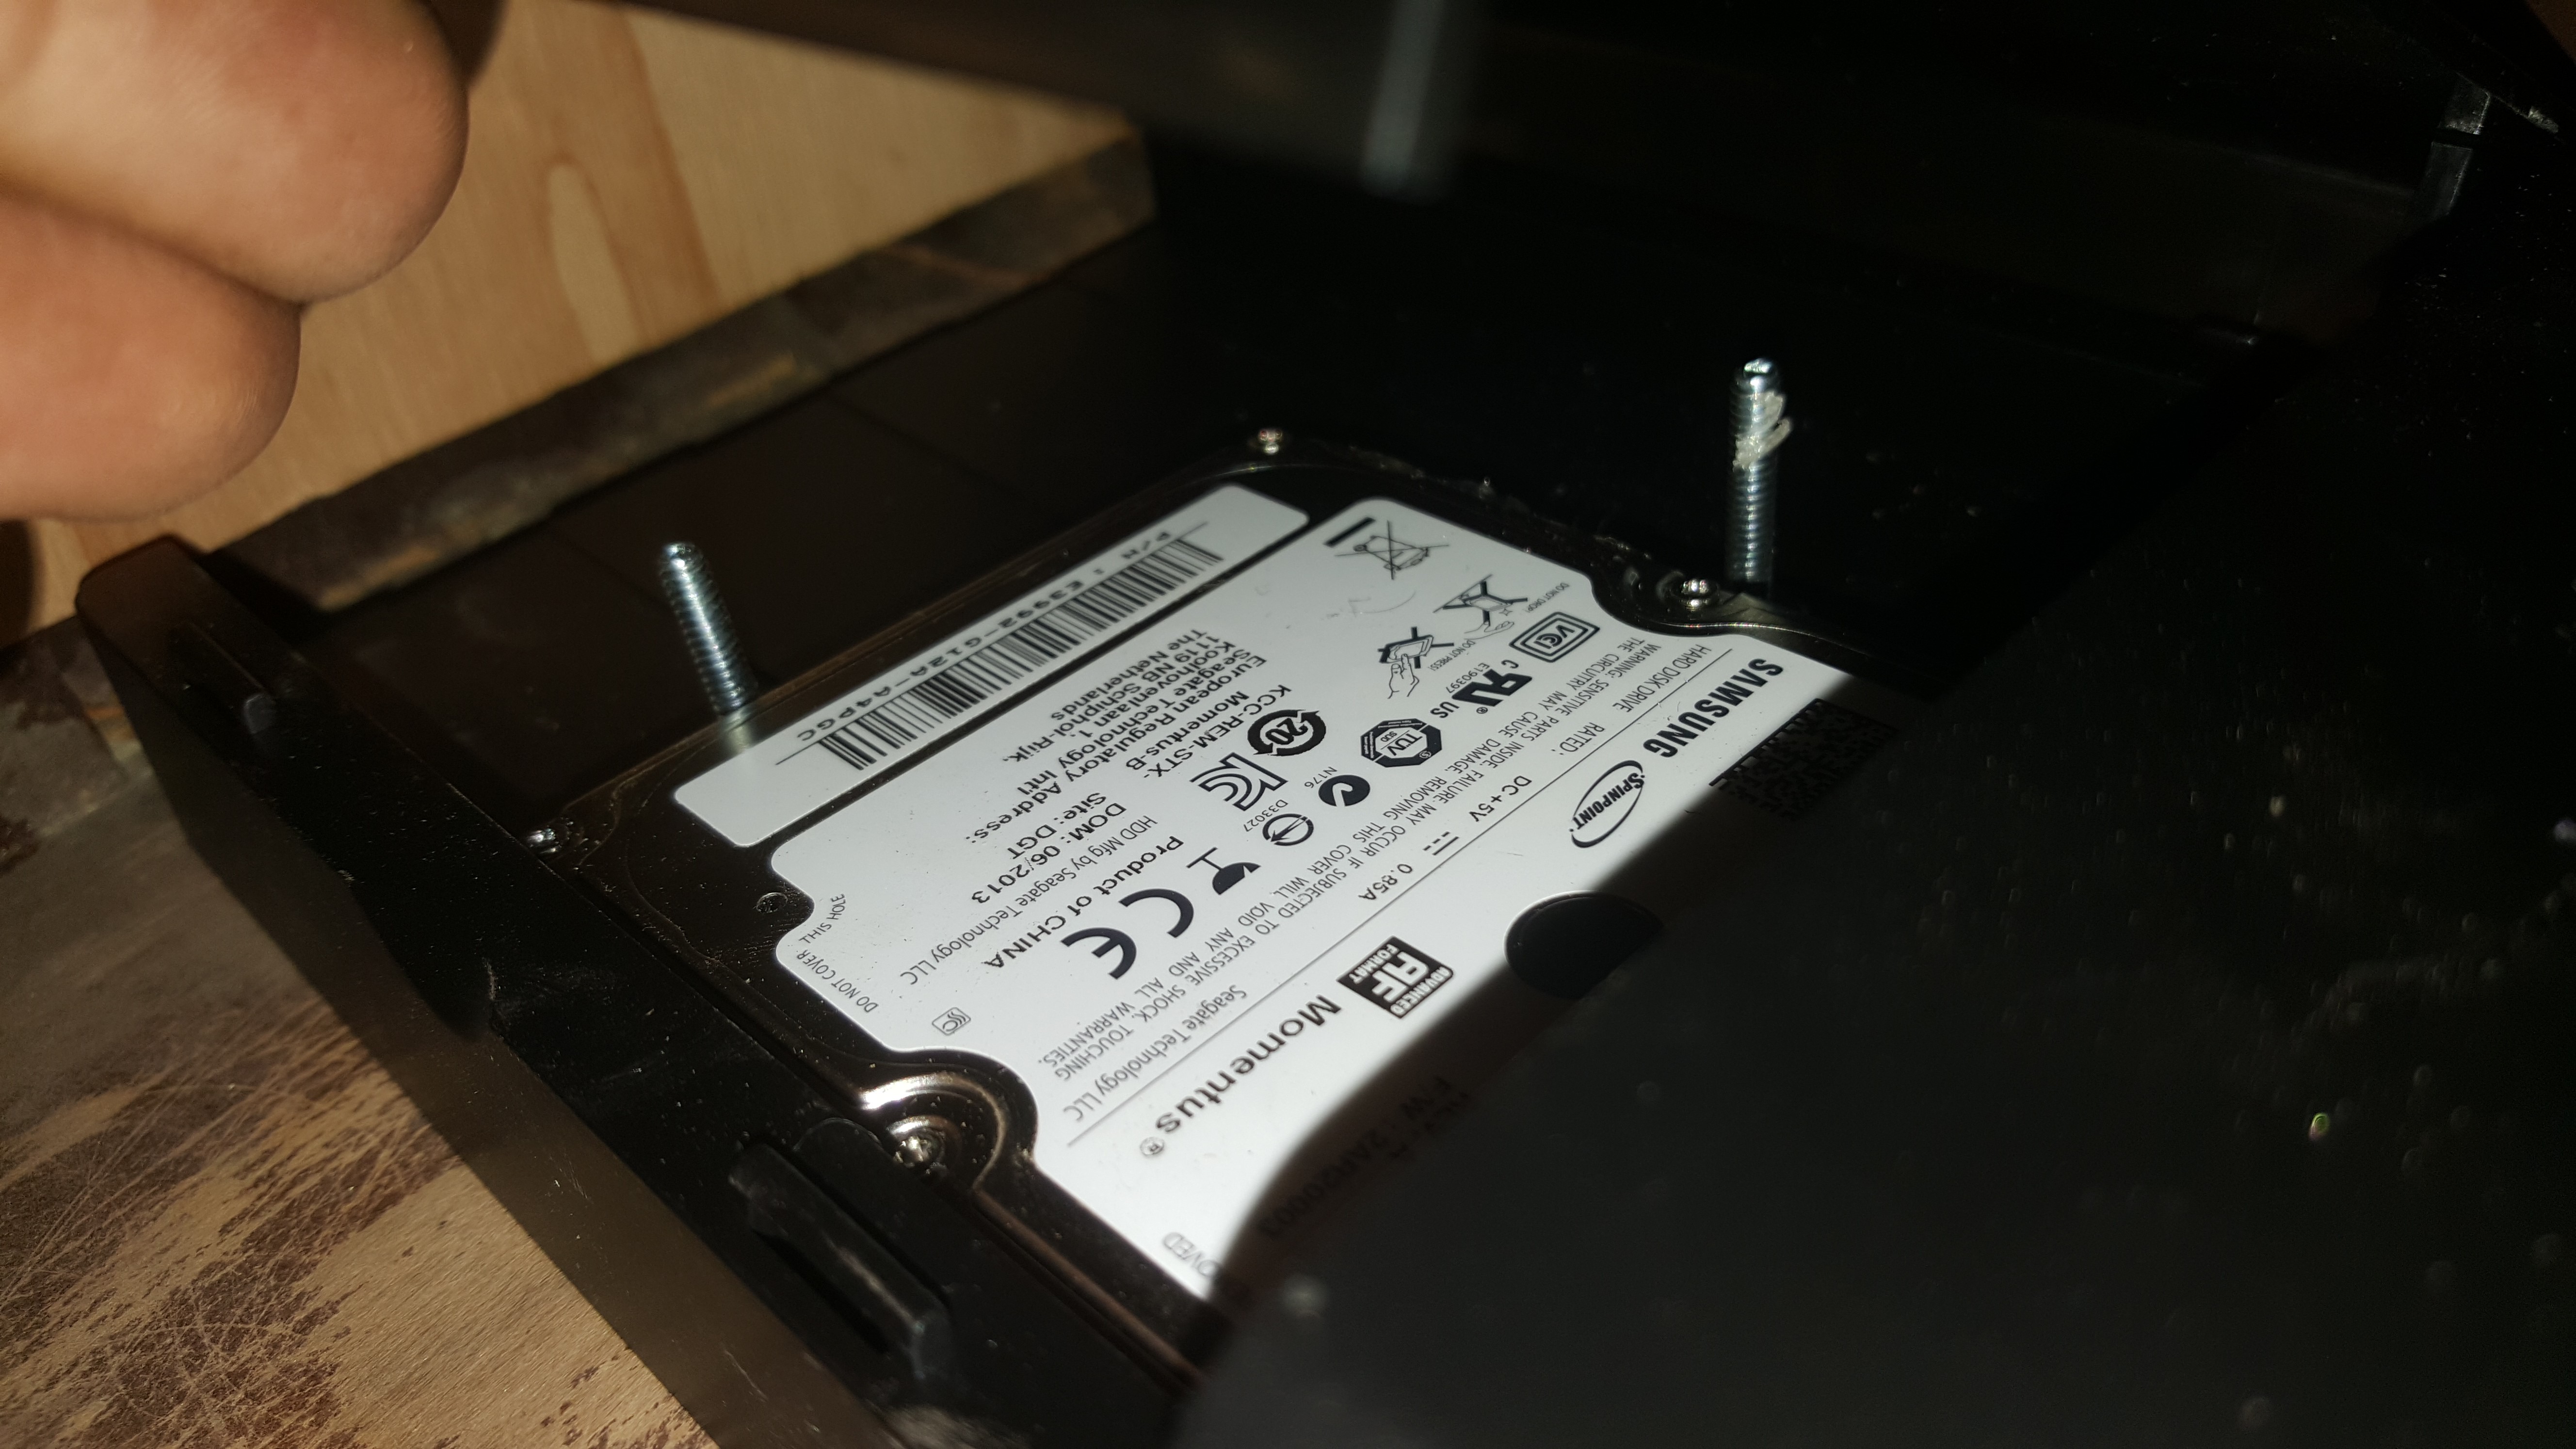
the hard drive dock is held by screws which come up through the base. The nuts on these screws serve a double purpose:
first they hold the hard drive dock firmly to the base, preventing it from moving.
second they hold the hard drive itself firmly against the connector ensuring that it won't be bumped out of place which would cause the entire radio to stop functioning.

mounting the pi was simple, i just picked a spot and hot glued it down. I know that it has mounting screws but for my purposes this was much quicker and it got the job done well.
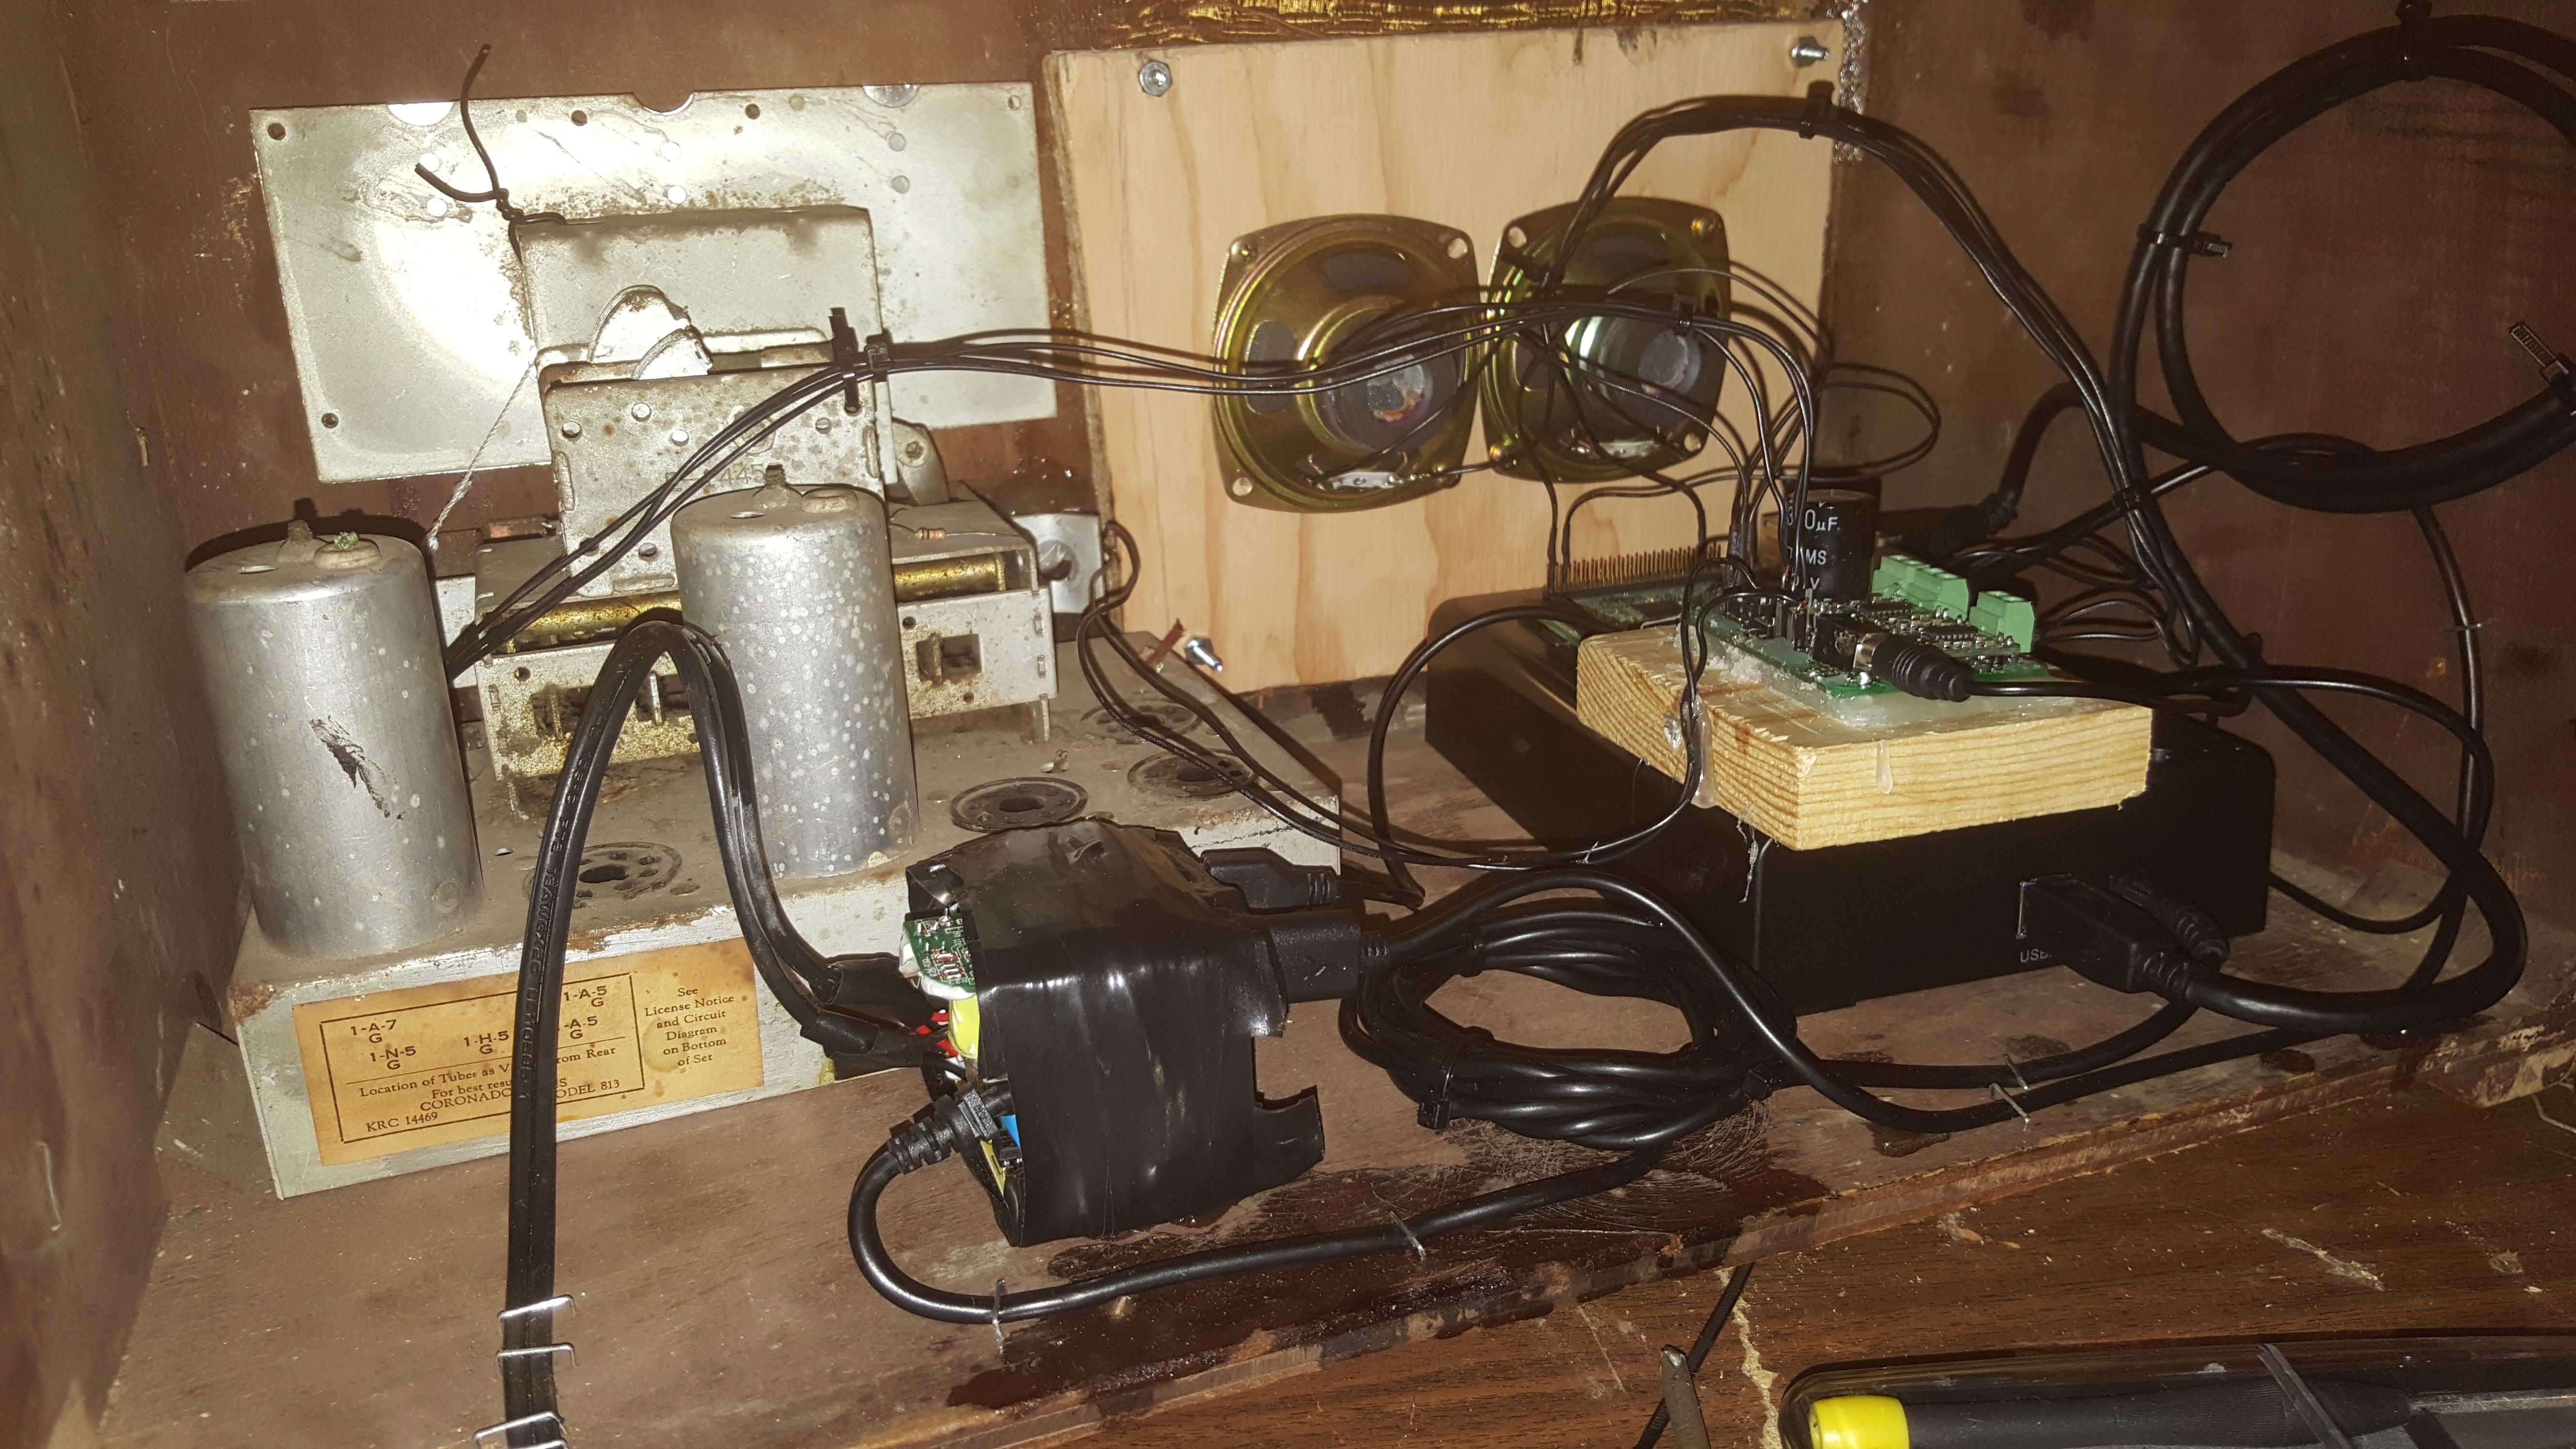
i really hate to skip steps like this but i forgot to take pictures at this point in the project. I next added the audio board which i completed in a previous log. this takes 5v in which isn't hard to come by, and in combination with the power demands of the pi, makes a great board for this project. The power source for this entire project comes in the form of that block of electrical tape. Inside there are two different wall warts, one is a 4 USB phone charger and the other is a 12v dc adapter for the external hard drive. Both are wrapped (mostly) safely in the electrical tape and hot glued to the base. power is run directly from those two boards and into the rest of the radio. at the end of the day everything functions perfectly.
Everything was cleaned up using a staple gun and zip ties, i did my best to manage the wires, and i feel pretty confident that i did a good job here.
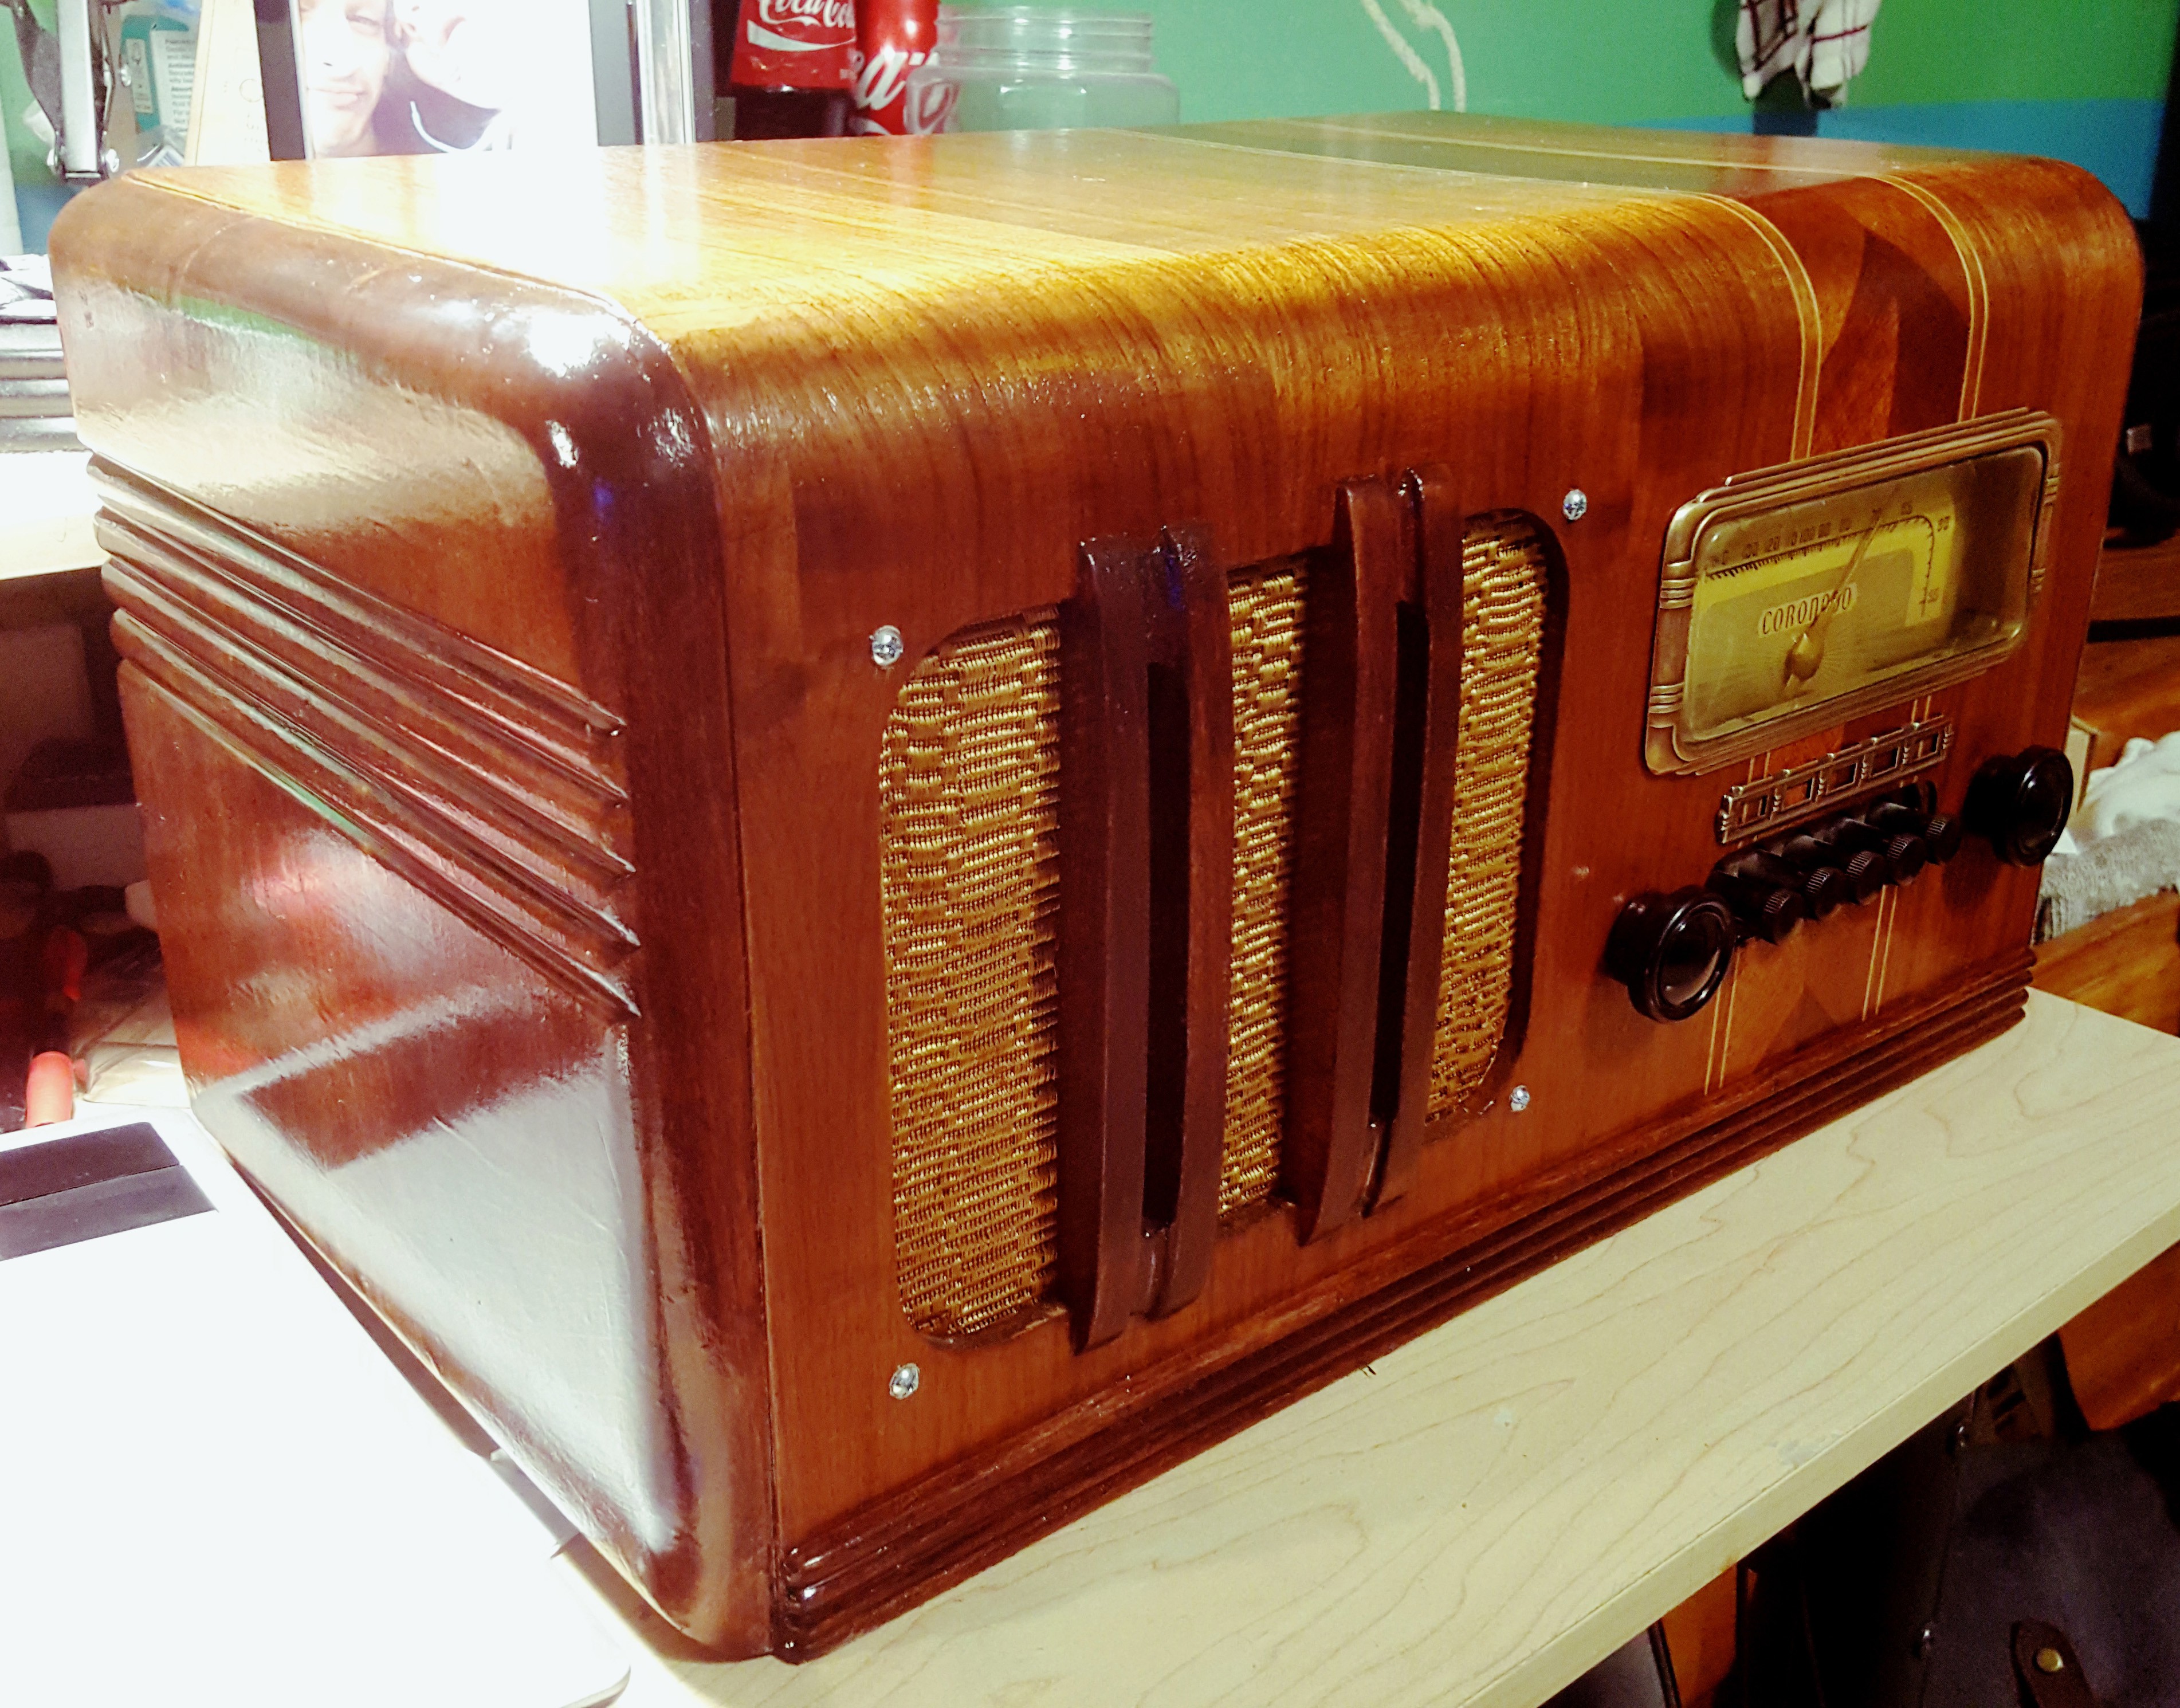
the final product looks fantastic! if anyone wonders whether the thing is actually working, check the files on this project's hackaday.io page, i included a quick webm of me changing the volume and songs on the radio using the knobs.
thanks to everyone who followed this project, i hope that it lived up to your expectations, i know it certainly did mine.
Discussions
Become a Hackaday.io Member
Create an account to leave a comment. Already have an account? Log In.