 Dhrupal R Shah
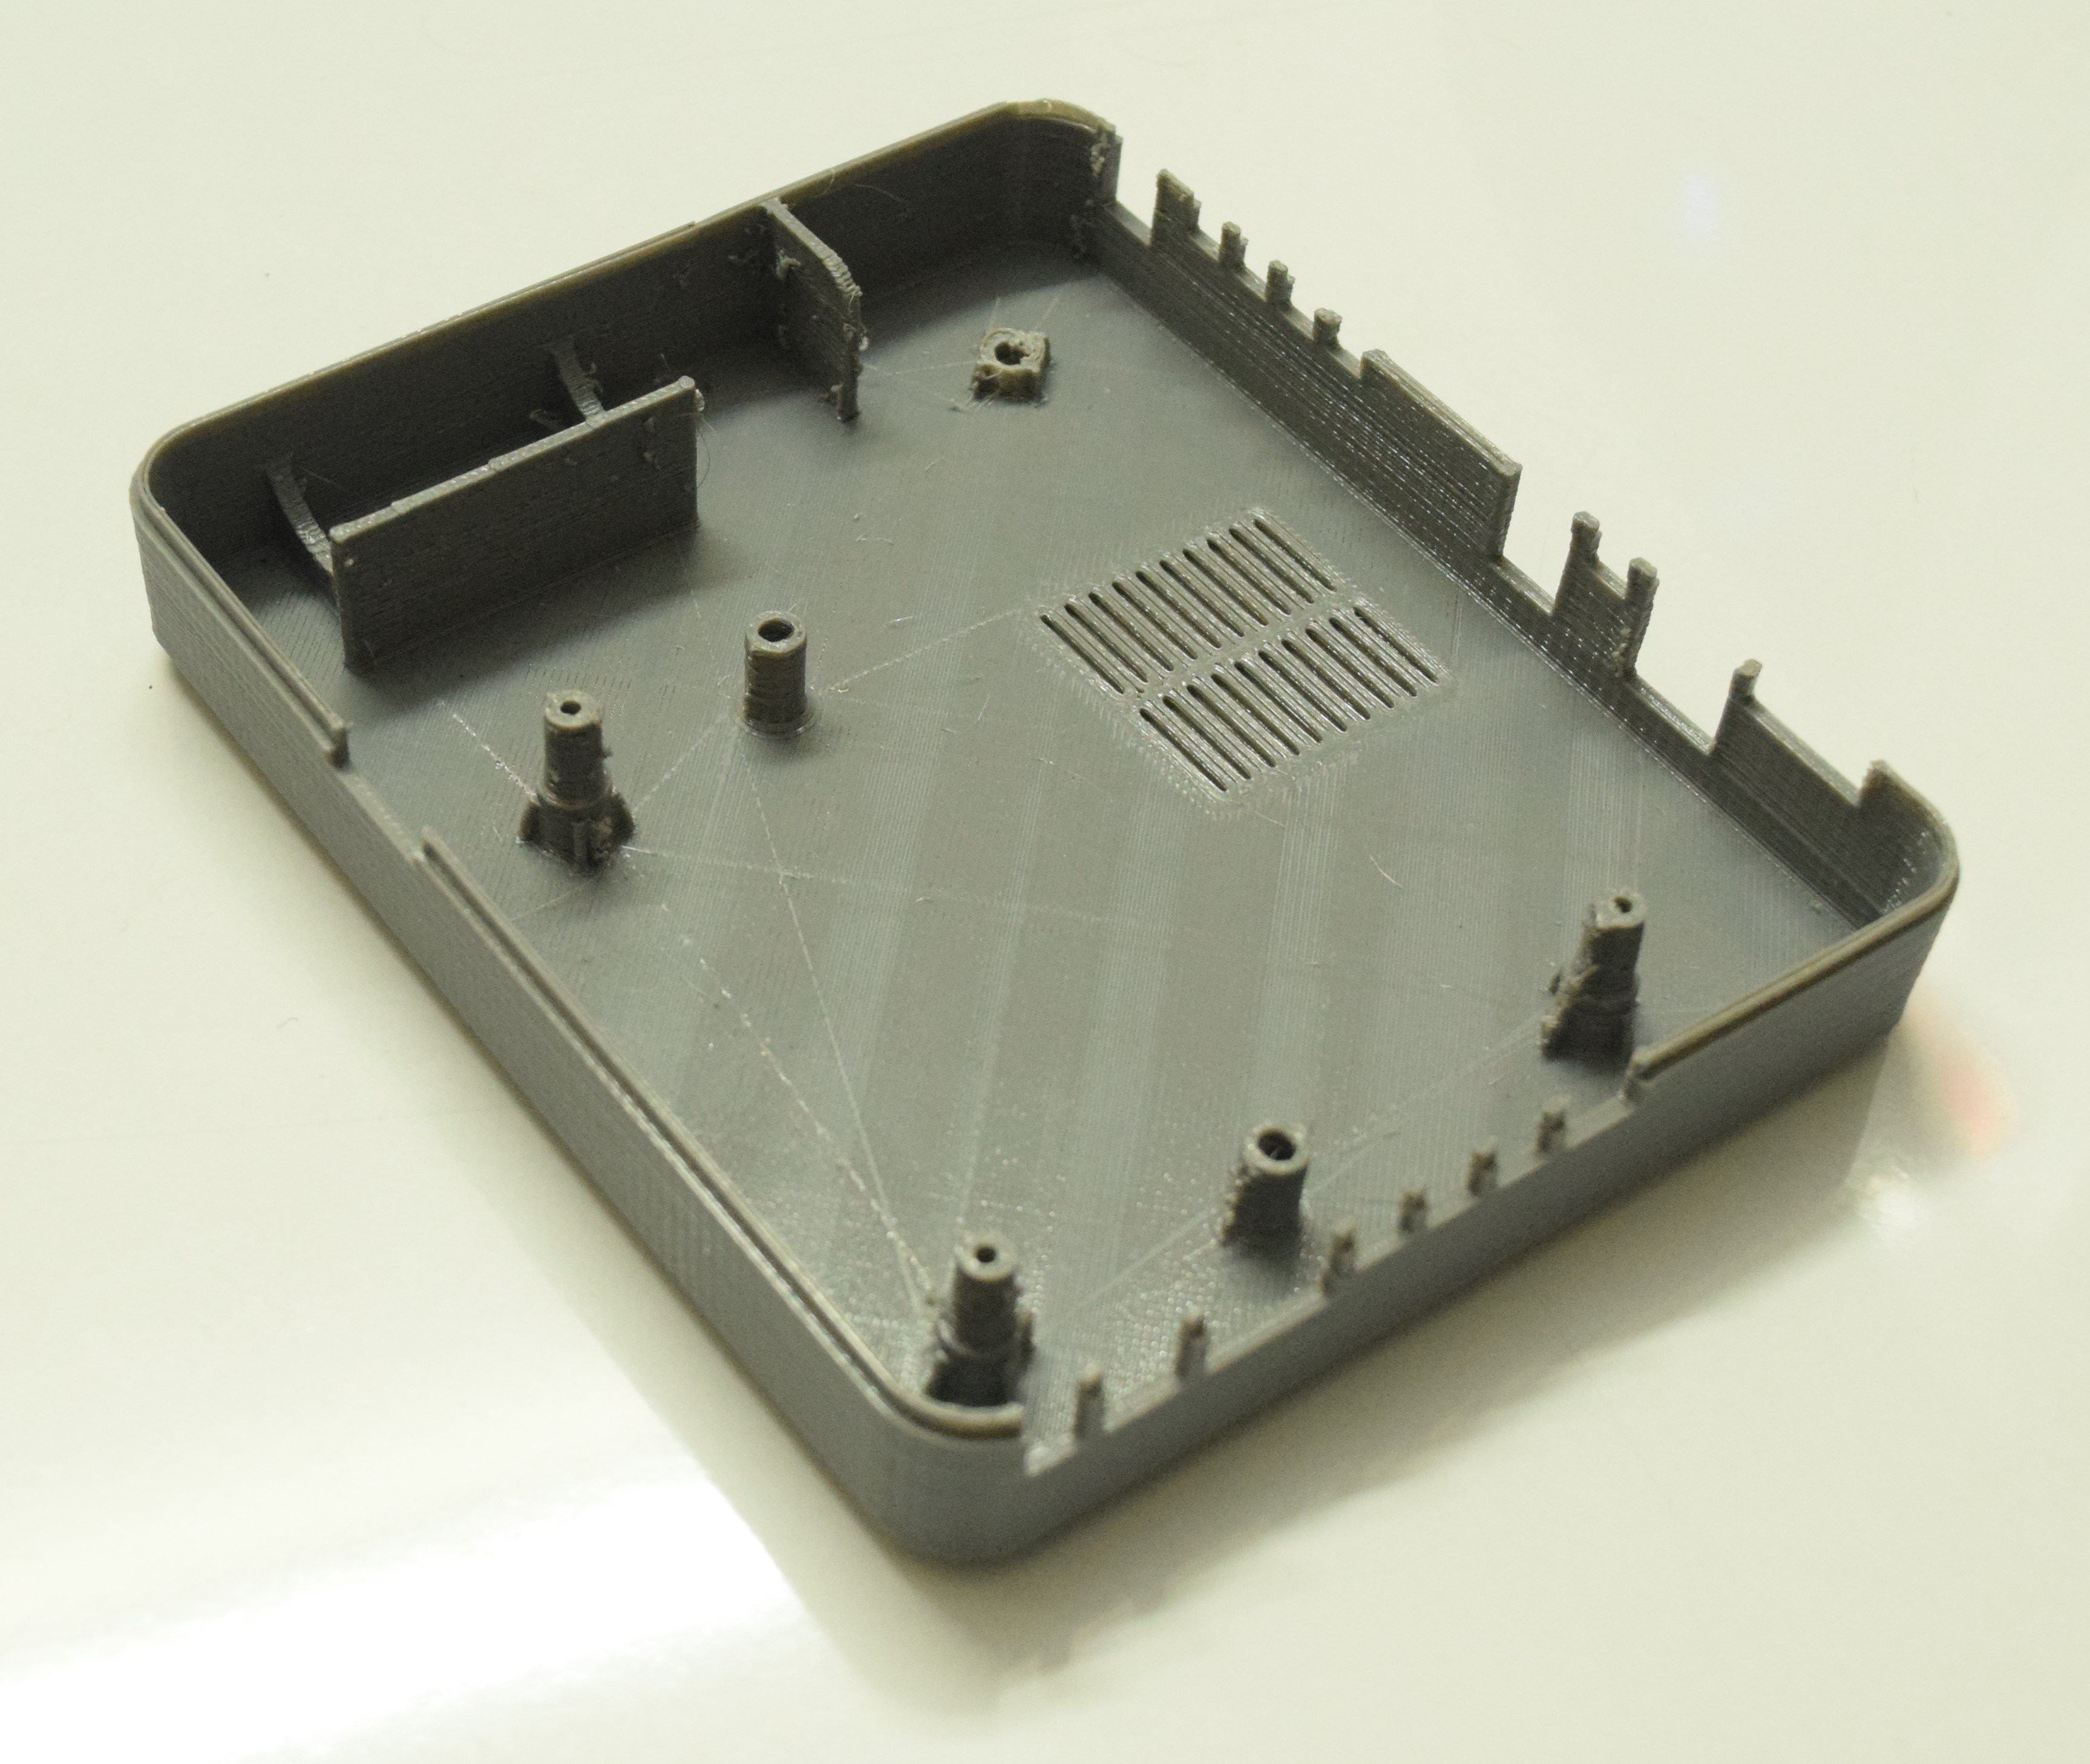
- Bottom Case
- Top Case
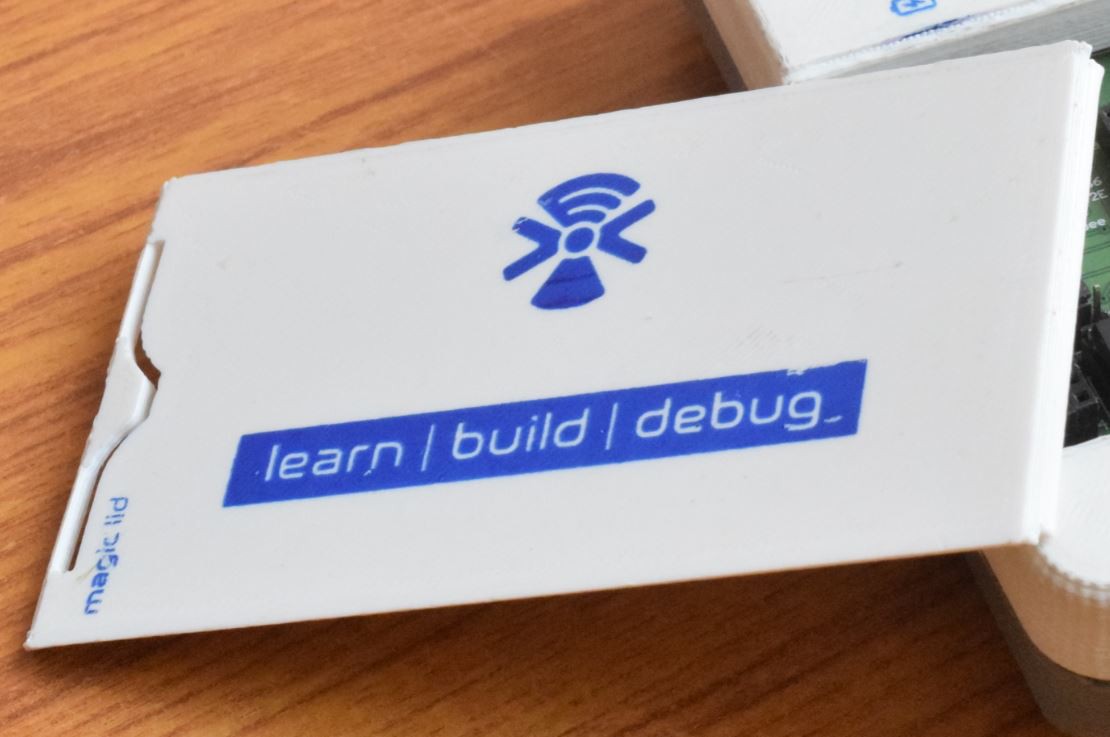
- Lid (We call it magic lid)
All the CAD files are available opensource at: https://grabcad.com/library/evive-case-1
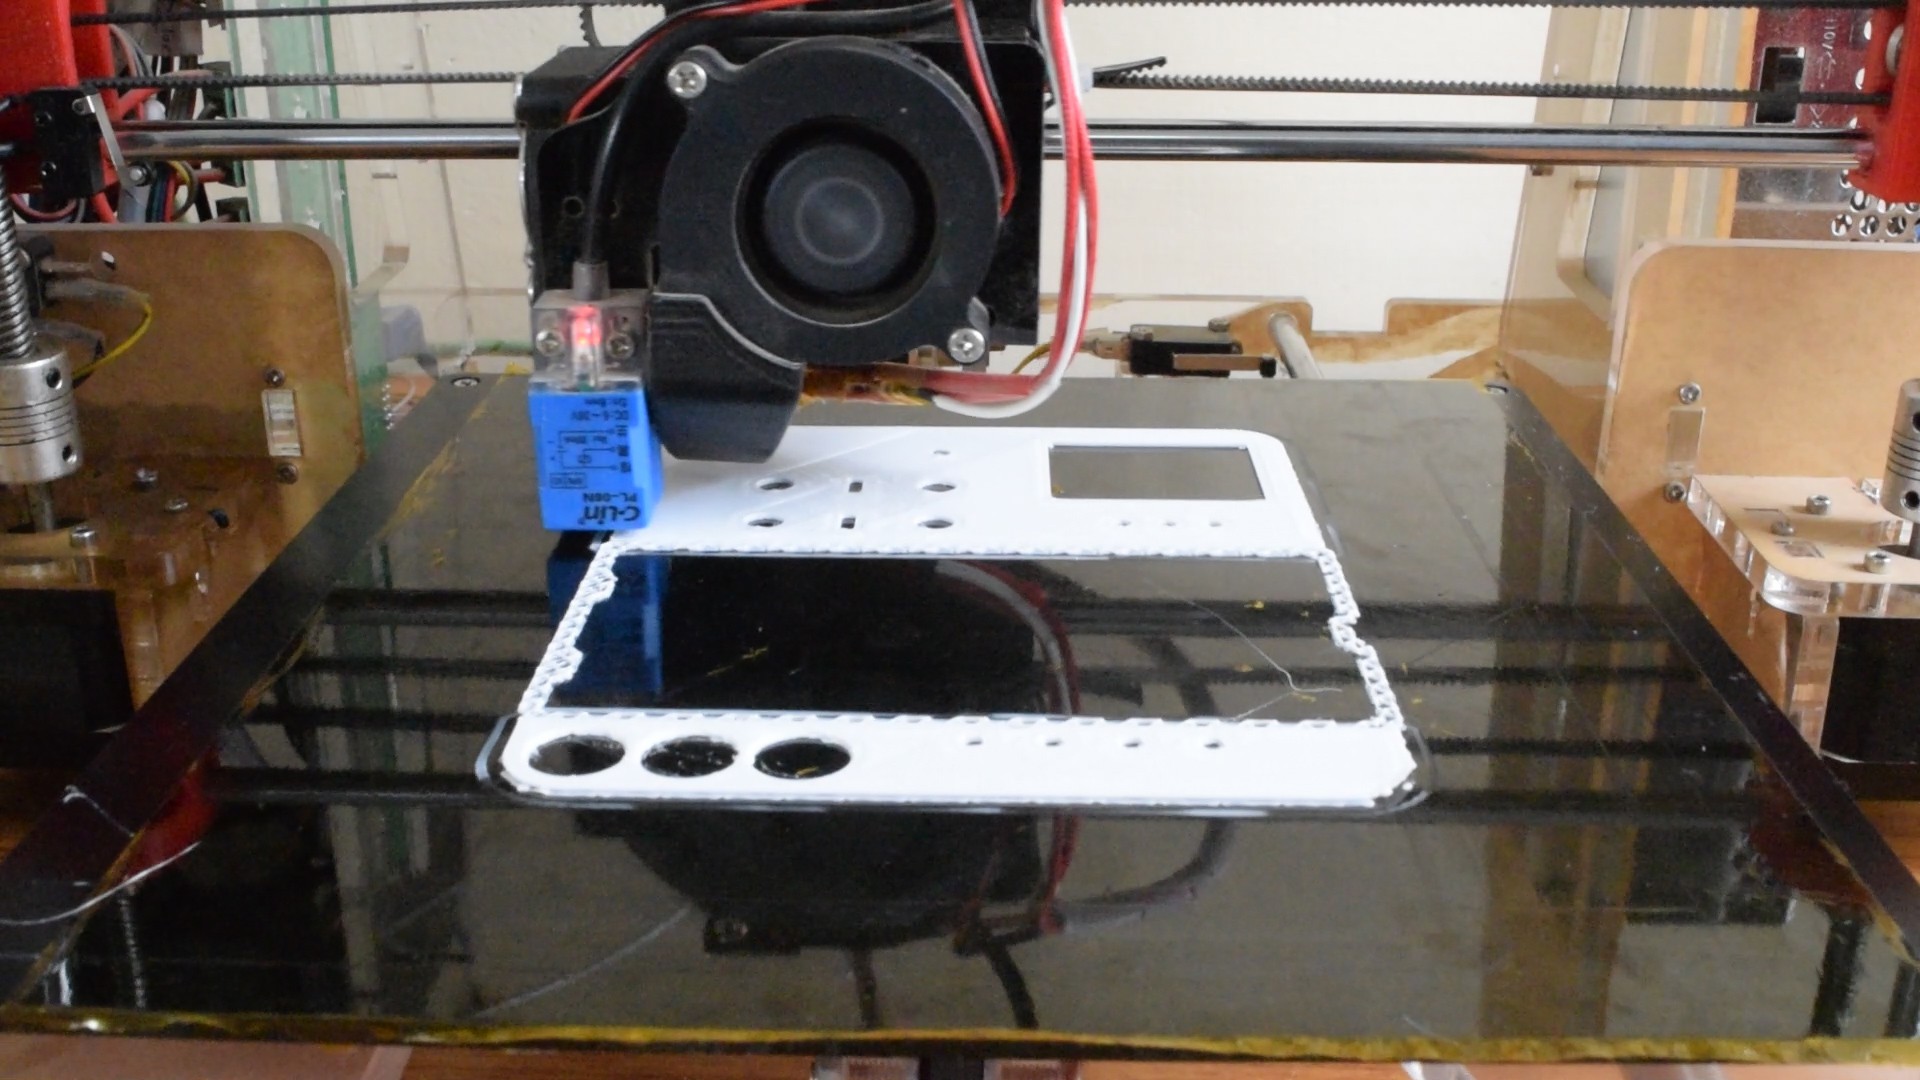
For prototyping of evive, we have used 3D printing using PLA material with Chinese version of Prusa i3 printer.
The printer was performing beyond our expectation. Its really very cheap (just 250USD) and good quality. The least thickness of casing is 1.5mm and the printed part is of good strength. We tested it even by dropping with jerk. The tolerances were also very less (~0.5mm). For getting polished finish on the base side, we used Kapton Tape. The design is according to plastic injection molding and will do that during mass manufactuing.
The text on surface is printed from local carpenter cum studio shop using screen printing. Screen printing is the same process as used for printing on T-shirts. Also we tried to do that using the EZ screen printing kit, but of-course the professional person was much better. Also the advantage of using Kapton tape to get polished like surface helped us to get better screen print.
Discussions
Become a Hackaday.io Member
Create an account to leave a comment. Already have an account? Log In.