Close
0%
0%

Clunke Button

Assistive input device for interacting with adapted toys and tools.

Similar projects worth following
Clunke is a low cost, printable switch for adapting toys and appliances to be used by people living with motor control disabilities.

What

Assistive Technology (AT) buttons are a way for someone with a limited range of motion to control his or her environment at the same level as anyone else. Most AT buttons available are quite expensive, and are engineered to be used in high reliability situations. As a result there are a lot of home DIY projects to make cheaper buttons, but they often lack long term suitability and are thus more stop-gaps than replacements.

Why

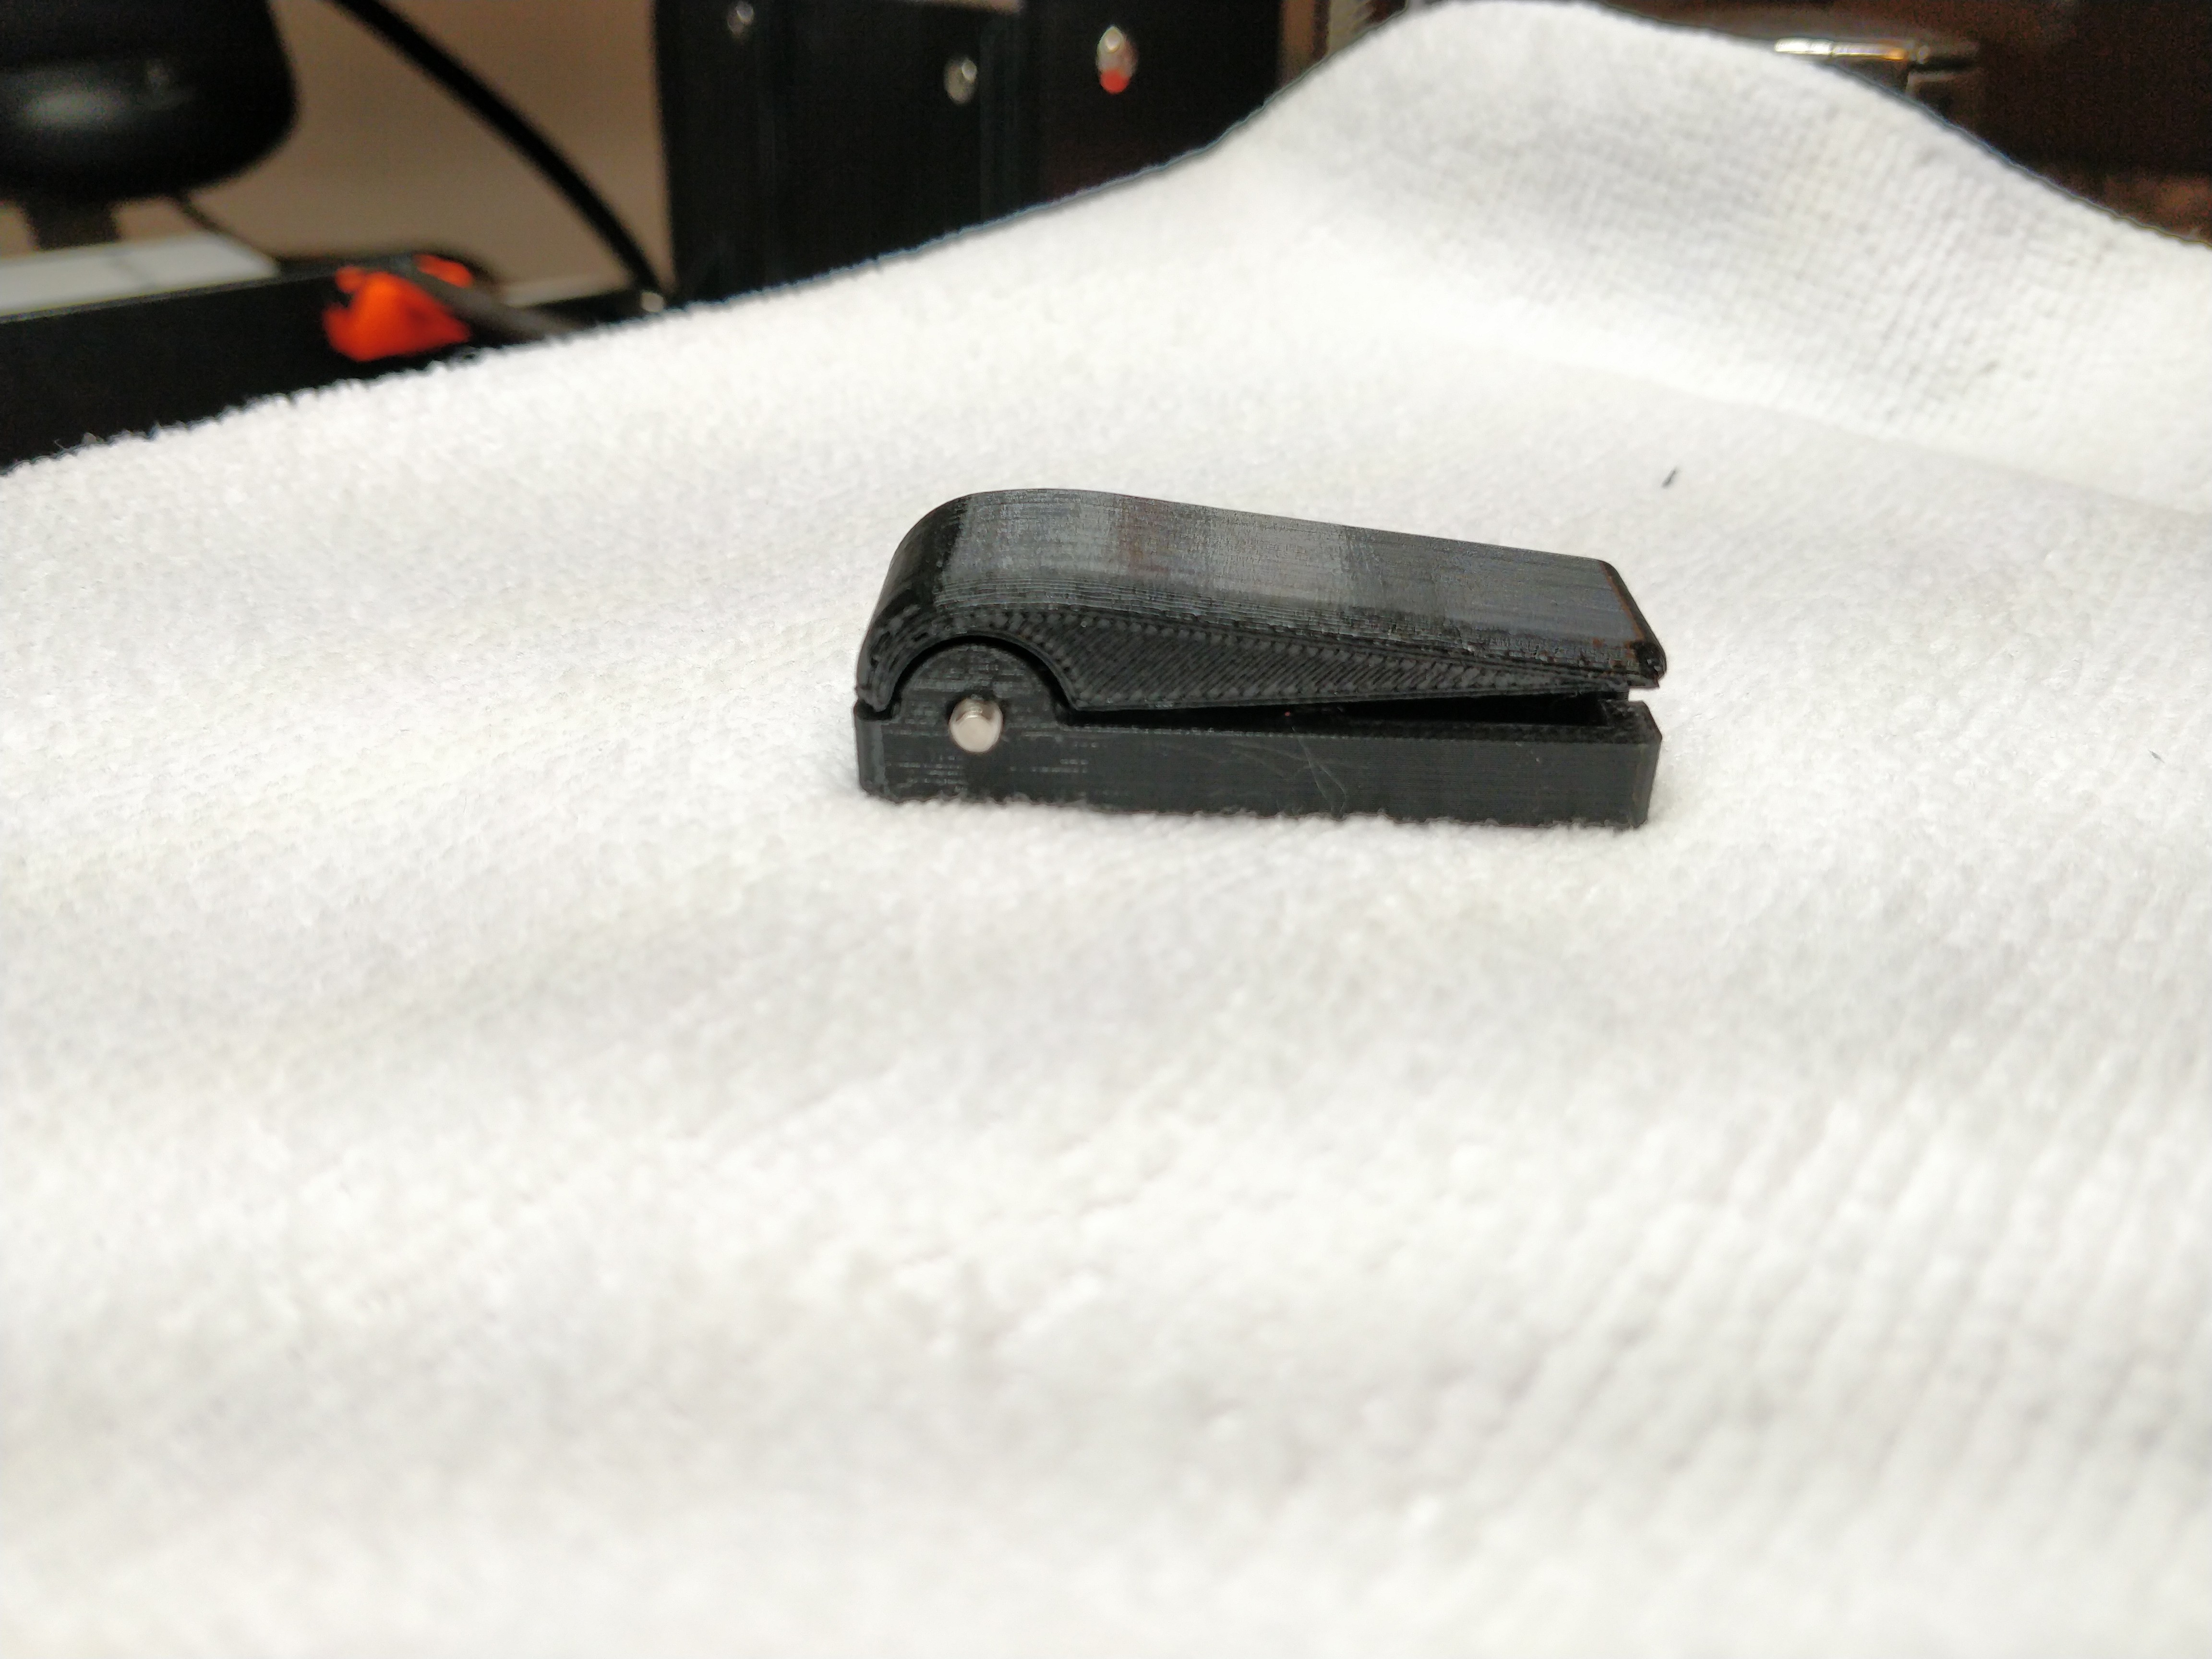
Clunke exists to fill the gap between low cost switches (e.g. taping wires together) and high cost switches (existing commercial solutions) with a material price point of $10 and sturdy design suitable for daily use.

Who

This button's initial model was created as part of a team-based senior design course. We worked with a local organization, UCP and TASC of Huntsville, to design and construct an AT keyboard and AT button.

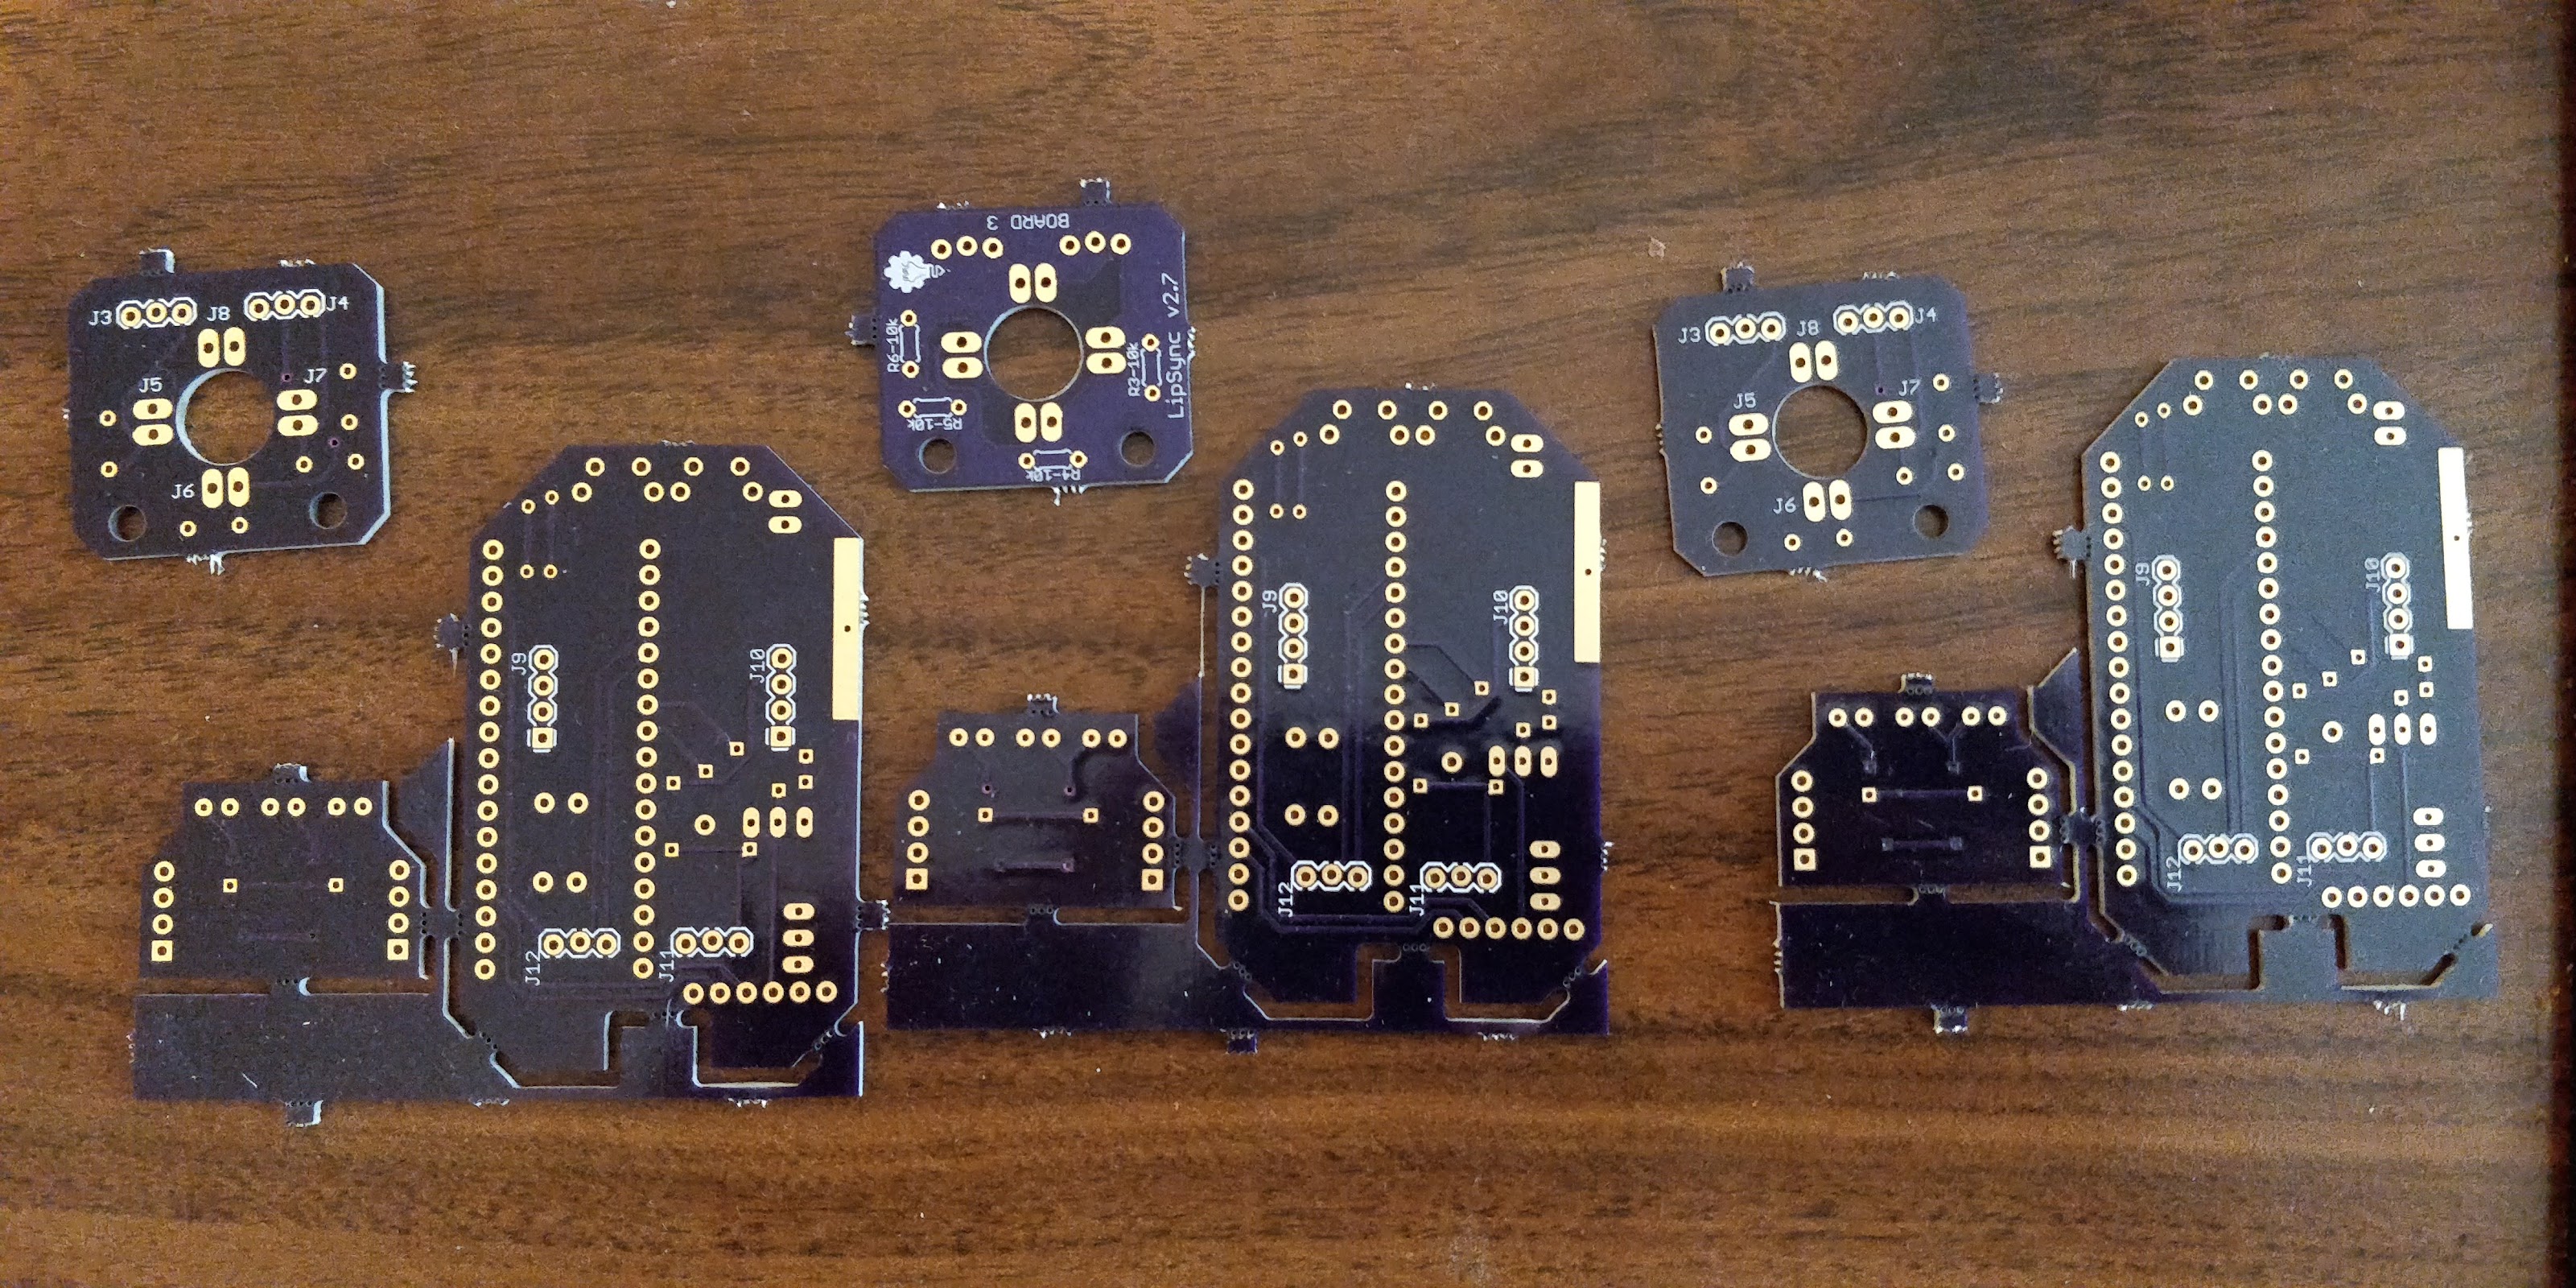
The senior design class ended with a second button design made, but not user tested. I now maintain the project and am working toward a third design revision and user testing.

How

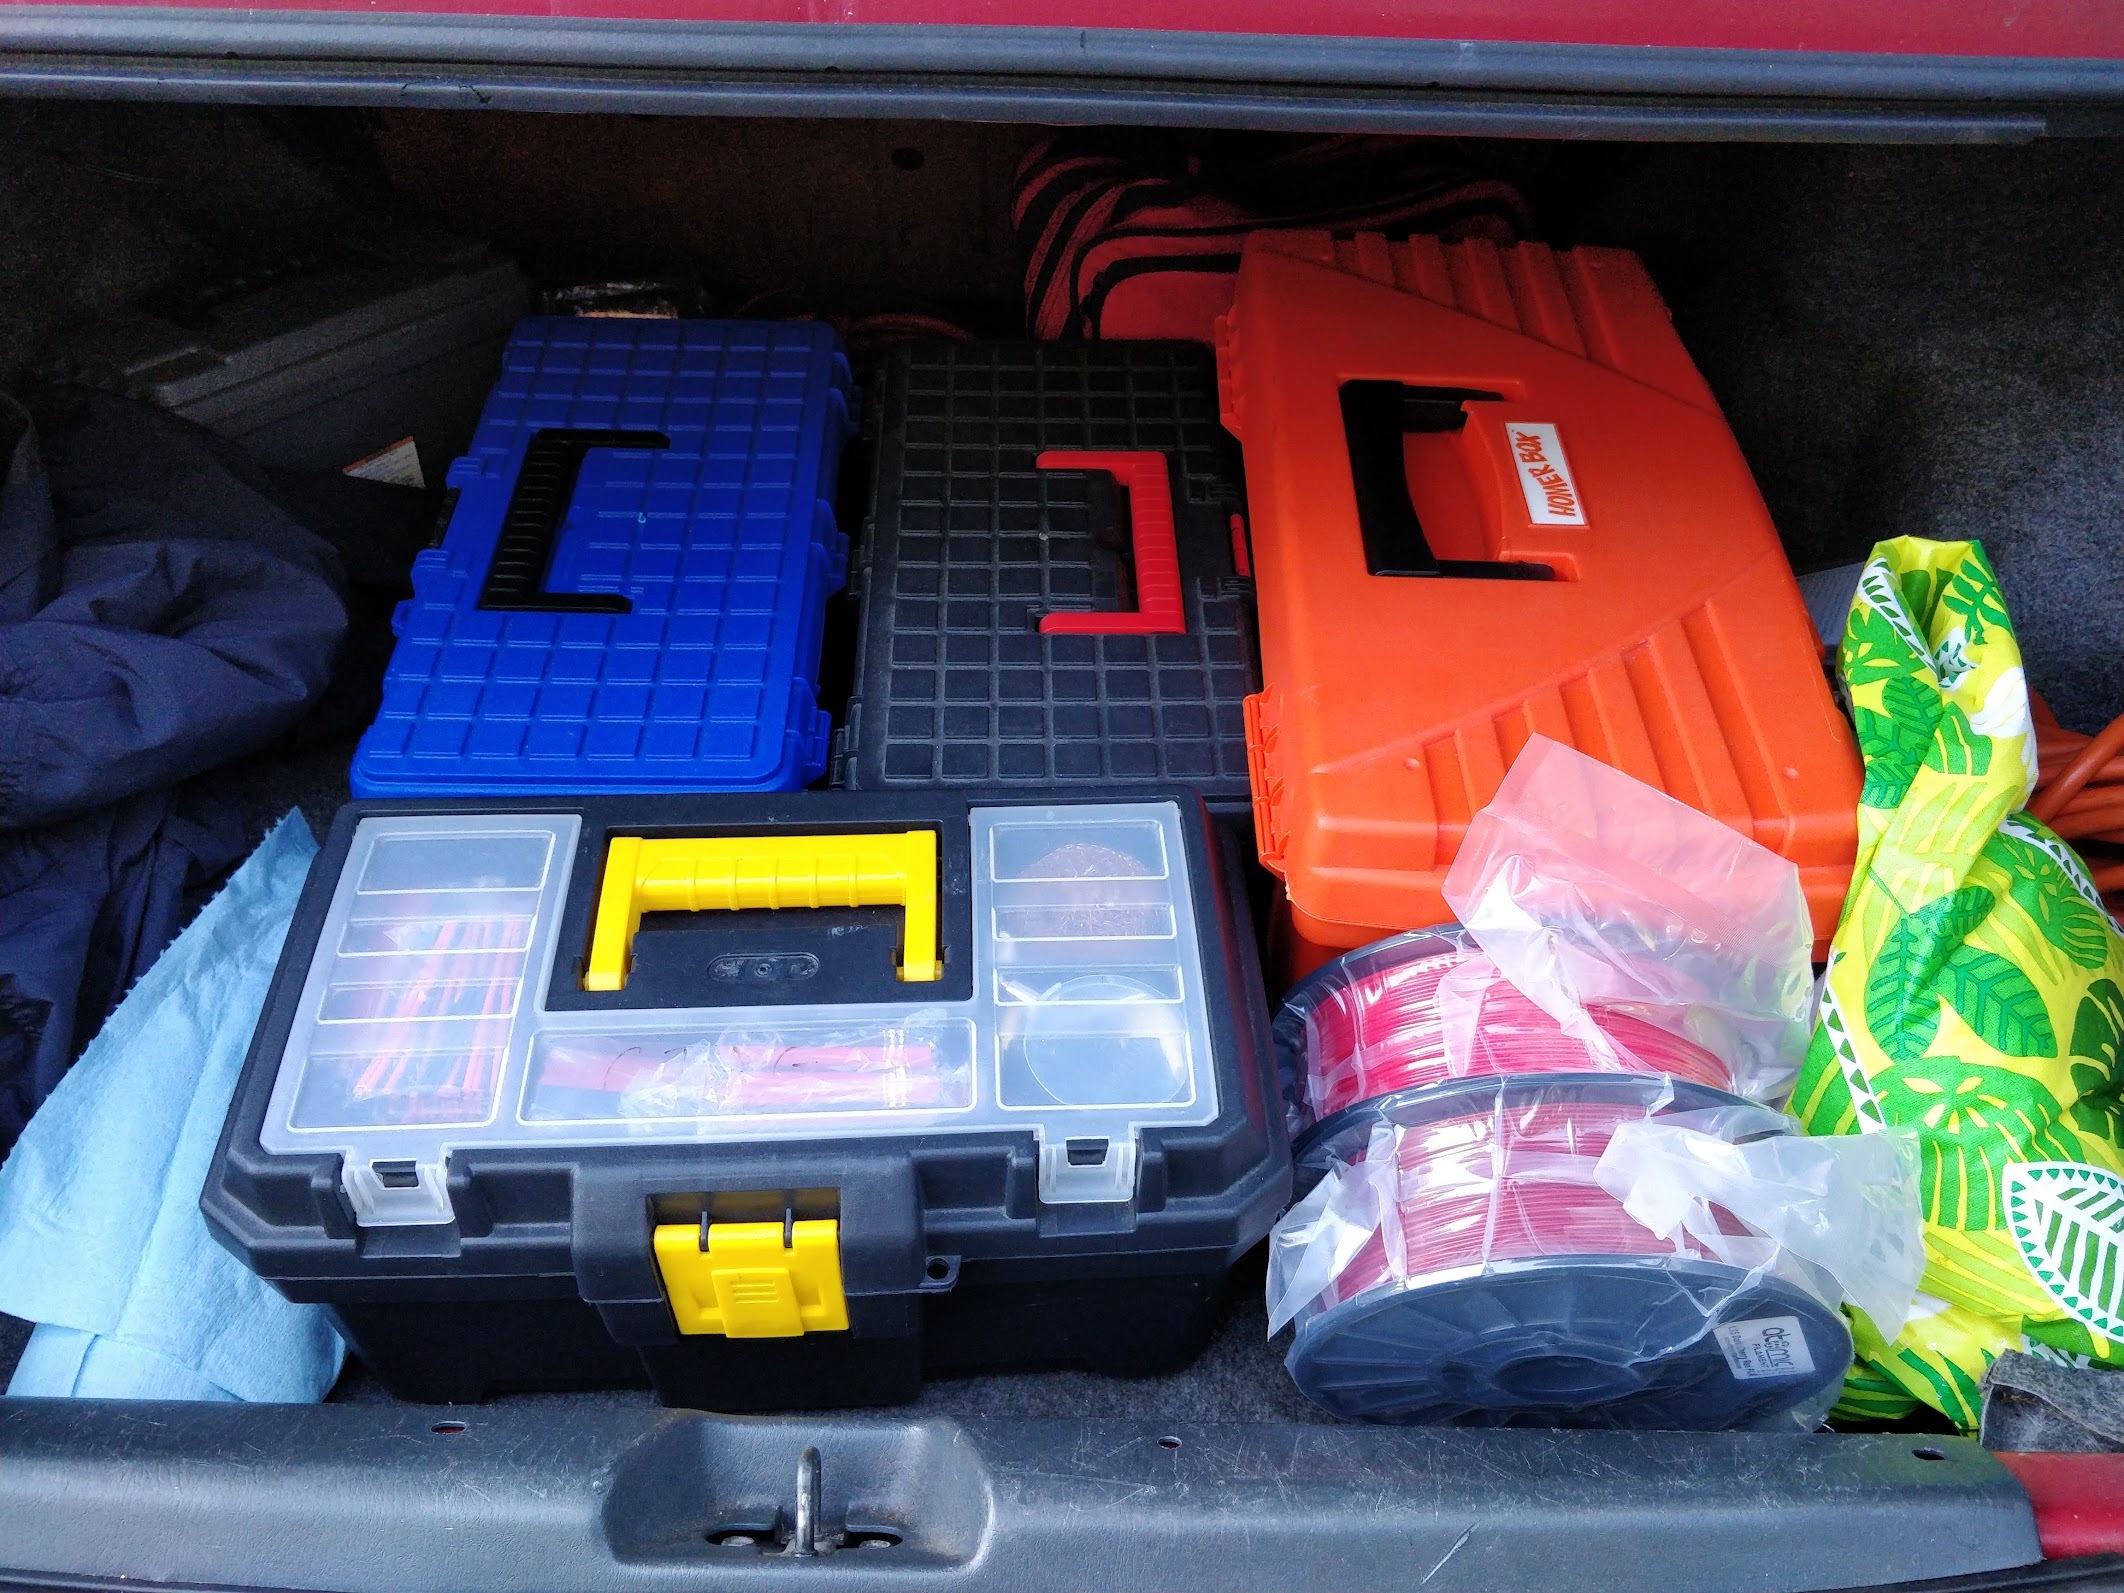
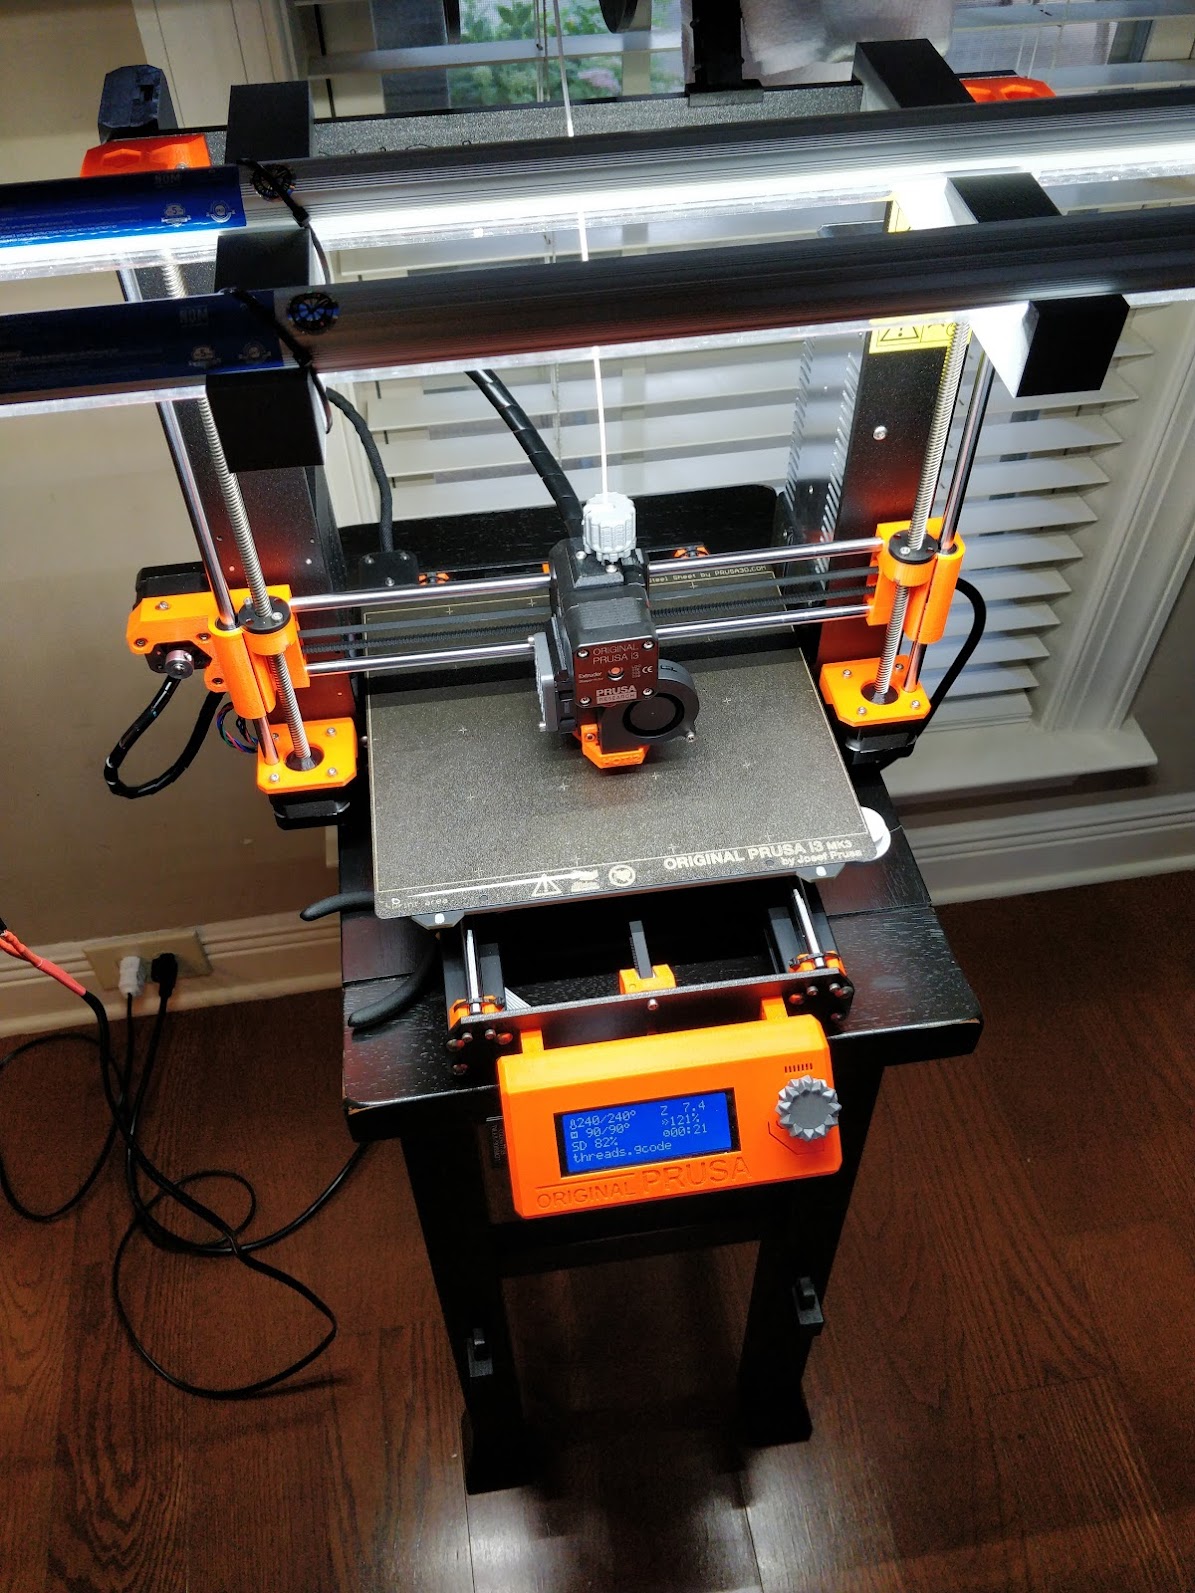
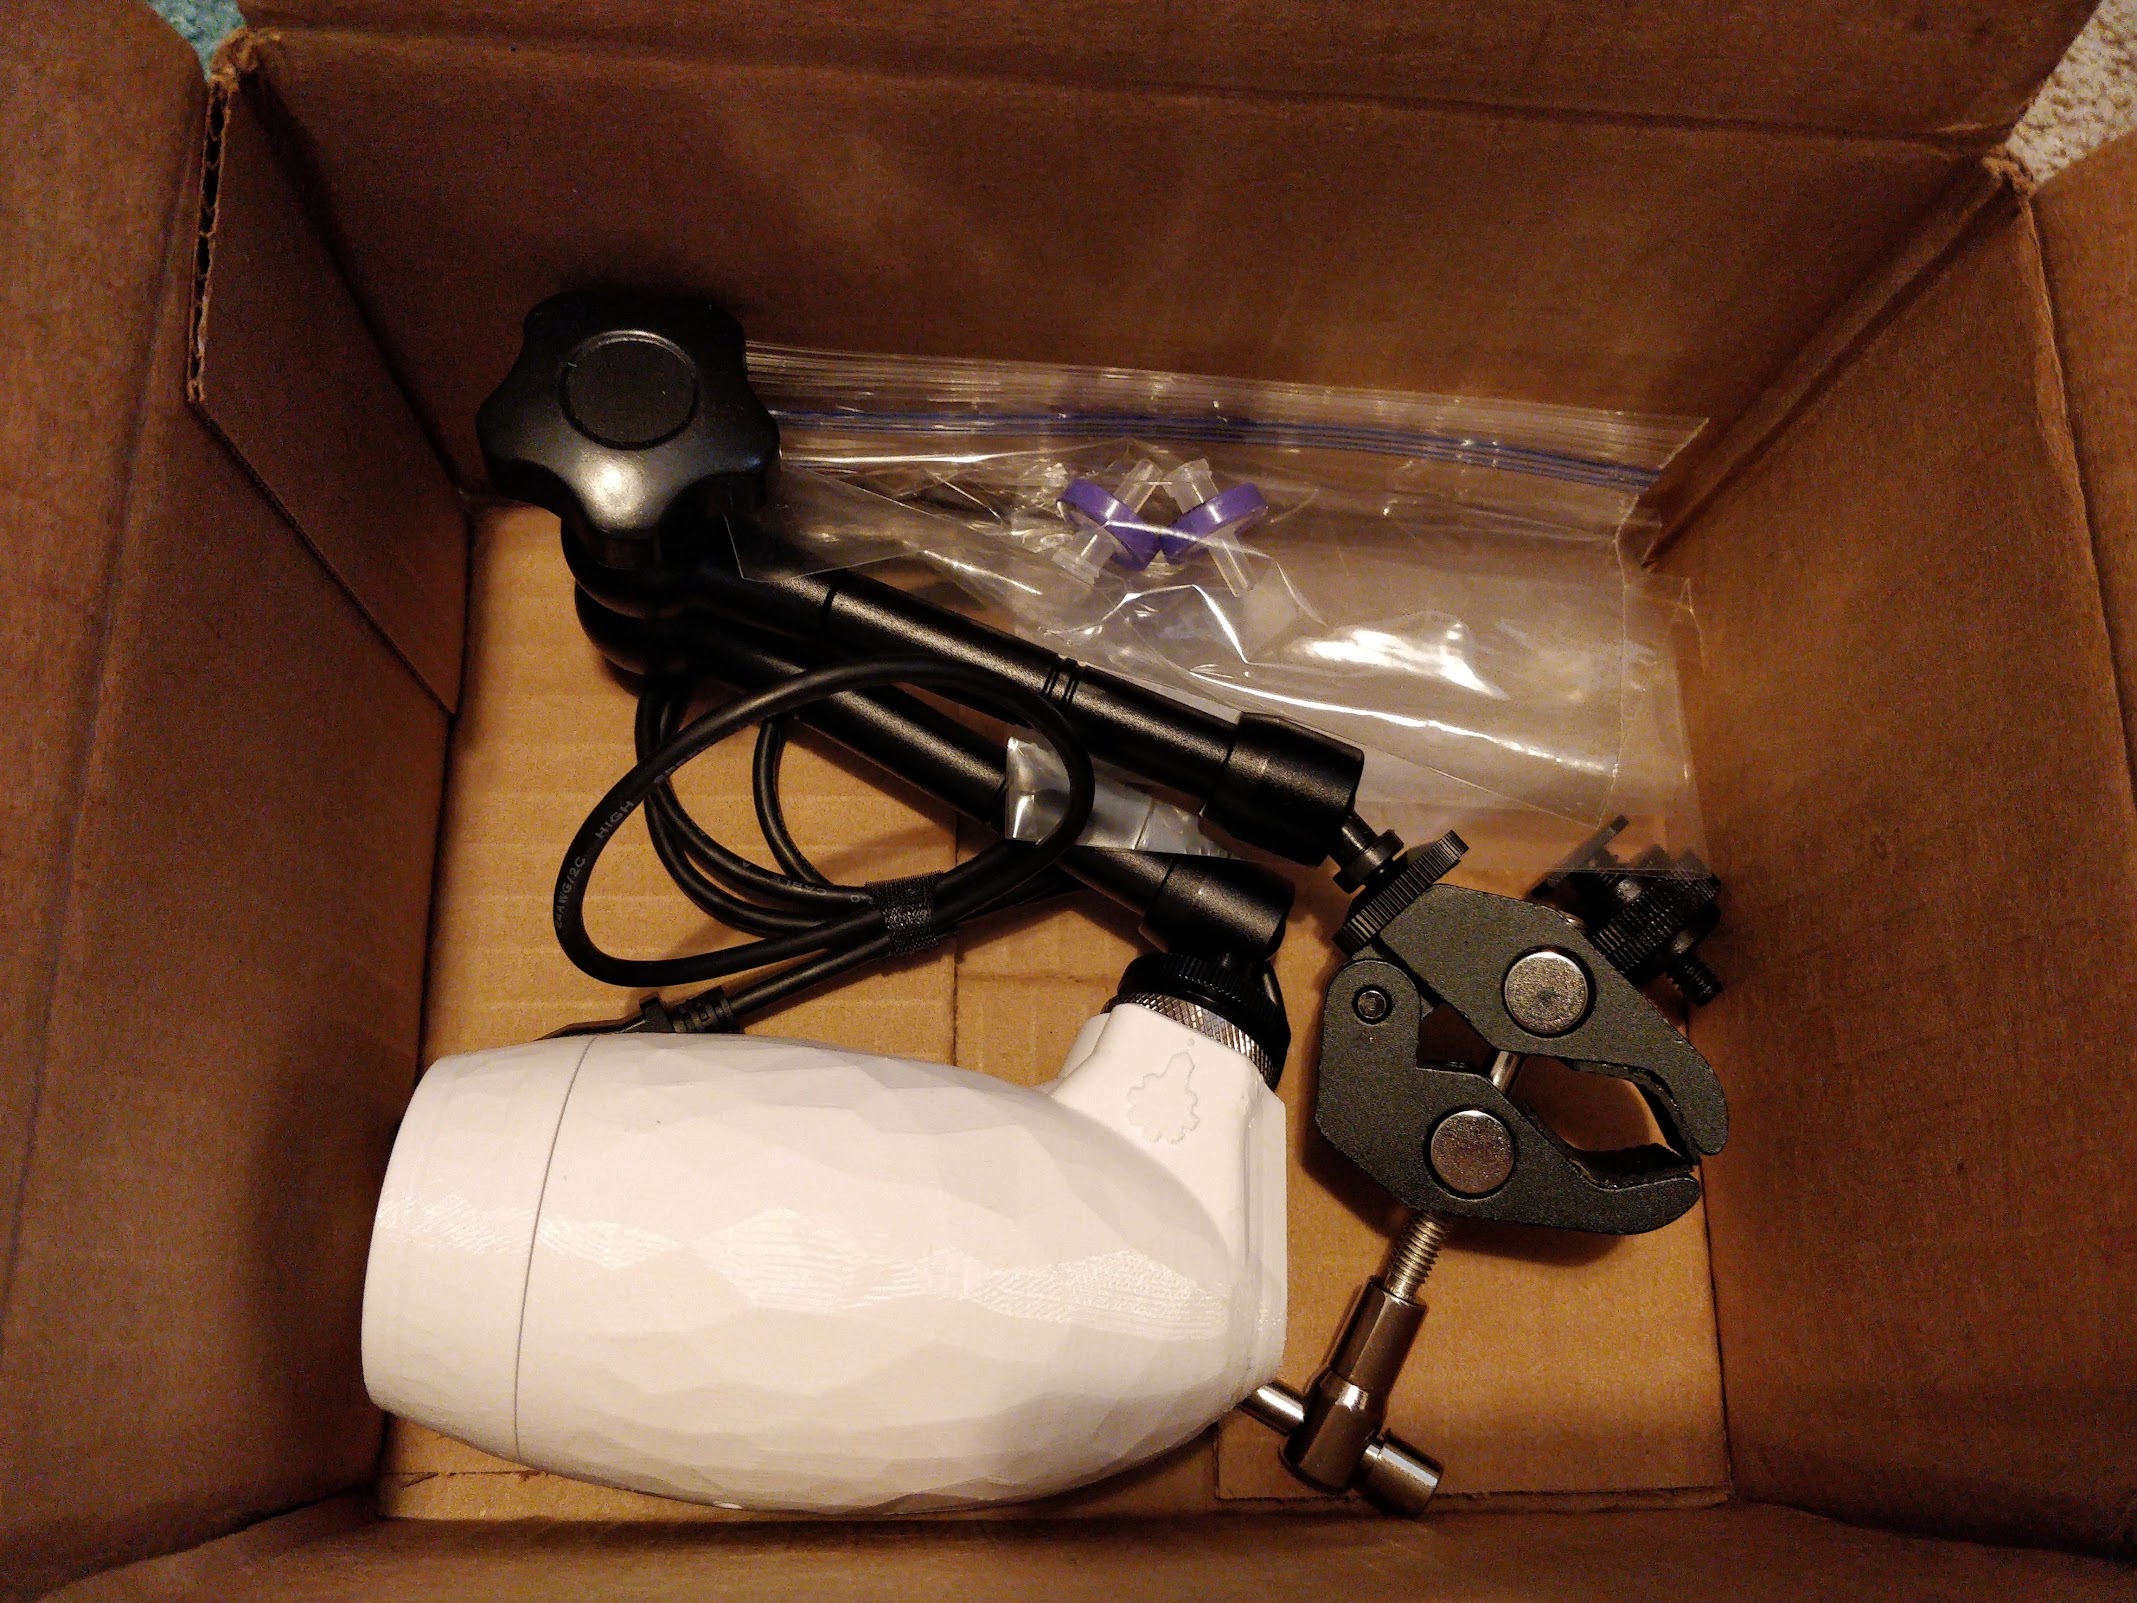
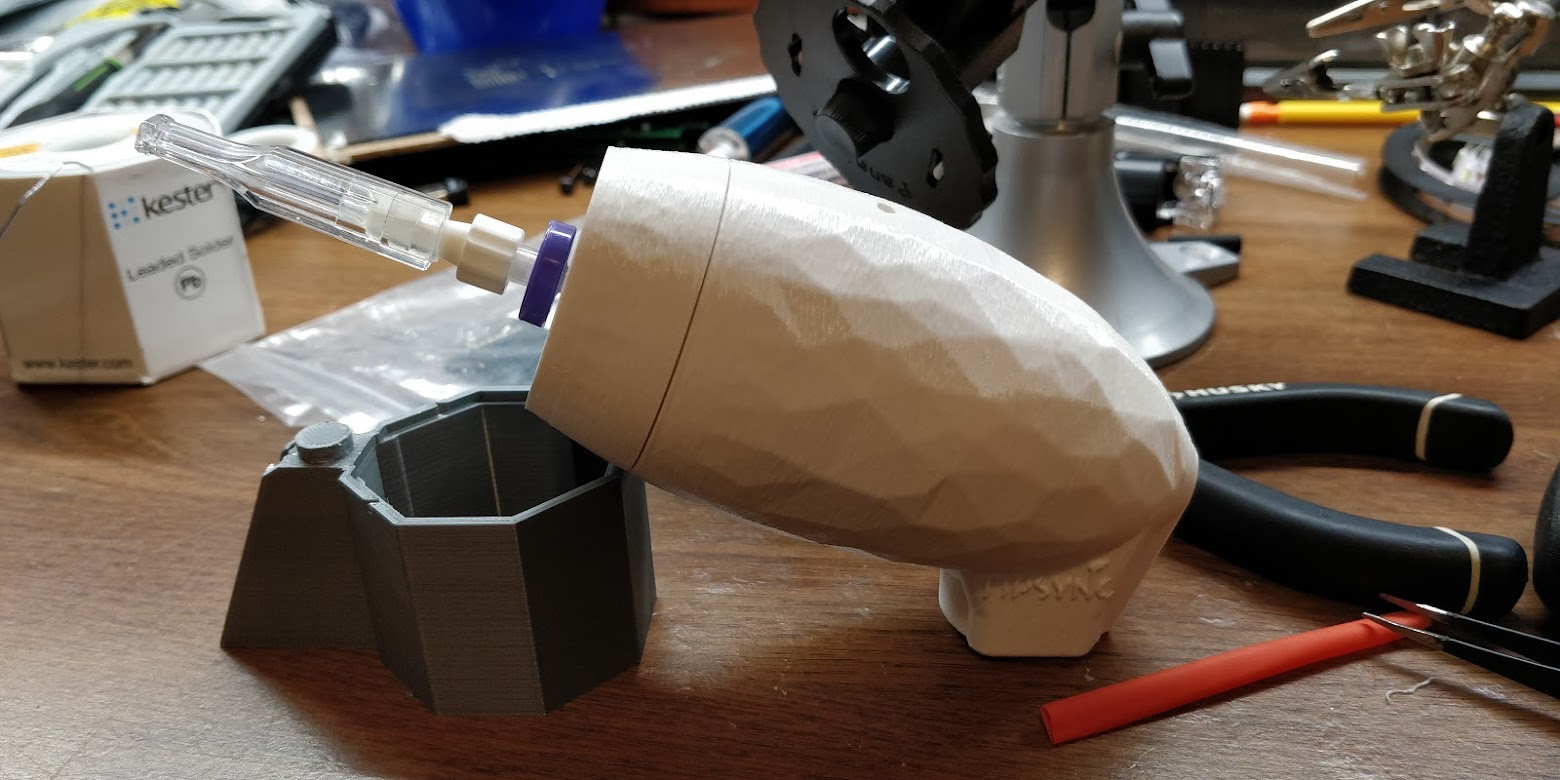
The current button design requires a hobby level 3D printer and mechanical keyboard switches. See instructions below for build details.

Standard Tesselated Geometry - 689.37 kB - 08/23/2016 at 19:47

Download

Standard Tesselated Geometry - 863.46 kB - 08/23/2016 at 19:47

Download

button_base.fcstd

Design file.

x-extension-fcstd - 349.61 kB - 08/23/2016 at 19:47

Download

button_hatch.fcstd

Design file.

x-extension-fcstd - 16.47 kB - 08/23/2016 at 19:47

Download

Standard Tesselated Geometry - 3.40 kB - 08/23/2016 at 19:47

Download

  • Printed switches for ALSA

    Christopher02/05/2019 at 18:00 2 comments

    Cyndy and I have been working toward a single-finger tactile switch for her clients to use, and a while back I printed and shipper her a design by Davross: https://www.thingiverse.com/thing:3211154

    I got some feedback today, and will be working on a revised button that has different cord options and a lighter activation force!

  • On-site LipSync setup in Auburn, AL

    Christopher09/17/2018 at 21:54 0 comments

    This past weekend I drove down to Auburn to help with installing the LipSync for my first user, Mr. M! It was busier than expected, as I accidentally scheduled the trip for a home game of Auburn vs. LSU.


    I had pretty minimal coordination with Cyndy, my contact at ALSA, mostly due to my lack of time outside of work. But we were able to set a date and I got up Saturday, packed my car, printed some directions to Auburn, and hit the road! The drive down took about 4 hours, and then I spent an additional hour lost inside campus, just trying to find the right neighborhood among the teeming masses of people present for the football game.

    Finally I found the house. Cyndy was already there so we unpacked and got to work. The main order of business was figuring out how to mount the LipSync to Mr. M's wheelchair, which proved surprisingly difficult.

    The first candidate was Loc-Line, a new (to us) product Cyndy had found which is a snake of linked plastic segments that snap together and create a fairly rigid arm.

    In true "if you have a hammer, everything looks like a nail" fashion, I printed a few pieces to test making an adapter from loc-line to the LipSync, only to discover that the weight of the LipSync was too much for the length of loc-line required. A LipSync can be supported by about one foot of the stuff, any more and just the weight of the mouse will drag it out of position.

    We worked with a few other mounting ideas before settling on a flexible webcam arm purchased online. It had less than ideal clamps to mount to the wheelchair, but would work decently well on a desk. Finally, Mr. M was able to take the LipSync for a test drive!

    I didn't take very many pictures, as I was essentially a stranger in Mr. M's home, but I did write down notes from the trip so that Cyndy and I can iterate and improve on the experience.

    Problems identified:

    • We didn't have a good solution for mounting the LipSync. In my testing I had just held the LipSync... With my hands. Pretty glaring omission on my part.
    • The LipSync does have a learning curve, and I need to find the best way of training someone new on using it to minimize frustration.
    • The LipSync needed some effort in configuration. Windows 10's default mouse acceleration profile was bonkers, and we had to tone it down to make the mouse usable.
    • The mouthpiece filter needs to have the extra locking piece. It popped off the LipSync within the first few minutes of use. We wound up supergluing that one together, with a promise that I'd fix it properly later.
    • The LipSync tended to move the cursor while Mr. M was trying to click. Perhaps a firmware change - one that locks out the first second of movement in case the user is trying to click - would help.

    Successes:

    • The i3Mk3 survived 4 hours in the car! I was able to drag it out of the passenger seat, set it up, and start printing pretty much straightaway (after a Z-Calibration). My old printer would not have handled travelling so gracefully.
    • We were able to get everything together enough that Mr. M was using a LipSync! There was a reasonable chance that we'd be stuck at some hurdle and have to leave without reaching that milestone, I'm so glad we made it!
    • After trying out the LipSync, Mr. M's testimonial is that it was easier to use than an eye tracker. That's a pretty positive review!

    Takeaways and future improvements:

    • Cyndy has ideas for more AT devices we can print. I'm very excited to help with developing those!
    • Having a wireless LipSync variant is the future. I need to investigate if the next gen Adafruit "Feather" based LipSync will have bluetooth.
    • When installing a LipSync, it needs to be 100%. There's not really a "eh, good enough" use case, because of the difficulty involved with just using the device to begin with. I need to get the mounting and user experience (software setup) really tuned in, otherwise the LipSync on its own isn't useful!

  • First LipSync user and better 3D prints

    Christopher09/06/2018 at 18:49 0 comments

    I have a user! The Alabama chapter of ALSA has a client who is interested in trying a LipSync to use. I shipped the unit ahead of time today, and I'm driving down to help with installation on the 15th!

    Read more »

  • First LipSync Working

    Christopher07/19/2018 at 17:30 0 comments

    I've been slowly working through the BOM for LipSync and gathering parts. Once enough items had arrived, I started putting together the first PCB. And just this week I was able to plug the LipSync into my laptop and control the mouse with it. It works!

    Read more »

  • PCBs and mouthpieces arrived

    Christopher06/16/2018 at 20:23 0 comments

    The LipSync PCBs arrived!

    Read more »

  • LipSync PCBs have shipped

    Christopher05/18/2018 at 06:11 0 comments

    Three LipSync PCBs are on the way! 

    I'm still scouting out the rest of the hardware, and have found a roadblock: some of the parts are listed on Qosina, which does not sell to individuals. Even worse, one of the parts (a mouthpiece) simply isn't available anywhere else. The closest thing I could find were AT mouthpieces made by Quadstick, so I bought a few of those. Eventually I'd like to try getting my local makerspace involved (yeah, right) and use their tax ID to purchase from Qosina. 

  • AT Kit Printing

    Christopher05/16/2018 at 04:57 0 comments

    It's been a little over half a year since my last progress here. I wish I hadn't taken this break from my hobbies, but at the end of last year a good friend of mine went into a coma and then passed away. It's been a struggle to just go through the motions for a while. 

    I'm back now though. Hopefully we'll get Clunke sorted and to a usable state soon.

    Read more »

  • 200W Print Bed Heater Results

    Christopher10/19/2017 at 14:27 0 comments

    I finally determined that the 100W heater I had just couldn't keep up with the demand of printing at 80-100C, so I purchased a silicon 200W replacement and got it installed.

    Read more »

  • Still Tuning

    Christopher10/12/2017 at 00:13 0 comments

    The PETG arrived!

    Read more »

  • PET-G Tuning

    Christopher10/09/2017 at 15:45 0 comments

    Printing with PETG is turning out to be pretty difficult. Every time I think things are tuned, something new goes out of whack and I'm back to square one.

    Read more »

View all 21 project logs

  • 1
    Step 1

    Making one button takes me about 8 hours of printing and 1 hour of assembly.

    MaterialsAssembly
    • Print the button base, button hatch, and and key cap.
    • Solder the MX switch to the mono port with two pieces of wire, about 3 inches each.
    • Install the MX switch in the middle of the button base, and then run the mono jack to the port on the flat side. Screw the mono port's threads into the hole in the side of the button.
    • Jam the key cap onto the cherry MX switch. This can optionally be done with a light spring over the switch stem to adjust the force of the button.
    • Optionally glue or bolt (M3 bolts) the shelf liner to the bottom of the button to make a no-slip base!

    Can also optionally have superglue to hold things together.

View all instructions

Enjoy this project?

Share

Discussions

Michael wrote 10/09/2017 at 19:39 point

Obviously doesn't have the high reliability your going for, but still fun in the same vein.https://www.youmagine.com/designs/awesome-button-for-dash-button

  Are you sure? yes | no

Christopher wrote 10/09/2017 at 23:22 point

That's pretty cool, I love the printed springs haha!

  Are you sure? yes | no

davedarko wrote 07/06/2017 at 20:56 point

this is also great for presenting projects stuff on cons / faires etc. - thank you for sharing :) 

  Are you sure? yes | no

Christopher wrote 07/07/2017 at 15:16 point

Good to know, thanks!

  Are you sure? yes | no

Similar Projects

Does this project spark your interest?

Become a member to follow this project and never miss any updates