 Ricardo Ferro
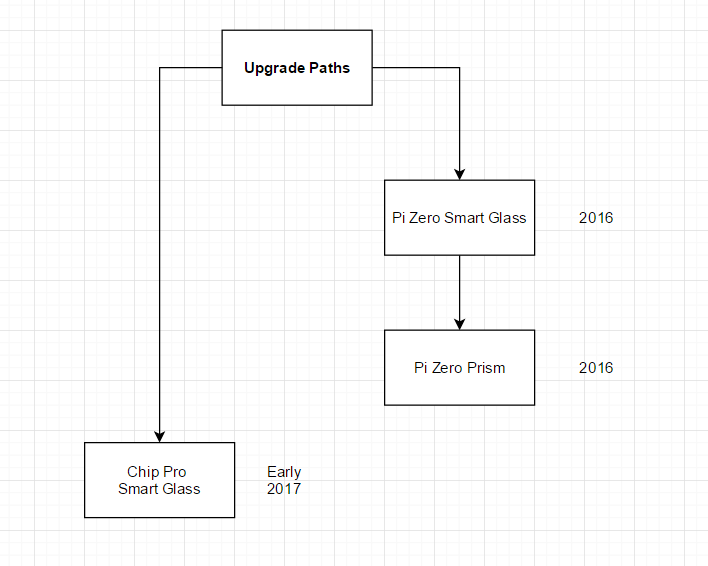
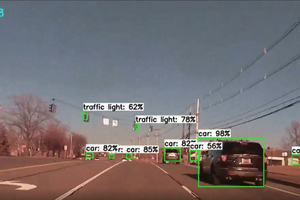
There are many applications for image recognition, which allows computers to translate written text into digital text. The PiGlass can help with the field of machine vision, recognizing people and objects. I will add major upgrades to the PiGlass in a few months.
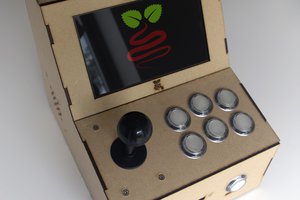
Make your own smart glasses easily with the Raspberry Pi Zero! Affordable and easy to build, retro-wearable 3D Virtual Stereo Digital Video glasses are around $75 along with the Pi Zero. This display uses composite video to connect the Pi Zero's video out pins and are easily customized. Add a battery pack and your PiGlasses are ready to go!


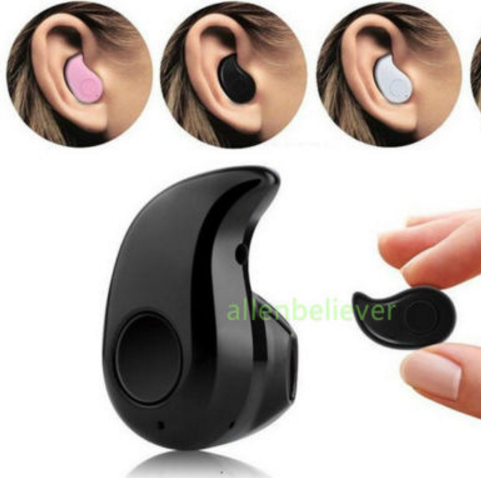 Ordered a little bluetooth headpiece(I'm hoping its comfortable). I will add voice recognition to the pi glass using


 Wesley Archer
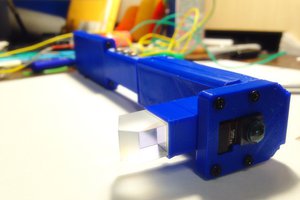
 ecd1012
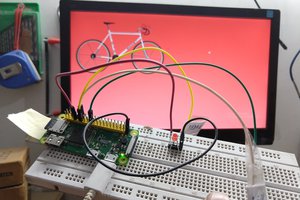
 satya sankar sahoo
Hi,
Where can I buy the exact video glasses that you used.
Thanks my students love your project