0%
0%
Arduino RFID Shield
Working with RFID is so much fun, you can do alot with these tags like controlling relay, turing lights on off, access control, door lock
 bhaskar.anil430
Become a Hackaday.io member
Already have an account? Log in.
Just one more thing
To make the experience fit your profile, pick a username and tell us what interests you.
Pick an awesome username
hackaday.io/
Your profile's URL: hackaday.io/username. Max 25 alphanumeric characters.
Pick a few interests
Projects that share your interests
People that share your interests

 Akshay Pradheep
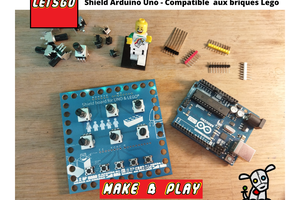
 Make&Play
 Open Technology
 Kimio Kosaka
Is any way to add a sd card slot shield and save all the informations on it ?