 Alvaro Ferrán Cifuentes
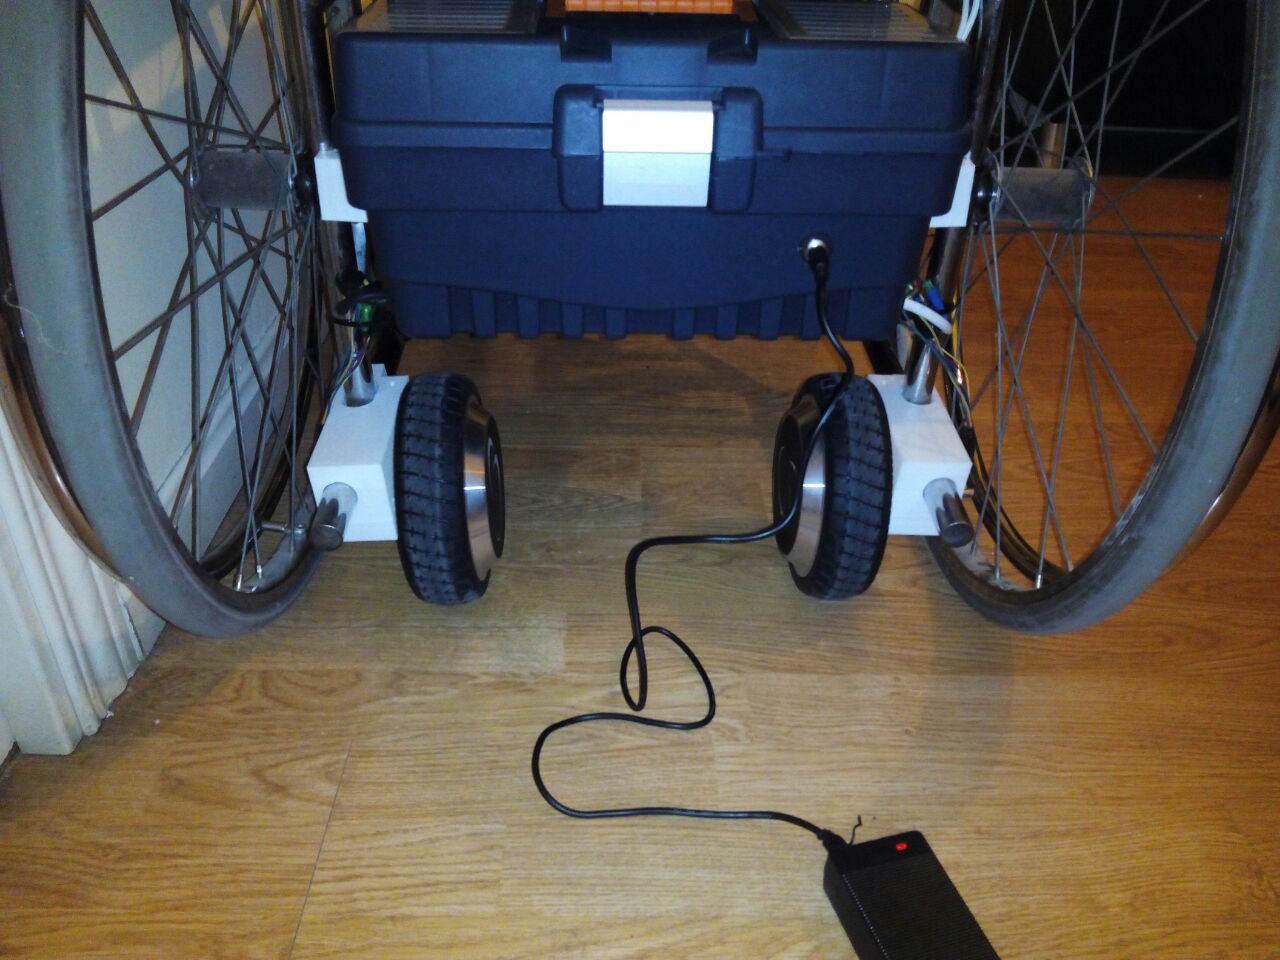
Since we moved away from the hoverboard case in this second design, we needed somewhere to place all the electronics, sturdy enough to protect the battery and make sure everything stays in place during use and transportation.
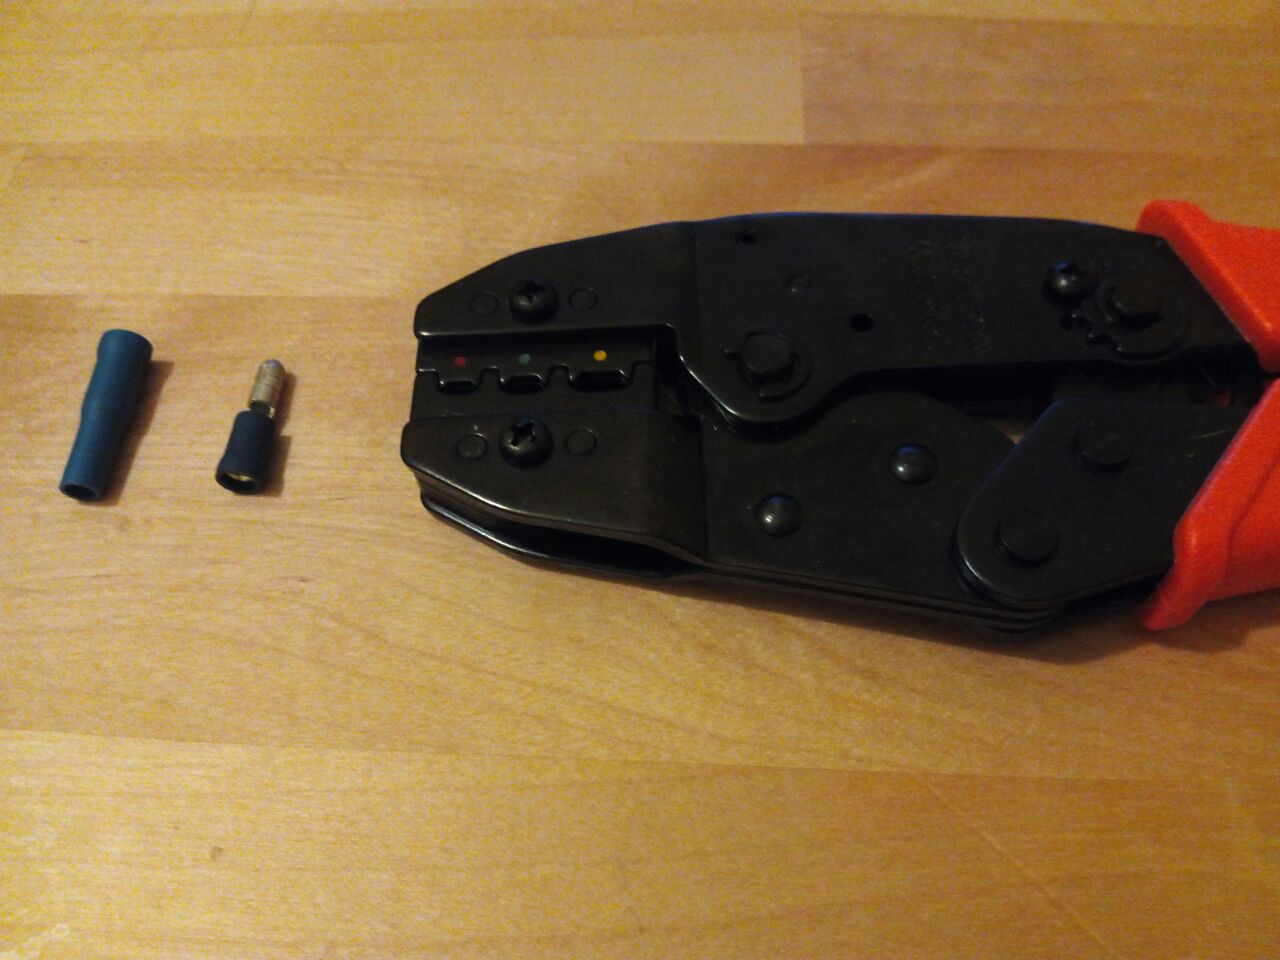
The best option we came with was buying a toolbox, which is both simple to get and cheap. One problem we had to solve was that while the wheels were now closer together, they were facing outwards, and so the distance between the board and the wheels increased. The longer cable covered this new stretch without problems, but we had to build a male to female cable adapter for the shorter side. We did this by crimping three 4mm insulated connectors of 2.5mm^2 section like the ones seen below to each side of three 16AWG cables for the power side of the motor, and simply plugging in five male to female jumper wires into the hall effect cable sockets.
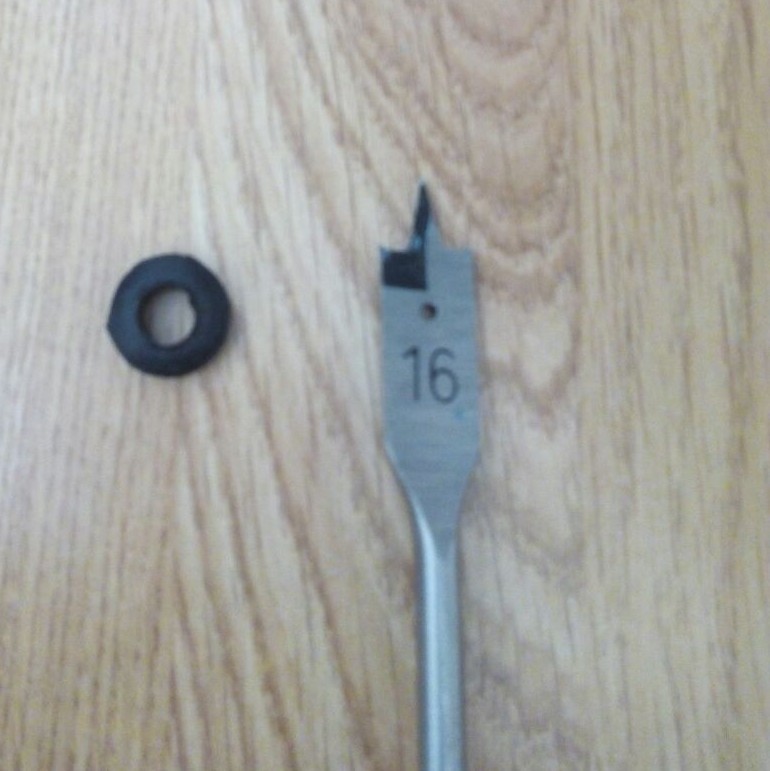
 After measuring everything, we cut the side holes for the motor and hall sensor cables with a 16mm spade drill bit and protected the cables from the sharp plastic edges with some rubber grommets of the same size.
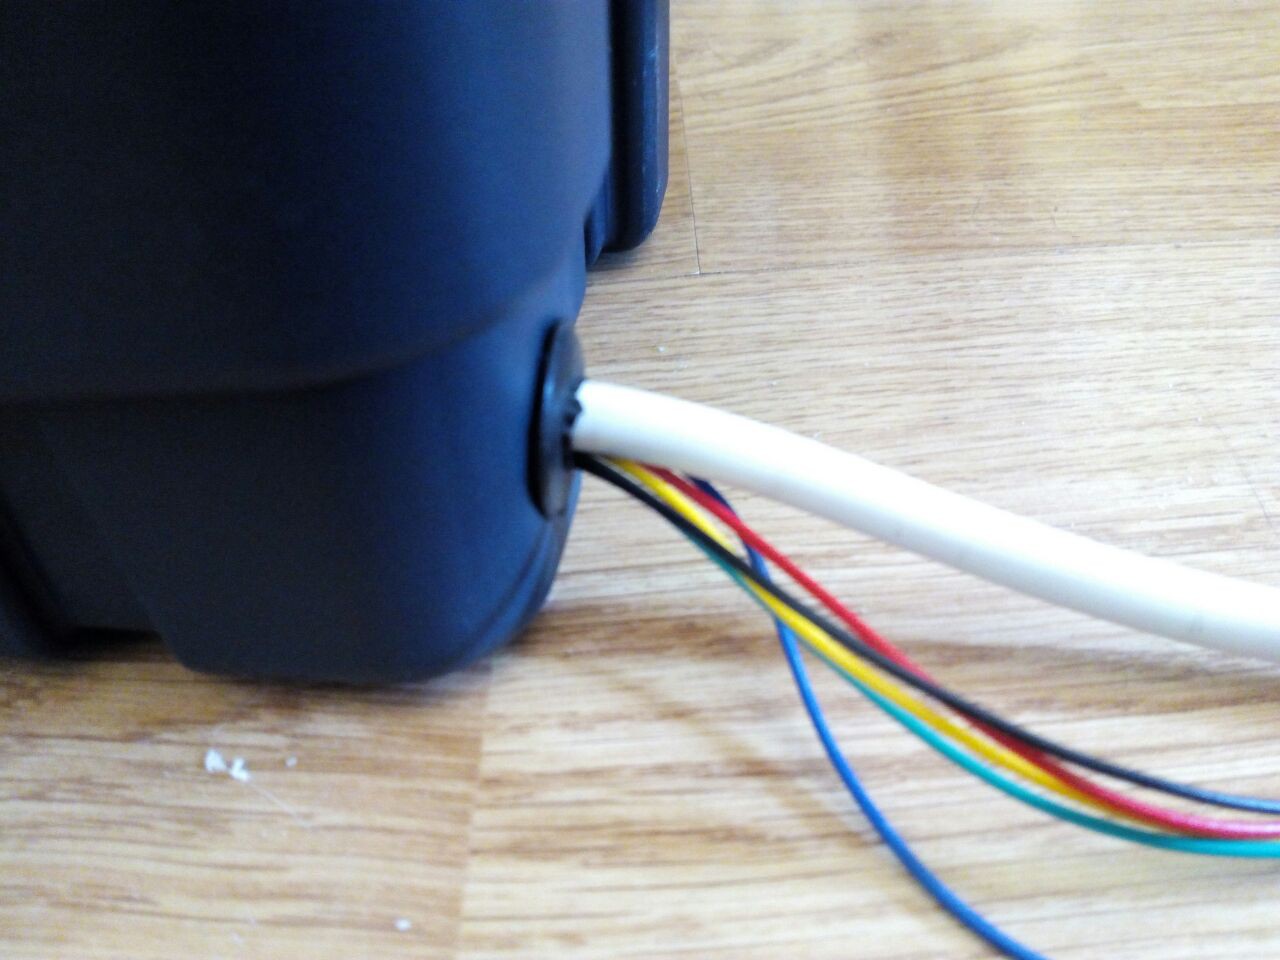
Here we can see a closeup of one of the sides,
and the final result on both.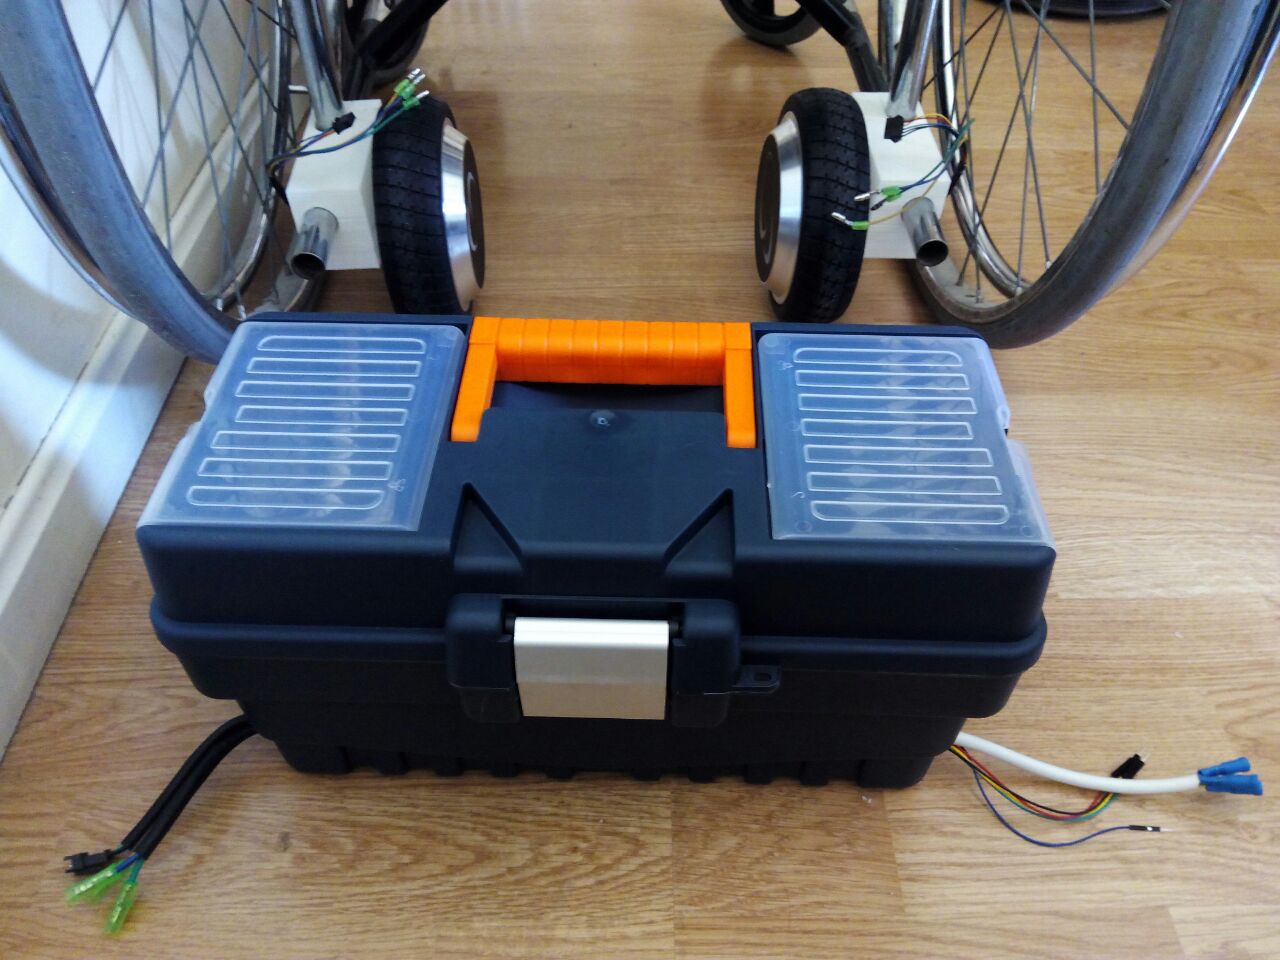
On the inside, we mounted the battery pack and controller using M4x20 bolts and their respective nuts, after drilling the appropriate holes. The battery also uses the original plastic case used to fix it in place in the board, and we added some bubble-wrap to the sides to make sure it doesn't slide or get scratched by any sharp edges in the box.
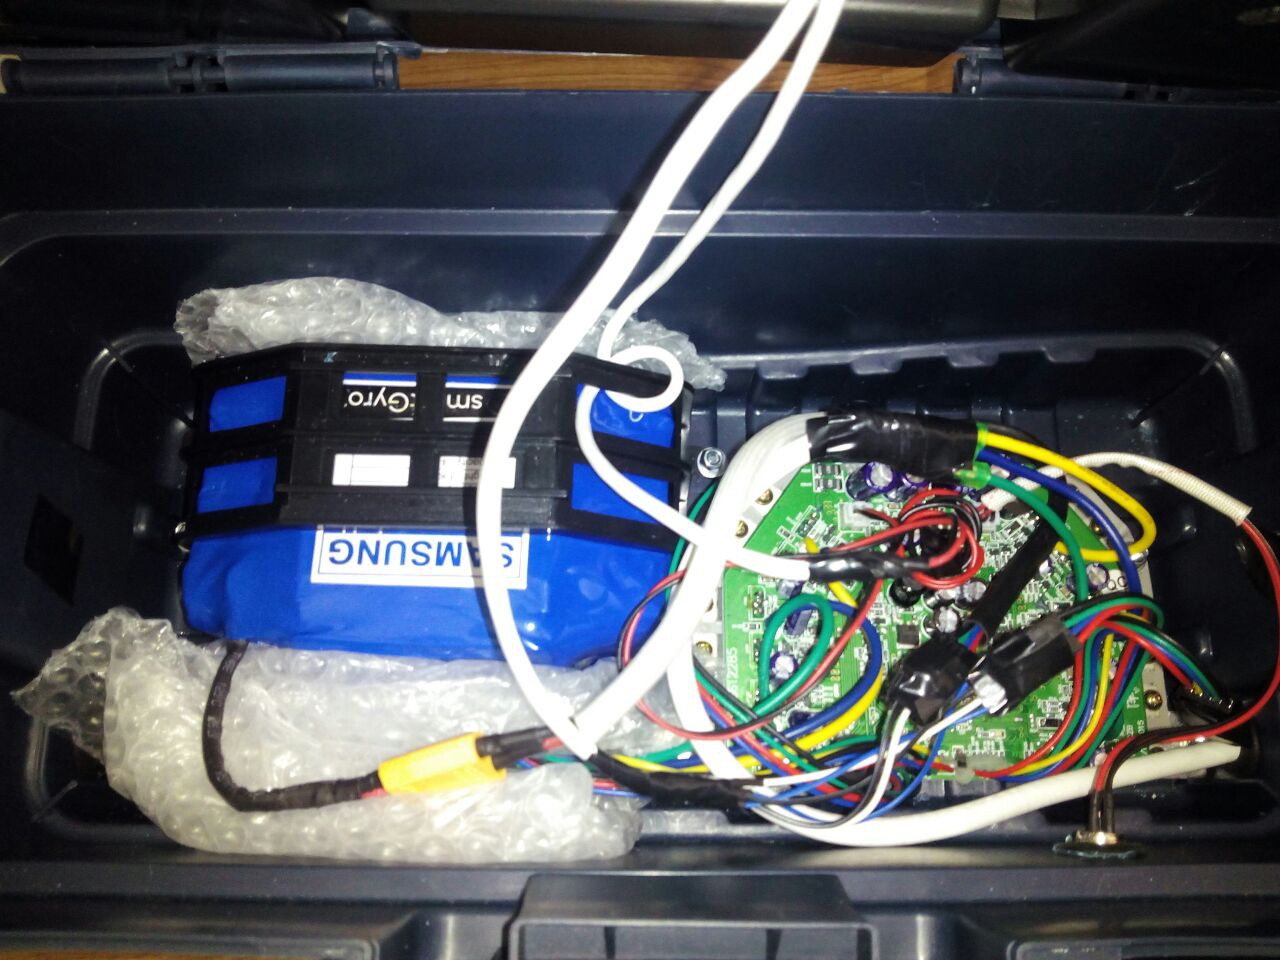
The upper tray is used to carry the battery charger so it is always available for some on-the-road charging. We have also tied the cables from the control pad around the handle to create a stress-relief so the fragile connectors don't break or the jumpers get disconnected if the cables are accidentally tugged.

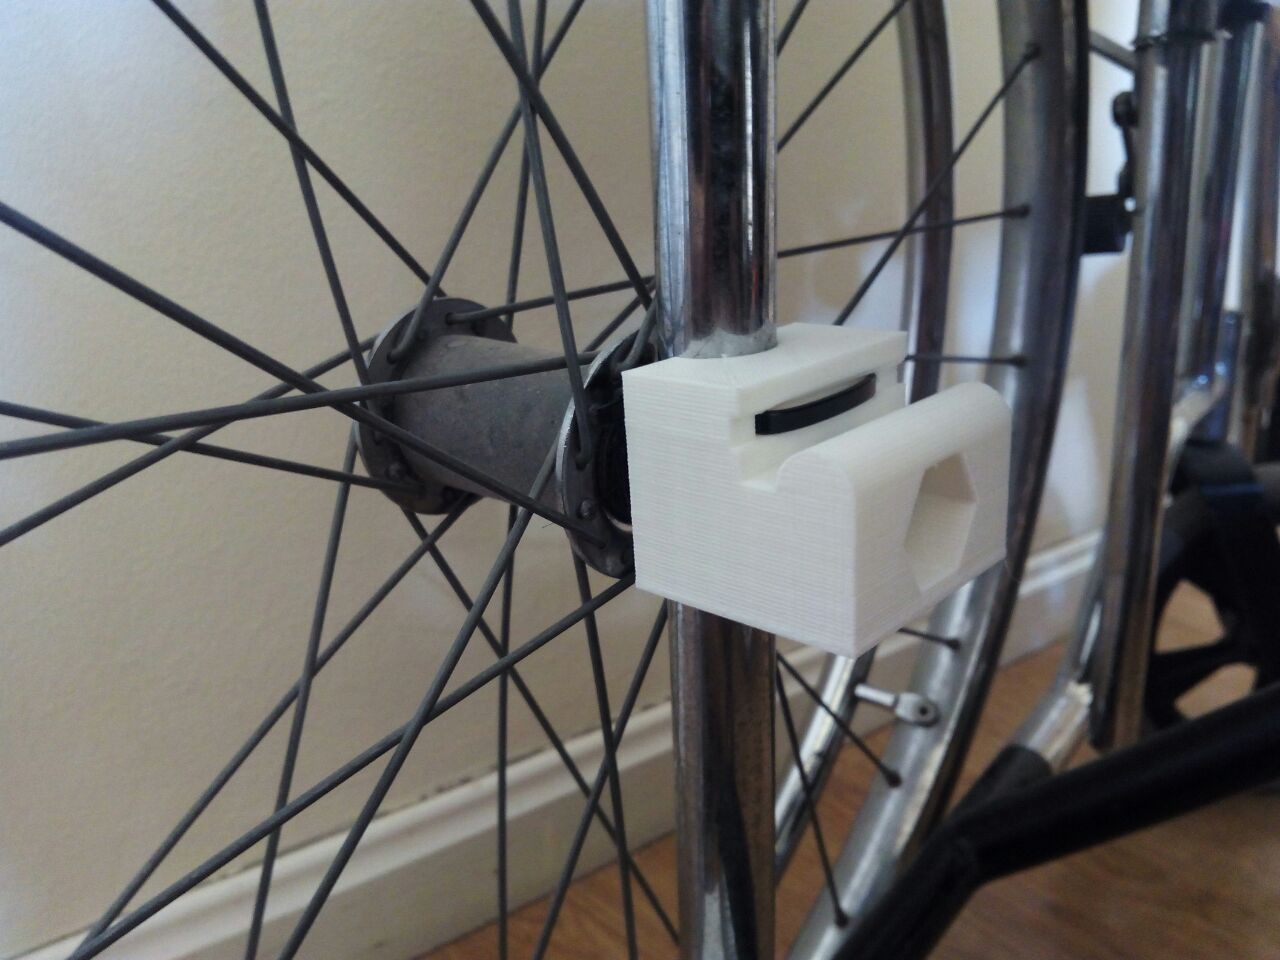
Our box had some handy brackets on the sides, which we used to fix it in place. This is the holding piece, which slides on the nut in the wheel's axis and is secured with a zip tie to prevent it from slipping off again.
All of this gives us a single unit containing the electronics with a place to carry our charger with us at all times.
Discussions
Become a Hackaday.io Member
Create an account to leave a comment. Already have an account? Log In.