 Jeremy Wilson
After the first Kickstarter failed to meet the funding goal, I decided to try again. Like the first Kickstarter, I wanted to time my launch with an event to get the word out, and it just so happened that the Bay Area Maker Faire was just around the corner!
The New Strategy - Think Small
I figured that I still wouldn't be able to get $25,000 for mass production, so I had to rethink how I would make the Sleep Sensei. I decided that if a reasonably small amount (less than 250) of Sleep Senseis were ordered, I would order the bare PCBs and solder the components myself. If quantities ordered exceeded these expectations, then the volume would be sufficient to put in a bulk order.
For example, I was quoted $8.27 per assembled PCB if only 100 were ordered, but the price went down to $3.57 each if I ordered 1000. The laser-cut bodies cost around $9 each shipped, and the mechanical components (knob, hinge) cost around $2. Adding in shipping, packaging, taxes, and Kickstarter fees, and the Sleep Sensei would sell at a loss at low quantities if I didn't fabricate the boards myself!
The New Design
For the second Kickstarter, I wanted to have a finished improved design for the Sleep Sensei. One bit of feedback I heard from several people was that the default breathing pattern wasn't right for them. Some complained the breathing rate was too slow, while others couldn't keep up.
So, I wanted to allow the user to customize all aspects of the breathing pace: how long the breaths are at the start and end of the coaching session, and how long the session lasts. I had to rethink the design, since I wouldn't be able to add all this functionality with just a button and a potentiometer. So, I switched up the design and opted for a rotary encoder with a built-in button.
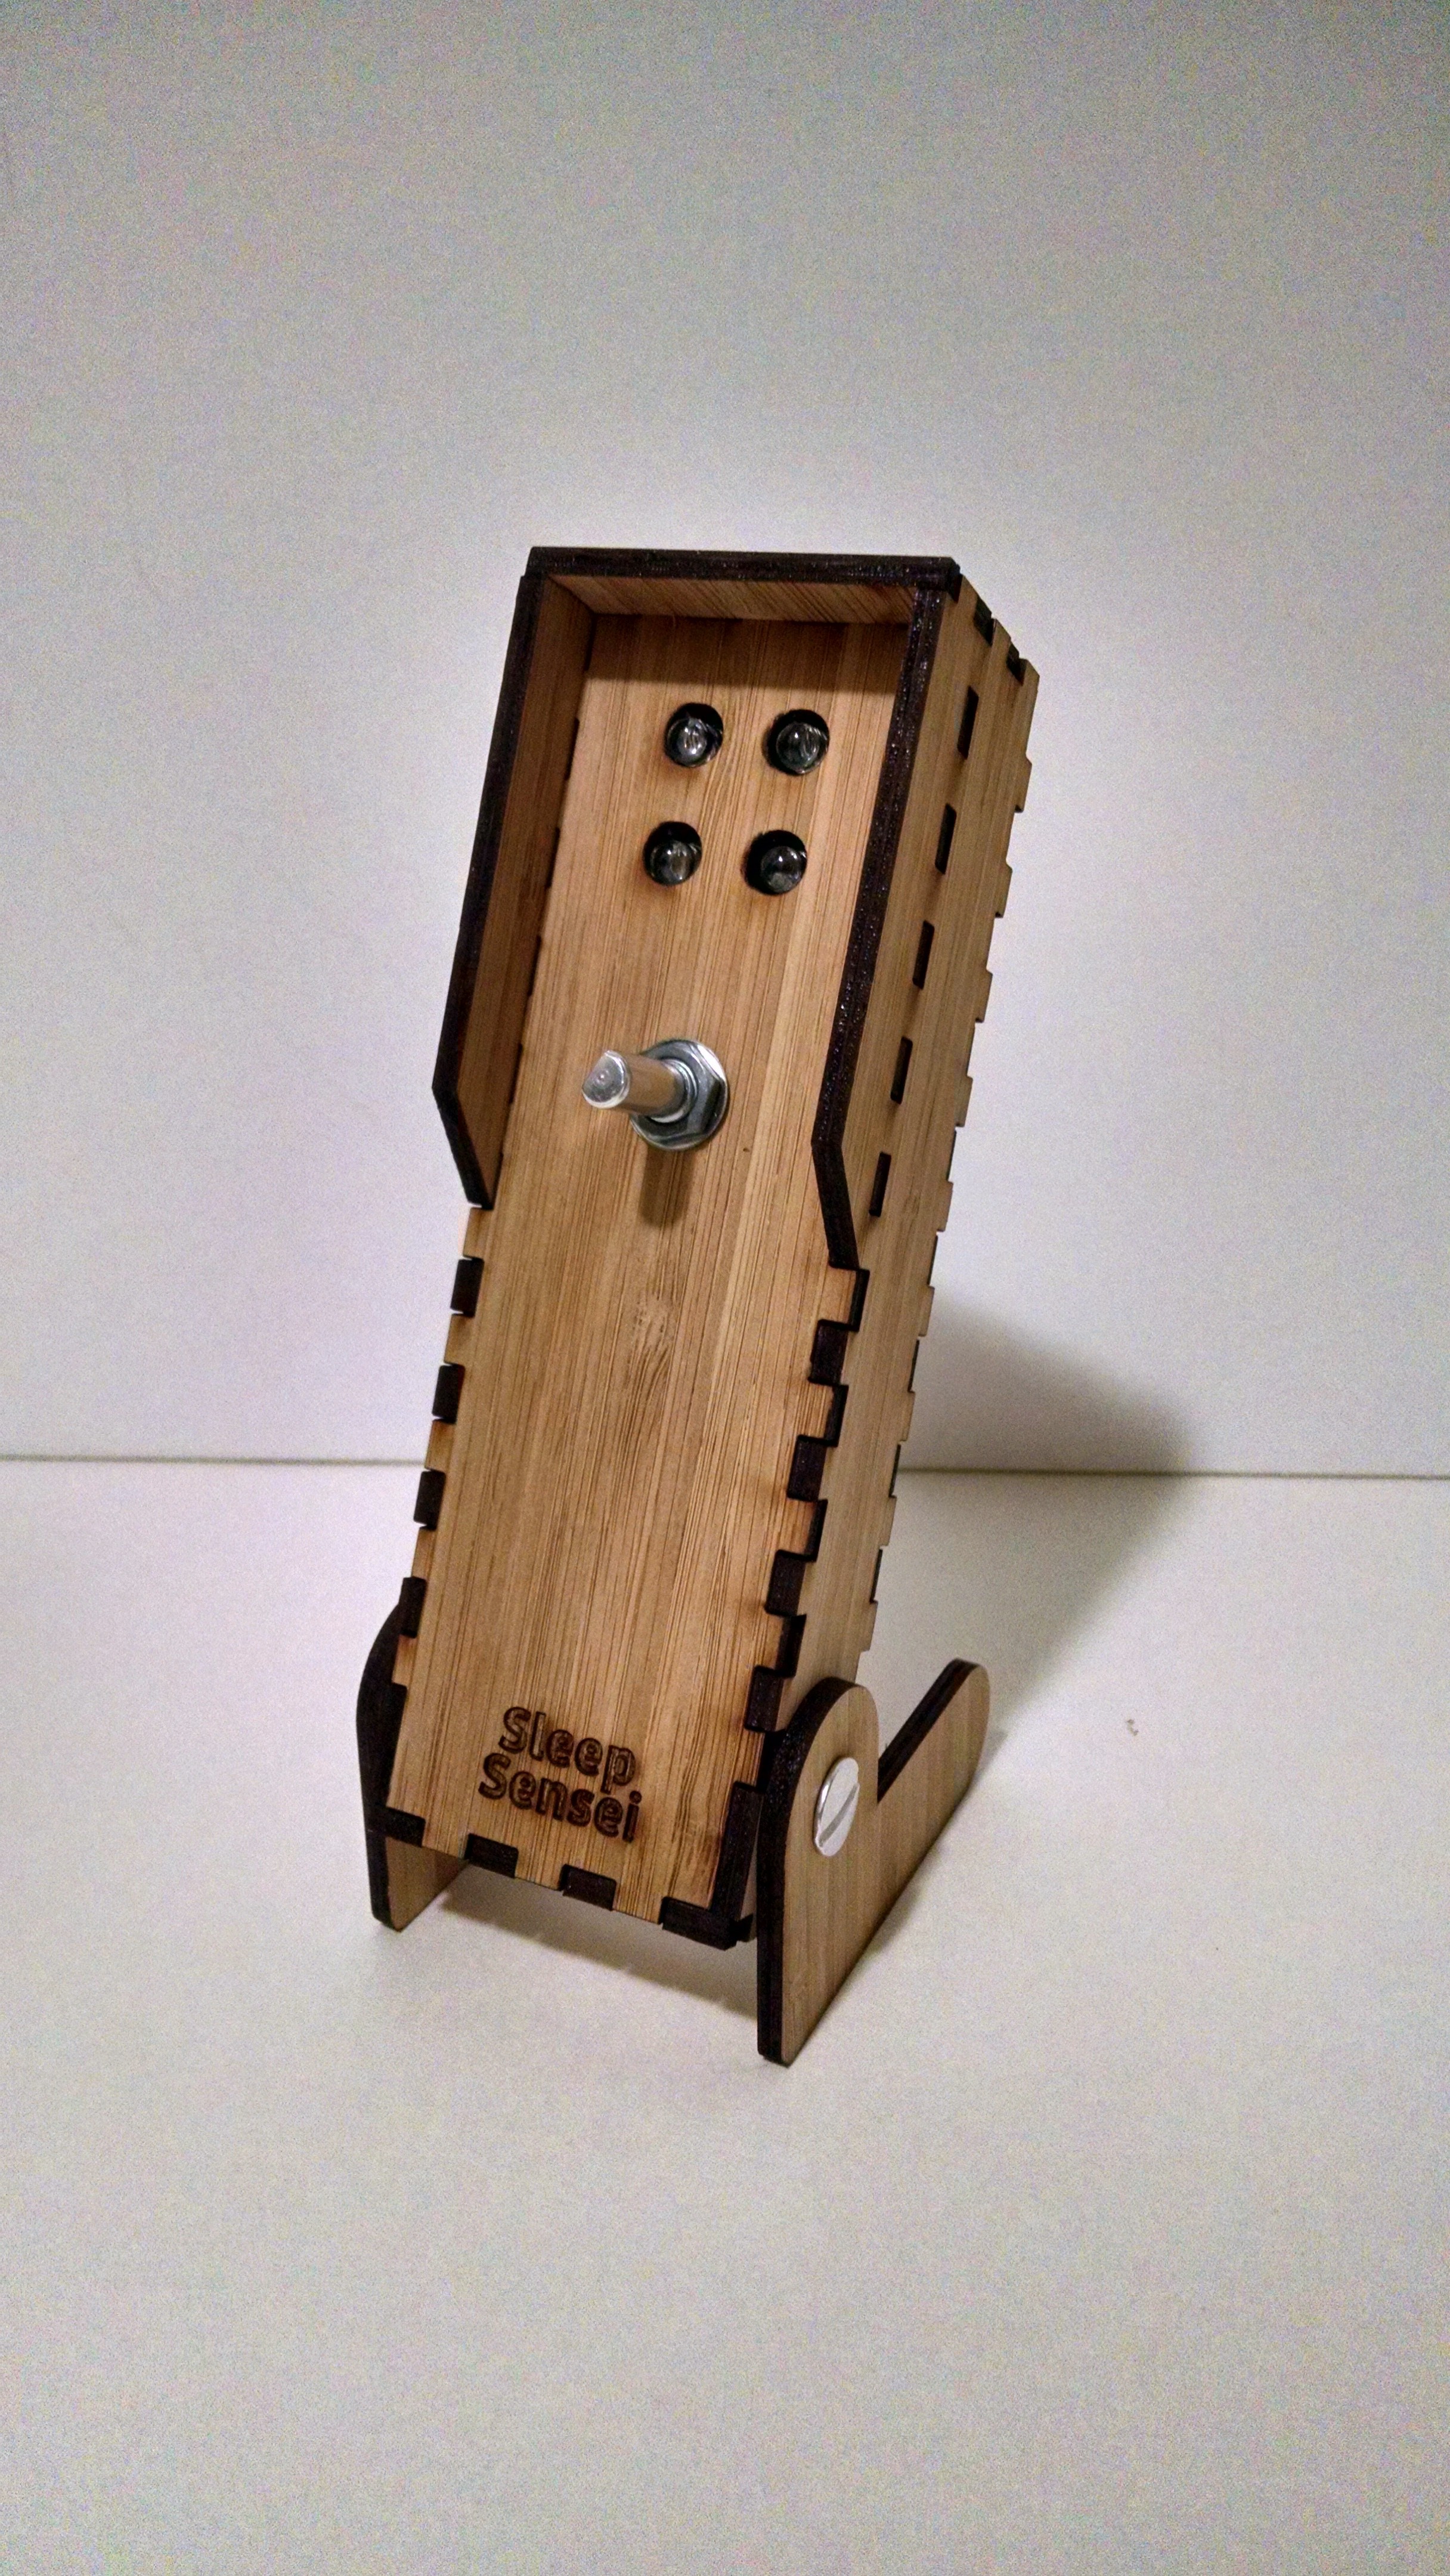
This gave me 3 forms of digital input: two directions of the knob and a button press. With this, I modified the code to include "menus" the user could activate in order to change the settings, and I made some instructional videos to clarify how the process is done.
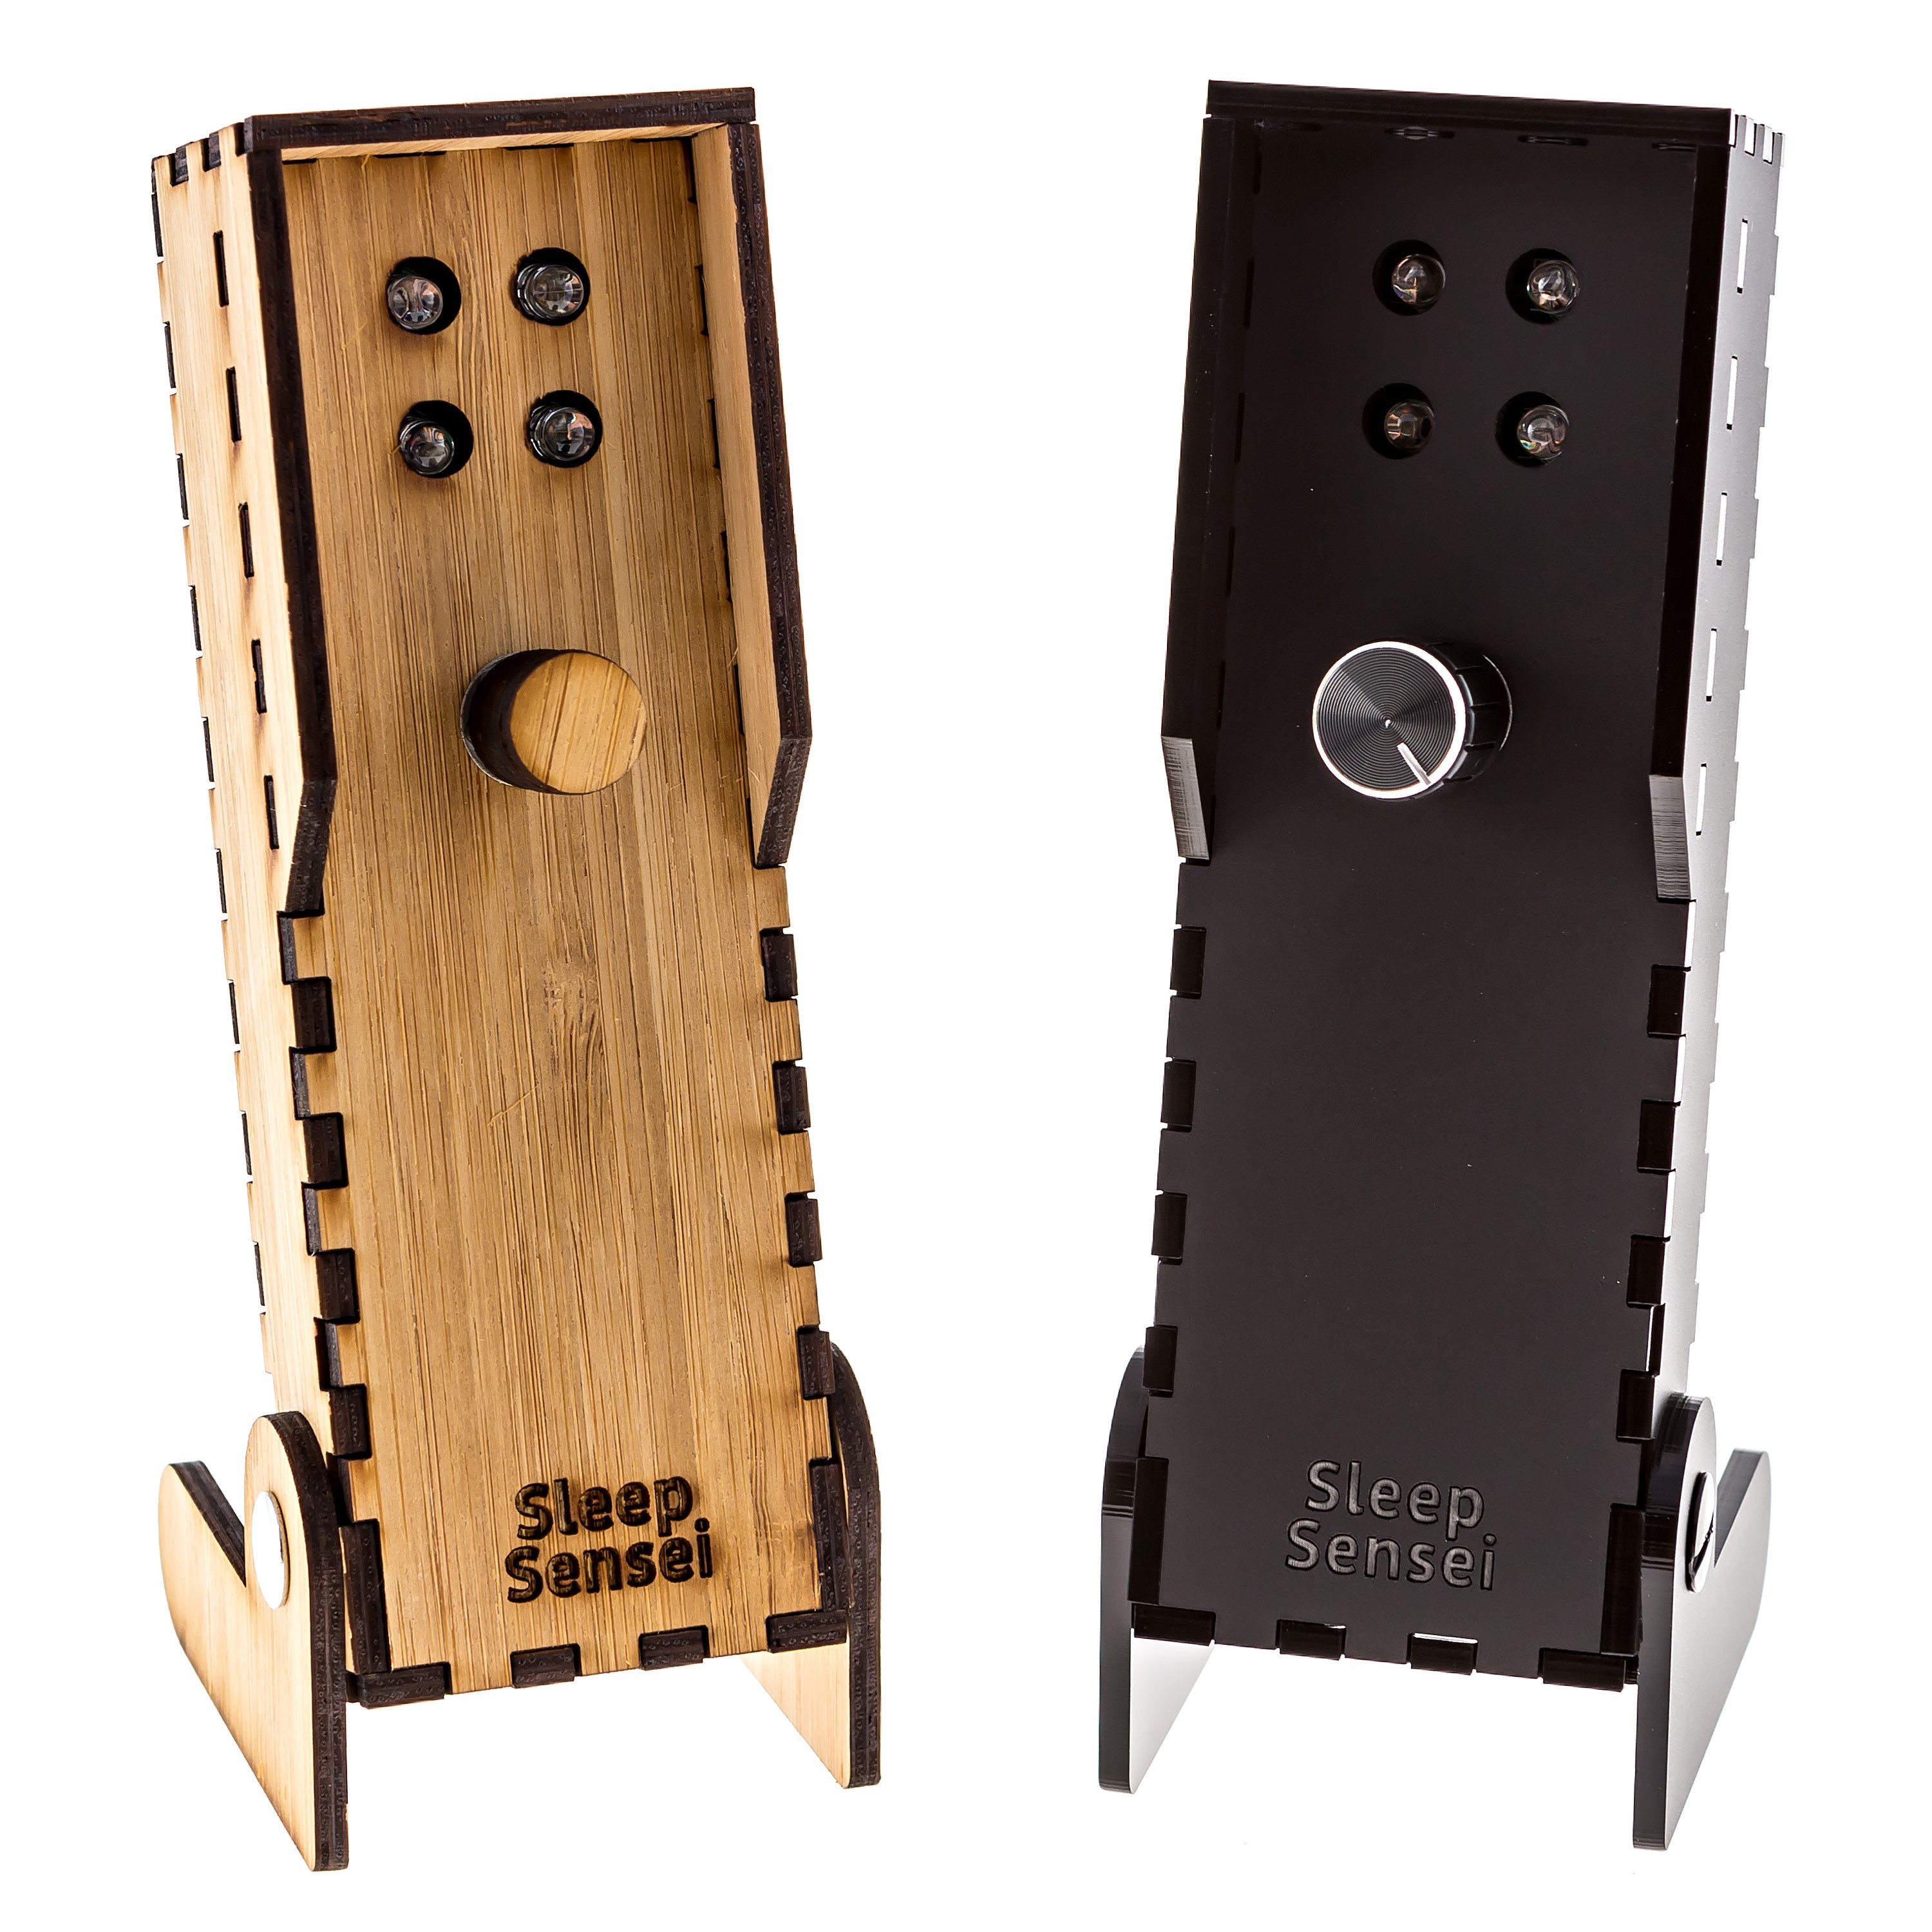
I also stared making the Sleep Sensei out of bamboo, since I liked the look and found the price to be comparable to using plastic.
Updating the Kickstarter
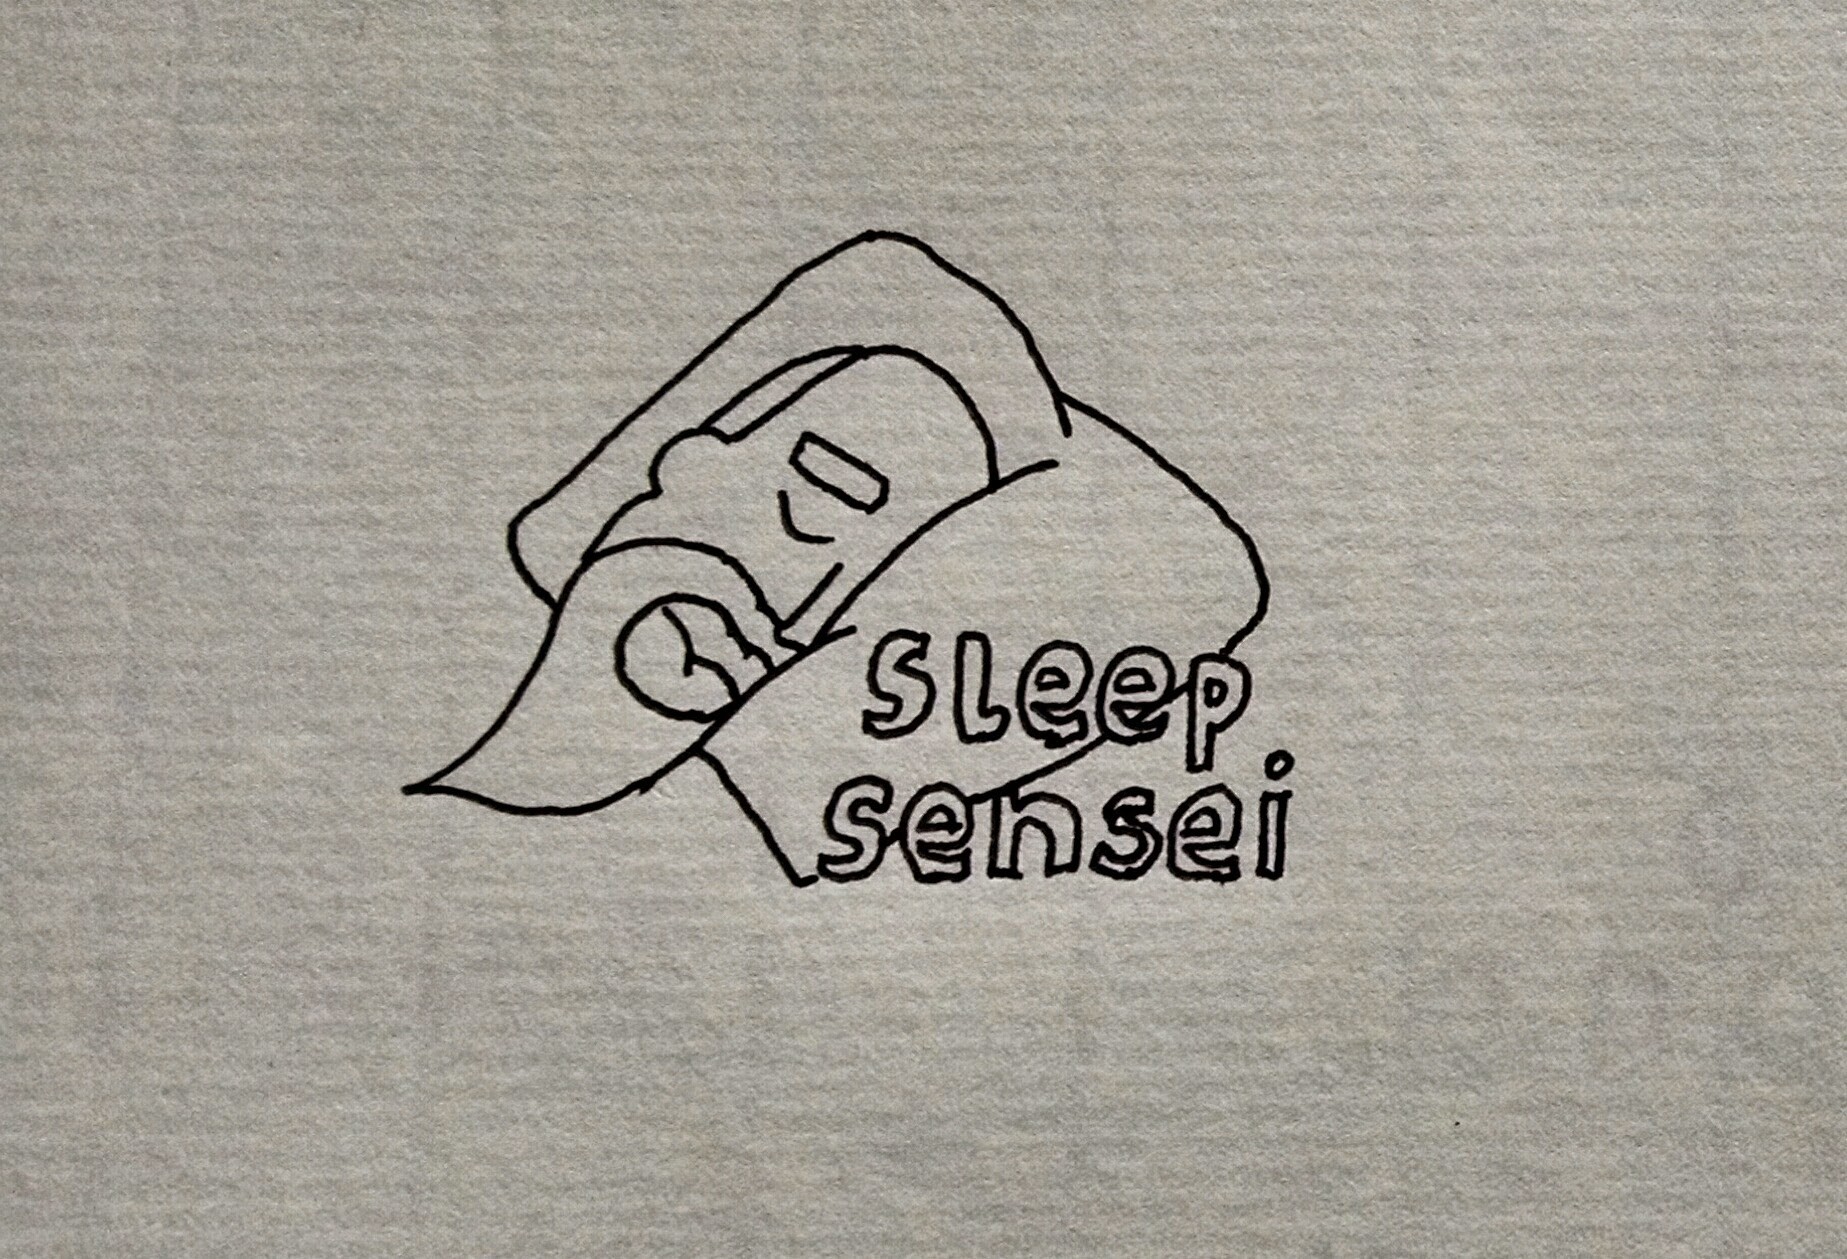
I also knew I needed a new logo and Kickstarter video. My girlfriend pitched in and came up with a sketch for a logo that I really liked:
My girlfriend also helped me shoot the new video, with directing and writing help (and use of her Mac for some much-needed premium editing software).
I also found a reasonably priced professional product photographer on Fiverr, and had some nice shots of the Sleep Sensei taken.
All in all, I wanted the new campaign to be more polished and professional, all while staying on a shoestring budget.
Marketing
This time, I wanted to be more proactive with the marketing of the Sleep Sensei, so I contacted Ponoko, the laser-cutting shop that produces the Sleep Sensei shell, and told them about the new Kickstarter. They were quite interested and ended up interviewing me and writing a post about it.
I also paid a couple of organizations that claim they will get you a bunch of backers through social media, but I did not get a single new backer as a result of their facebook posts and tweets. This seemed mainly because they sell the same service to hundreds of others, so your product is just one in a sea of many posts each day.
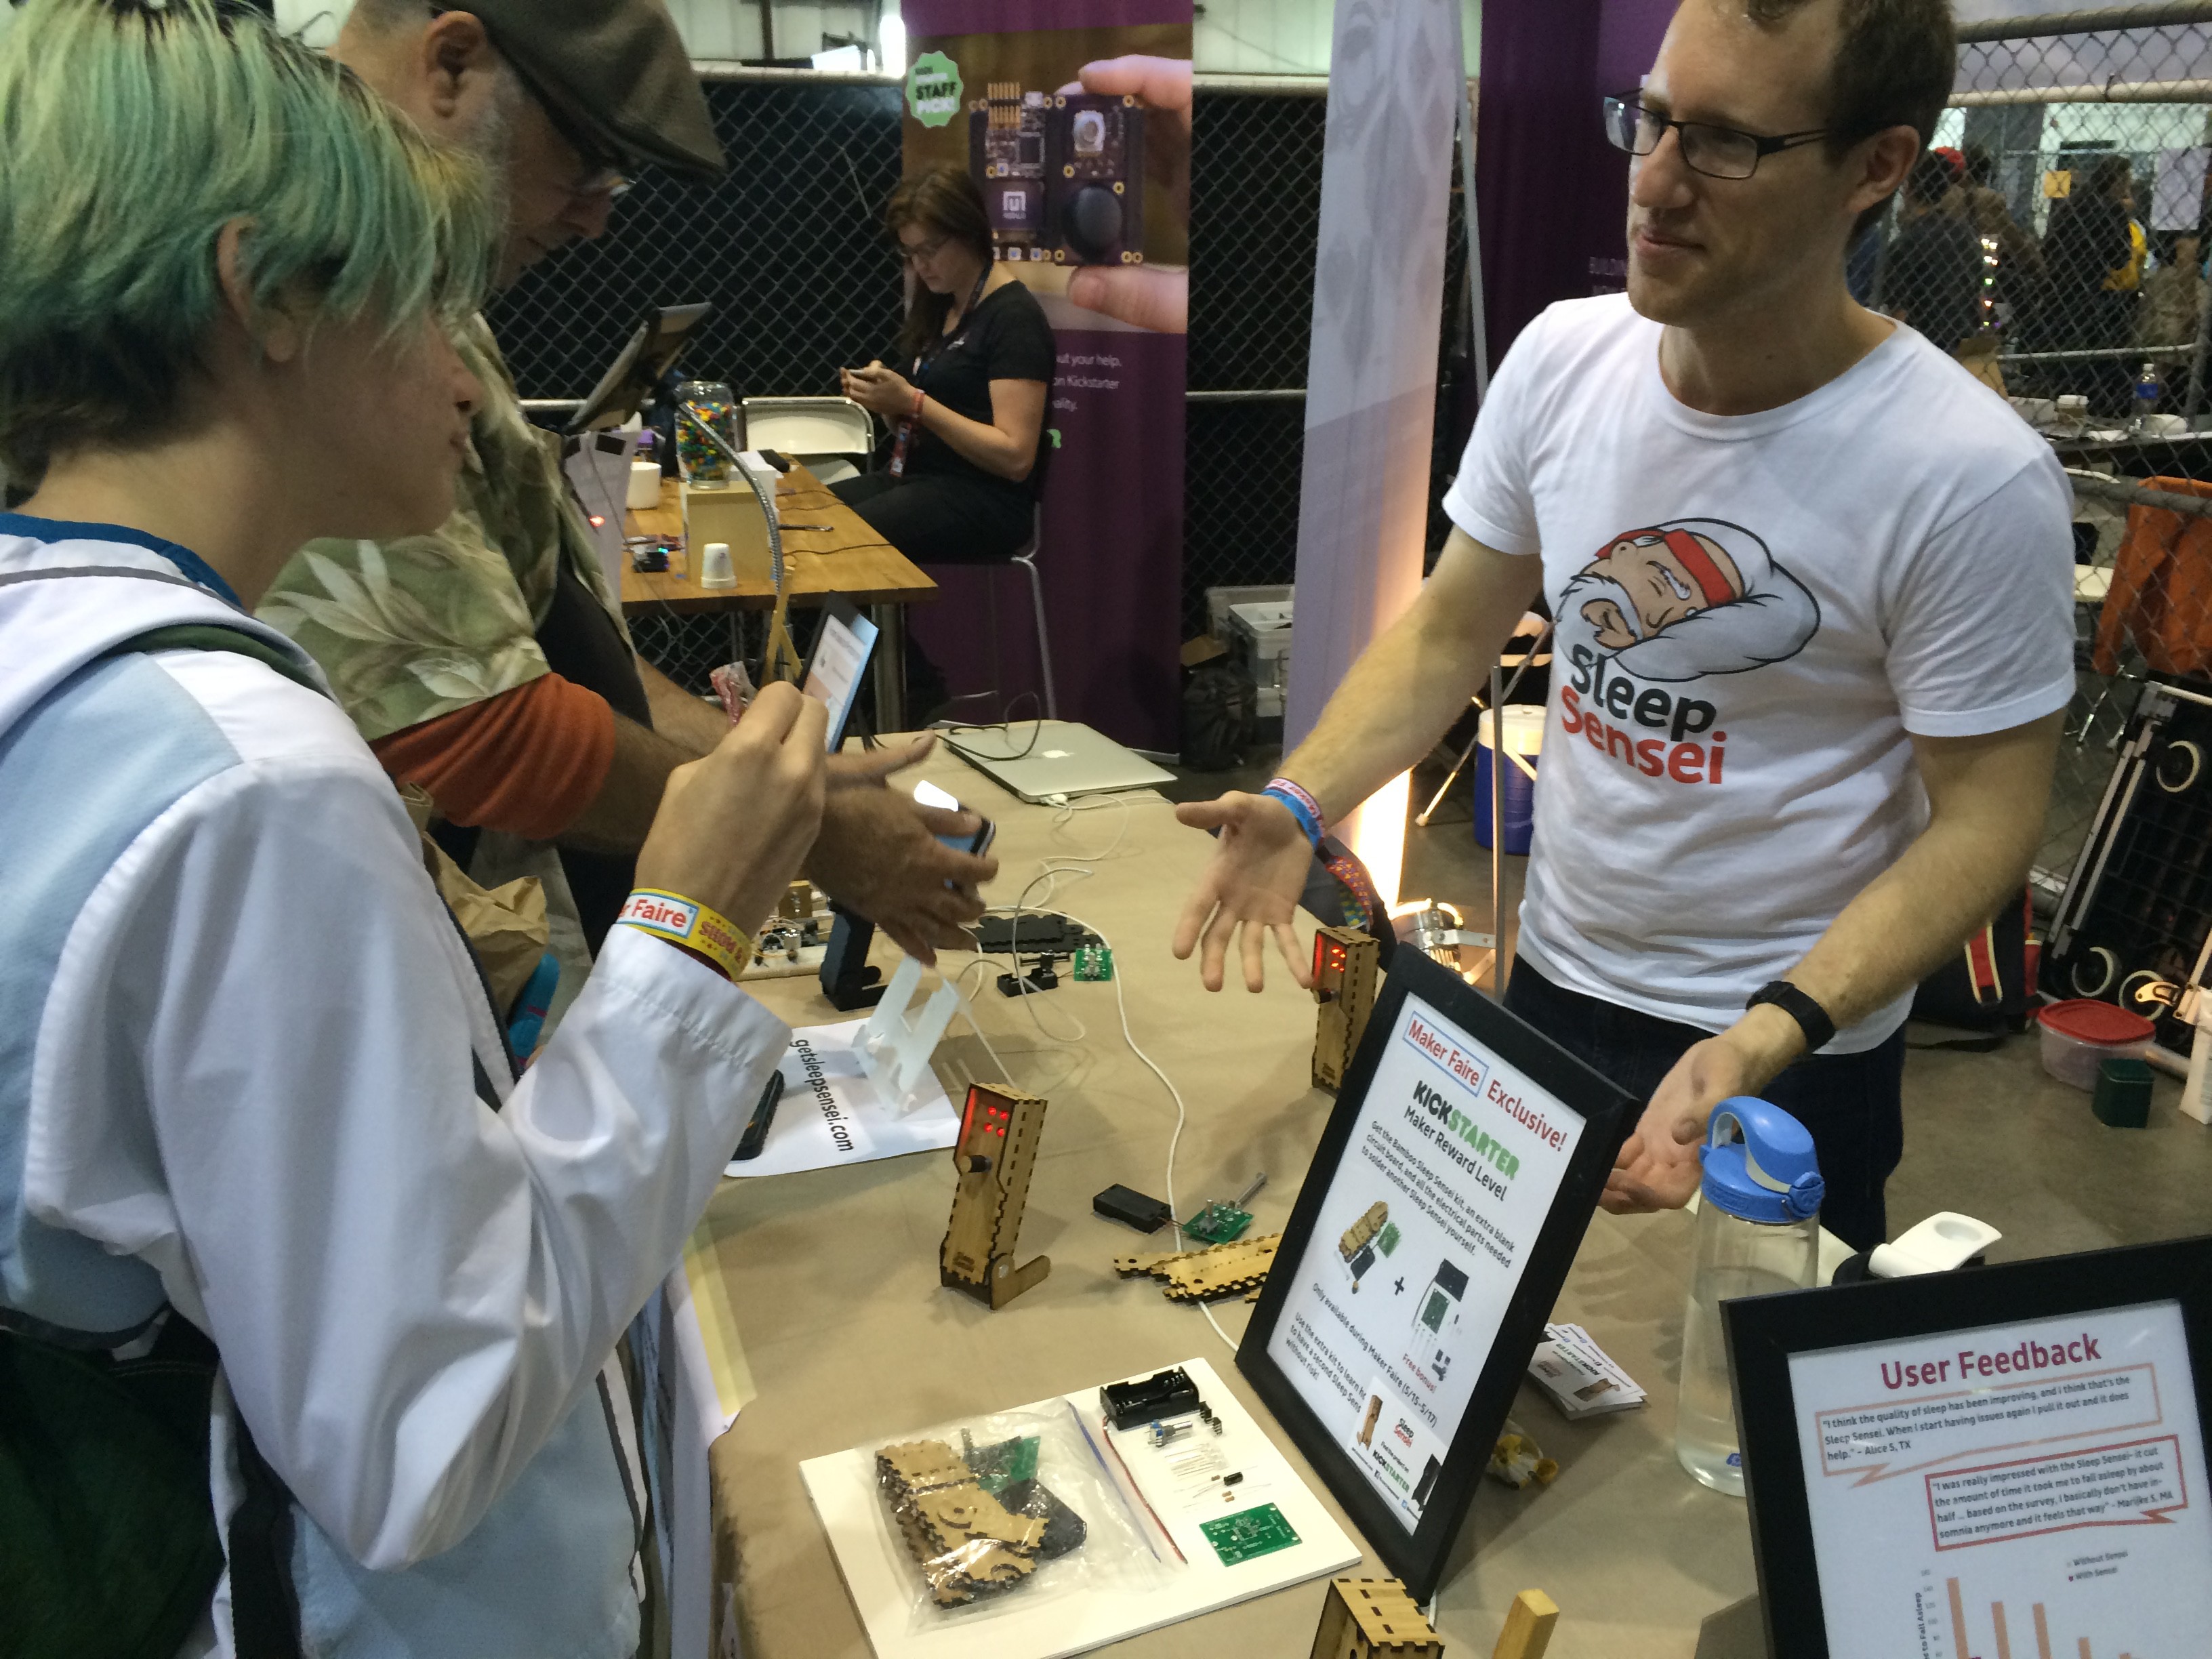
In the end, the Maker Faire ended up being the most valuable form of marketing, since I was able to show people the product and have them try it out in person. Most of my backers ended up coming out of the Bay Area, and I can assume that most of those backers were visitors to my Maker Faire booth.
After the Kickstarter
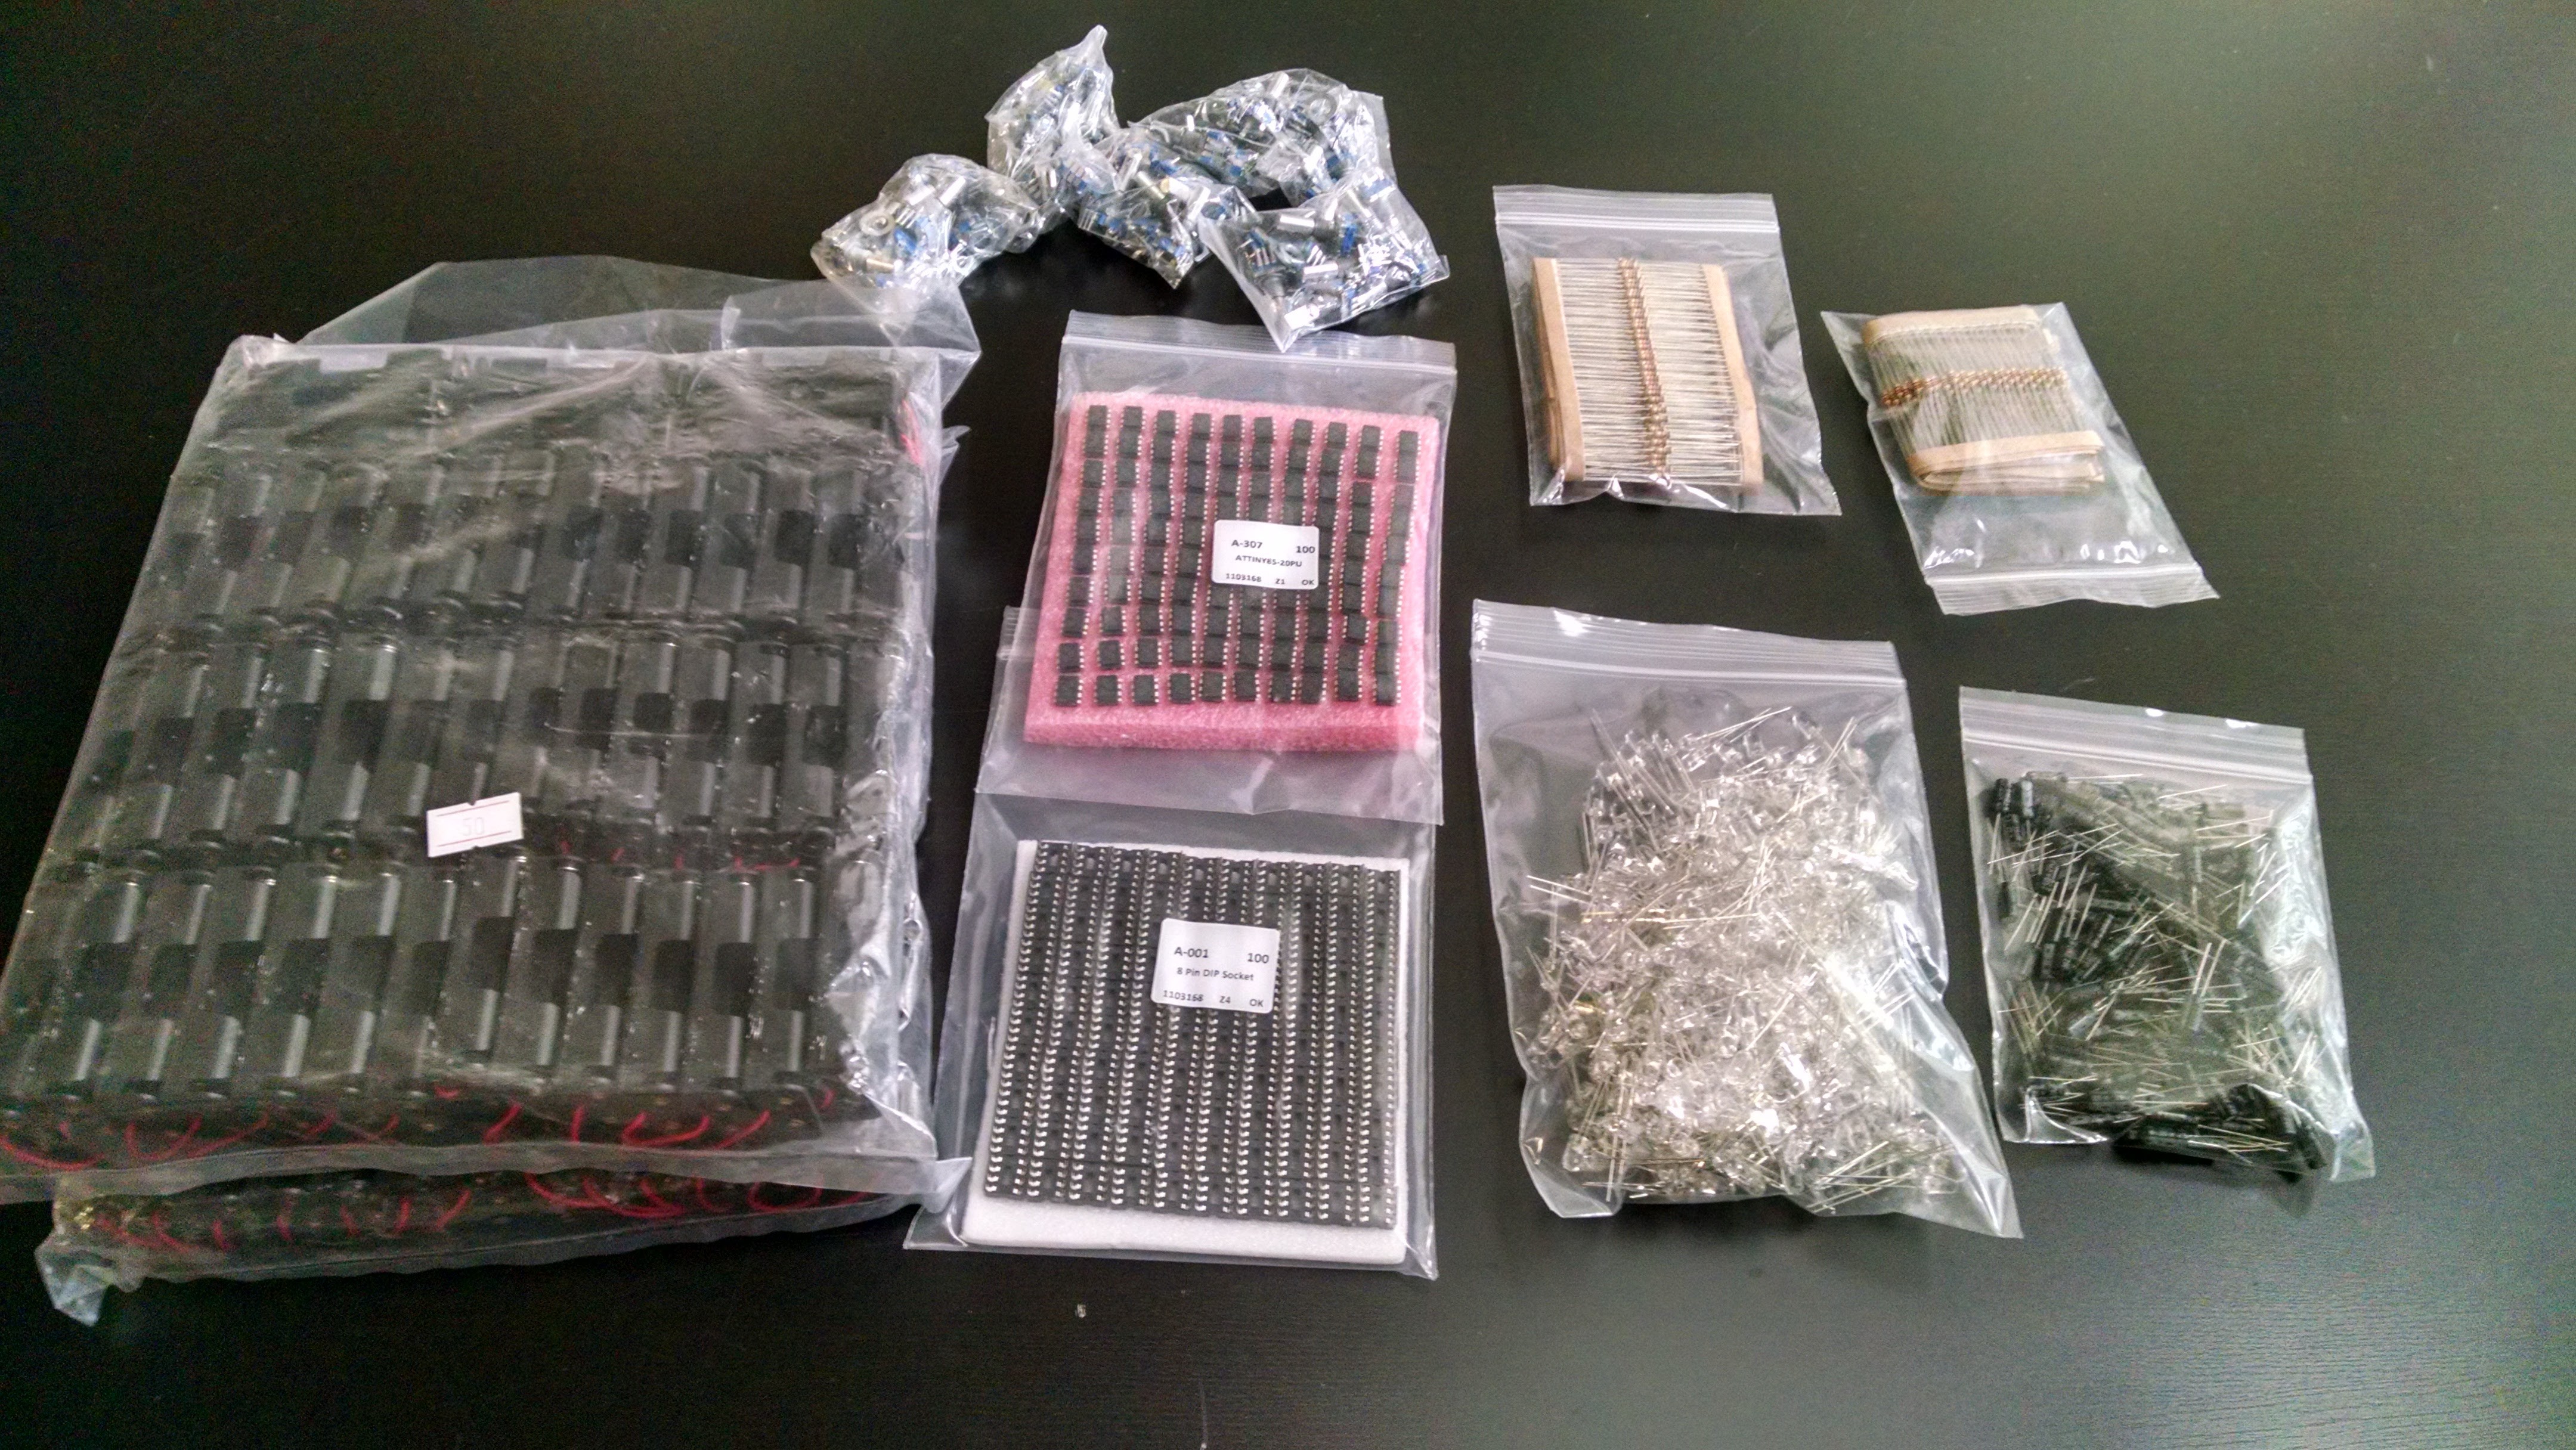
Once the Kickstarter was funded, I ordered all the things:
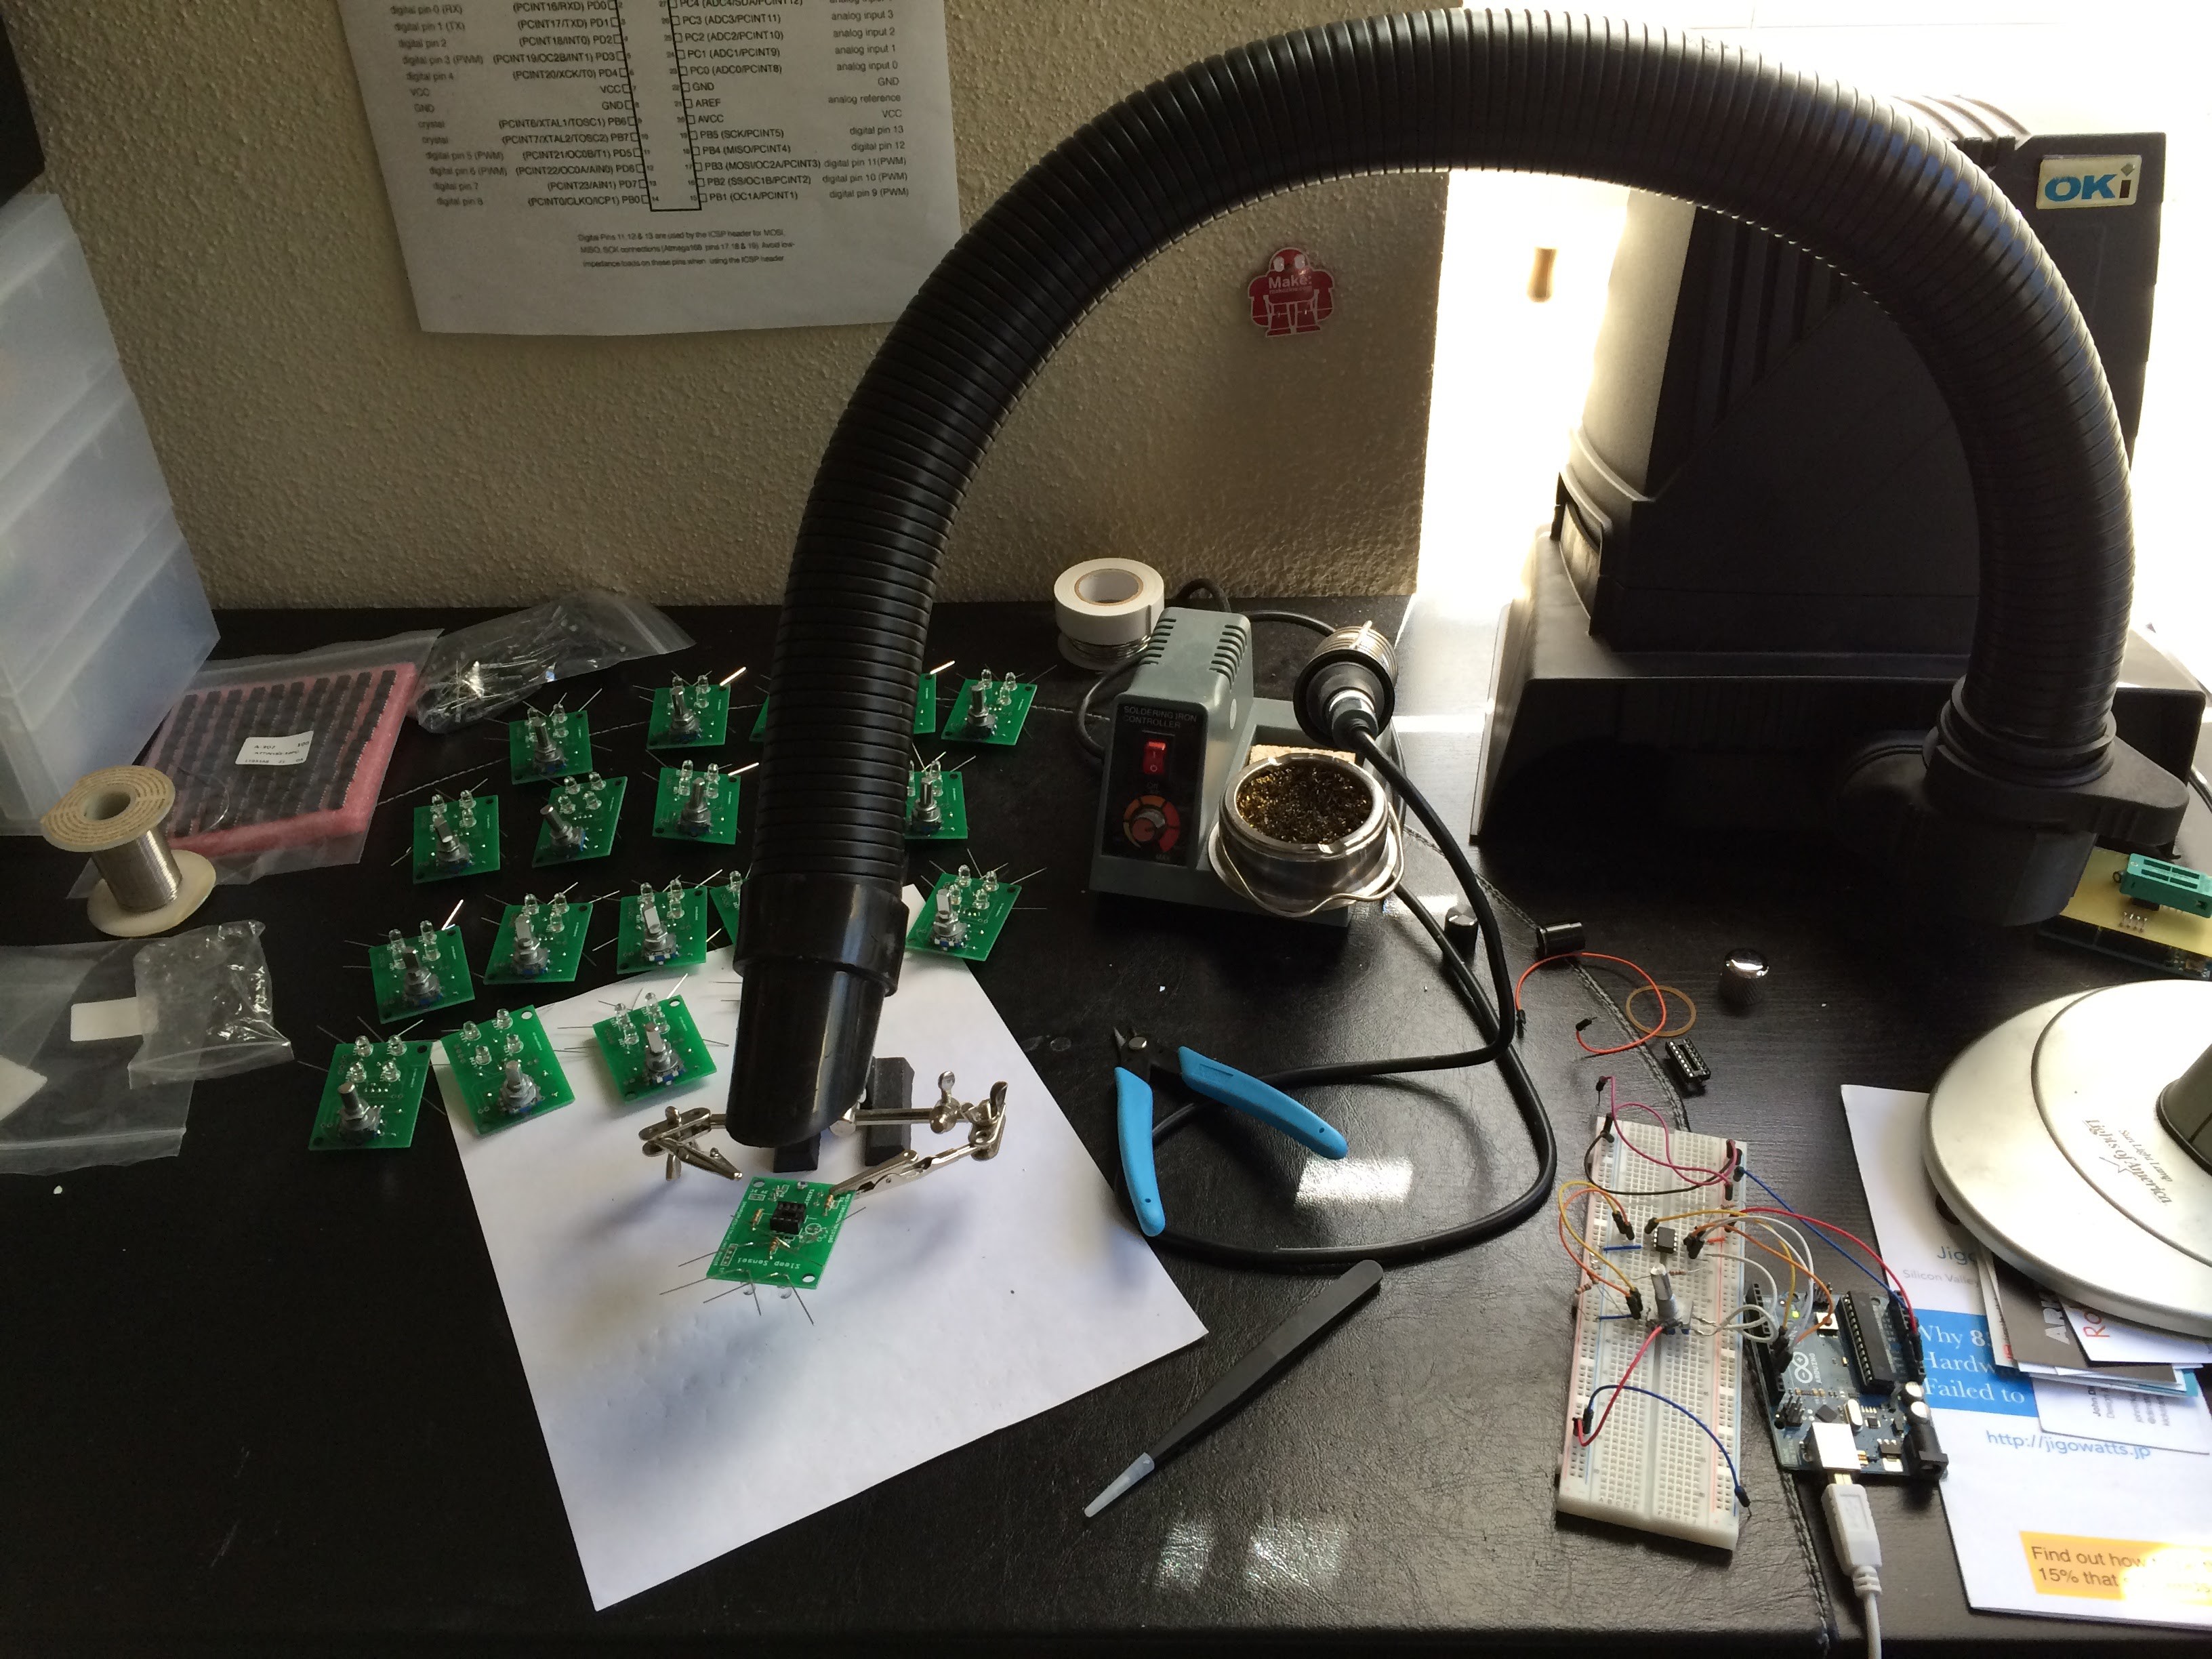
And got to work assembling the PCBs by hand:
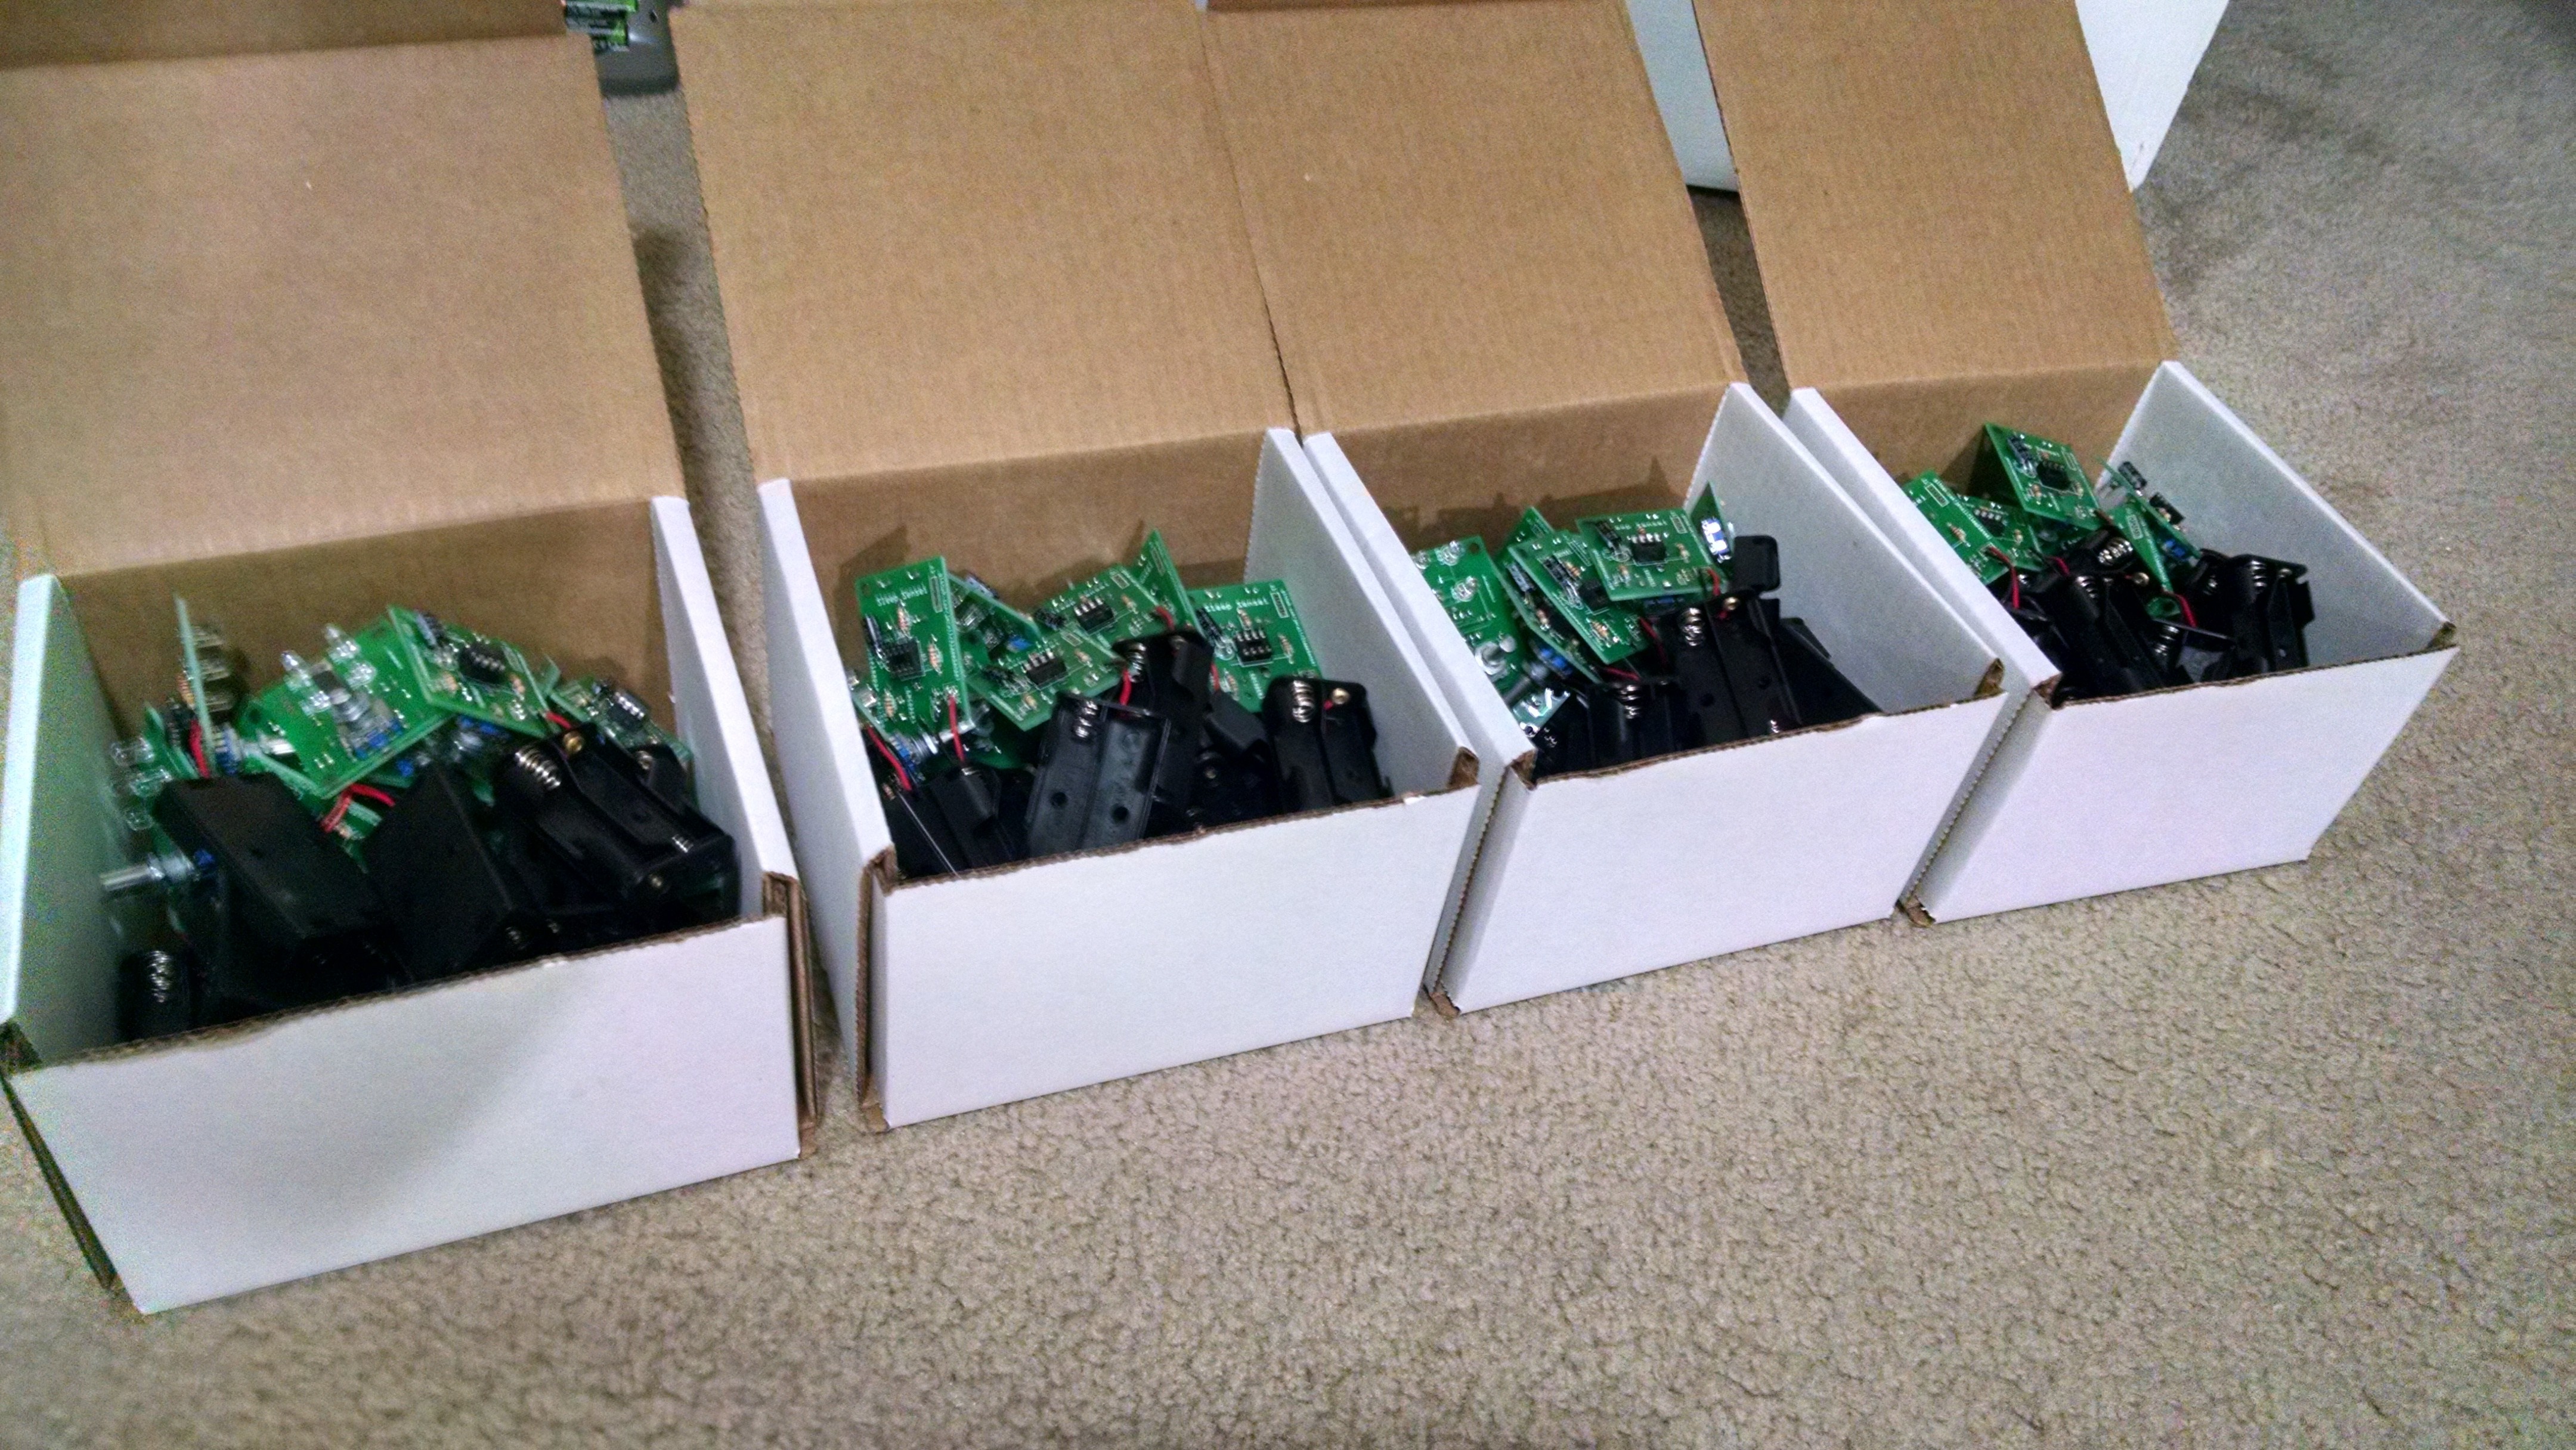
With my girlfriend's help, we got all the lasercut components organized and ready to pack:
After a few weeks of assembling, packing, and shipping, all the Kickstarter rewards were out! I then did some research for a place to sell the Sleep Sensei going forward, and created a Tindie store.
Conclusion - You can't do it alone
All in all, making the Sleep Sensei was a valuable experience. I got outside of my comfort zone to try to be a salesman, marketer, designer, video editor, photographer, web designer, electrical engineer, and mechanical designer. And I found that it was a lot of work!
I learned that if you want to be truly successful, you can't do it all by yourself. For my first kickstarter, I tried to do it all on my own, and failed.
But the second time around, I had help from my girlfriend (logo designer, camerawoman, and great supporter), my brother Mark (editing of Kickstarter page, test subject, and Maker Faire booth hand), and paid help such as a professional photographer, a logo designer, and a music writer (for the video). I also was boosted by Ponoko's newsletter piece about the new Kickstarter, and family and friends helped to share the Sleep Sensei on Facebook and Twitter. I even got some board design help from an electrical engineer friend at my workplace, and his feedback helped make the board smaller and more efficient.
Discussions
Become a Hackaday.io Member
Create an account to leave a comment. Already have an account? Log In.