The clock as it stands today has a host of features and is a fully finished and functioning product. We are very pleased with how it turned out both in terms of quality and functionality but also in terms of the feature set and stability. The clock syncs every minute with a timeserver ensuring that the time will always be perfect. Users need only set the timezone once, enable daylight savings mode and they will never need to worry about setting the clock again!
The clock will go live as a OPEN SOURCE kickstarter project on April 16th with the source code being published here!
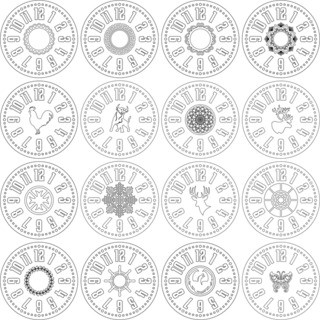
52 different animations with adjustable color, speed and brightness give the user precise control and infinite variation.
Favorite modes are saved in memory. Light timers and daily events can be set which allow users to visually be notified at the selected time. Special holiday modes can add festivity to your house during Halloween, New Years or Christmas. We even have a special mode for pi day where the clock animates the digits of pi for 100 digits every hour.
The clock is powered by a web connected Node MCU ESP8266 and is programmed using the arduino language and popular c++libraries that come standard in the arduino platform. Want to make one? Check out the build log!


 Henry York
 andriy.malyshenko
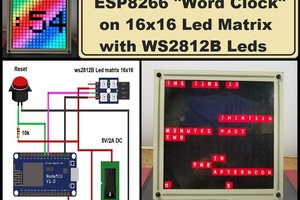
 mircemk
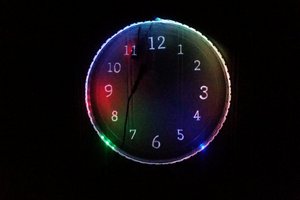
Thank you for the encouragement. This is going live on kickstarter today! https://www.kickstarter.com/projects/1926284625/enlighten-clock-the-worlds-most-customizable-clock?ref=476285&token=661d0fbc