 kodera2t
Nowadays, Atmel is a part of Microchip and some technology is transferred into ATmega chips. (I am not sure which Microchip or Atmel is the original one but..) Configurable Custom Logic (CCL) is one of novelty technique for AVR (PIC's has the name "Configurable Logic Cell", why don't they put same name for same "Microchip"??)
CCL is a kind of tiny programmable logic with look-up-table, same as FPGA or CPLD. Here I would like to show you how to use it through Atmel Studio.
One notice before jumping into the body explanation is,
You don't need to write any code!
Let' get started!!
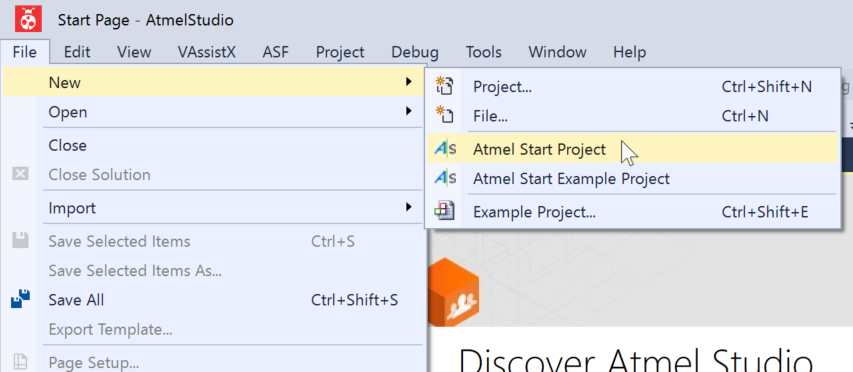
Let start on AtmelStudio selecting "Atmel Start Project"

And click "CREAT NEW PROJECT"
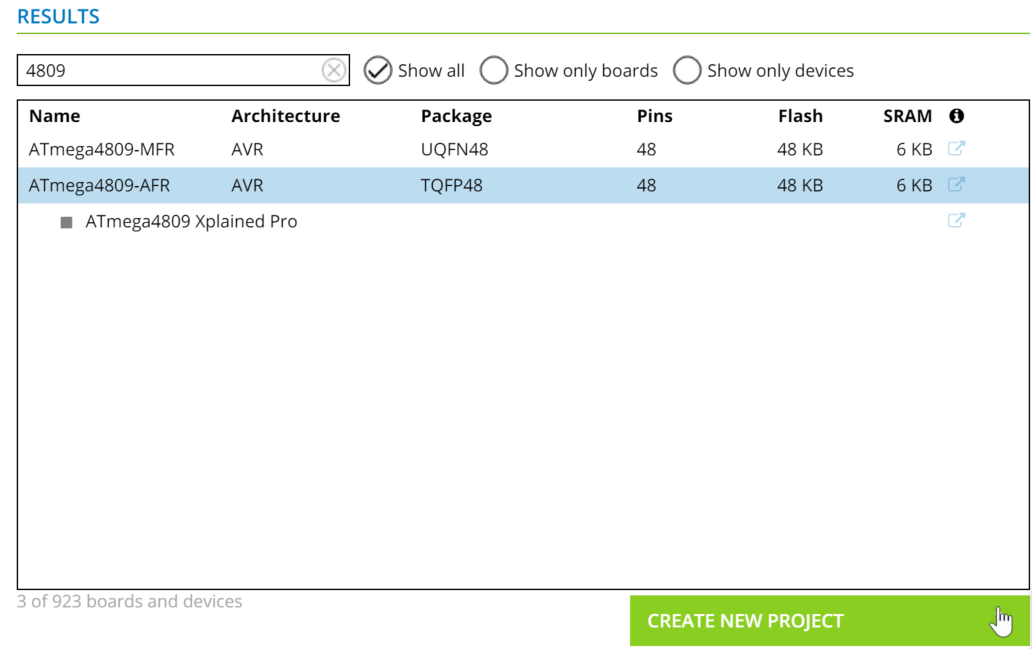
In the window, just put "4809" for search term and select "ATmega4809-AFR" and click "CREATE NEW PROJECT"
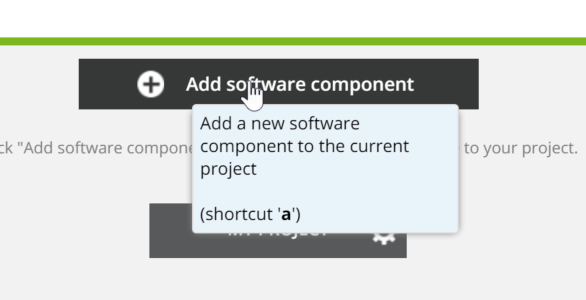
Now the project is fully empty and let click "Add software component"
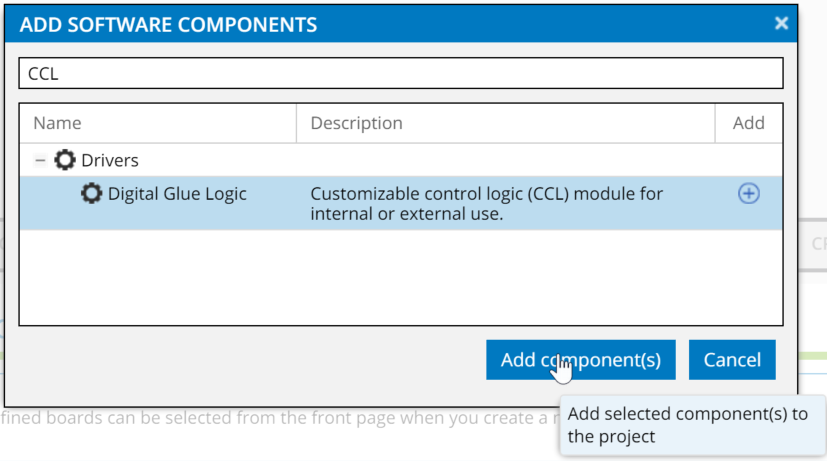
Just input "CCL" for search term and click "Add component(s)"
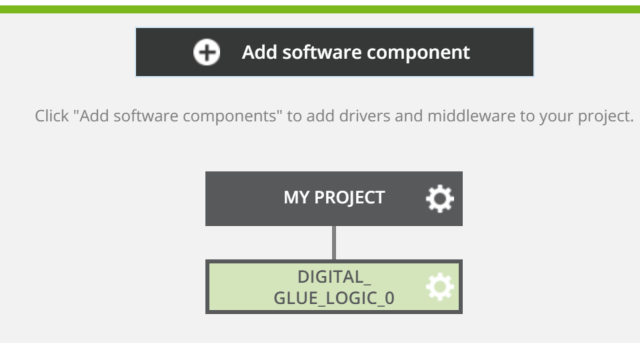
Now your project will grow up with "Digital_Glue_logic_0".

Let' just click "CCL" on the left side of the window.
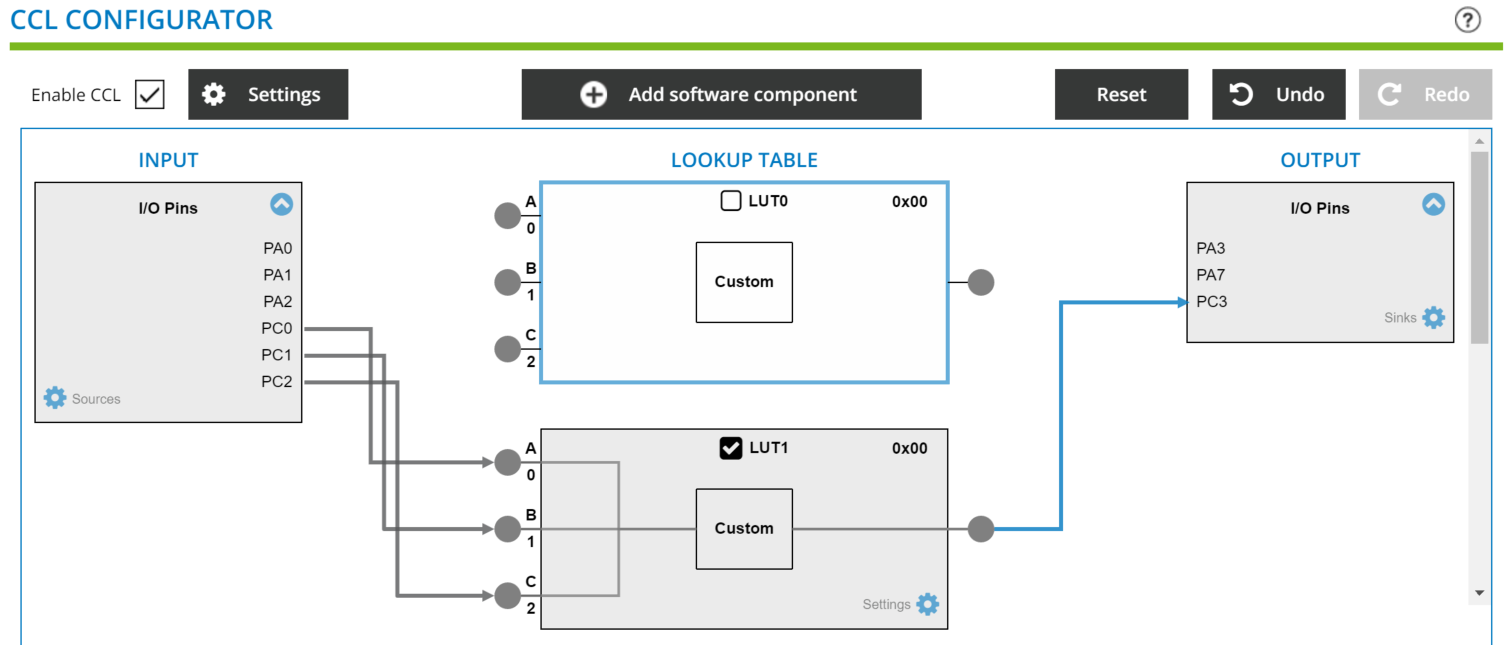
Now the time to connect it. I/O pins of CCL are limited PA0, 1, 2, and PC0, 1, 2. Now the board has accessible pins of PC0, 1, 2 and let make it as input and output as PC3. (You can define as you wish, within the limitation..) Don't forget to activate "LUT1" by check box on.

And click and select LUT1 box and make it as simple AND.

Now let's configure pin status by "PINMUX". Already PC0, 1, 2 are set as input and PC3 as output.


Let activate internal pull-up for input and set the initial state of output (PC3) as low.

It's done! And let's click "GENERATE PROJECT"
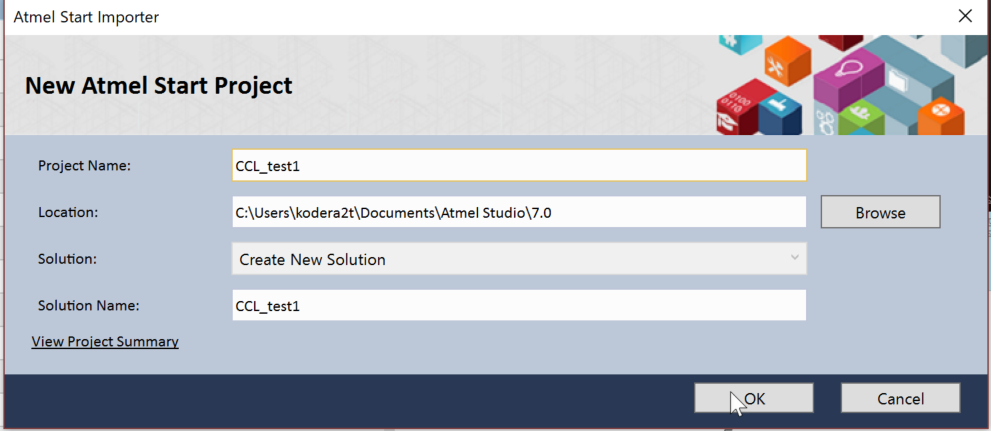
Window will appear and let's name it as you wish.
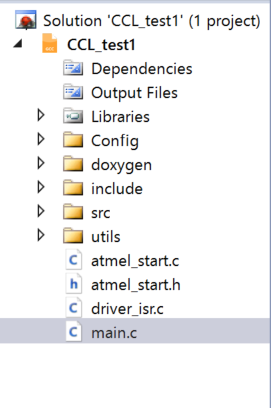
And now all the required source should be set up. Let's check "main.c"
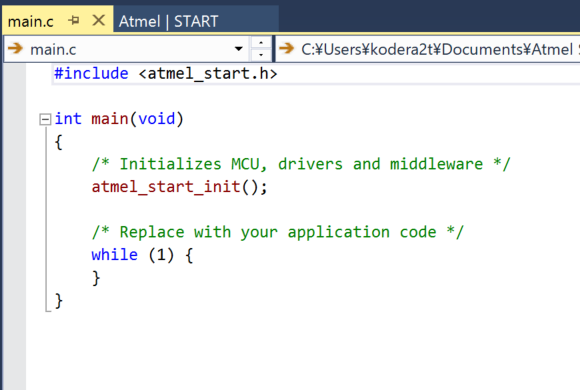
Yes,
It's holy empty!
MCU does nothing for the job. Just initialize MCU, and over.
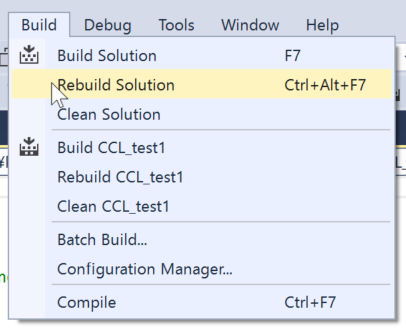
Now, let "rebuild solution"
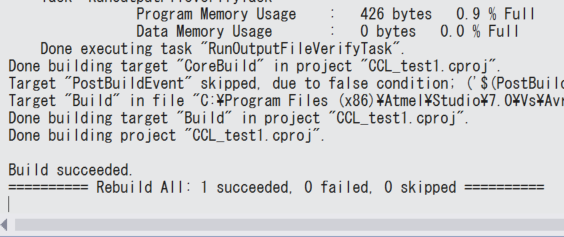
Since it is empty, so you sit see "Data Memory Usage" 0bytes!!
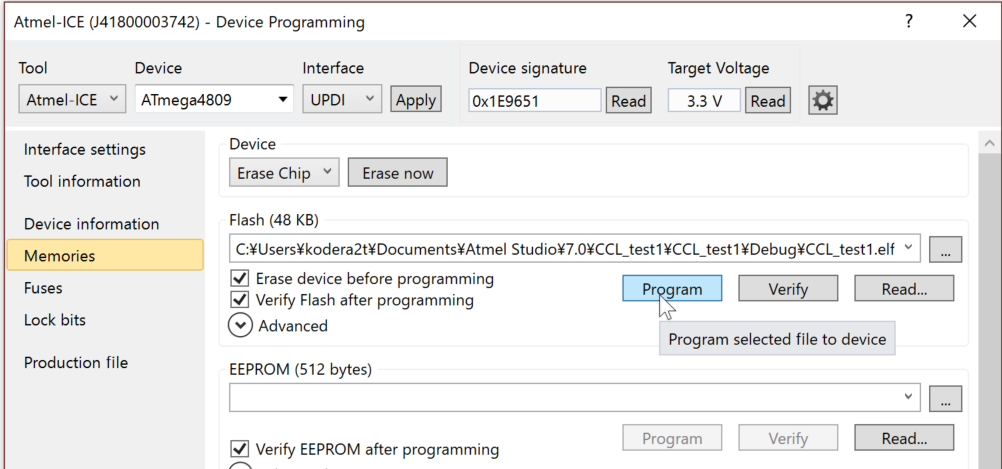
Exactly the same as the general program. Binary can be uploaded through UPDI.
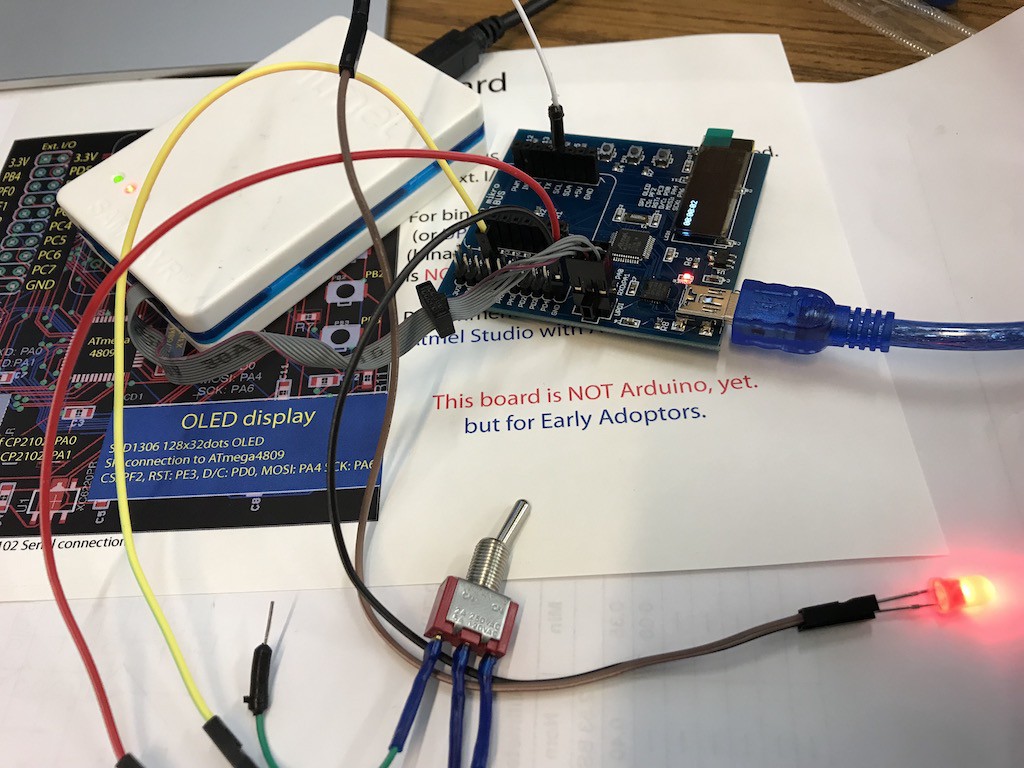
Now it's done! Switching input level will show the logic level as defined!! ATmega4809 is now working as "single AND"!
Discussions
Become a Hackaday.io Member
Create an account to leave a comment. Already have an account? Log In.