 JLAM
JLAMI had some trouble finding an easy to use full colour to create the images to print, so I hacked up a workflow. It is a bit cumbersome but I aim to tidy it up as a Blender plugin. Here it goes:
Step 1:
Create/import a 3D colour model in Blender. It must use UV mapping with a texture and consists of a single mesh.
Step 2:
Bake the UV map to vector colour. The plugin is currently disabled by default (so will need to be enabled). It might help to also sub-divide the mesh before, for higher resolution.
Step 3:
Create a thin box that cover the XY area of the model and ~0.01 in the Z axis.
Step 4:
Add a Boolean Intersection modifier to the box with the model as the object to intersect.
Step 5:
With the box selected run in the python console:
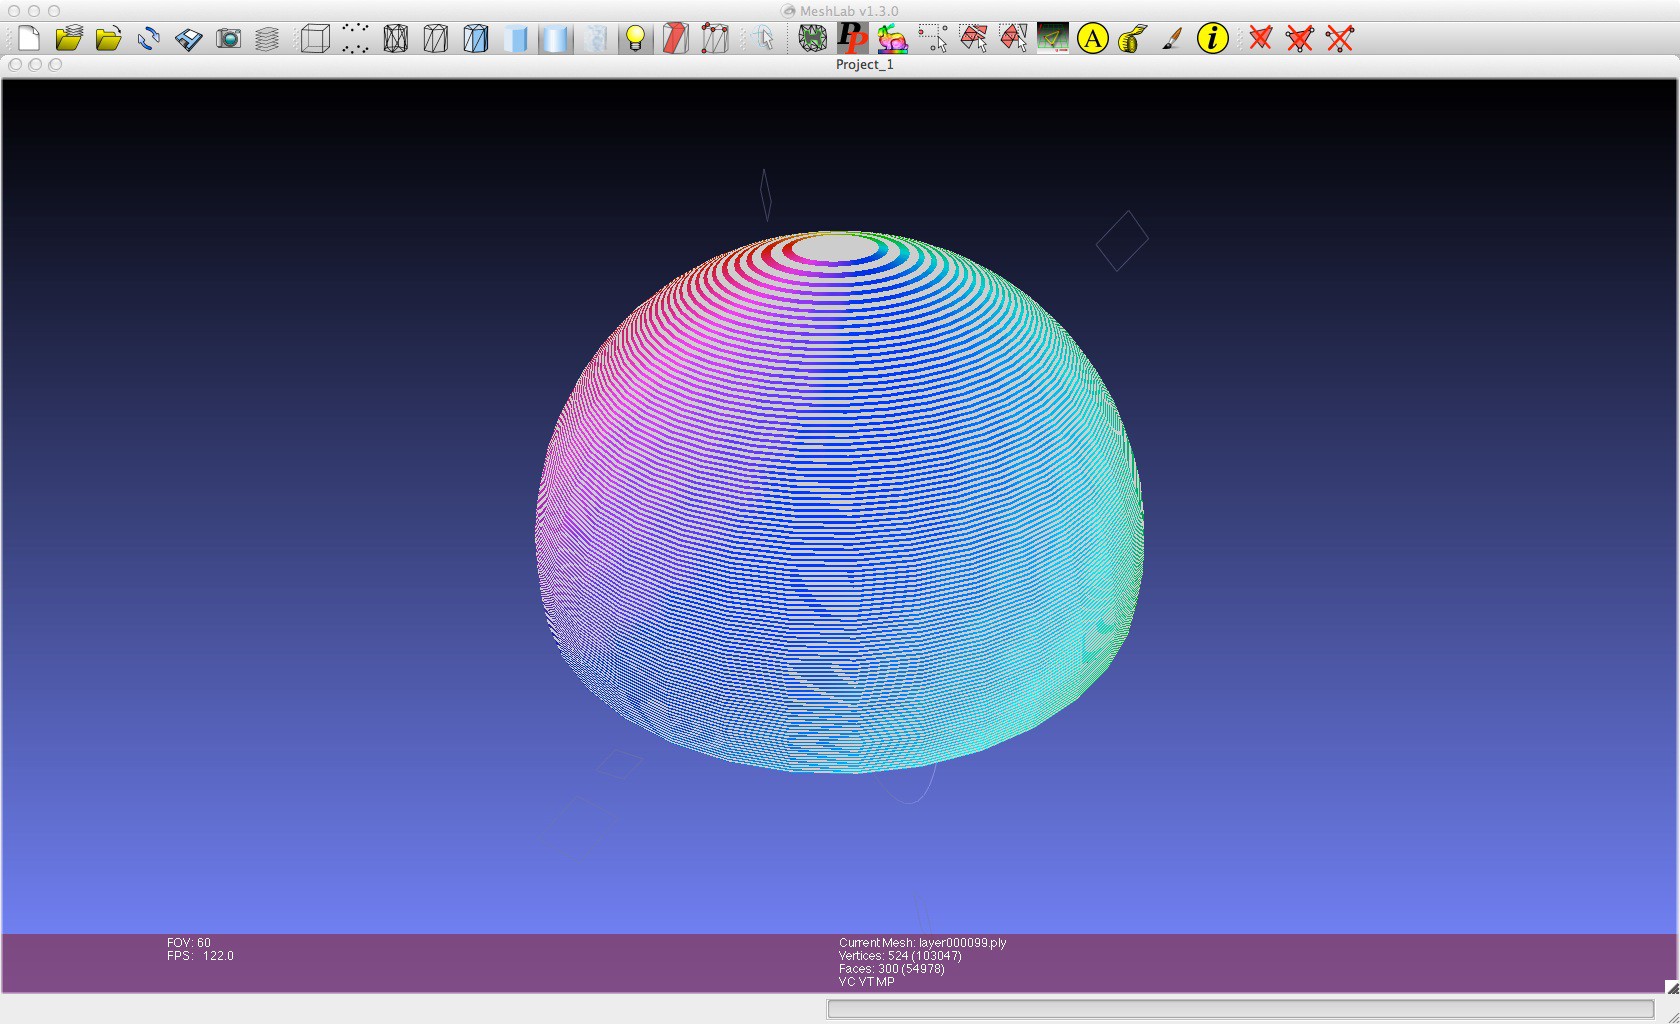
for i in range(1,numSlices):bpy.ops.export_mesh.ply(filepath="OUTPUT_FOLDER/%06d.ply"%i);bpy.ops.transform.translate(value=(0,0,zShiftPerSlice));There are a few variables in there that are just replaced with constants.
This should create a large number of *.ply files in the selected directory. And if all imported to mesh lab should look like:
Using libply and openCV convert the *.ply to images to print.
I will upload the code to github at some stage once I take out he hacks and name everything in a sensible manner.
The resulting generated files are printed to a standard printer that this build currently emulates.
Discussions
Become a Hackaday.io Member
Create an account to leave a comment. Already have an account? Log In.