 Michael
One of the aims we stated in the description was to have some sort of night vision capability and some functionality to link with other devices around the home. The beauty of these is that they can be linked together very easily. This is due to the fact that both involve at least one IR LED. The camera uses this to project light this is outside the visible range and so unless another person is using another night vision device you will be invisible. For linking with devices around the home, any remote that you use will almost always use IR light to communicate, therefore bring the glasses into the realm of universal remote and the universe of things.
For now I will be focusing on the Night vision aspect and for this I will be using a simple webcam that I just happened to have lying around. In this case it was a Creative Live! Chat cam HD, though most any one will do. Now I want to point out here that I am not fully integrating this into the project yet, merely producing the capability to be able to do so.
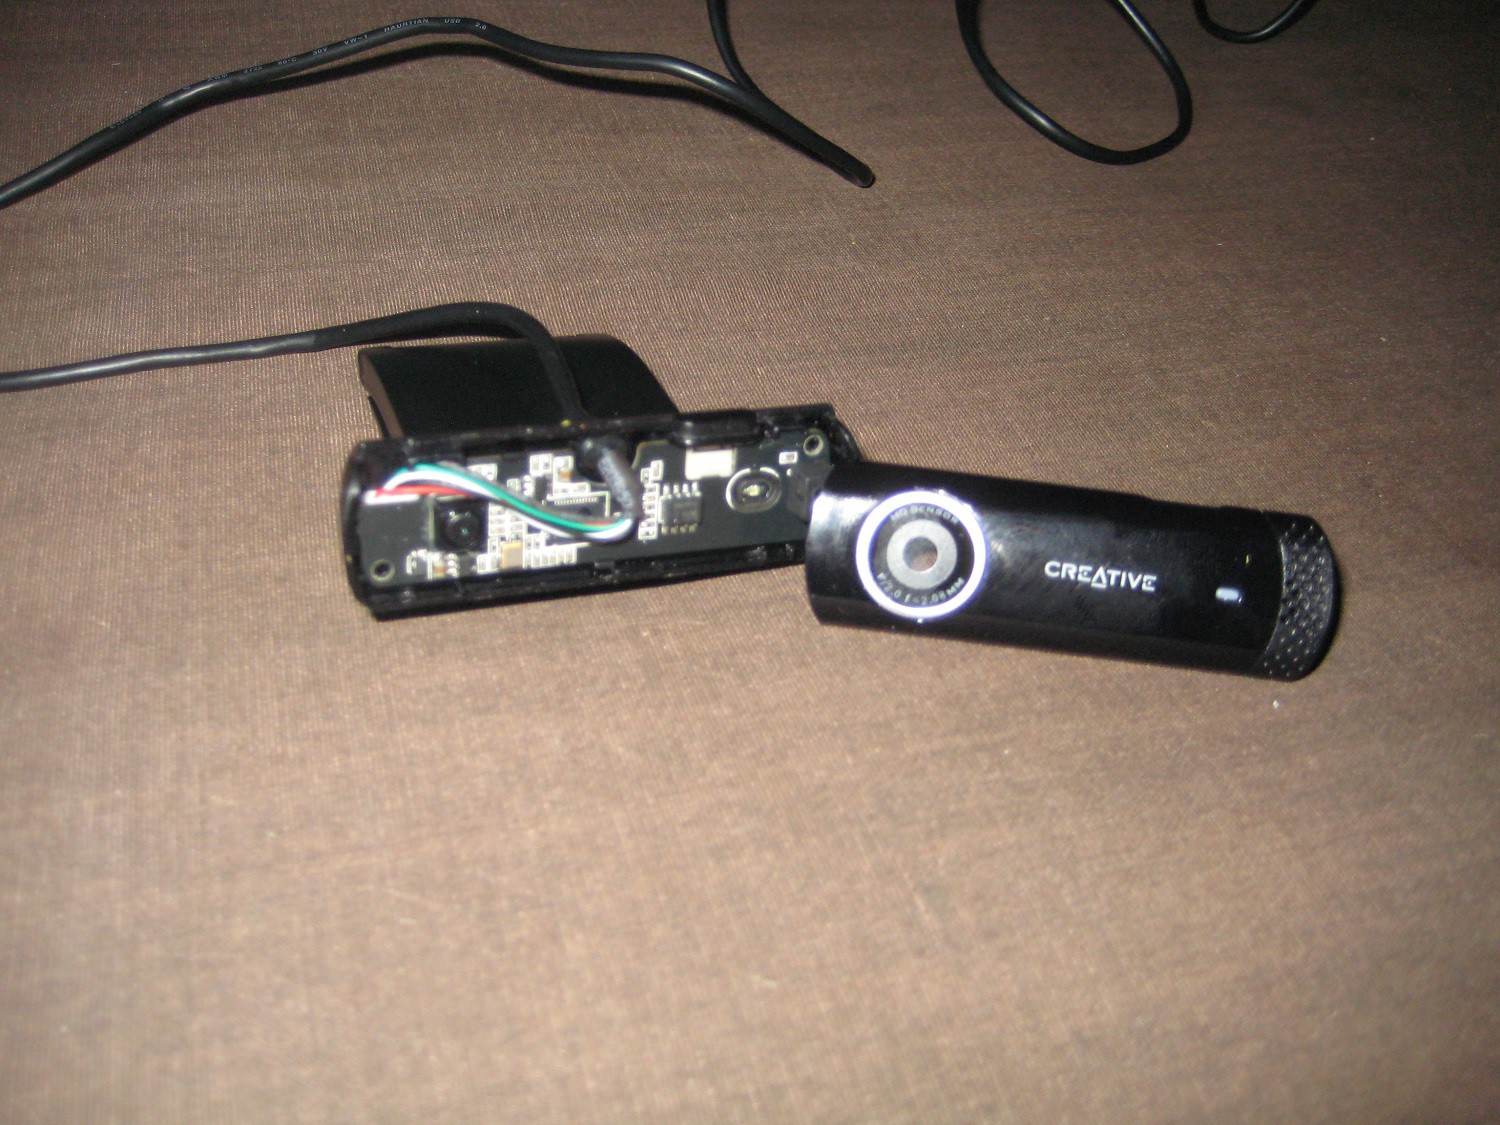
This first job to do was to take the housing apart, which was simple in my case. There were no screws at all only clips so I could use a knife to get into the gap and lever it open. Once inside I was presented with a circuit board that filled the container, most of which appears like it is needed for the camera unfortunately as this means that it cannot be shrunk very much. The lens assembly covers the sensor and that is the raised section.
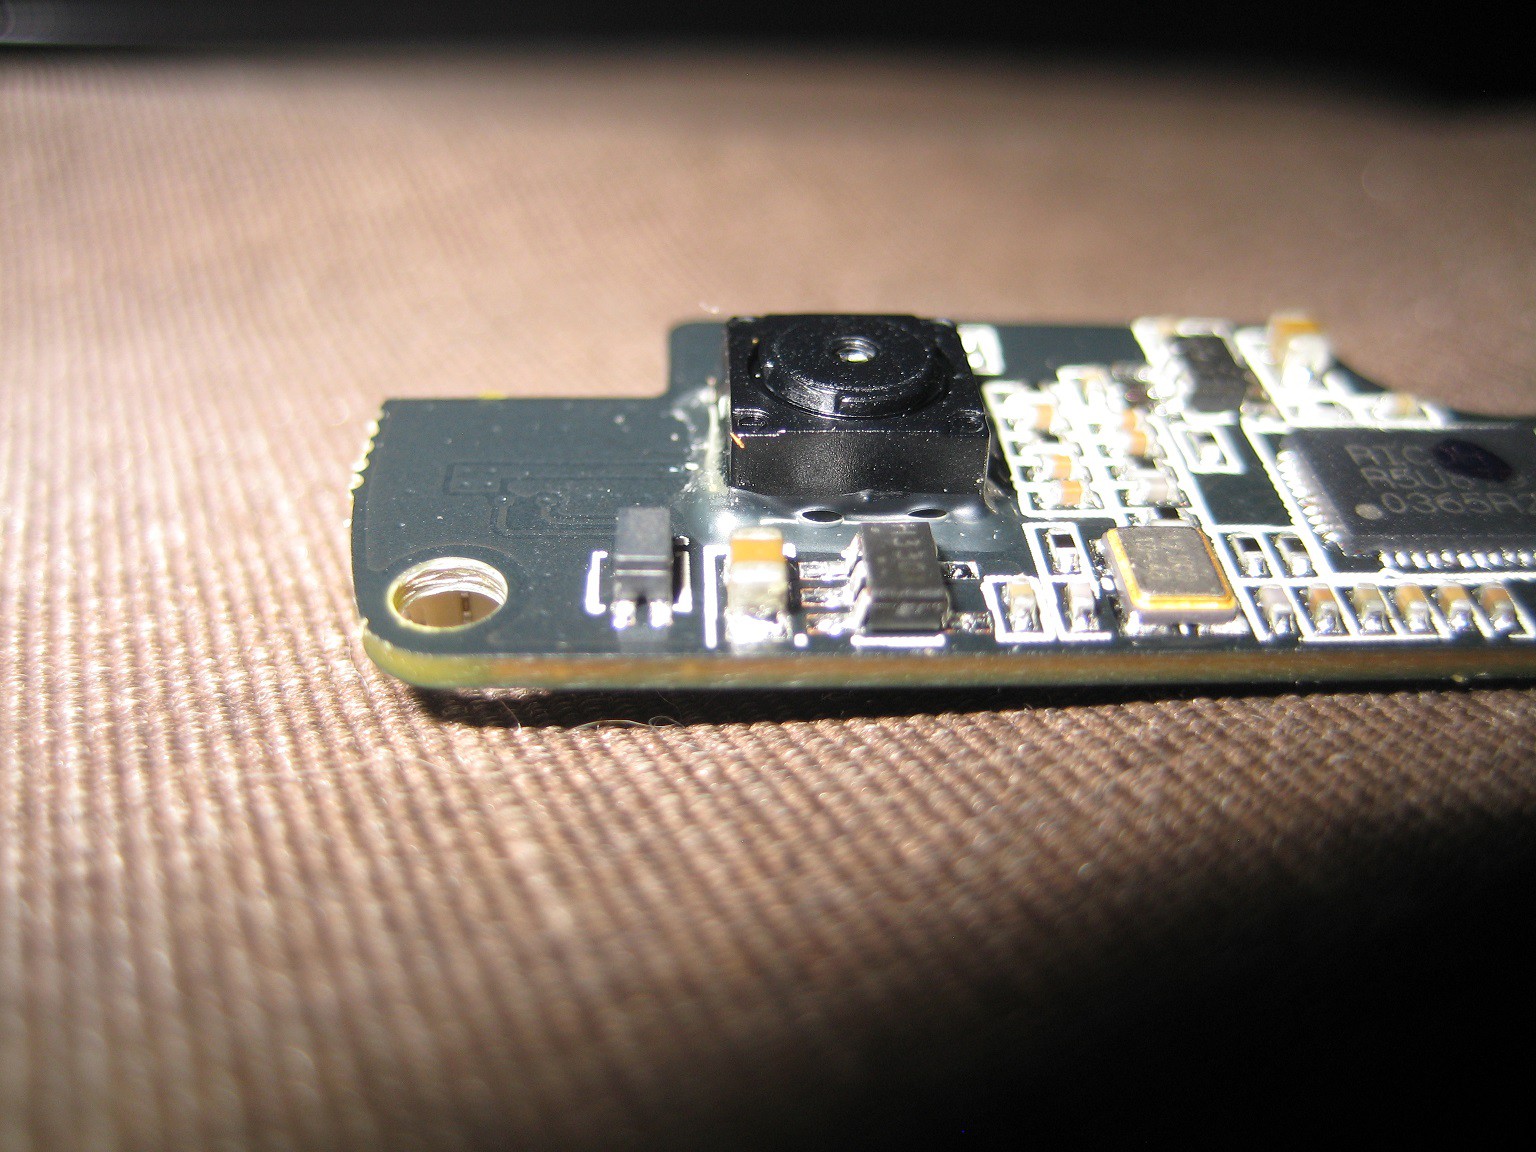
In this block there is the focusing lens and the IR filter (which is what gives it the red tint). This is what needs to be removed, although it may be hidden behind the lens. Great care needs to be taken when removing it if you ever wish to use it again as the filter is very fragile and will smash easily. I myself managed to remove it OK and then dropped it, causing it to smash on the floor. Now there is the option here to place one or two layers of photo negative into the gap where the filter used to be. This will cause only IR light to be passed through to the sensor and render the camera useless in normal light. Due to this I decided to omit this step, but feel free to include it if you wish.

The lens then needs to be placed back over the sensor, so that images can be formed again. For the time being I have also replaced everything back into the casing for safe keeping until I return to the UK and can find a way to properly integrate it to the project. Also the an IR LED needs to be included so that the camera can see properly in the dark.
A quick update, I have now managed to get a photo with the webcam using a tv remote to provide the illumination.
Discussions
Become a Hackaday.io Member
Create an account to leave a comment. Already have an account? Log In.