0%
0%
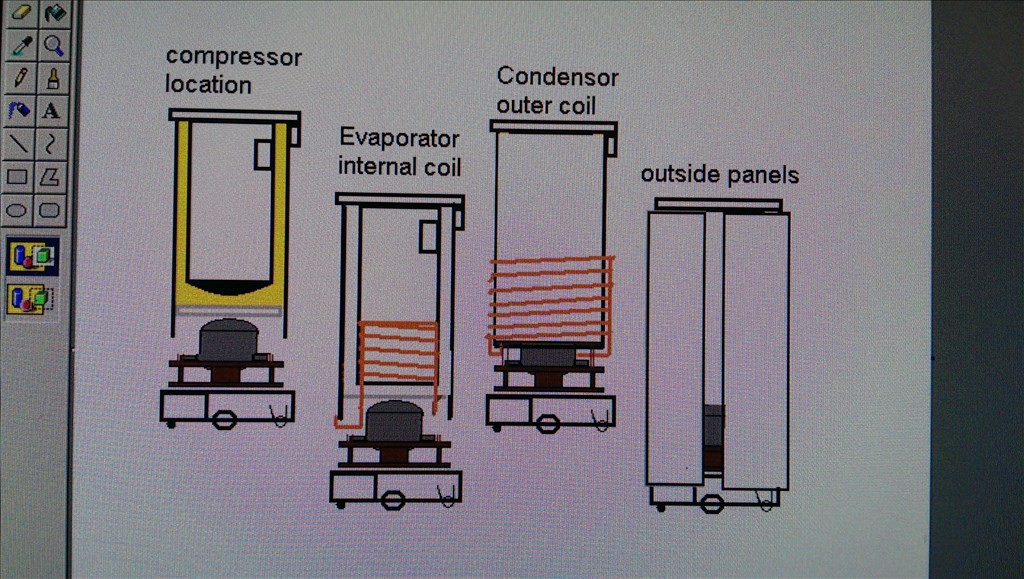
Beer Butler Robot, Refrigerator on a Roomba
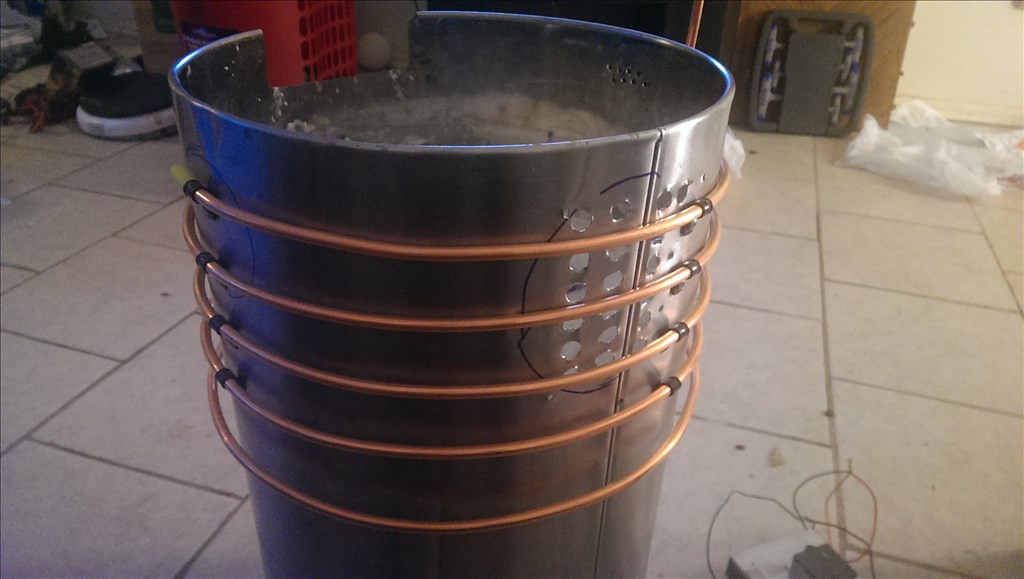
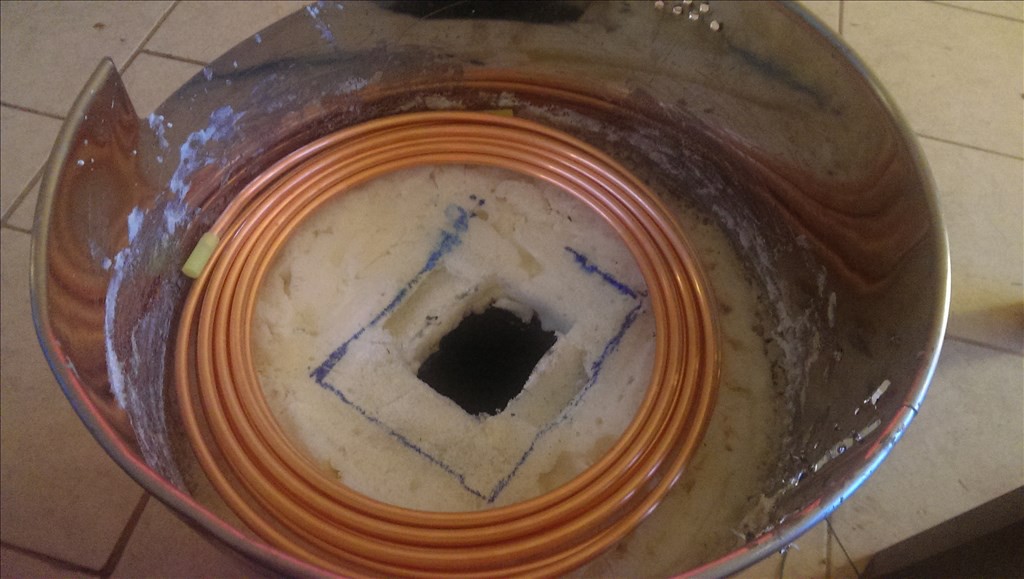
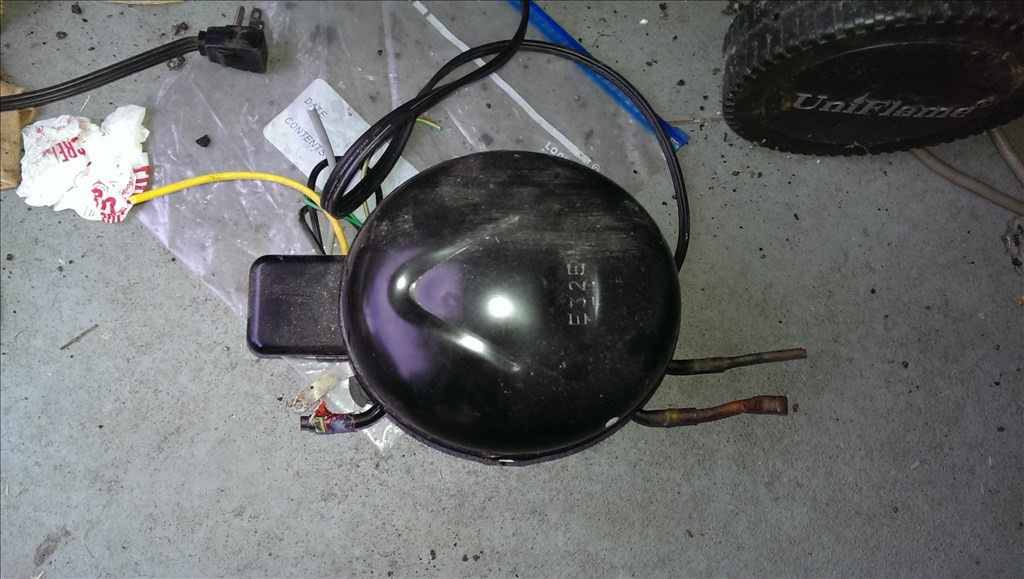
Mobile refrigerator! An insulated tube built on a hacked Roomba controlled by serial connection. Indoor Nav by QR code ceiling tiles
 Josh Starnes
Become a Hackaday.io member
Already have an account? Log in.
Just one more thing
To make the experience fit your profile, pick a username and tell us what interests you.
Pick an awesome username
hackaday.io/
Your profile's URL: hackaday.io/username. Max 25 alphanumeric characters.
Pick a few interests
Projects that share your interests
People that share your interests


 Kenny.Industries
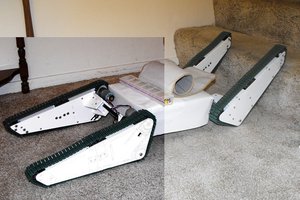
 Duane Degn
 Joshua Elsdon
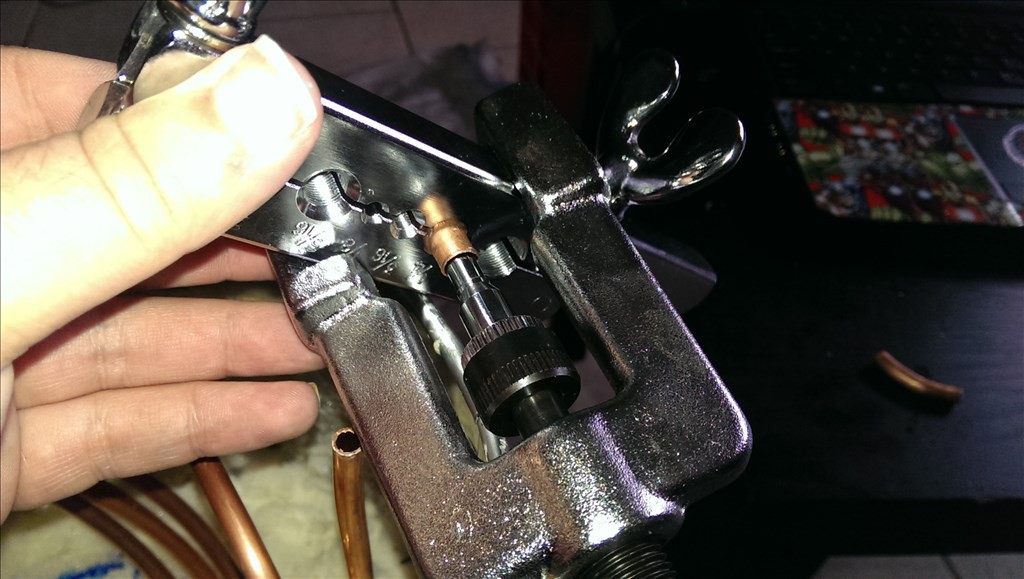
Very cool idea.... The process of joining the metal pieces is called swaging, not swagging.