-
Challenge accepted !
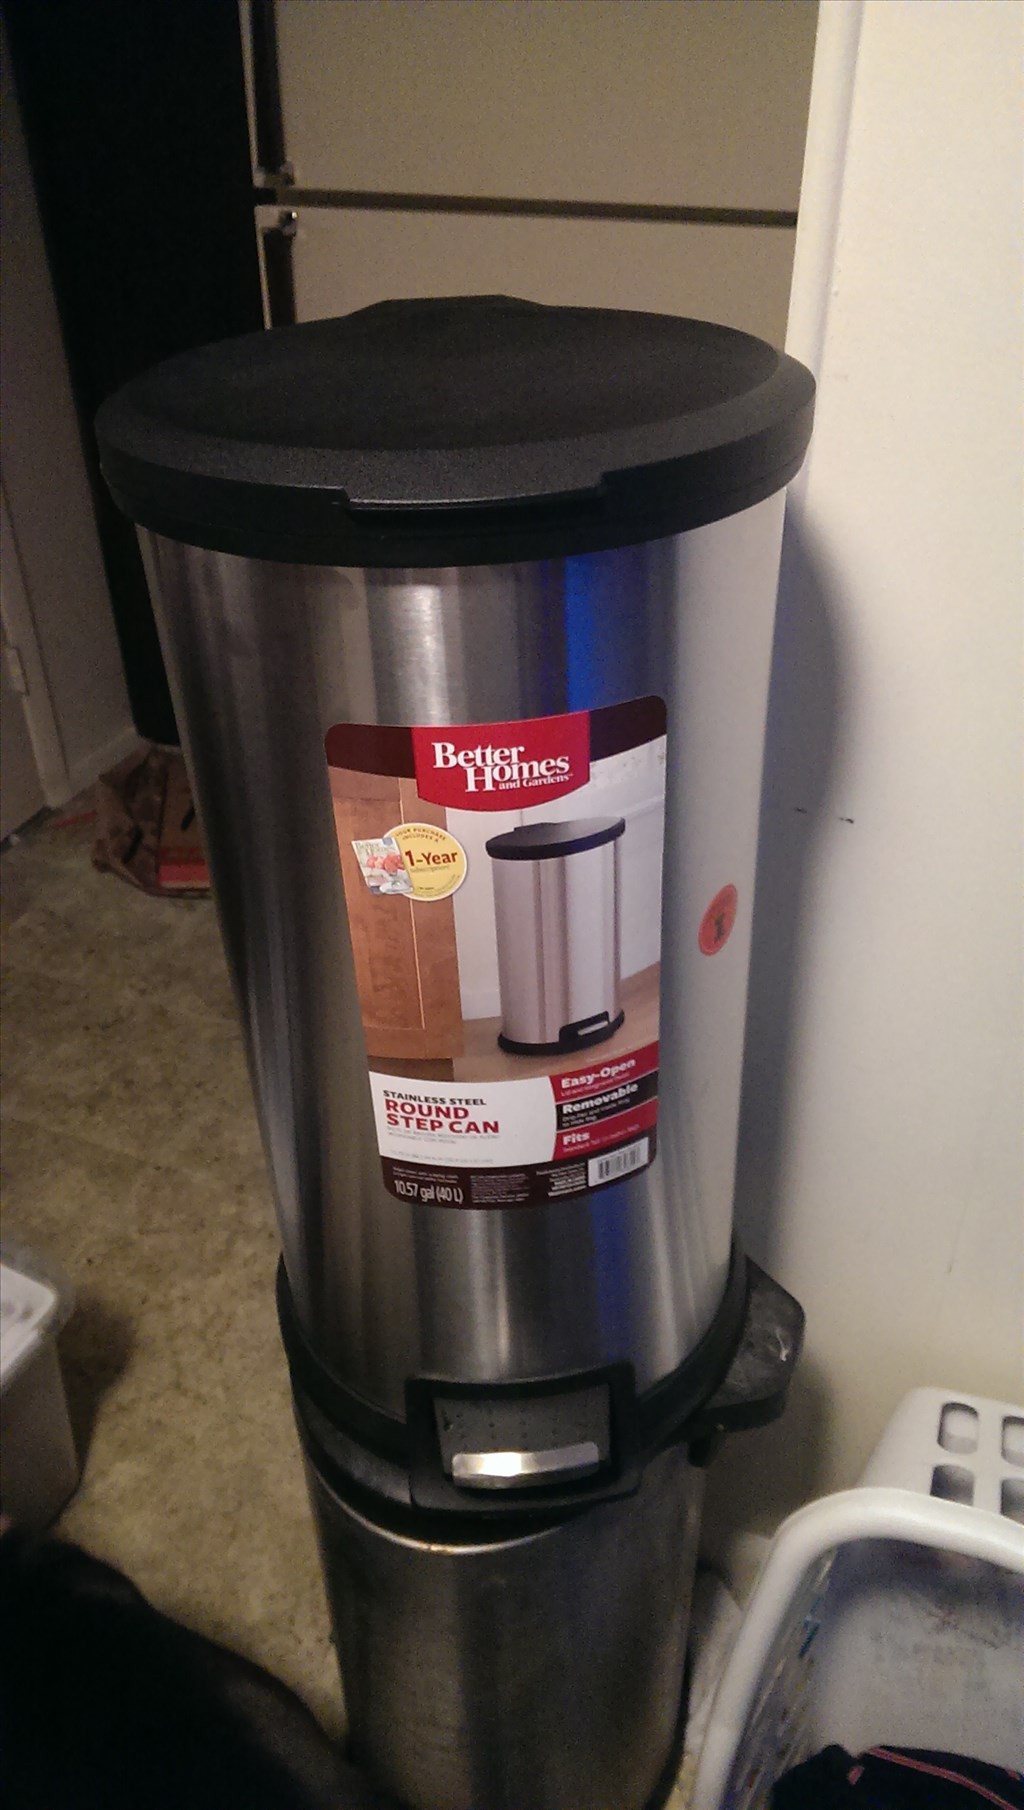
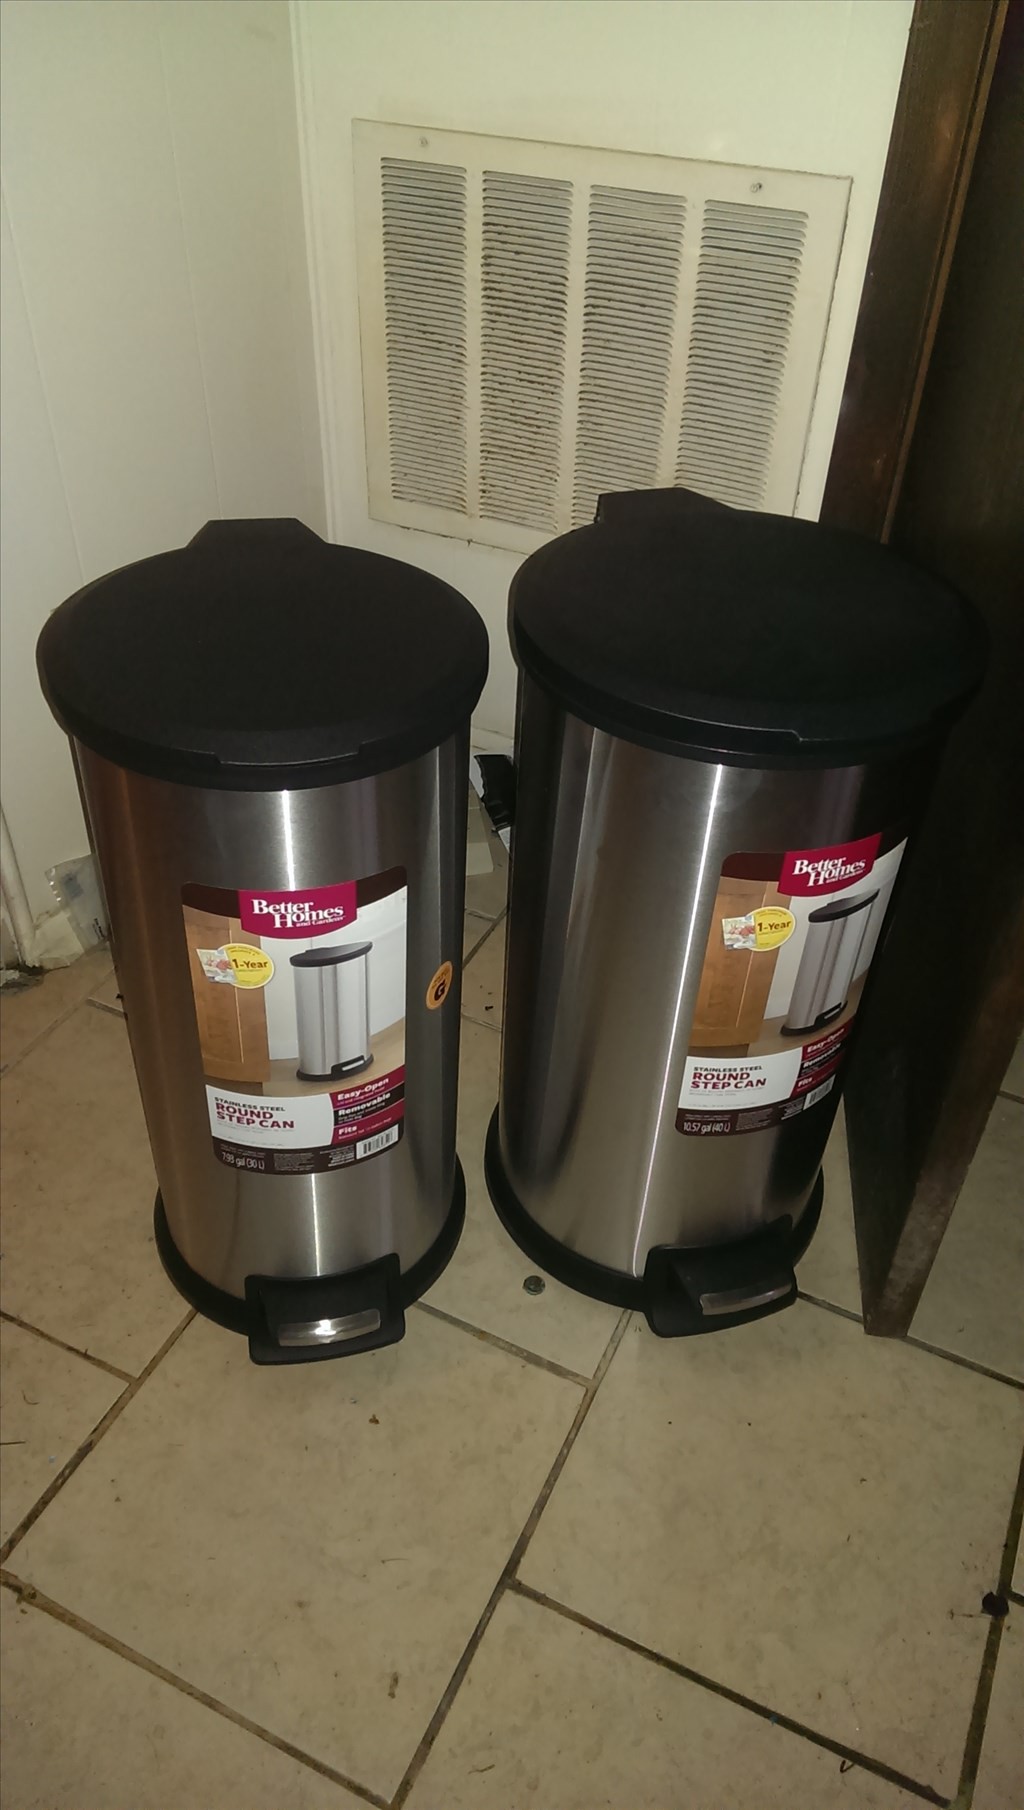
04/15/2018 at 14:50 • 0 commentsThis is a challenge issued by friends and family. The goal here is to make a robot that can bring beverages from another area to wherever the people are , allow the person to get their drink , then leave. It does not need to be fully autonomous , even remote control is acceptable. It does not need to grab them from the fridge, pre loaded beverages are acceptable. This is Ez Robot though, I believe we could do better than that! Well anyways to start the project off I am using a roomba base. I picked up a stainless steel trash can last night as a outside casing. I will show you the rest as we go
![Smile]()
-
Start the project with a trash can
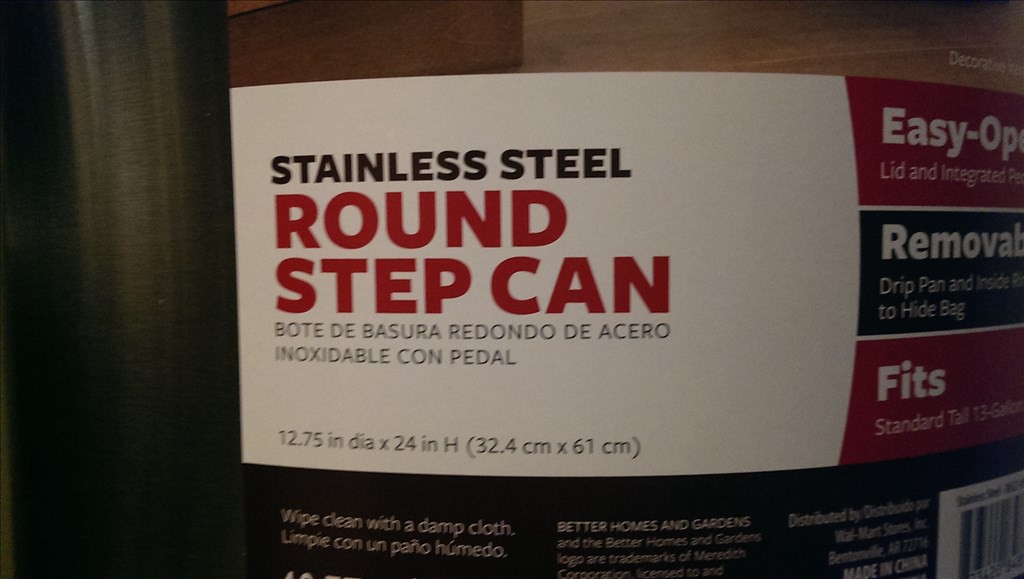
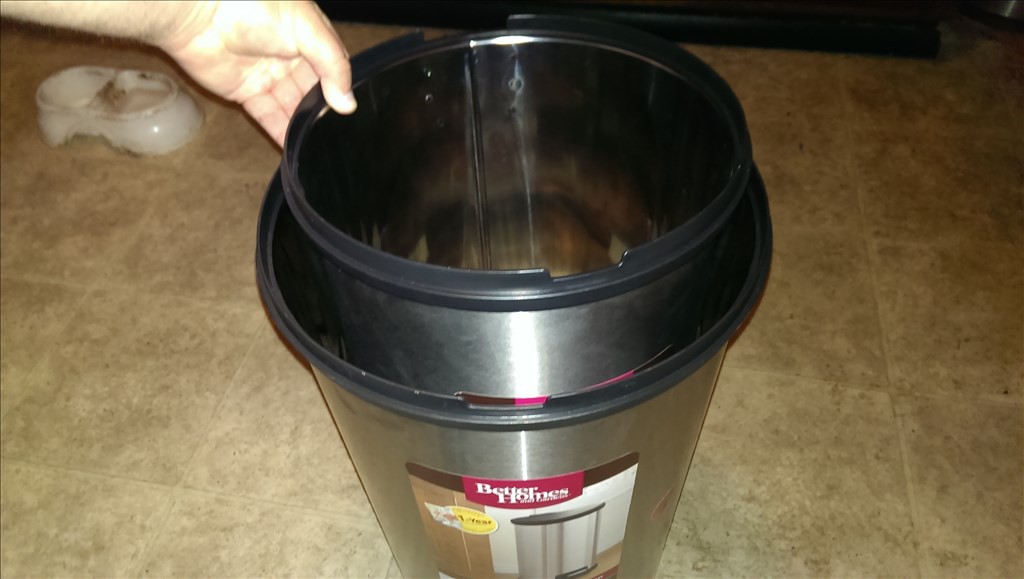
04/15/2018 at 14:53 • 0 commentsI picked up this can from Walmart as well as a smaller one in diameter that will serve as the internal insulated chamber.
![]()
![]()
![]()
-
Getting a Cooling Module from an Igloo Electric Cooler
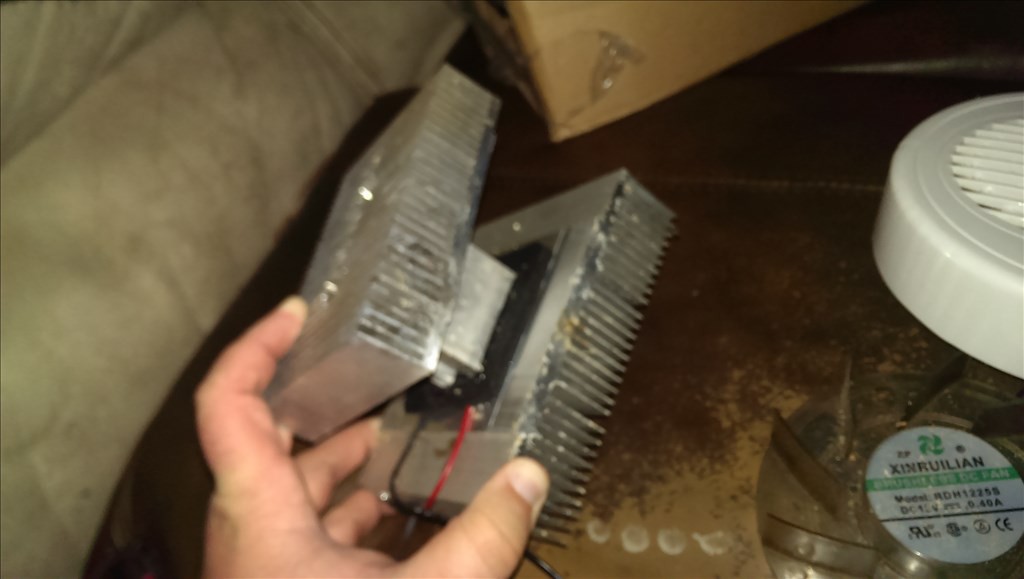
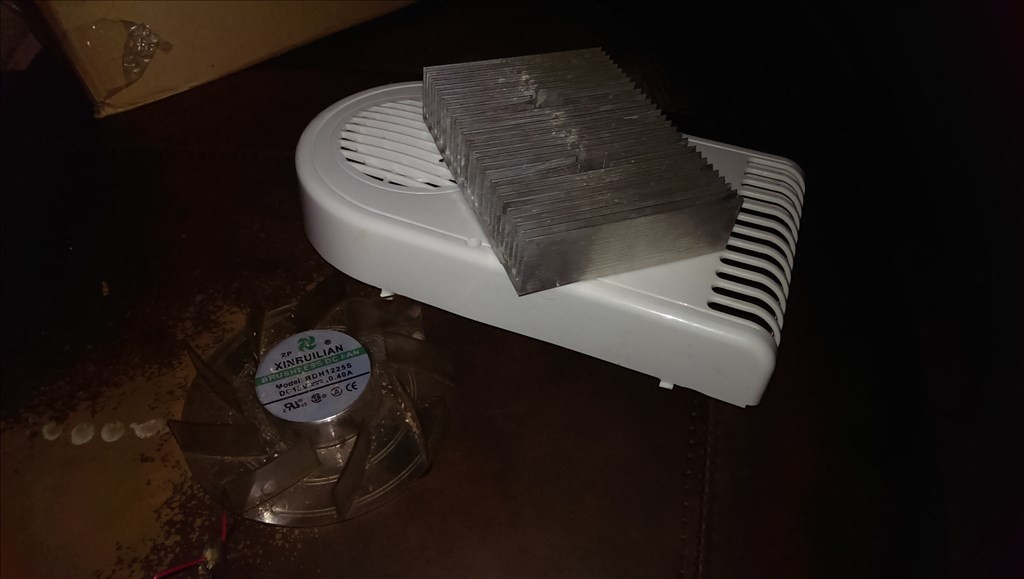
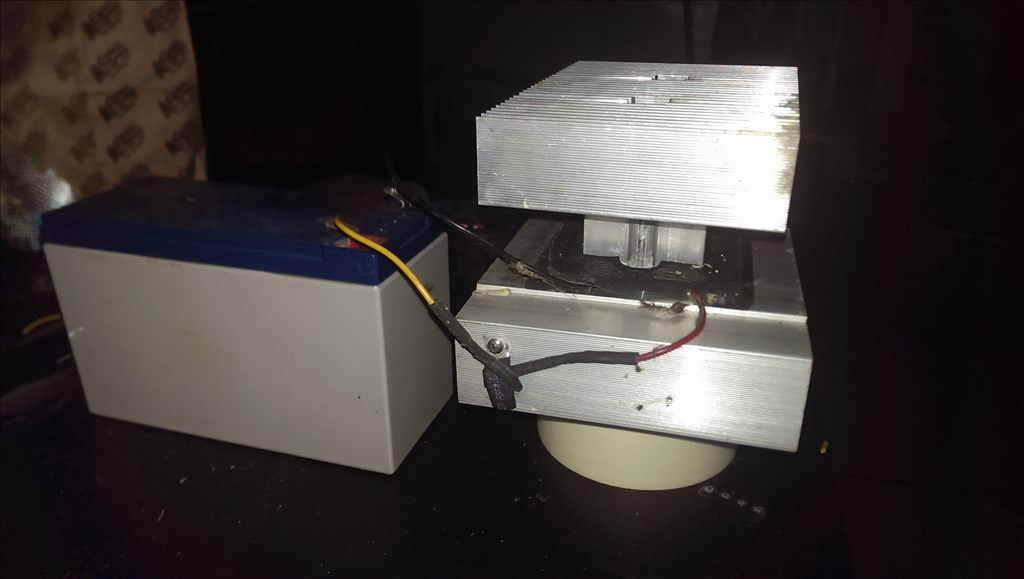
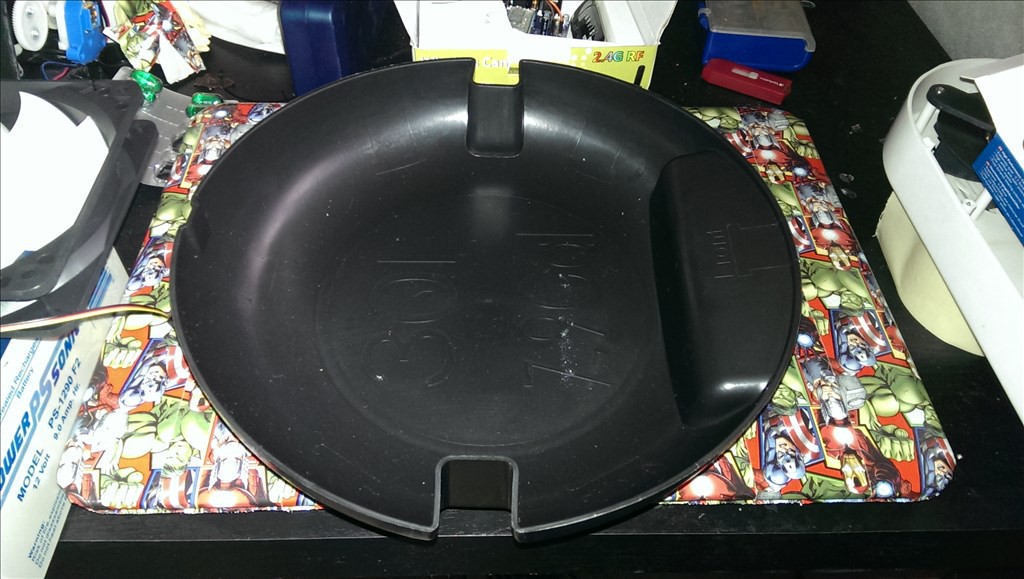
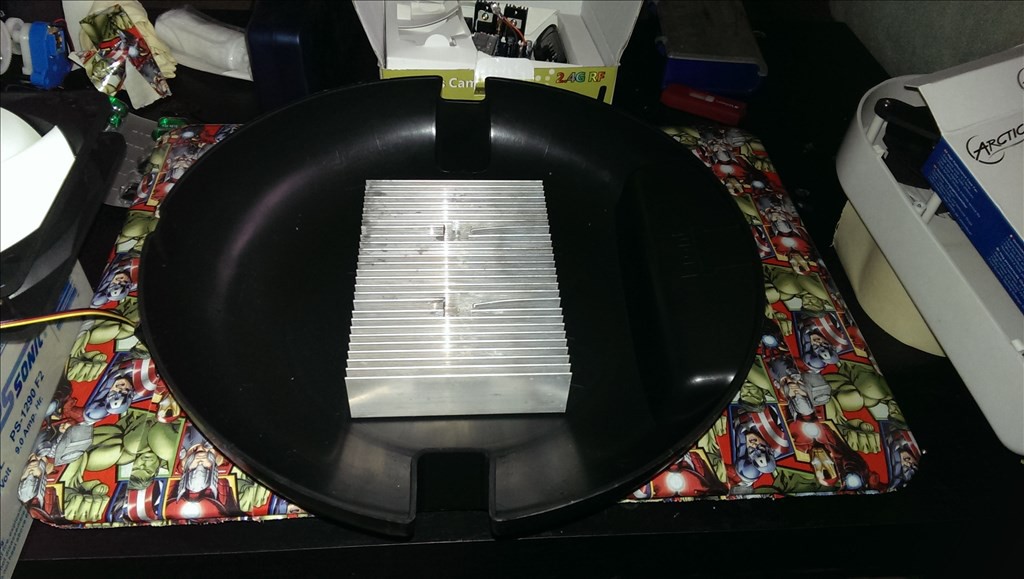
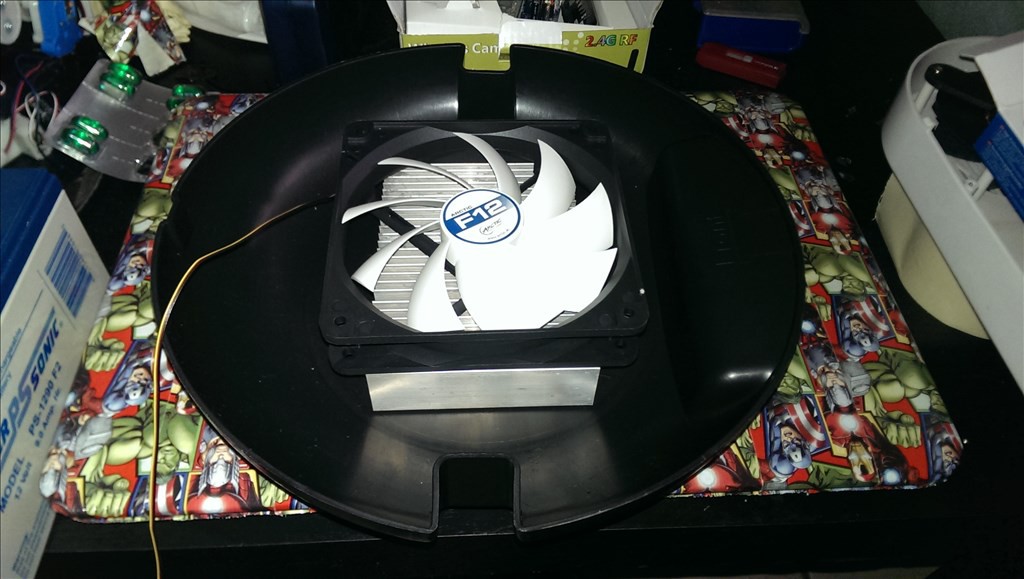
04/15/2018 at 15:16 • 0 commentsThis is the main chiller unit, Igloo says it can chill 40 cans or 4 liters of liquid up to 40 degree below ambient temperature. The bottom larger sink is the hot side and top is the cool side. there is a large solid aluminum block that serves as a thermal pipe to move the heat from the cool side to the hot side . since the block is very thick i can insulate the area where the beverages will be. The Peltier unit is sandwiched on the hot side. Both already have fans that are blower style. Fans usually work much better when pulling than pushing into a heatsink. That being said I believe I will use some larger 120mm High performance PC fans to make sure the air flows nicely. Also PC fans are made with low sound options which is a pet peave of mine when building any project.
Anyone have ideas of hot to make this chilling unit better? suggestions ? thanks![]()
![]()
-
Testing the Peltier TEC Cooling Unit
04/15/2018 at 15:18 • 0 commentsSince I bought my Peltier element and heat sinks from the auction I wanted to make sure it worked. I powered it up without fans. It took about 2 minutes for the hotside to warm up. It appears it will work but I'm still considering buying a higher power Peltier. This one is a 45w to 50 watt.
![]()
-
Insulating the body
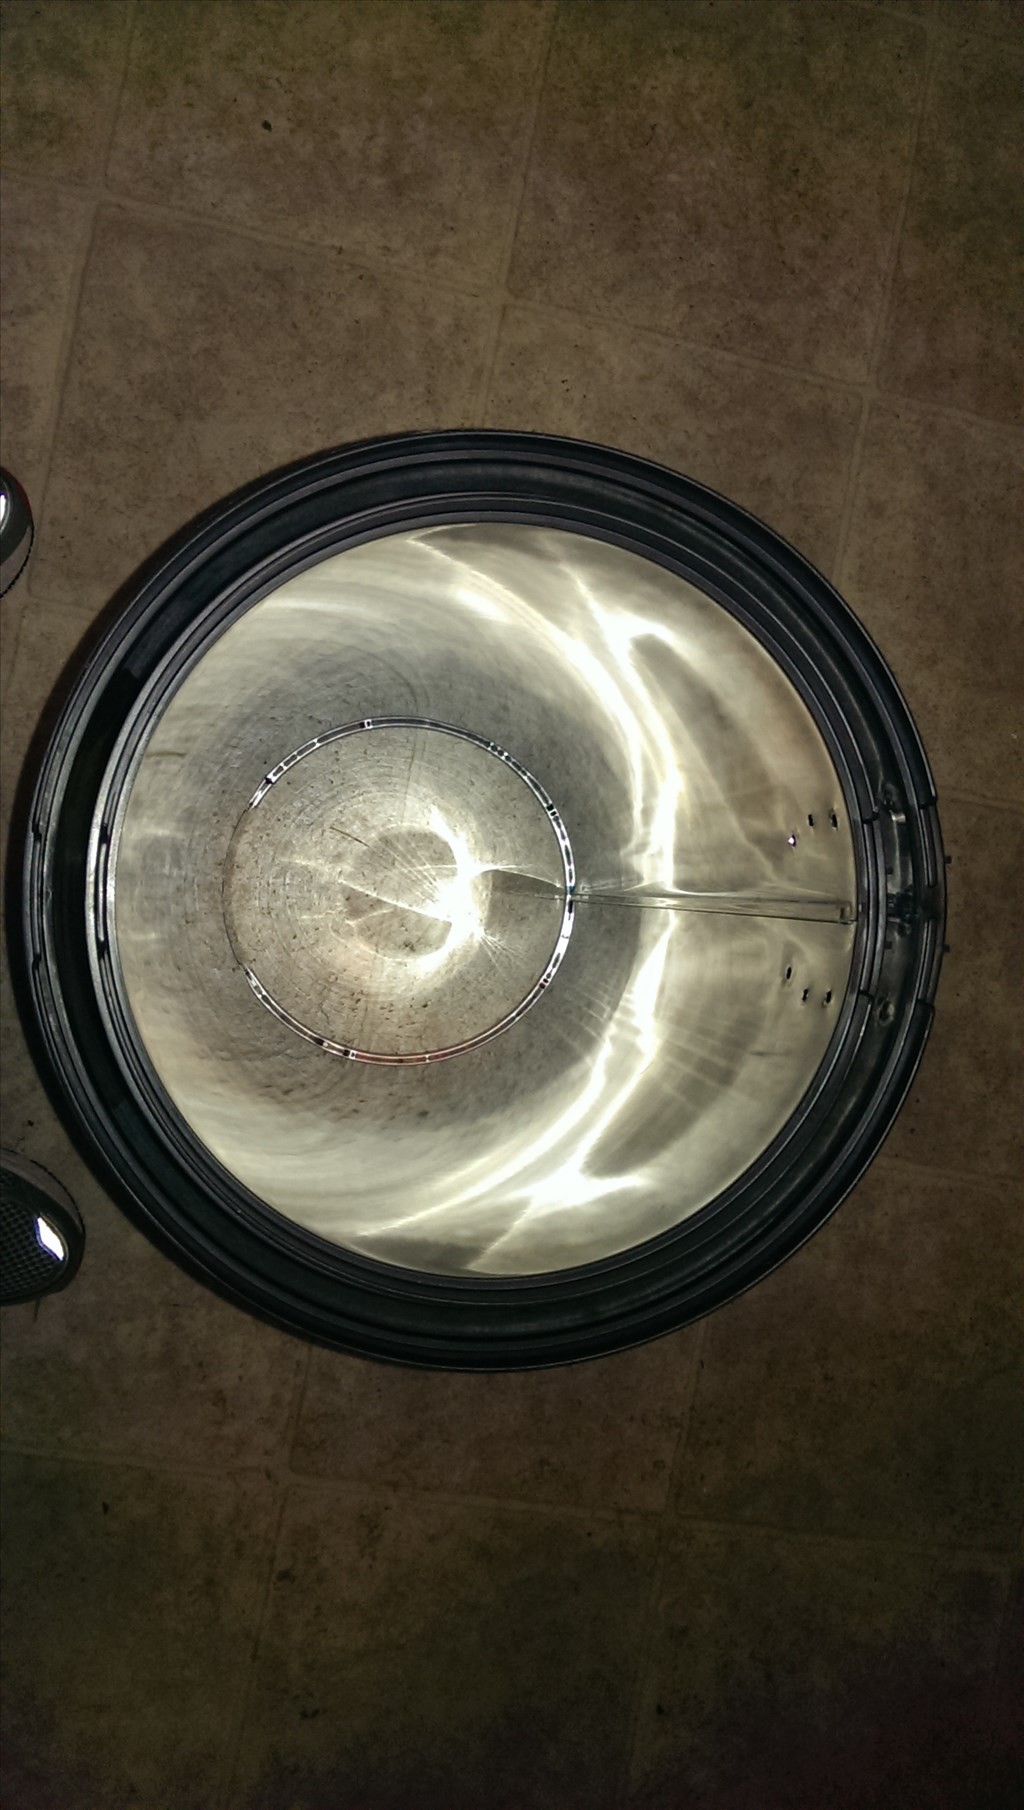
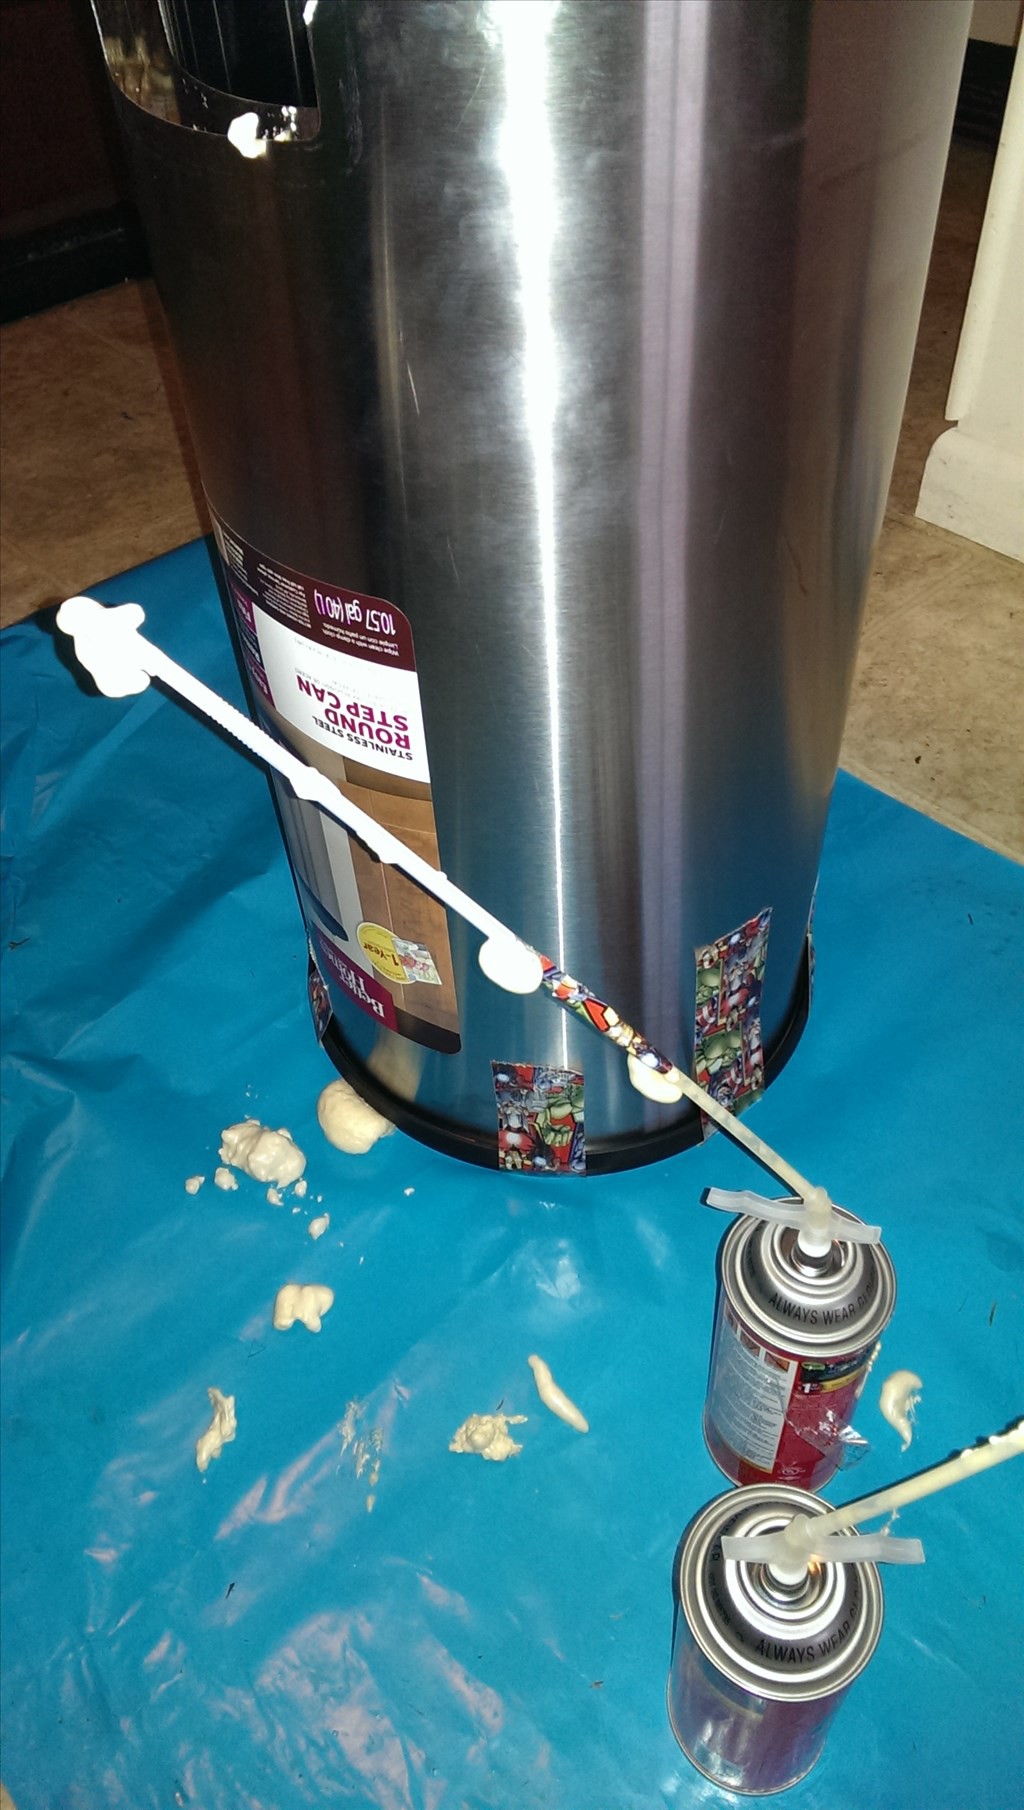
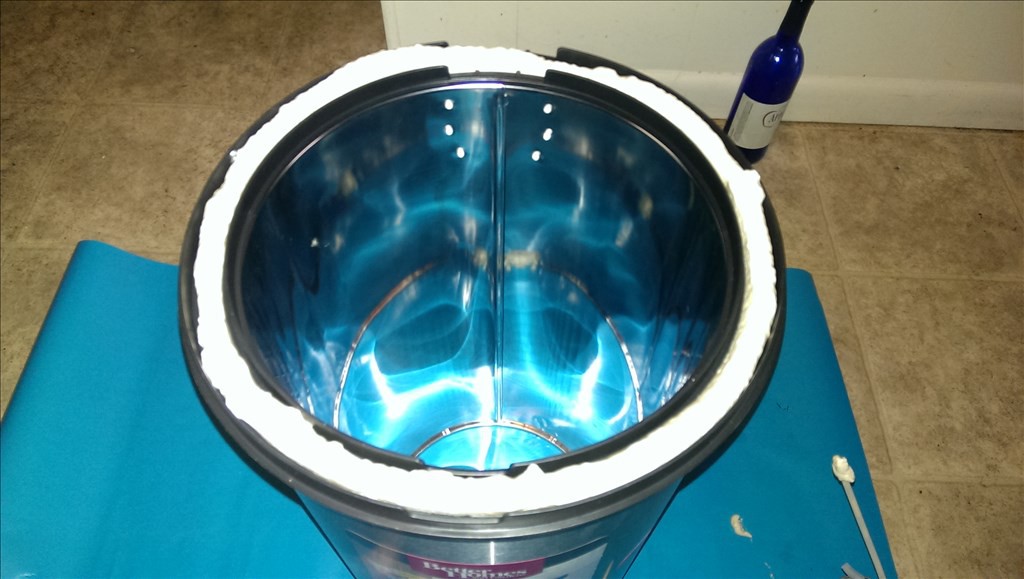
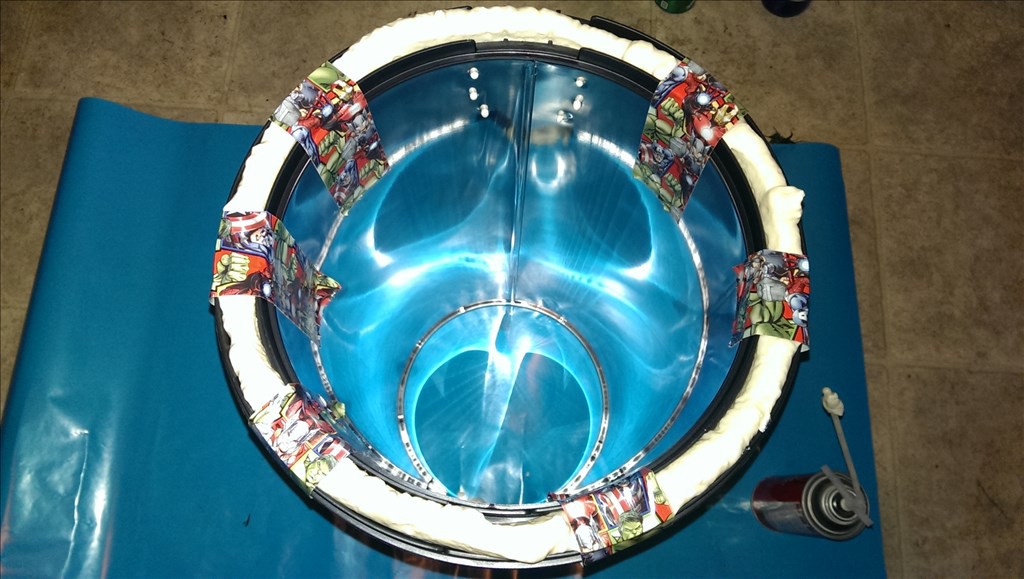
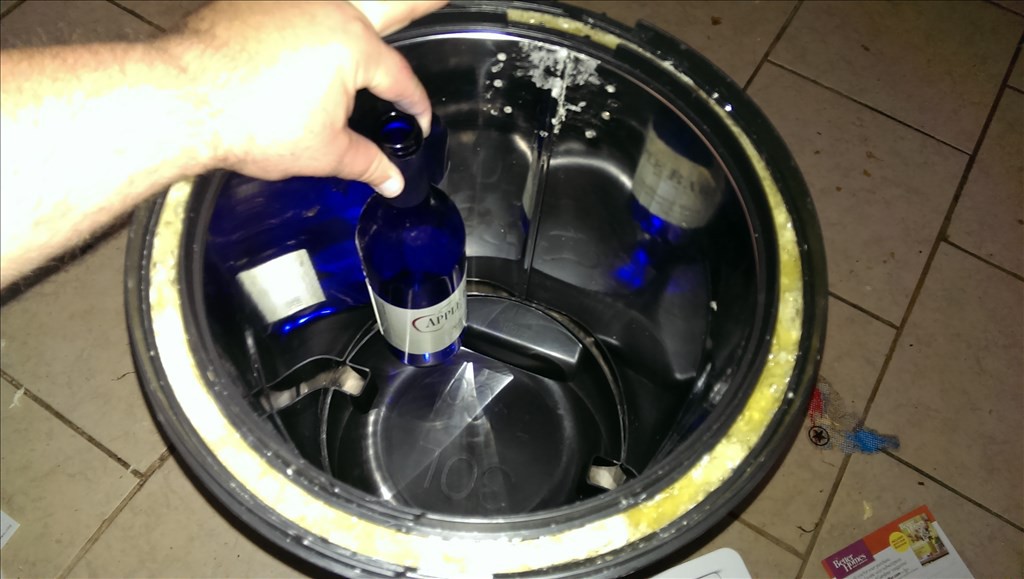
04/15/2018 at 15:25 • 0 commentsHere is the two containers taken apart and prepping for a foam insulation.
![]()
![]()
![]()
![]()
![]()
![]()
I used great stuff foam sealant, in retrospect I would probably just order a two part foam pour system online because it took a few cans to get this filled up and the straw is not long enough to reach to the bottom so I had to flip it to spray from each end.
Brewster video they started saying " so why don't you have a robot bring you a beer" "why doesn't your robots do something useful". Take in mind cleaning robots are not exactly what guys think is fantastic lol. So beer bot challenge it is! This one is keeping the KISS rule though , keep it simple stupid lol.
-
Posted video insulating the body of the robot
04/15/2018 at 15:27 • 0 comments -
Step 2 on the body insulation, the bottom drip pan
04/15/2018 at 15:29 • 0 comments![]()
![]()
![]()
-
Seal the edges with epoxy
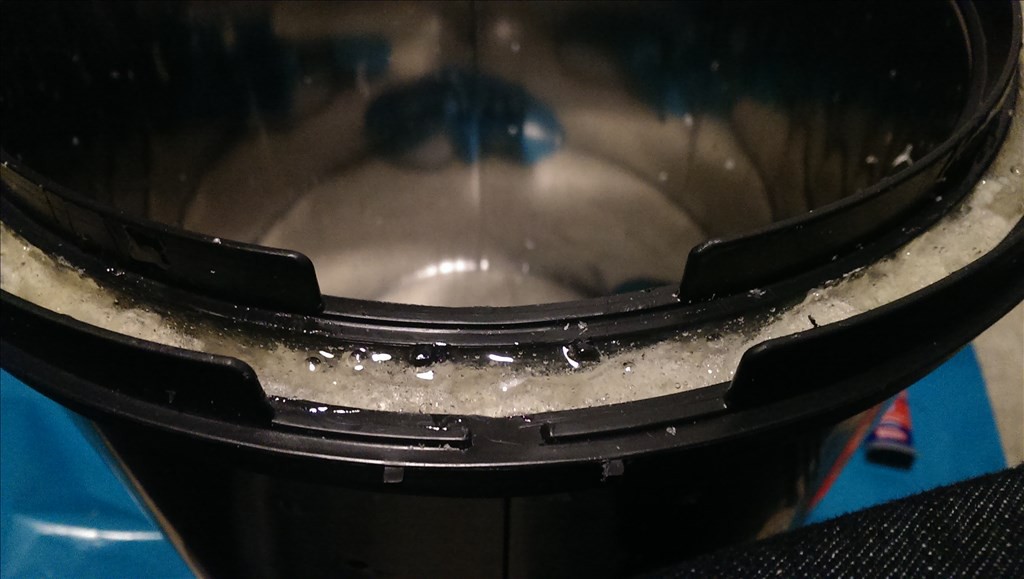
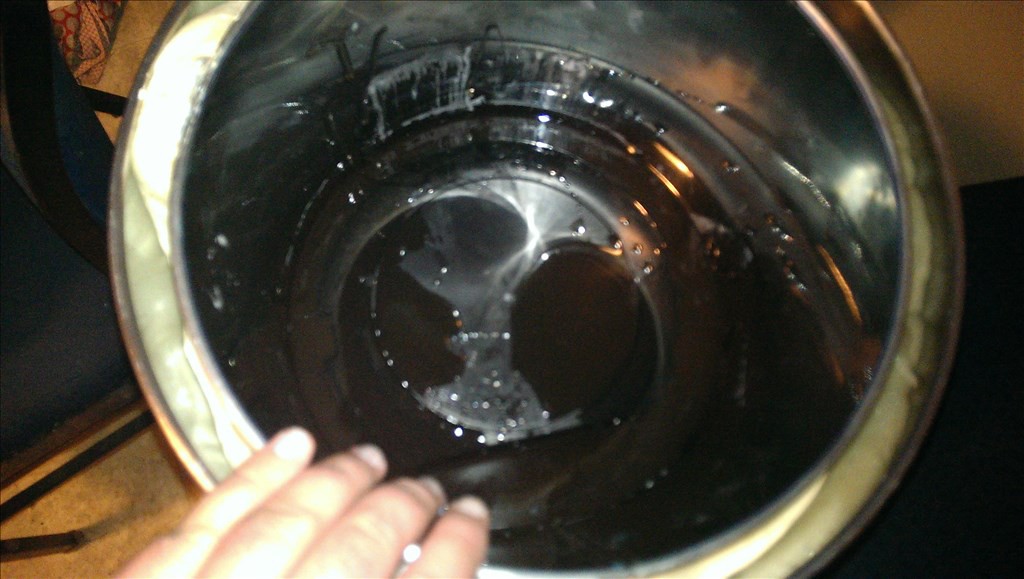
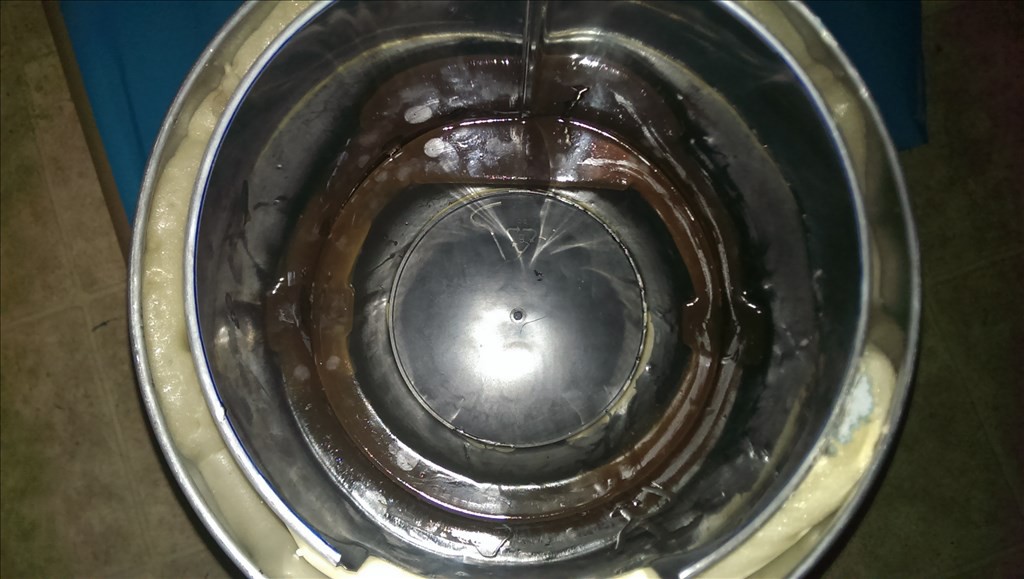
04/15/2018 at 15:31 • 0 commentsHere i show how deep the cavity is and that the edges have been sealed with low viscosity epoxy resin.
![]()
![]()
-
Part 1: Making the grate bottom with food safe plastic
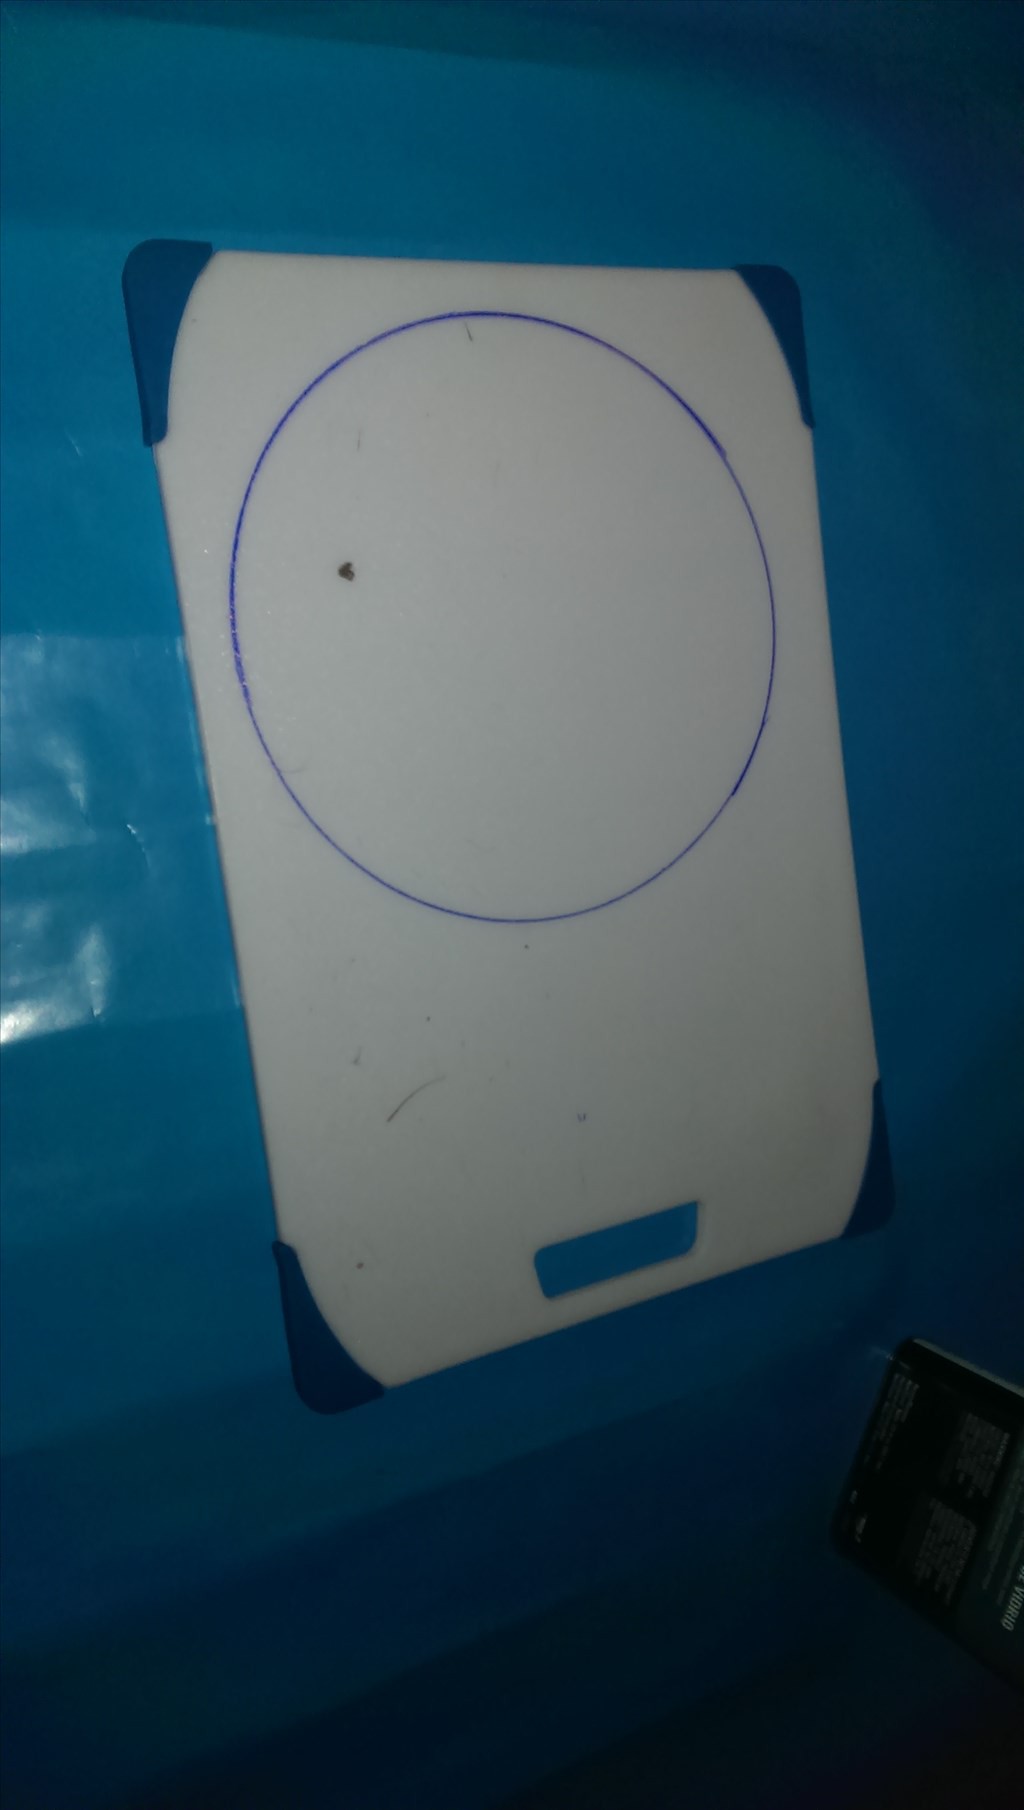
04/15/2018 at 15:36 • 0 commentsI need to make a bottom that air can flow through. I picked up a 12 dollar food safe plastic cutting board. I believe this stuff has "Microban" in the plastic to prevent bacterial growth in abrasions.
![]()
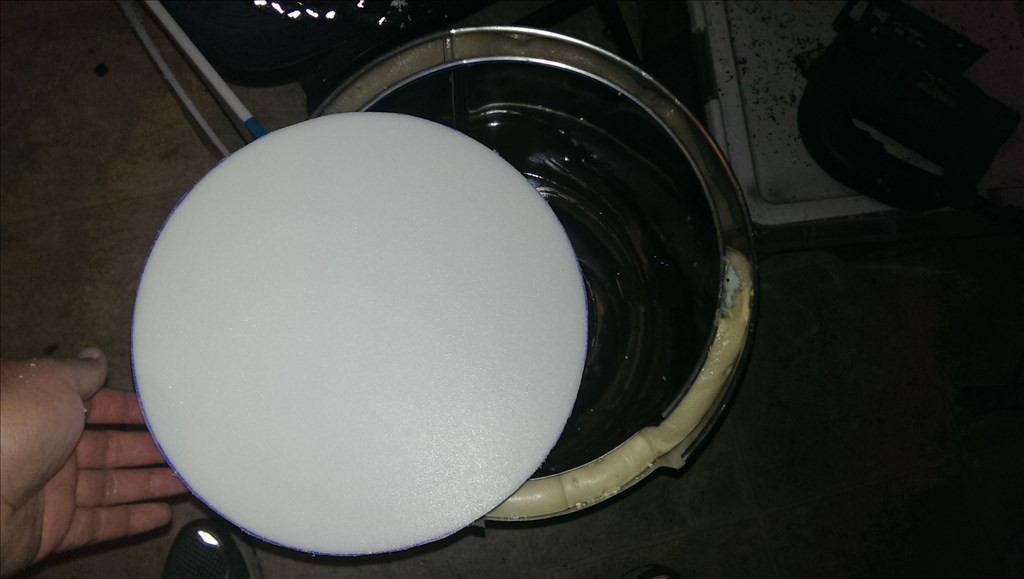
Careful cutting with a Dremel yields good results. Now we have a disc to machine.
![]()
-
Part 2: Making the Grate
04/15/2018 at 15:40 • 0 comments![]()
![]()
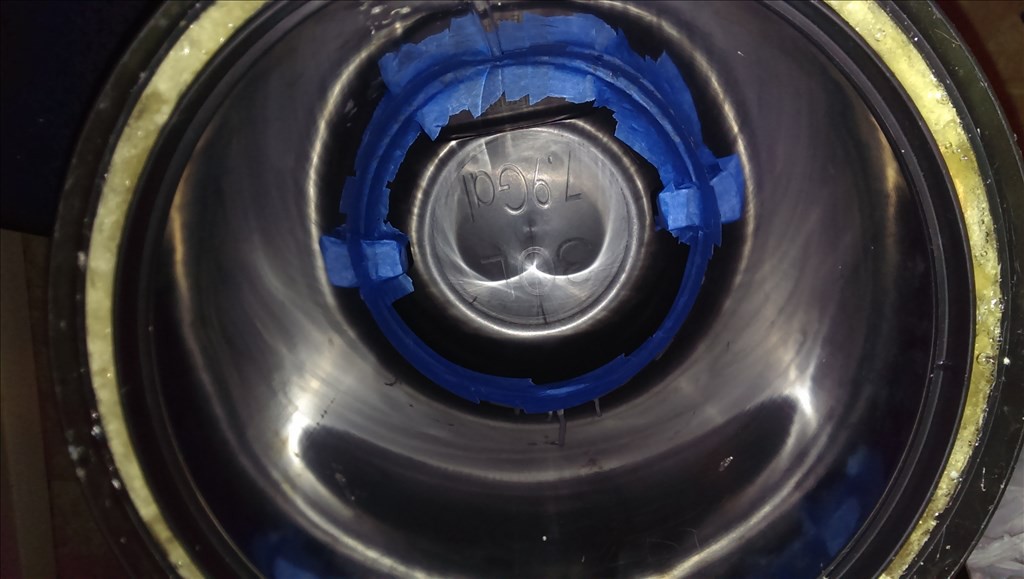
Resin as been poured in and now we wait about 20 minutes to harden.
![]()
The resin has hardened and I peeled away the masking tape, it look great! Now we have a continuous ledge to seat the grate on.
Beer Butler Robot, Refrigerator on a Roomba
Mobile refrigerator! An insulated tube built on a hacked Roomba controlled by serial connection. Indoor Nav by QR code ceiling tiles
 Josh Starnes