 peter jansen
A bunch of the sensor boards arrived this week! I confess that holding them in your hand is a lot different than seeing them in Eagle CAD -- these new sensor boards are tiny.
Modular Sensor Boards
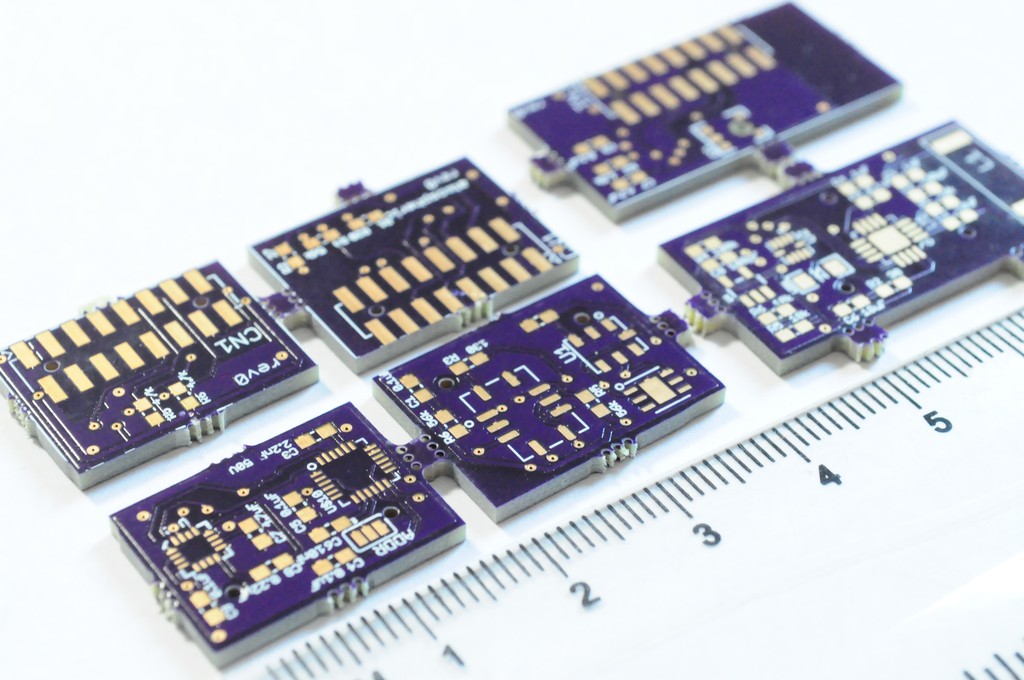
The first three (of five) sensor boards arrived, with the radiation sensor board (and the touch interface board) arriving a few days later. The spectrometer board is the only sensor board that still has to be designed, and I'm waiting on laying it out until I have a better idea of how the radiation sensor board fits on the back. The spectrometer is the largest sensor in the device, but if there's room I might be able to lay it down and make the entire device even thinner -- definitely worth holding off a few weeks on.
The first thing that struck me is that these sensor boards are *tiny* -- much smaller than any of my previous boards. They're about the size of the tip of my finger! I think the idea of utilizing as much real estate on the outside of the device as possible for sensors (rather than just having them all face towards the front) is really a fantastic design idea for keeping the device small.
These boards are so tiny that they're a bit of a challenge to attach a solder stencil to. Since invariably many of the parts I use end up having very fine pitches (0.4 to 0.5mm), my favorite method of stenciling is to clamp the board and stencil in a clamp, adjust it so it's aligned, then squeegee on some solder paste.
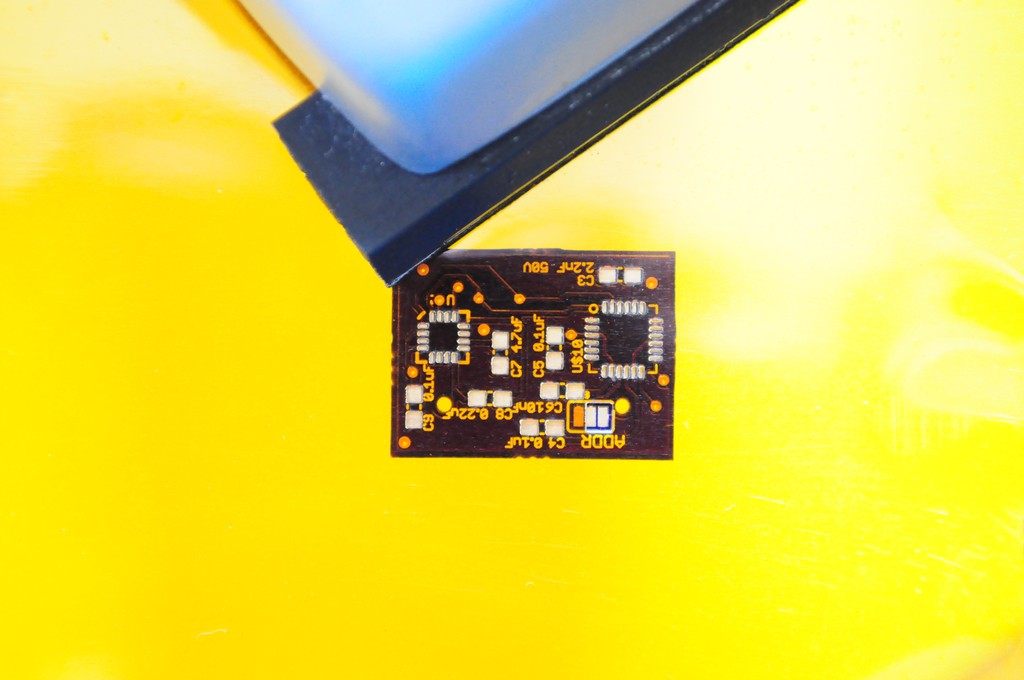
Here, the sensor board combining the Honeywell HMC5883L 3-axis magnetometer (left) and the Invensense MPU9150 9-axis accelerometer/gyro/magnetometer (right) is being assembled.
Here's the board, with solder paste. Looks good! The paste on the MPU9150 is a little misaligned by a few tenths of a millimeter, but it tends to sort itself out during the reflow process. I usually adjust some of the more worrisome looking misaligned paste around with a pair of tweezers before placing the components.
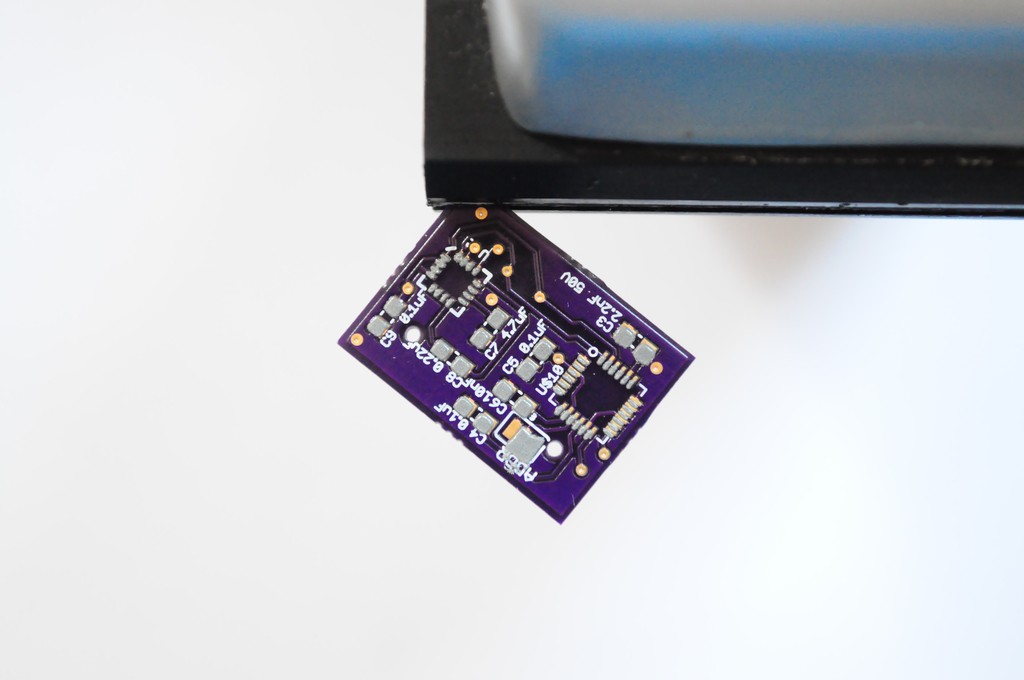
Here's the board with paste and after the components have been placed. Time for reflow!
I tend to reflow most of my boards in a $20 toaster oven. It sounds crazy the first time you hear it, and you feel crazy the first time you do it, but it usually works out very well. Sparkfun has a tutorial on converting toaster ovens into reflow ovens, but I live a little more dangerously and just set the heat to maximum and bake -- watching the board like a hawk until it reflows, and then popping it out of the oven immediately after.
These sensor boards are /so small/ that they will fall through the grill of the toaster oven, so I've layed this one on an old coaster -- er -- breakout board from another project. I'm also trying not to snap pictures for too long, since I have to pull it out as soon as it reflows or the parts will cook!
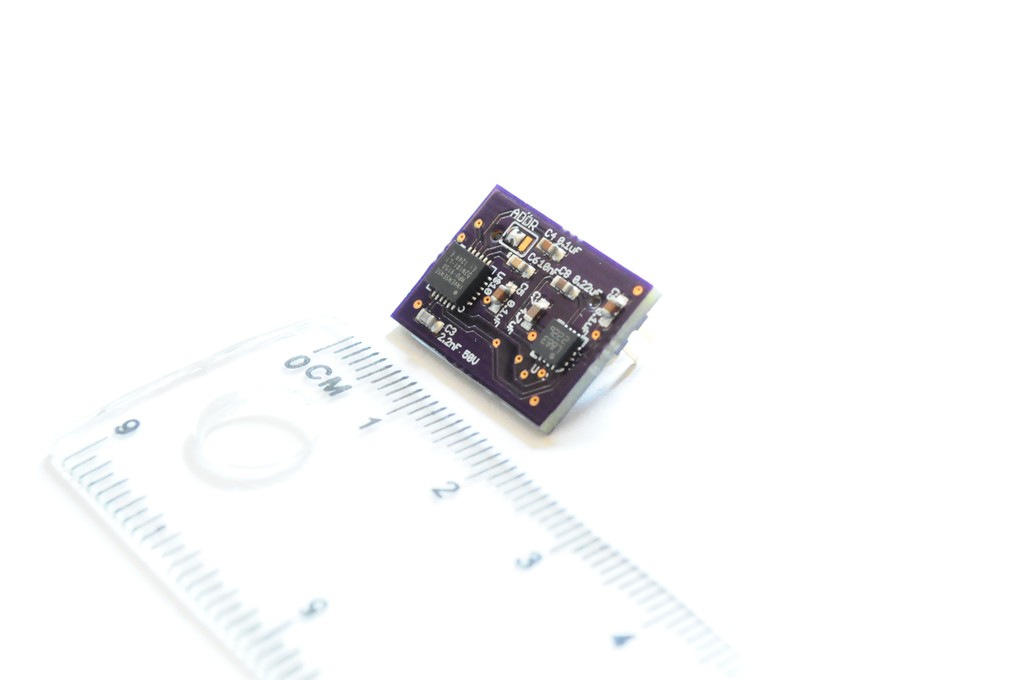
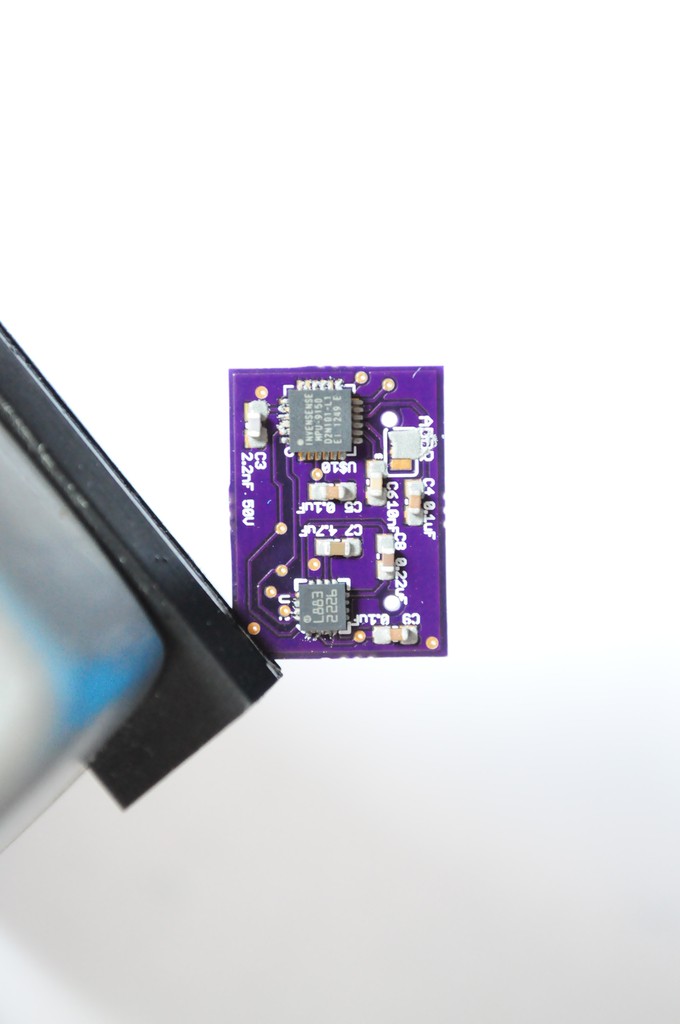
The finished magnetometer and inertial measurement unit sensor board. Not shown was attaching the sensor board connector to the back of the board -- a 20 pin double-row 2mm-pitch male connector.
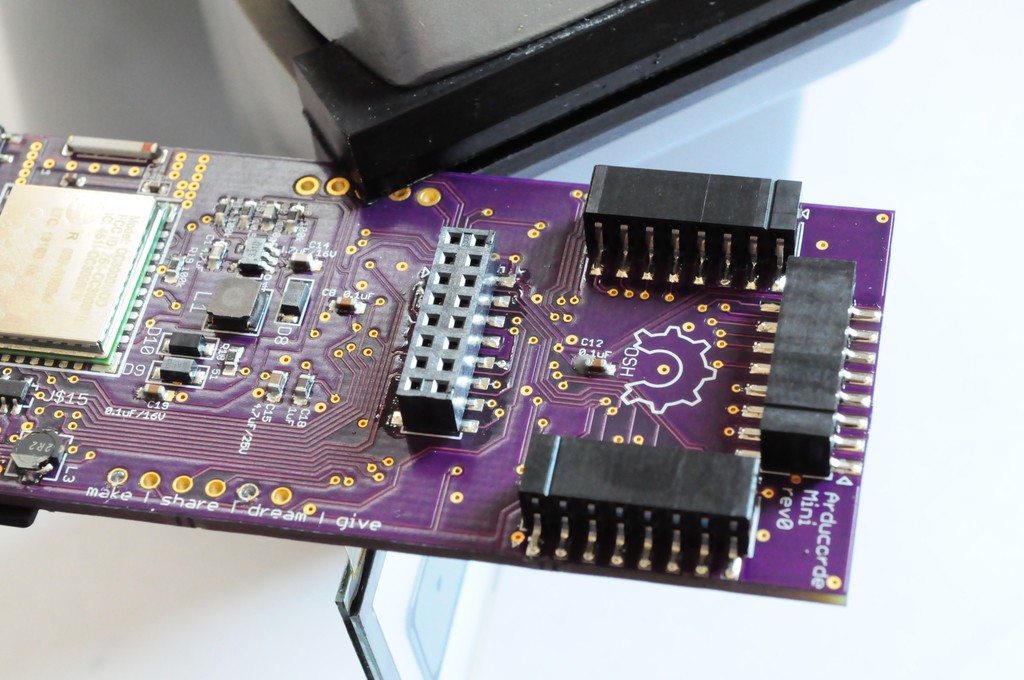
I hadn't yet soldered on the sensor board connectors to the motherboard, in part because they were low on stock, so I could only order enough for a few boards. These have alignment pins that go through the board (and make routing a little more challenging), but it's worth it -- they align in exactly the correct, orthogonal orientations.
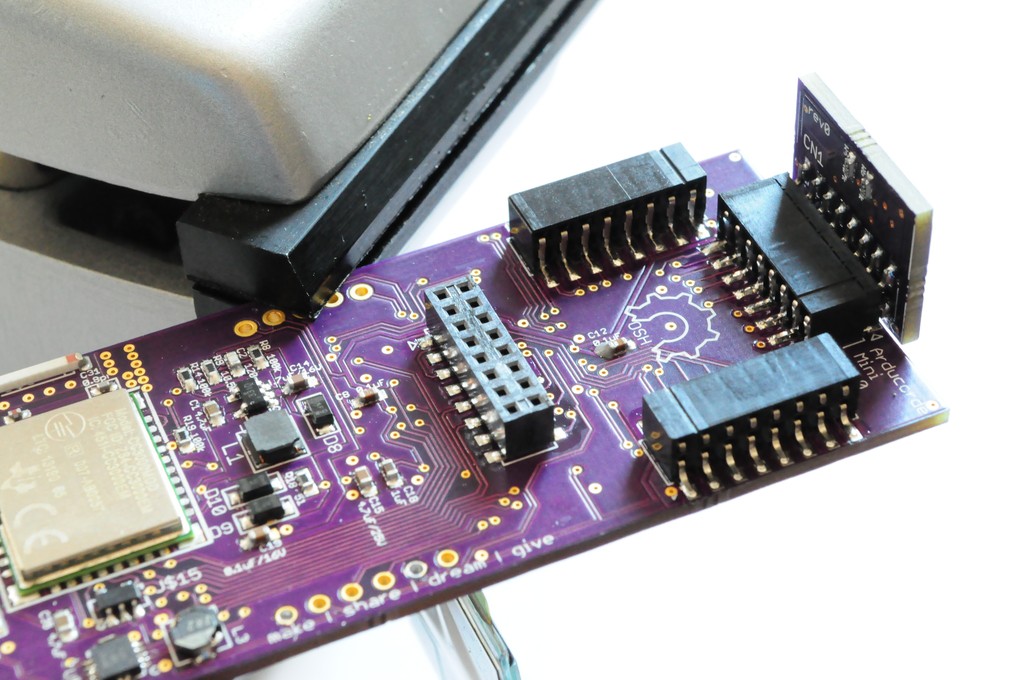
I confess that one of my largest anxieties about this design was the sensor board connectors. I literally looked through thousands of connectors on Digikey searching for one that was both right-angle, board-to-board, medium-density, strong enough to firmly mechanically support the sensor boards, and larger than a 0.5mm pitch for easy alignment and soldering. There were not many options. The ones I settled on looked like they would have /exactly/ the right mechanical clearance if the board could be routed within 10 mil of the connector footprint, which is a little tight and the first time I've had such a tight clearance, but it ended up working out famously.
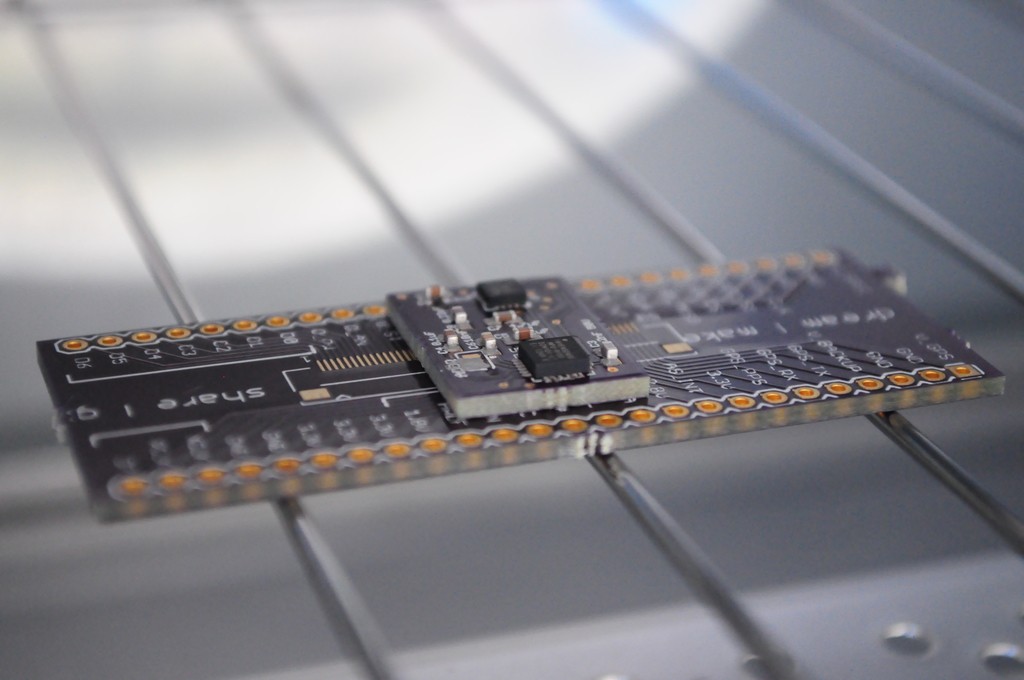
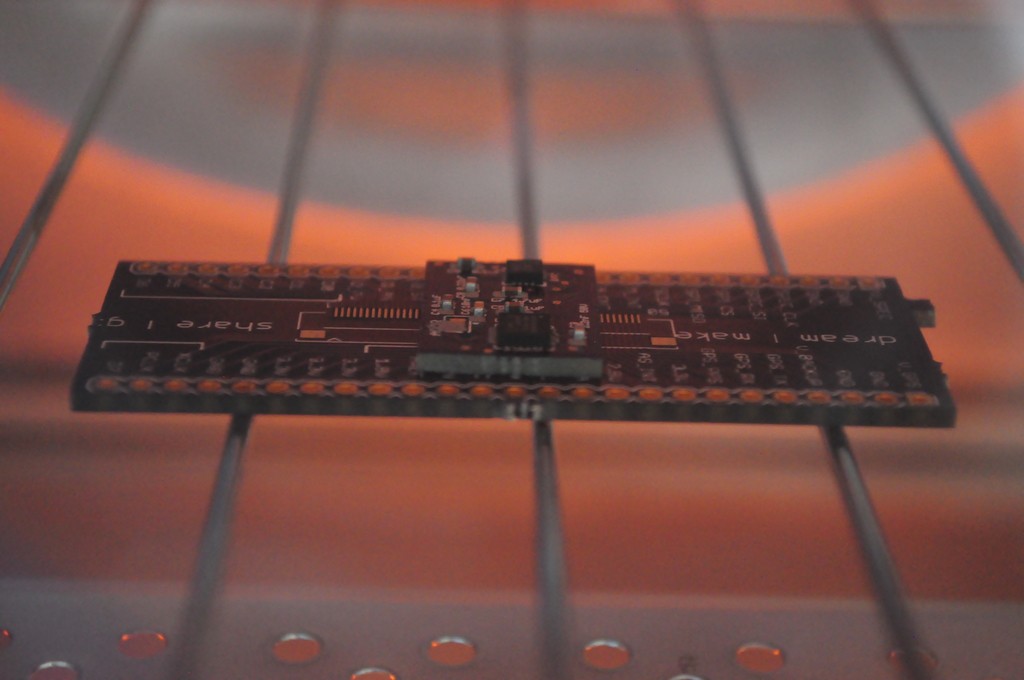
Here's the first sensor board of the Arducorder Mini! It's connected to one of the 4 interchangeable sensor module connectors on the top, and just waiting for some software to test it!
Software
I wrote a quick test for the magnetometer to verify that measurements were coming out correctly, then went to work on writing a bit of software to encapsulate and display the data, and lay the very beginnings of a test user interface.
To help architect the software in a way that keeps it easier for other folks to modify, maintain, and use in other projects, I wrote the beginnings of a few modules:
- A framebuffer driver (with a backbuffer) for the ER-OLED015-1 1.5" OLED display, which is 128x128 pixels and 16-bit colour. This is a popular display in the OSH community, and most folks seem to be using it over SPI with Arduinos. Because the total frame buffer size would be 128 x 128 x 2bpp = 32k, most Arduinos don't have the capacity to store this framebuffer, and have to address the display pixel-by-pixel over SPI, which reduces the framerate, the kind of rendering you can do, and ultimately the user experience. The PIC32 used in the Arducorder Mini has plenty of RAM for the framebuffer (128k), and it's connected to the 8-bit parallel master port so that it can the display can be updated very quickly. I haven't precisely measured it, but I believe it's currently updating in the neighbourhood of 50-100fps, which is very good.
- A framebuffer graphics library that supports quickly writing basic graphics primitives (lines, circles, triangles, etc) to the framebuffer. To help make these functions more familiar to folks and easy to pick up I've started with the popular Adafruit graphics library, and am extending it as required.
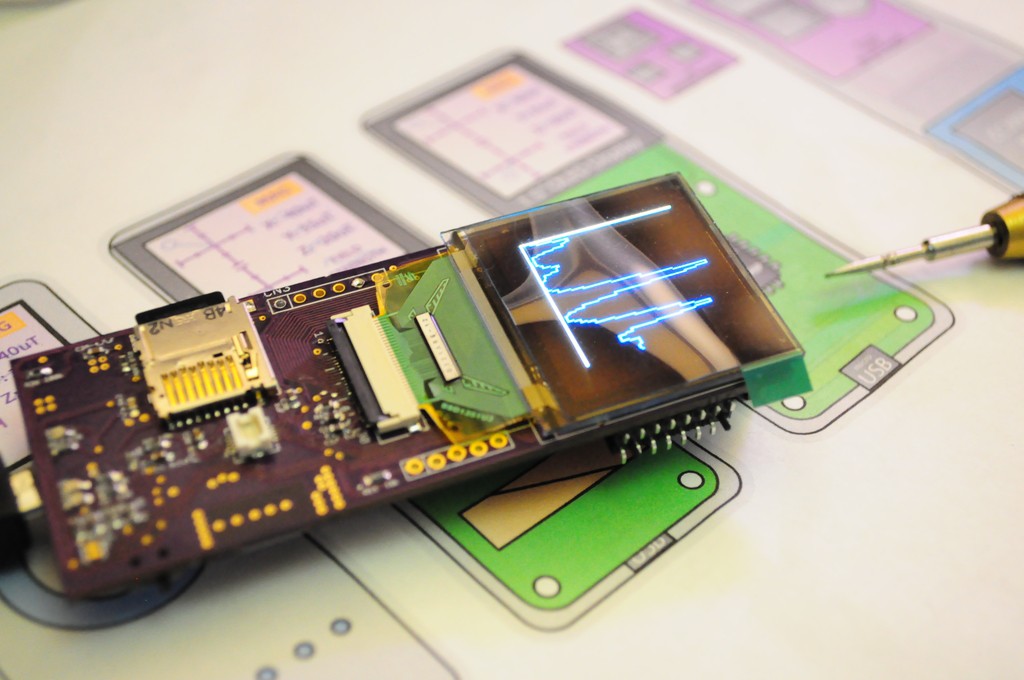
- A graphing and visualization library for attractively graphing and displaying data in a variety of ways, with configurable options. This is a work in progress and something I'm very excited about, and the other night wrote the first widget -- a very basic graph with autoscaling (picture below, and in video). It's not terribly attactive right now, but the back end is all there.
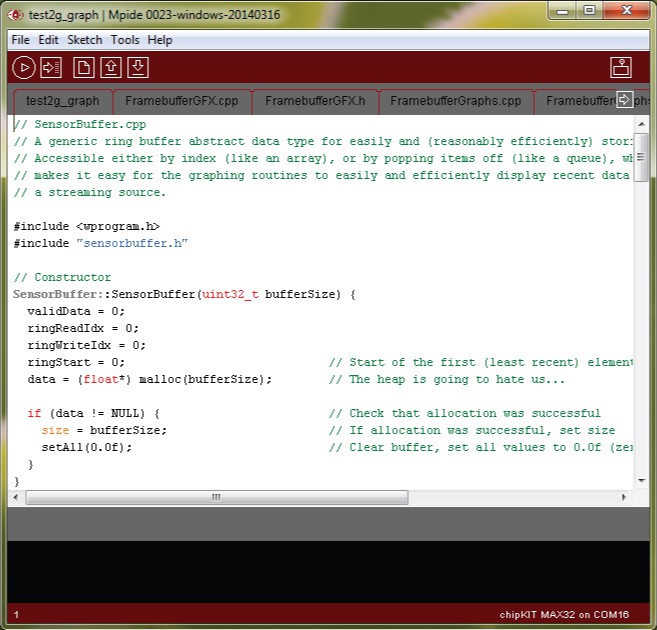
- A sensor buffer storage class, for efficiently storing, using, and visualizing data (through the graphing and visualization library). Memory is a huge concern on microcontroller-based embedded systems, but I'd still like to be able to constantly record data from all the sensors in a buffer so that it's always "recording", and you can worry about discovering and analyzing the data rather than fumbling to try and save it while something interesting is going on!
There are also a few minor challenges that have some up using the standard Arduino libraries. The Chipkit port of the Arduino core to PIC32 is currently only compatible with Arduino 0023, rather than the newer Arduino 1+ standards. Some of the libraries for SPI also appear to be a little different. This is making some difficulties:
- SD card read speeds: From my game programming days, I learned that a lot of 2D graphics on PCs are rendered by having a large repository of bitmap graphical resources, and loading them (or "blitting" them) to the framebuffer. This has a lot of advantages -- instead of being limited to drawing your graphics in code using graphics primitives, you can use a professional illustration program and simply load in the results. This is what I'd planned to do with the Arducorder Mini, blitting bitmaps from the SD card (since there isn't enough RAM in the PIC32 to store more than one or two at once). There's a small hangup, in that the standard SD card library for the Chipkit has a read speed of only around 100k/second, which is a little slow, and much less than the ~2,500k/second theoretical maximum for an SPI bus running at 20Mhz. This makes the bitmap load time on the order of a second, when it needs to be about 10 times faster to really use this technique. Potential Workaround: There is a much faster SD card library called sdfat that is written for the Arduino 1.0+ libraries, but hasn't yet been ported to the Chipkit. I spent an evening trying to port over an earlier Arduino 0023 version without much luck (there is no debugger in the Arduino IDE, which is completely okay for a learning platform, but it makes me weep for serious library development). I'll have to revisit this.
- CC3000 library: The popular library to interface the Arduino with the CC3000 appears to be the Adafruit CC3000 library, but isn't currently Chipkit compatible. I'll likely have to port this as well.
Putting it all together
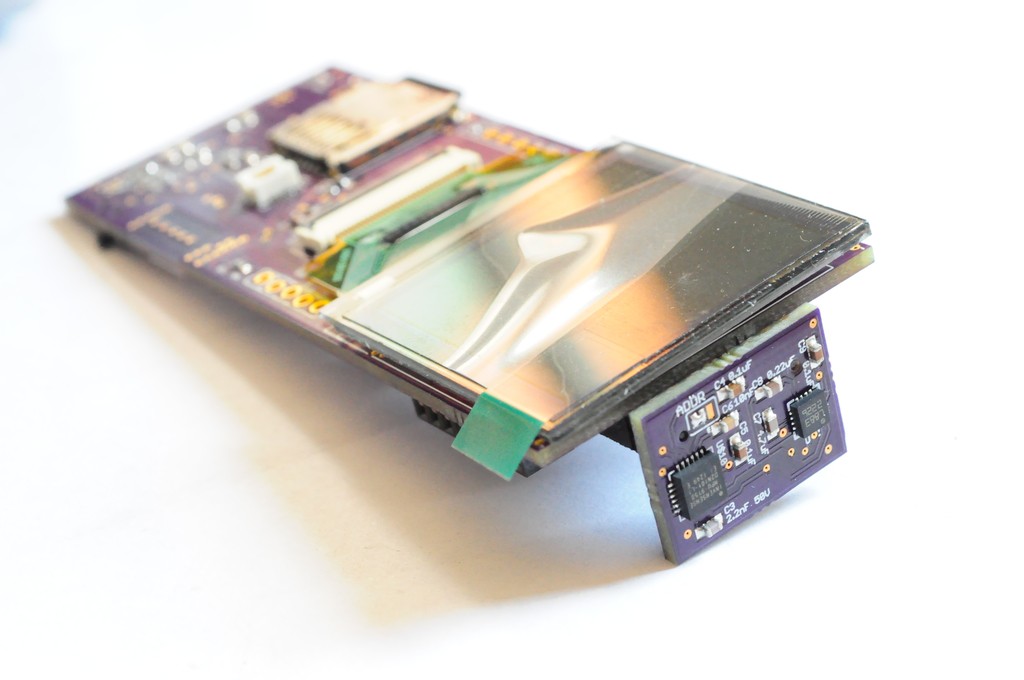
And here it is, all put together and with some very first test software. Looks great!
Concept Video
This week I also put together the first video for THP describing the concept behind the Arducorder Mini. It was a lot of fun to put together, and I hope you like it.
Thanks for reading, and stay tuned!
Discussions
Become a Hackaday.io Member
Create an account to leave a comment. Already have an account? Log In.
Are you sure? yes | no
Are you sure? yes | no
Are you sure? yes | no
Are you sure? yes | no
Are you sure? yes | no