Hardware Communication Gateway
PR-Holonet consists of 2 parts:
- The hardware communication gateway
- The cloud backend
Both systems are meant to be as low cost and modular as possible. The full hardware communications unit is composed of :
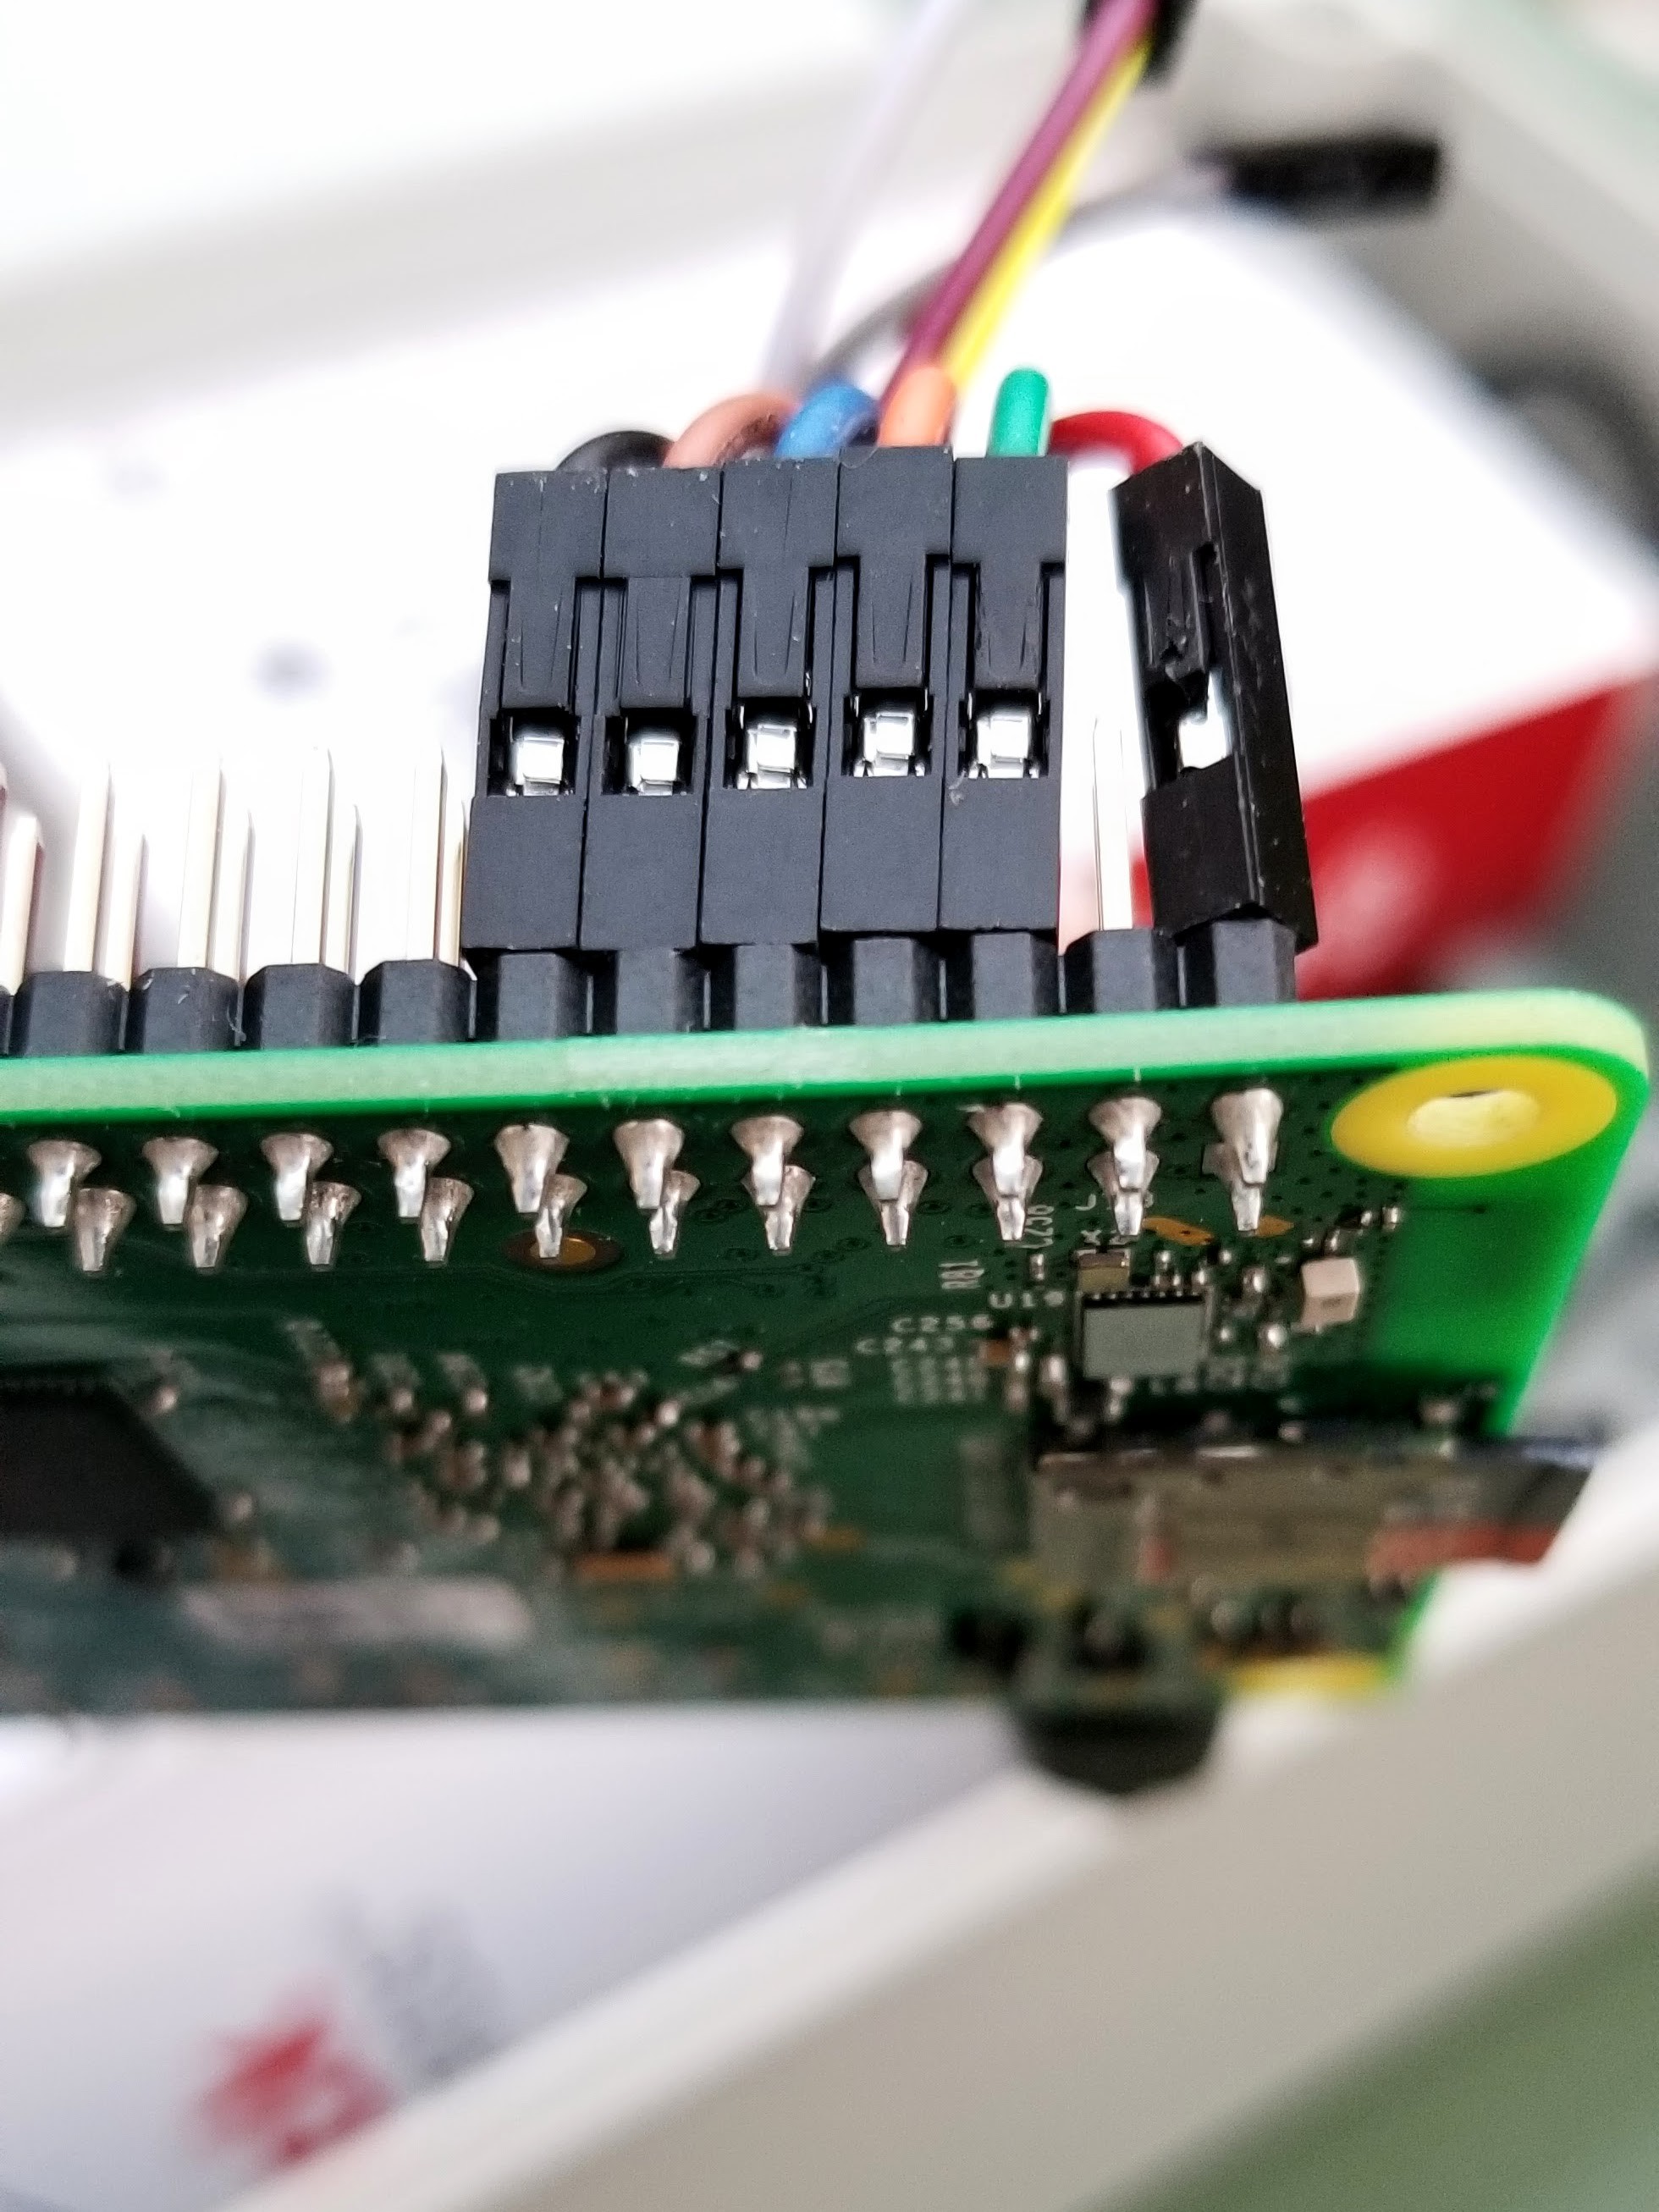
- Raspberry Pi 3 unit ($35)
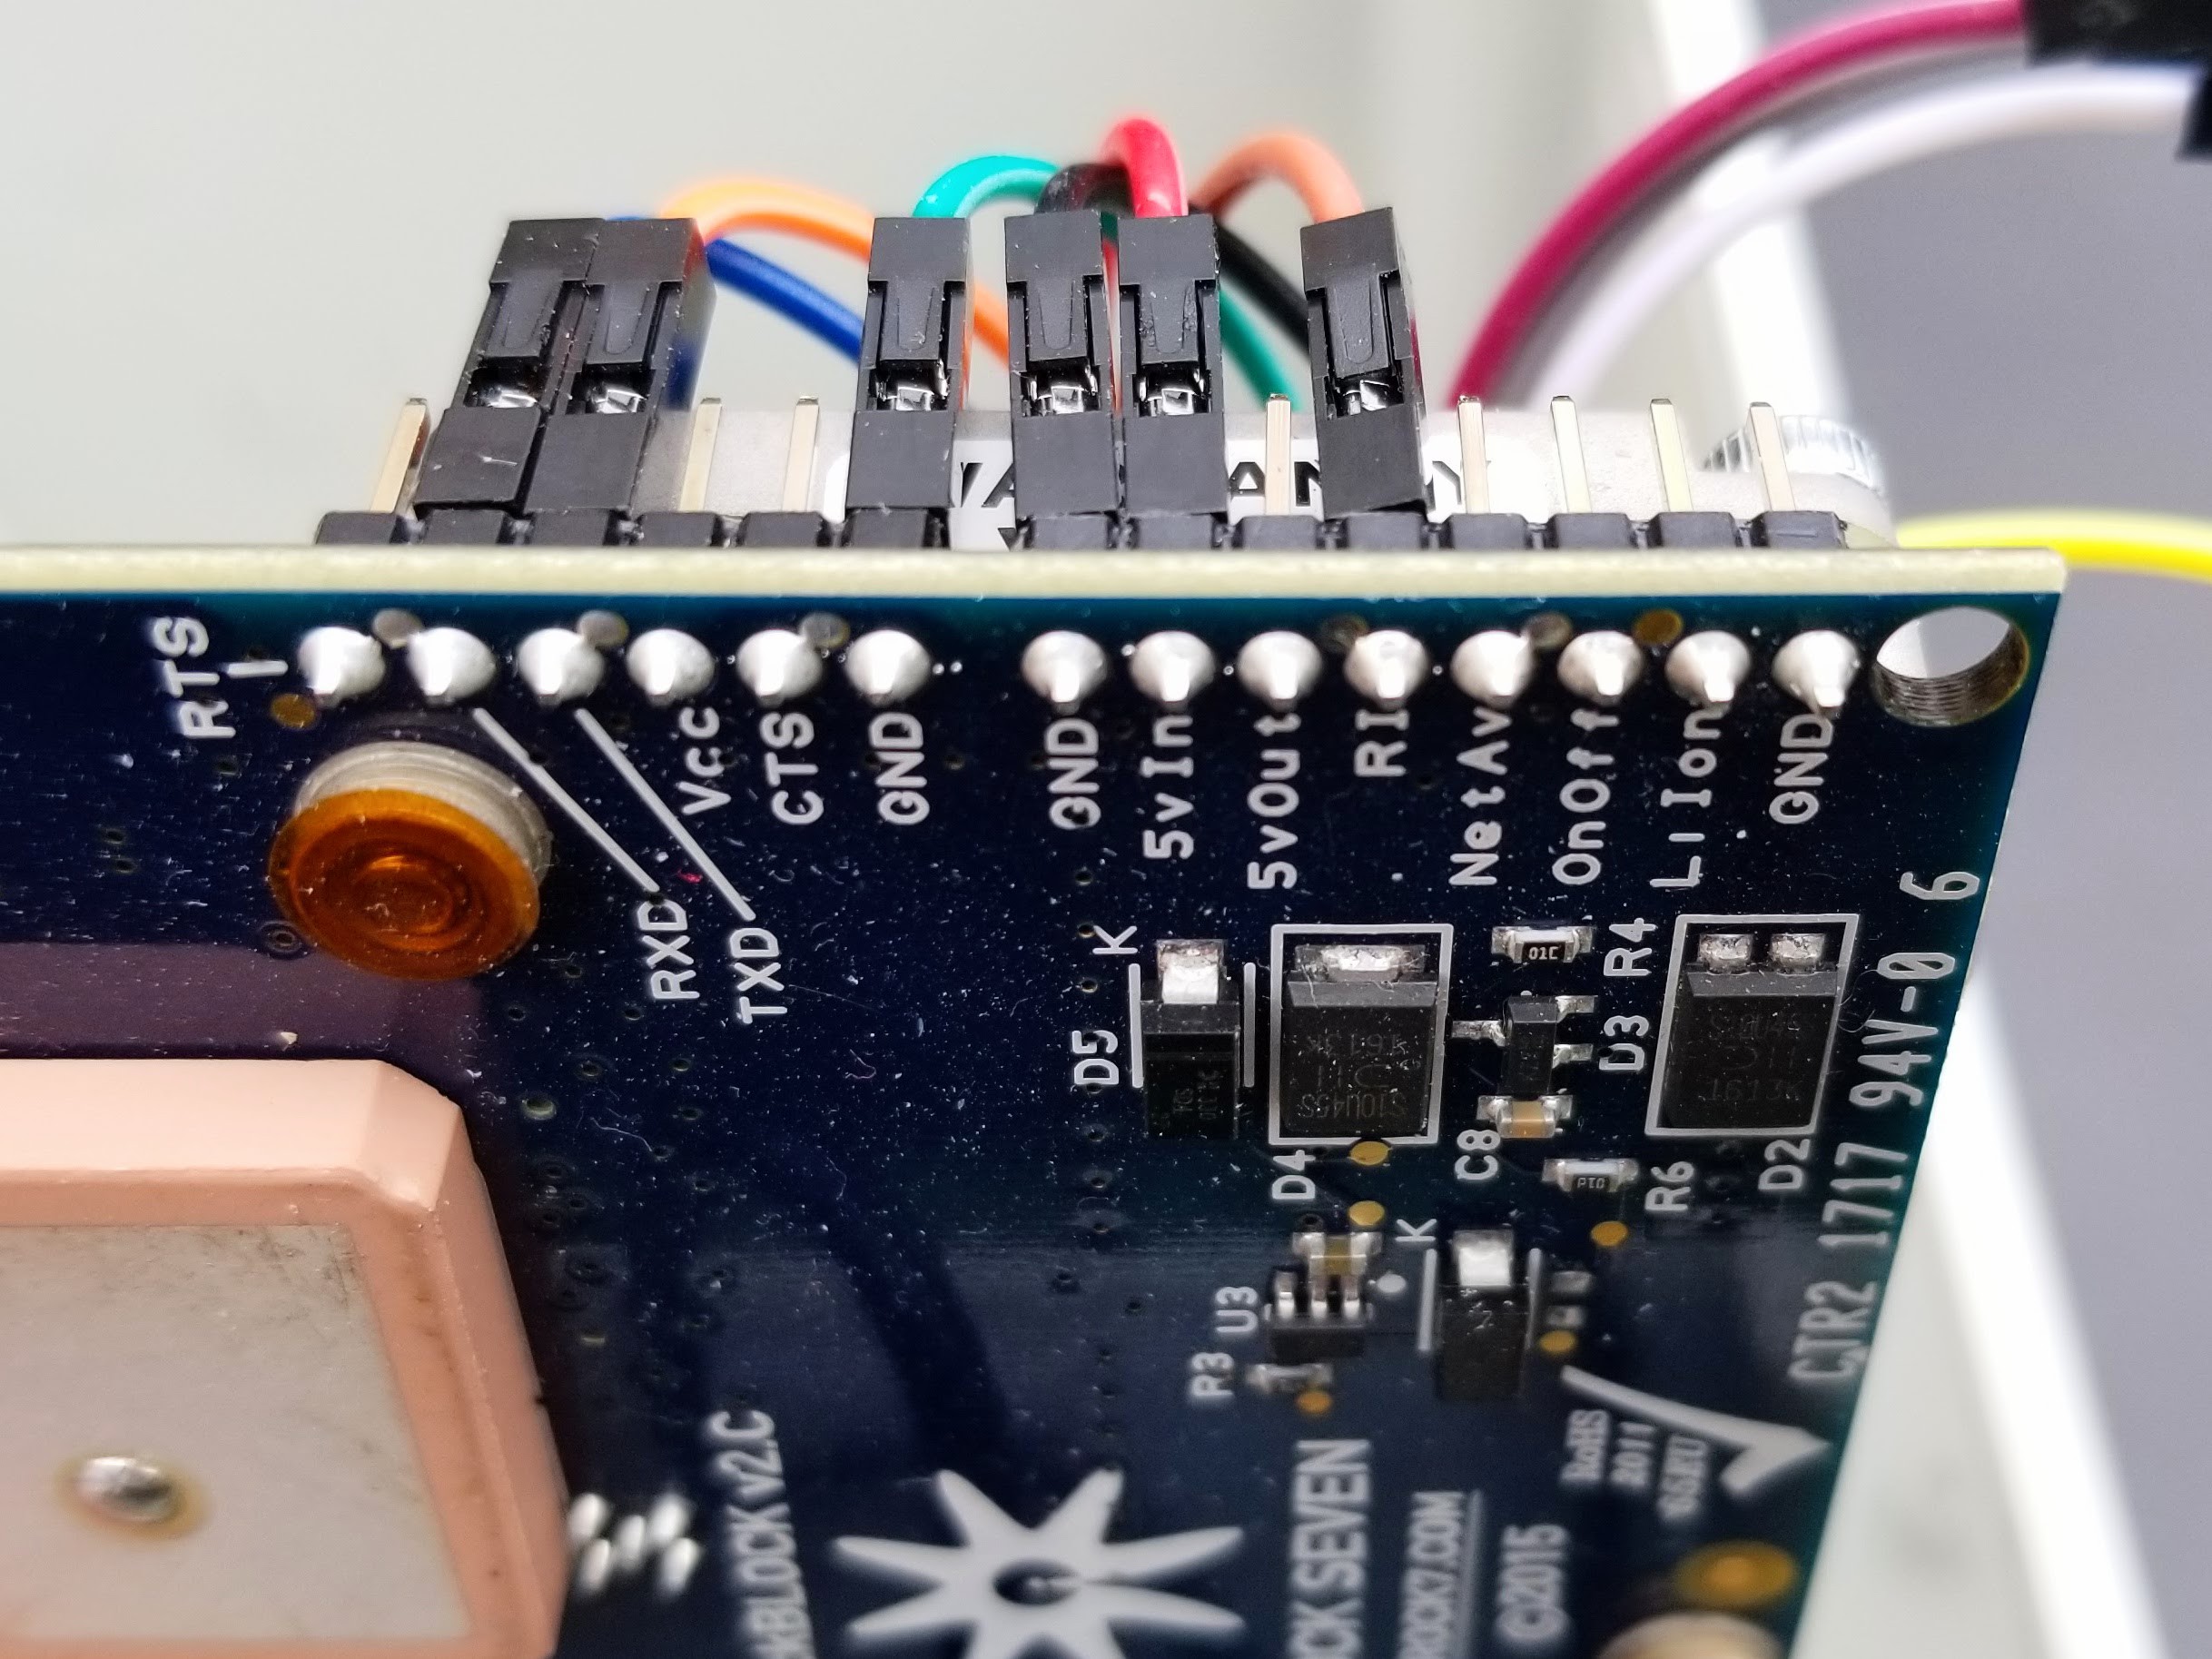
- Rockblock MK II Iridium Short Burst Data (SBD) modem ( ~$250)
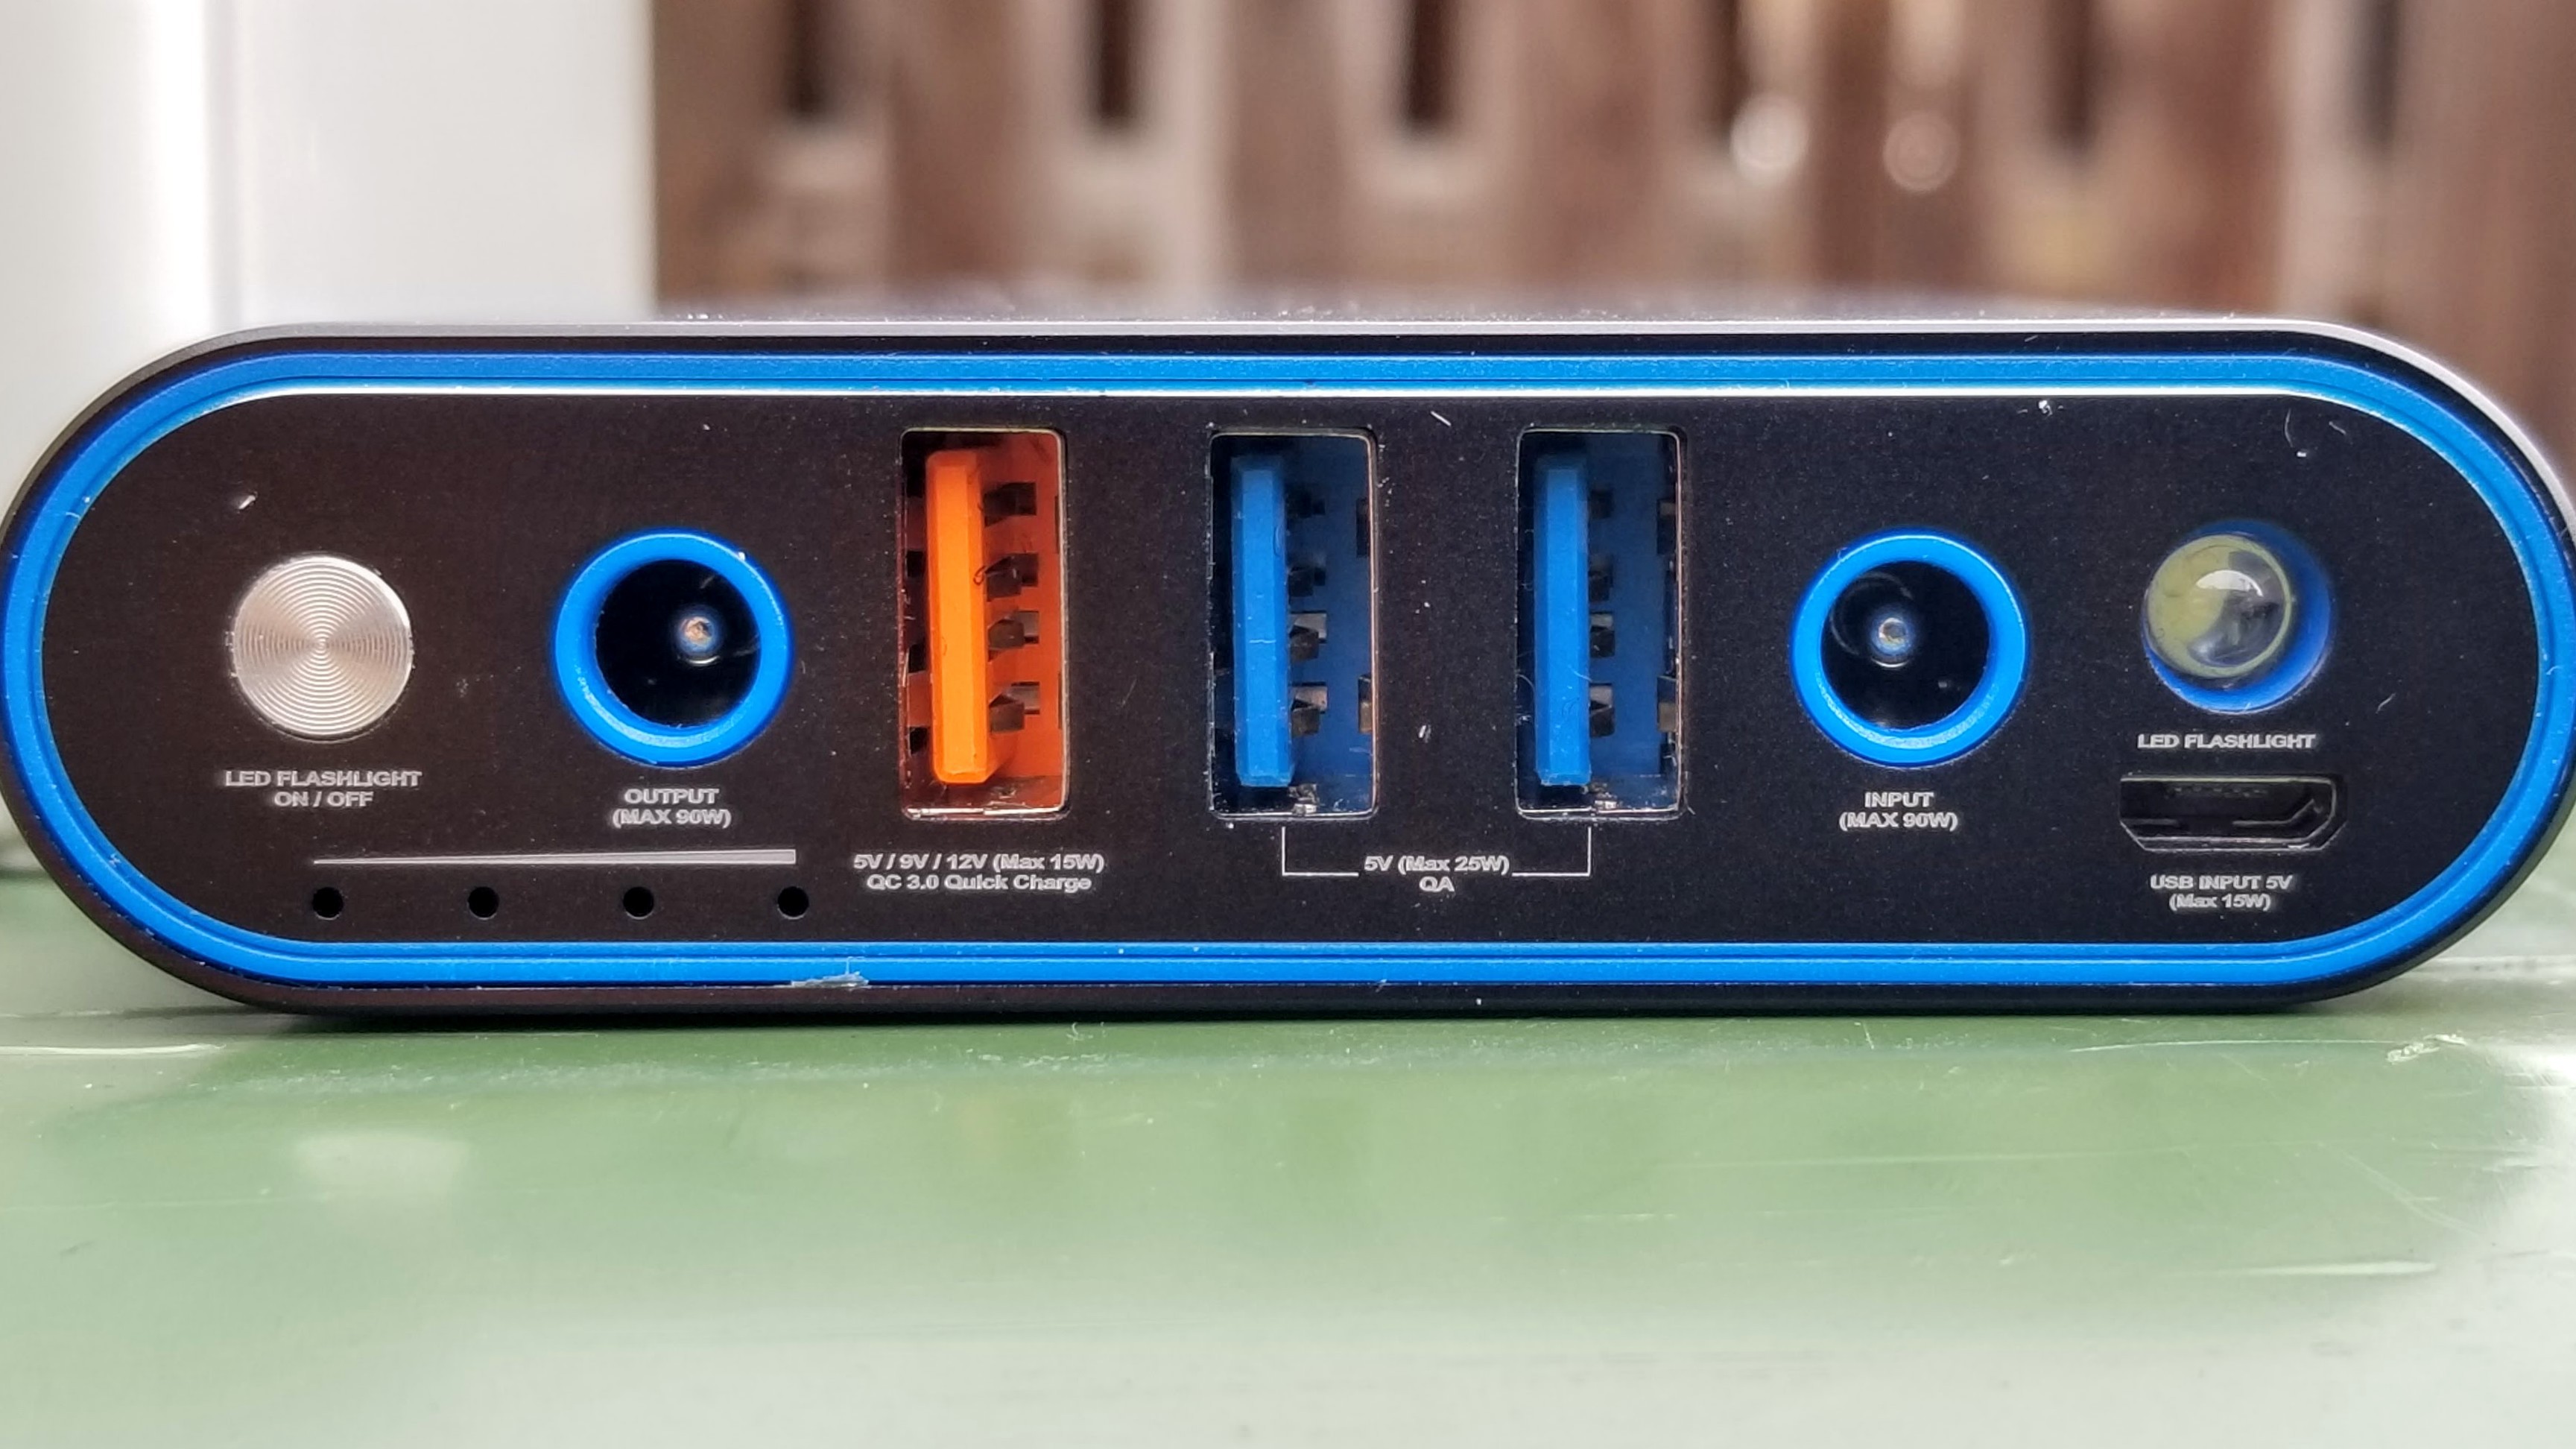
- Cellphone Battery Charger ($170 or less, depends on what you get)
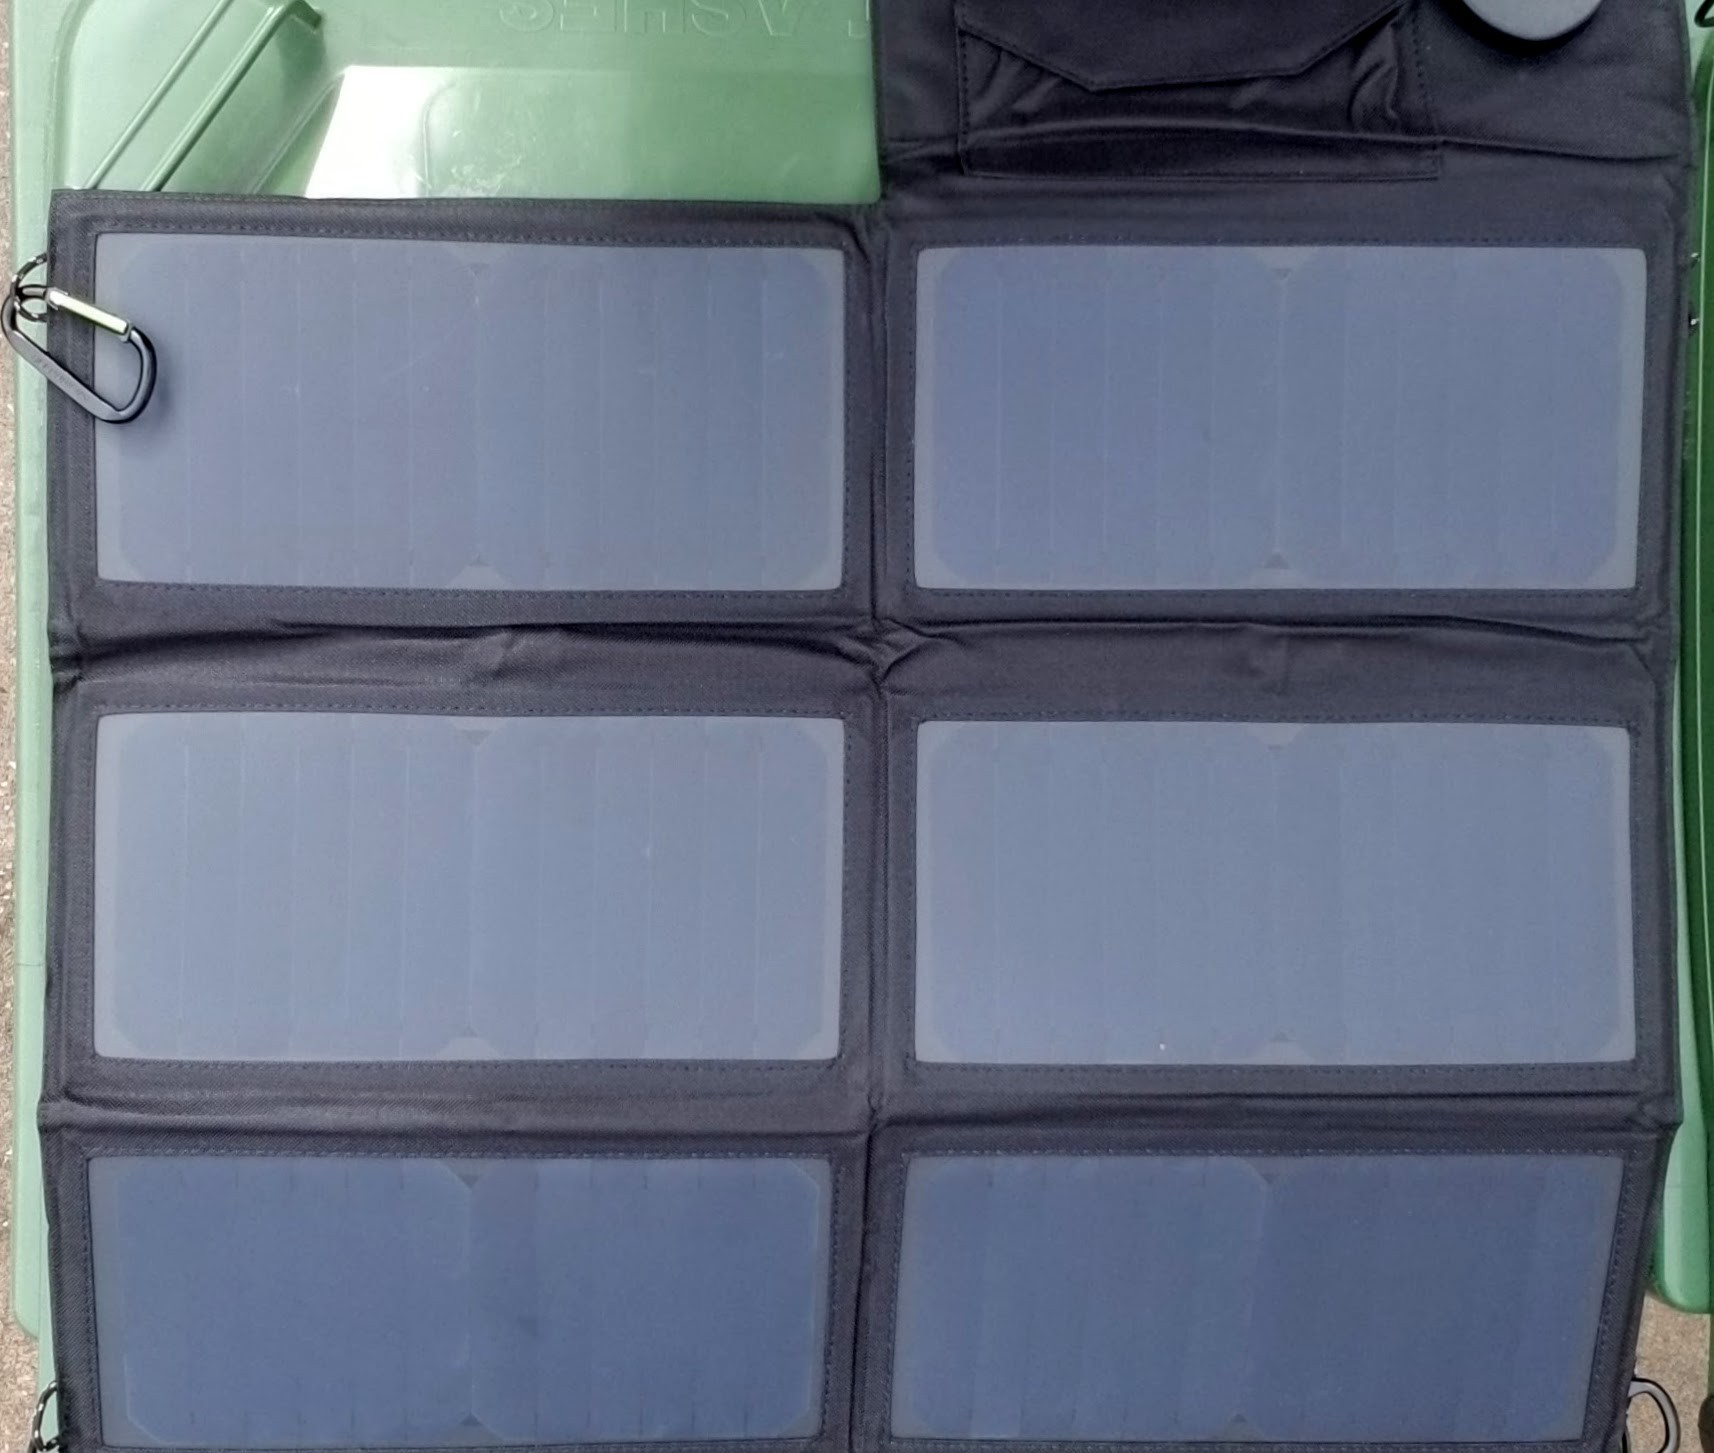
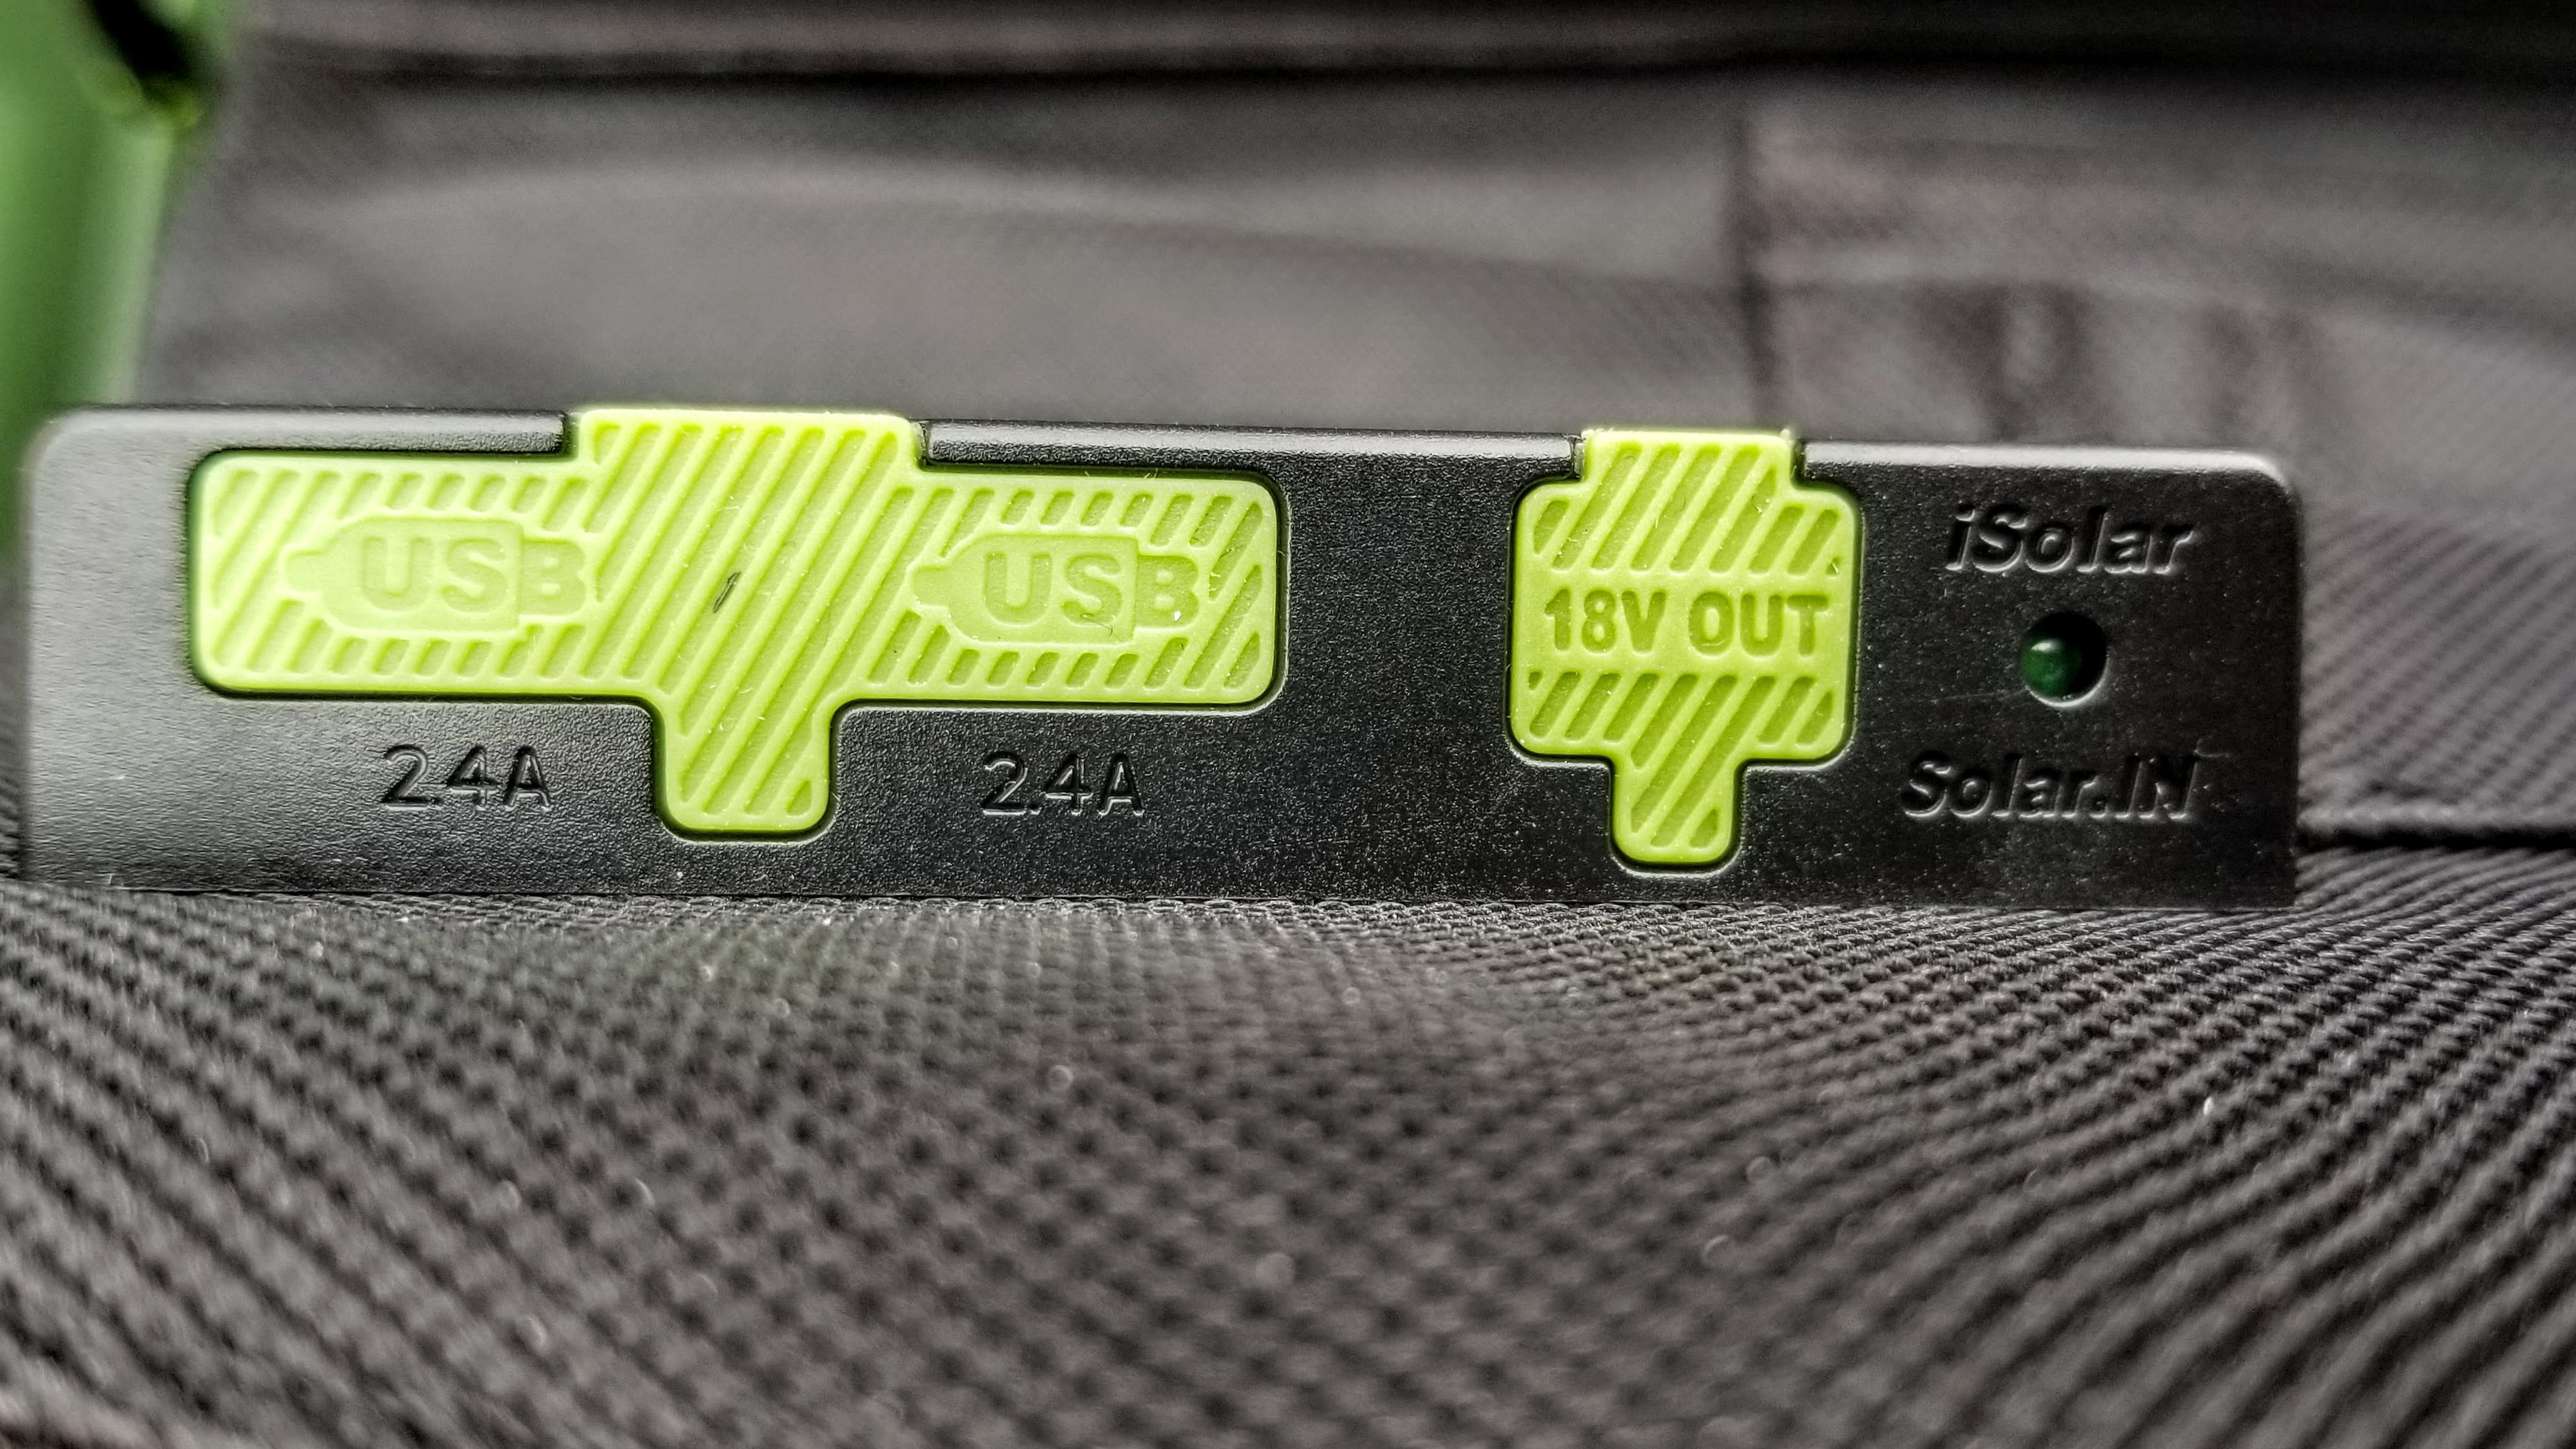
- Foldable Solar Charger ($60 to $90, depends on what you get)
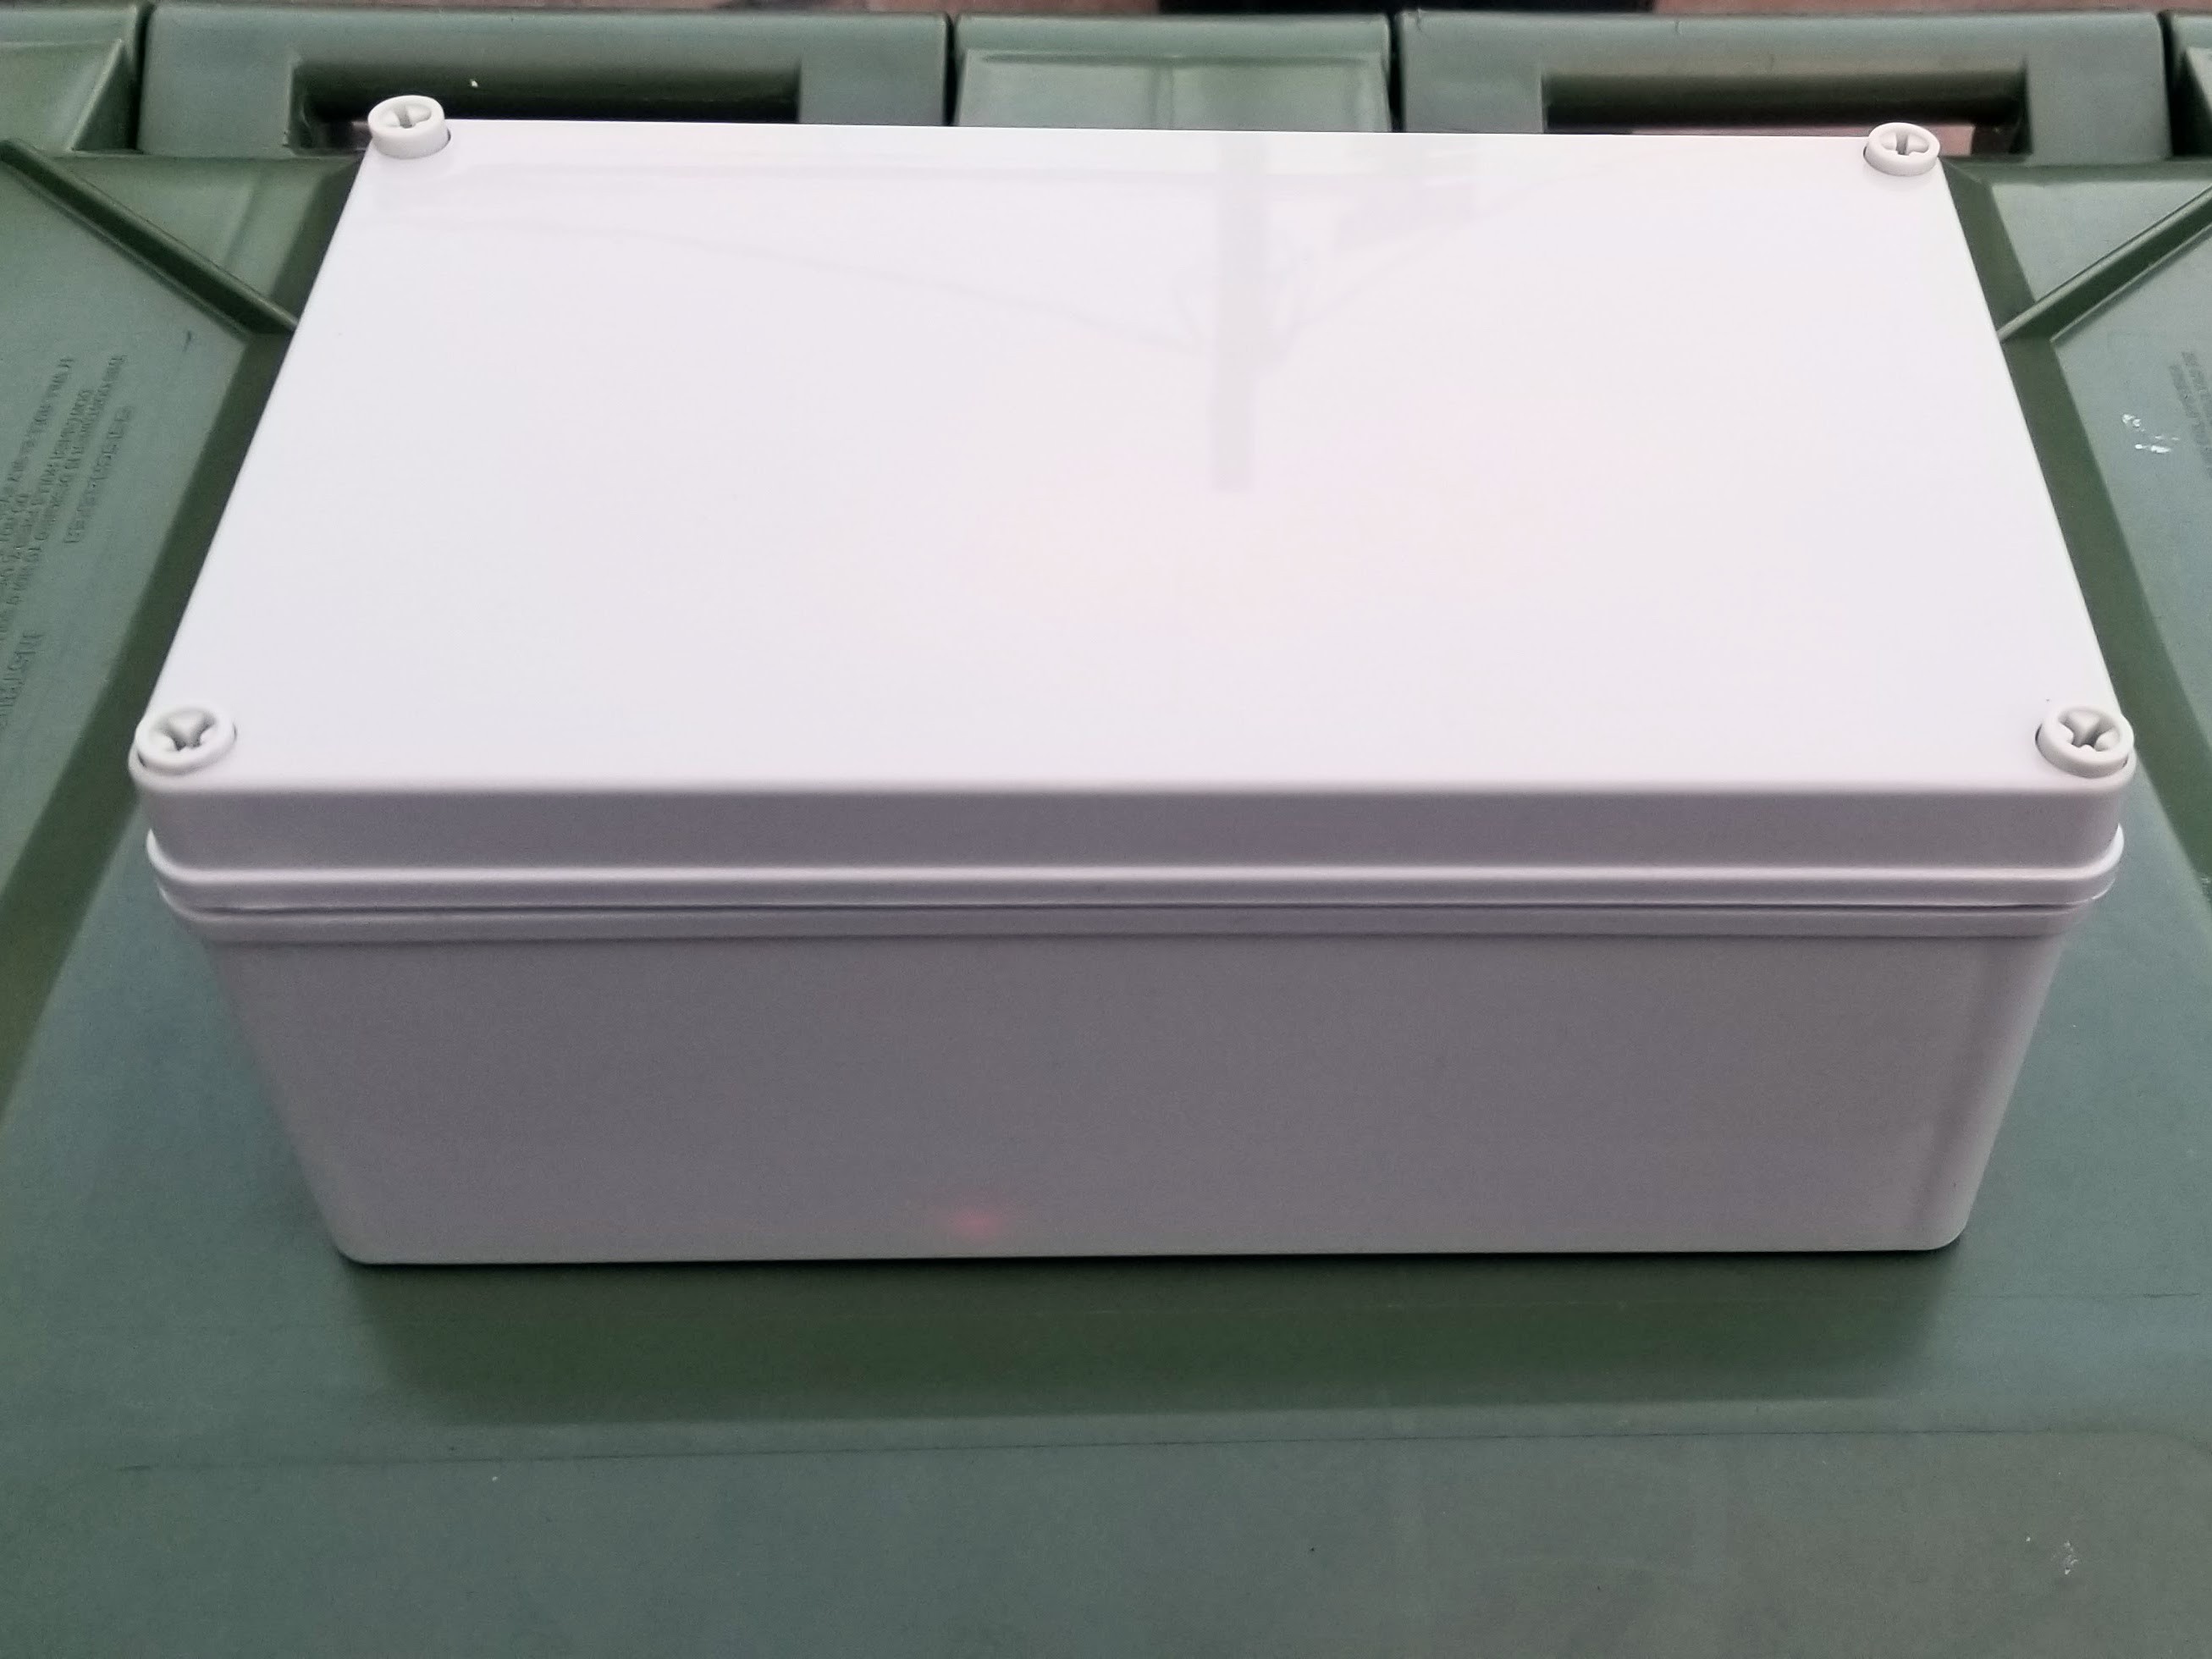
- A waterproof case ( ~$20)
- 1 micro usb cable ( < $4)
- 6 female to female breadboard jumpers (< $1)
- The charging cable for your portable battery ( comes with battery)
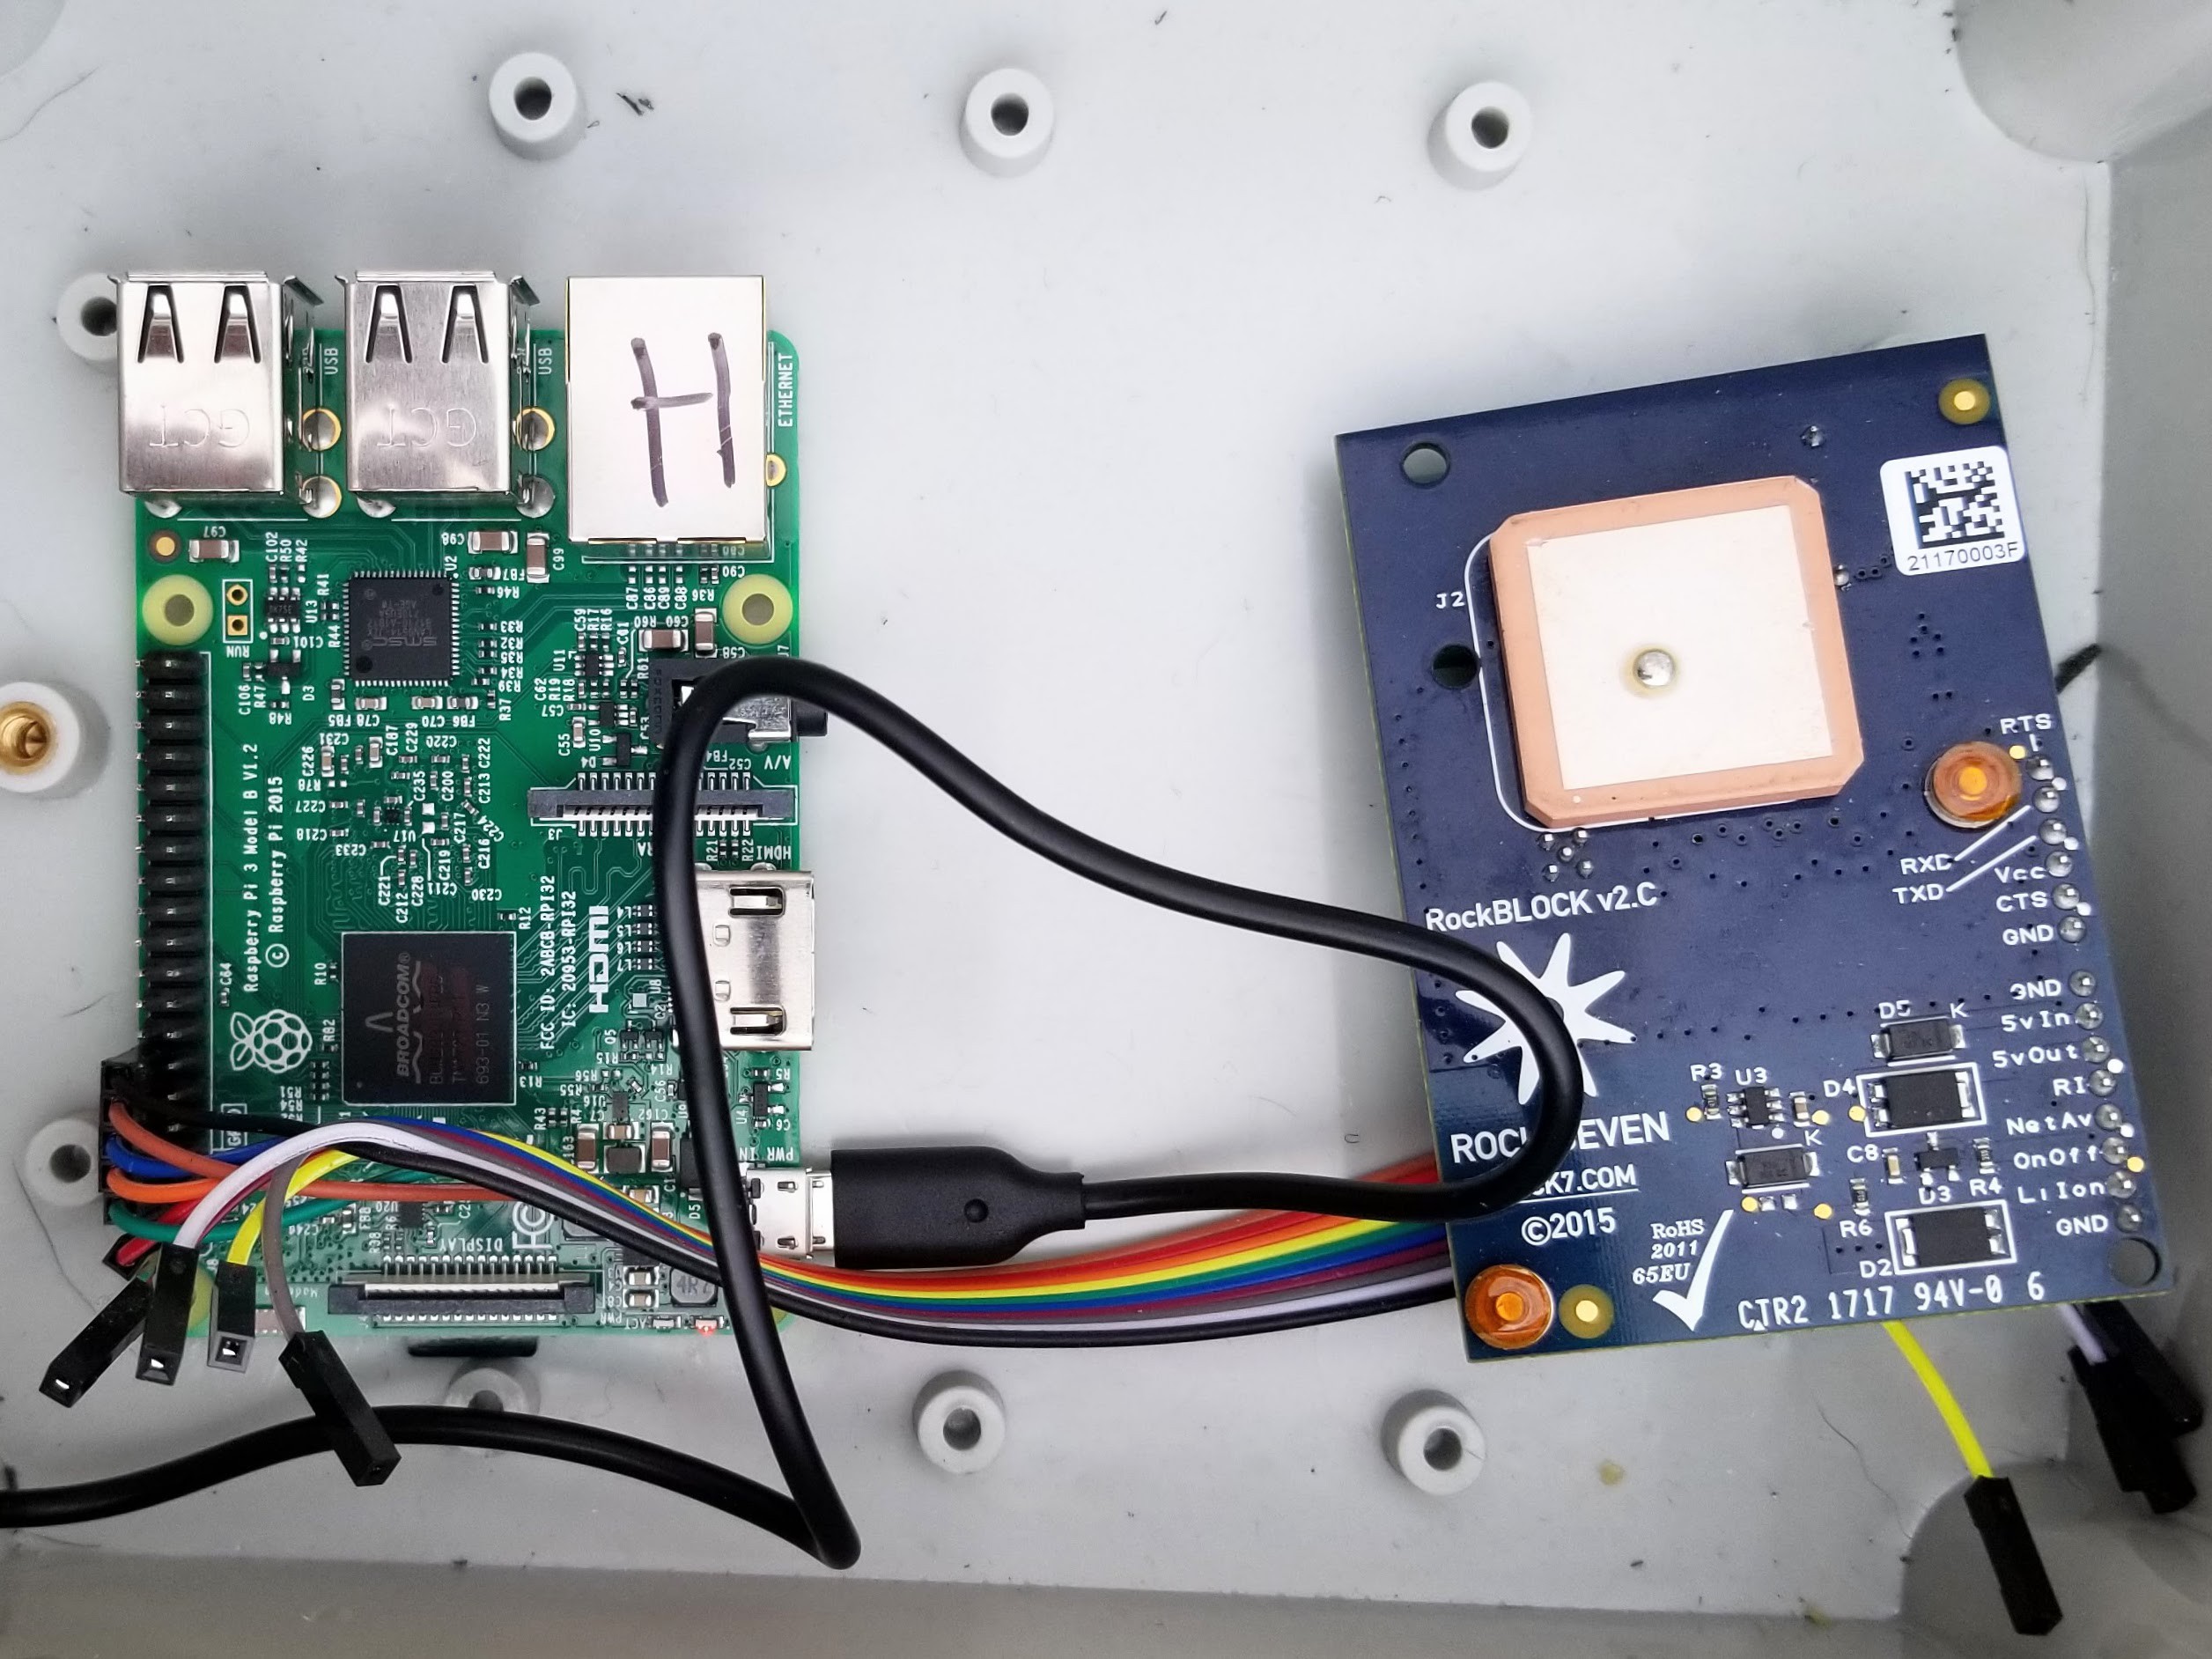
At its most basic setup, PR-Holonet is composed of the Raspberry Pi 3 and the Rockblock. The Pi runs a Flask web server that serves as the interface for the user. It is also responsible for generating the WiFi access point that users will connect to. The Pi is used to power the Rockblock MK II, which is responsible for beaming the messages up to the Iridium satellite constellation. The Rockblock talks to the Pi over serial and can be connected by hand to the Pi.
On a 26.8AH lithium battery, PR-Holonet can be on for a couple days (3 to 4 so far in my experience, although I have yet to do a well-documented test). Depending on needs, you can find upwards of 50Ah batteries which can also be used to power and recharge a full laptop. In my current iteration I am using a 40 Ah battery. When coupled together with a foldable solar charger, the system can effectively be on 24/7. What’s more, given that PR-Holonet consumes little power, the system can generate enough power for itself and for devices to connect to it. Ideally, you’ll want to use at least a 36W portable solar charger. It is small enough to be portable, but generates enough power to be useful, especially dealing with such a big battery. Between the solar charger and the battery, the system should be able to work through the night and a couple rainy days. It should also be able to charge a cellphone or laptop if needed.
In terms of setup, if you have a working backend system and a pre-made micro-sd card with the OS and PR-Holonet software, configuration is a matter of
- Putting the microSD card on the Pi
- Connecting 6 jumper cables (power, ground, tx, rx, ringer, ground) (yes, 2 grounds :) )
- Plug the battery into the Pi
- Count to 30
- You’re up!
You should see your WiFi access point pop up on your device. And that is it, PR-Holonet is running and ready to go!

“You keep talking about the backend, but WHAT IS IT?”
You ask. Well, good question!
Cloud Services Backend

The backend consists of three components:
- The Rockblock gateway
- An Amazon AWS setup
- Twilio
The Rockblock gateway refers to the Rock7 Core services. Rockblock being the Iridium antenna, Rock7 the company, and Core being their management portal. You’ll need to purchase credits (50 bytes = 1 credit) as well as pay the monthly activation fee ( ~$15).
From amazon you’ll need a free account to use the following services:
- CloudFormation
- Lambda
- Amazon S3
Finally you’ll need a phone number from Twilio that can be used for text messages. You’ll want 1 number per PR-Holonet unit as well as enough credit to support message routing.
The Rock7 Core system takes care of transmissions to and from the Iridium system. The Amazon cloud services handle processing the message, and Twilio handles routing to and from telephone numbers.

Hopefully this write up has conveyed a bit more information about some of the technical aspects of the project. If you have questions, ask away!!
Thank you for your support. Remember to vote/like!
Discussions
Become a Hackaday.io Member
Create an account to leave a comment. Already have an account? Log In.