 WolkAbout Writer
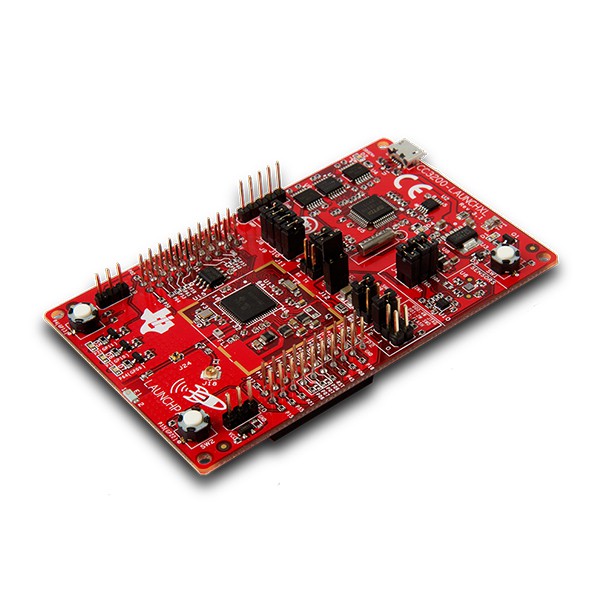
The SimpleLink™ Wi-Fi® CC3200 LaunchPad™ is an evaluation development platform for the CC3200 Launchpad wireless microcontroller. Also, it has a temperature sensor and an accelerometer built-in on the board. Furthermore, it comes with its own SDK and can be easily programmed over the USB from the Code Composer Studio or by directly flashing a binary image via the UniFlash application. These are the main reasons why we have chosen that development board.
WolkAbout IoT Platform is the “heart and brain” of an IoT solution which allows customers to easily connect, manage, monitor and control disparate devices, transform real-time readings into meaningful data and combine different devices and services into a complete IoT solution. It includes all of the functionalities needed to navigate data-to-application integration without requiring years of IoT expertise and is capable of handling any scale of IoT implementation, from IoT Prototyping to Industrial Automation, making it the right platform to start the digital transformation with.
To connect this device to Wolkabout IoT Platform, we used WolkAbout library called WolkConnector-C library.
The main goal was to connect TI CC3200 Launchpad to the WolkAbout IoT Platform, send temperature sensor readings and provide functions for actuation on user’s request from the platform. Also, we wanted to enable user to easily see the result of his actuation from the Platform, so we used one LED from the development board and allowed the user to turn it ON or OFF from the Platform.

Additionally, WolkAbout IoT Platform supports great functionality - firmware update. We made a decision to make our application similar to TI's OTA Update example from the SDK. So, we took their simple application bootloader - it safely allows us to always have flashed factory binary image and switch between user's images which were downloaded from the platform. Also, if something in the application goes wrong we would have the opportunity to rollback to the factory image. We had to code firmware update handlers that store downloaded firmware image chunks in SFlash memory, read from it, validate it etc., just as if it is written in WolkConnect-C API. Also, we changed our simple application a bit, so that it is still connected to WolkAbout IoT Platform and sends temperature sensors reading, but now, if the LED is turned on by user actuation, it starts blinking every second. That's an easy way to provide user verification of a successful firmware update.
The last thing was to implement a configuration file parser, so that device key, password, WiFi access point name and password can be easily changed without recompiling the whole project. All that you need to do, is to write new configuration file to the development board's SFlash memory by using the UniFlash. The guide can be found in "Trying the example without rebuilding the project" section of project readme file.
During this process, we tested all functionalities of the WolkConnector-C library as well as WolkAbout IoT Platform and their main advantage was that they allowed us to do multiple things at the same time, such as sending sensor readings from the development board to the Platform or sending an actuation from the Platform to the development board while downloading firmware update file.
It isn't rocket science to connect any bare metal device to the WolkAbout IoT Platform. You simply need to follow its WolkConnector API and code your own handlers for a specific device.
 Roman V
 Silas Waxter
 Sumit
Sumit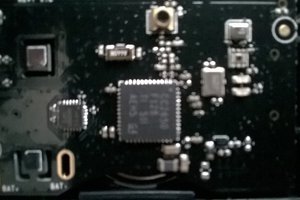
 tarekkurdy