Close
0%
0%

BIRTHA - Pneumatic RV antenna mast

Telescopic cellular antenna mast, extended and retracted with air using a collapsible garden hose.

Similar projects worth following
Start with a telescopic pruning saw, painting/cleaning handle, or pool handle.
Add one collapsible garden hose inside, and attach it at both ends.

Fill the garden hose with air (or water) pressure to extend the "mast".
Release the air pressure to retract it.

No seals to leak, so no holding pins needed.

It worked for about 5 months, then the garden hose failed at the upper attachment point.
Replacement project in the works, using threaded rod for raising and lowering the mast.

New project, using screw drive: https://hackaday.io/project/162716-birtha-screw-drive-antenna-mast

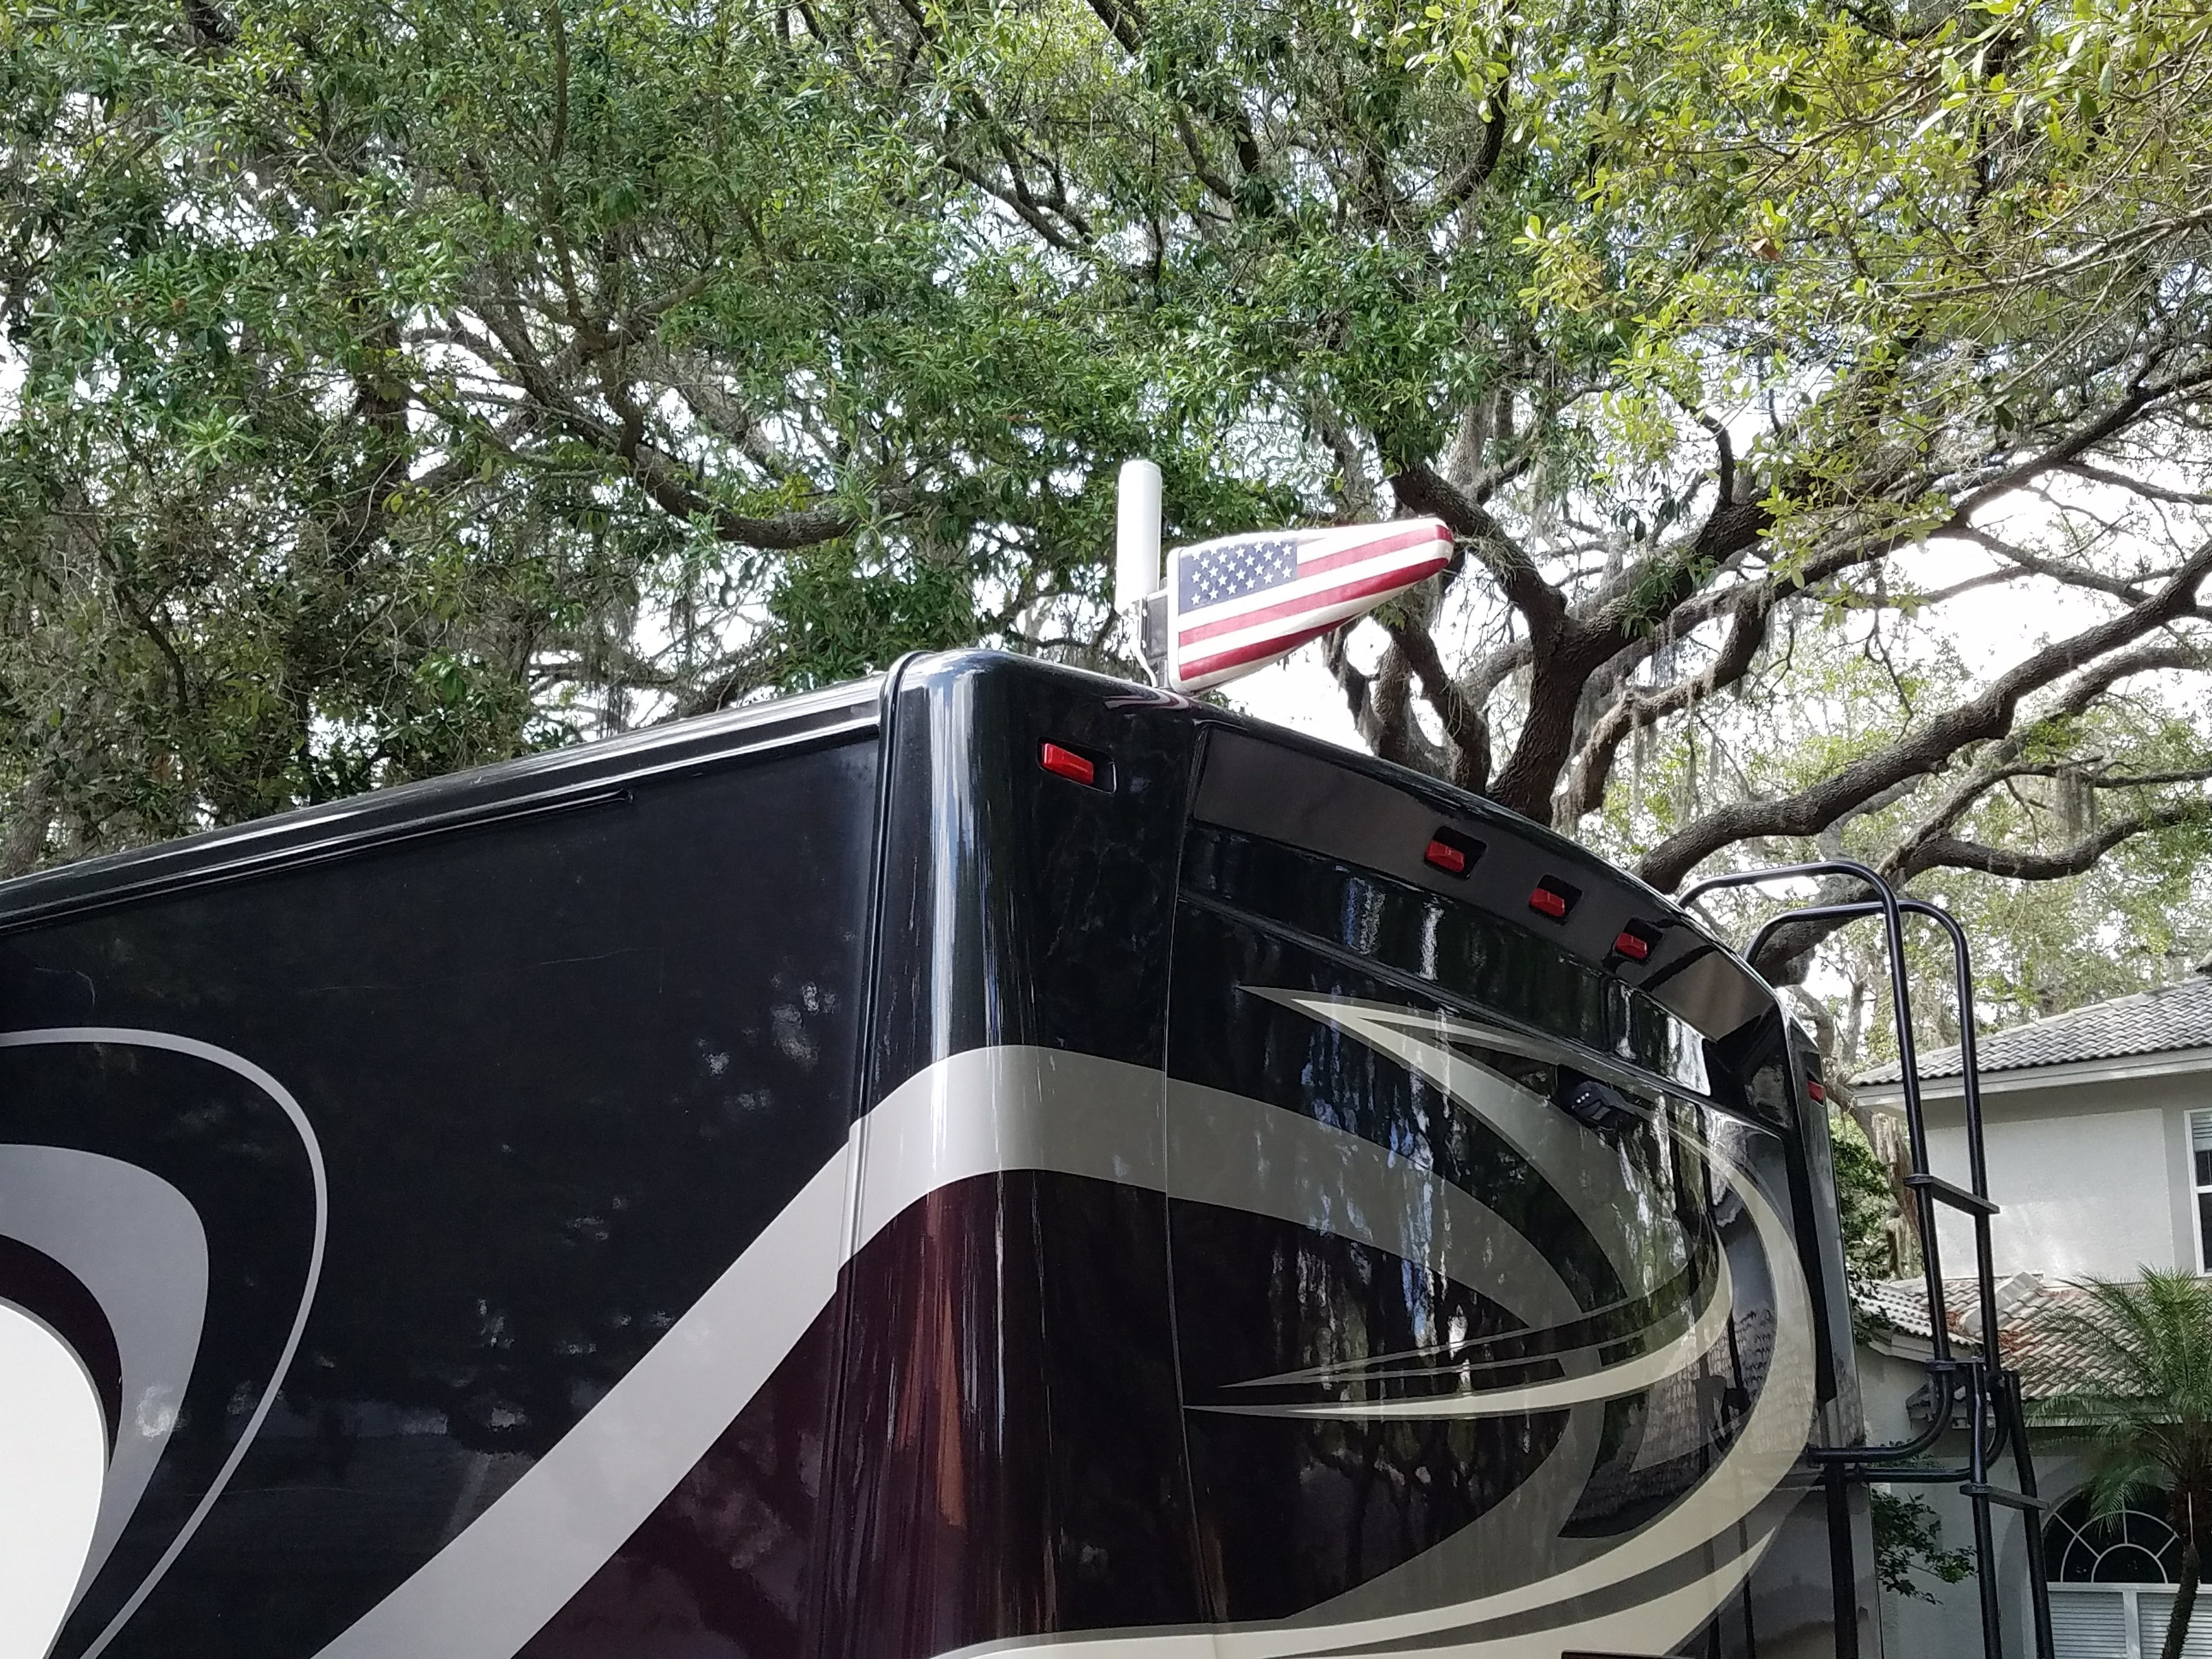
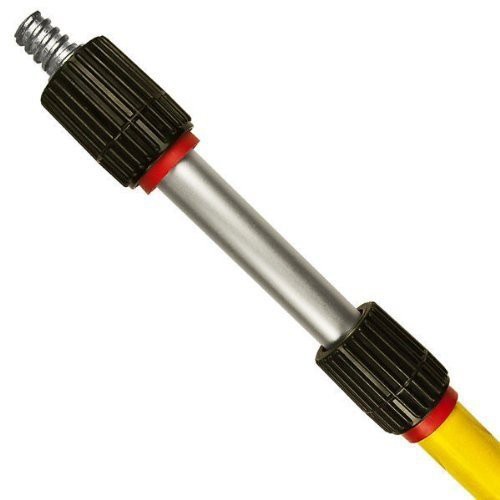
I need an antenna mast for the RV for when we are in fringe areas to raise up and point my Yagi back towards civilization, lest I succumb the 'no internet' shakes.  The RV has air suspension and brakes, so I already have a built in air source to play with.

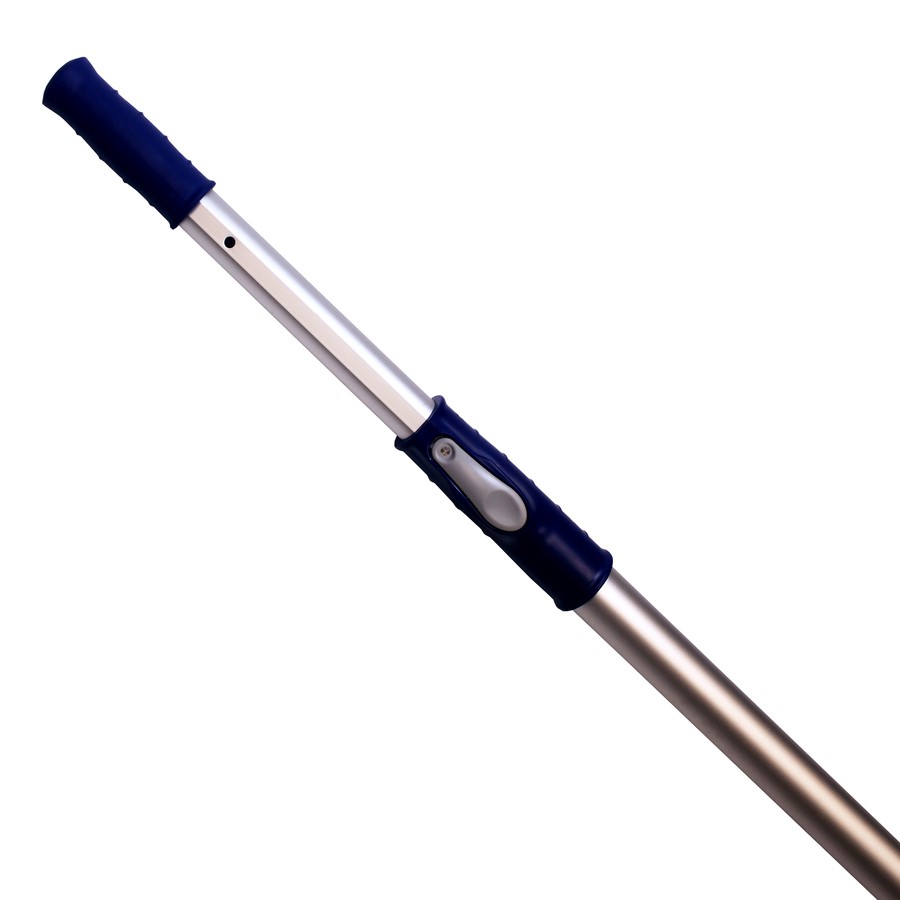
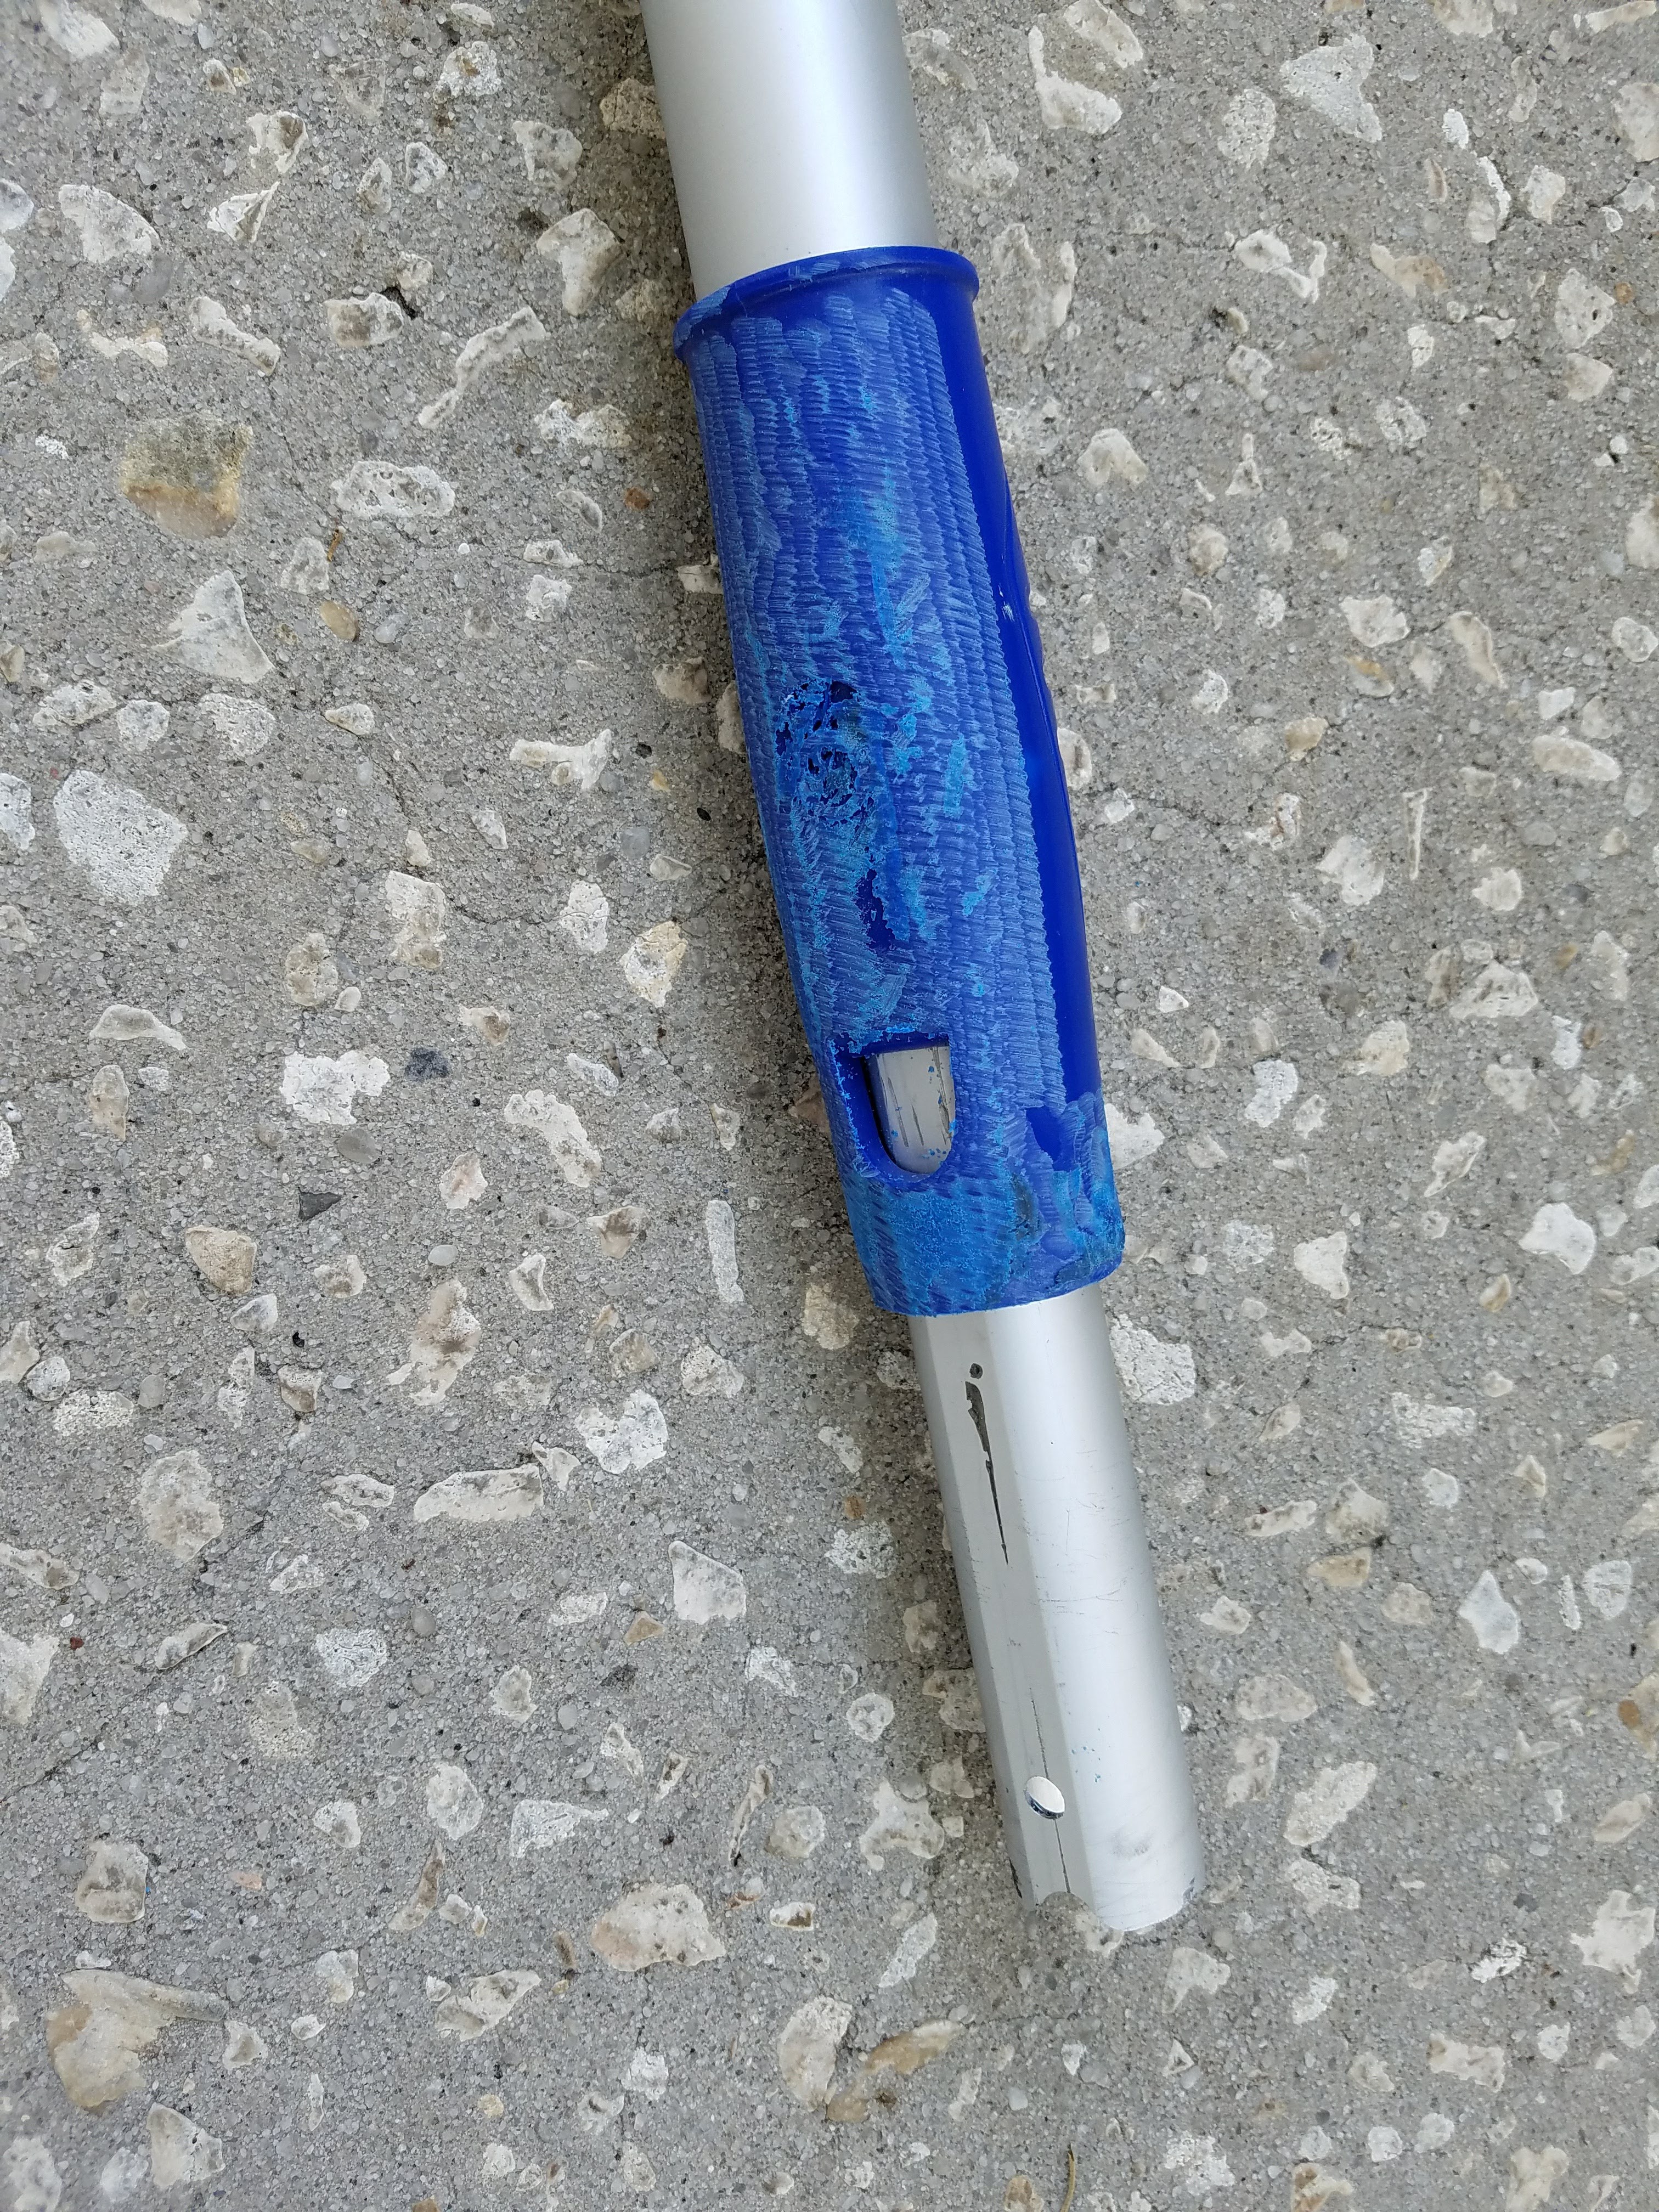
Using straight pneumatics to raise and lower a mast usually involves adding locking pins, as eventually the seals in the mast leak so it will settle back down when you remove the air source without them.

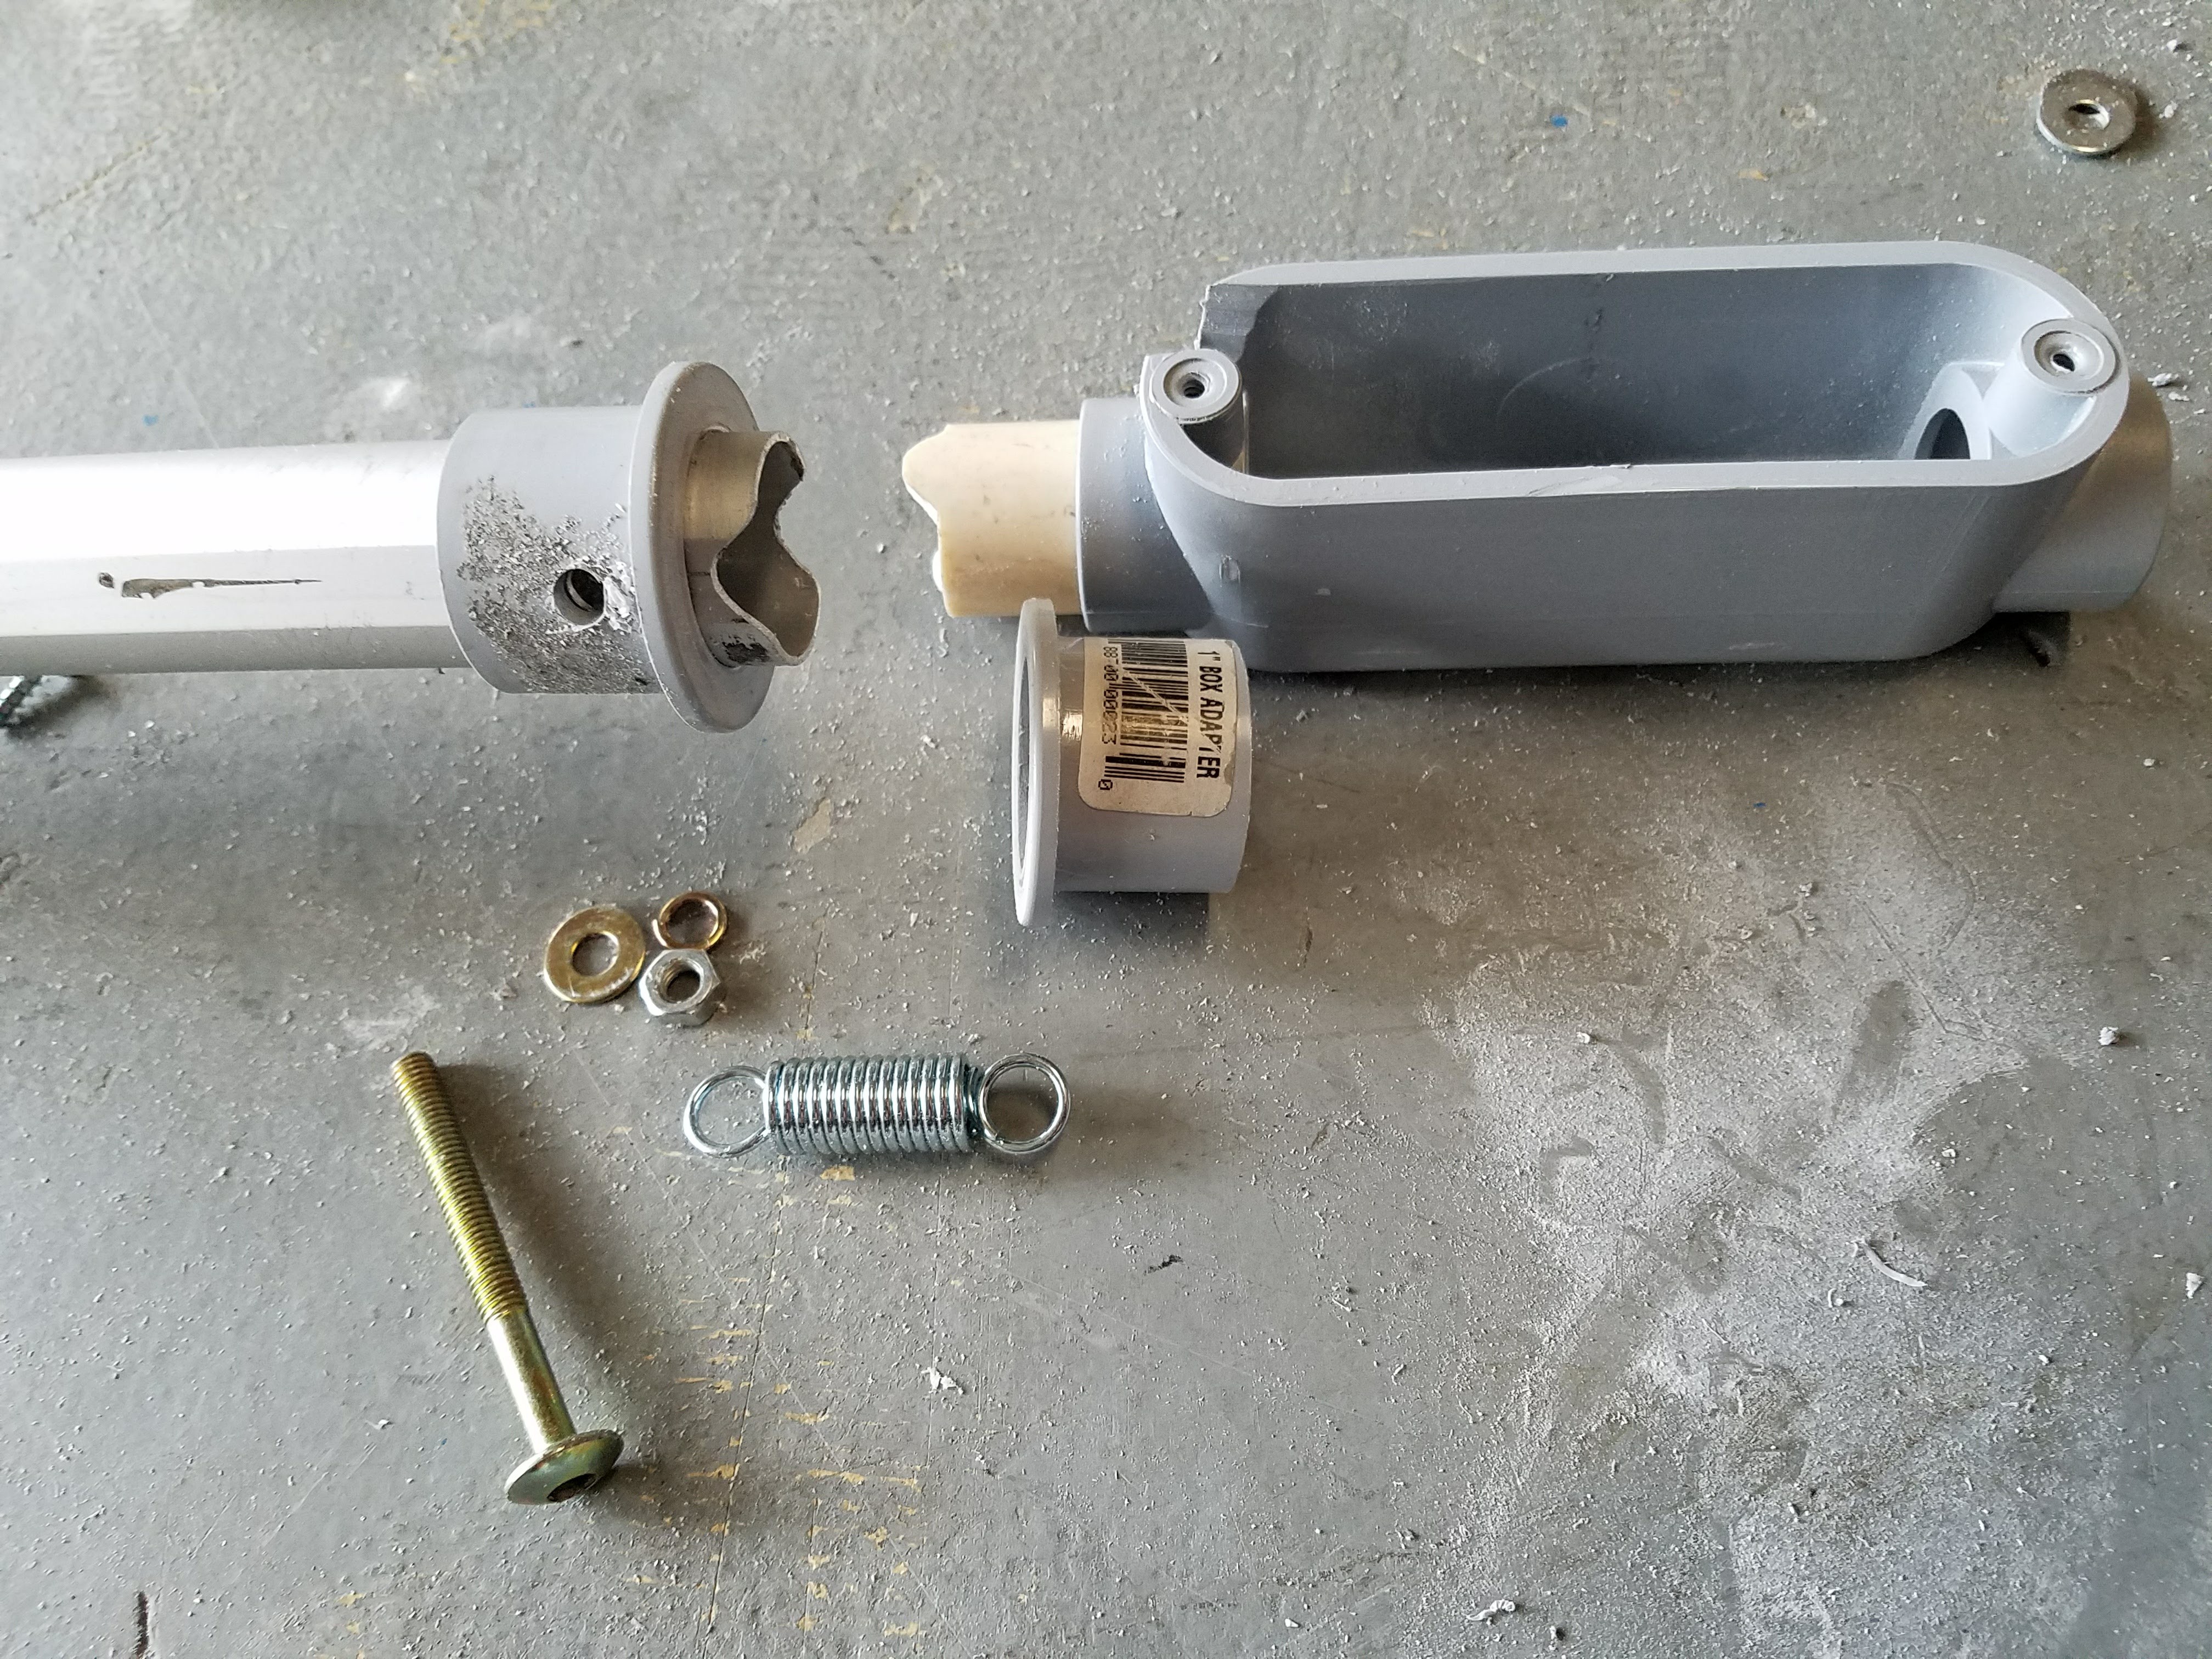
The crux of the idea is to replace the need for the telescoping sections to contain the air pressure themselves by using a cheap, expandable garden hose inside them.  

The expandable garden hoses contain a silicone or latex tube under tension.  As you inflate the tube (usually with water), the outer cover constrains it and forces it to expand lengthwise.  They expand to approximately 3x their original length, and a 20mm (3/4in) hose will generate about 28kg (60lbs) of linear force at 80psi while doing so.  When the pressure is removed, they contract back to their original size which will also provide some spring tension to retract the mast.

Previous ad-hoc experimentation with the original version of these hoses with the crinkle cover failed to retract properly when I tried this before, so this idea was scrapped before it got going.

But... I noticed that there was a new expandable style garden hose out which does away with the old crinkle cover and replaces it with an accordian style mesh.

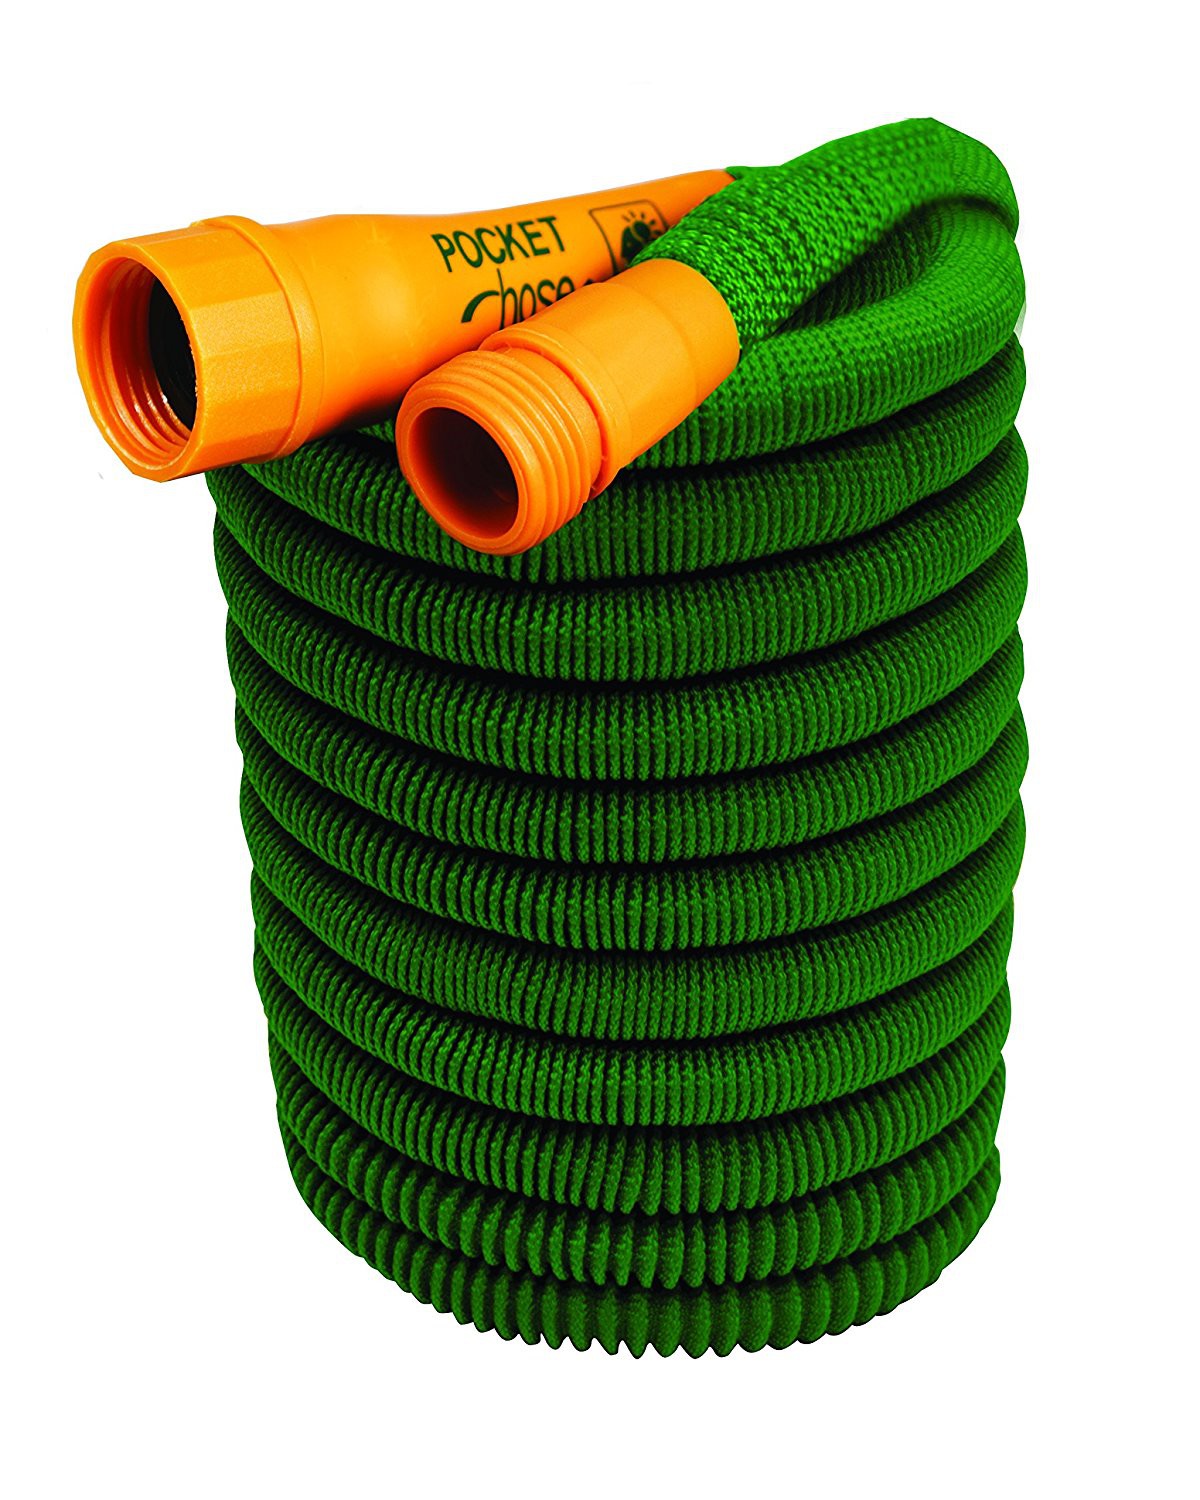
I picked one up at Home Depot and indeed... the mesh cover slides a whole lot better on the inside of the telescoping tube.  So this project was tried again... and it works.

Moving on...

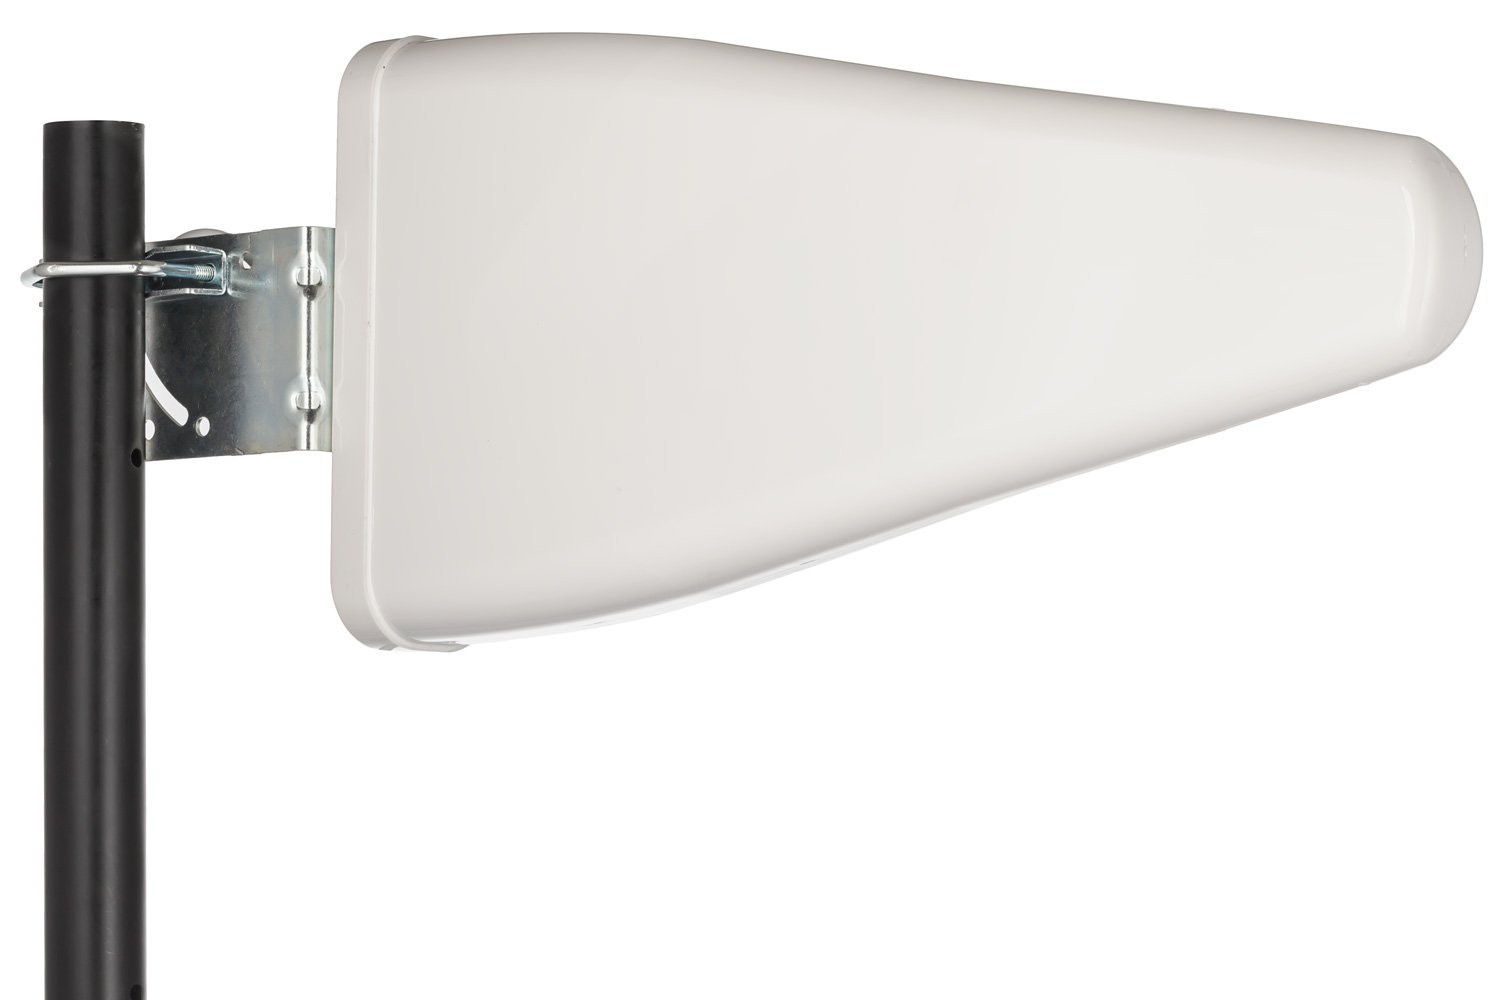
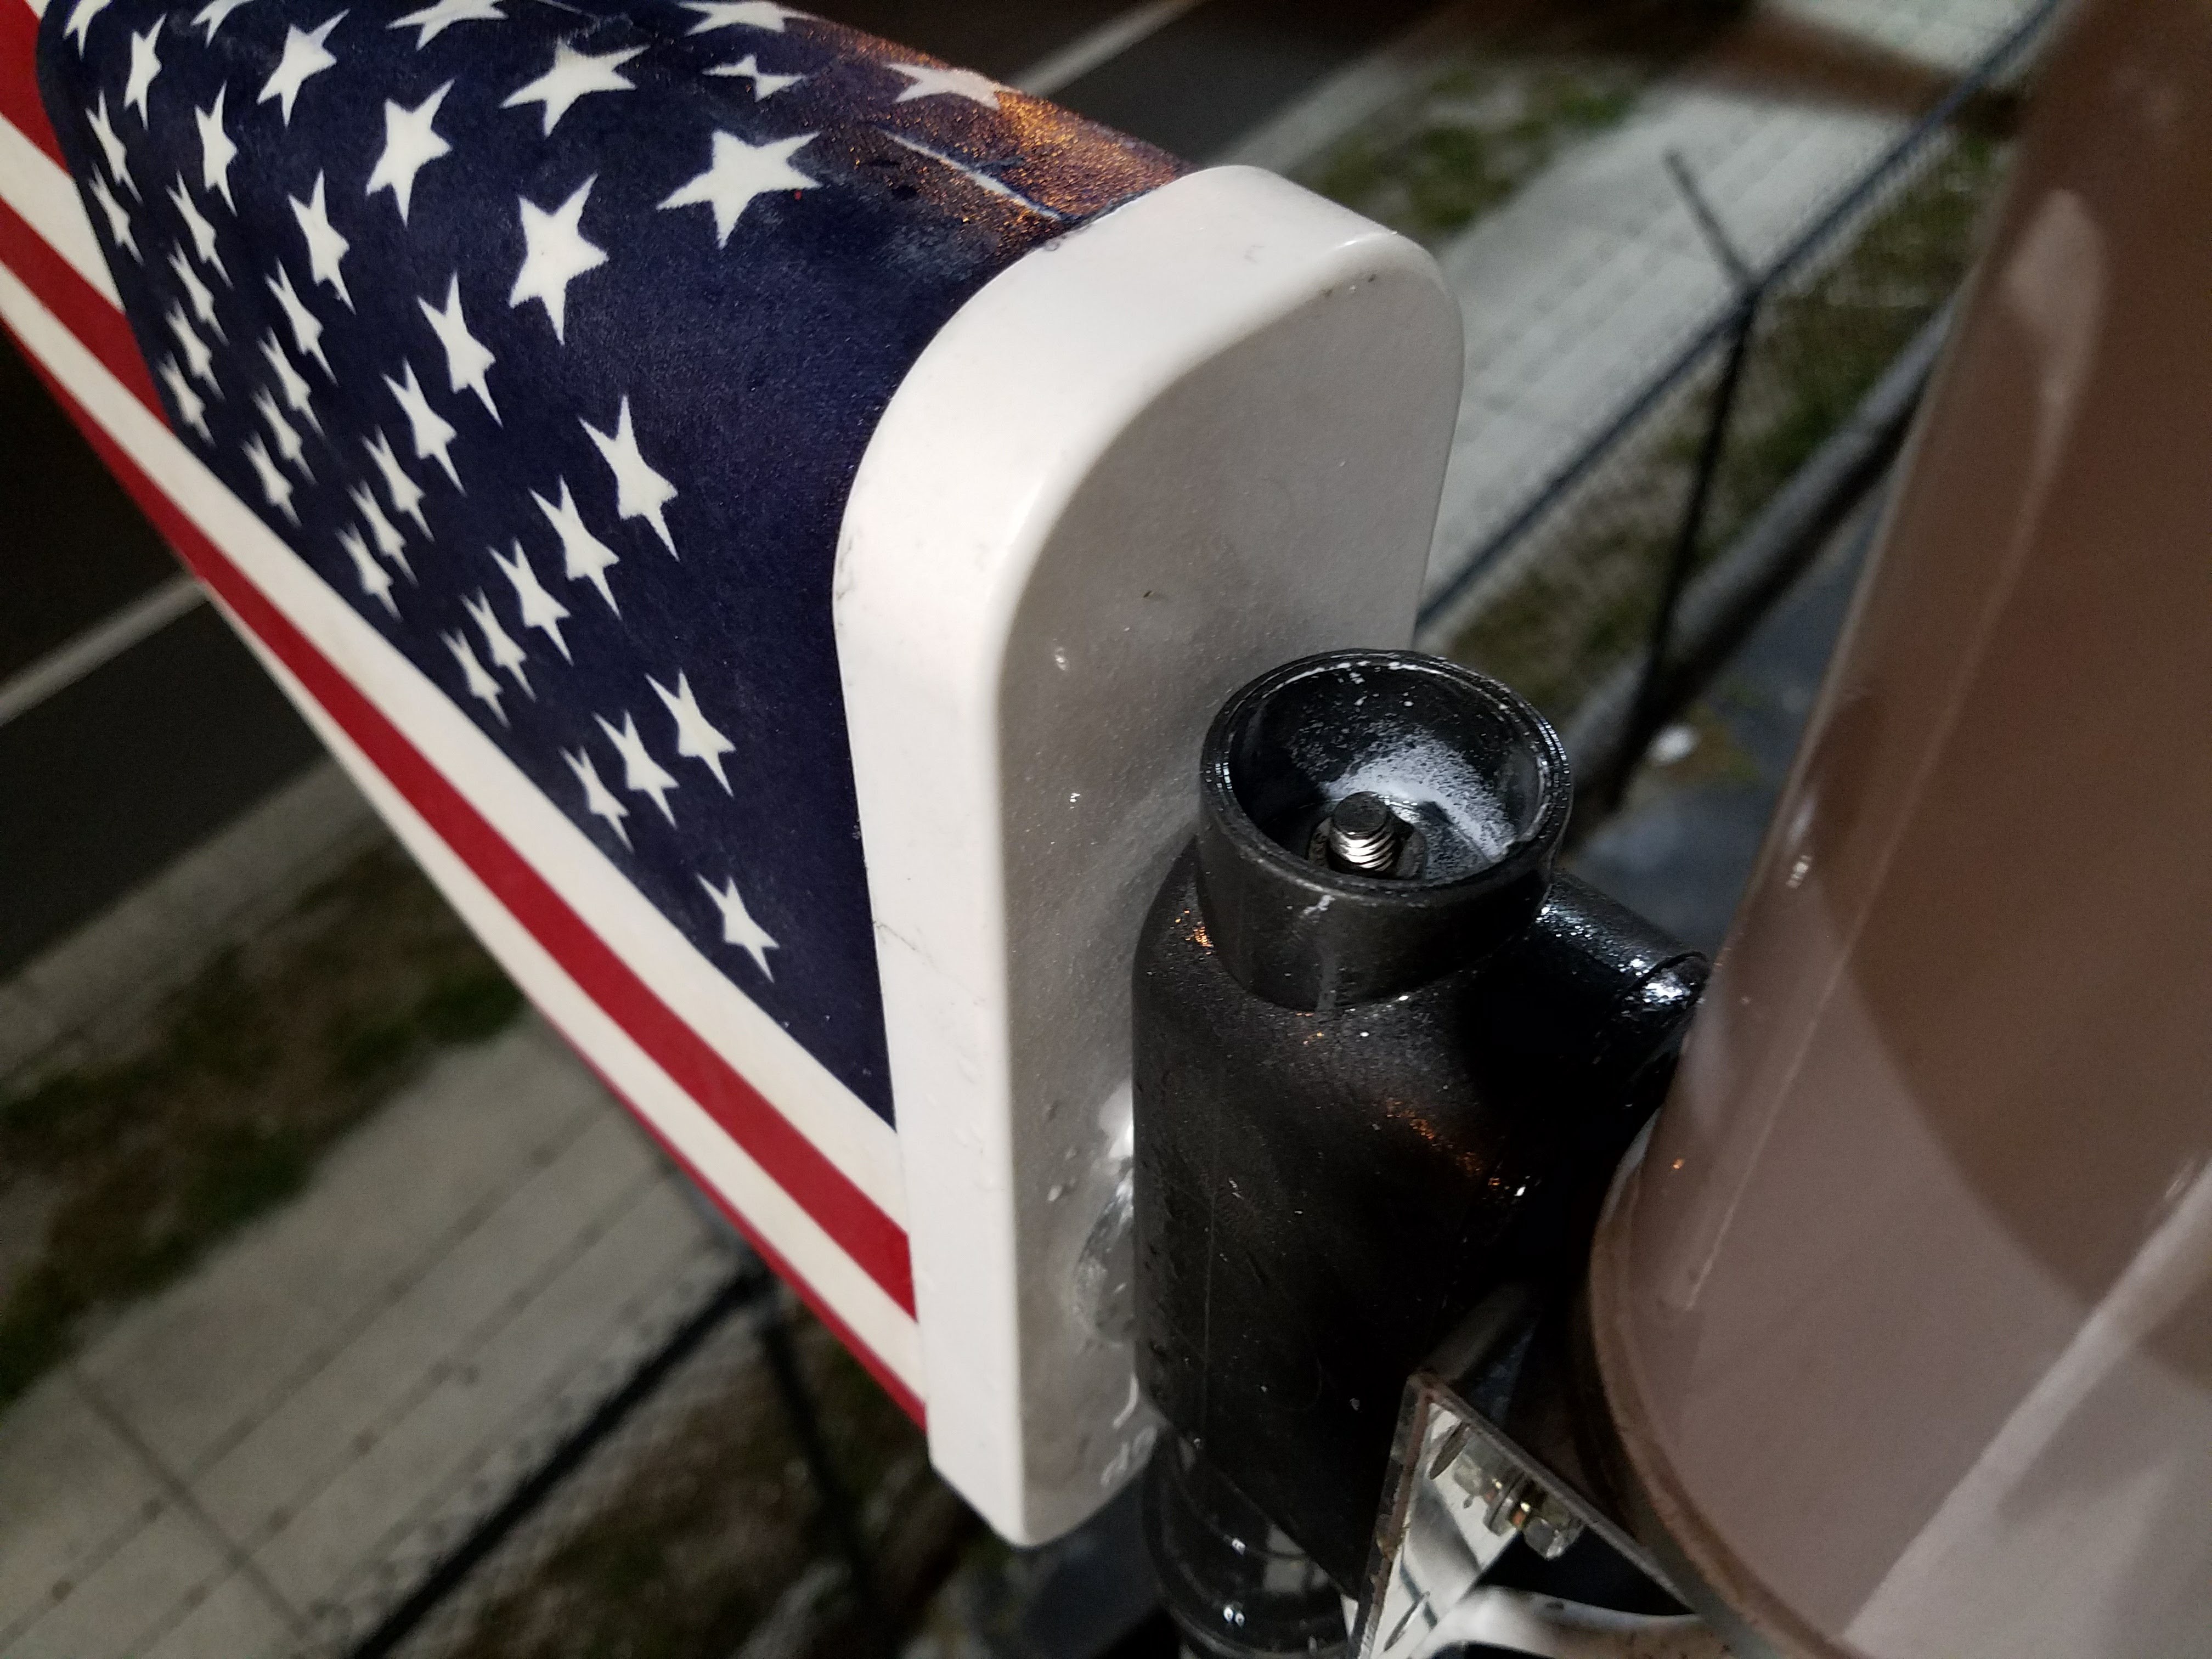
The end goal here is a retractable directional antenna which aims itself.

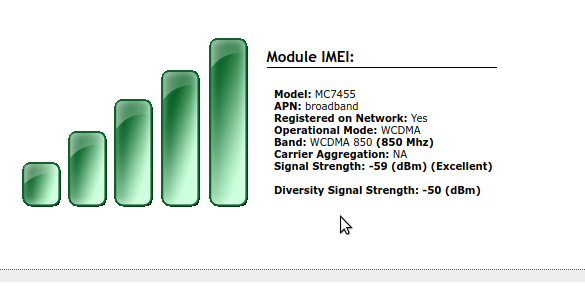
The plan to make this happen is to use the OpenSignal API, a 4rpm motor with encoder, the GPS position and compass derived orientation of the RV, and the currently connected cellular tower from the omni directional antenna.

Scan for the currently connected tower, look it up via the OpenSignal API, determine it's direction relative to the current position and orientation of the RV, switch over to the Yagi, and automatically point the antenna at it.

  • Failure

    Daren Schwenke10/03/2018 at 21:27 3 comments

    5 months, it stopped working apparently.  Won't extend anymore.

    I don't know what is wrong yet as I'm about 1000 miles from it, but I suspect the rubber tube has failed as it is the 'weak link' in this system.   

    I'll be back in the same state again with it in a week or so and then I can give a full post-mortem.

    <EDIT> Post mortem.

    The hose failed at the attachment point on the top.  This caused the rubber to snap down and collect at the bottom, which prevented the mast from retracting fully.  That was rather inconvenient...  

    I removed the hose and held it up when we needed to extend it with the pin holes originally designed for this.

    Since I'm now back to a single length of mast anyway, I've decided to go simple and use threaded rod and a DC motor.

    That build is in progress.

    </EDIT>

  • Wait, weight?

    Daren Schwenke05/31/2018 at 02:45 0 comments

    The mast extended and retracted very well with no weight on it, but now it struggles with weight of the omni and Yagi antennas combined with uncoiling the attached lead wires.

    I think part of the reason is the Yagi has moved the center of mass too far off center, which is causing more friction with where the mast goes through the RV valence.

    I also think I cut my hose a little bit short.  It was a tradeoff.  On the short side gave me more retraction force.

    I think I'm first going to try some lube before I make any other changes.

    The 5-3 way valve I have also leaks like a sieve, so it hasn't liked to stay up anyway.  From what I read, I believe that is just a matter of tightening up the screws on it.  

    We are still parked in the city though, so there has been basically no need for this yet.  In fact we can point the Yagi pretty much any direction and still have be at -60dBm.

  • The Yagi, is a flag.

    Daren Schwenke04/25/2018 at 05:18 0 comments

    For the purpose of aerodynamics and my engineering sanity, I designed the Yagi to point backwards while the RV was in motion.  Pointing it forwards would have meant the rotation mechanism would have needed to survive 120 mph wind loading (70 mph RV speed plus perhaps up to 50mph wind gusts).  

    There was about 4 inches of clearance back there between the inside panels and the outer valence so unless I wanted an 8 foot pole hanging off the back or going through the inside of the living area, that is where it had to go.

    This left the Yagi hanging out over the back of Birtha, and before this shot:

    It looked like this:

    Chris said it was ugly, and I had to agree with her.  

    Then she had the brilliant idea of making it into a flag.

    So I did.. the same day.

    Memorial day made it very easy to find cheap flags.  I bought two for $2 total, made some marks for alignment, and spray glued them on with some headliner adhesive (doesn't degrade with heat).  That was probably good enough really, but the surface texture was that of a cheap flag still and I imagined 5k miles down the road it would be pretty grimey.

    I gave it about 5 coats of clear lacquer, sanded it, and then gave it one more coat.  That got rid of about 90% of the surface texture which is about when I ran out of patience for watching paint dry and put it on the RV.  The lacquer loosened the adhesive though, so be careful.

    It looks great.  Thank you Chris.

  • Telescoping pole choice

    Daren Schwenke04/24/2018 at 14:40 0 comments

    I decided not to consume my good extending pole for this and went with this one instead.

    It has a built in groove/flat which keeps it from rotating, and uses a pin to lock it instead of a collar so it slides nicely.  It also uses a separate collar on the inside pole as a positive stop instead of flaring out the aluminum like the others I tried.  The flared ones tended to stick when fully extended under force.  This one doesn't.

    Removed the pin holding the locking mechanism carefully, and then ended up just cutting/grinding off the whole area so it doesn't catch on the other cables inside the back valence of the RV when I rotate the mast.

    The other end of the inner pole was rather sharp and left a bit of clearance between it and the outer pole which would cause wear on my hose eventually.  I carefully bent the ends out all the way around to make a flare on it which removes the gap and more closely fits the inside of the outer pole.  I then sanded it down inside and out to make it smooth.

    The pins which held the stop to the inner pole also extended inside it.  I sanded those down as well to match the inner diameter of the pole.

    This pole will only give me 2:1 increase in length, but it was cheaper and that 8 feet of extension still puts my antenna at 21 feet off the ground when extended.  I'm good with that.

  • Springy

    Daren Schwenke04/24/2018 at 01:56 0 comments

    So this is the minefield I have to navigate to and from my house, in a 13 ft tall RV.

    Needless to say, I'm going to hit some trees here, so the mast was built to handle that.

    Where the antennas attach it was built as two pieces which are held together by a spring.  

    I started with the 6 lb draw spring shown, but at 45 mph it was starting to move around.  I changed it out for an 11 lb one and that seems to work well.

    The two reducer flanges lay flat on each other to stabilize it when not being banged around, and a notch cut in the aluminum pole with a matching protrusion cut into the PVC pipe opposite it keeps it pointing in the right direction when it springs back.

    The bolt that retains the flange on the AL pole also goes through the spring, and the other end is drawn up through the junction box by an eyelet.  That lets me adjust the tension from the top.

    So now I can hit trees (slowly) and it just bounces back.  Yay.

  • It works..

    Daren Schwenke04/19/2018 at 01:41 0 comments

    Tried it today with an actual flag pole.  That didn't work.  The sections of the flagpole I tried had an ID of nearly 40mm (1.5in).  The extra diameter caused the hose to buckle and fold back on itself instead of sliding inside the tube.

    Then I tried it with a 7.3m (24ft) 3 section painting pole like this one:

    The center section diameter was too small to fit the hose inside, so I removed it.  The remaining section then fully telescoped under about 40psi, and then retracted when the pressure was removed with no issues!  Well one issue in that I removed the pressure too quickly so it came plummeting down and nearly cut the hose off..

    That's only a 2:1 increase in length cause I had to remove the center to do it, but the basic idea here works.  Using this pole won't actually work though, as I'm planning to spin the body of the pole for rotating the antenna.  The smooth sections without the locking collars engaged will spin freely, and so my antenna would spin freely..

    This one though, is ribbed so I can use those to keep the pole from rotating.

View all 6 project logs

Enjoy this project?

Share

Discussions

Similar Projects

Does this project spark your interest?

Become a member to follow this project and never miss any updates