 Myles Eftos
I’m pretty happy with how the aluminium frame has come together. I’ve kept the X-axis pretty simple, though I tried a few iterations before coming to this shape.
Originally I had the vertical X-axis supports butted on the top of the horizontal Y axis base, but I was concerned with keeping the vertical… vertical. I could have used right angle brackets, but decided that by putting them in the inside of the base, I can add additional points of contact that would better support them. This configuration also gives a slightly larger base, so should make it slightly more stable. They are now attached in two dimensions which effectively works like a right-angle bracket.
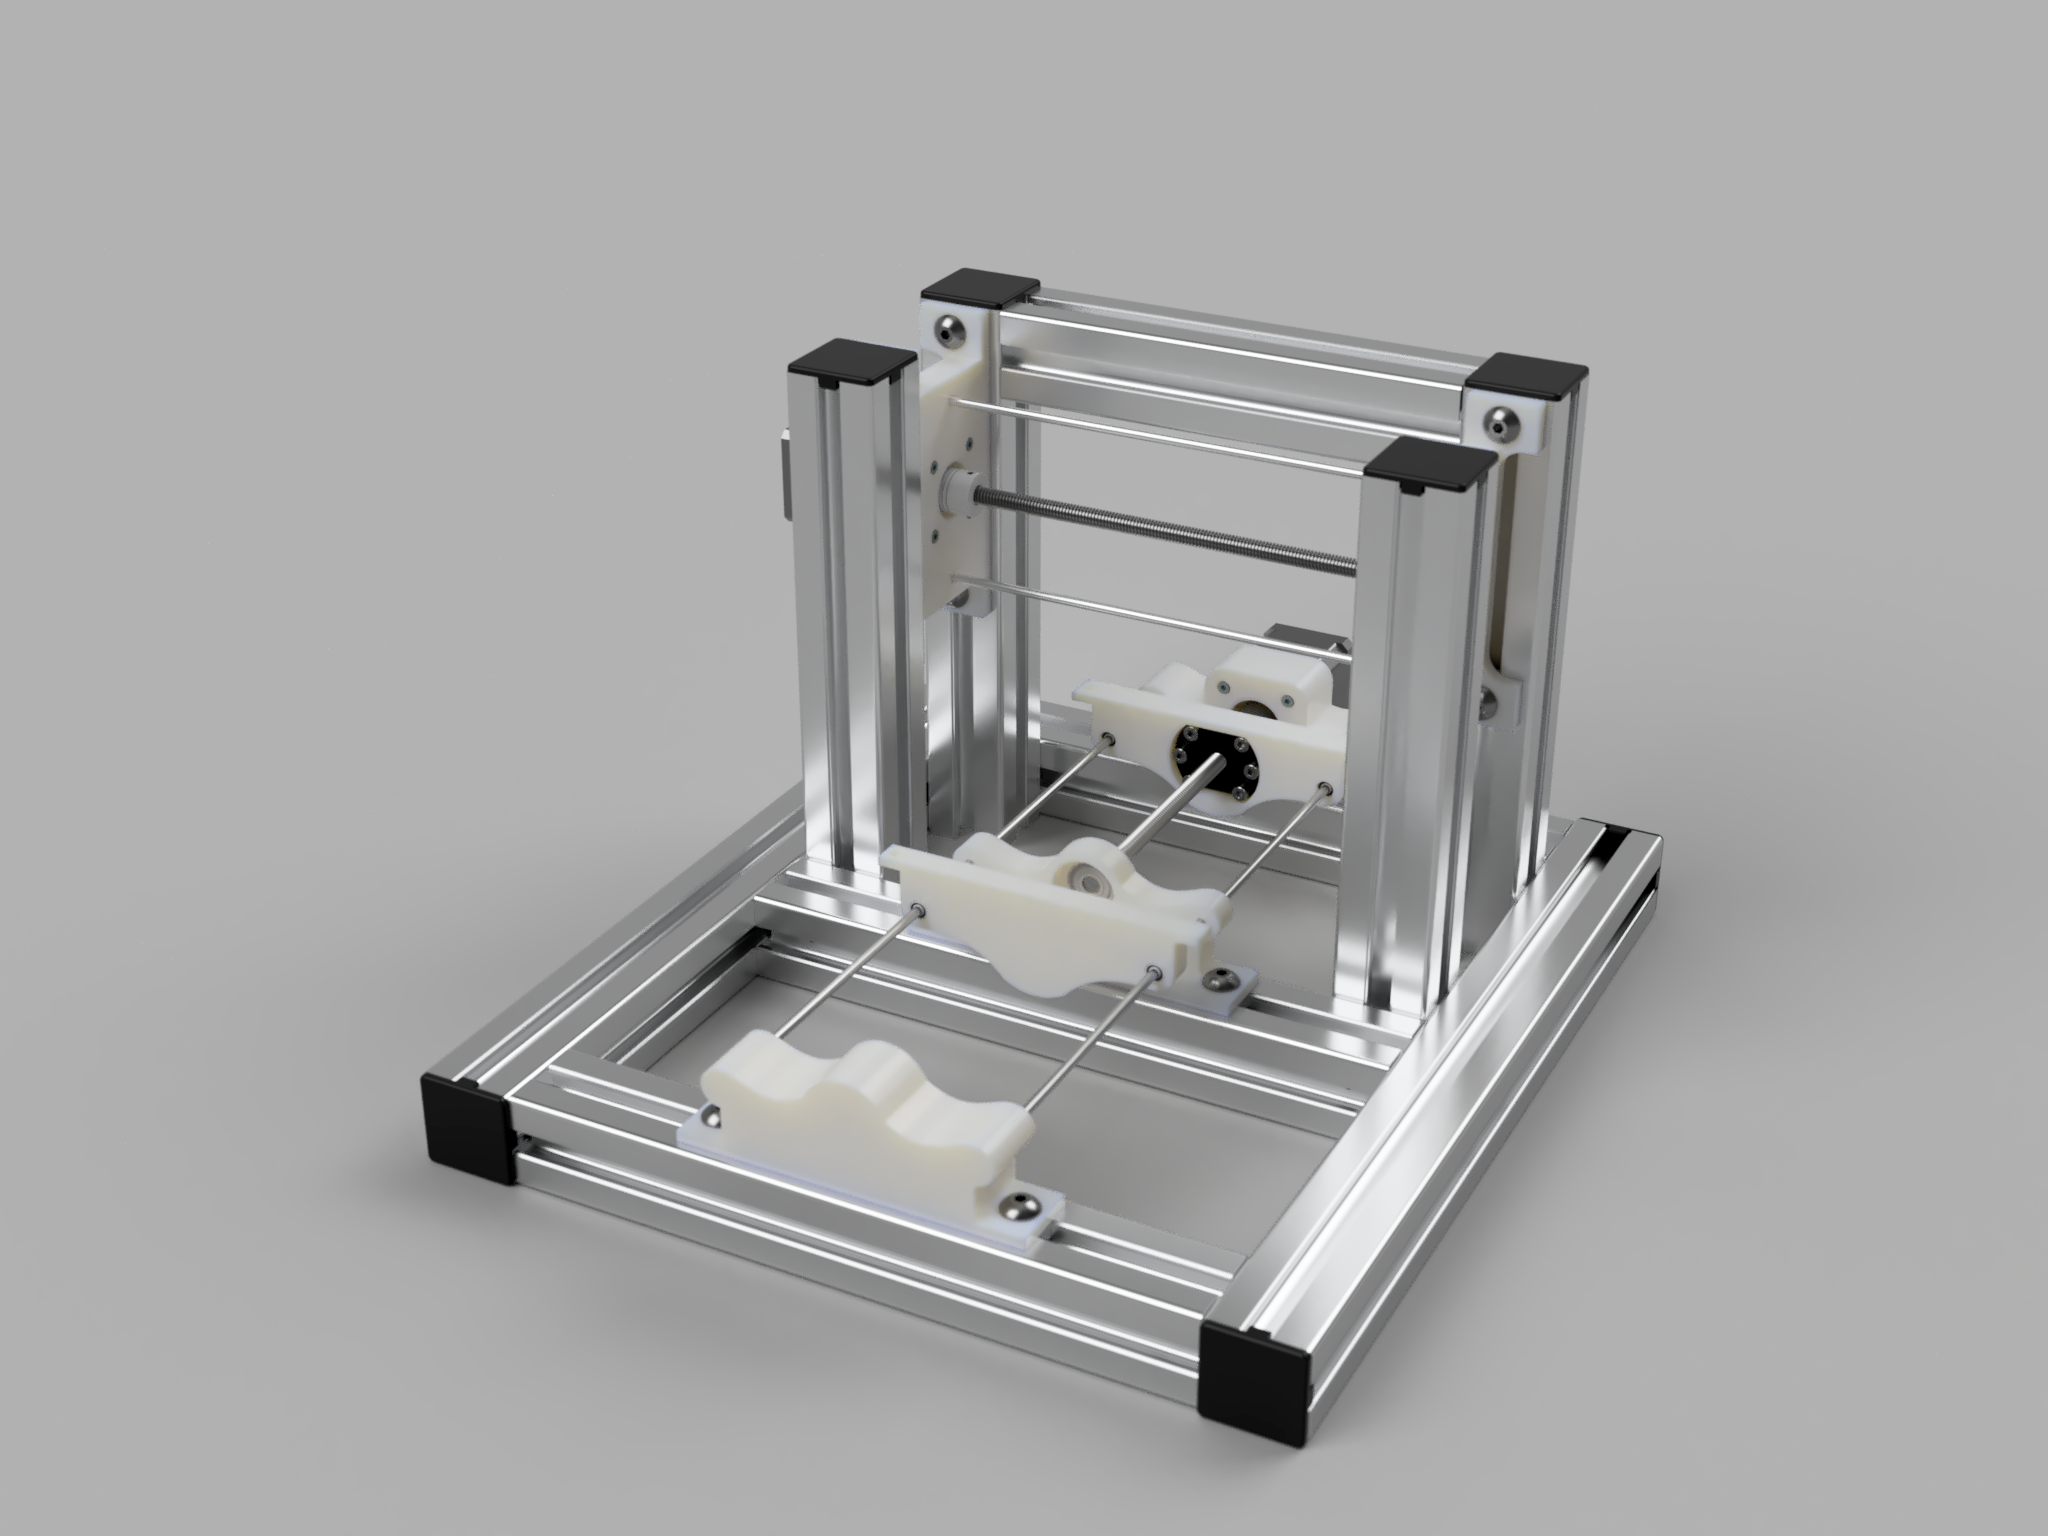
The motor mount and bearing mounts are pretty simple, bridging the two verticals on each side. I toyed with running the bolts in a horizontal extrusion that would stop them from slipping down, but that would stop me from adjusting the heights when tramming.
On the topic of adjustments, I’m starting to regret the dual-carriage design, as there is an extra dimension that needs to be aligned – not only do I need to align the X, Y and Z axes, I need to make sure both slides are exactly parallel. I’ve bought a digital dial indicator which should help in squaring everything up – we’ll see how that goes.
The order cost me just shy of $200, which already takes me over my $250 budget, but I’ve been reconsidering how much I’m spending, as I assumed I could use my Dremel 4300. After a bunch of reading, I think I’ll need to by a different spindle that has less runout.
Discussions
Become a Hackaday.io Member
Create an account to leave a comment. Already have an account? Log In.