 Craig Watson
TL;DR:
The first manifold was made by my university's machine shop. It turned out great, but professional machining is unnecessarily expensive in this case. Plus, I wanted to learn how to use a mill.
So a few weeks ago, I got training on the mills at our makerspace, and started on the process of making my own manifolds. Here are a few pictures of the process.
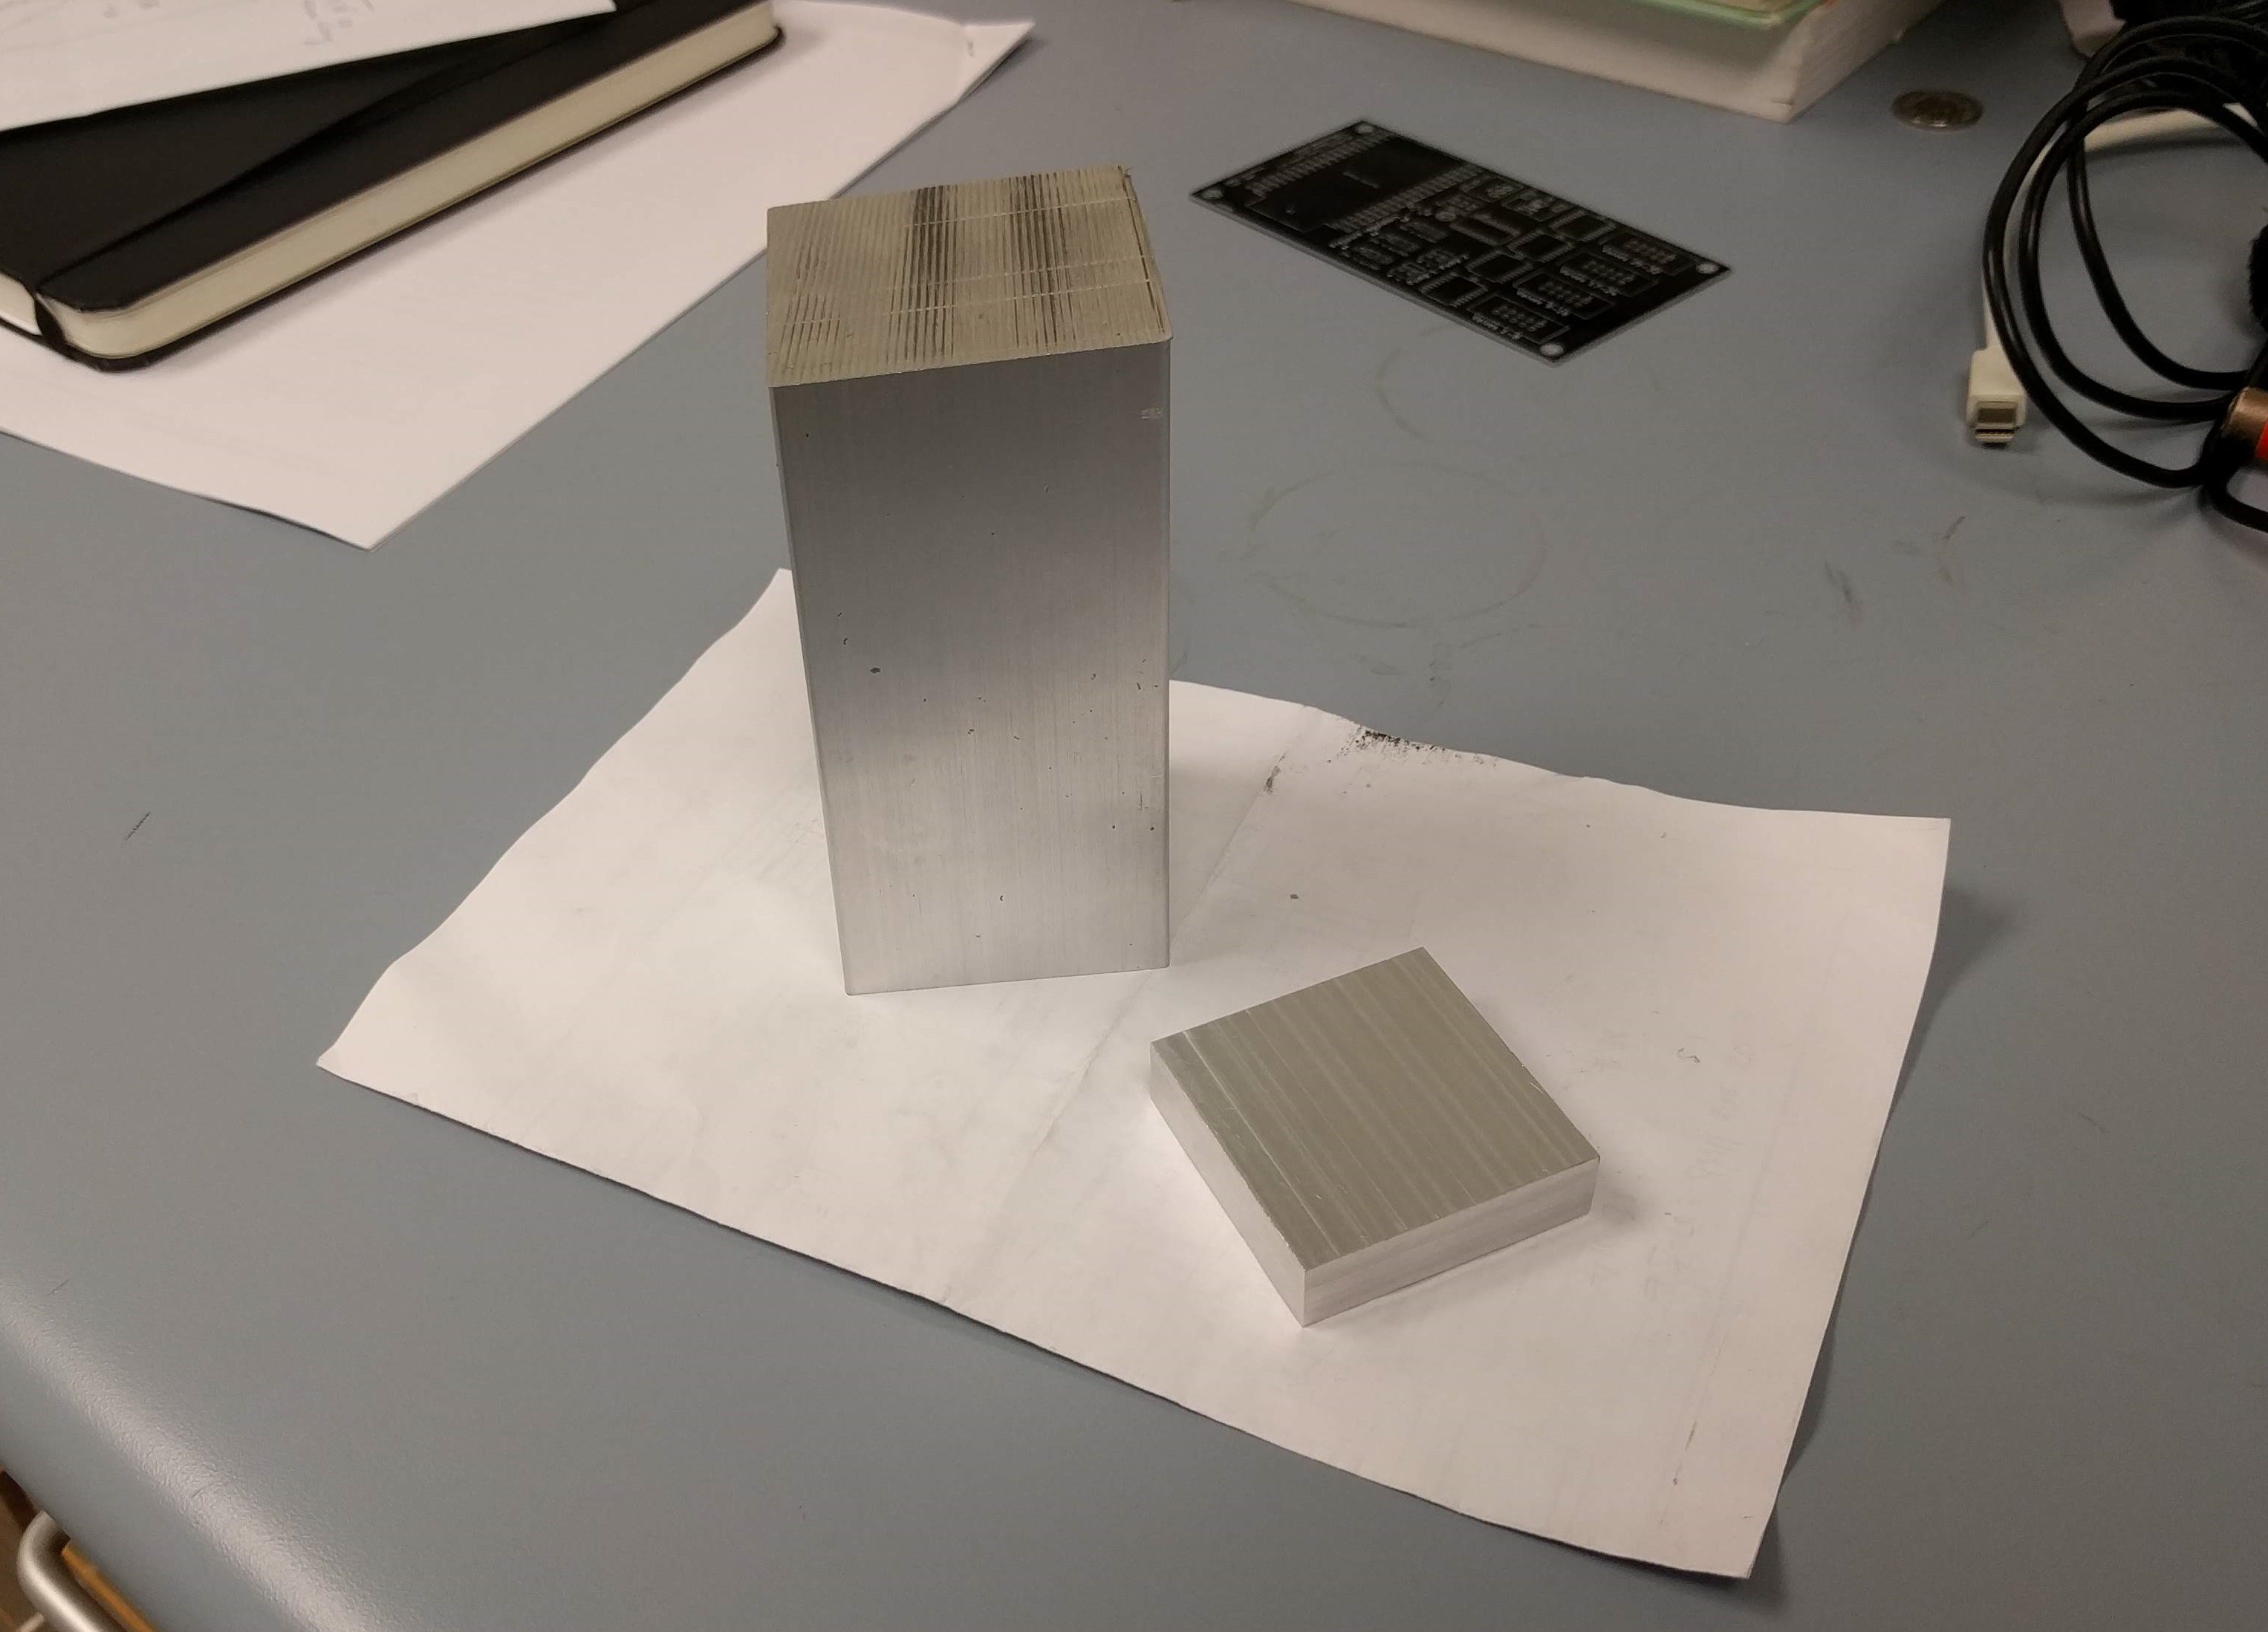
It starts with a stock piece of aluminum, which is cut on the horizontal bandsaw (not shown) and milled down to size.
After this stage, I have a perfectly-sized (to within 50 microns or so) block of aluminum. Here it is, with the stock it came from:
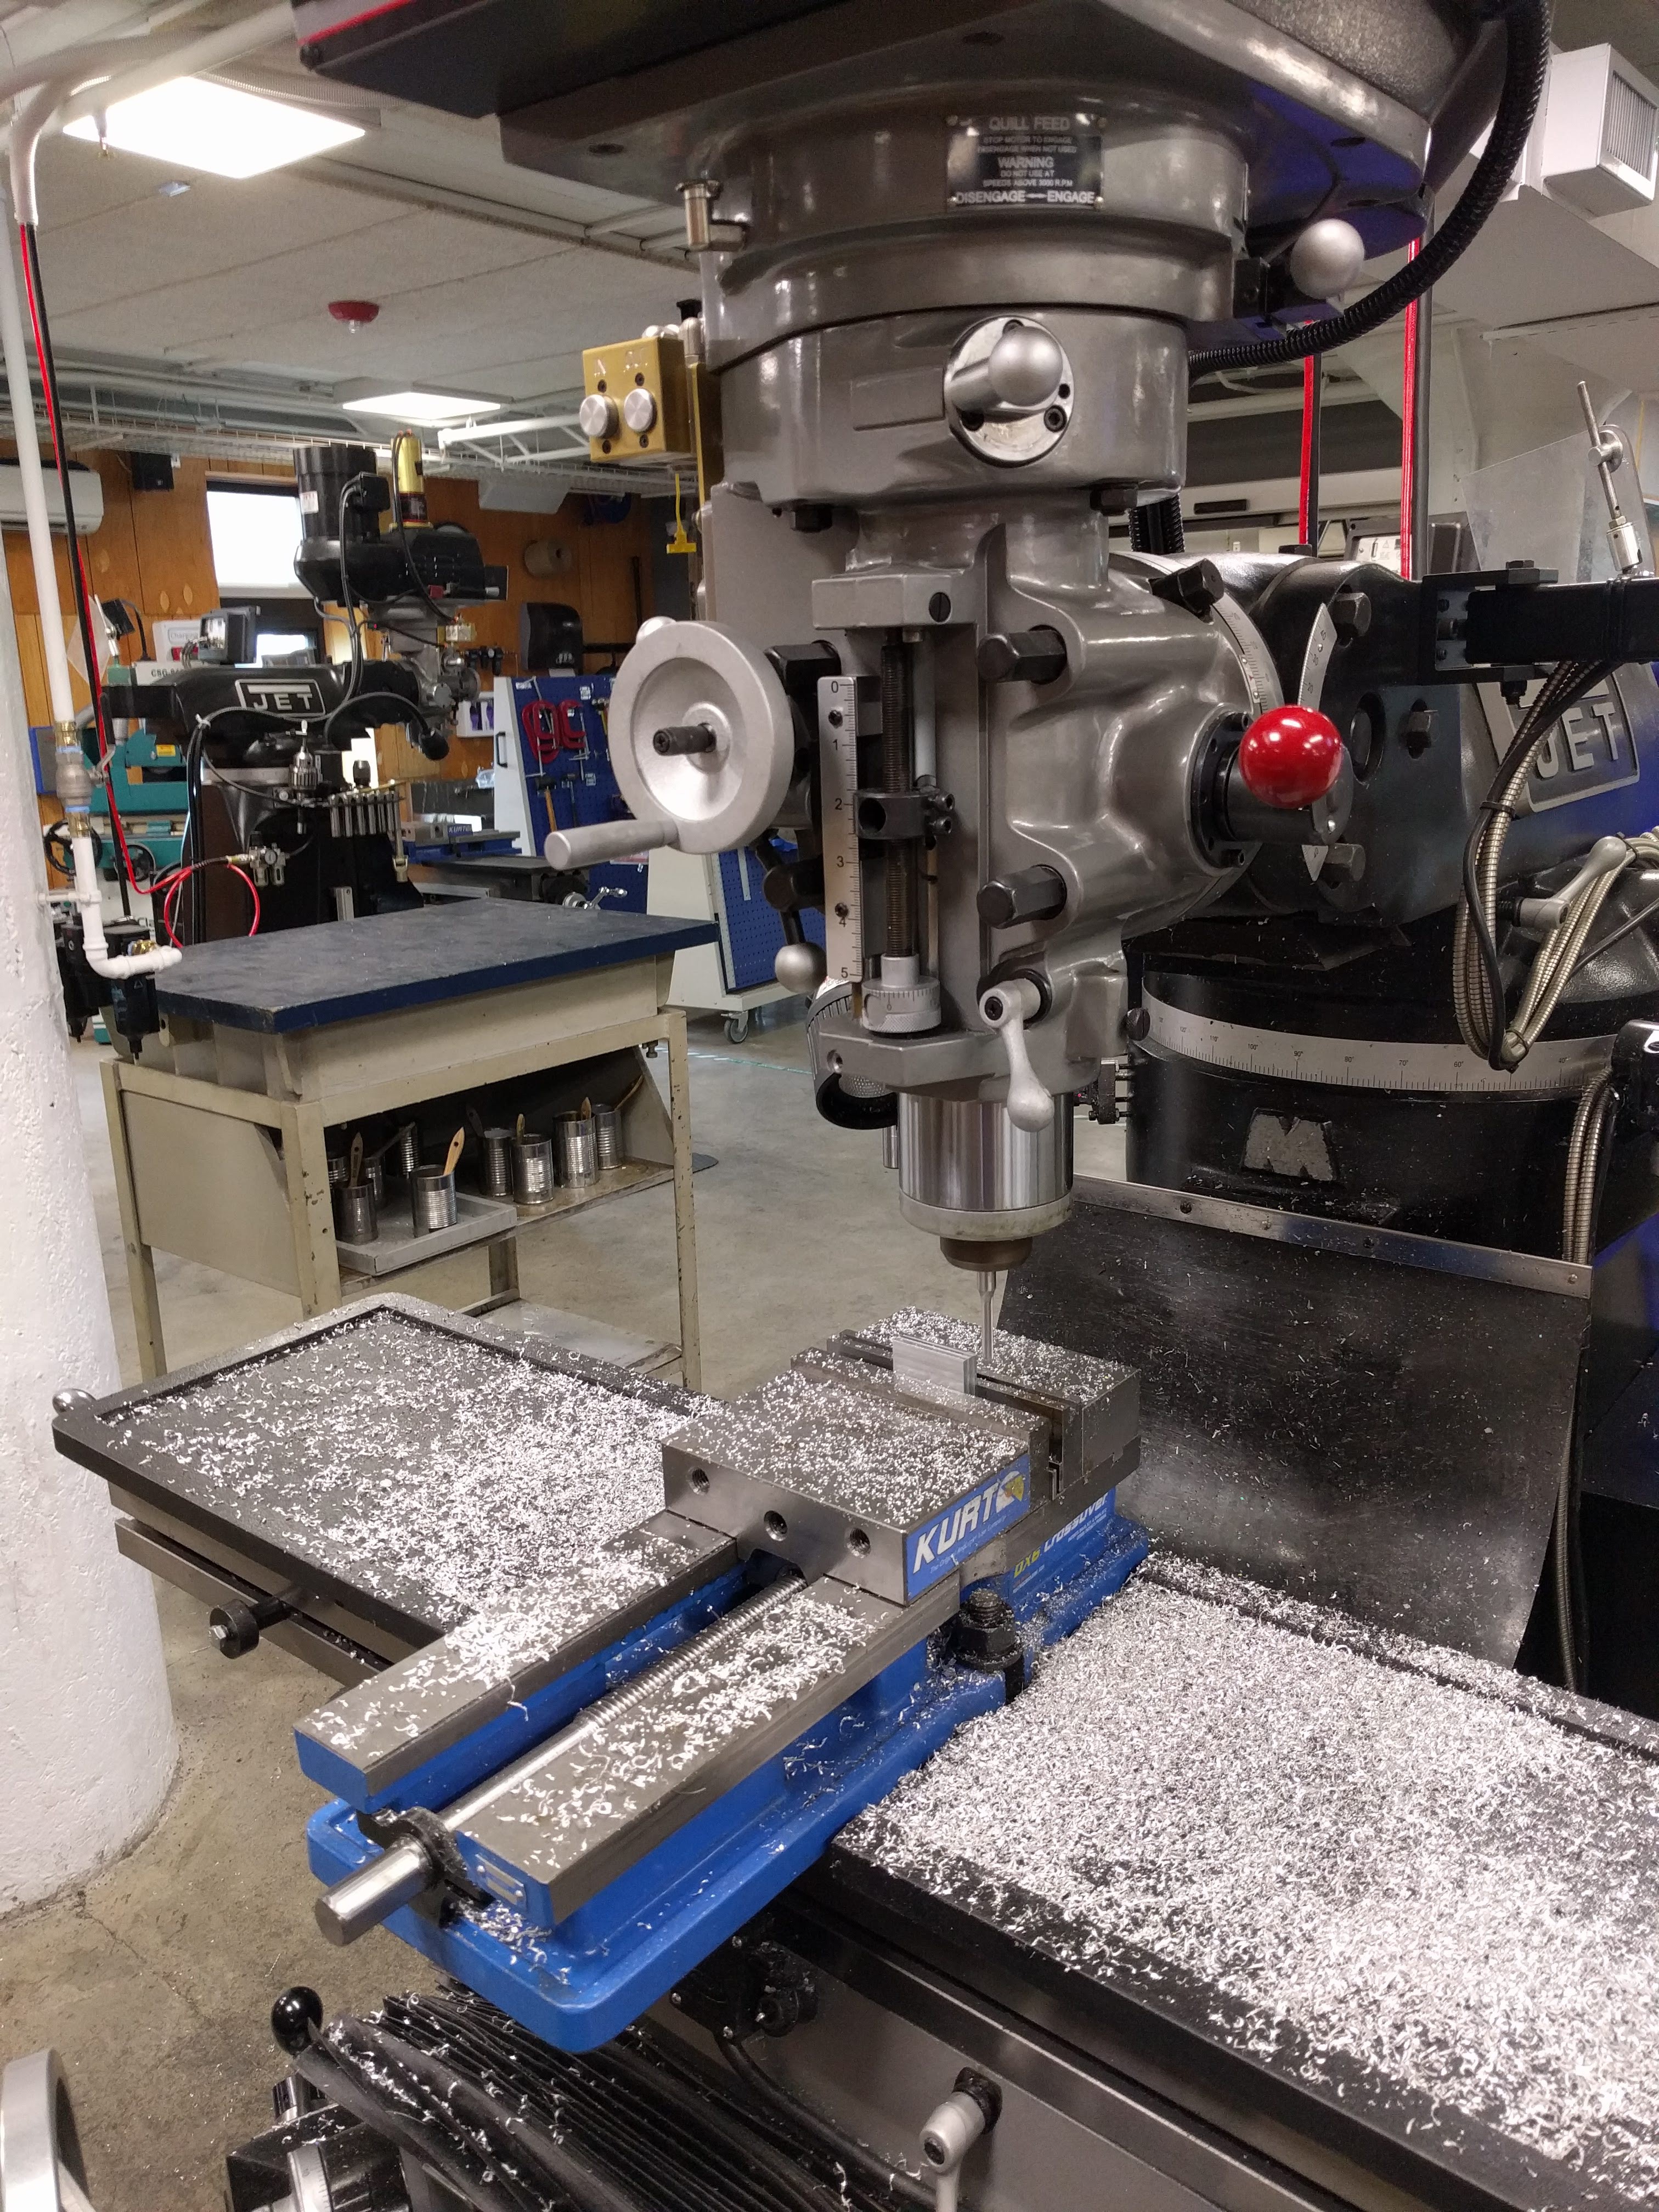
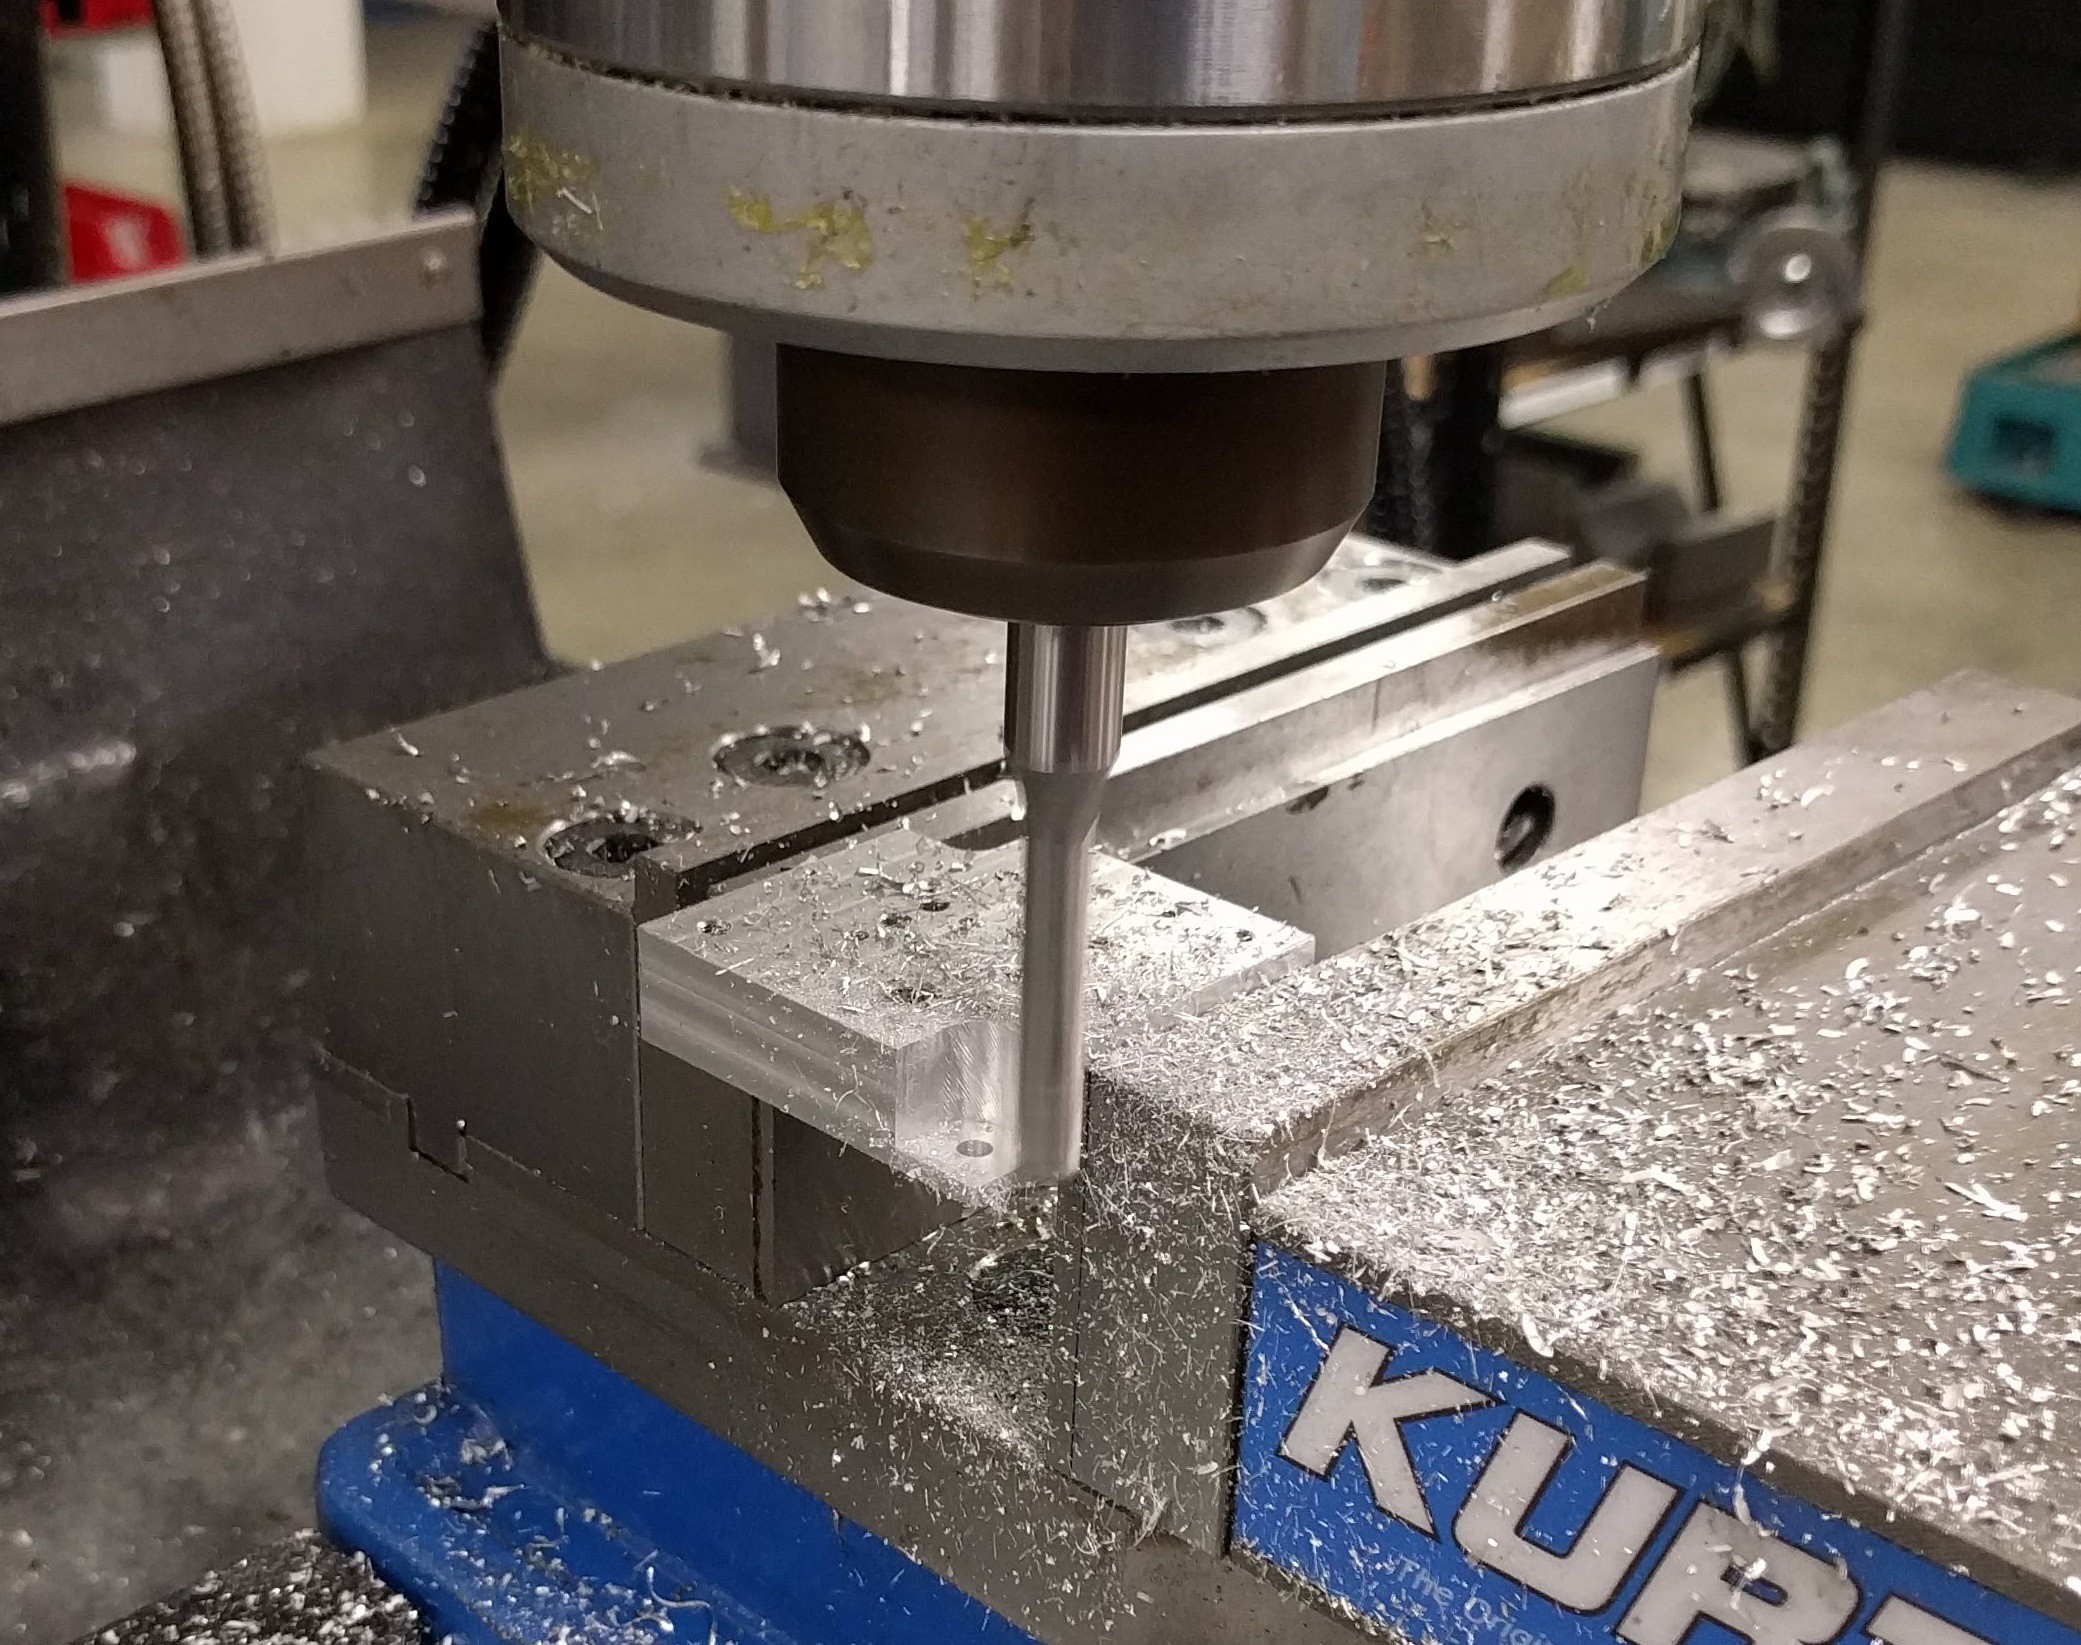
Then comes the laborious task of center-drilling every hole, changing drill bits, setting the drilling depth, drilling a few holes, changing drill bits, setting the depth, drilling a few holes, changing drill bits... and so on. Here it is partly through the top face:
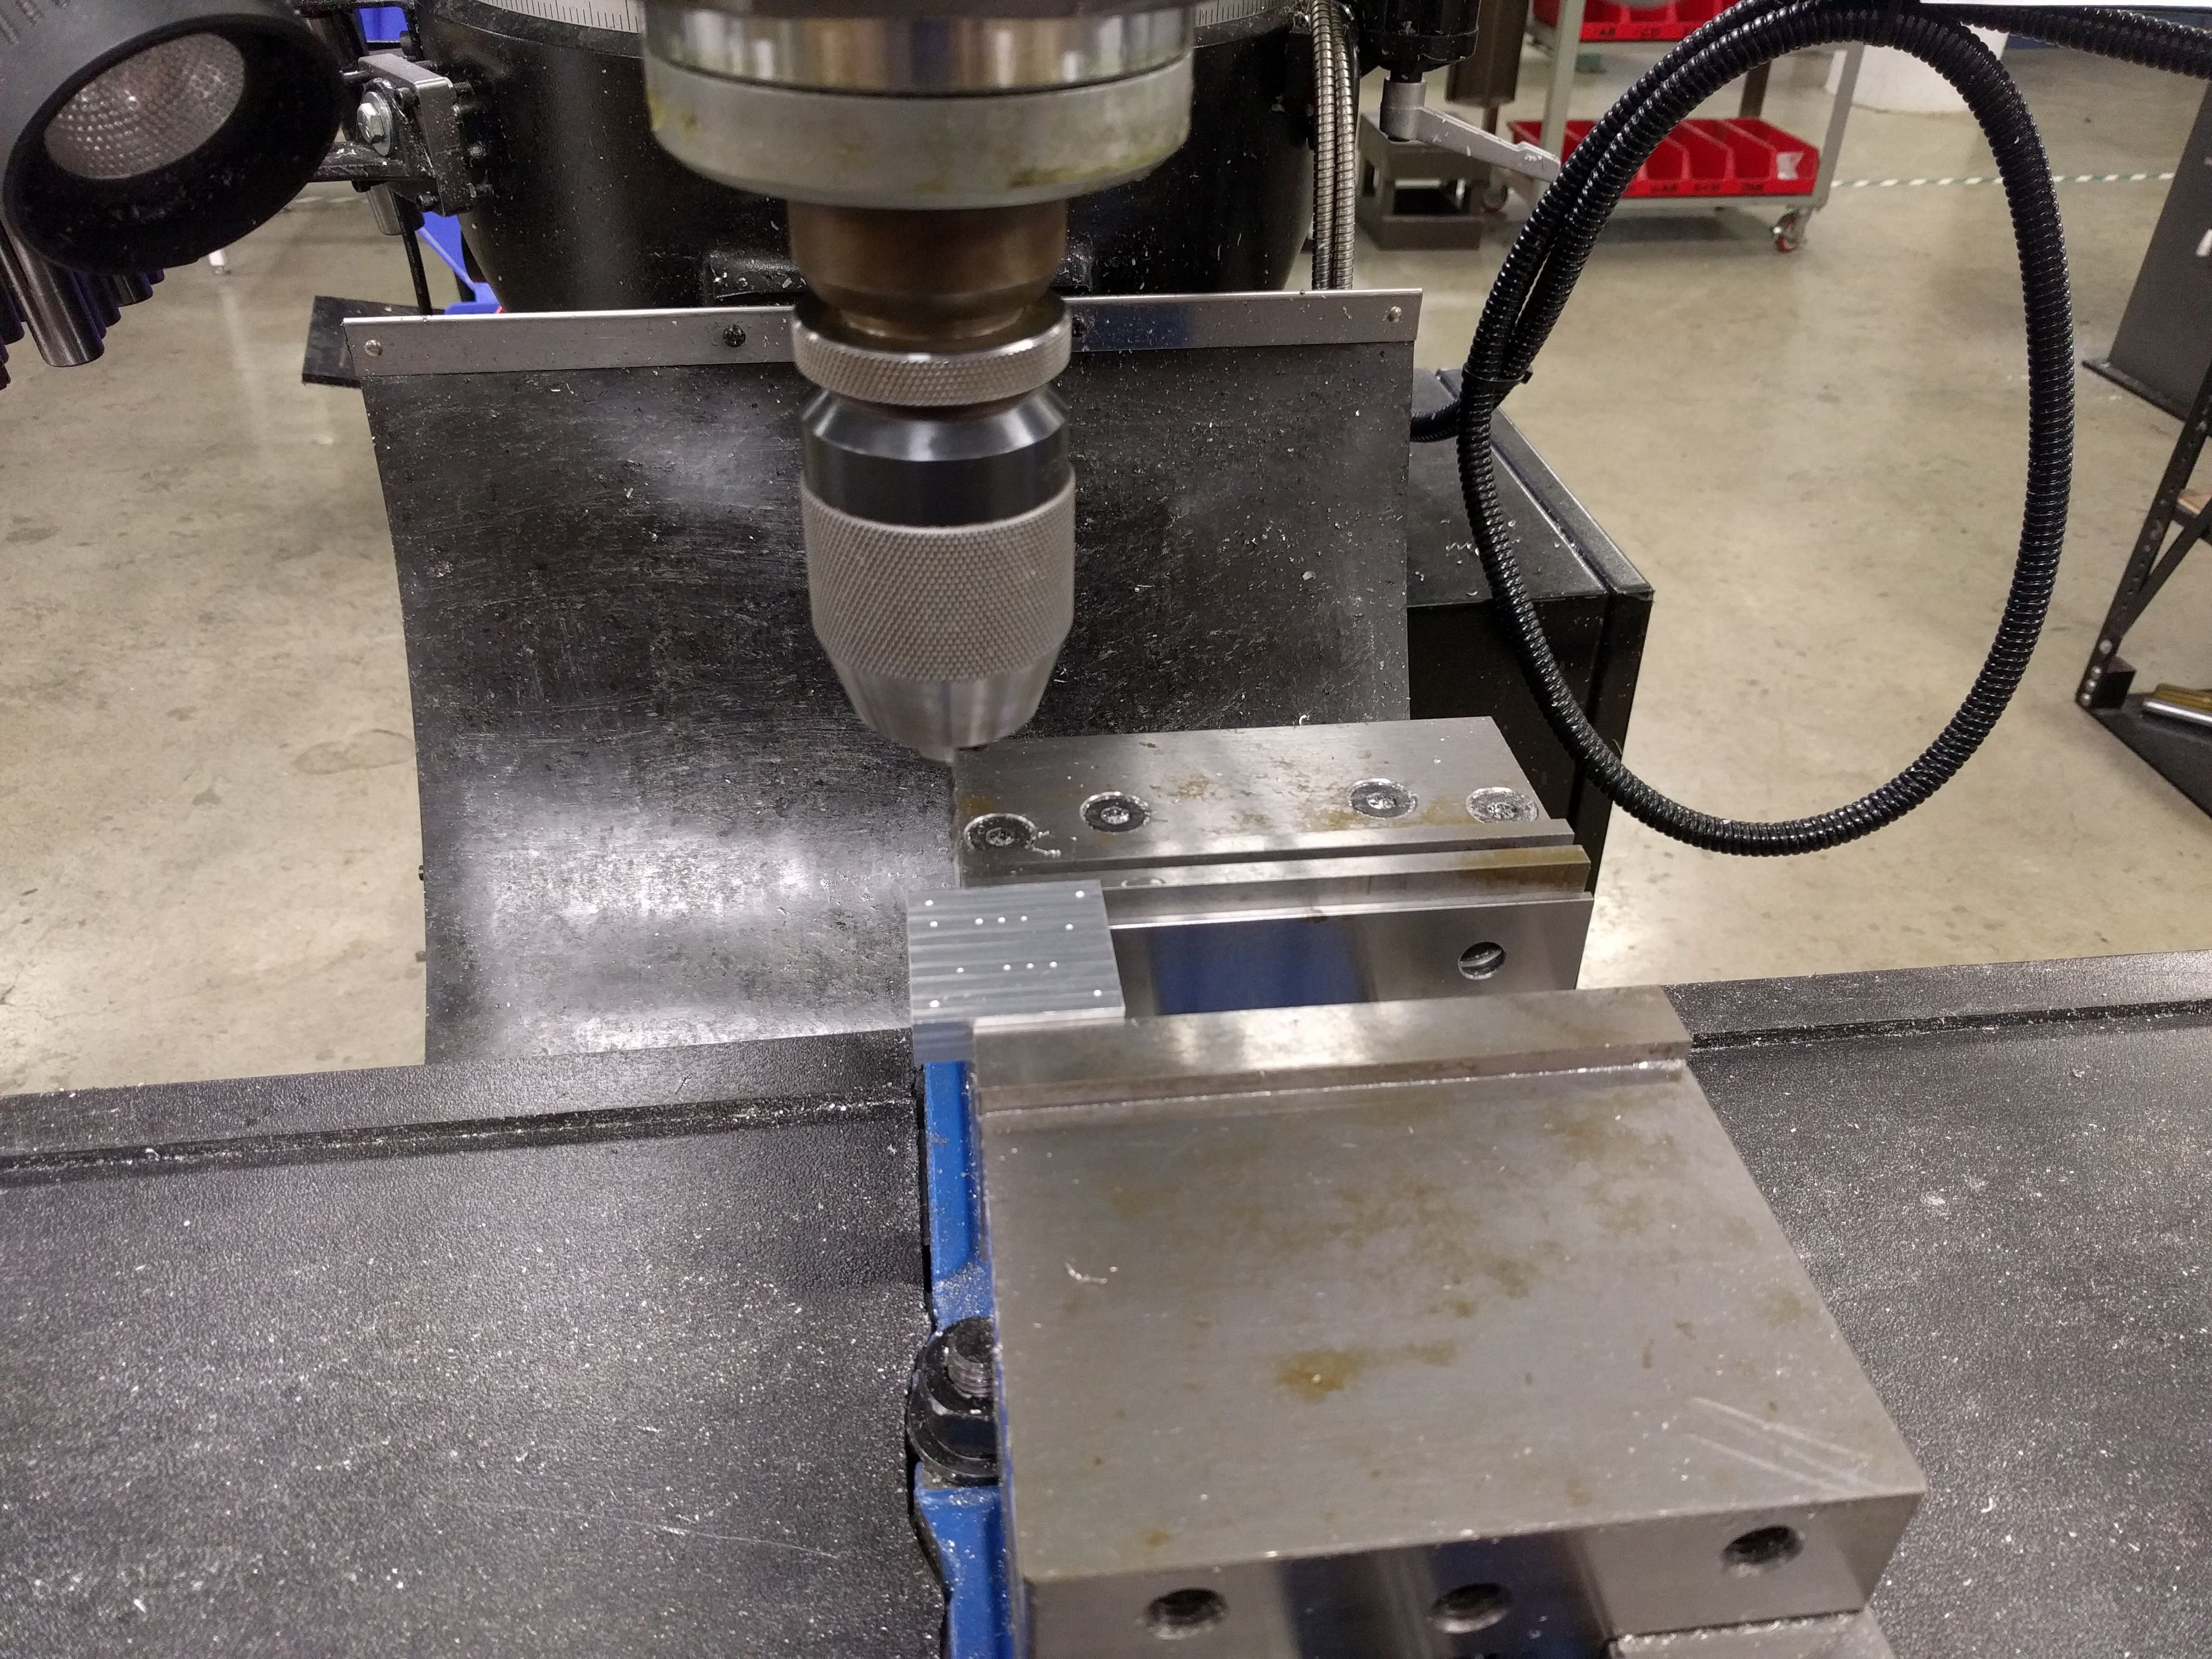
The holes are then tapped, and the process is repeated for each of the three other faces that need holes. Finally, I milled the corner cut-outs:
And after deburring the edges and giving everything a quick polish, I had my manifold. All it took was 5 or 6 hours of work (per piece), a few mistakes, and some cursing.
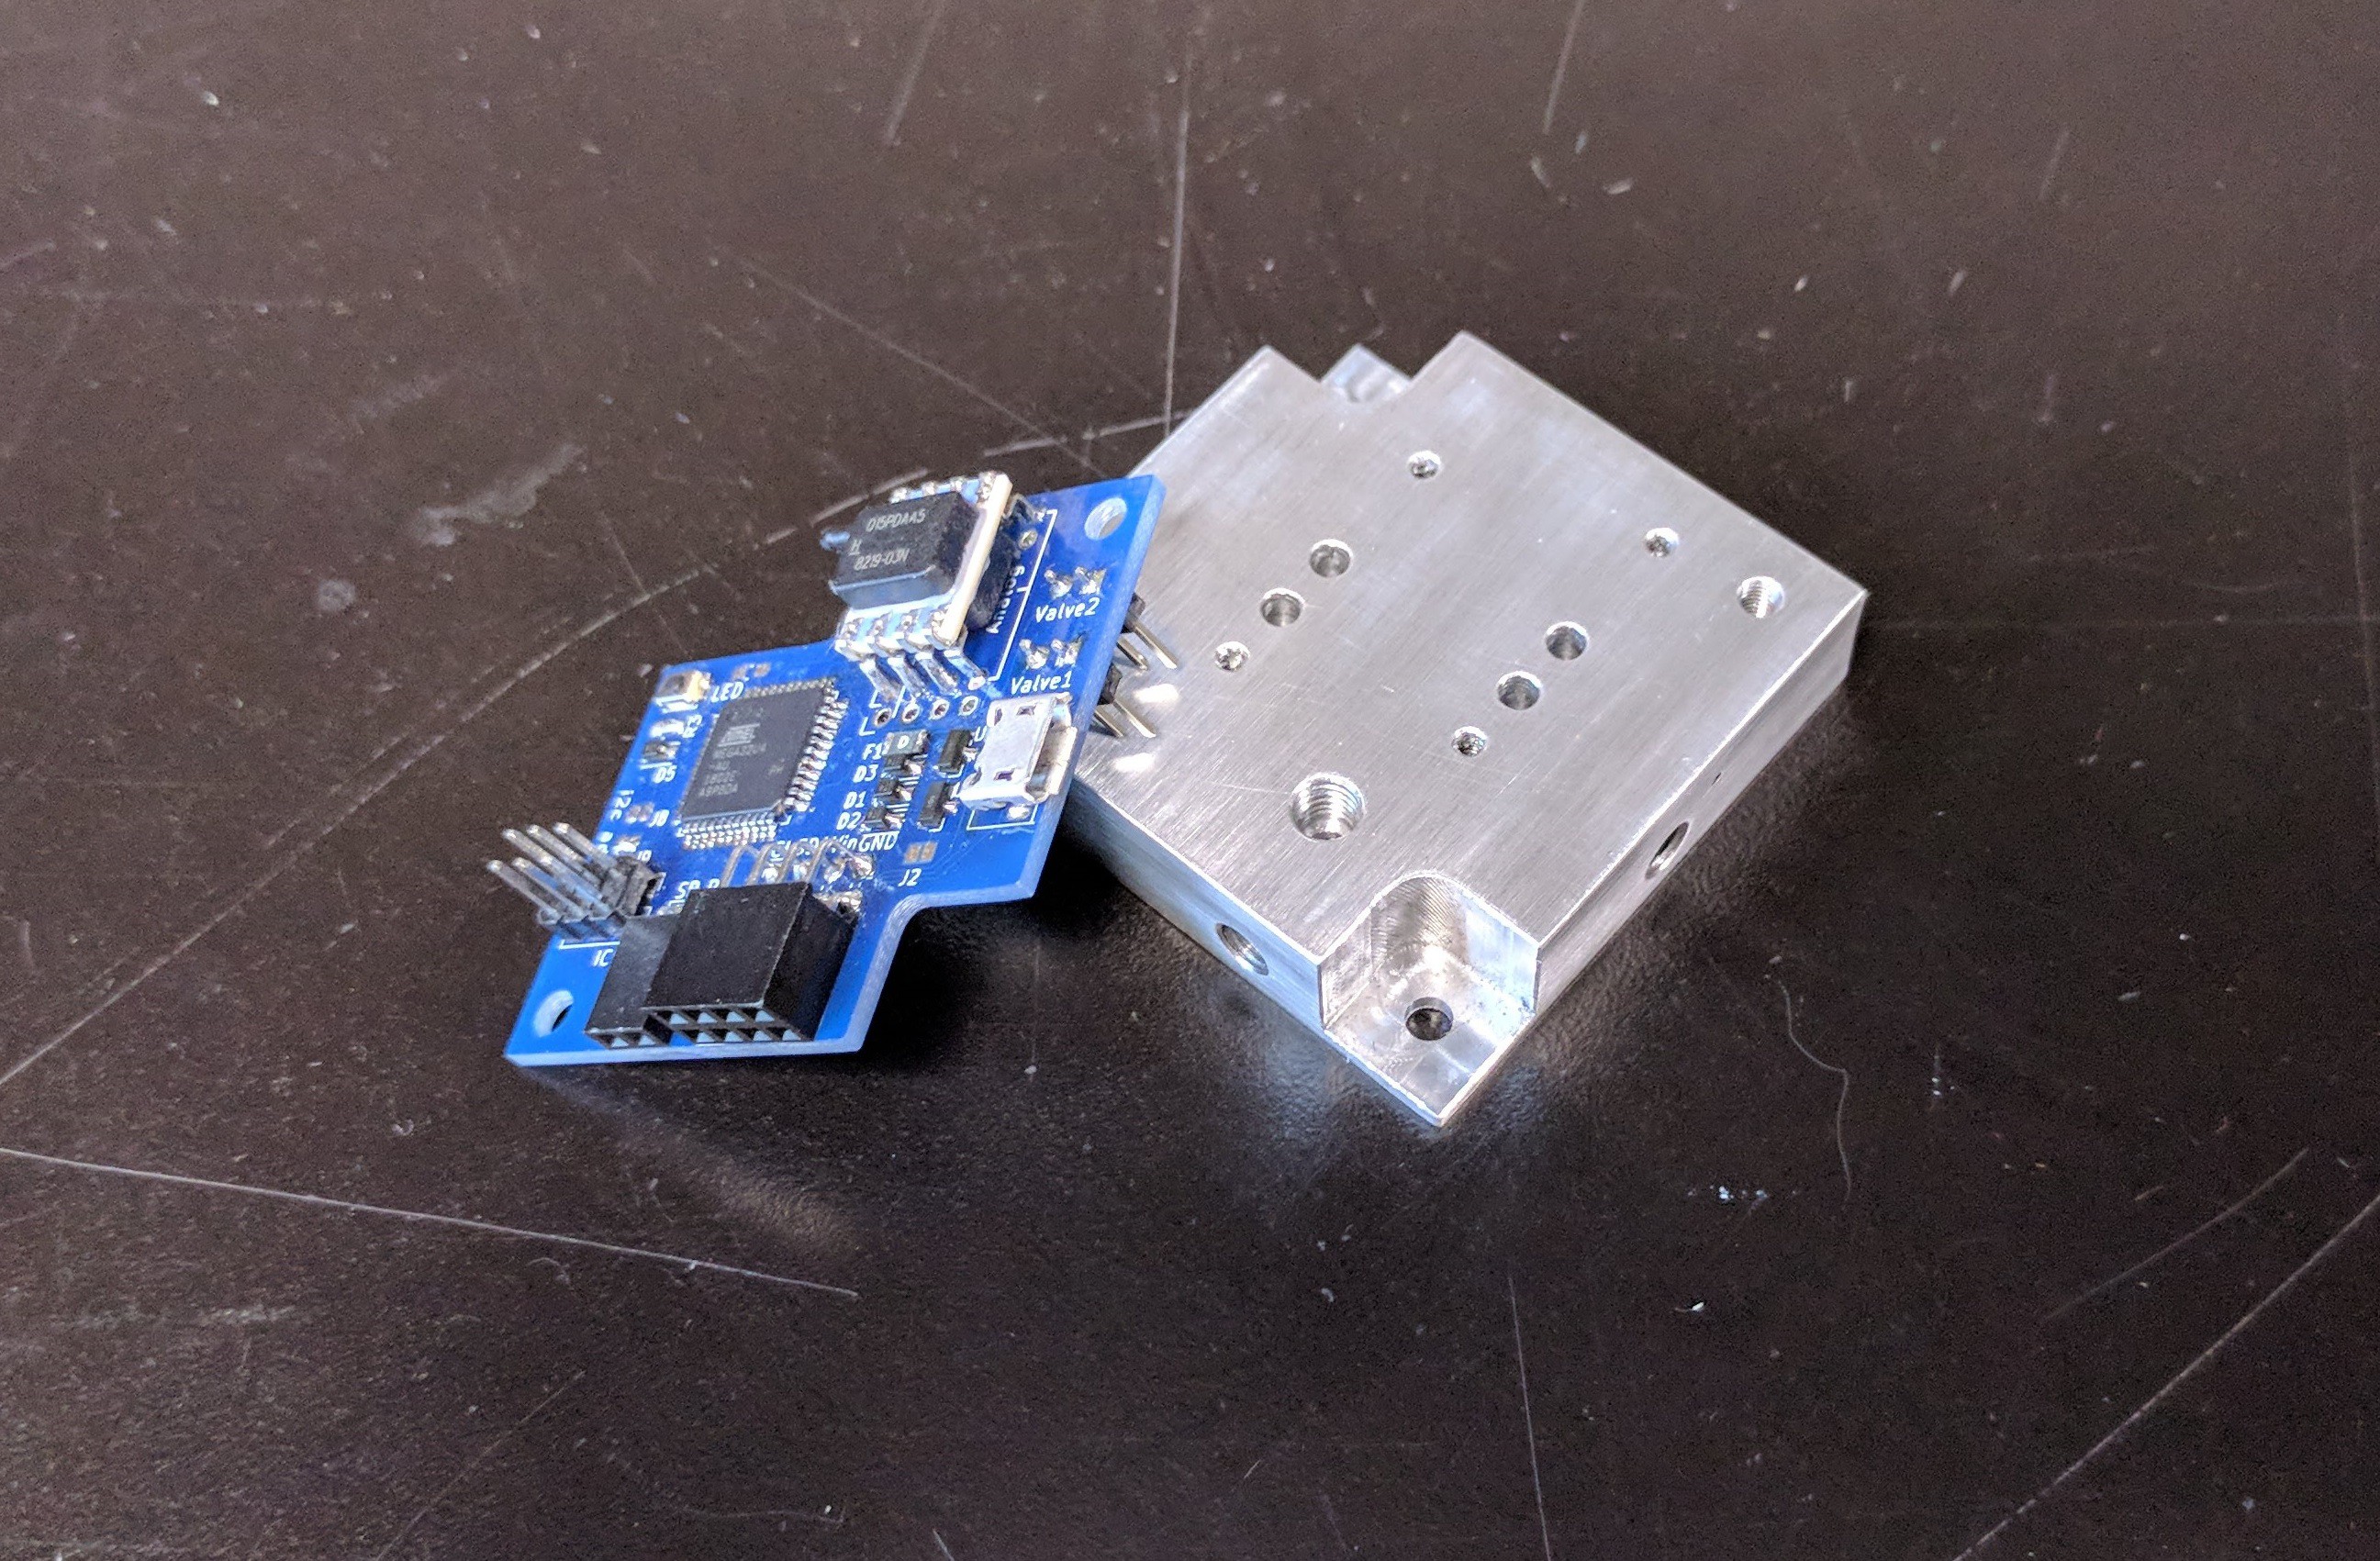
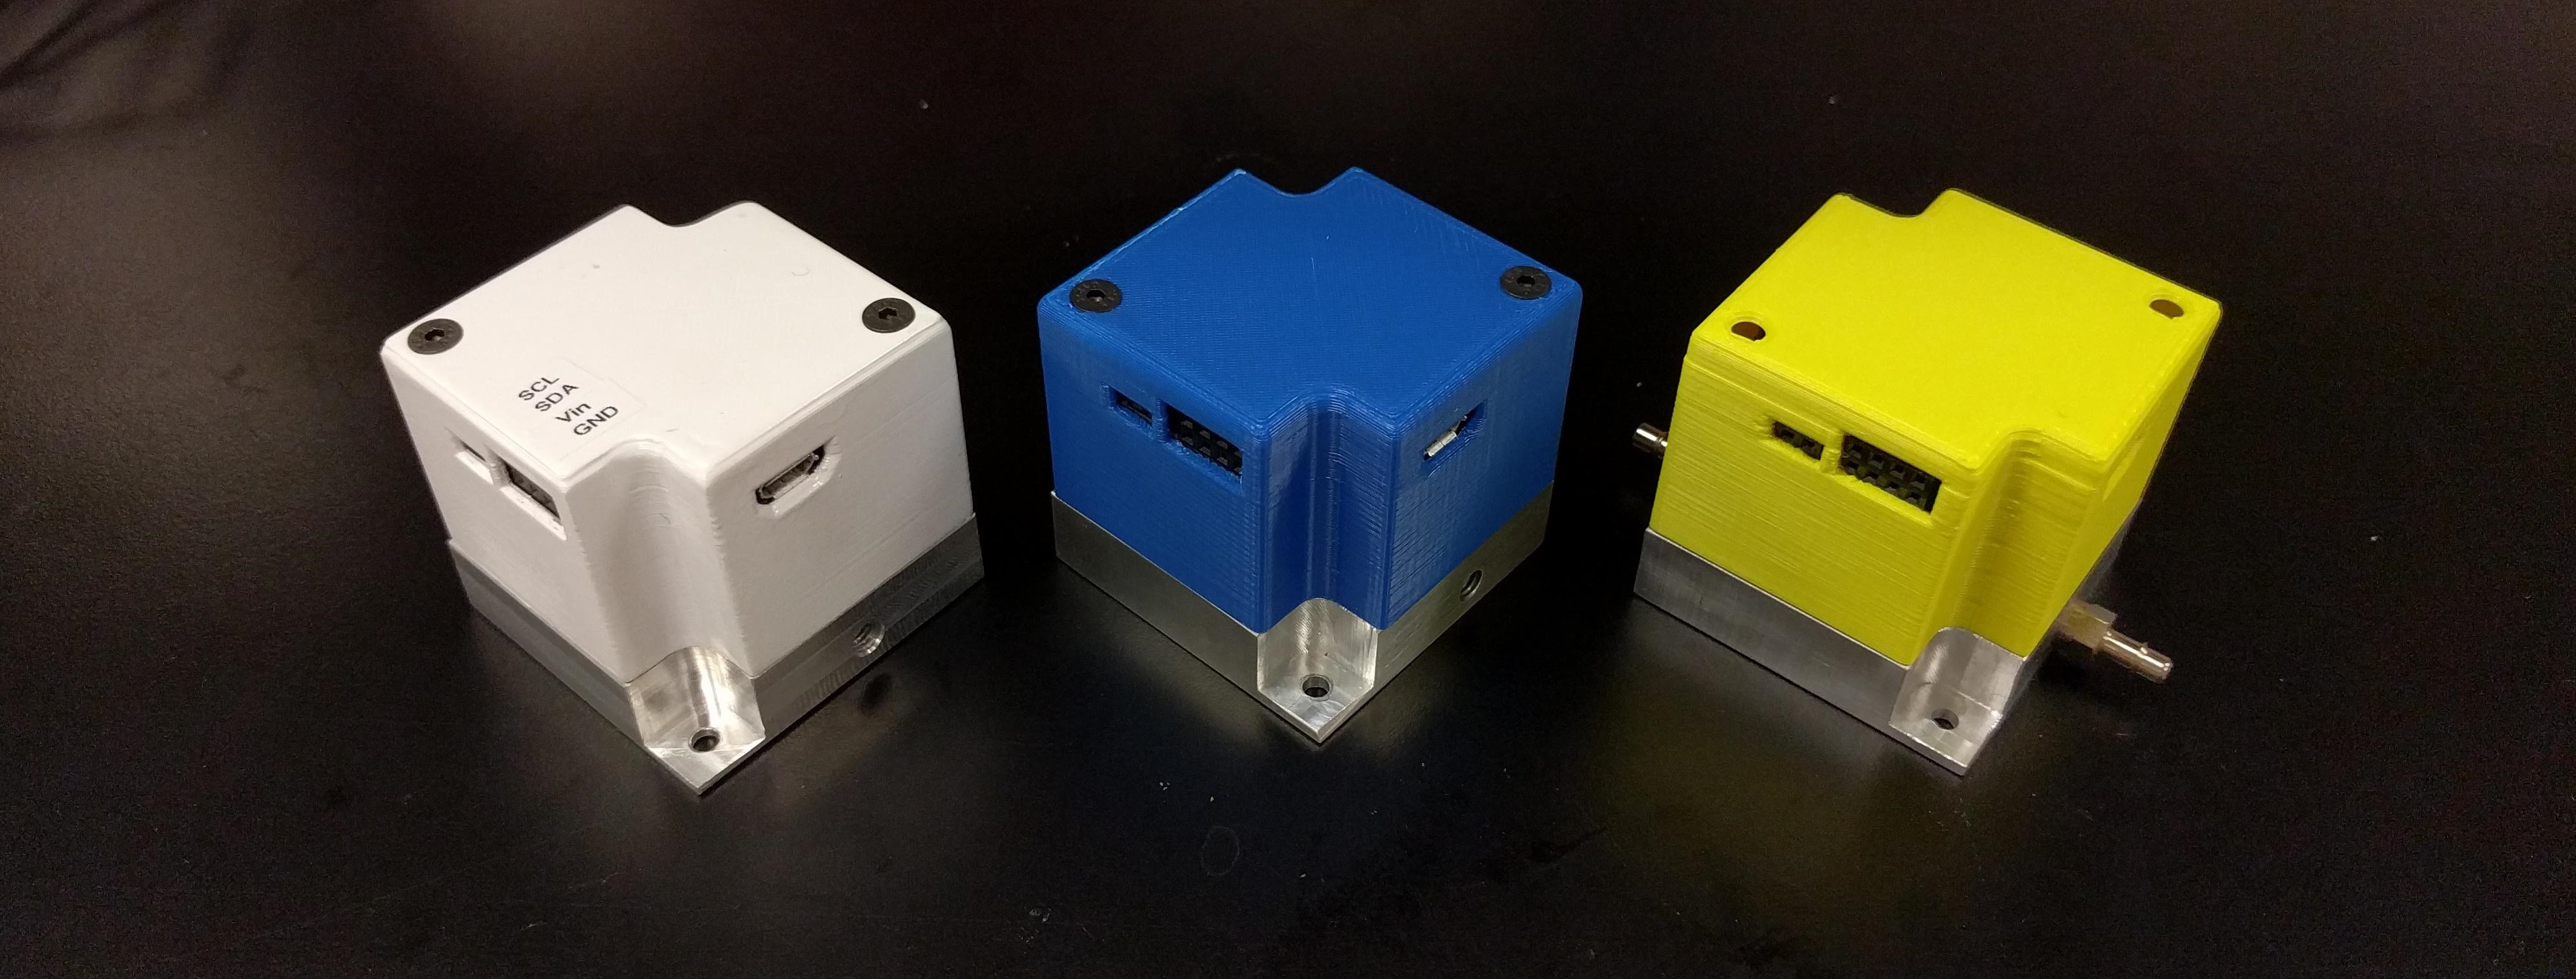
Still, everything fit together just fine. I assembled a couple more PCBs, and designed a simple enclosure, which I 3D printed in different colors to mark the different range of pressures that each regulator can handle.
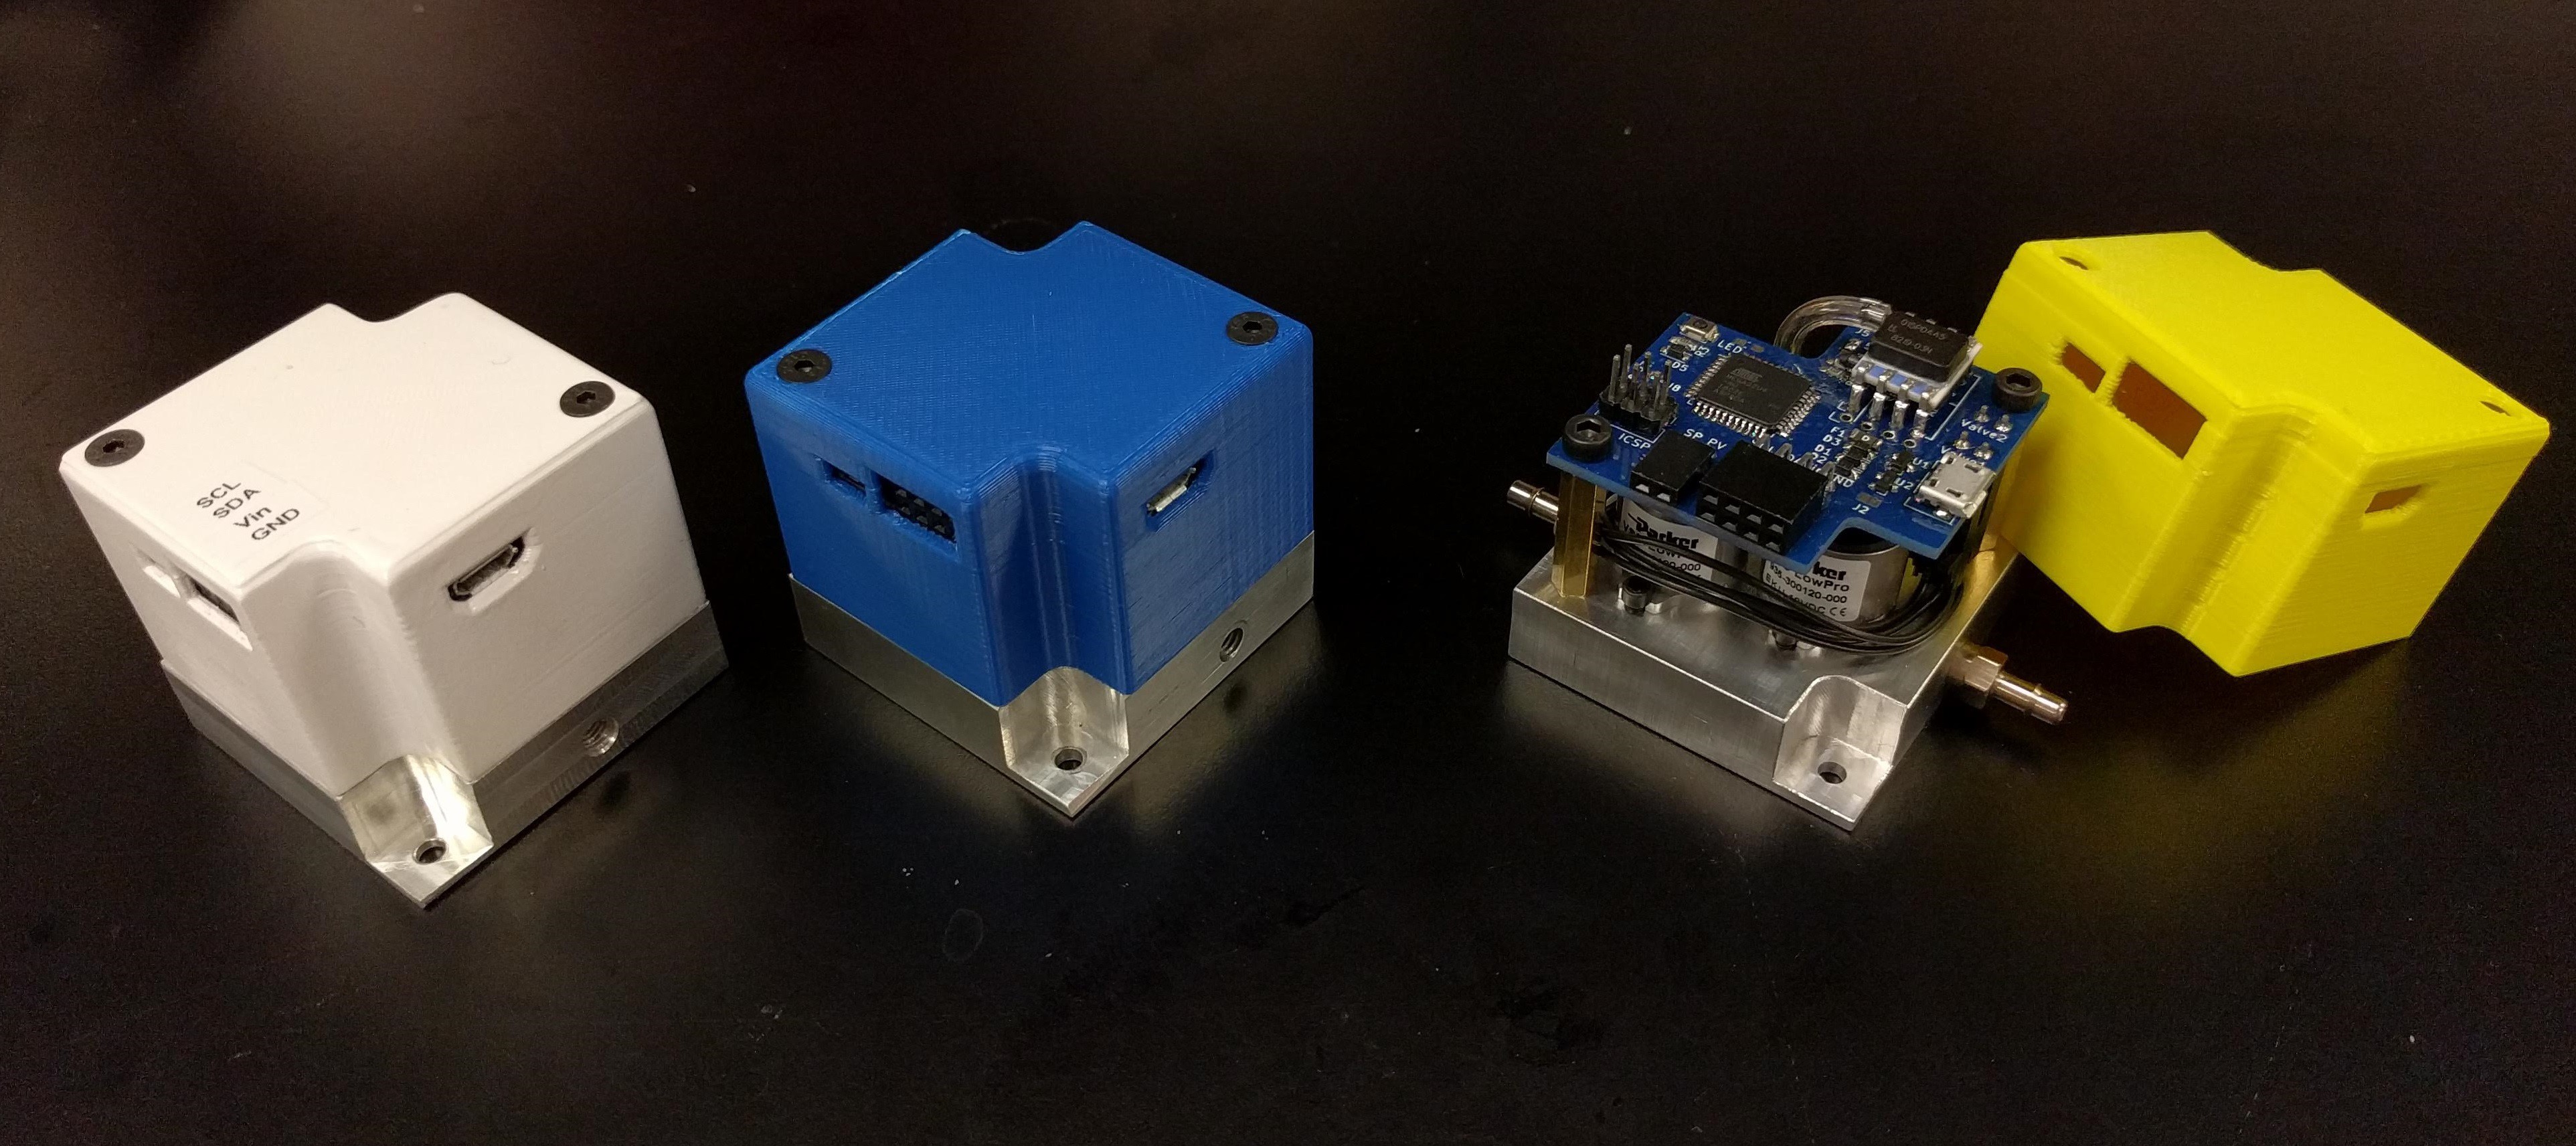
White is 0-30 PSI (0-2 atm); blue is 0-5 PSI (0-3.3 atm) and yellow is +/-15 PSI (1 atm). I haven't thoroughly tested the third one yet but the other two work great.
Discussions
Become a Hackaday.io Member
Create an account to leave a comment. Already have an account? Log In.