Carlos Oliveira
So, what it is all about?
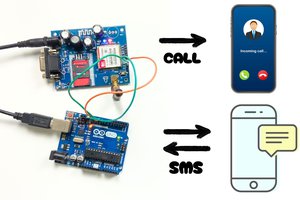
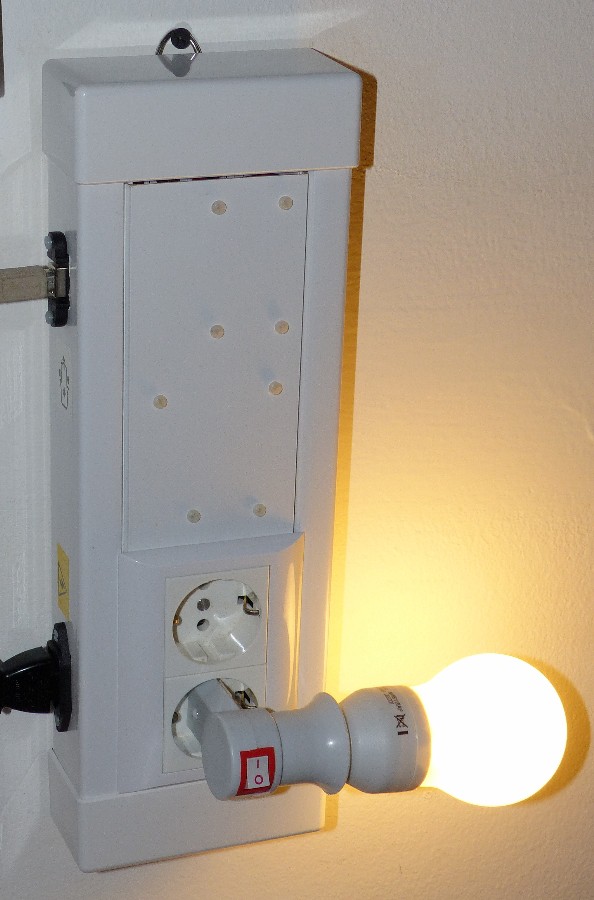
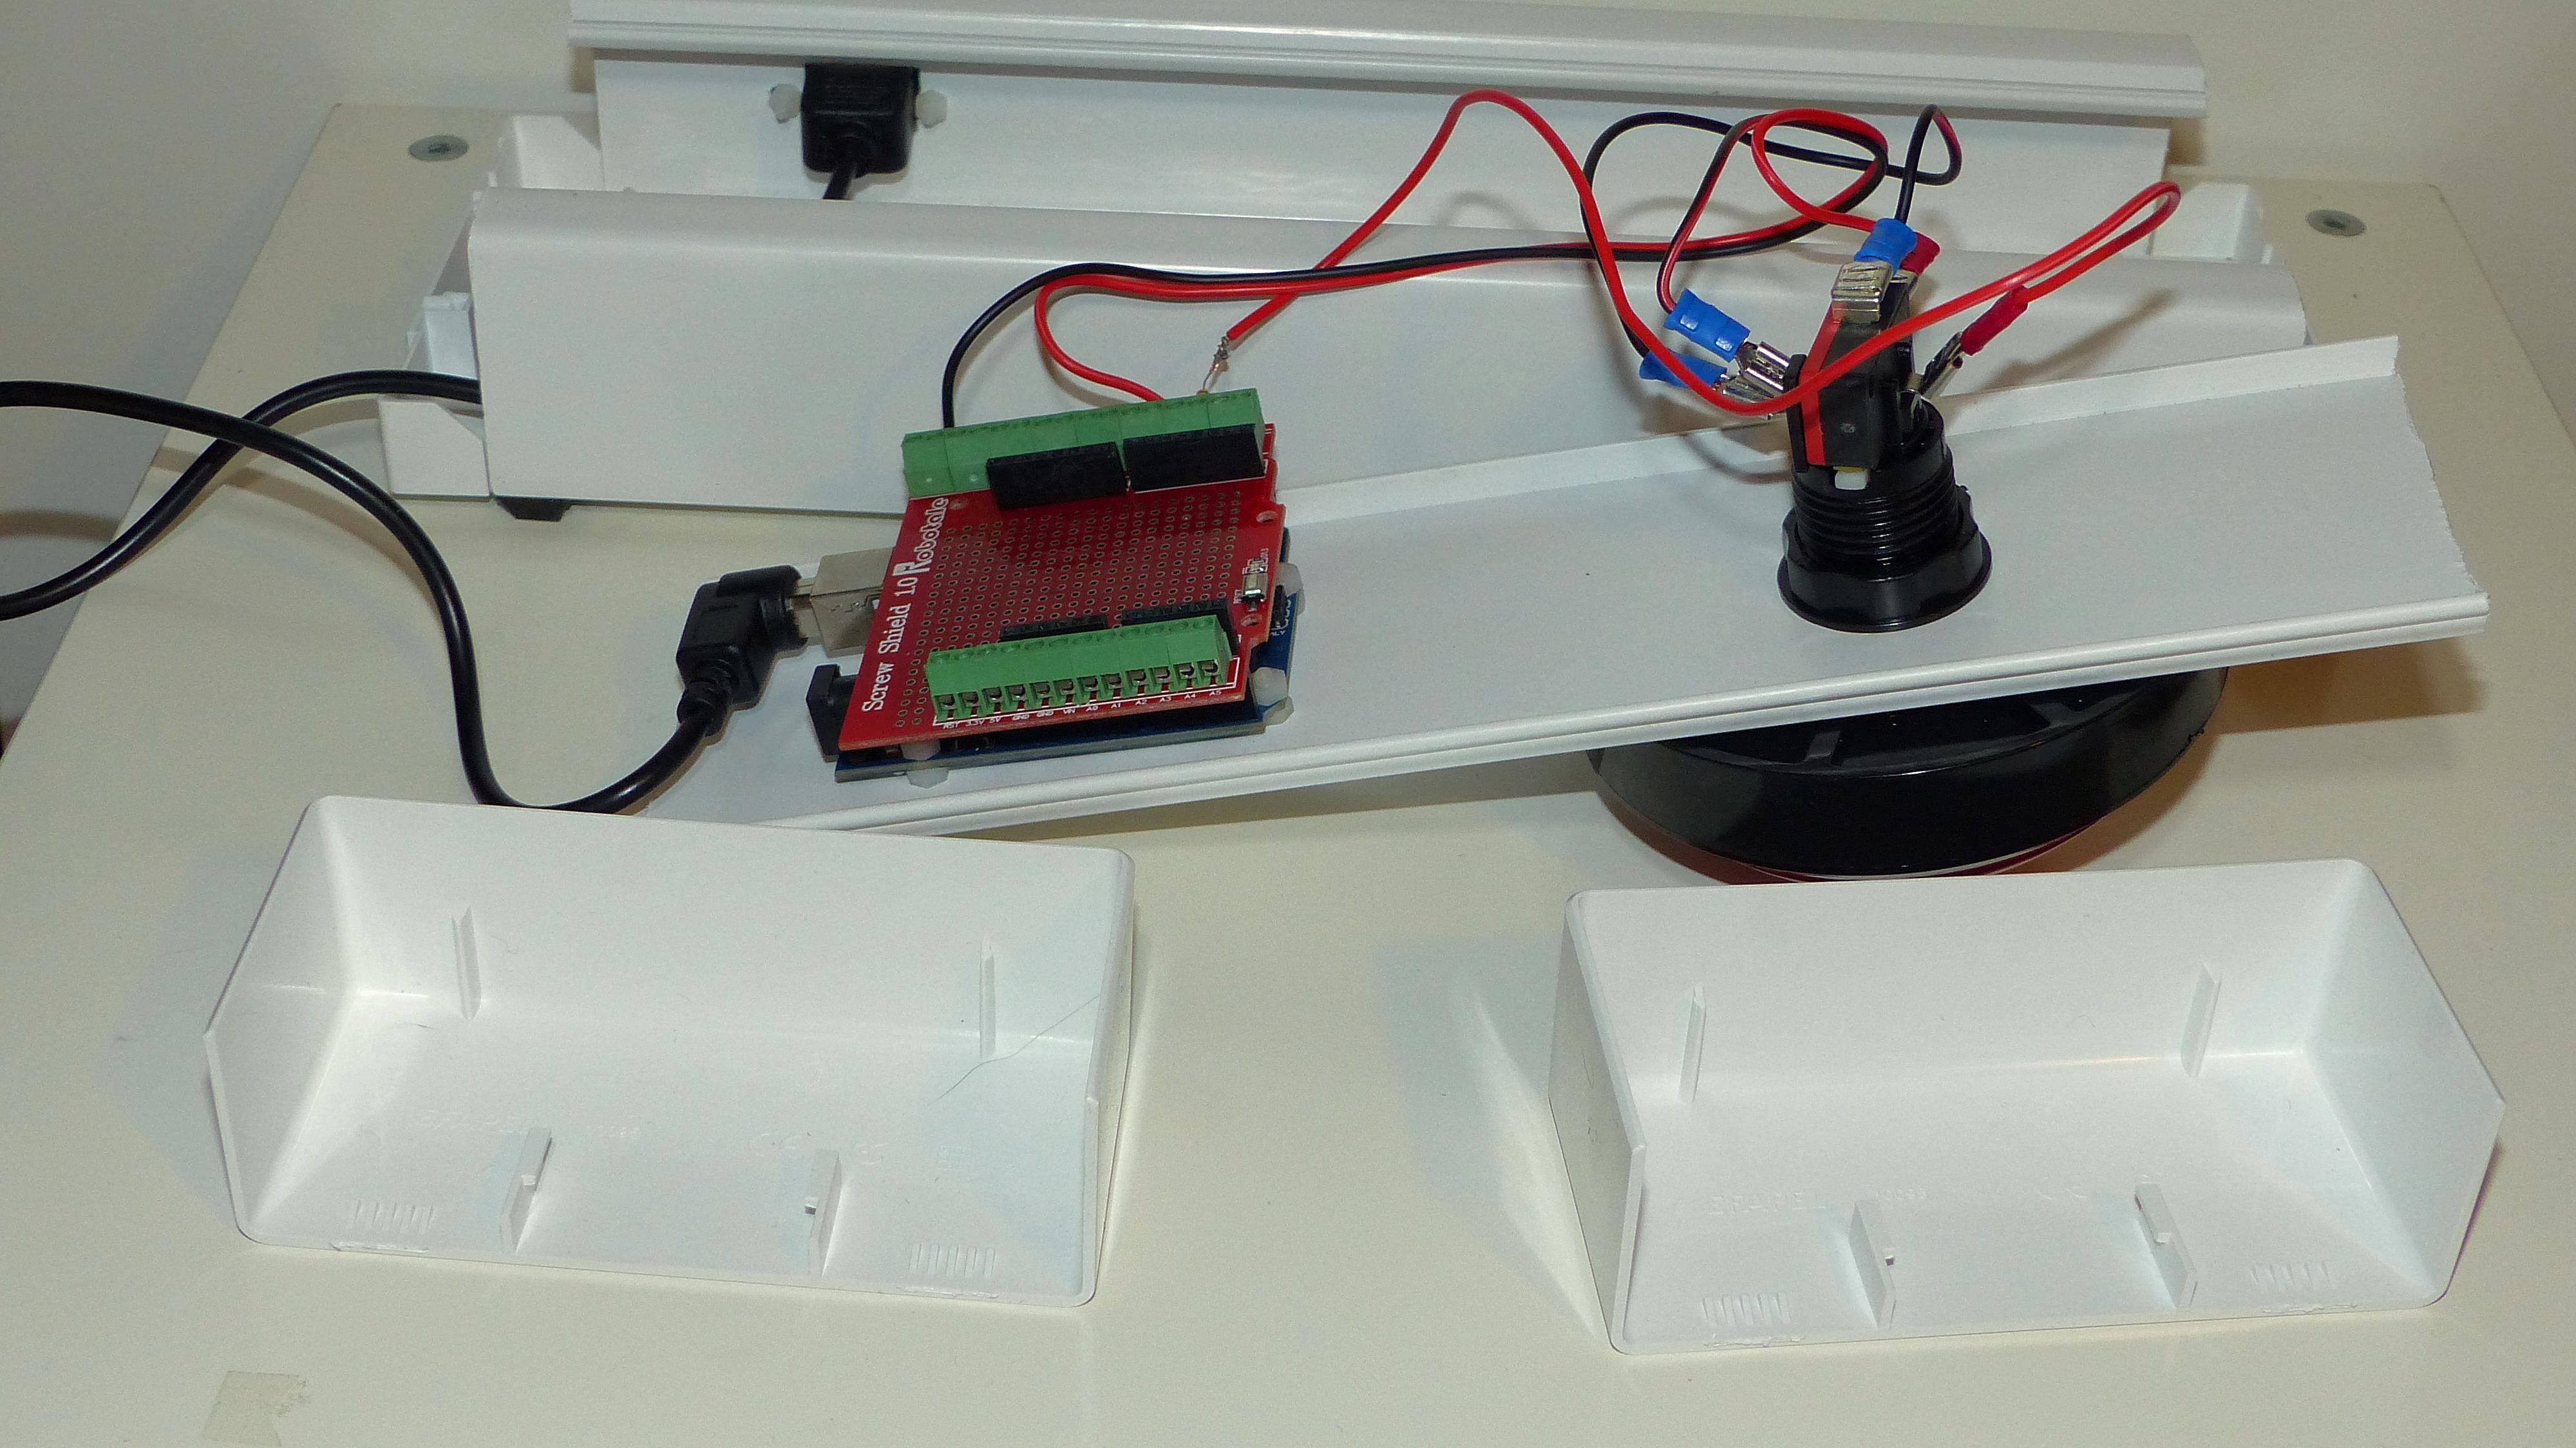
The central core of the system will be an application that on one hand the user can interact with trough several sensors, like an eye gaze device, EMG sensor, voice, etc., on the other hand she can interact with external world controlling, for example, a power socket, an webcam, send mails, play music, etc.
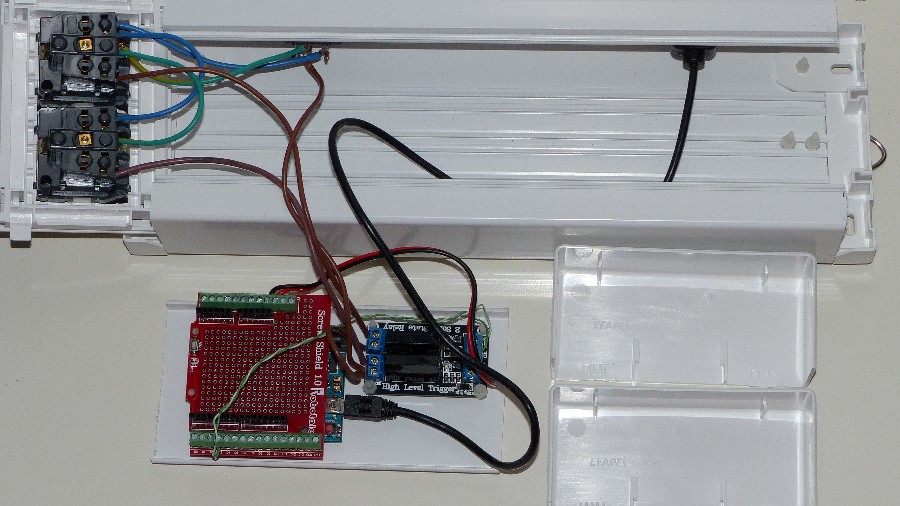
To build up this system we will opt to use components that are easily and readily available through online stores. We will embody the spirit of the makers and build some of the modules using, mainly the Arduino platform, but we will also show how to interface with some commercial products. This option is justified by the fact that some biometric sensors require some level of accuracy and ergonomics that are not easily achievable by the DIYselfers. We will also try to build a system that is economically accessible.
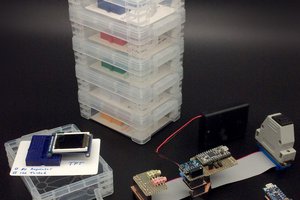
Another aspect of this system is that it is modular. So, depending on the requirements of each individual, she can opt for some modules instead of others. With the examples that we will be demonstrating here, will also be possible to each one build up they own modules.
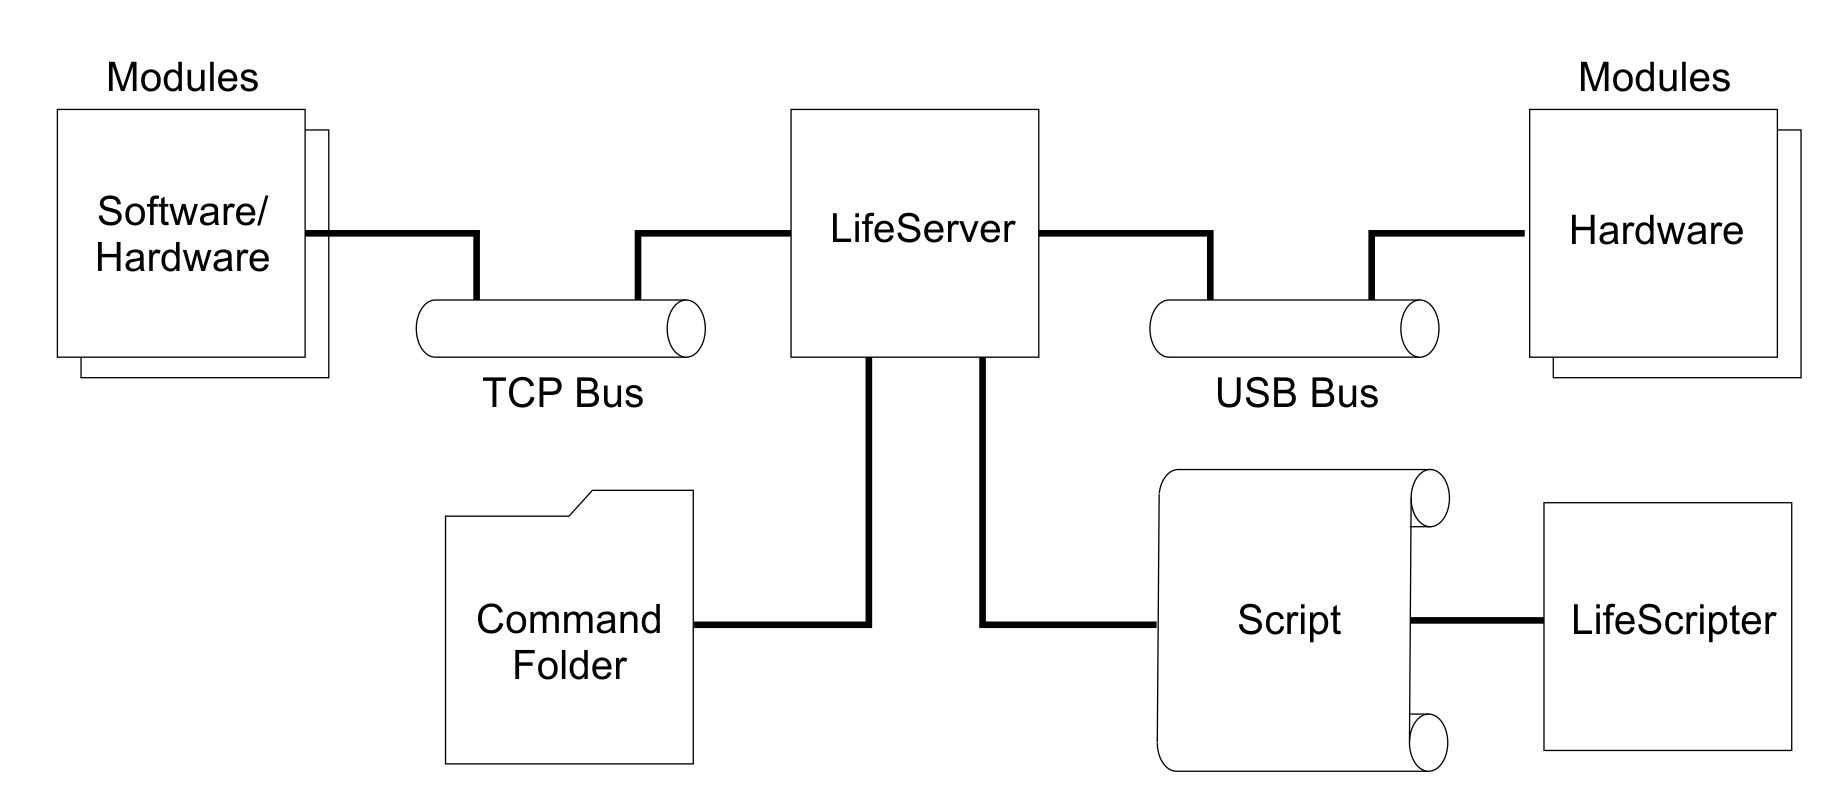
This project has one main module that is the server.
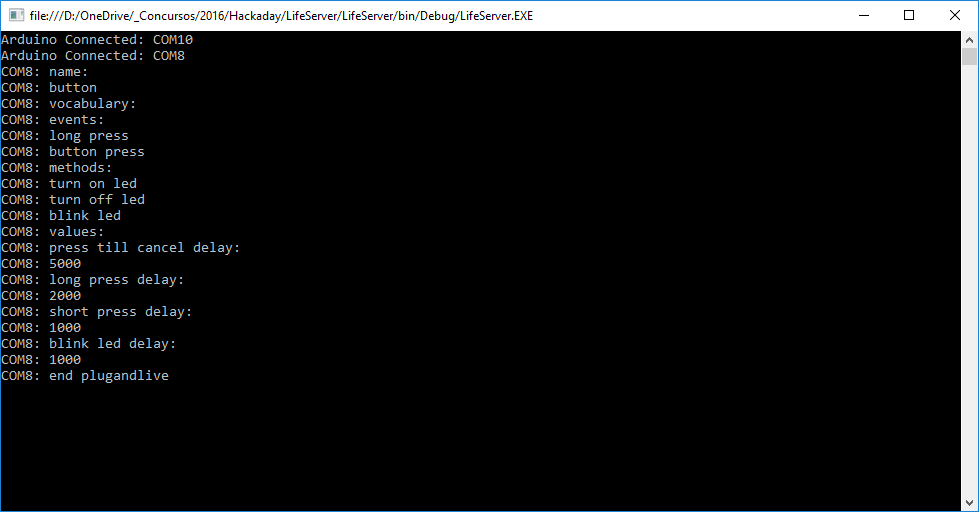
At the moment it is a windows console application but for final user deployment it should run as a service.
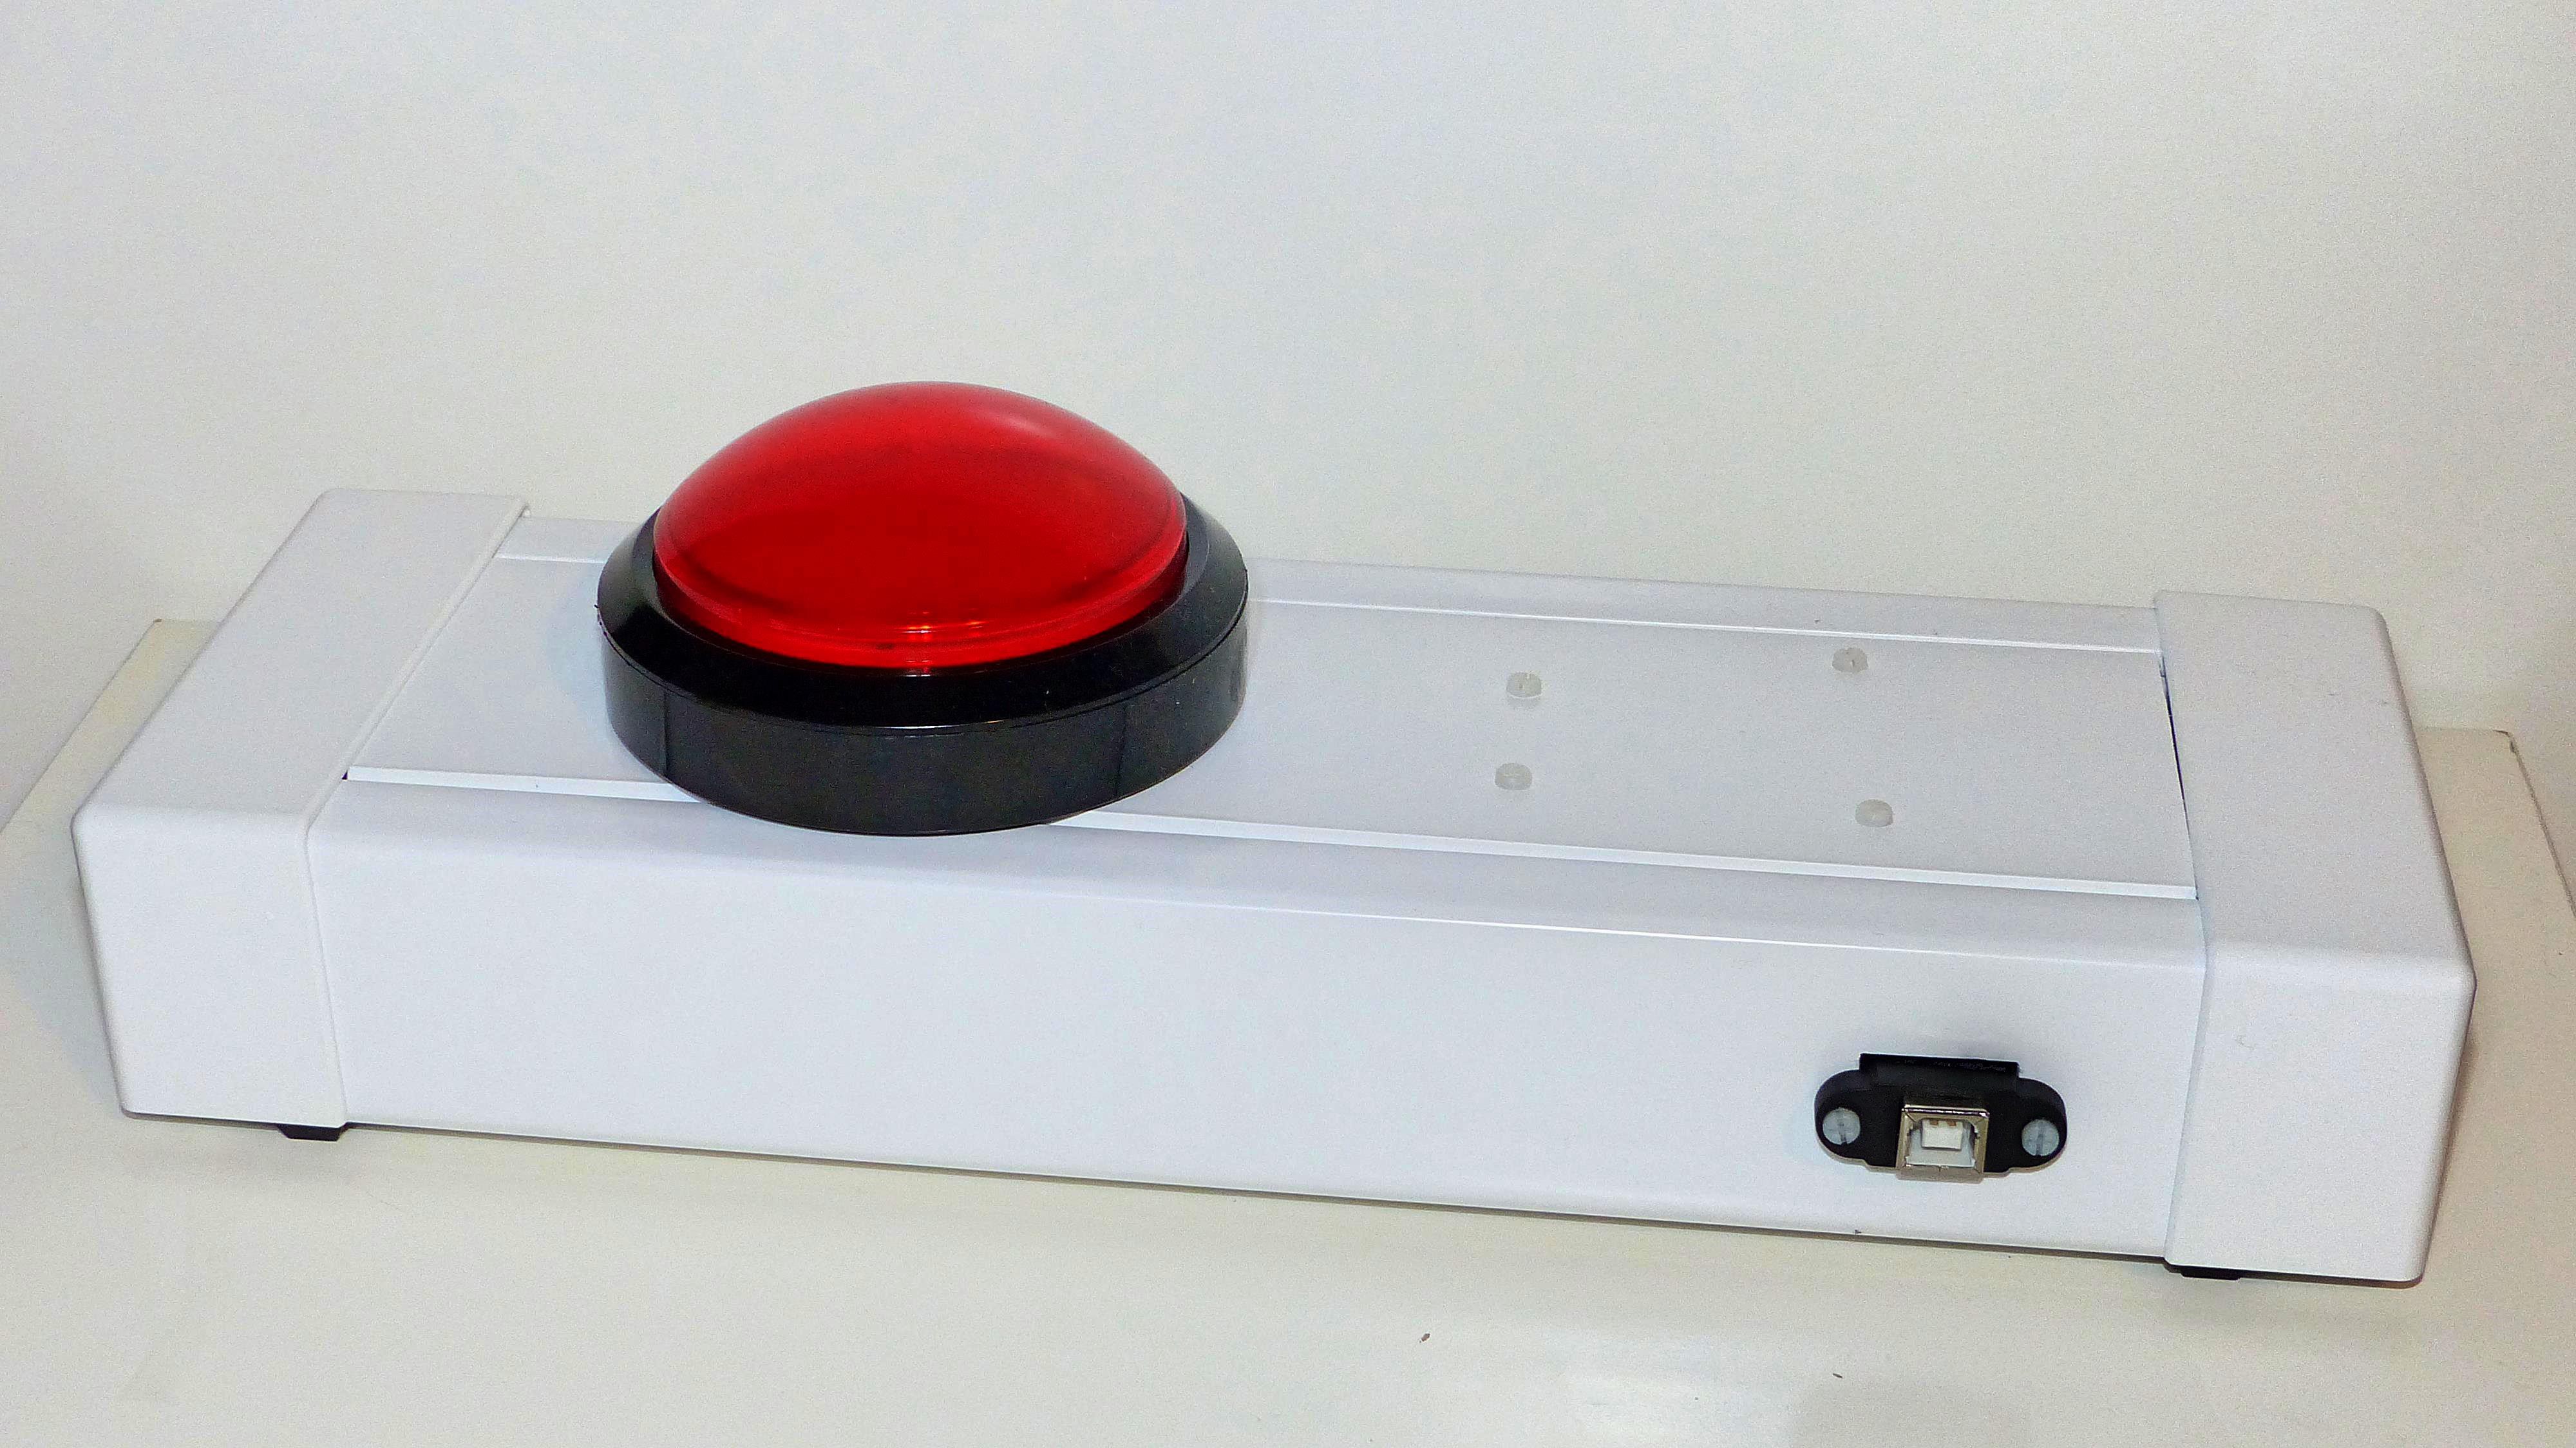
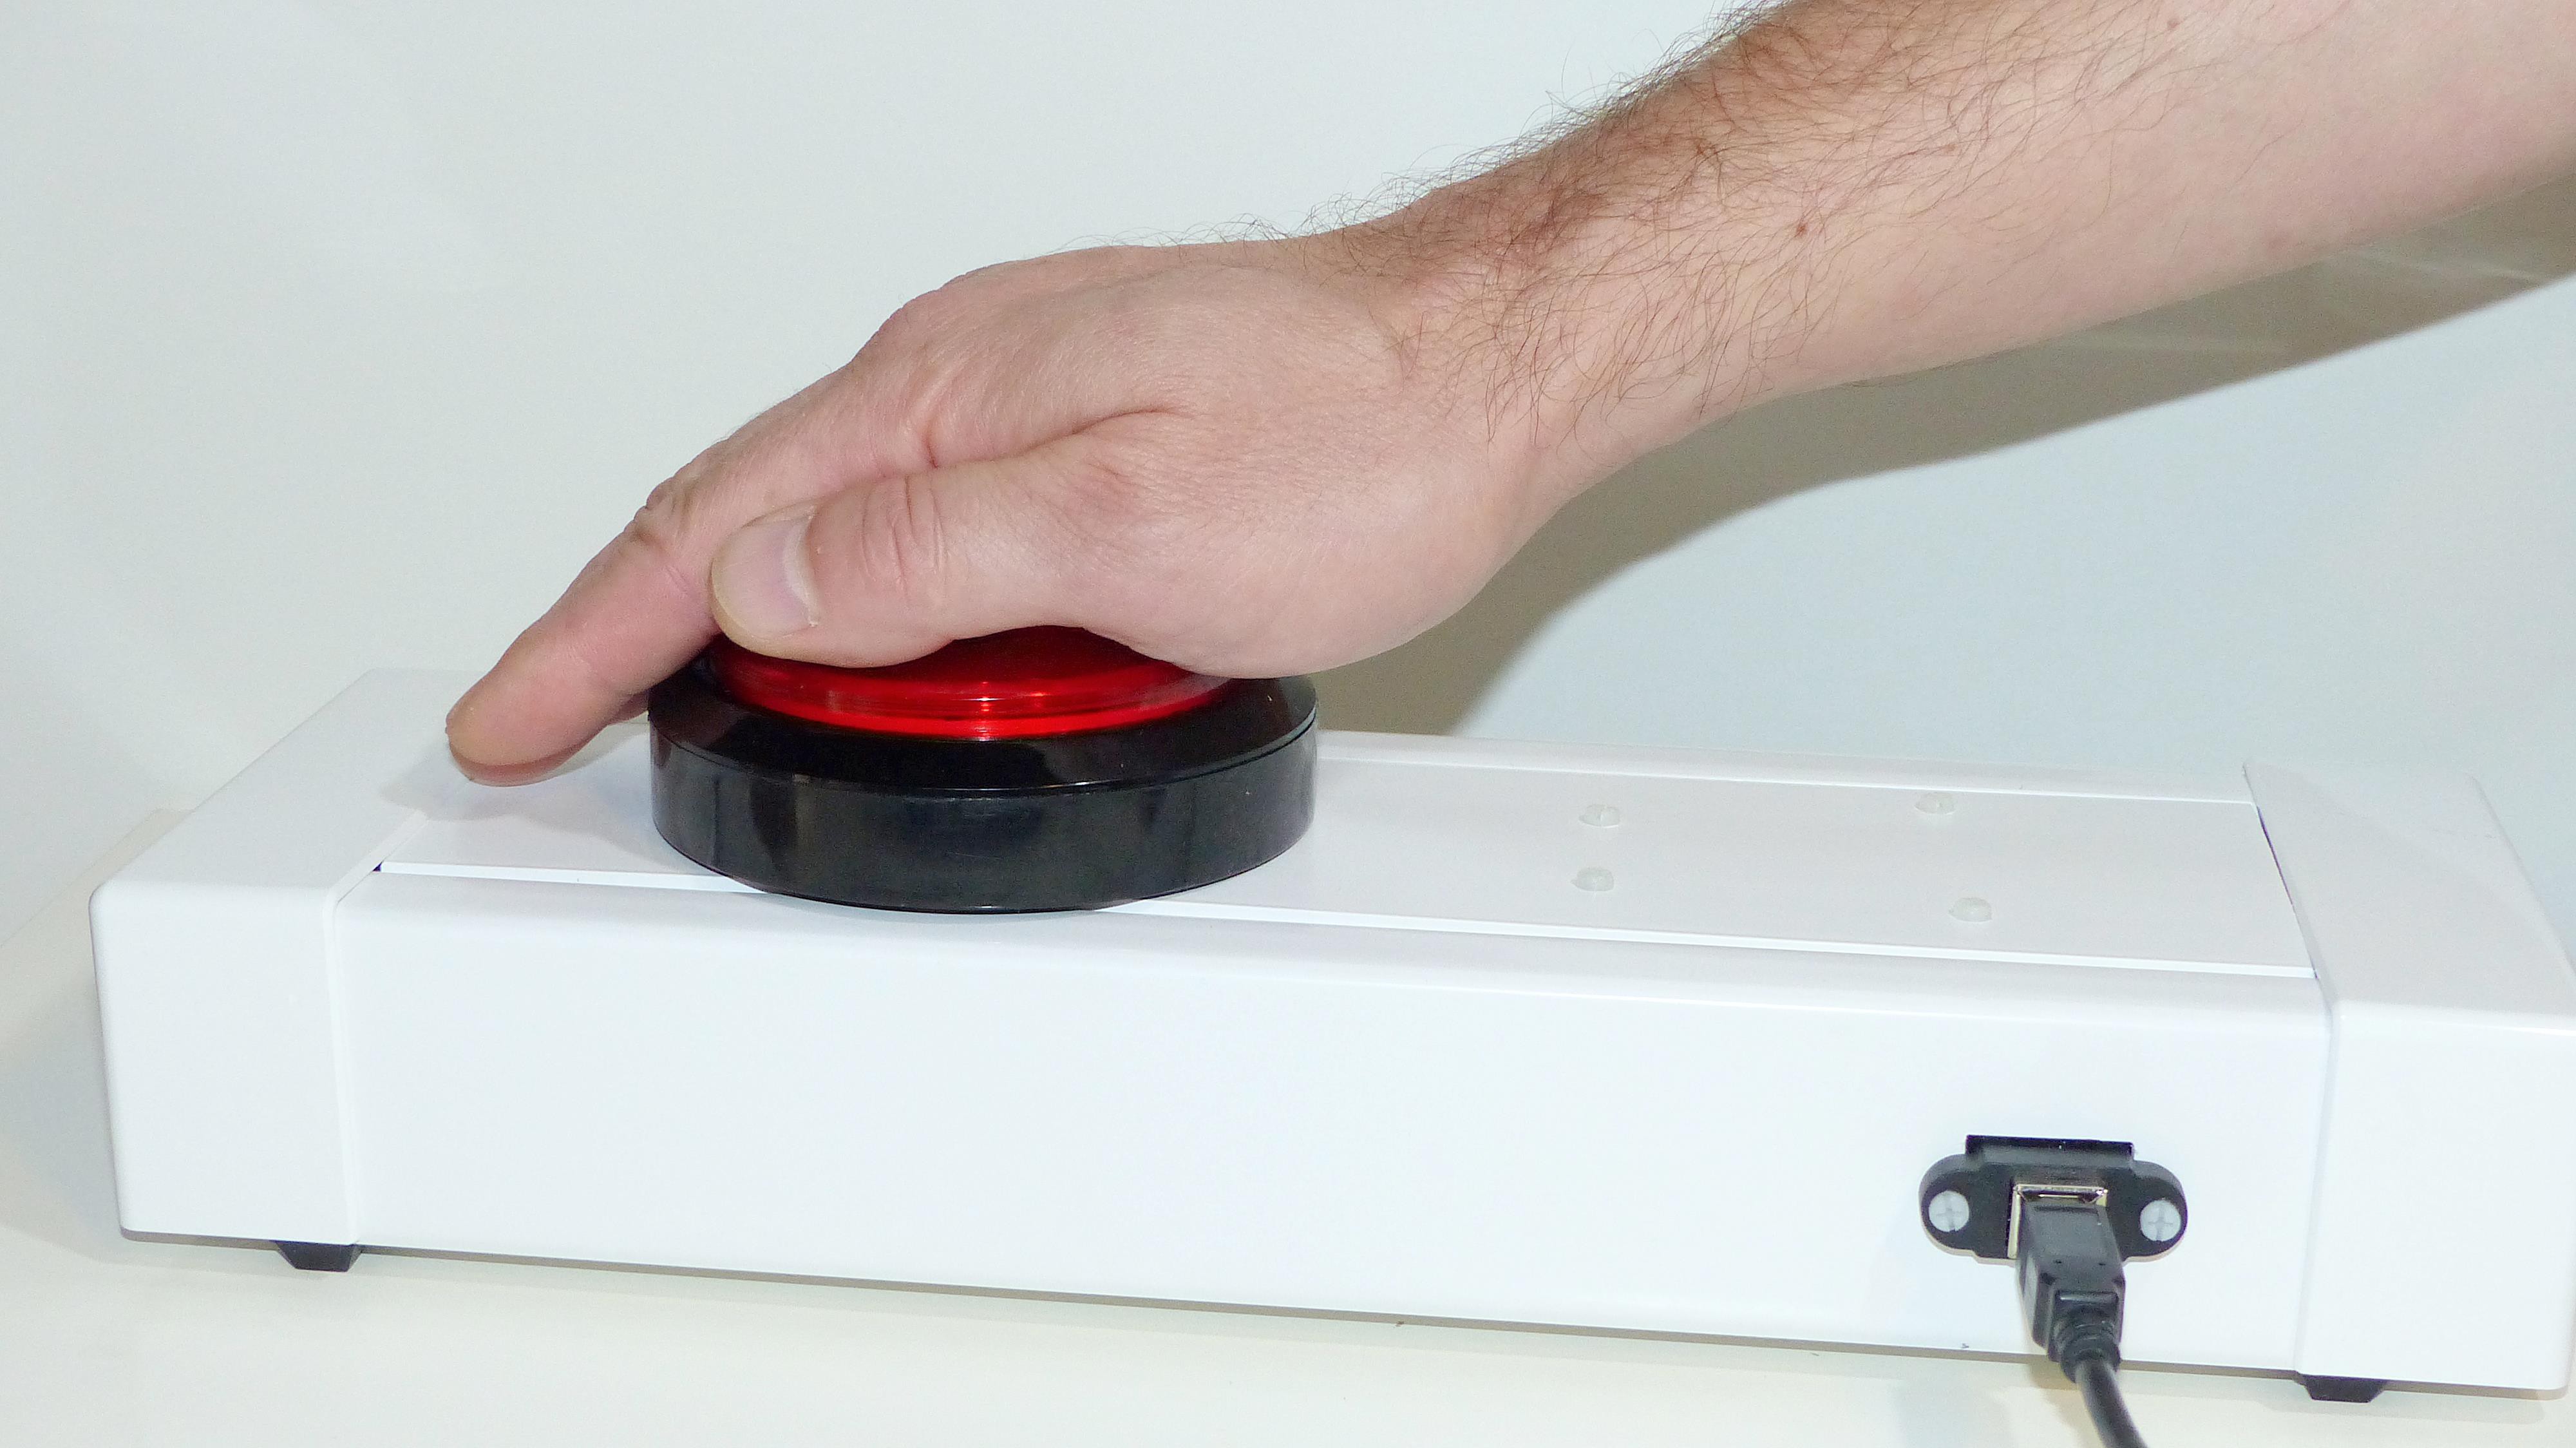
The service application listen to the peripherals that are supposed to interact with the server, and accordingly to a previous written script it will respond to events.
The communication with the modules can be done through USB or TCP. For this we will have to elaborate a protocol with which all system components can understand each other.
Some executables that do not require the complexity of a module will be treated as a command.
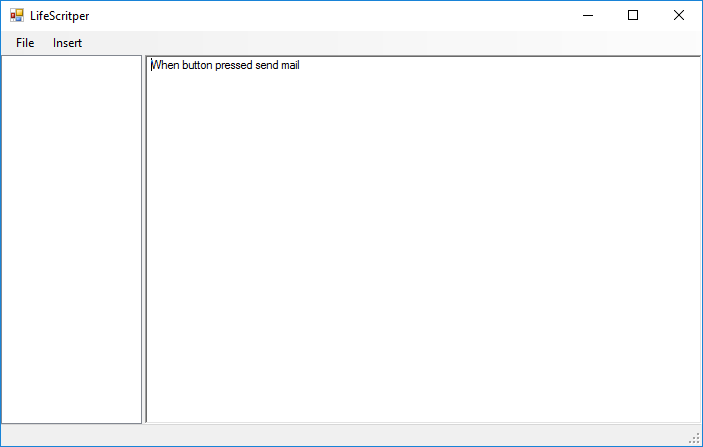
As the system should react as the requirements of the user there is a script written in a controlled natural language that the server interprets and executes as it receives the modules events.
The modules software will be release with GPL license. In case we use proprietary libs to interact with commercial hardware we will have treat it accordingly.

 William
 achan1989
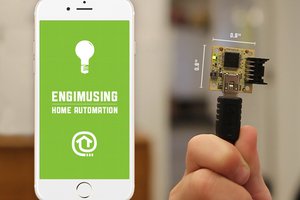
 Joe George