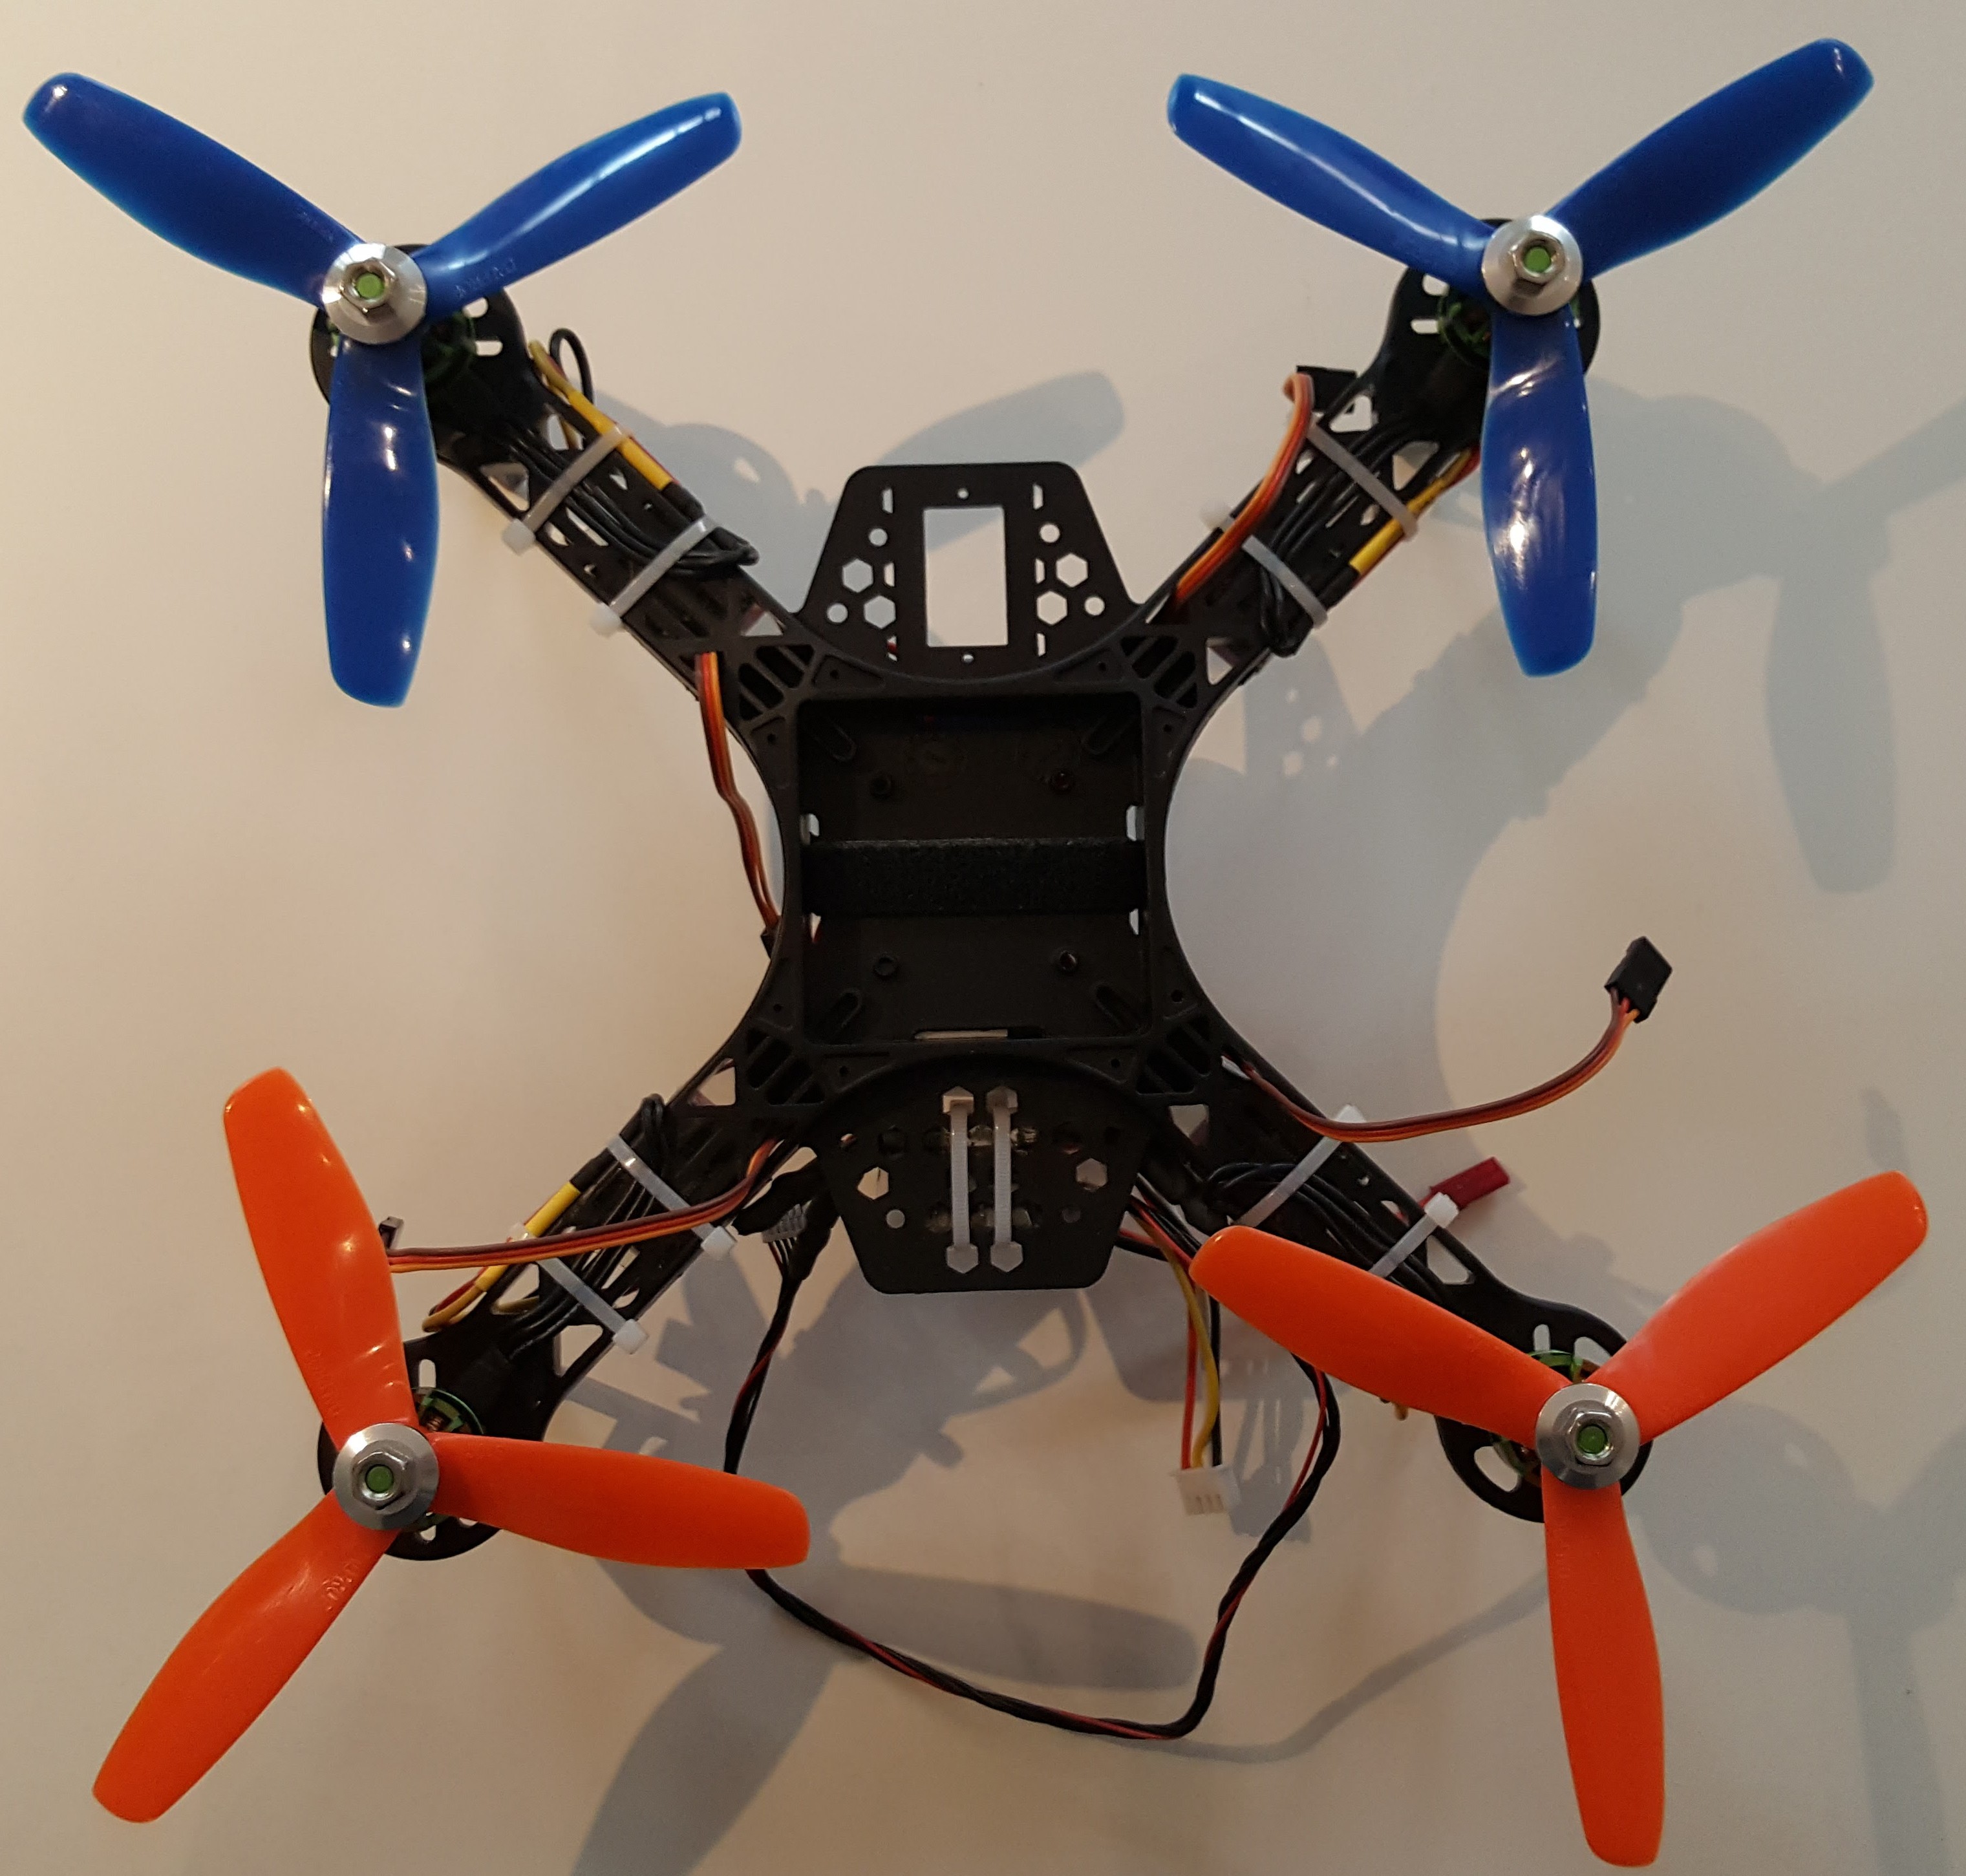
• Week 3

    Joe11/04/2016 at 13:45 0 comments

    This week I mounted the propellers and started to think about how to mount the electronics to the frame, one thing that became clear is how incredibly tight for space the frame is.

    (Frame with propellers mounted)

    To try and resolve this I decided to slim down the RPi3 by removing any unused connectors, I also removed the black plastic from a few GPIO pins so I can still get access to the serial port when the PXFmini is mounted.

    (RPi3 with connectors removed)

    (RPi3 with PXFmini mounted)

    (RPi3 with PXFmini mounted)

    (RPi3 with PXFmini mounted and serial connected)


    To actually mount the RPi3 and PXFmini to the frame I plan to design some laser cut acrylic brackets.

    To solve the errors thrown by Ardupilot when it starts up I moved away from using make to build the code and started using waf instead. Waf is the recommended way of building Ardupilot and comes with some good documentation which made the process a lot easier. Here is the relevant snippet from the dockerfile:

    # Set the working directory
    WORKDIR /usr/src/app
    
    # Checkout ardupilot source
    RUN git clone https://github.com/ArduPilot/ardupilot.git && \
        cd ardupilot && \
        git submodule update --init
    
    # Checkout and build libiio source (ardupilot dependency)
    RUN git clone https://github.com/analogdevicesinc/libiio.git && \
        cd libiio && \
        cmake ./ && \
        make all && \
        make install
    
    # Install future (ardupilot dependency)
    RUN pip install future
    
    # Set the working directory
    WORKDIR /usr/src/app/ardupilot
    
    # Build ardupilot
    RUN ./waf configure --board pxfmini
    RUN ./waf --targets bin/arducopter-quad
    Once I had made this change Ardupilot started up correctly without any errors. The next job is to get telemetry data from the RPi3 into the APM Planner software, I tried to do this using resin's public URL functionality but for some reason Ardupilot won't send telemetry data over port 80. To resolve this I stripped down resin-wifi-connect until I was left with just the code that enables and disables a hot spot on the RPi3. Next I connected up a 2 position switch to control the hot spot mode.
    (Hot spot switch)


    Finally I attempted to build an RT_PREEMPT kernel but I hit some difficulties as there is no patch provided for the kernel version resin uses. I plan to dig into this over the coming week. If your interested you can find the steps I used to attempt the patch on git.

  • Week 2

    Joe10/03/2016 at 13:33 0 comments

    We ended up ordering the parts from the UK warehouse so they arrived in time for Friday :P This meant that I made a ton of progress on both the hardware and software side!

    (USB ports prevent direct mounting of the PXFmini)

    The first job was figuring out how to mount the PXFmini to the RPi3 as the USB ports get in the way, I had ordered two 3mm 2x20 pin GPIO headers for this but unfortunately the pins were not long enough to either stack them or interface with the header on the PXFmini, the correct part I needed was one 11mm 2x20 pin GPIO header. As I didn't want to wait another week I decided to mount the PXFmini to the bottom of the RPi3, to do this I replaced the existing RPi3 GPIO pins with the longer set that comes with the PXFmini and made use of one of the 3mm 2x20 pin GPIO Headers.
    (Stacked 3mm 2x20 pin GPIO header and longer GPIO pins)
    (PXFmini with the GPIO pin header stack pushed into its connector)
    (RPI3 with existing GPIO pins removed)

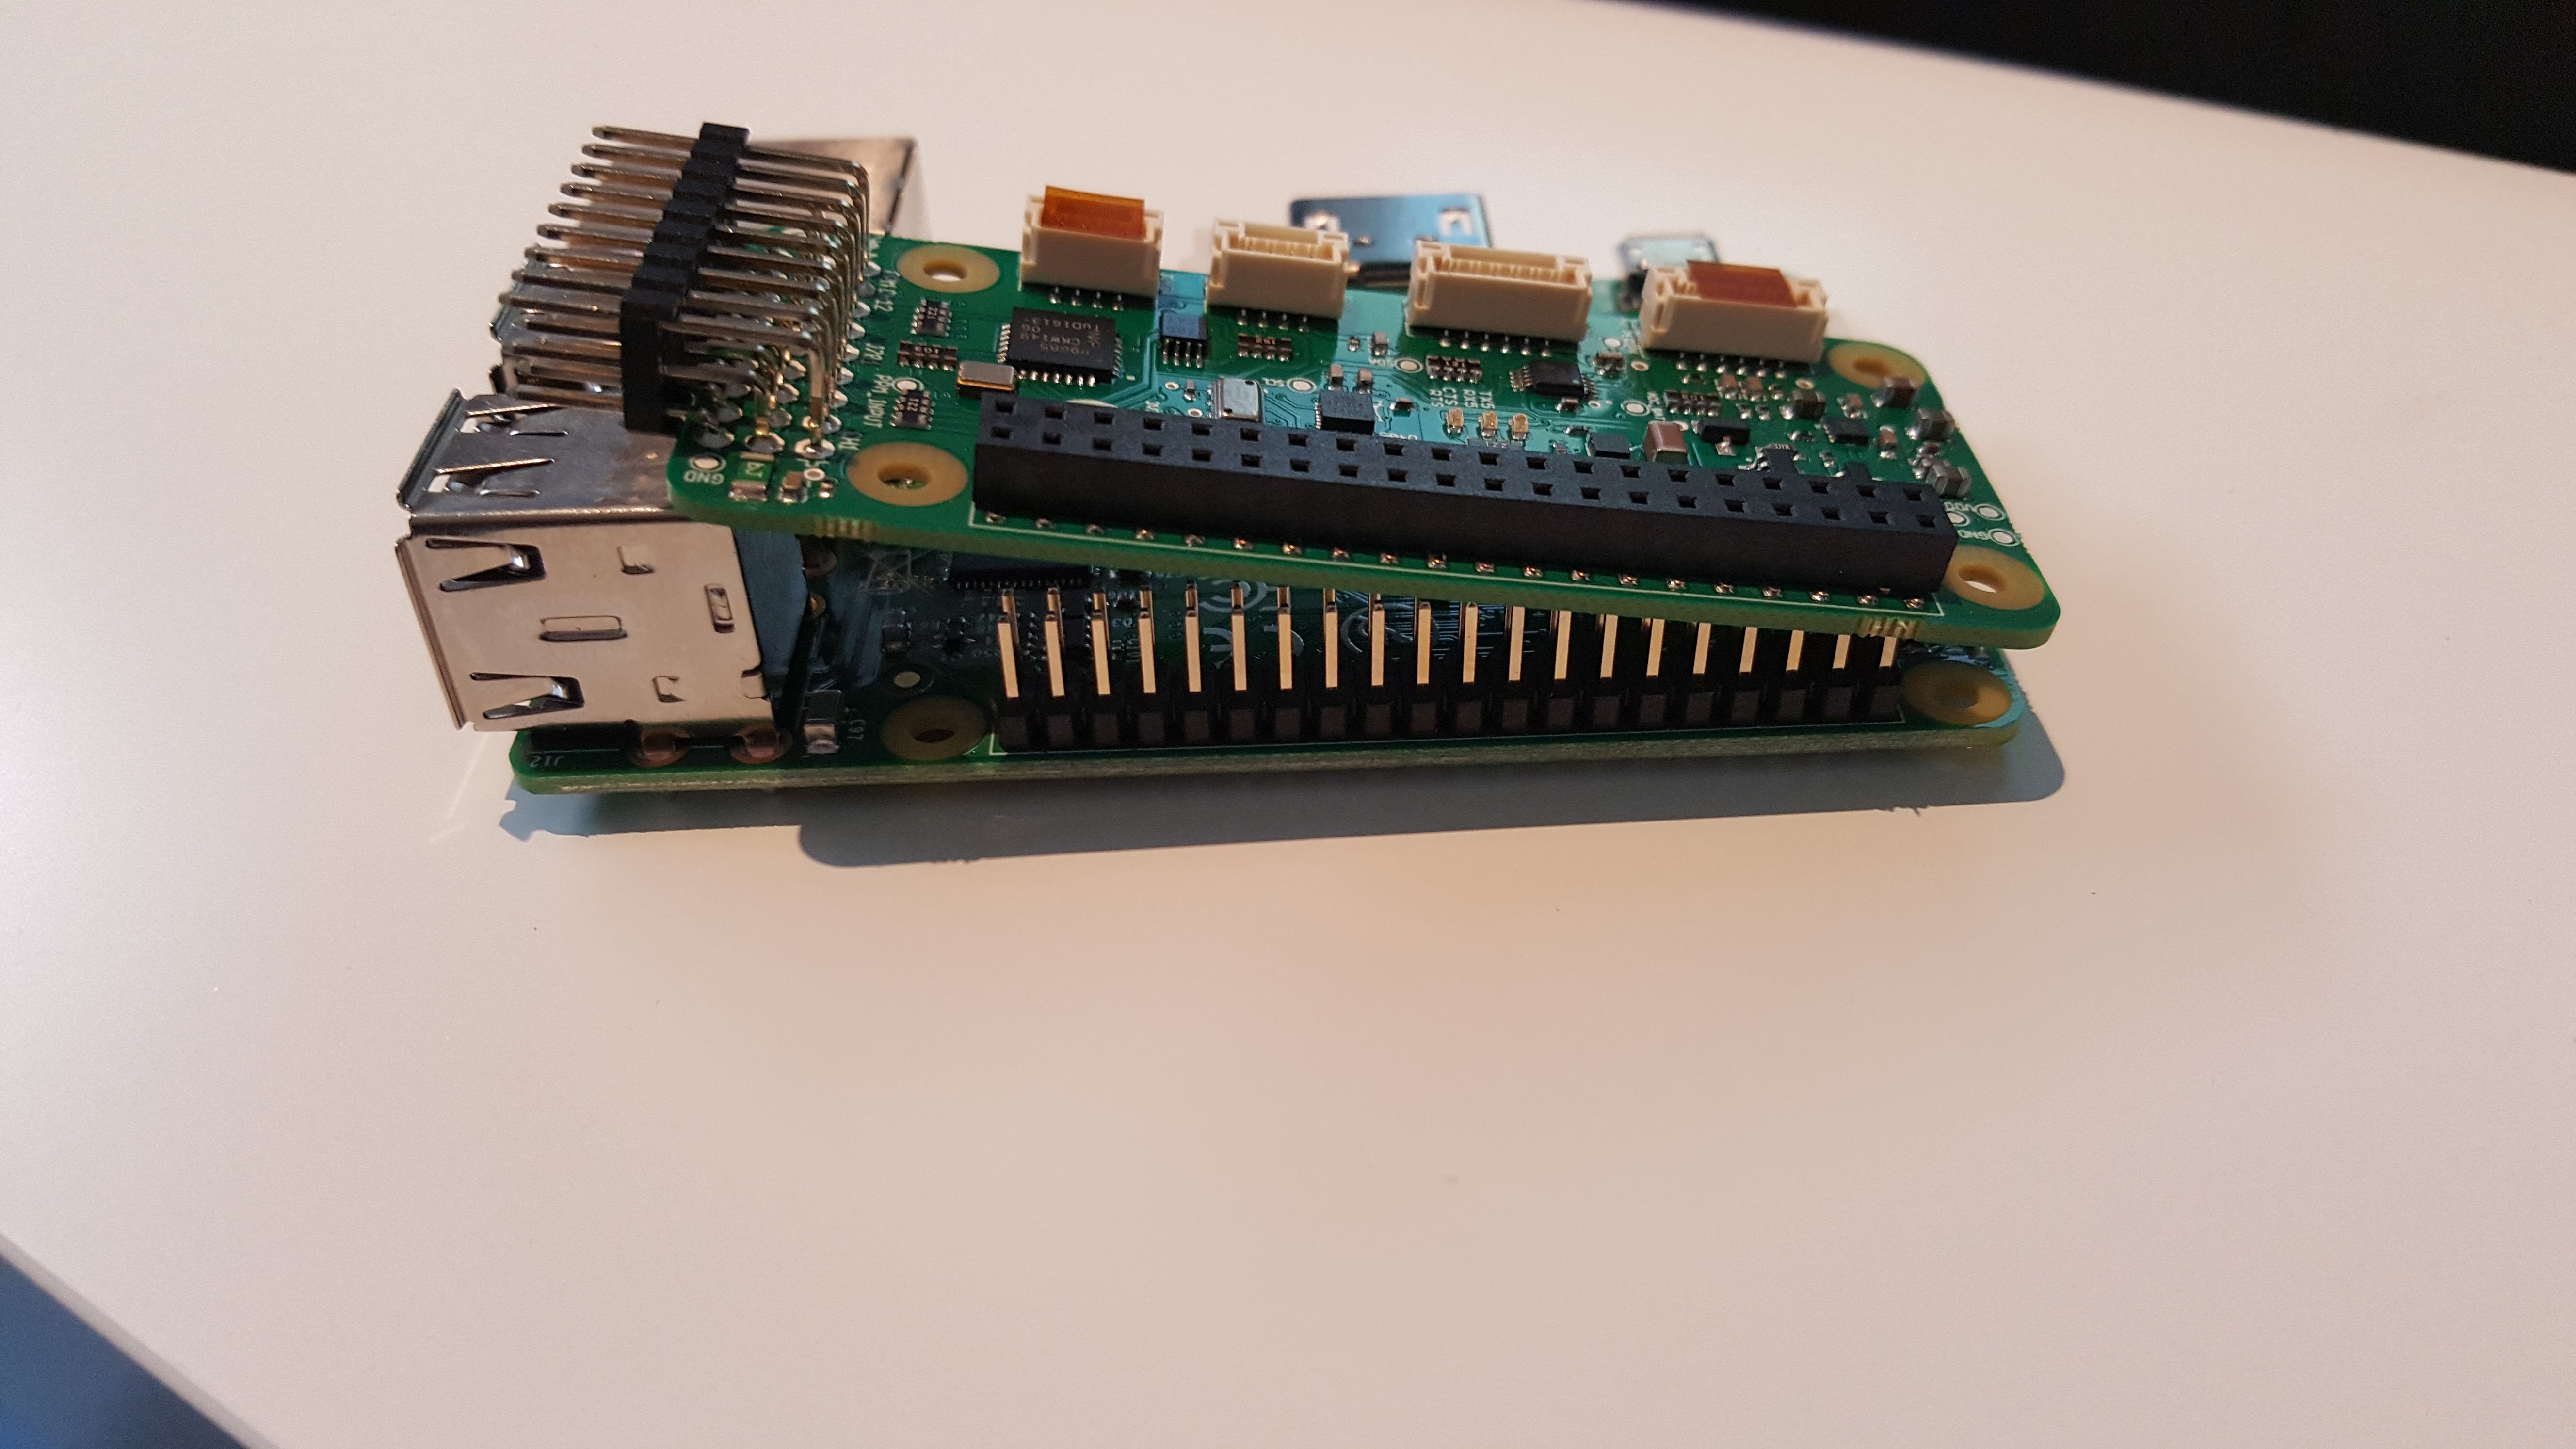
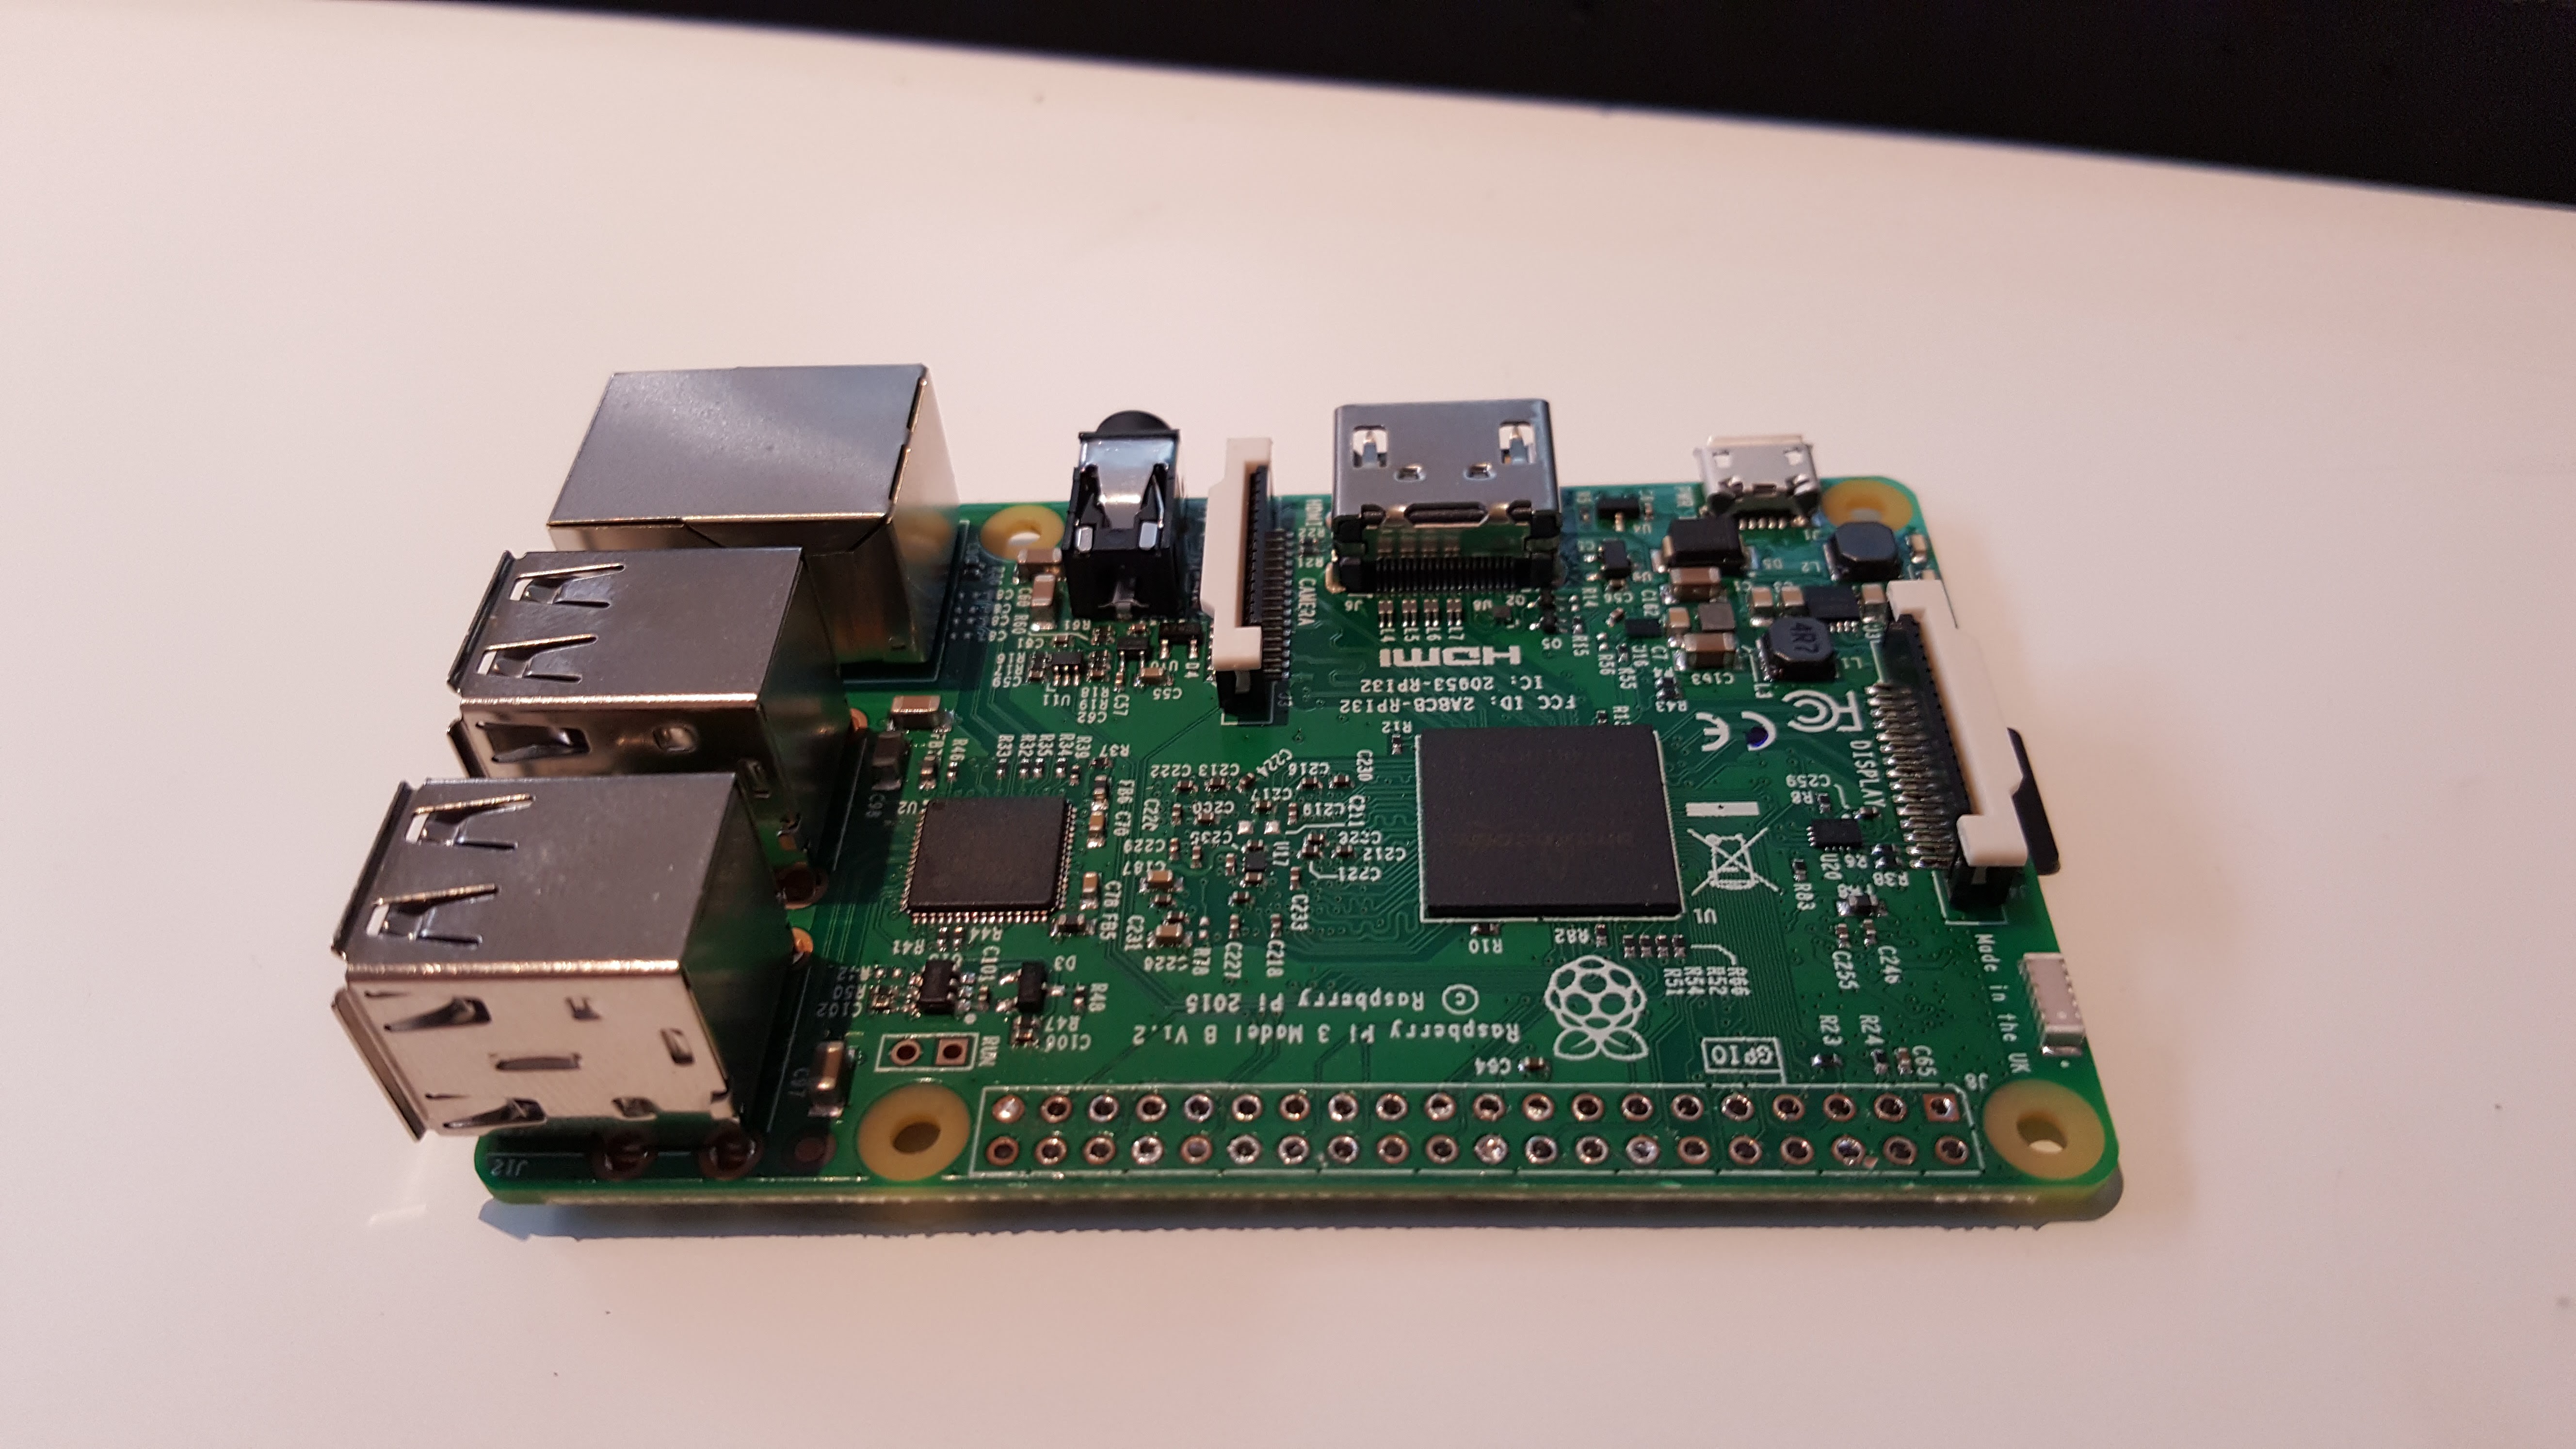
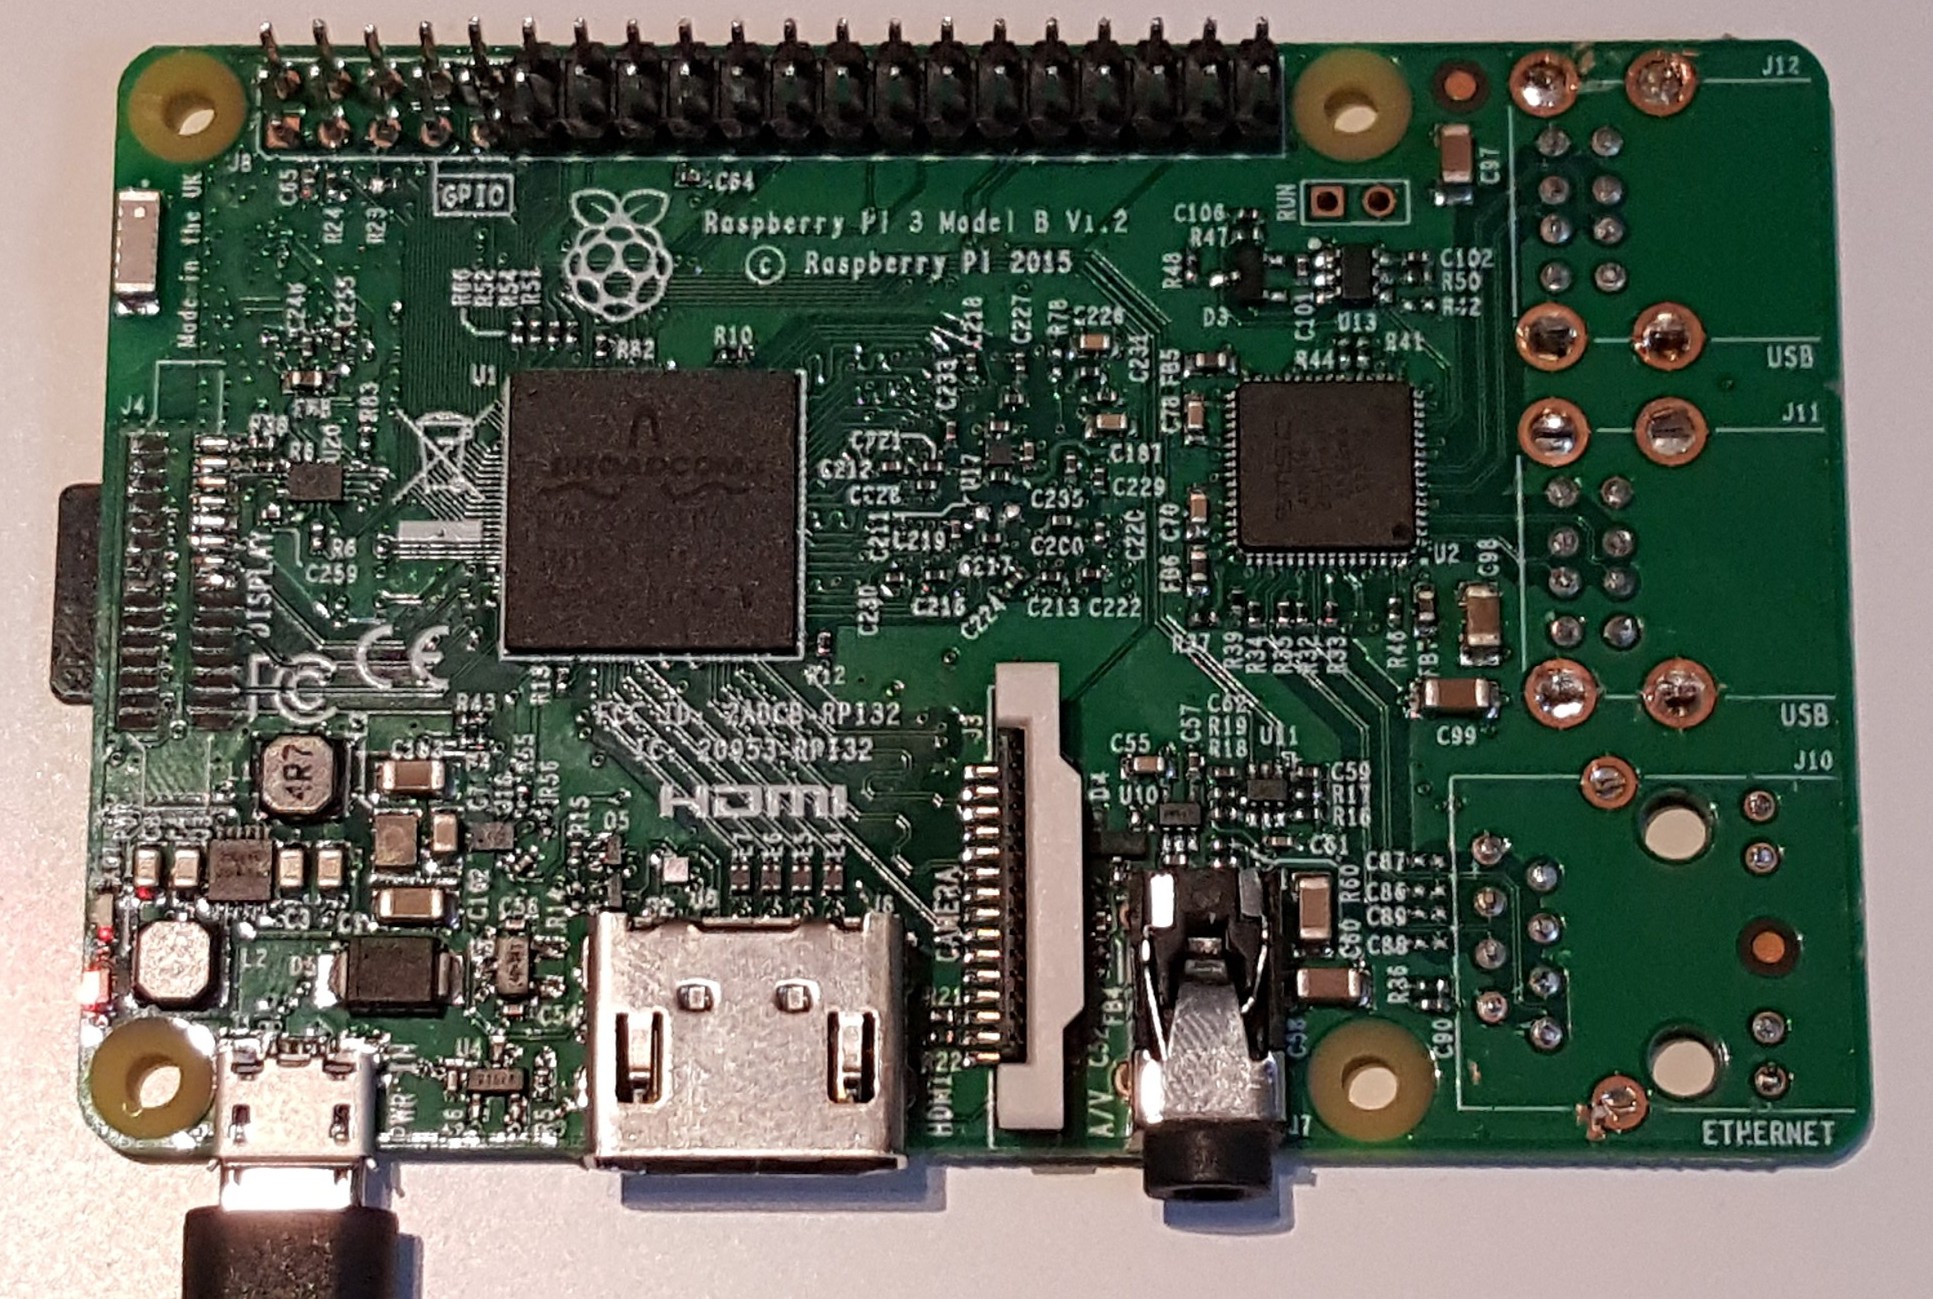
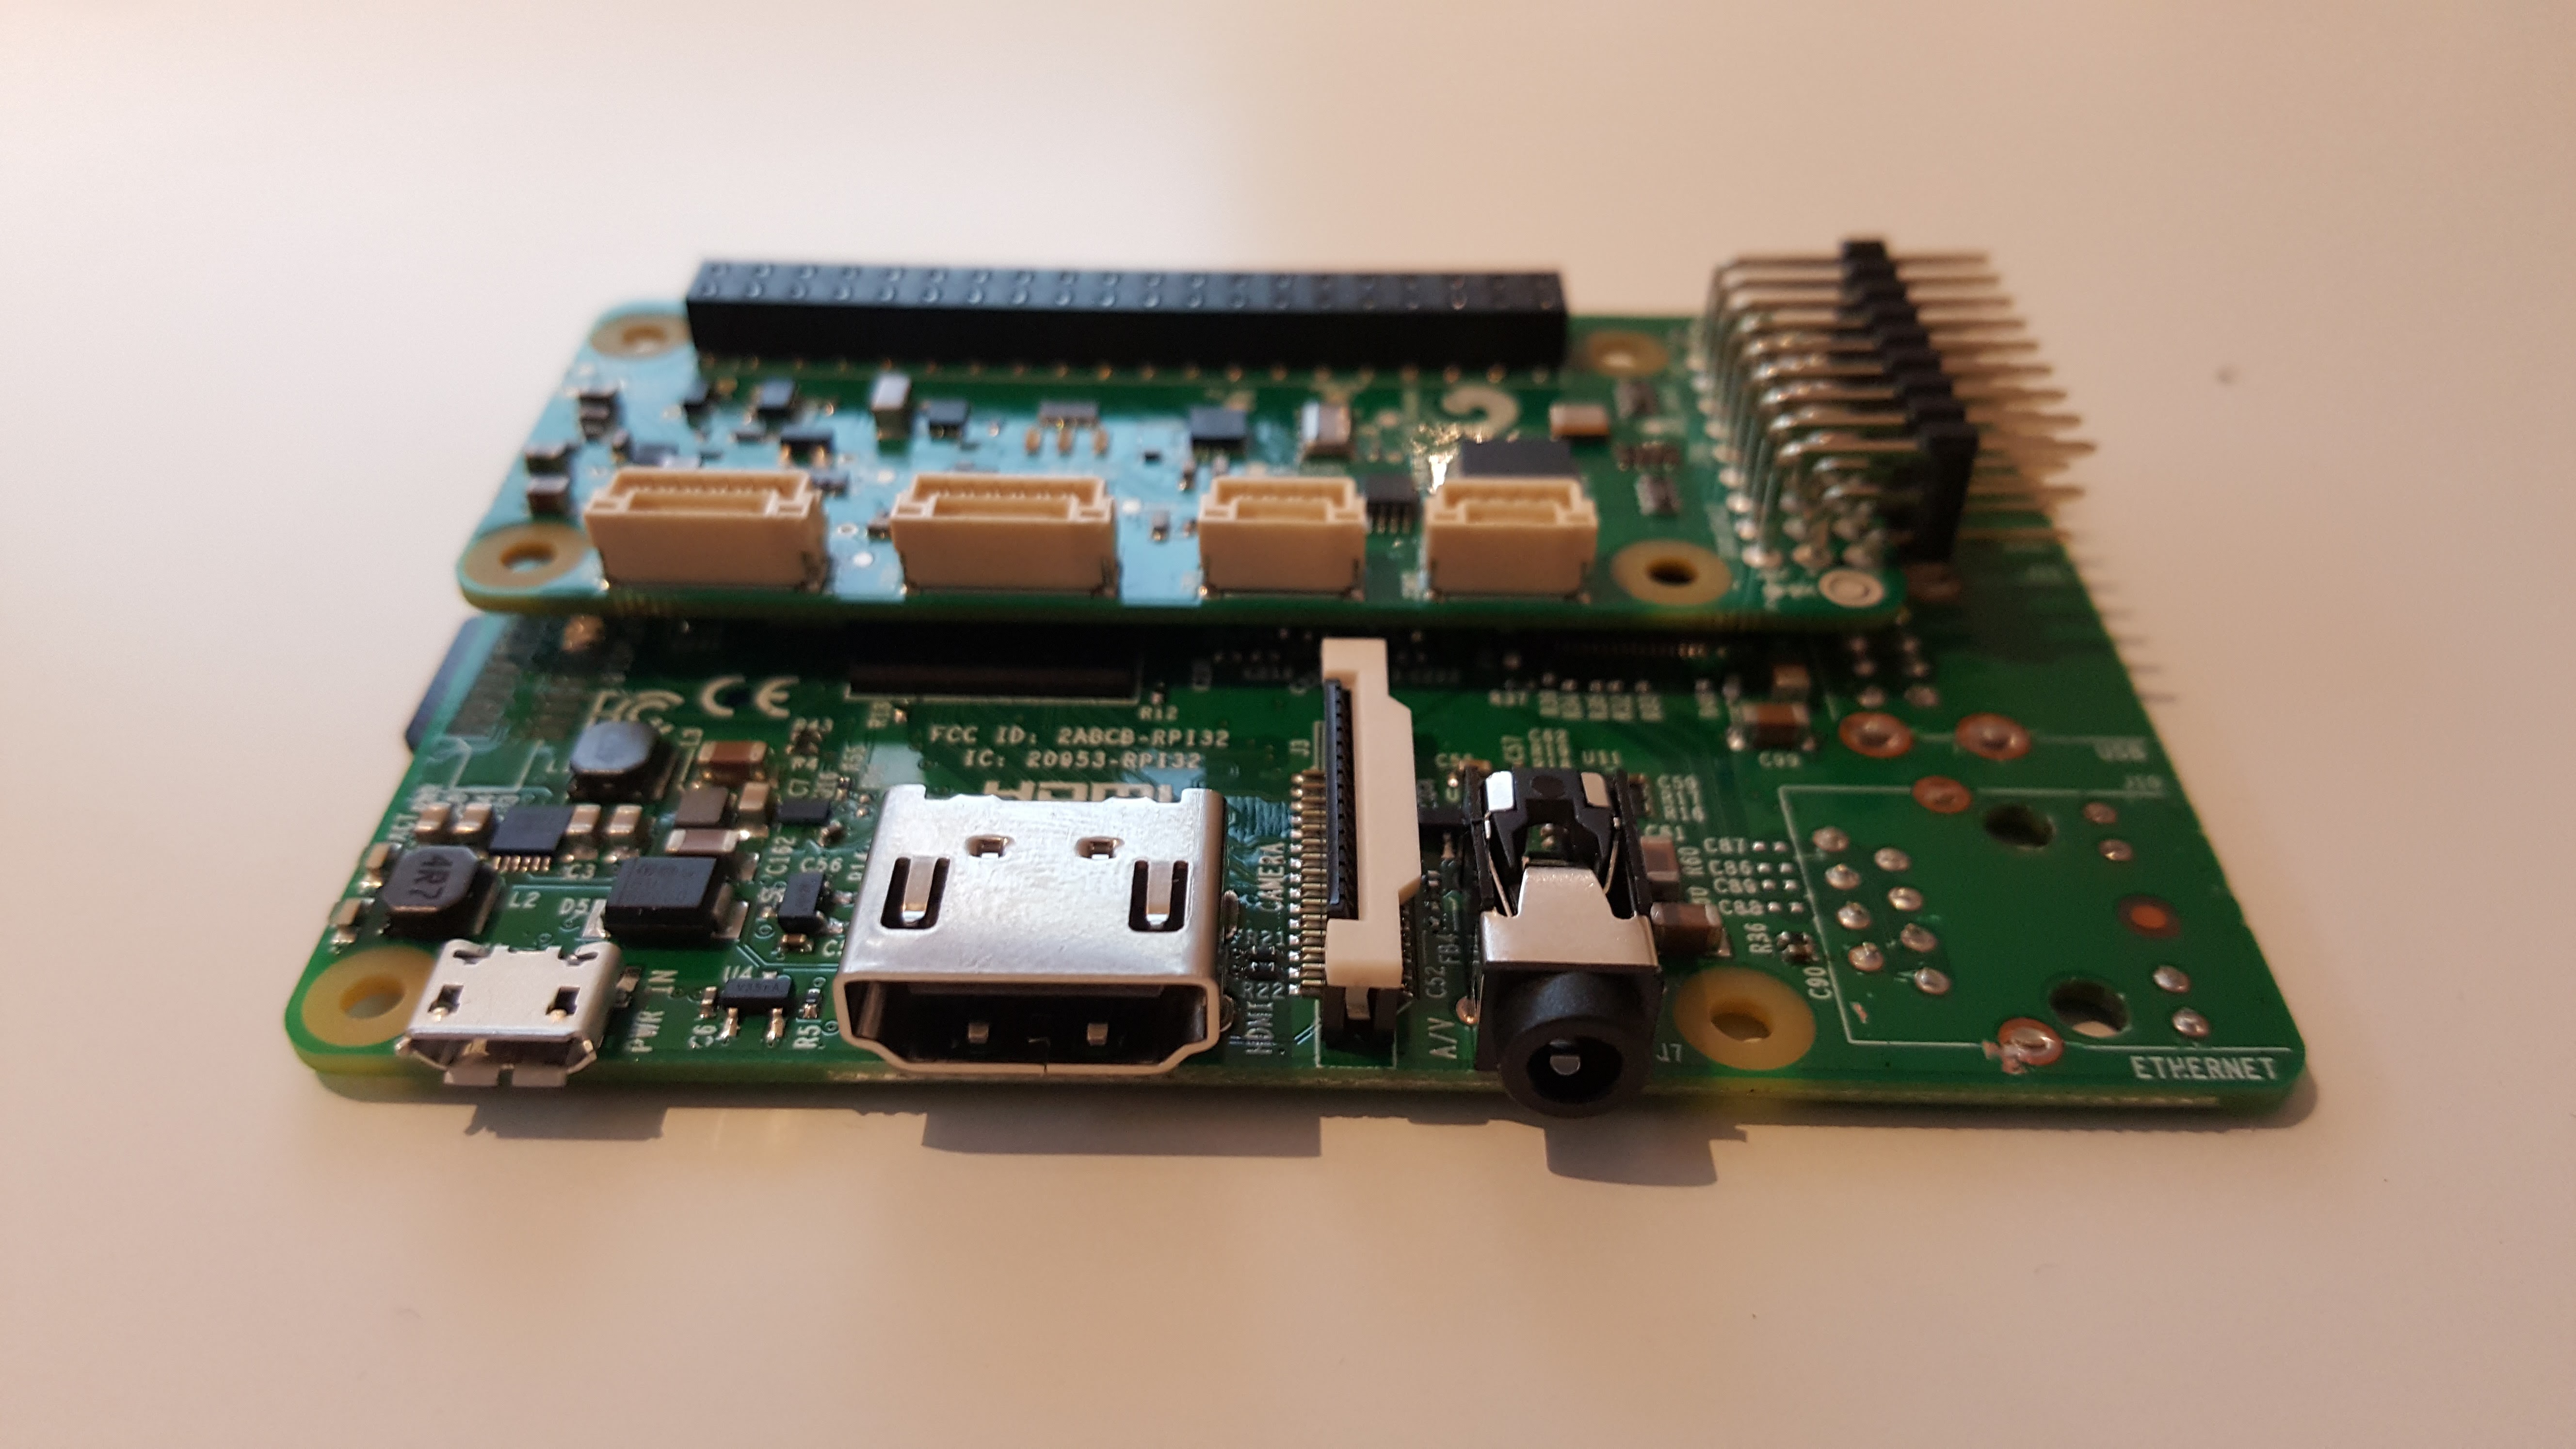
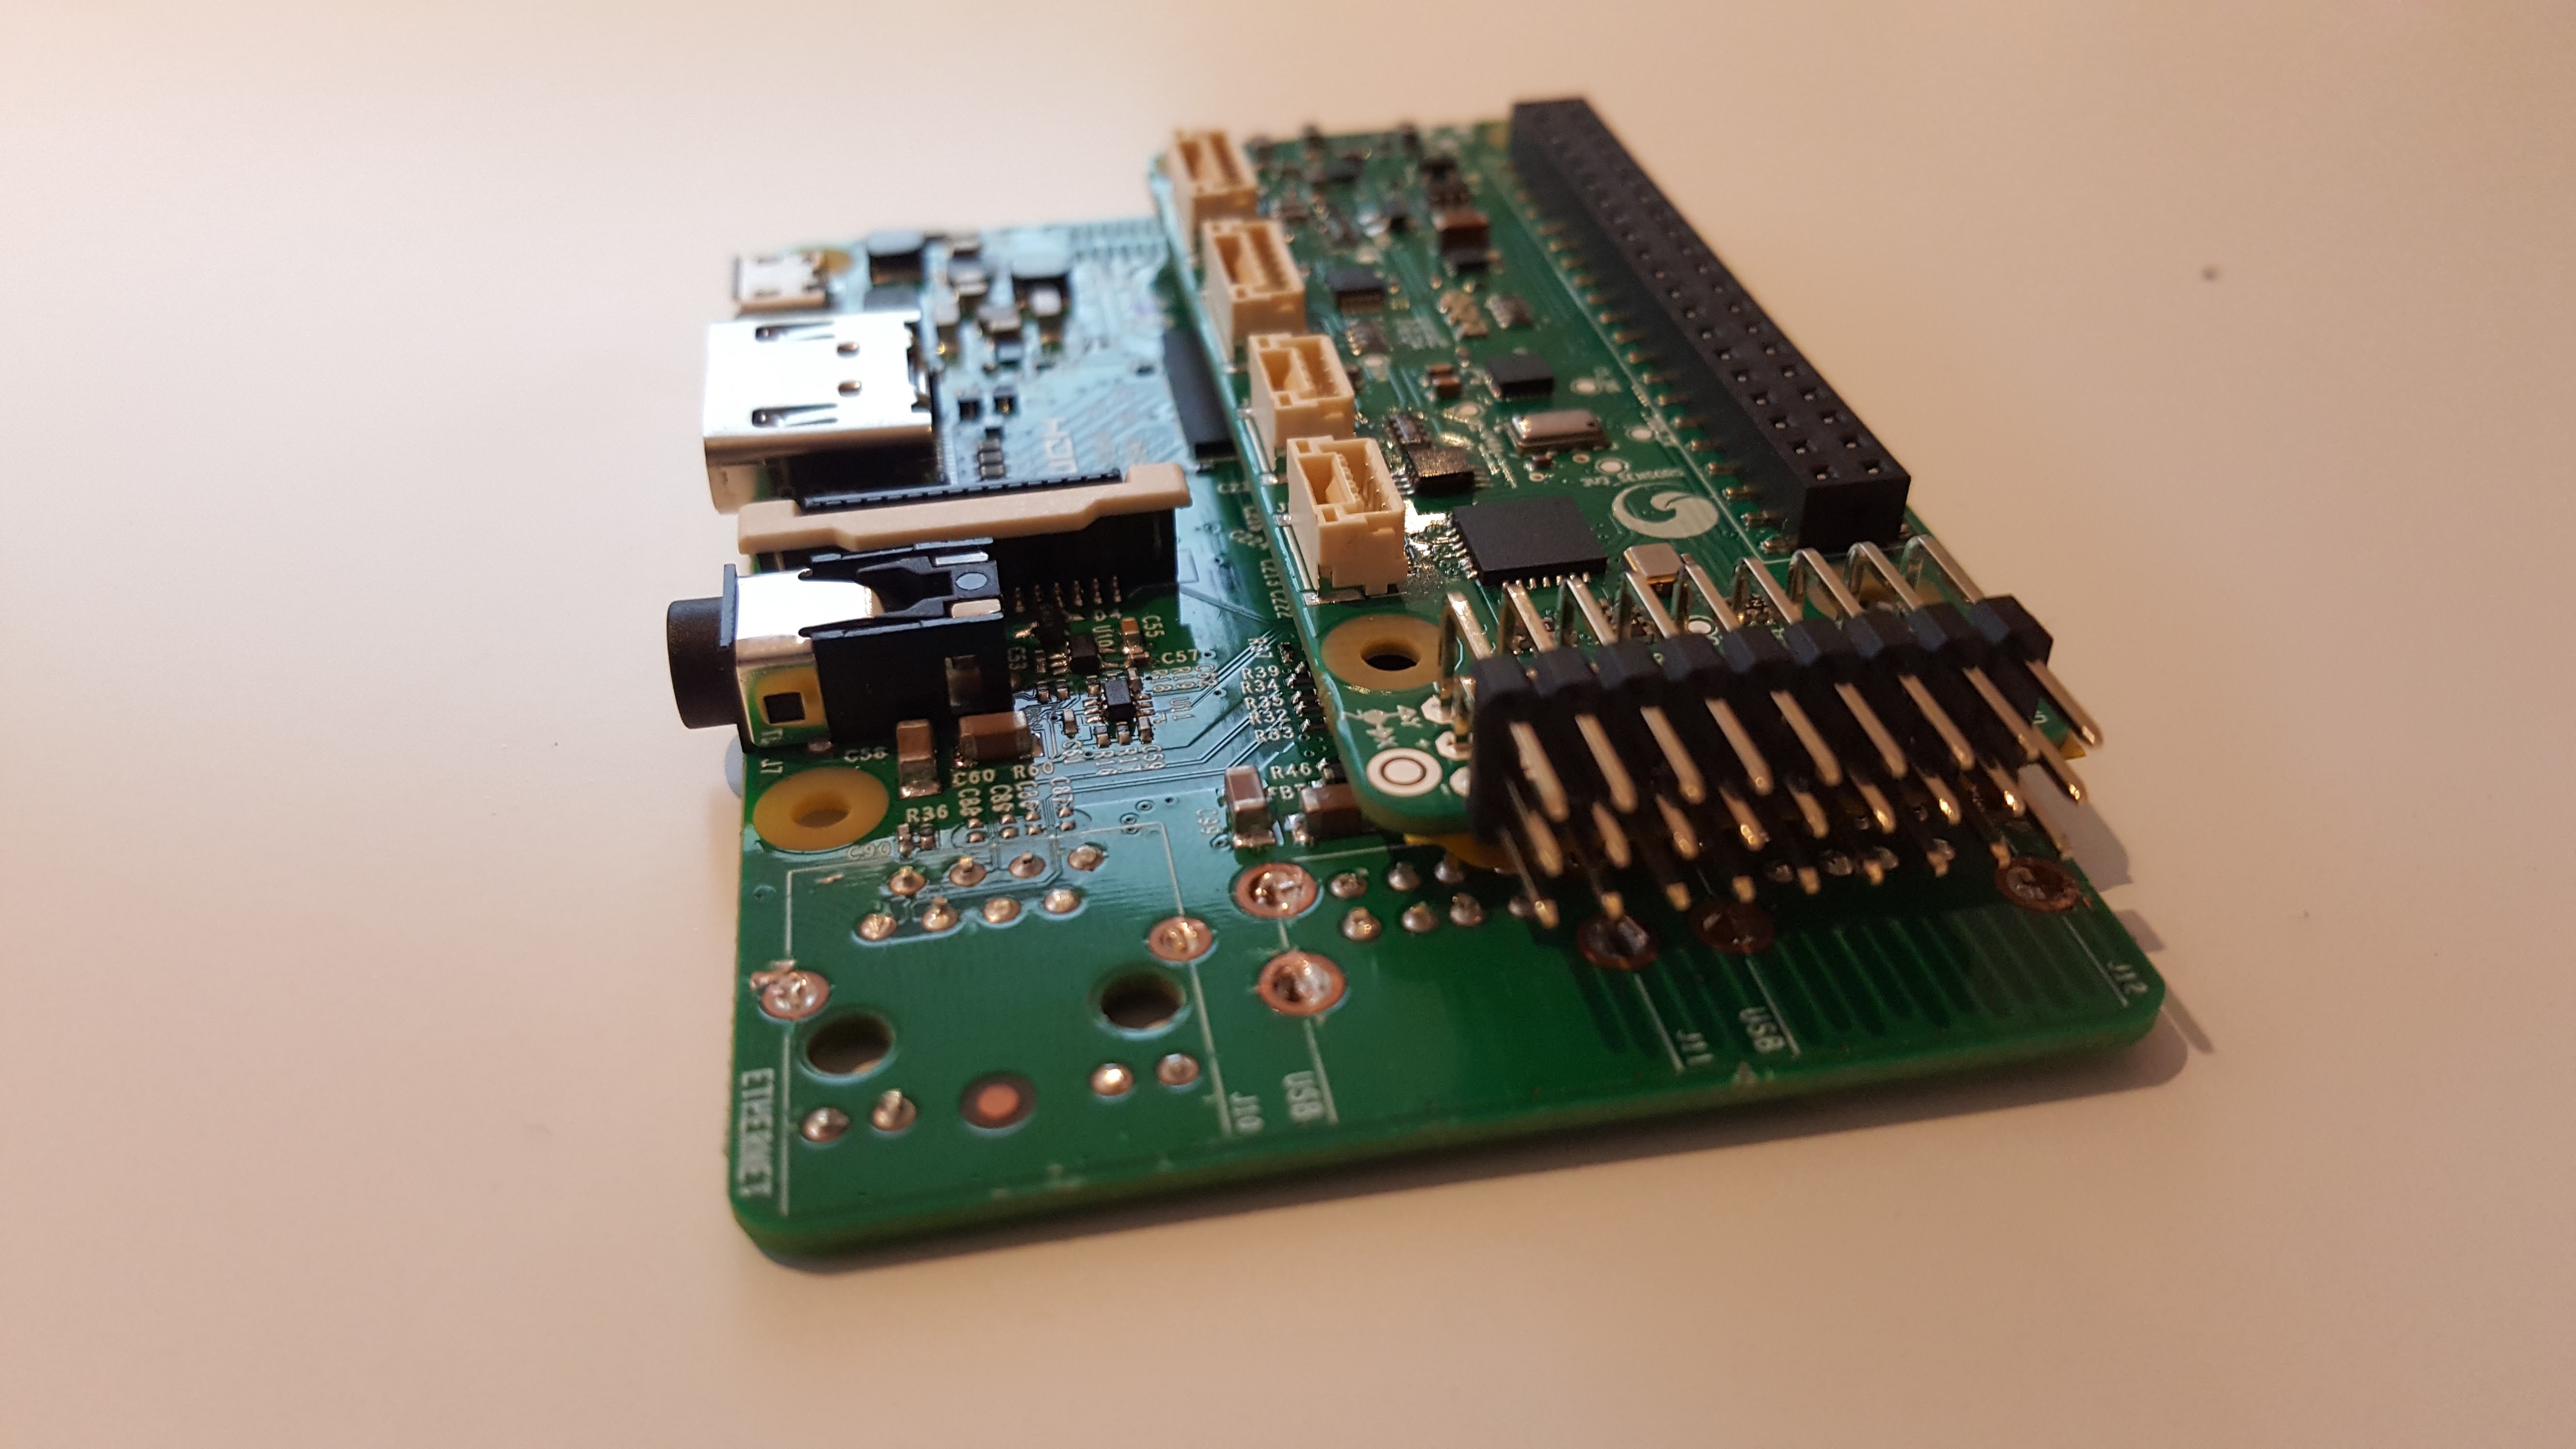
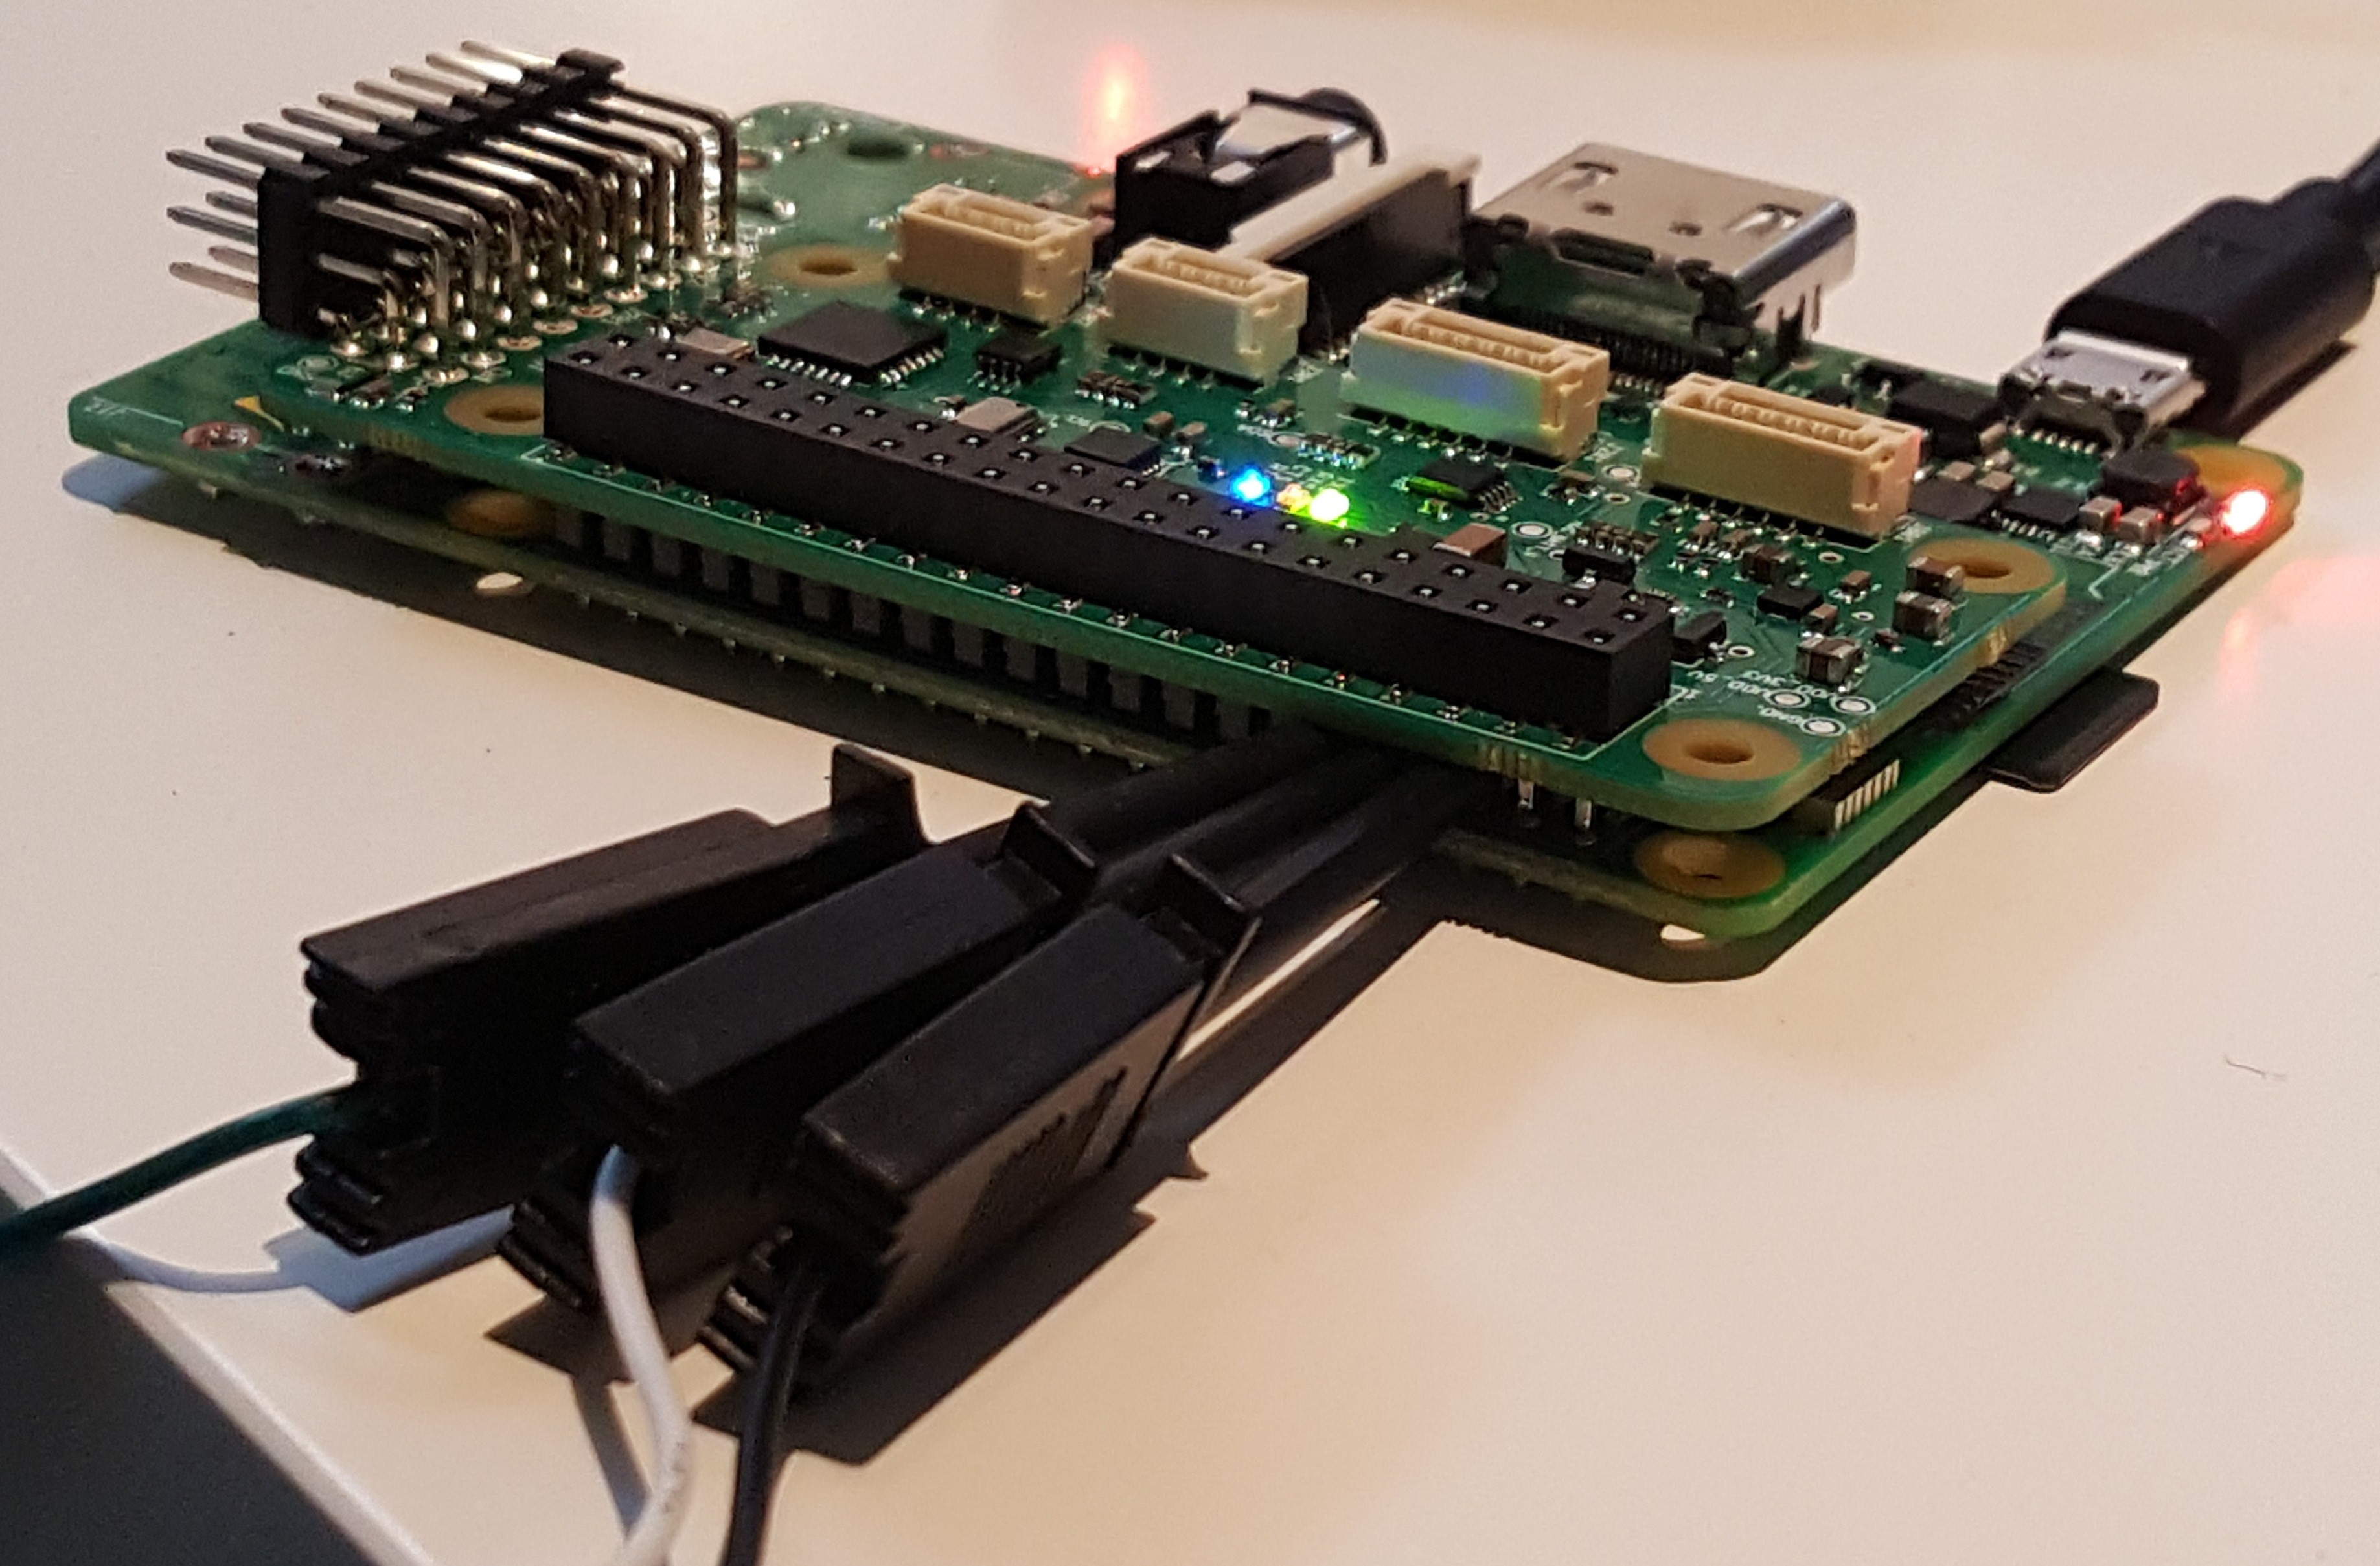
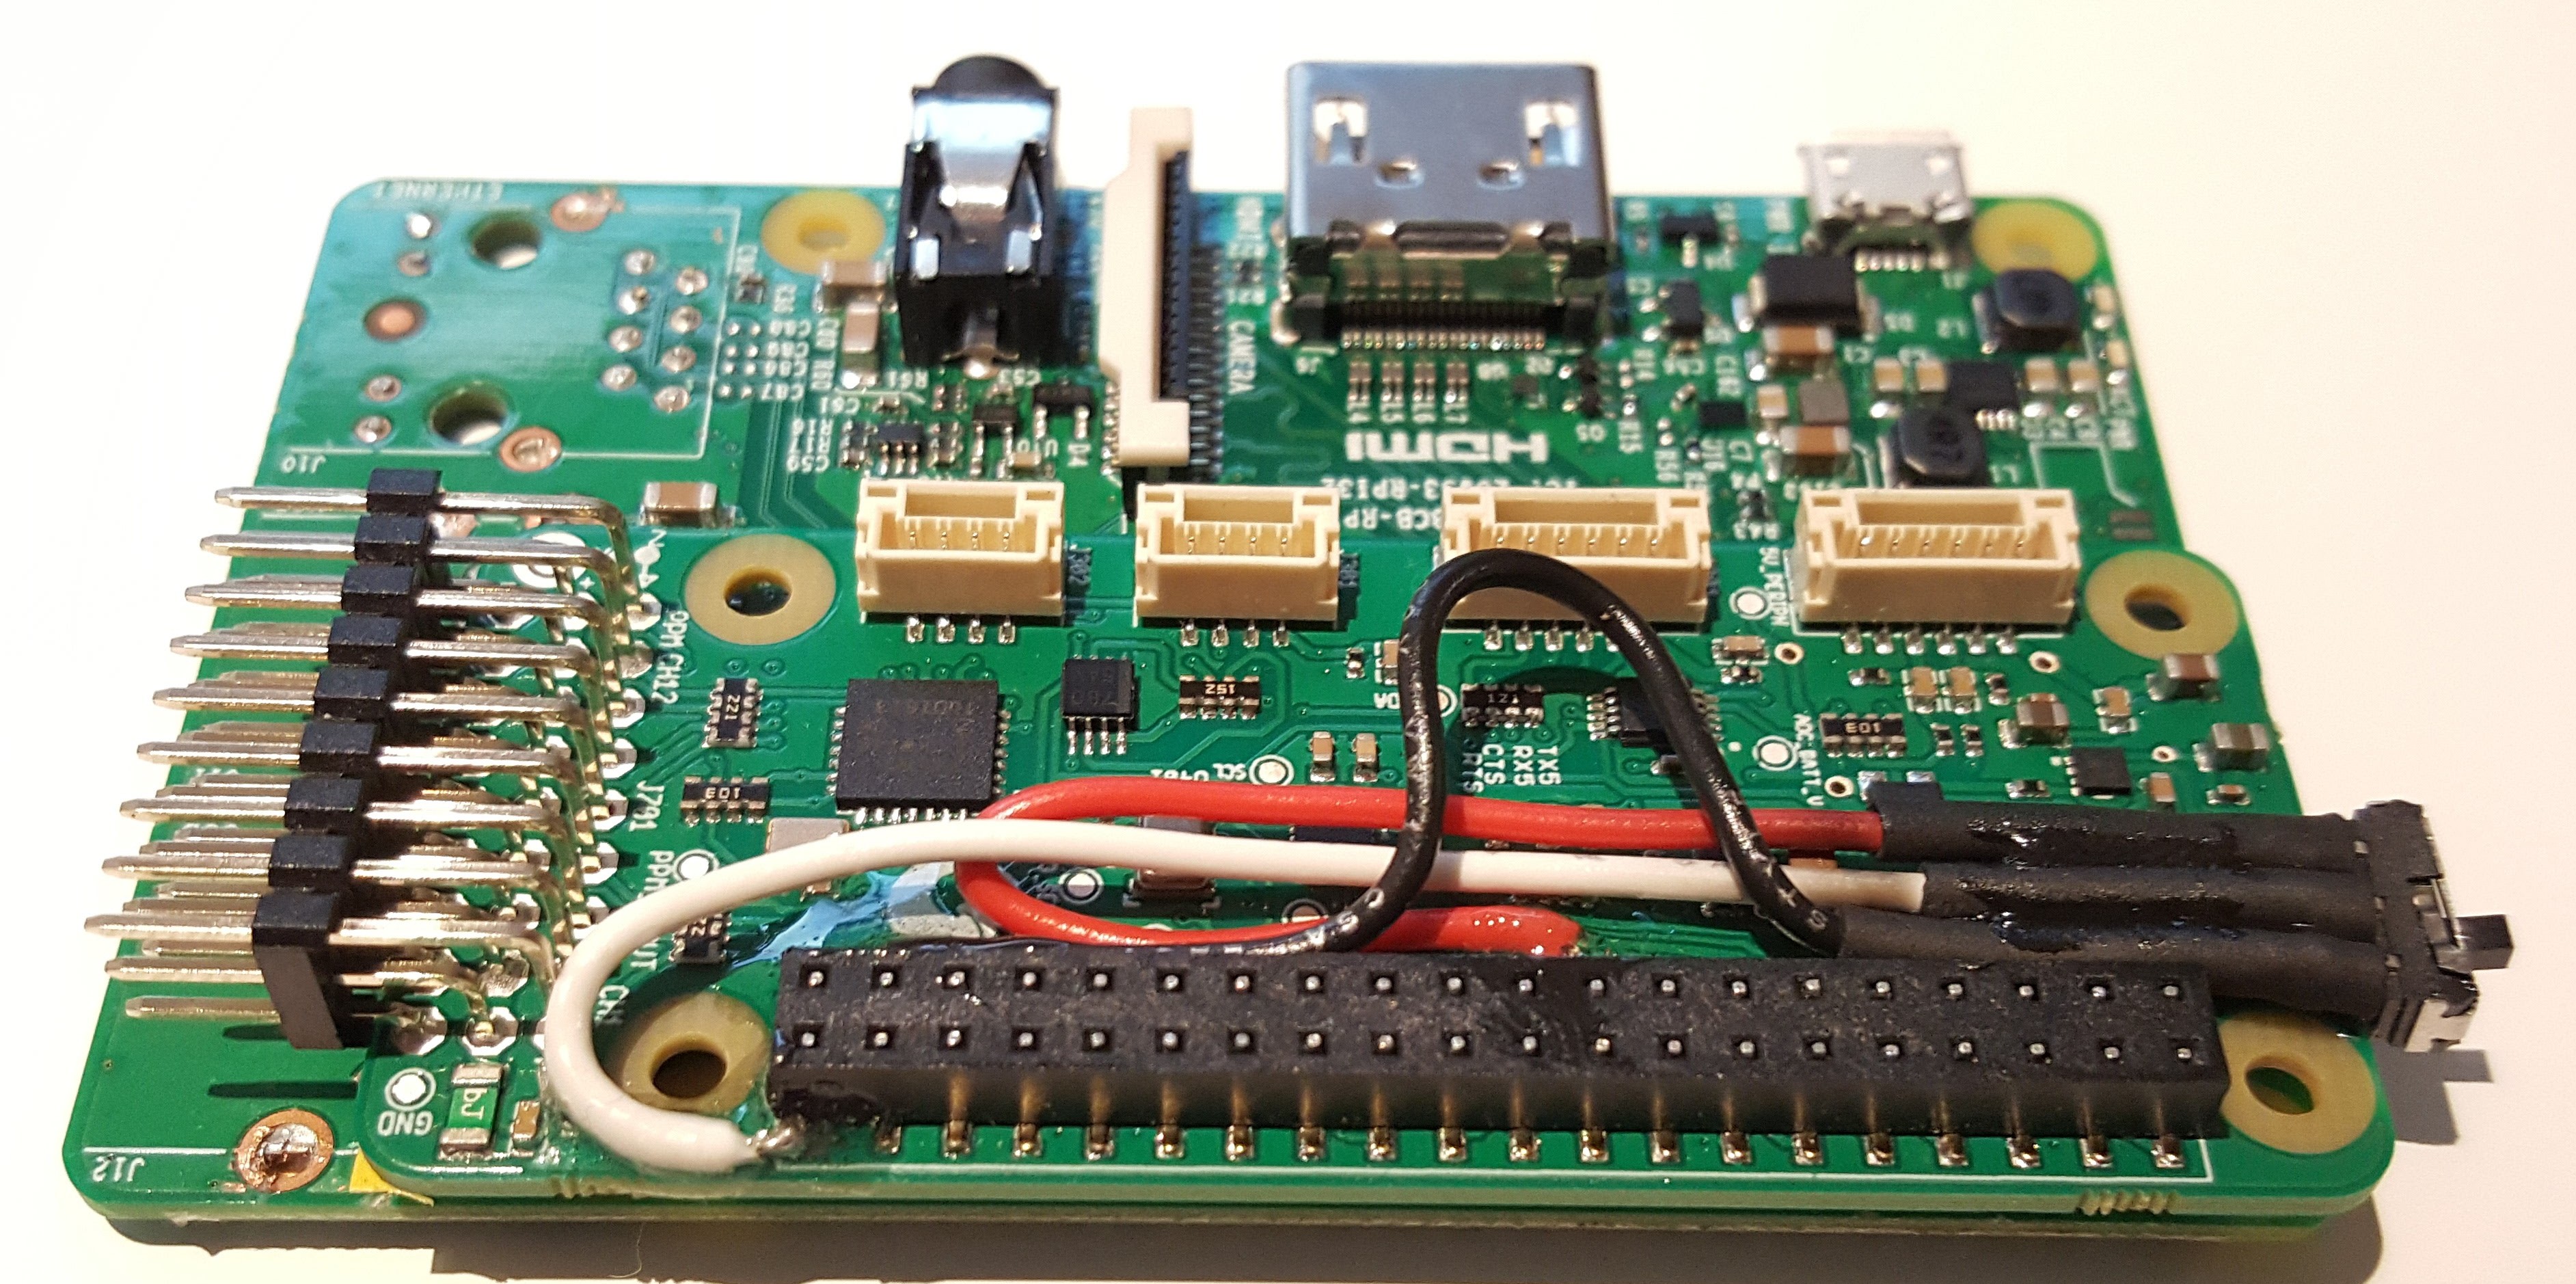
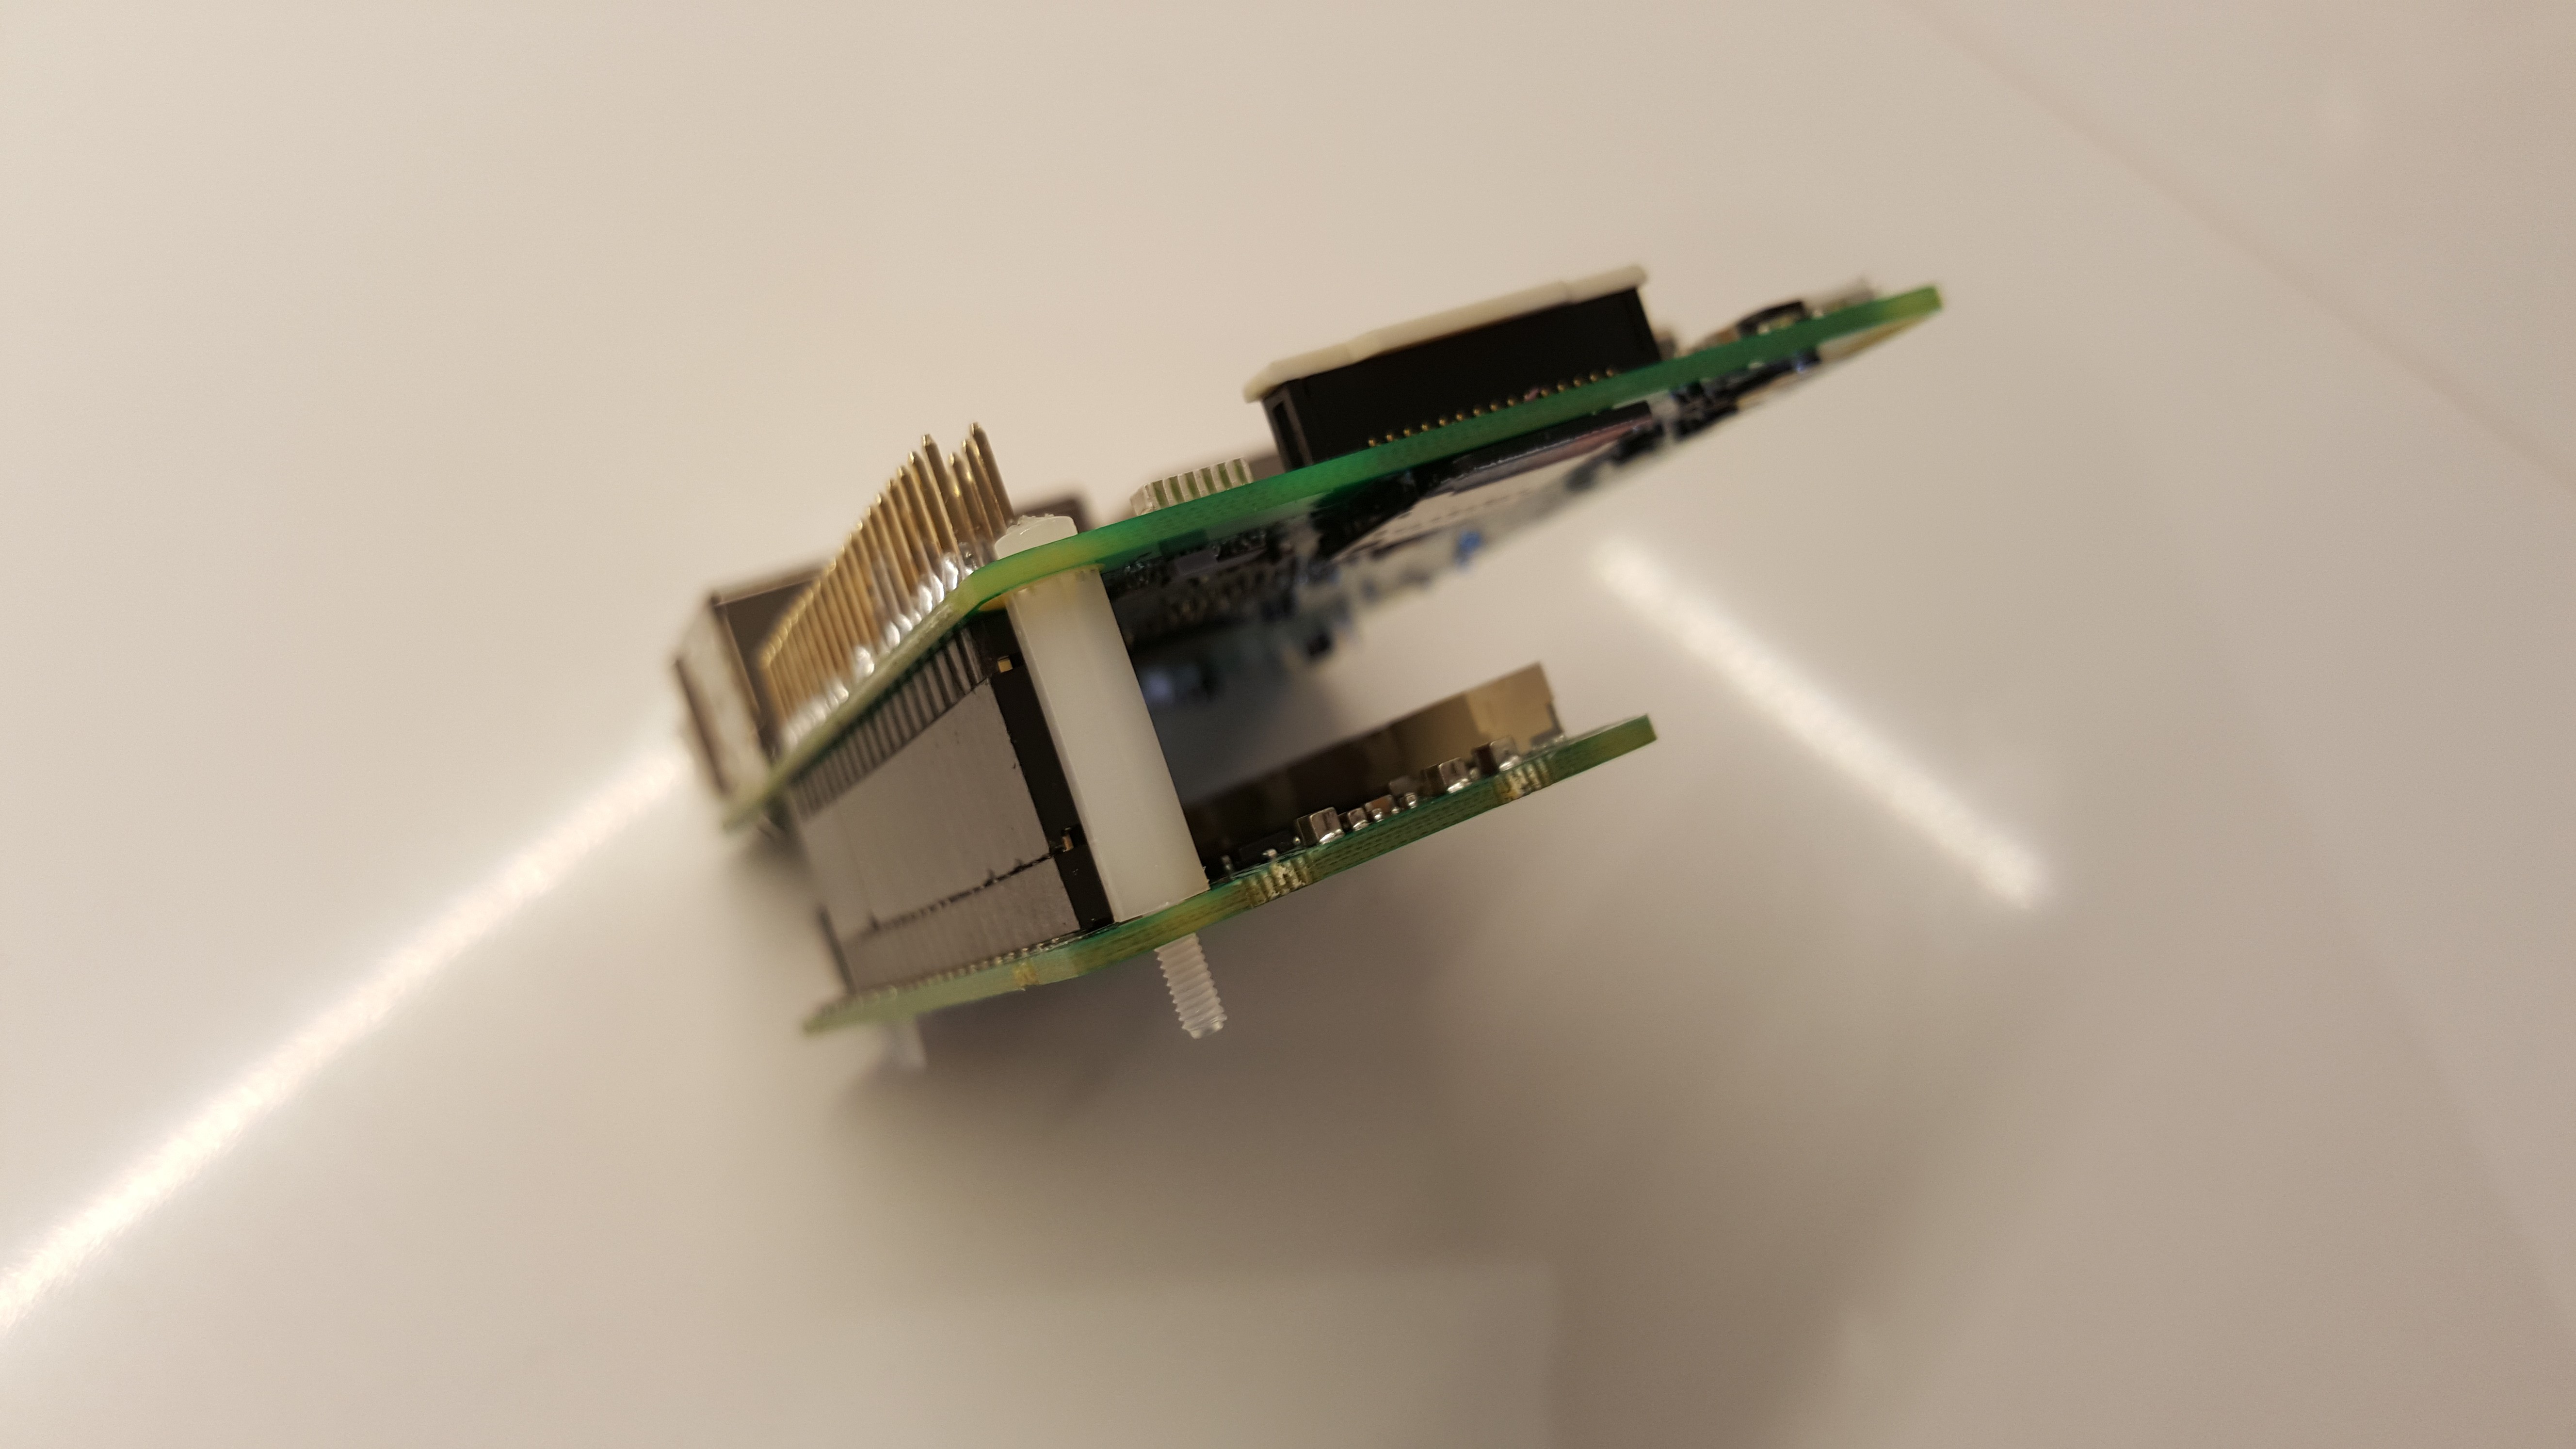
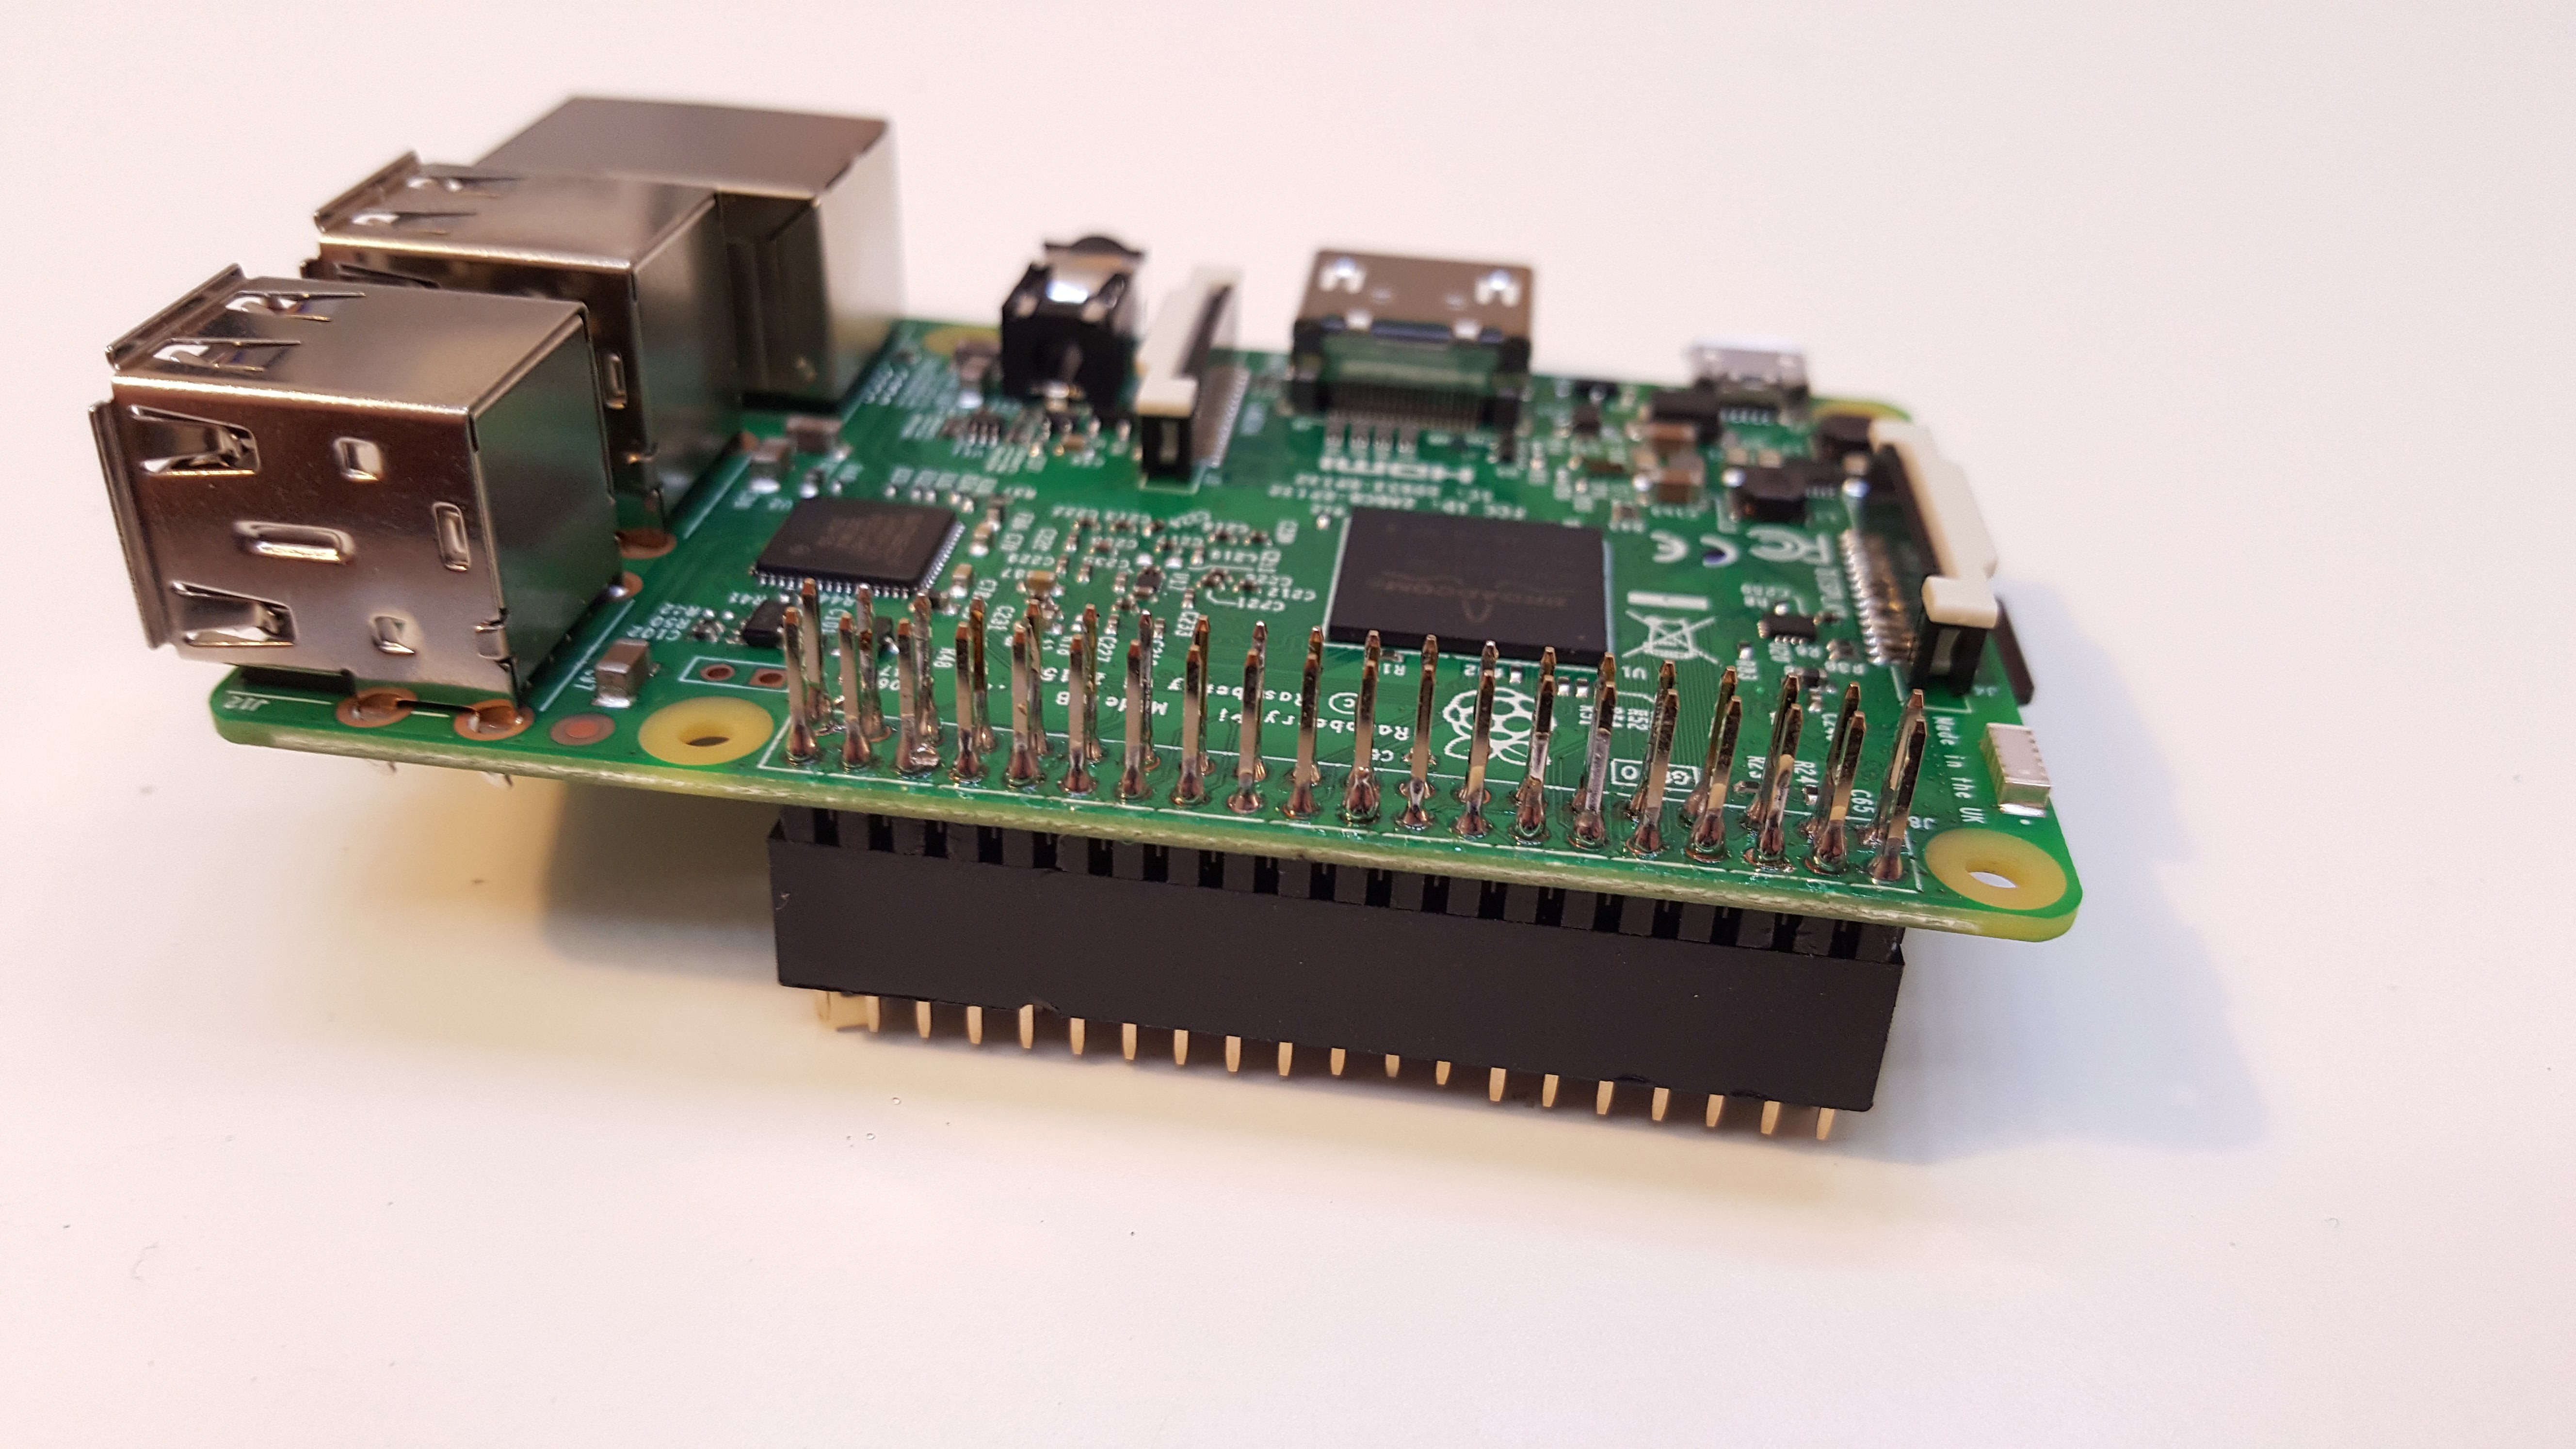
    (RPi3 with the GPIO pin header stack soldered in)
    (RPi3 with the PXFmini mounted)

    (RPi3 with the PXFmini mounted)

    Next I moved onto building the the Quad Copter frame, mounting the motors, ESCs' and wiring up the main power distribution bus. This all went fairly smoothly even with the lack of included instructions.
    (All the parts come in a nice foam lined box, those are all the instructions you get)
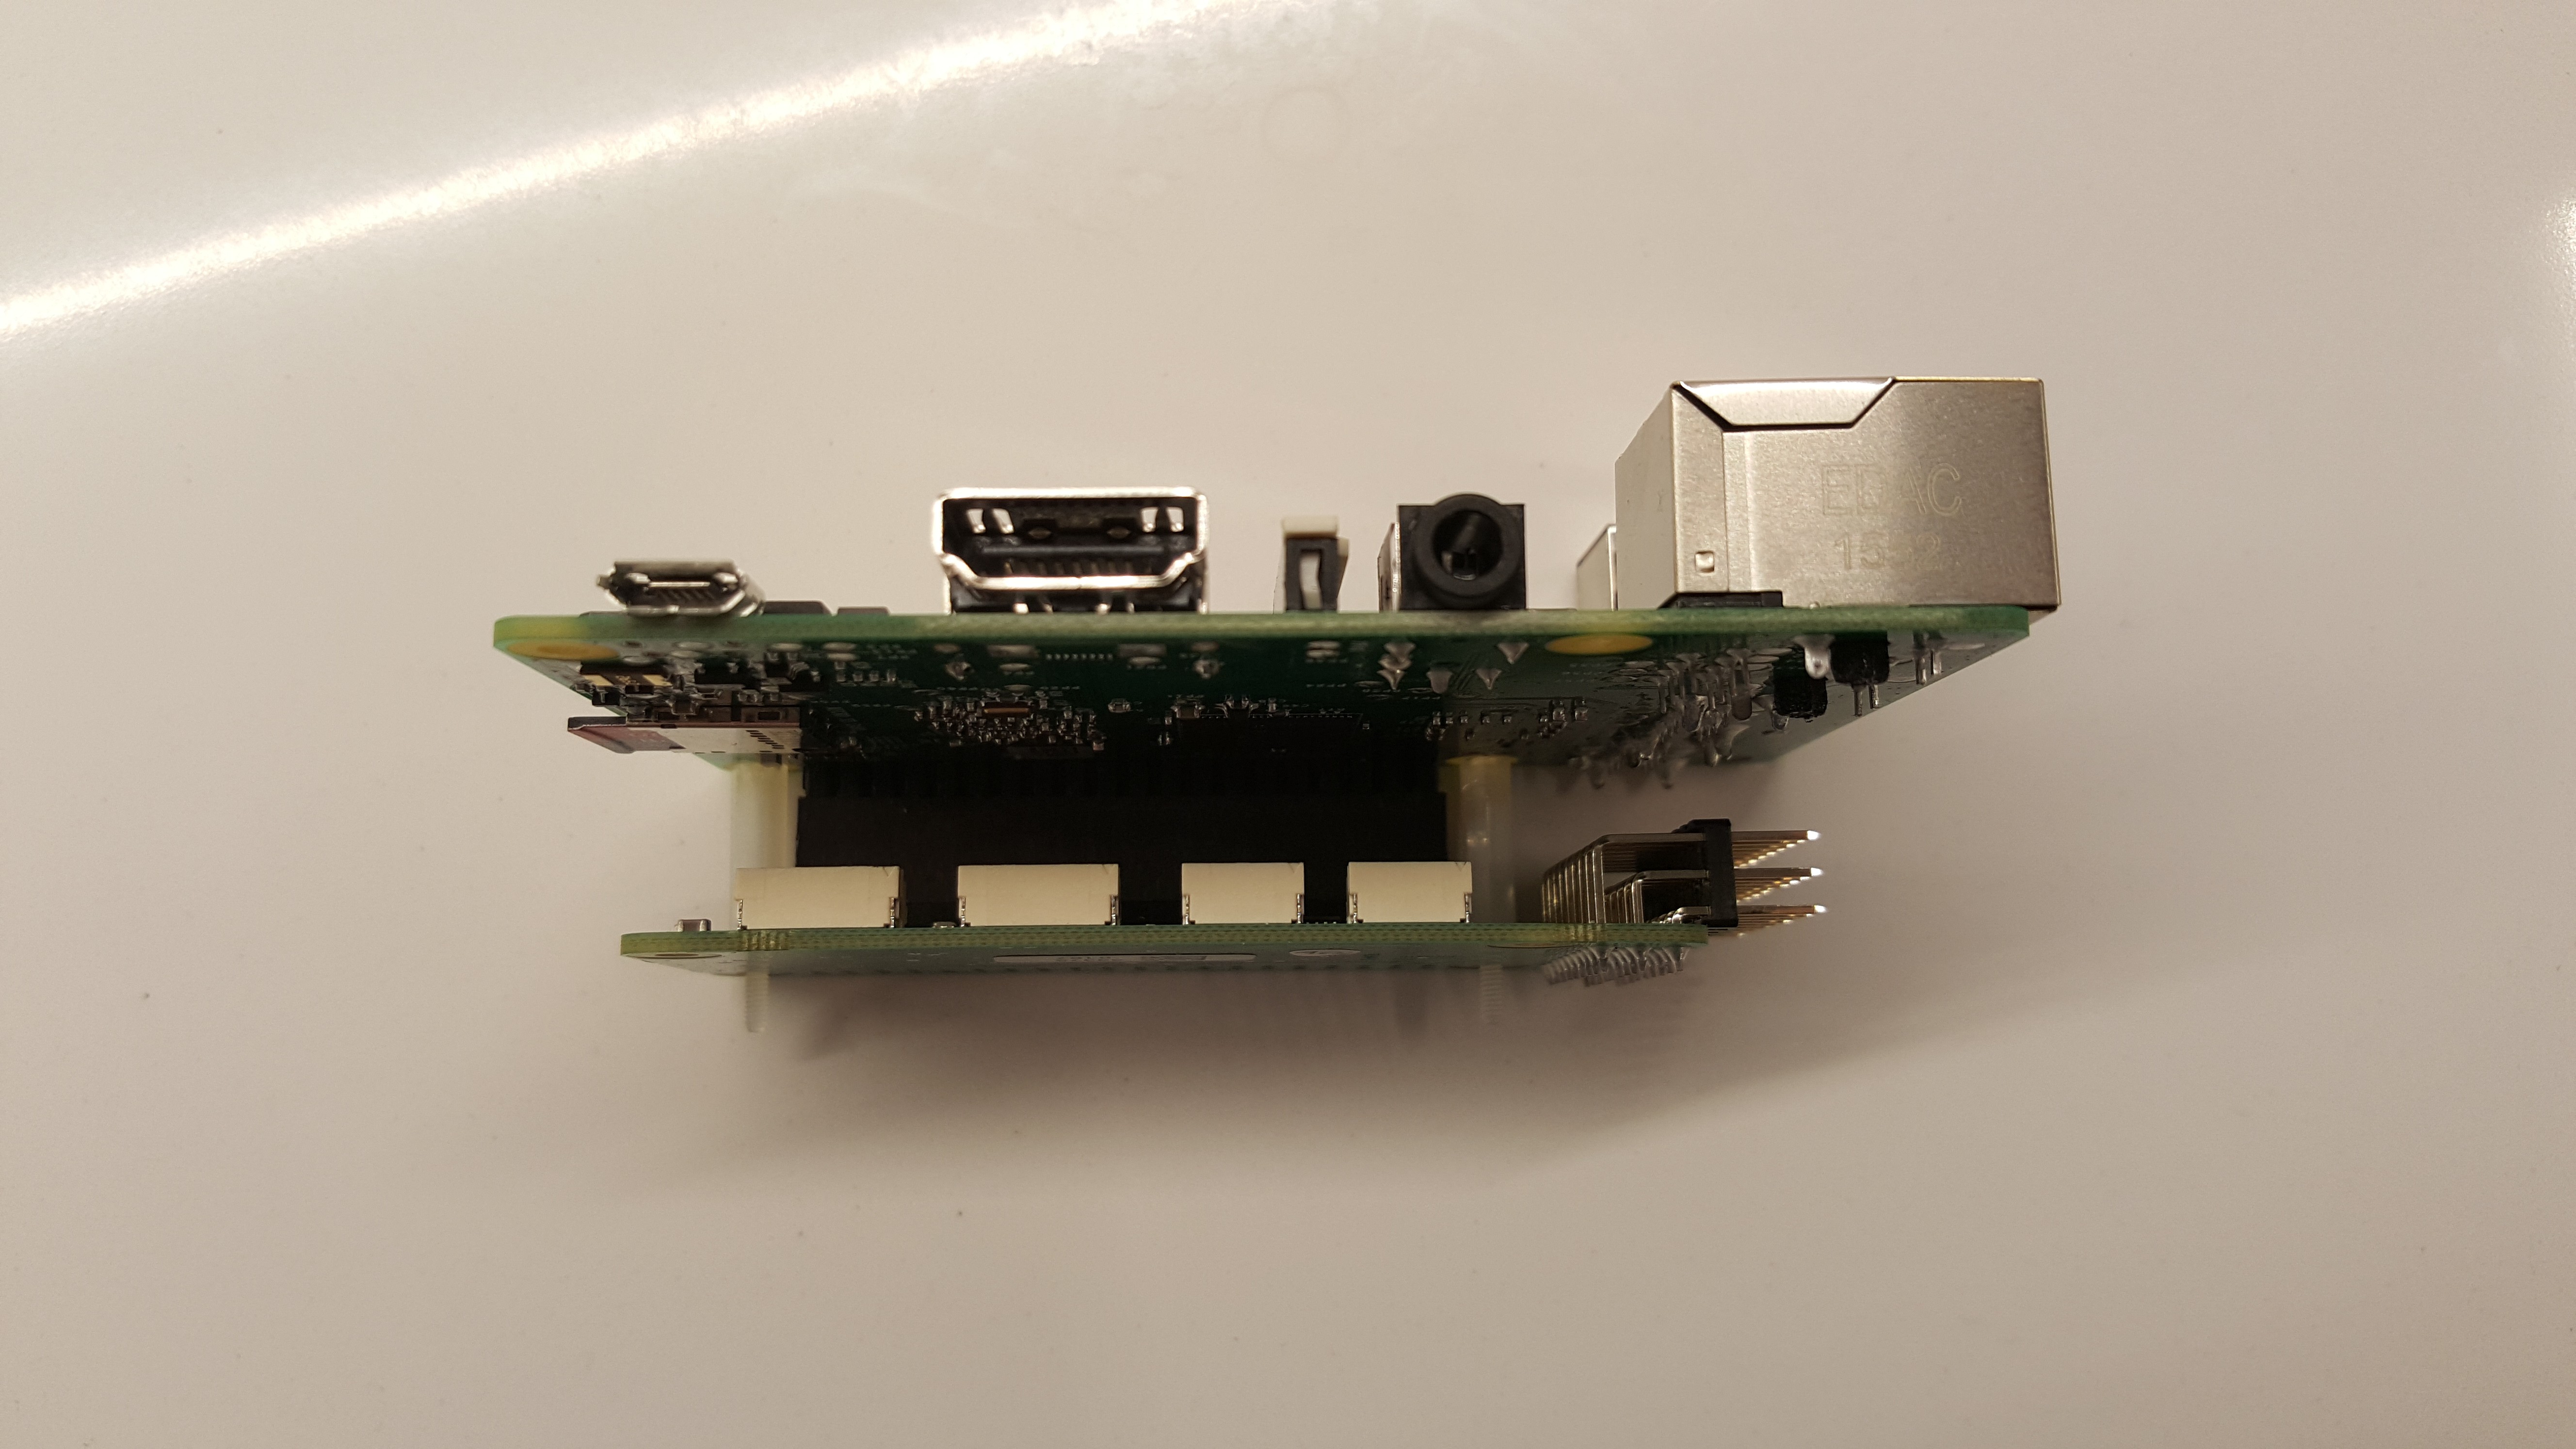
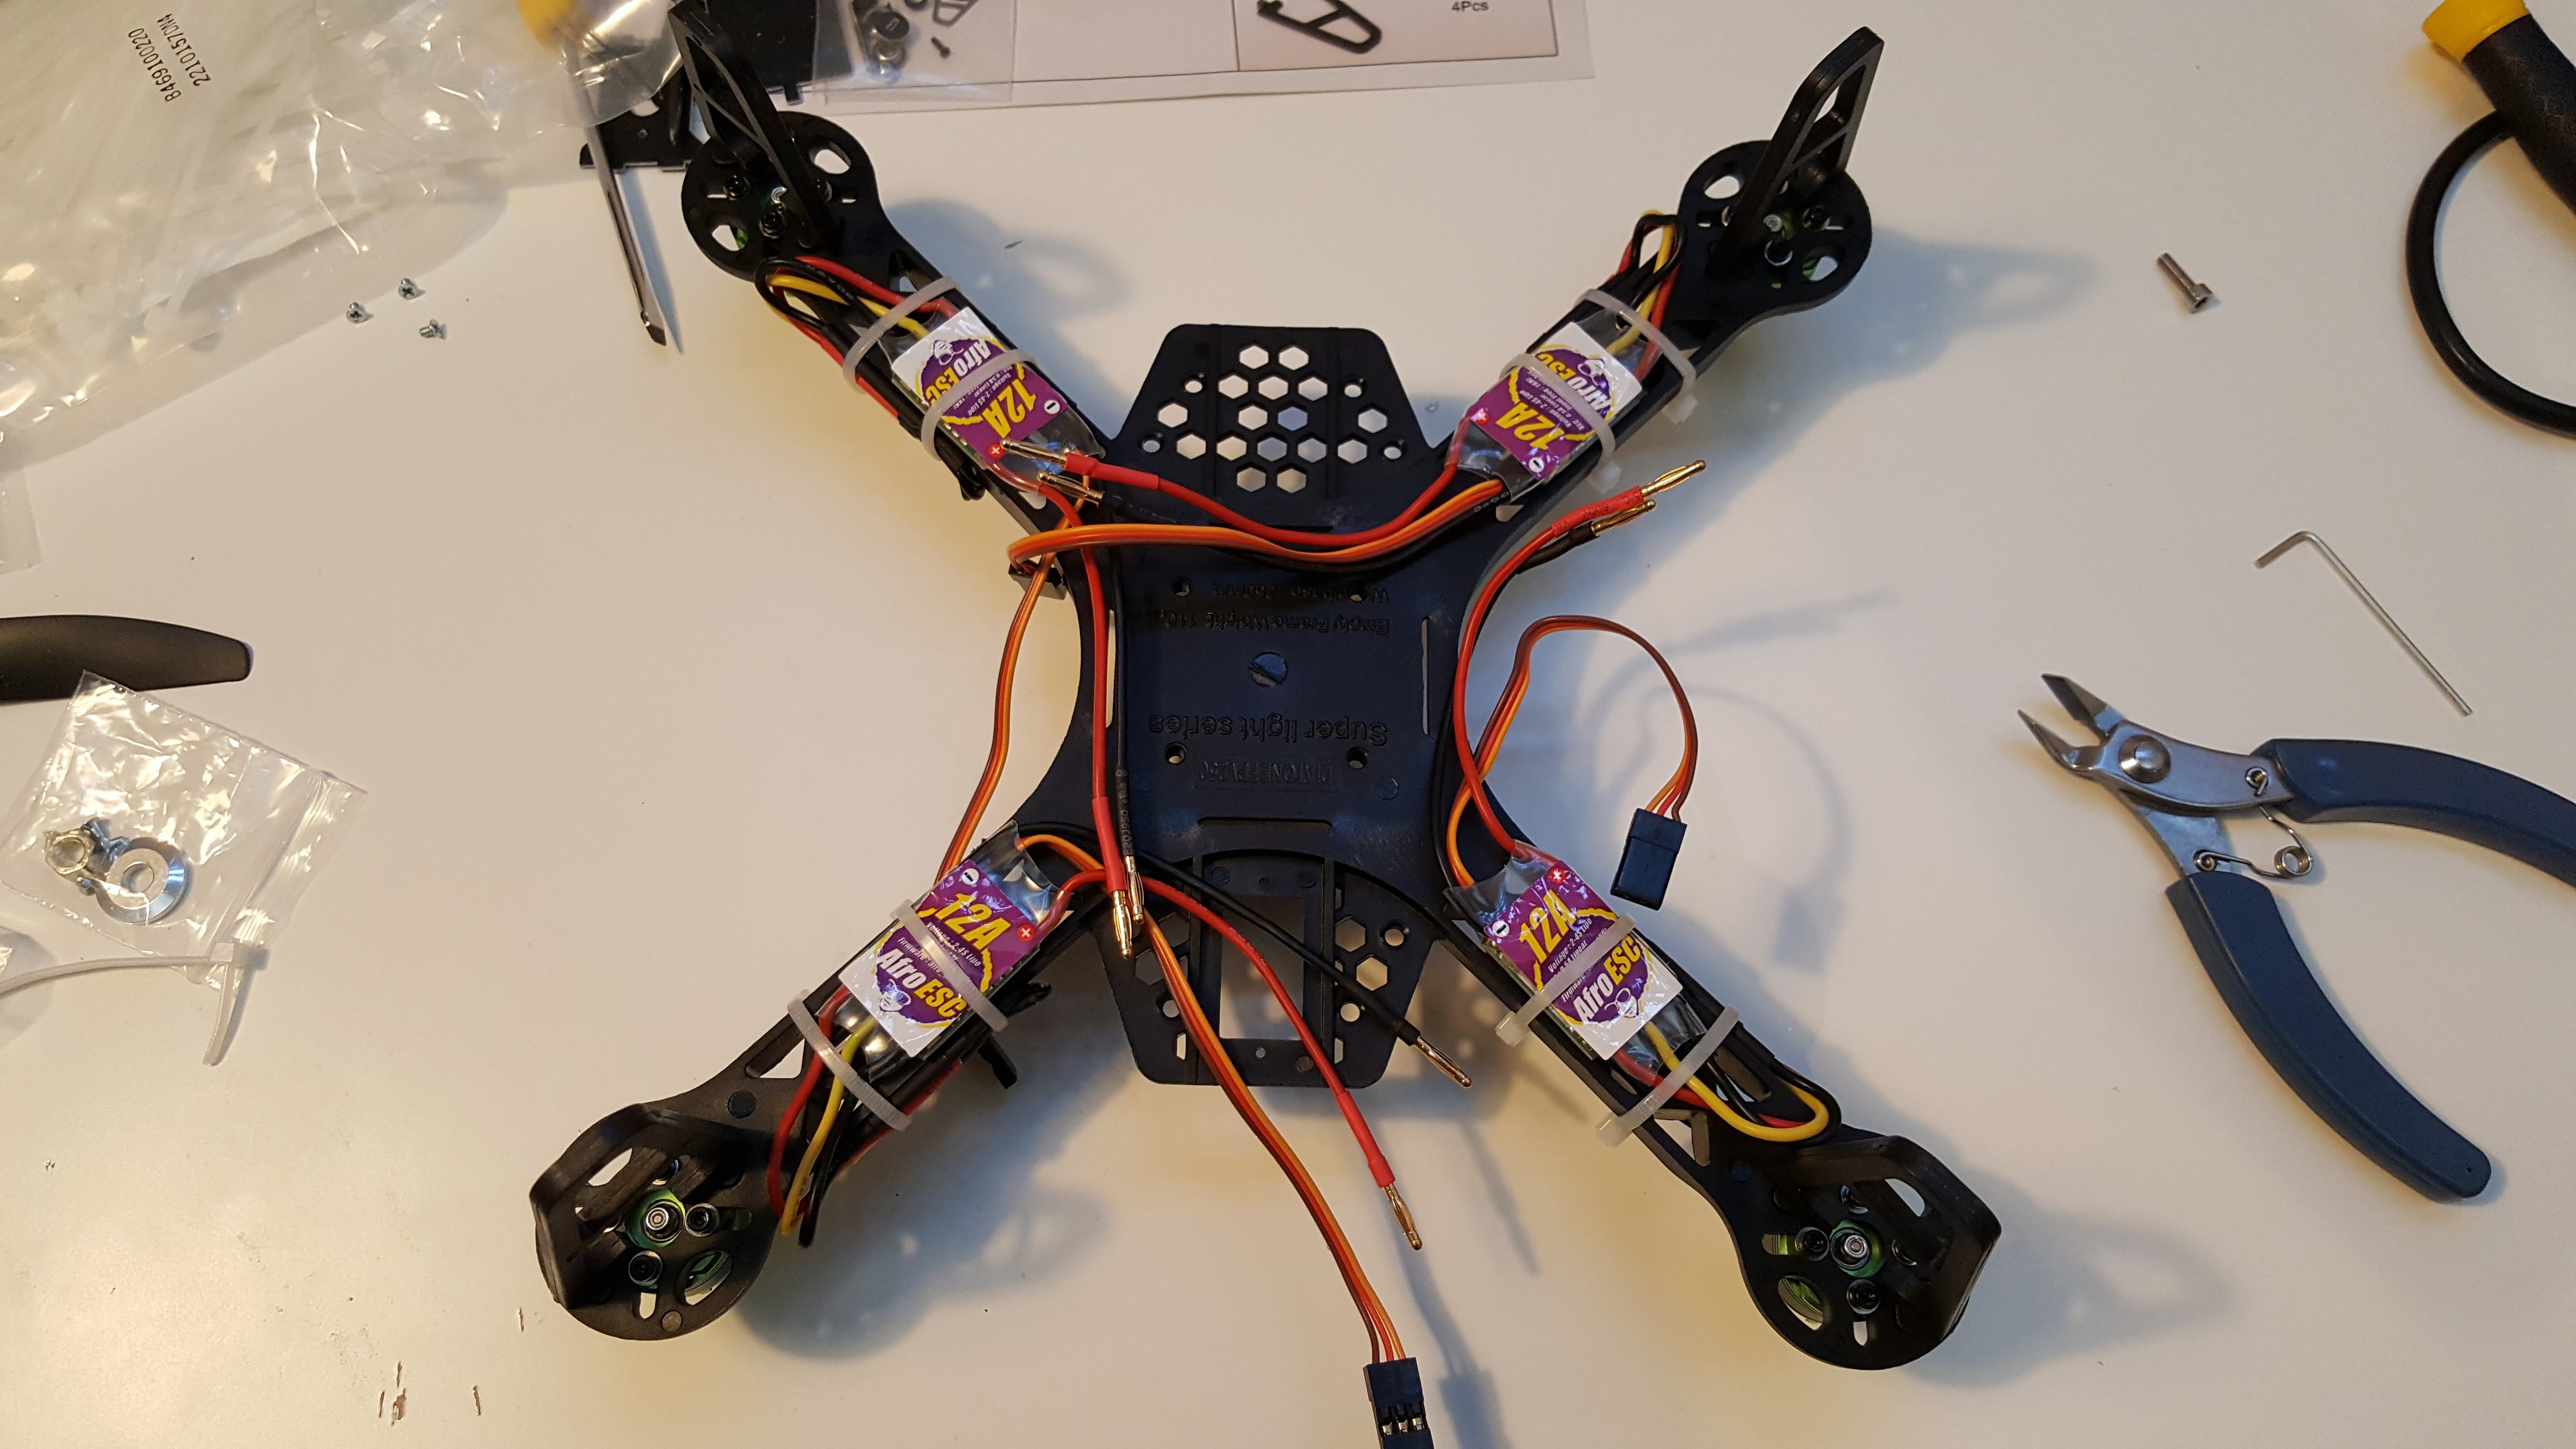
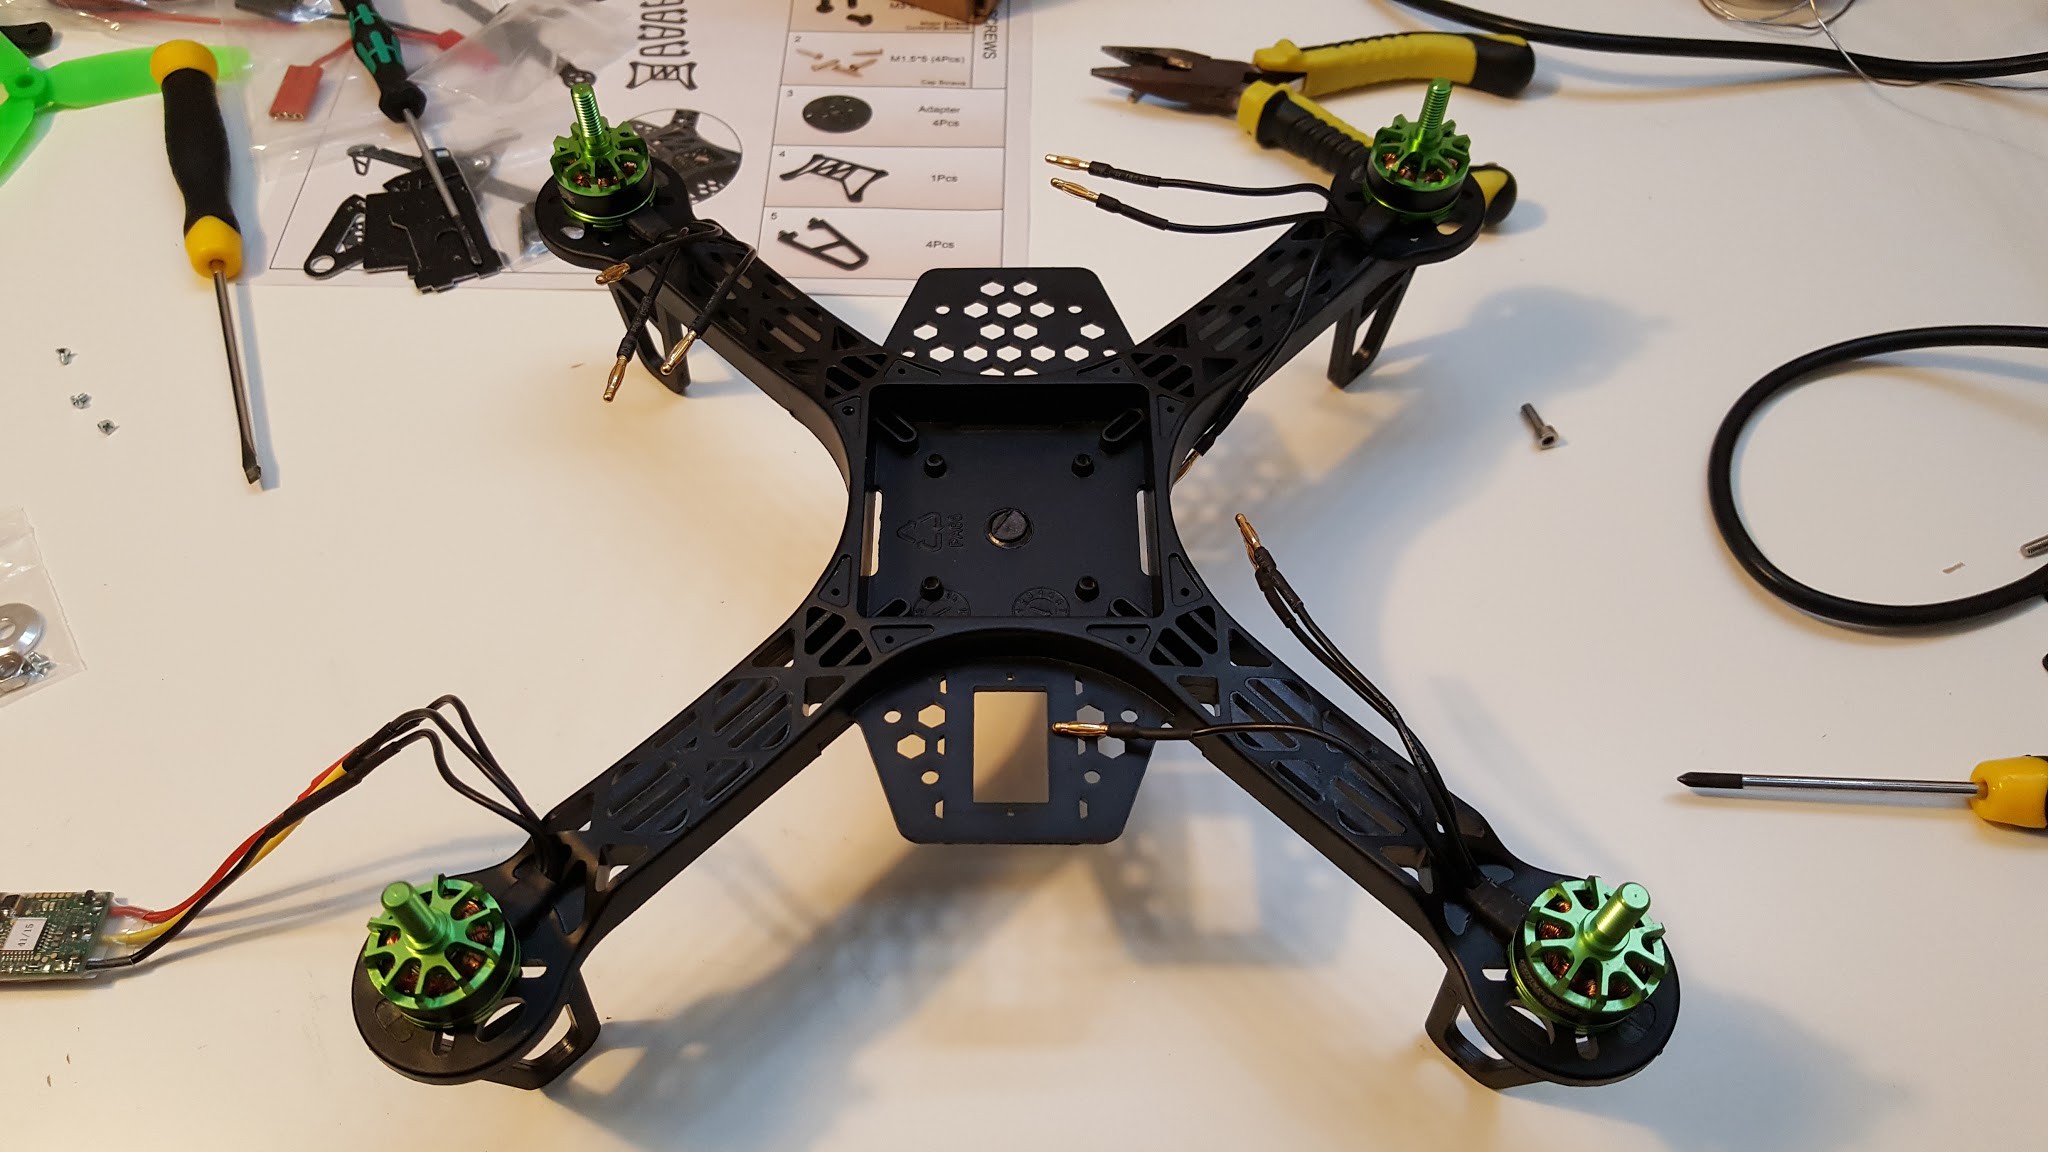
(Frame with the motors mounted)

    (Frame with the ESC's mounted)(Frame with the ESC's mounted)
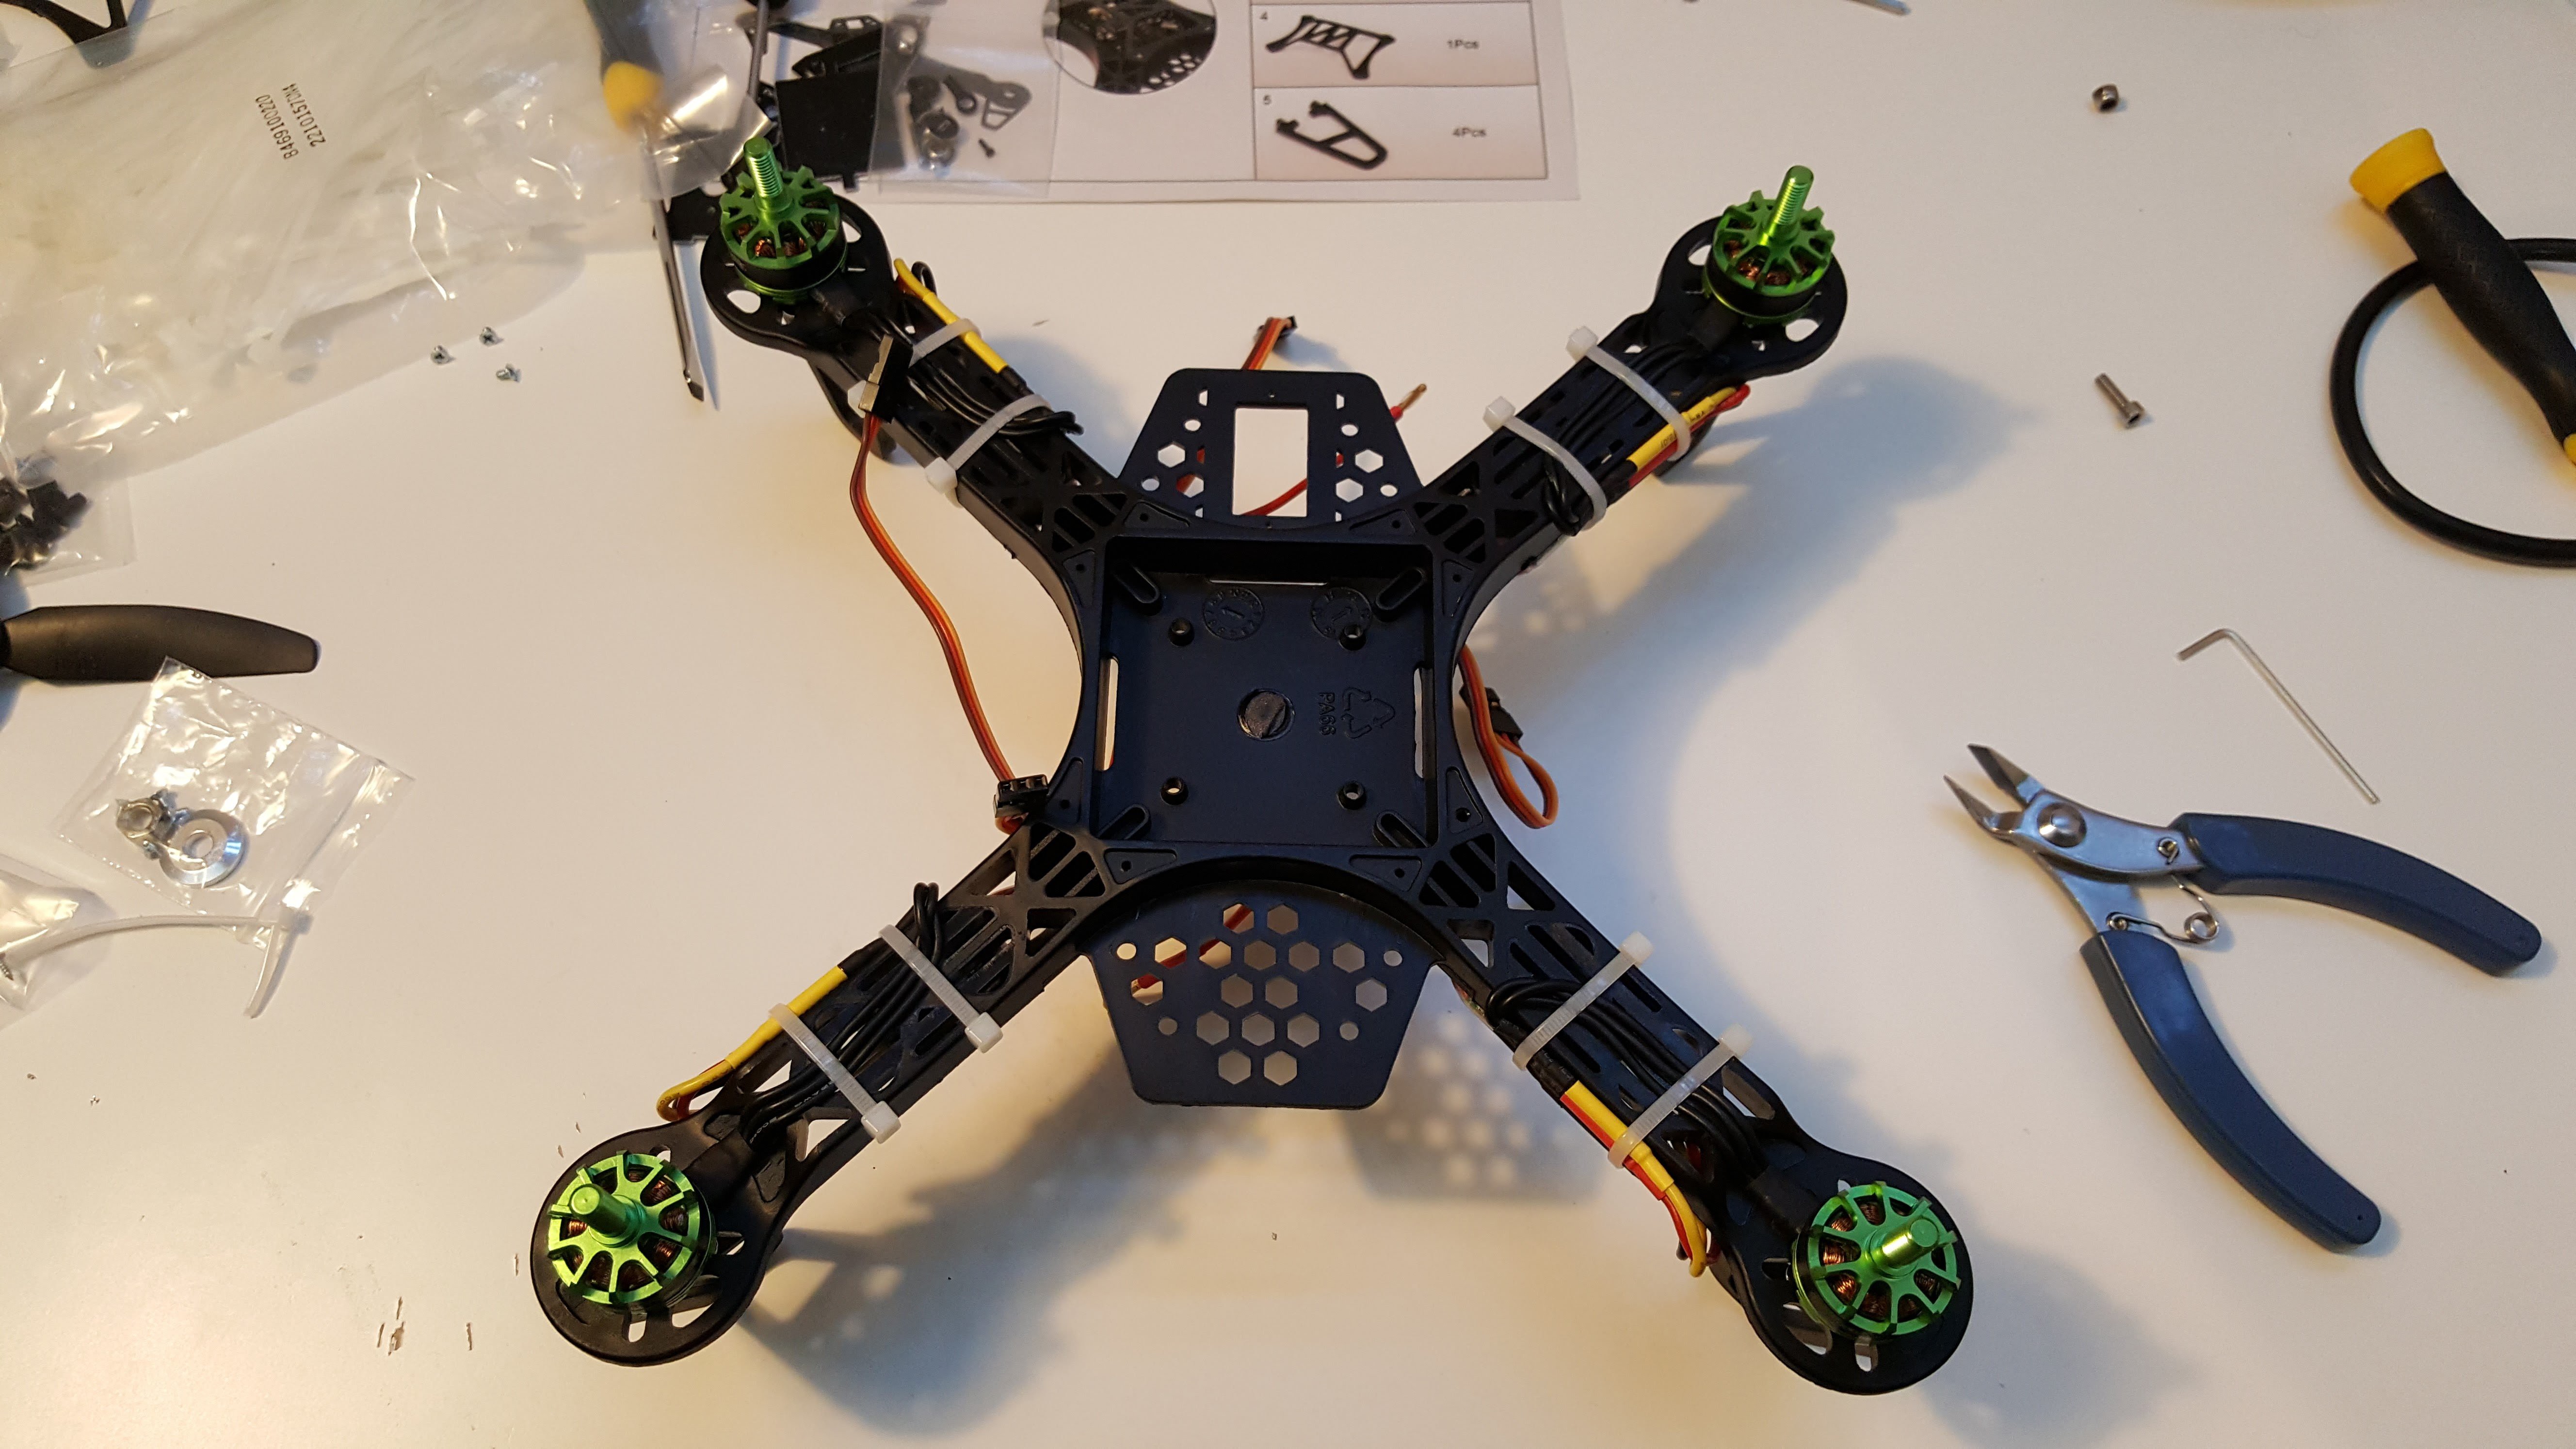
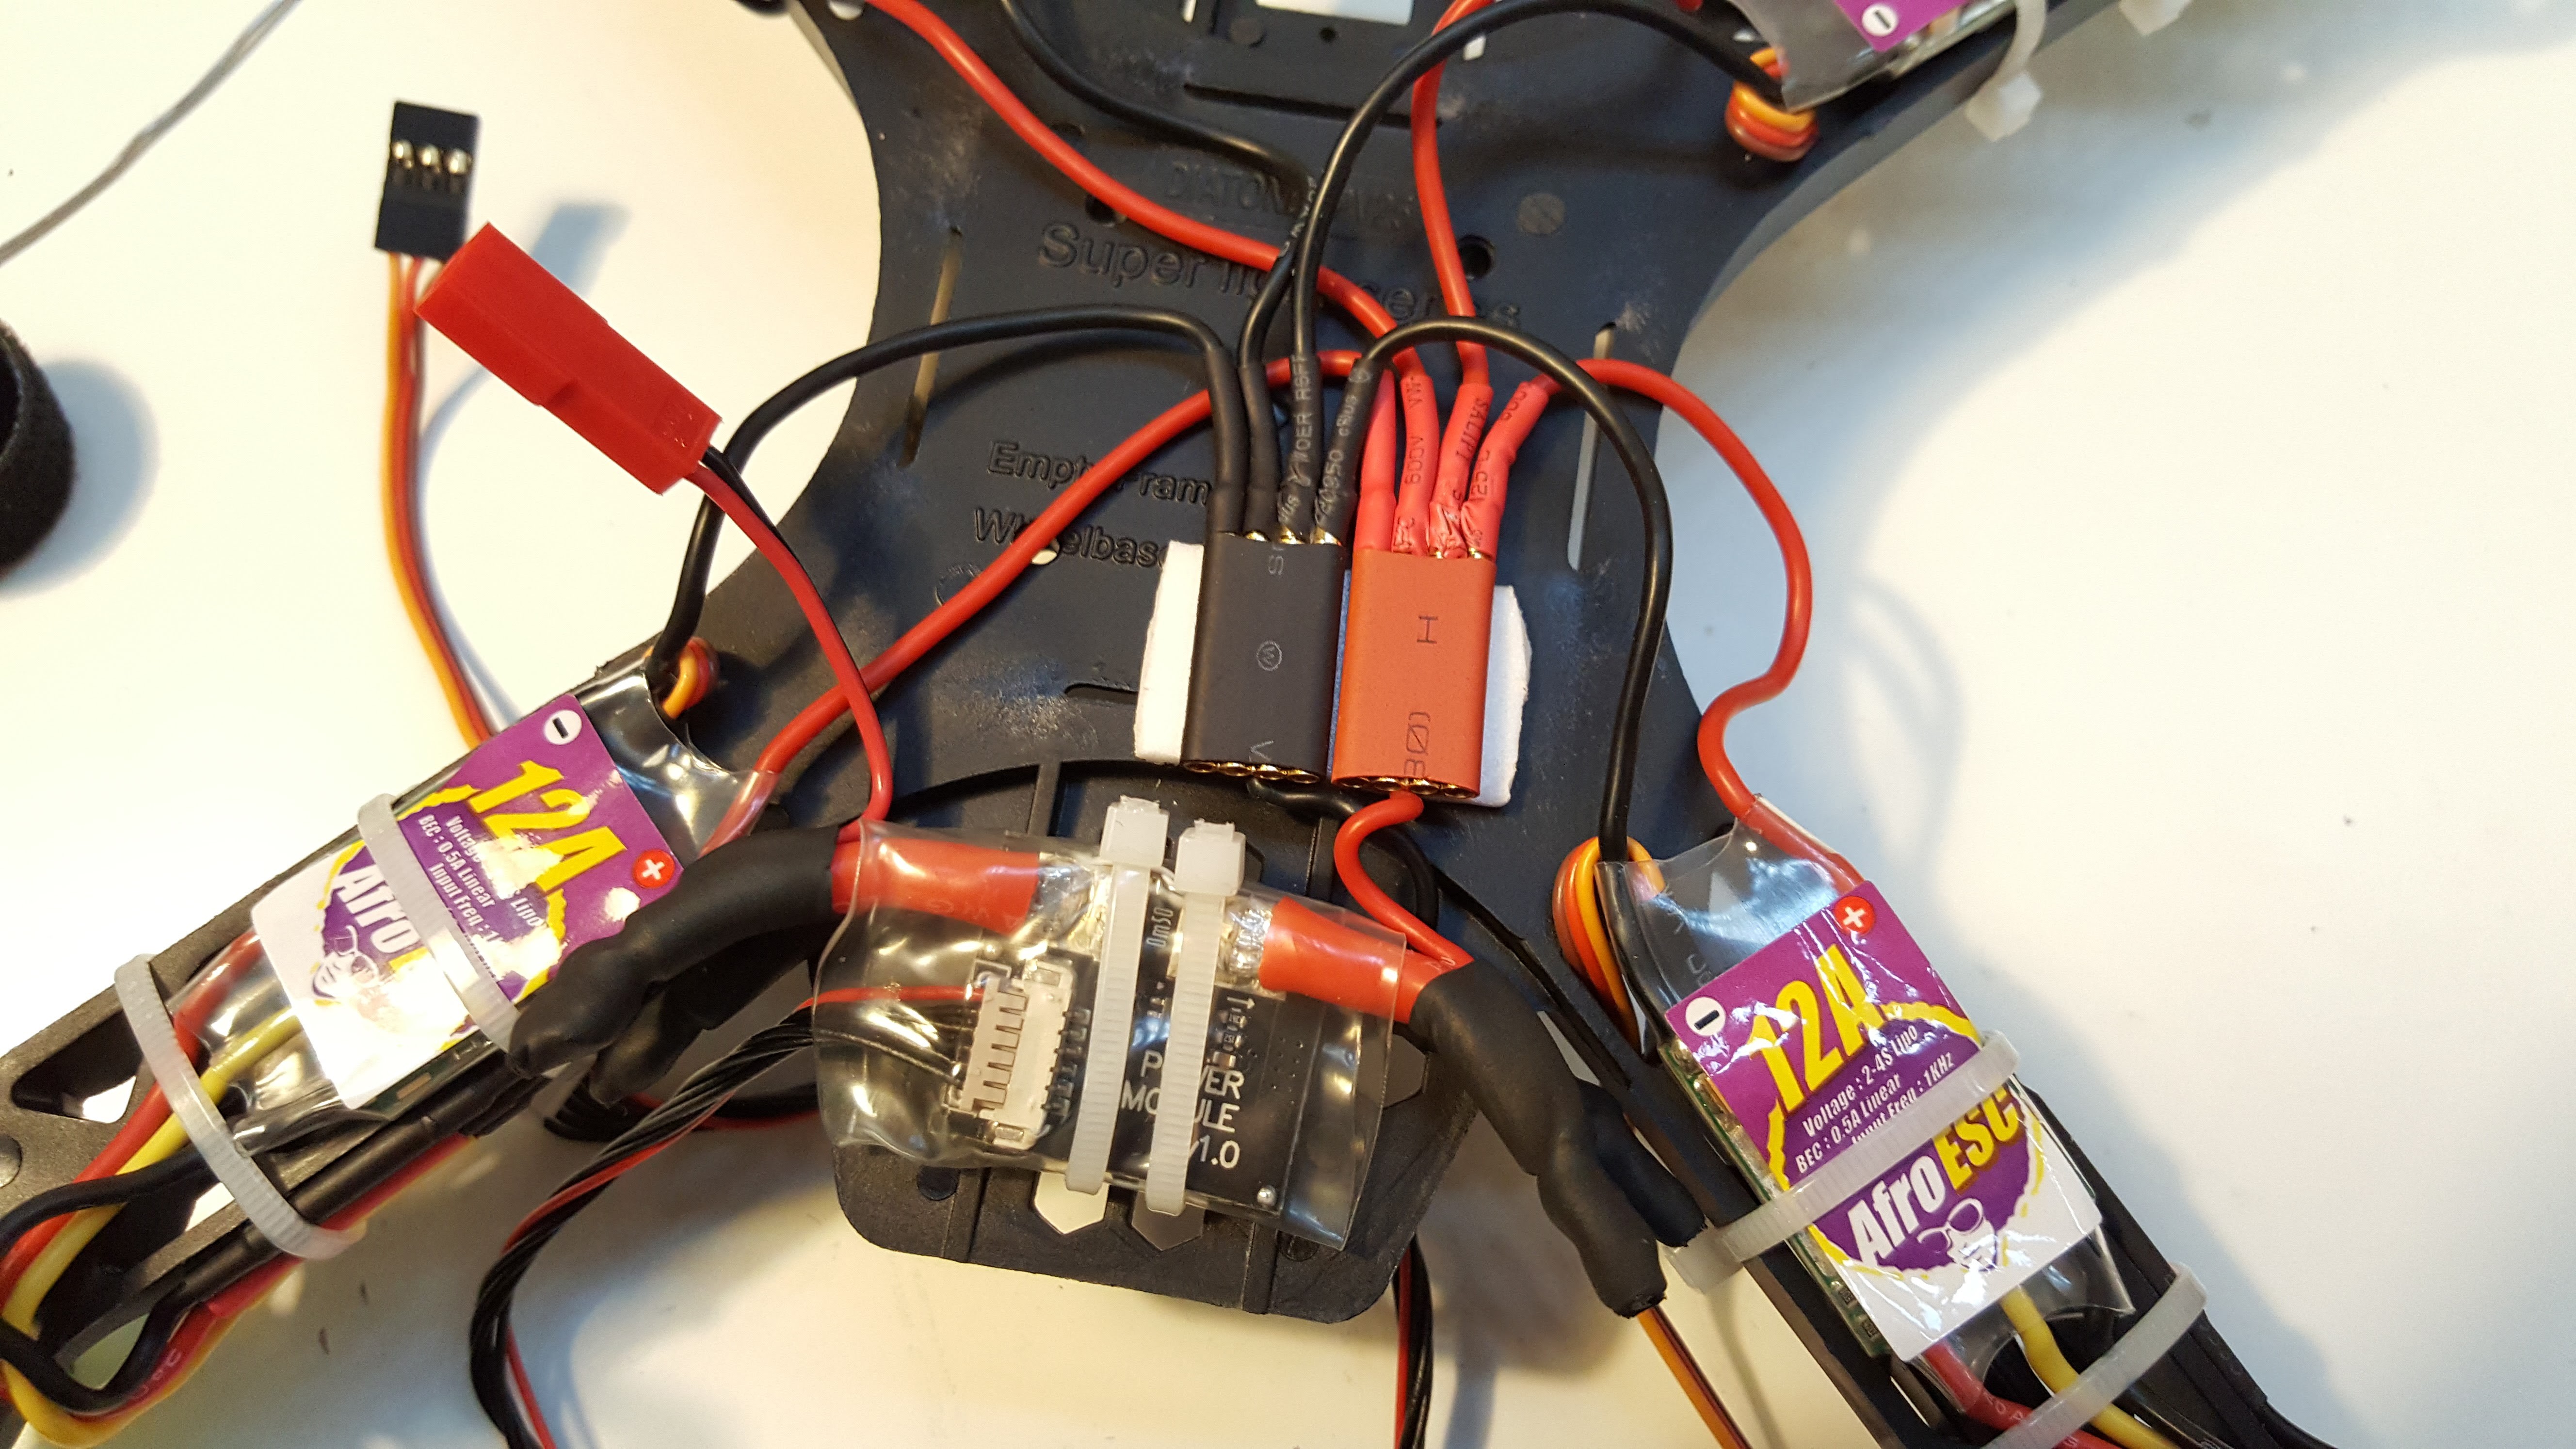
(Main power distribution bus held on with zip ties and double sided tape)

    (Current state of the Quad Copter with the battery mounted)

    Next week I will be mounting the RPi3 and PXFmini along with radio receiver, GPS module, Lidar module and RPi camera.

    For the software part this week I set up a repository for the project on GitHub and created a Dockerfile that checks out and builds the Ardupilot source code on our builders. One thing I learned is that the `/data` partition which resin.io uses for persistent storage is not available on the builders so the compiled code has to be copied to `/data` on the device itself. To do this I created a start script which checks if the compiled code is present in the app directory and if it is it copies it to `/data` before running Ardupilot.


    When Ardupilot runs I get some errors stating that it cannot find the compass or barometer module so I plan to try the image provided with the PXFmini, if this image works then I have a software issue with the resin.io image and if it doesn't work then its a hardware problem - I am really hoping it turns out to be a software issue. Once past this it will be time to try building a custom resin.io image with PREEMPT enabled!

  • Week 1

    Joe09/23/2016 at 18:31 0 comments

    Today I ordered all the components and started to plan how everything will fit together. All the HobbyKing parts are coming from China so I expect they will take a couple of weeks to arrive. In the mean time I plan to compile and get running the Ardupilot code on a Raspberry Pi 3 running on resin.io.

    I think it may be best to use the

    resin/raspberrypi3-buildpack-deps
    base image as this is based on Debian with lots of of other goodness already installed. One of the reasons for this is that the pre-made OS images for the PXFmini use Debian. Having said that, I have been looking for an excuse to try an Alpine image - perhaps this is my opportunity :)


    I may also need to patch the kernel with the RT patch (to enable PREEMPT), I have no idea how to do this so it should be fun to dig in and learn something new! I have access to the resin.io team so I am sure they can give me some pointers here.