 bram
bram.
0%
0%
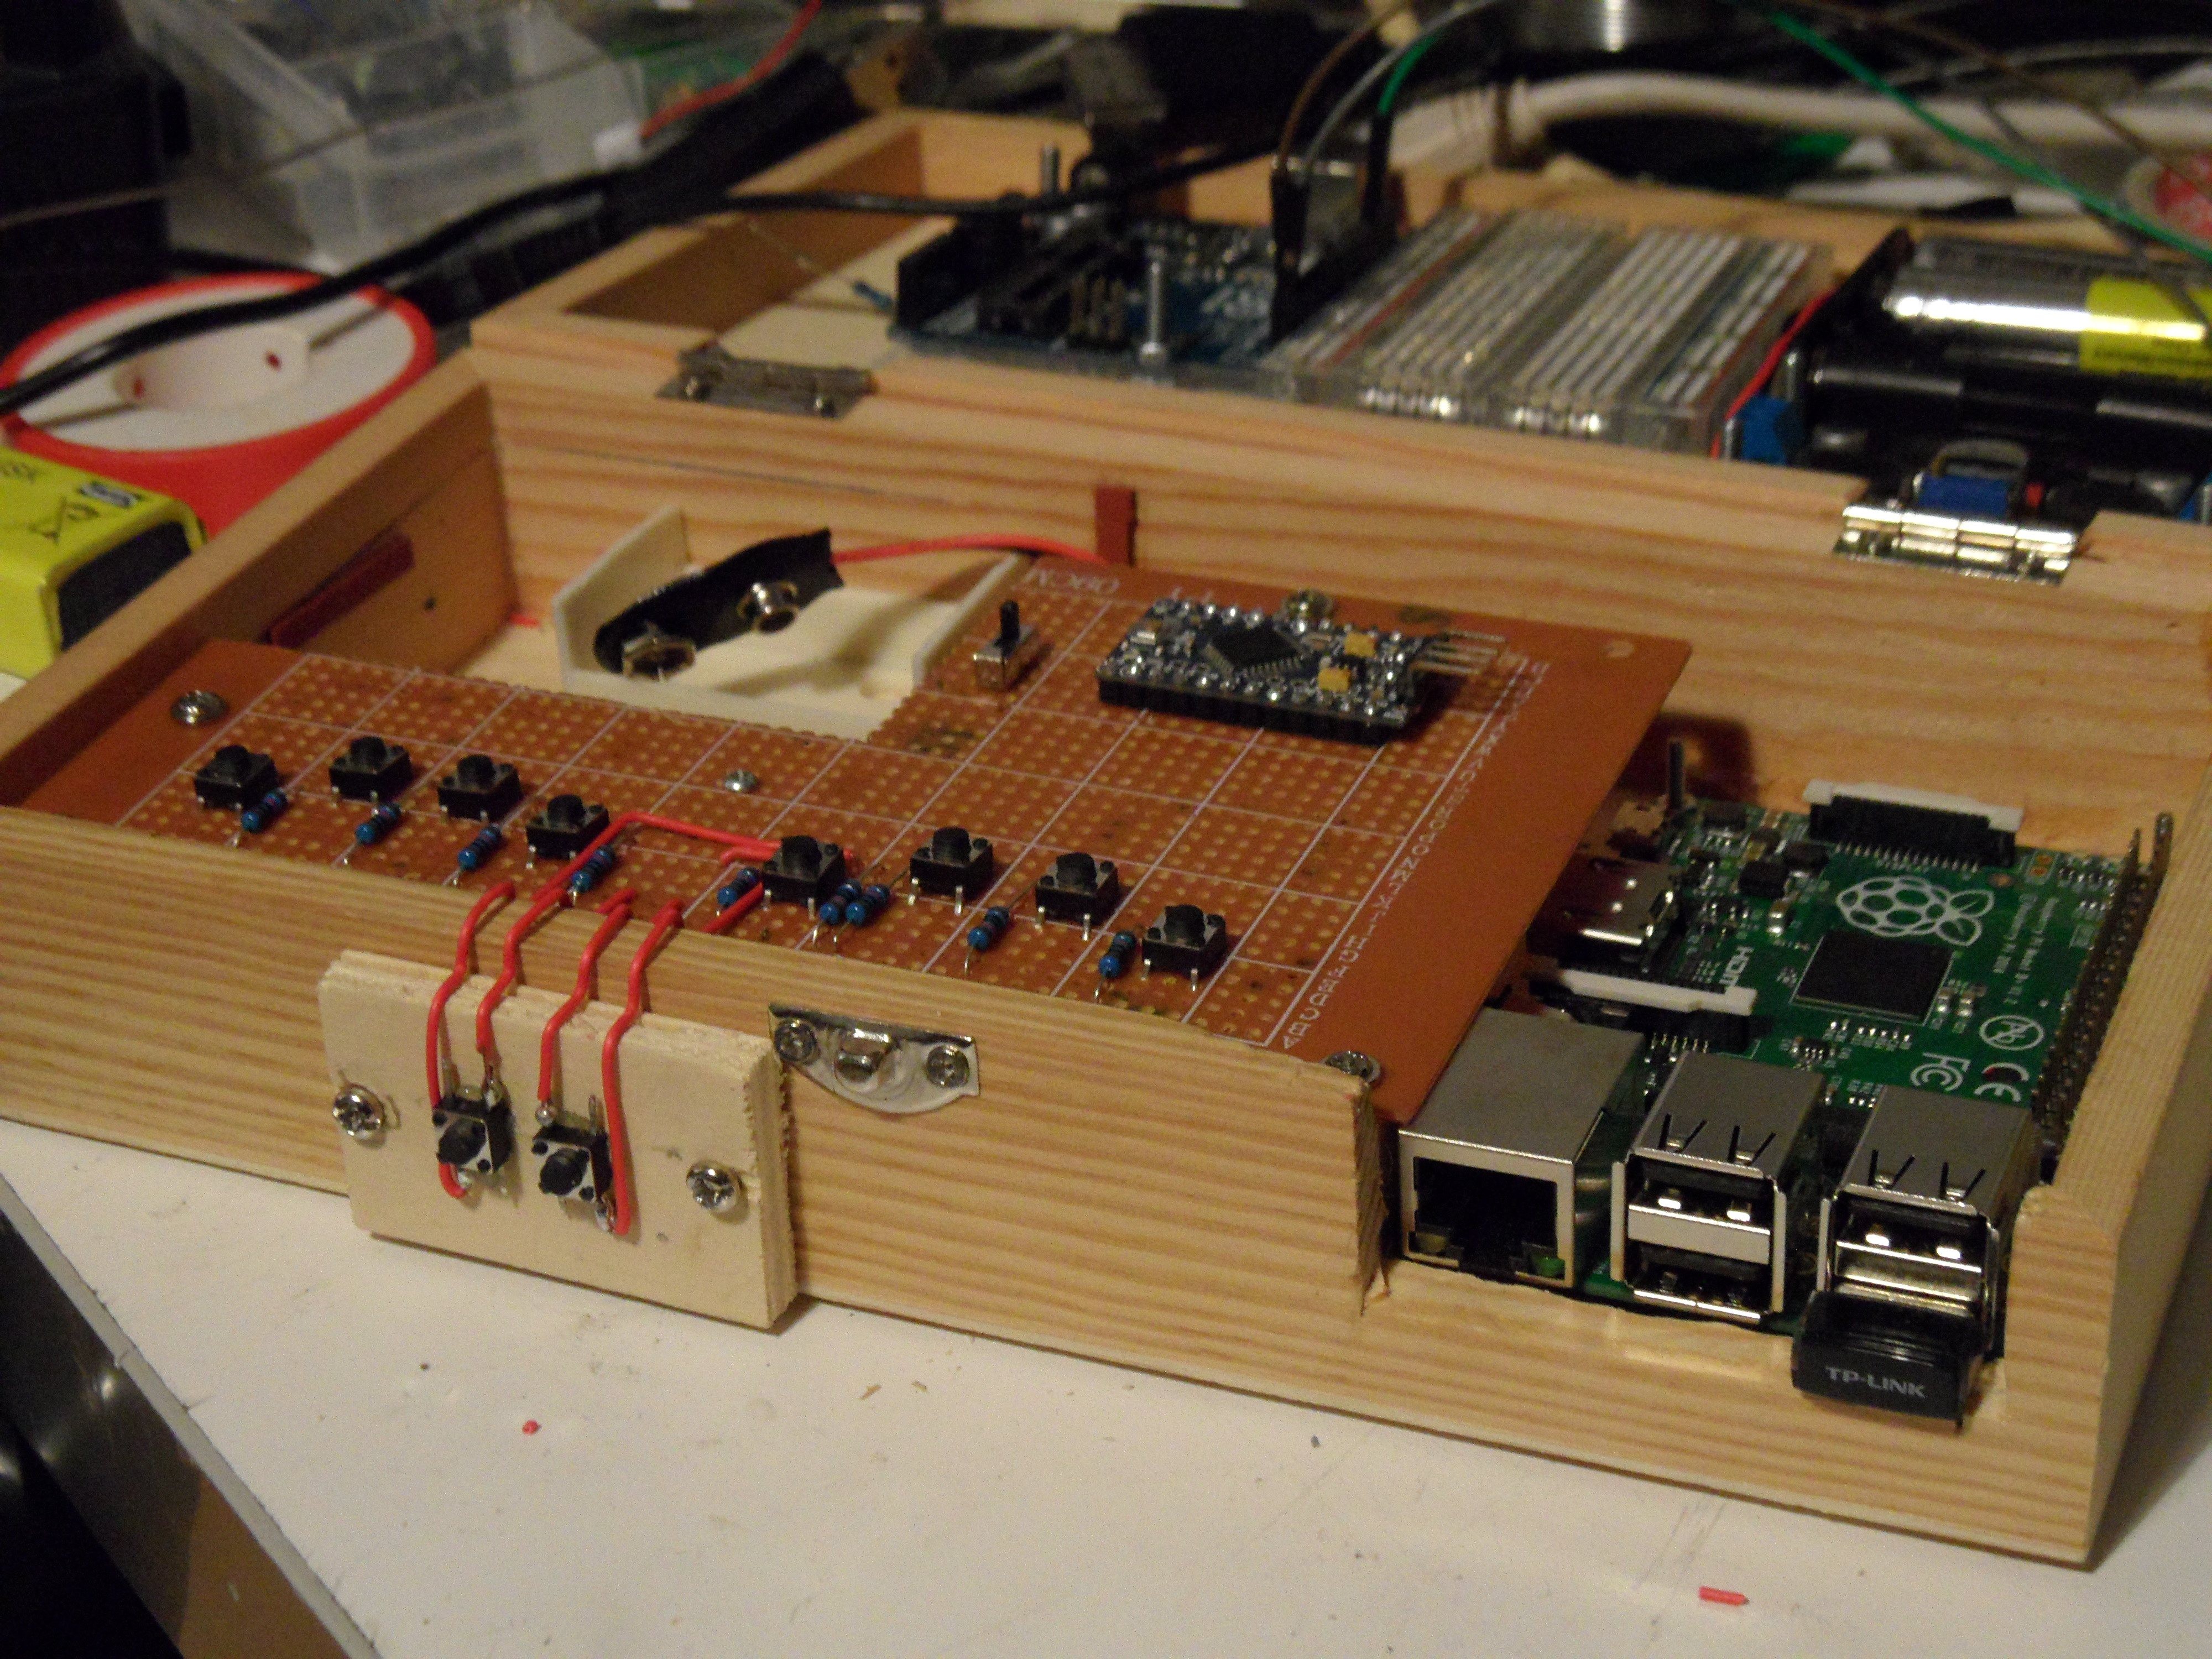
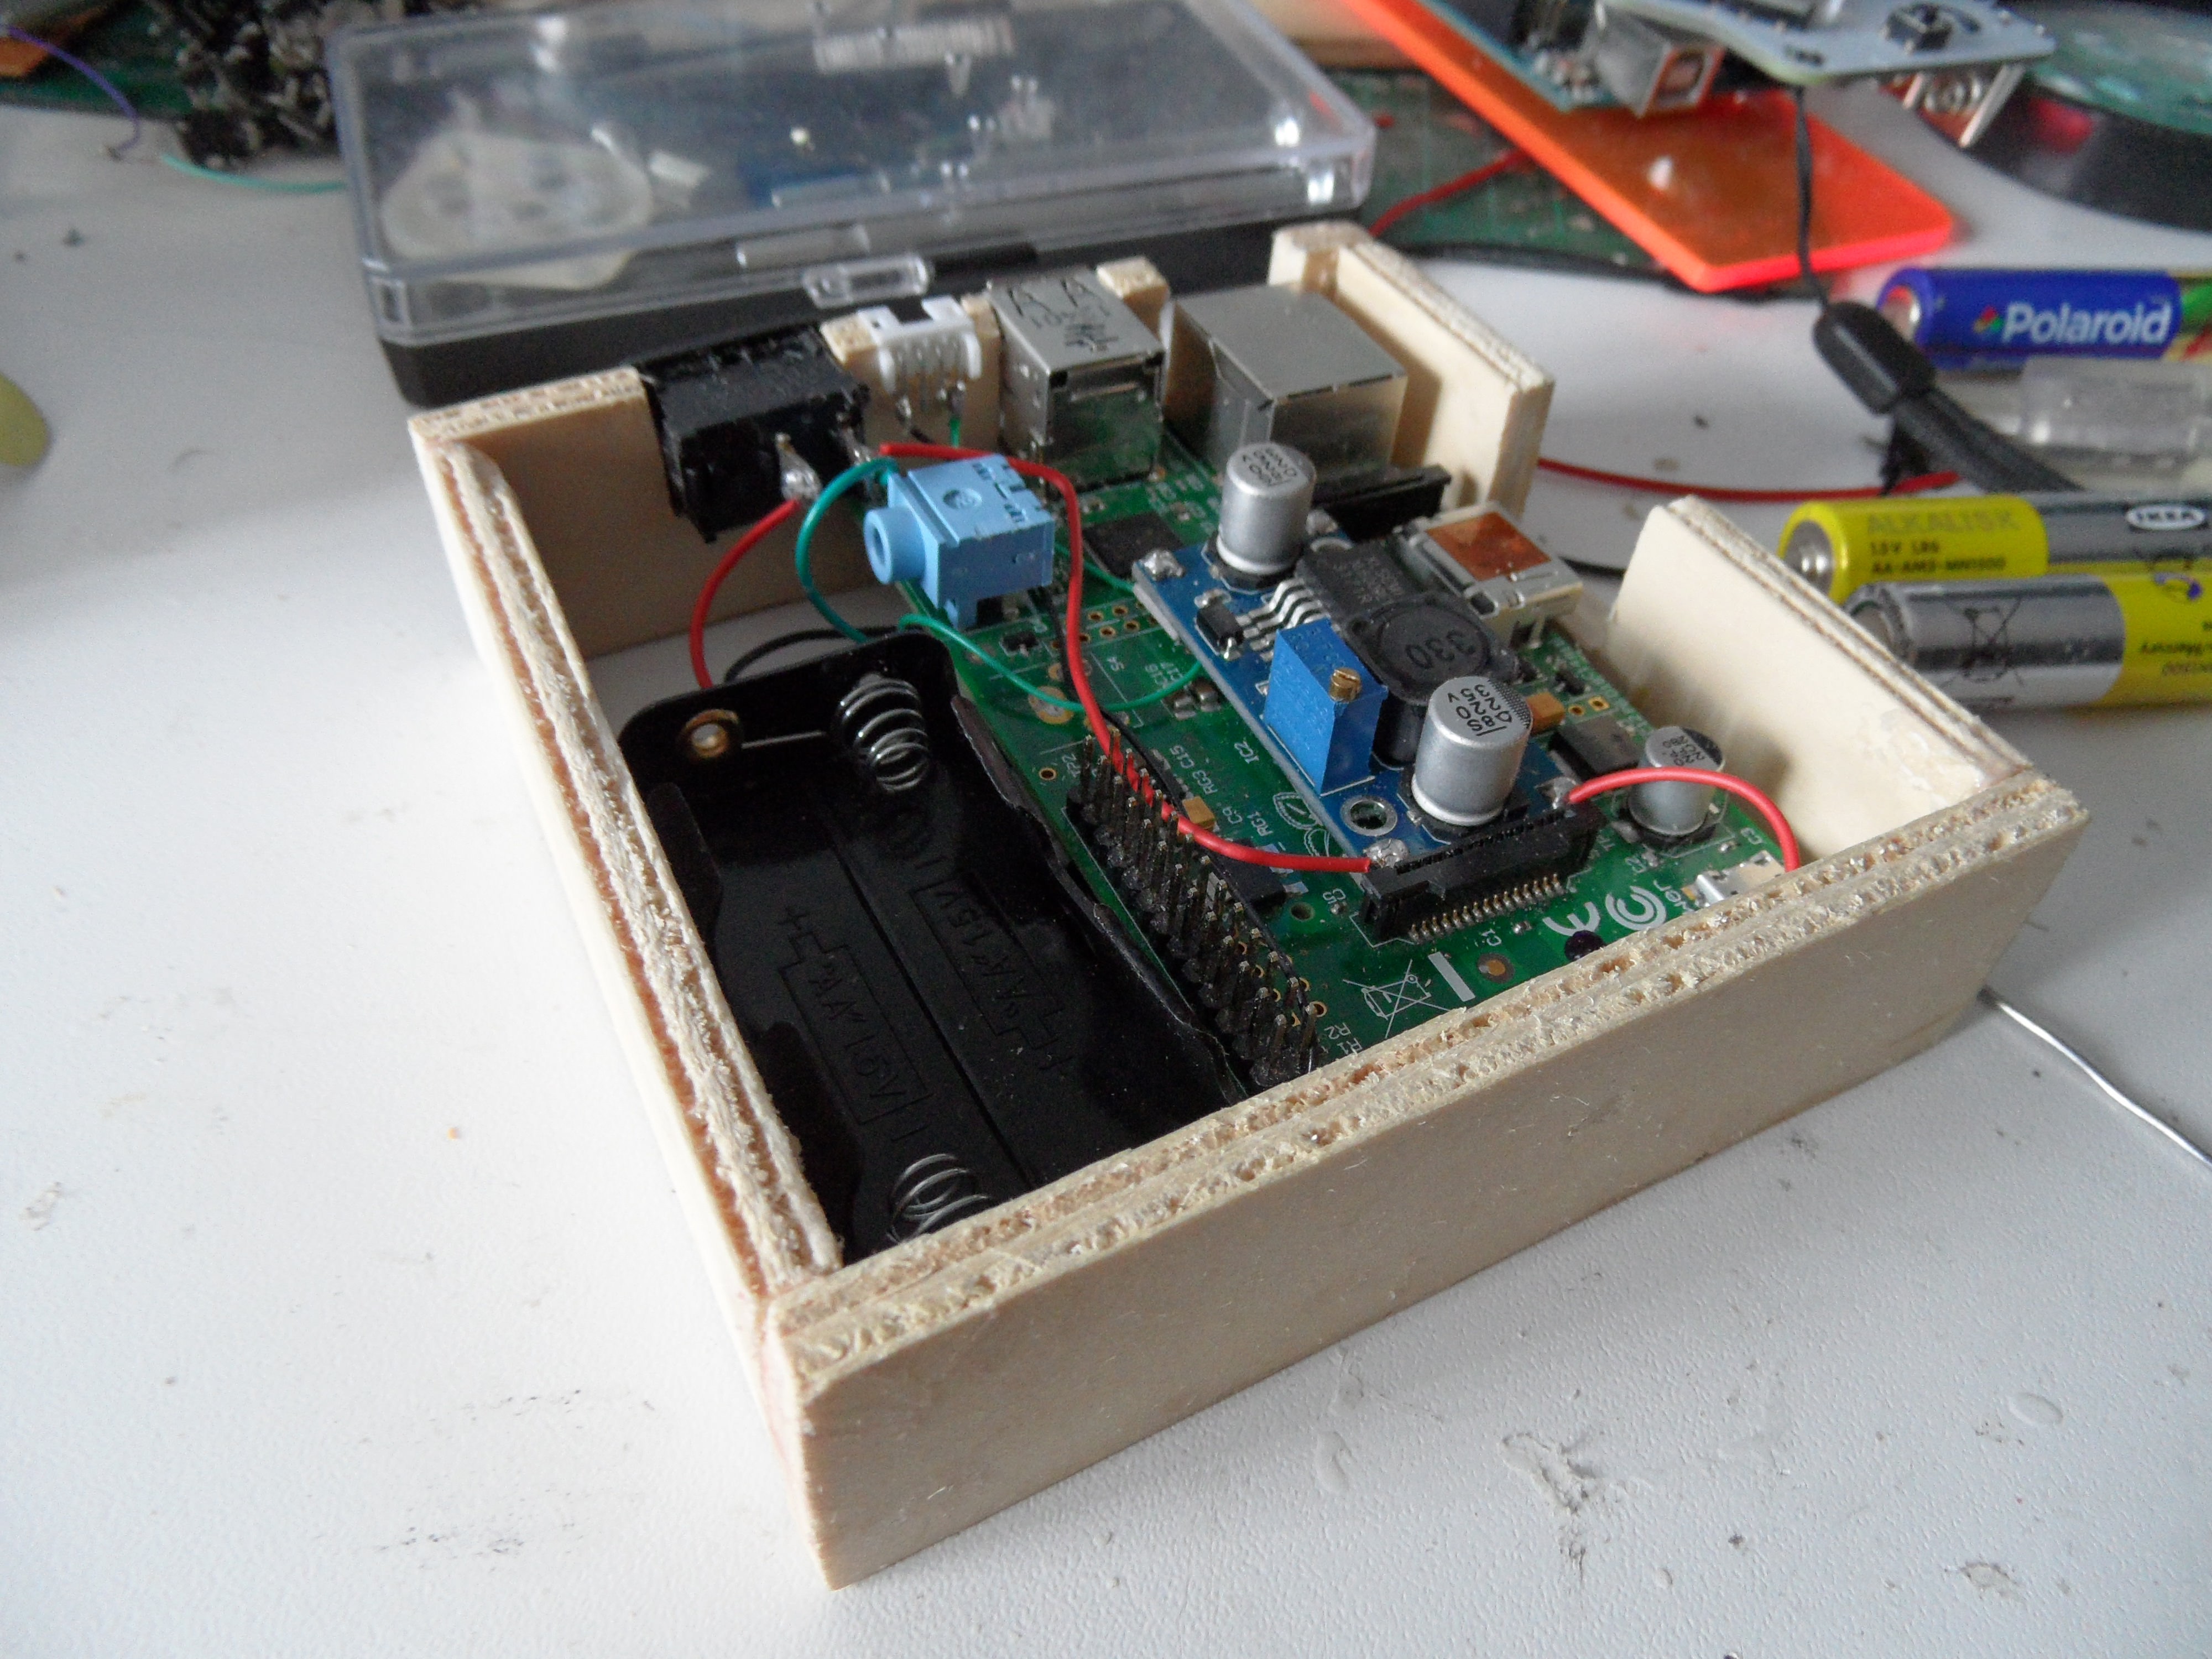
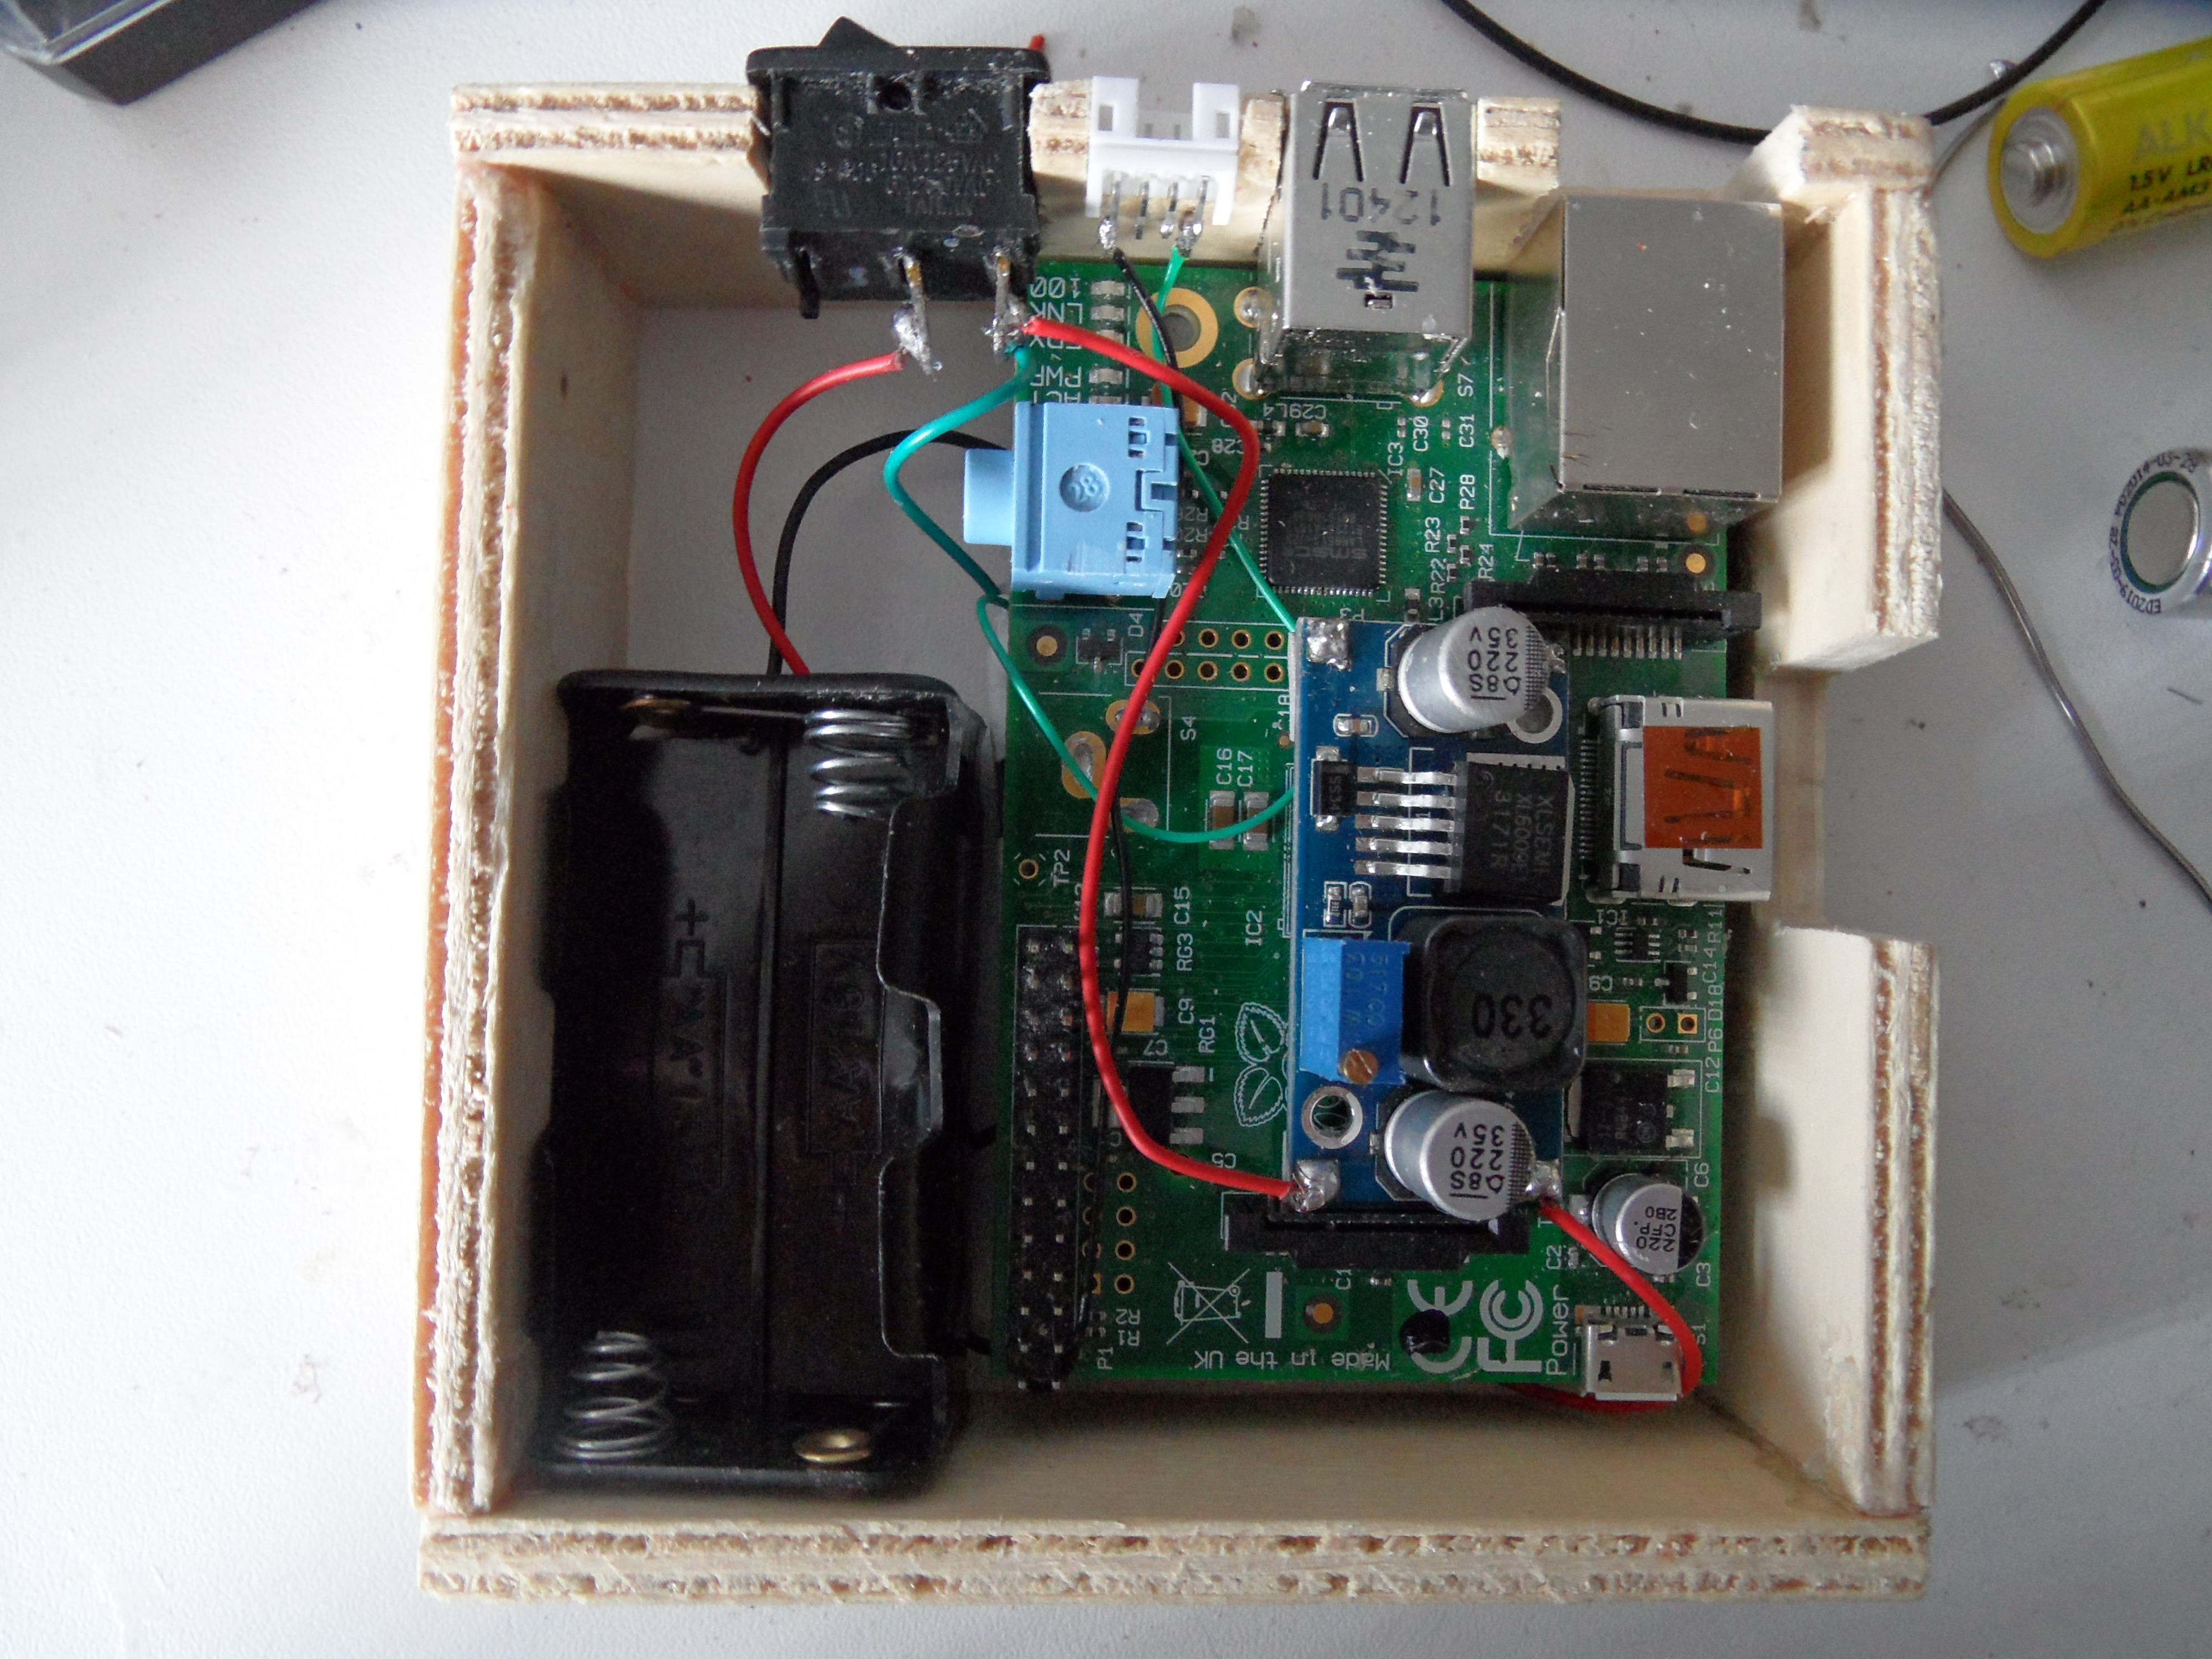
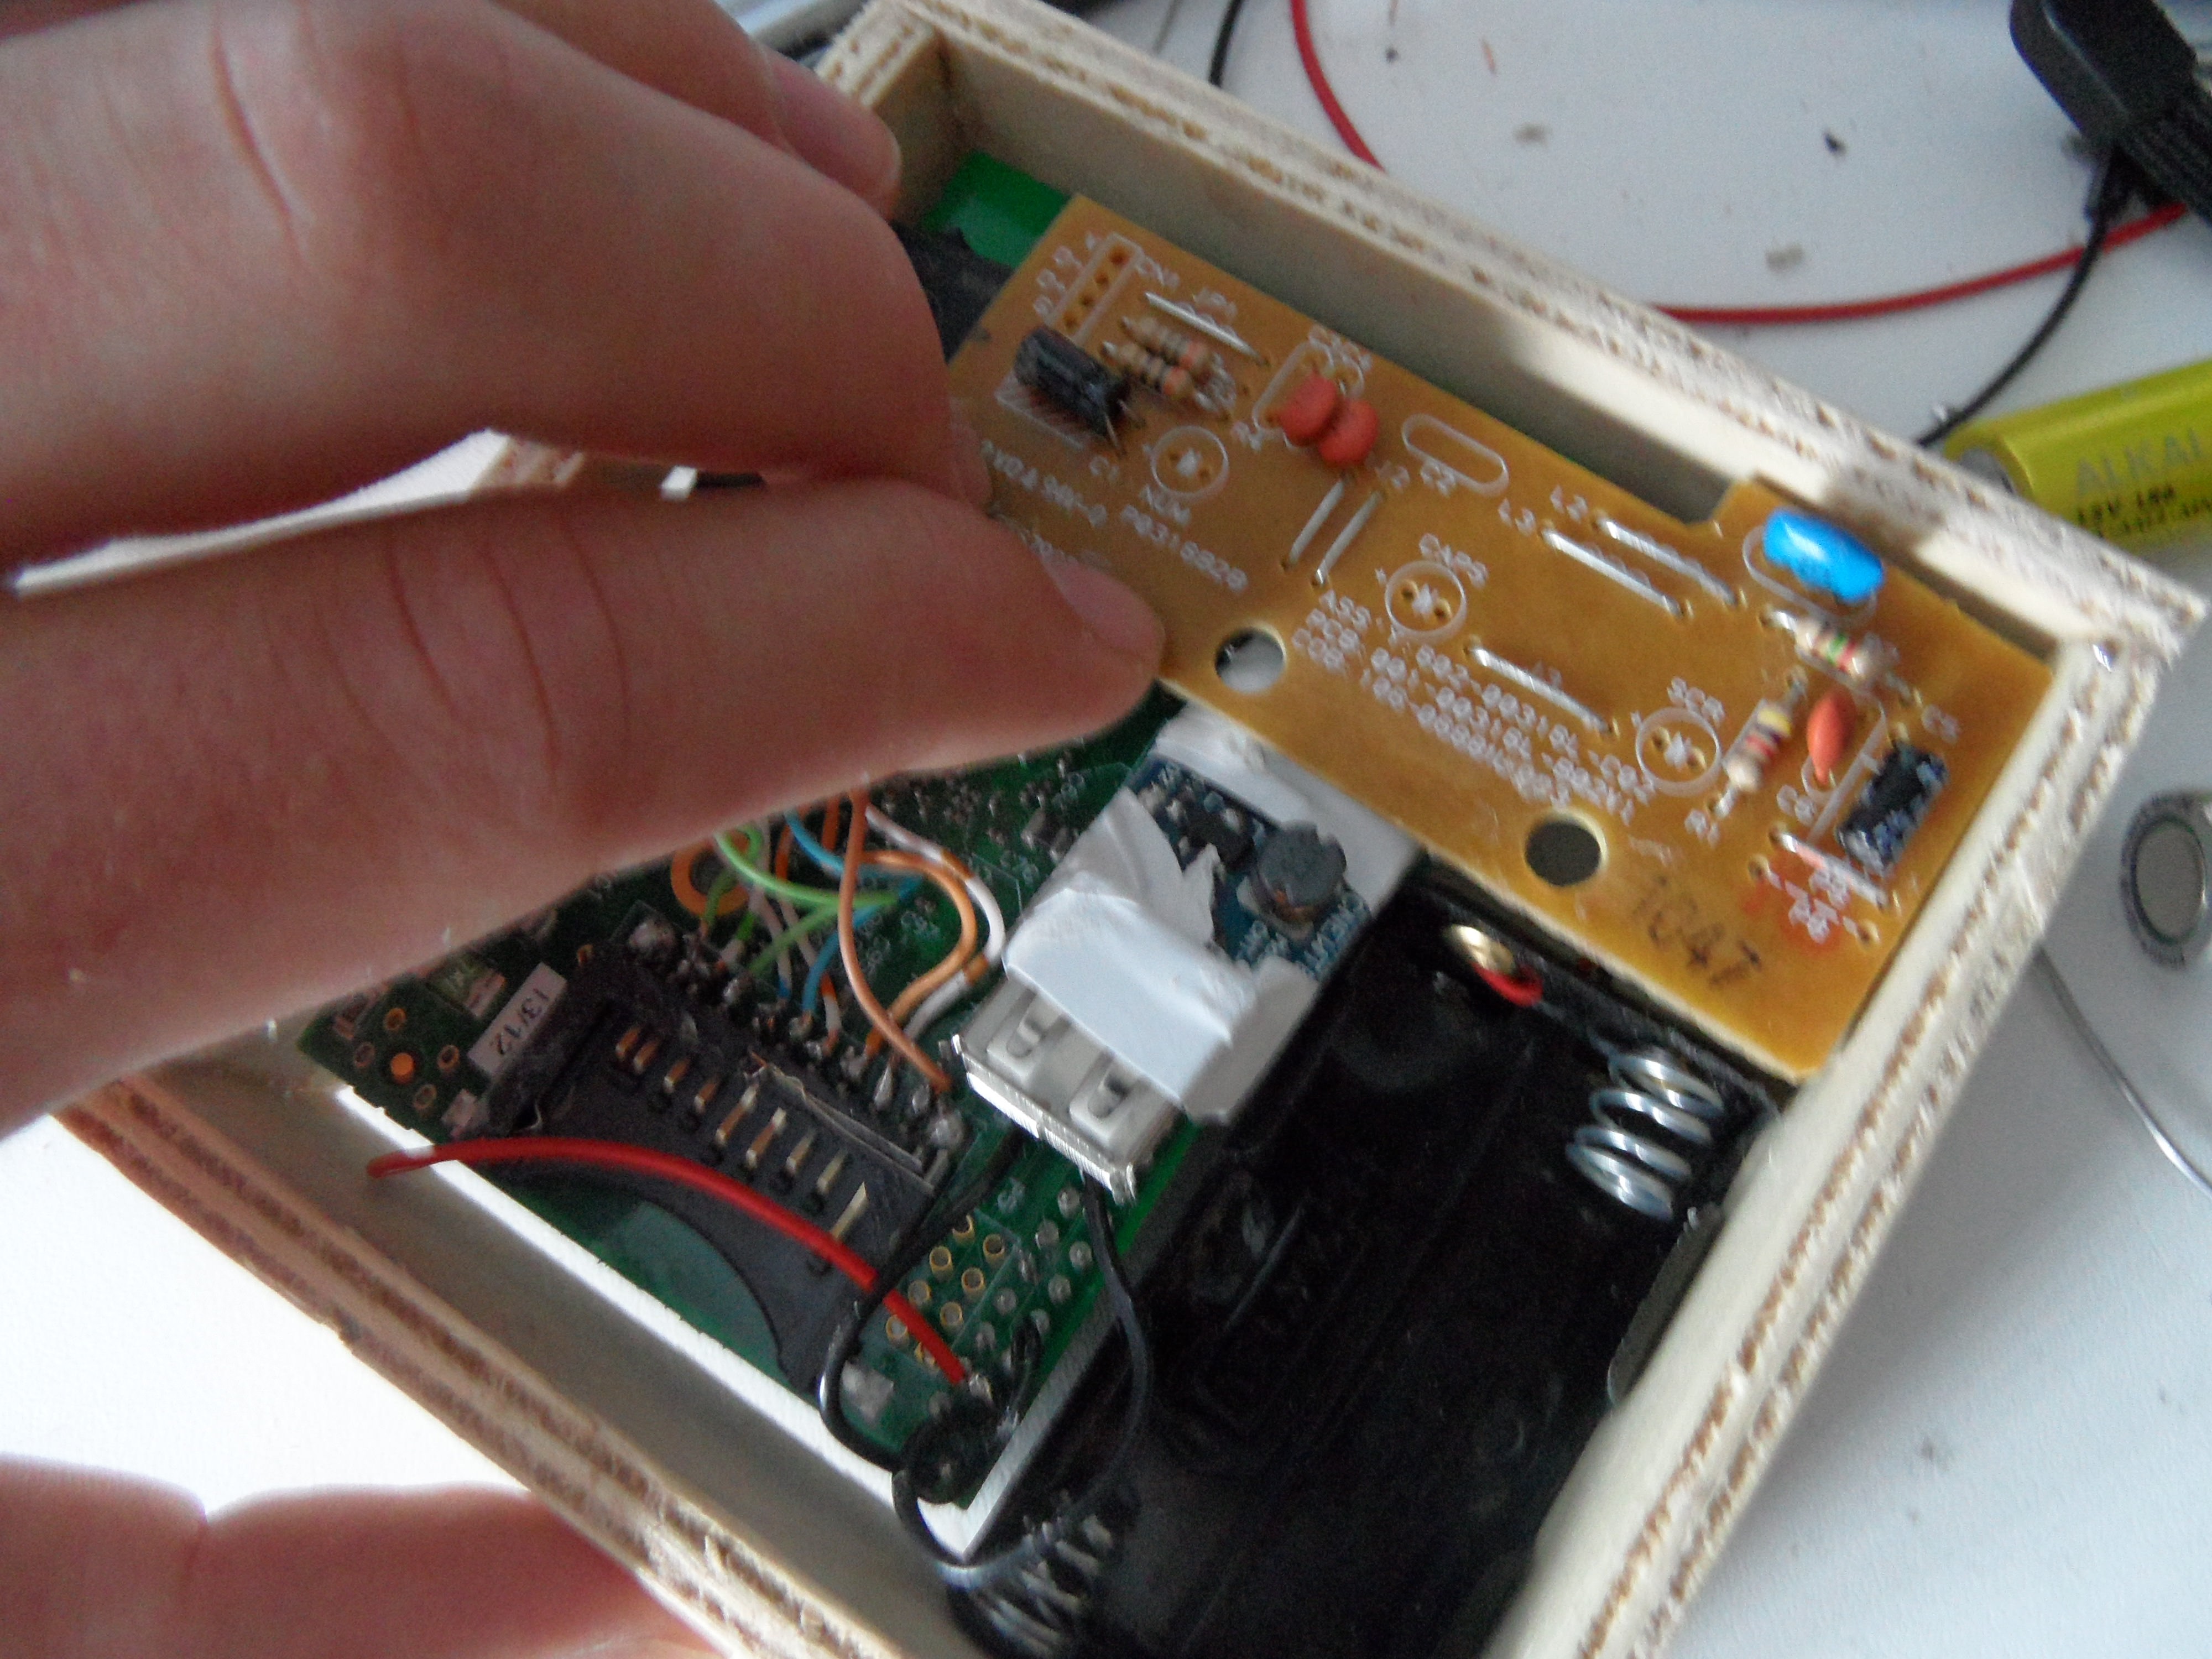
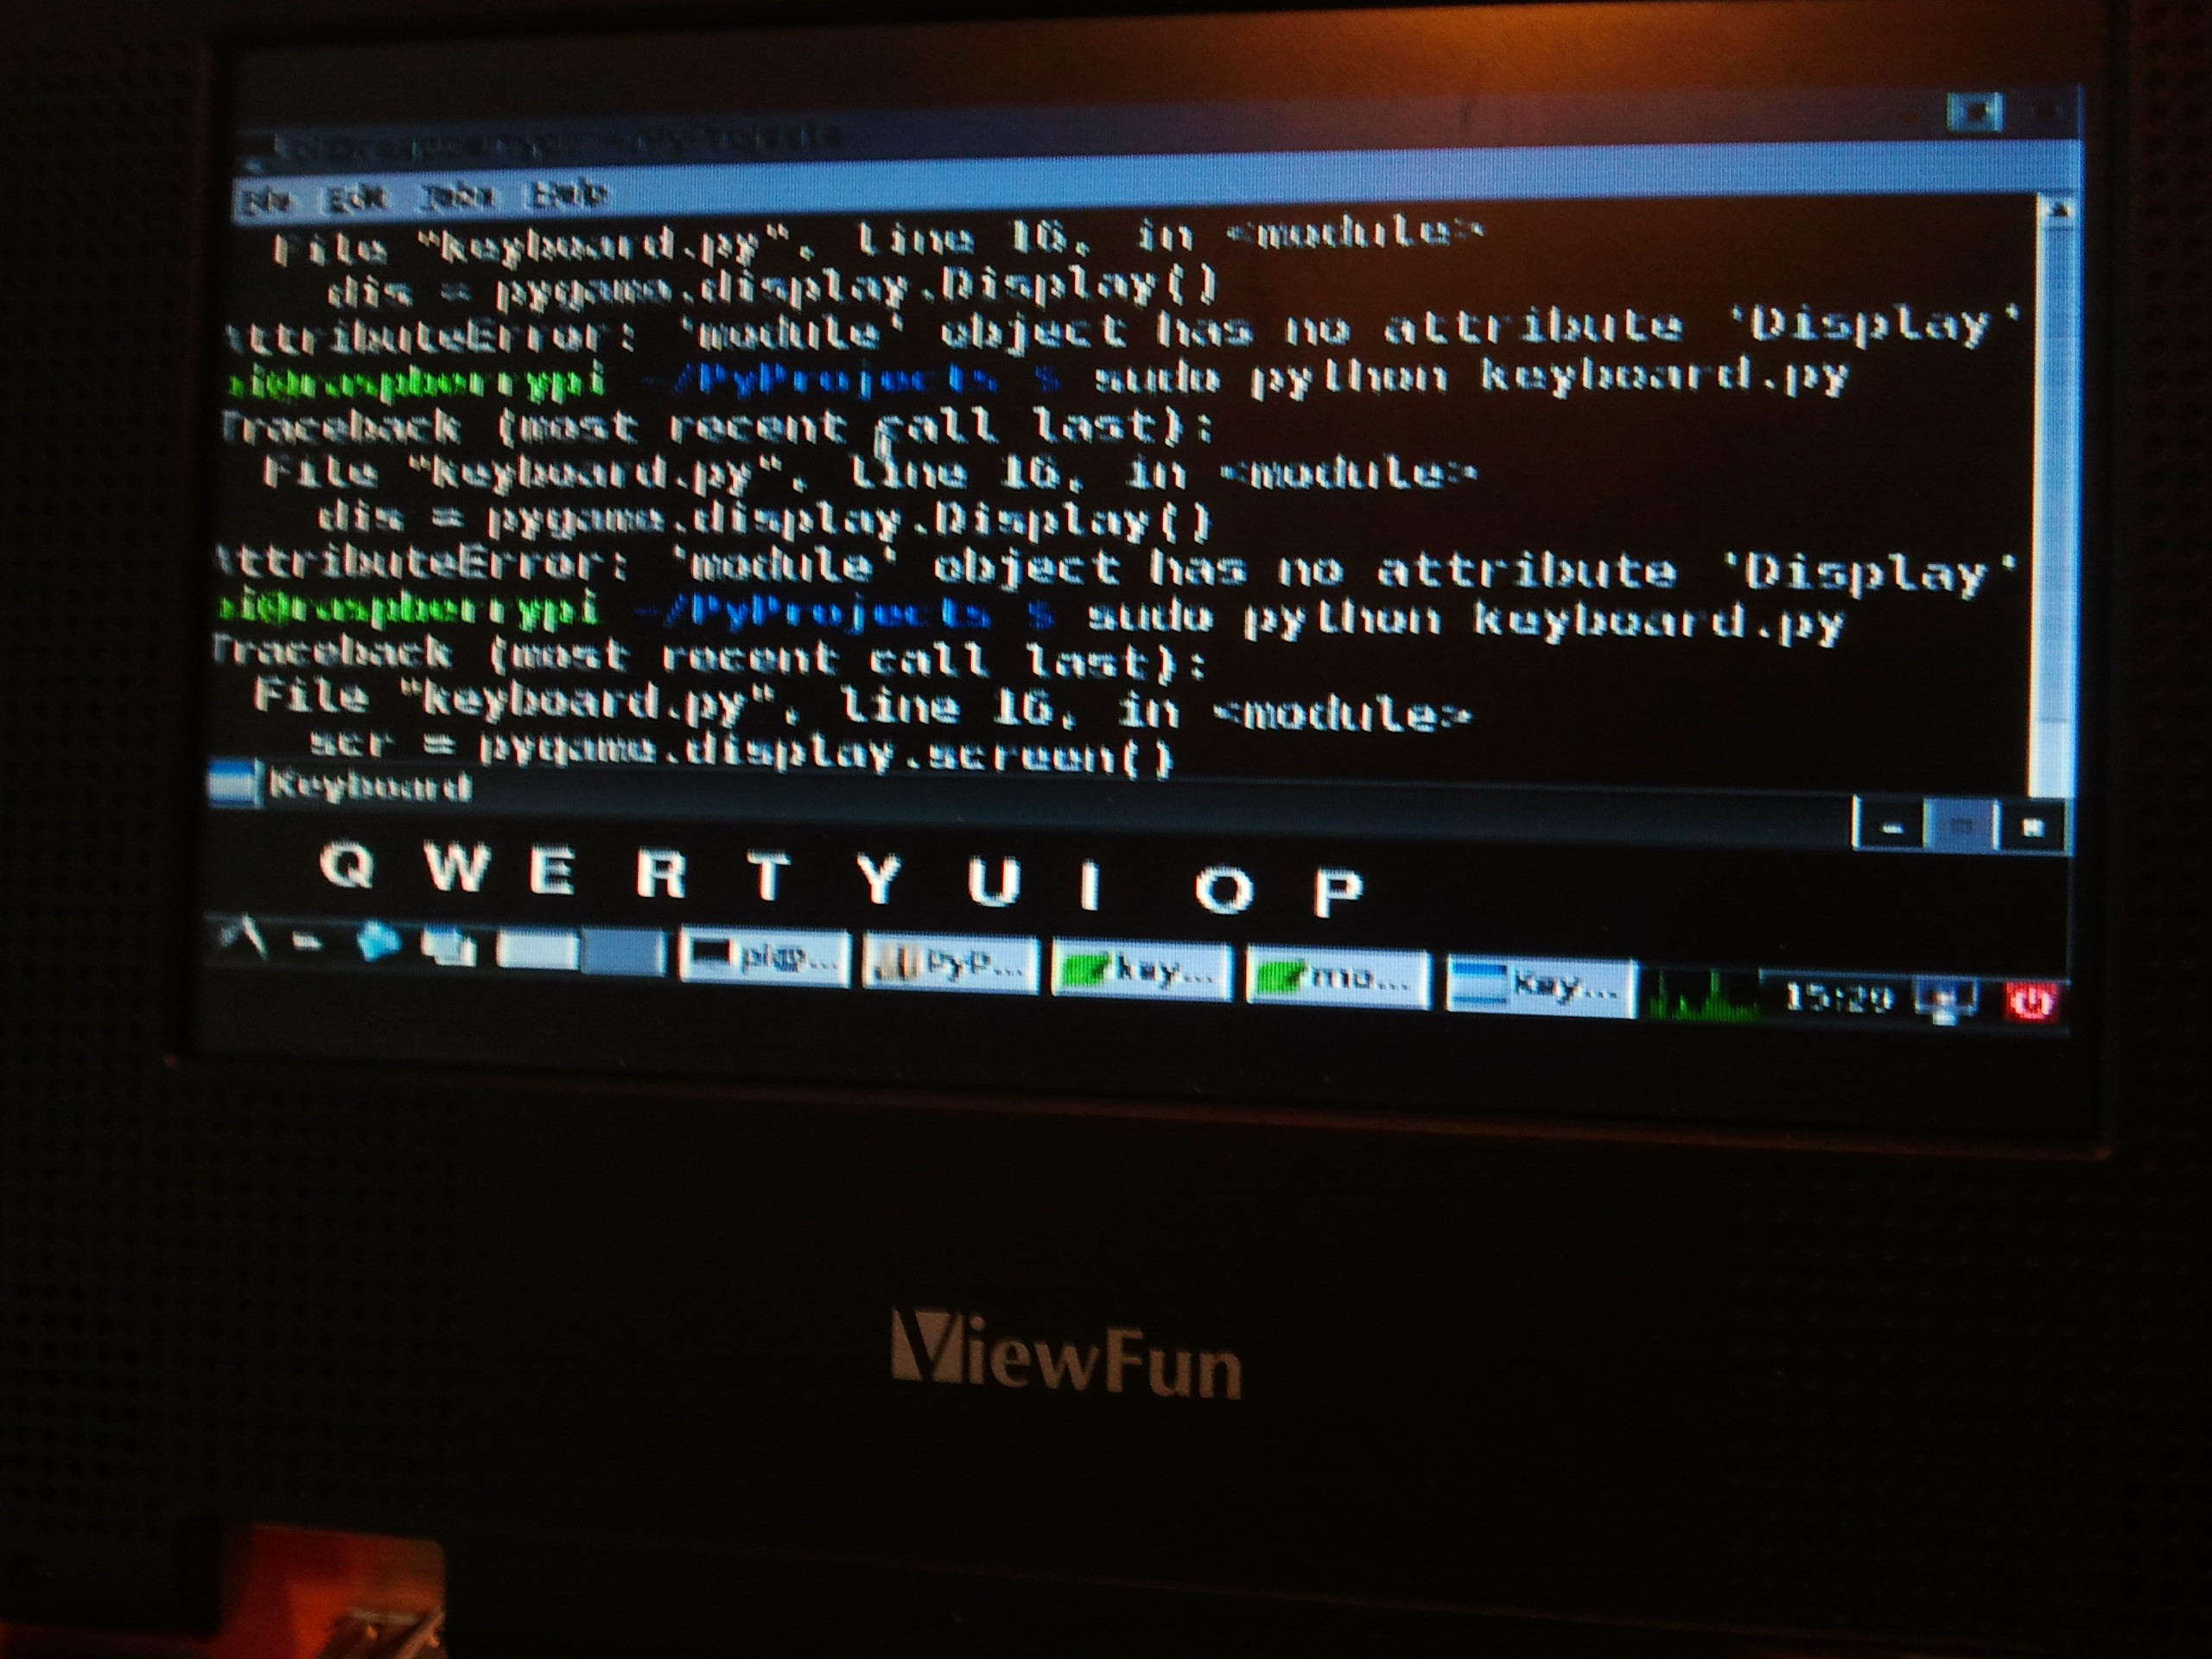
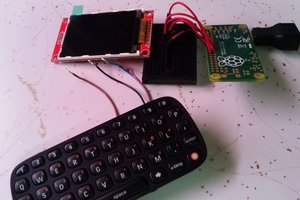
pi/arduino portable computer
A awesome not really pocket sized but still pretty small portable raspberry pi with arduino project.
Become a Hackaday.io member
Already have an account? Log in.
Just one more thing
To make the experience fit your profile, pick a username and tell us what interests you.
Pick an awesome username
hackaday.io/
Your profile's URL: hackaday.io/username. Max 25 alphanumeric characters.
Pick a few interests
Projects that share your interests
People that share your interests


 j0z0r pwn4tr0n
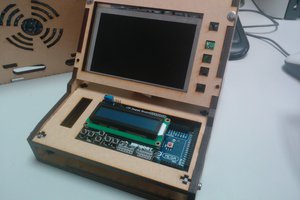
 Craig Hissett
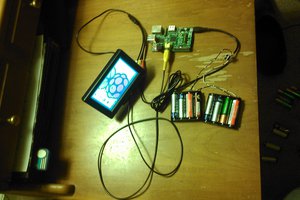
I love this little build - I am building something quite similar!
Are you planning on carrying out any more work on it?
Please say yes :-)