 ahmed Ibrahim
What We Will Build Today ?
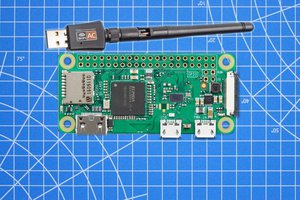
- Today we will learn how to build an local web server using raspberry pi 3 model B (RPi 2, zero will work well) also we will make a web page which will be the user interface to the system.
- the web page will allow the user to control (send orders) RPi GPIO Pins over the internet, Example:ifi'aminAmericaandmyhouseinEgyptIwillbeabletocontrolmyEgypt's house lights and any appliances that connected to the PI GPIO over the internet,That'sCoolRight!!
- we will use Flask Microframework for Python to turn our RPi to a Local Web Server, we will use Python to talk to the web server, also we will use HTML and CSS to make a web Page.
We will divide this tutorial to FourParts
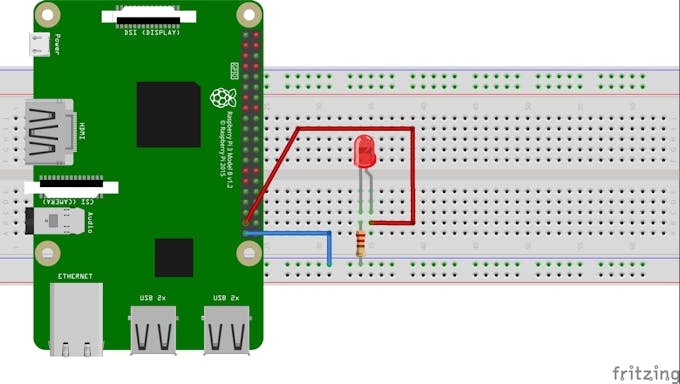
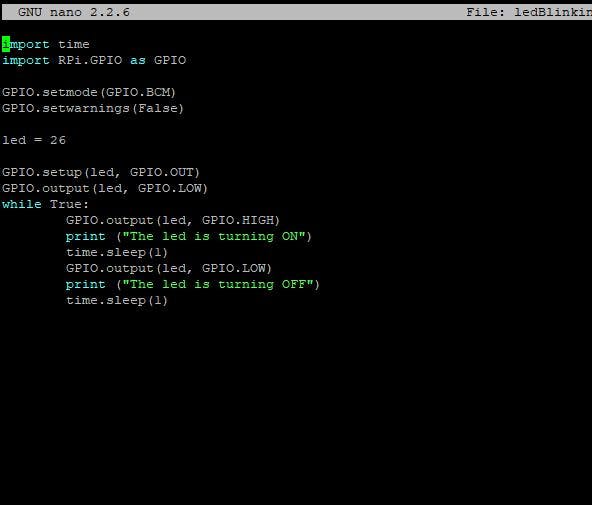
- the first part: is how to control the RPi GPIO using basic Python Prpgramming without any web servers.
- the second part: is how to make a simple web page using HTML and CSS
- the Third part: is how to host the web page which we built on The RPi (local web server) Using Flask and Python.
- the fourth part: is how to control RPi GPIO over the internet.
IMPORTANT:IF YOU ARE FAMILIAR WITH THE BASICS OF RASPBERRY PI AND PYTHON AND WANT TO SEE THE FINAL PROJECT PLEASE JUMP TO THE LAST PART OF THIS TUTORIAL TO NOT GET BORED :)


 Tejas Lotlikar
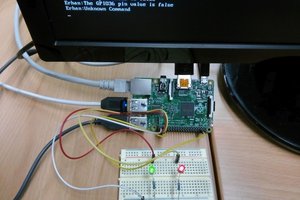
 erhanyilmaz.ytu
 Israel
 Chris
Chris
Hi:
I am trying to build a system for my greenhouse using this project as a starting point.
this system will automatically control the plant watering to start, eventually adding heating and etc.
is the source code available for download?
thanks
jayweaver1946