Close
0%
0%

Rollator lift for small car

Simple car lift for rollator out of some coated plywood, wiper motor, drivebelt and aluminum rails. Walker stored instead of passenger seat.

Similar projects worth following
Challenge: Allow my mother to load and unload the rollator by her own in her small car. Before she was able to put the walker in the trunk, but with increasing weakness and problems standing free this is impossible now.

In the trunk there is no place for anything like a crane. So I mounted the rollator lift on the inside of the right door. Now she can use her own car again!

Don't know if this problem will change the world - but i'm sure it changed *her* small world entirely!

To load the rollator the right door is opened, the lift moves down by pushing a button (sorry, no arduino included!)

The rollator then is fixed with a velcro.

Move up the lift, fix rollator for transport with lashing strap - and close door. Ready to go.

Components:

Some coated plywood, wiper motor, drivebelt and some extruded aluminum.

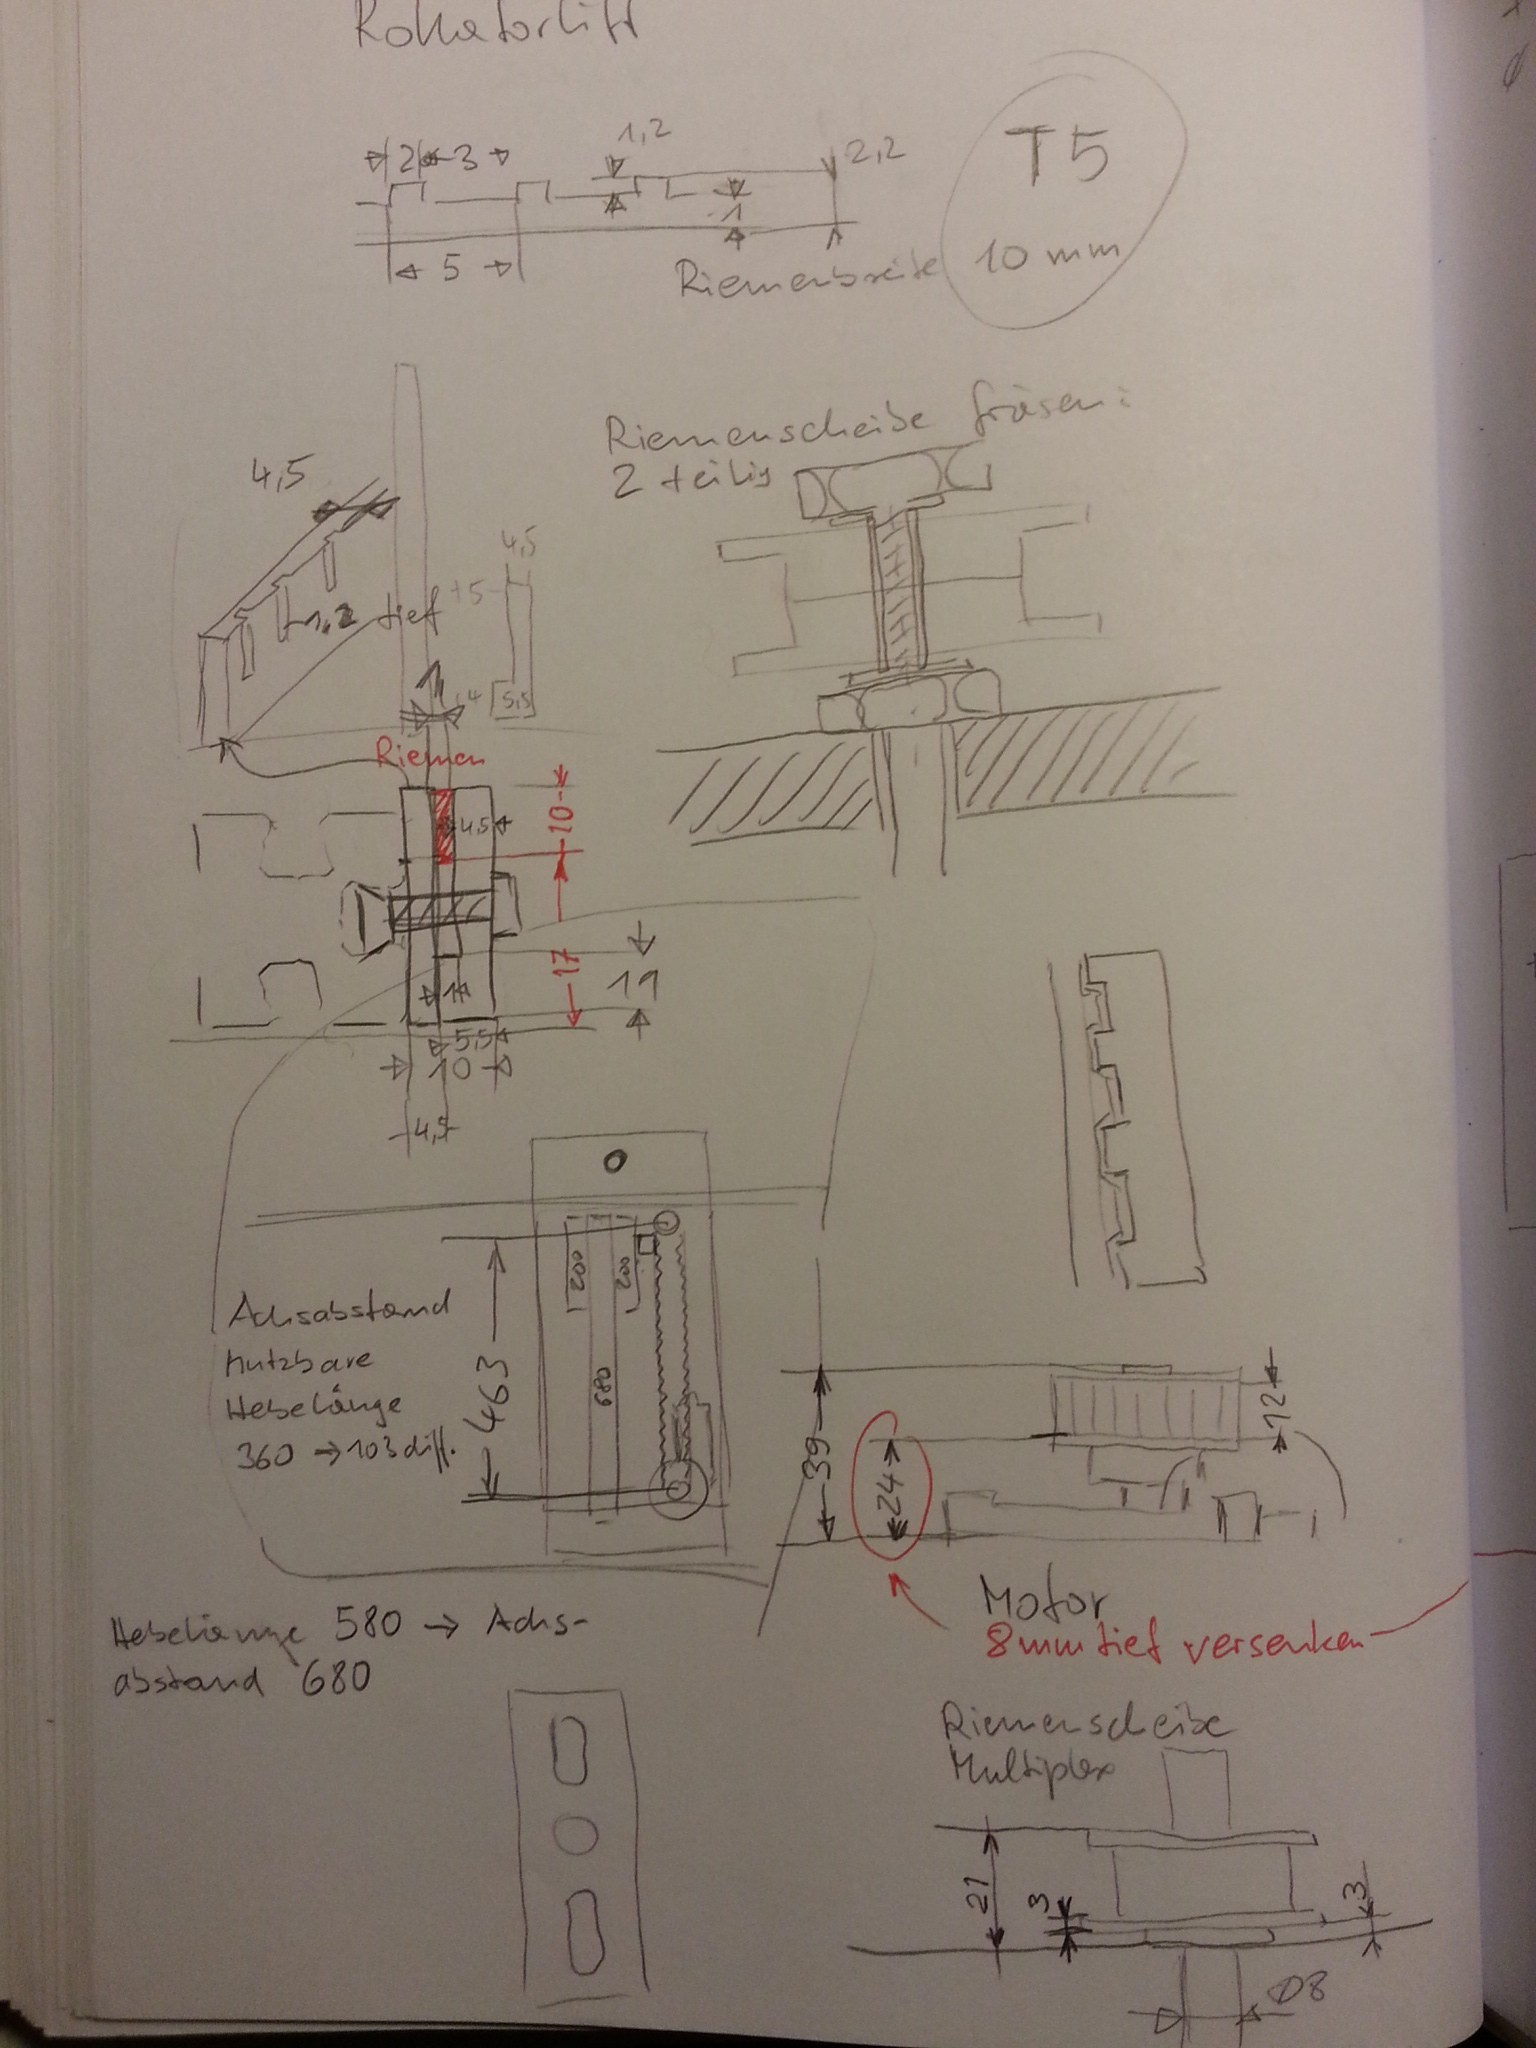
The whole construcion is explained in the build logs. As I'm one of the previous generation, I prefer to scribble with pen and paper ;)
  • 1 × Aluminum profile approx 1,5 m
  • 1 × Coated plywood, waterproof
  • 1 × Wiper motor
  • 1 × Drivebelt with matching toothed weels
  • 2 × End switch, normally closed

View all 9 components

  • Schematic

    typo10/03/2016 at 20:56 0 comments

    I'm sorry that there is no Raspberry Pi or at least an Arduino! A commutator switch is changing polarity for up / down movement. If the "go" button is pressed the motor is running, until the according end switch is opening.

    In case of emergency there is an emergency push button which will break the supply line.

  • Front plane and hook for rollator

    typo10/03/2016 at 20:29 0 comments

    Finally there is a cover to allow the rollator to be fixed at. I used a simple hook from hardware store. I think it is for storing a garden hose or similar.

    The rollator has two knobs for adjusting height - these are perfect for hanging the wheeled walker.

    You see the lower belt, the red one. This one is for fixing the rollator while moving up and down.

    If the walker finally is lifted up, both belts are closed and everything is ready to go.

  • Mounting of lift on the car door.

    typo10/03/2016 at 20:21 0 comments

    A friend of mine did the welding: Four M6 bolts welded directly on the steel of the door - the door panel was removed.

    Here you can see the mounting of the backplane:

    The black / red belt at the end holds the rollator in up position securely when driving.

  • Backplane and linear guide

    typo10/03/2016 at 20:15 0 comments

    The backplane will then be bolted against the door. Out of the aluminum profiles I buildt a linear guide which allows to move a small plywood plate of approx 10 by 10 cm up and down.

    On that plate sits the front plane wich holds the hook for the rollator.

    You maybe notice the blue end switch. There is one switch for up and one for down position.

  • Gathering material

    typo10/03/2016 at 20:07 0 comments

    I do serious dumpster diving, so i examined my stock material for usable parts:

    This is an wiper motor (it is rated for 24 volts, so speed at 12 V is only half, but the force is strong in this motor! ;)

    Then i found some aluminum profile. The white parts are findings also - they were screwed to one of these aluminum parts and were used as friction bearings - exactly what i needed!

  • Preliminarys

    typo10/03/2016 at 20:00 0 comments

    First i took photos of the rollator together with a folding rule. Idea was to test for the space needed.

    I found that the rollator fits nicely into the space on the front-seat passenger place.


View all 6 project logs

Enjoy this project?

Share

Discussions

Øystein wrote 03/01/2019 at 09:34 point

Neat compact design! When you don't need the passenger seat this is a really nice way of storing it for the elderly.

  Are you sure? yes | no

Similar Projects

Does this project spark your interest?

Become a member to follow this project and never miss any updates