 Michal Wojciechowski
For last months was trying hard to make any additional progress in print quality and speed without any success.
When printing with PET i couldn't get any faster than 8mm3/s without artifacts (mostly under extrusion). In addition printing infill couldn't go beyond 110mm/s (and solid infill 130mm/s).
All this was caused by changes of pressure in nozzle (for example: to small when fast accelerating and then high when decelerating).
Most of firmware's available have algorithms for this... but guess what smoothieware... not
When it comes to "features" smothieware developers don't like to follow any trends (speaking nicely) and most of time telling users that if they want something they can write it on theire own. It's opensource so I could understand that in any other situation than this... This is smoothieboard running smoothieware - "high performance 32bit controller". Smoothie was built for speed and performance but without any pressure control for 3d printer's extruder in real life it's faster than "8bit grandma boards" only at travel moves.
I think 32bit "fast" controller needs pressure advance algorithm so it can achieve fast real word speeds - not only step rate matters.
So my only option was to write the pressure advance code for smoothiware (sic) or use any other firmware compatible with my boards.
After some research i thought the best for my machine will be Klipper firmware. After very simple config setup i can tell It works very nice with my smoothieboard's mcu (LPC1769).
Pressure advanced setup was very easy.
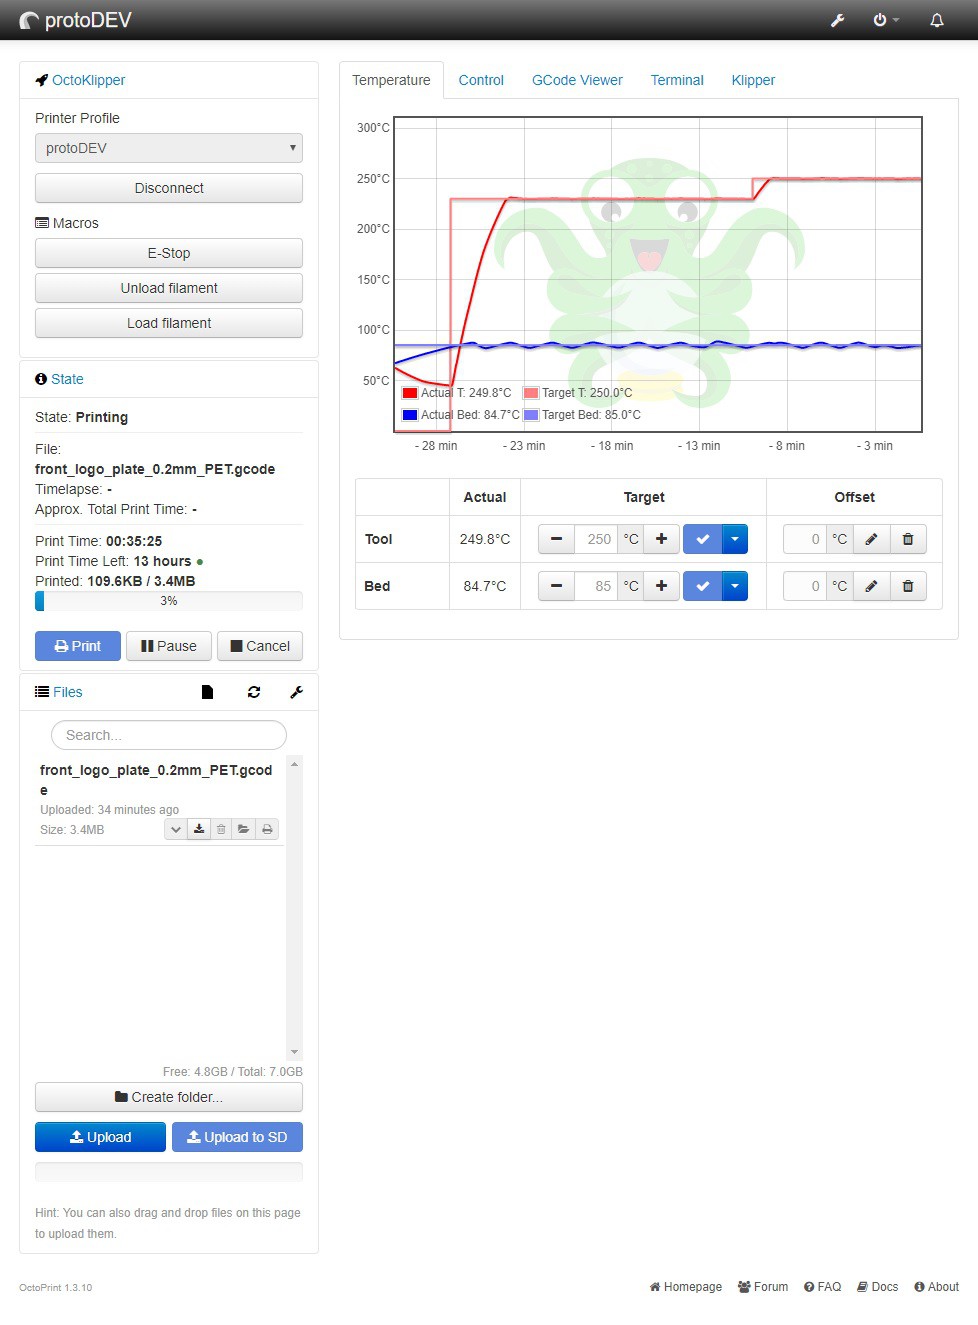
Corner without advanced:
default test setting
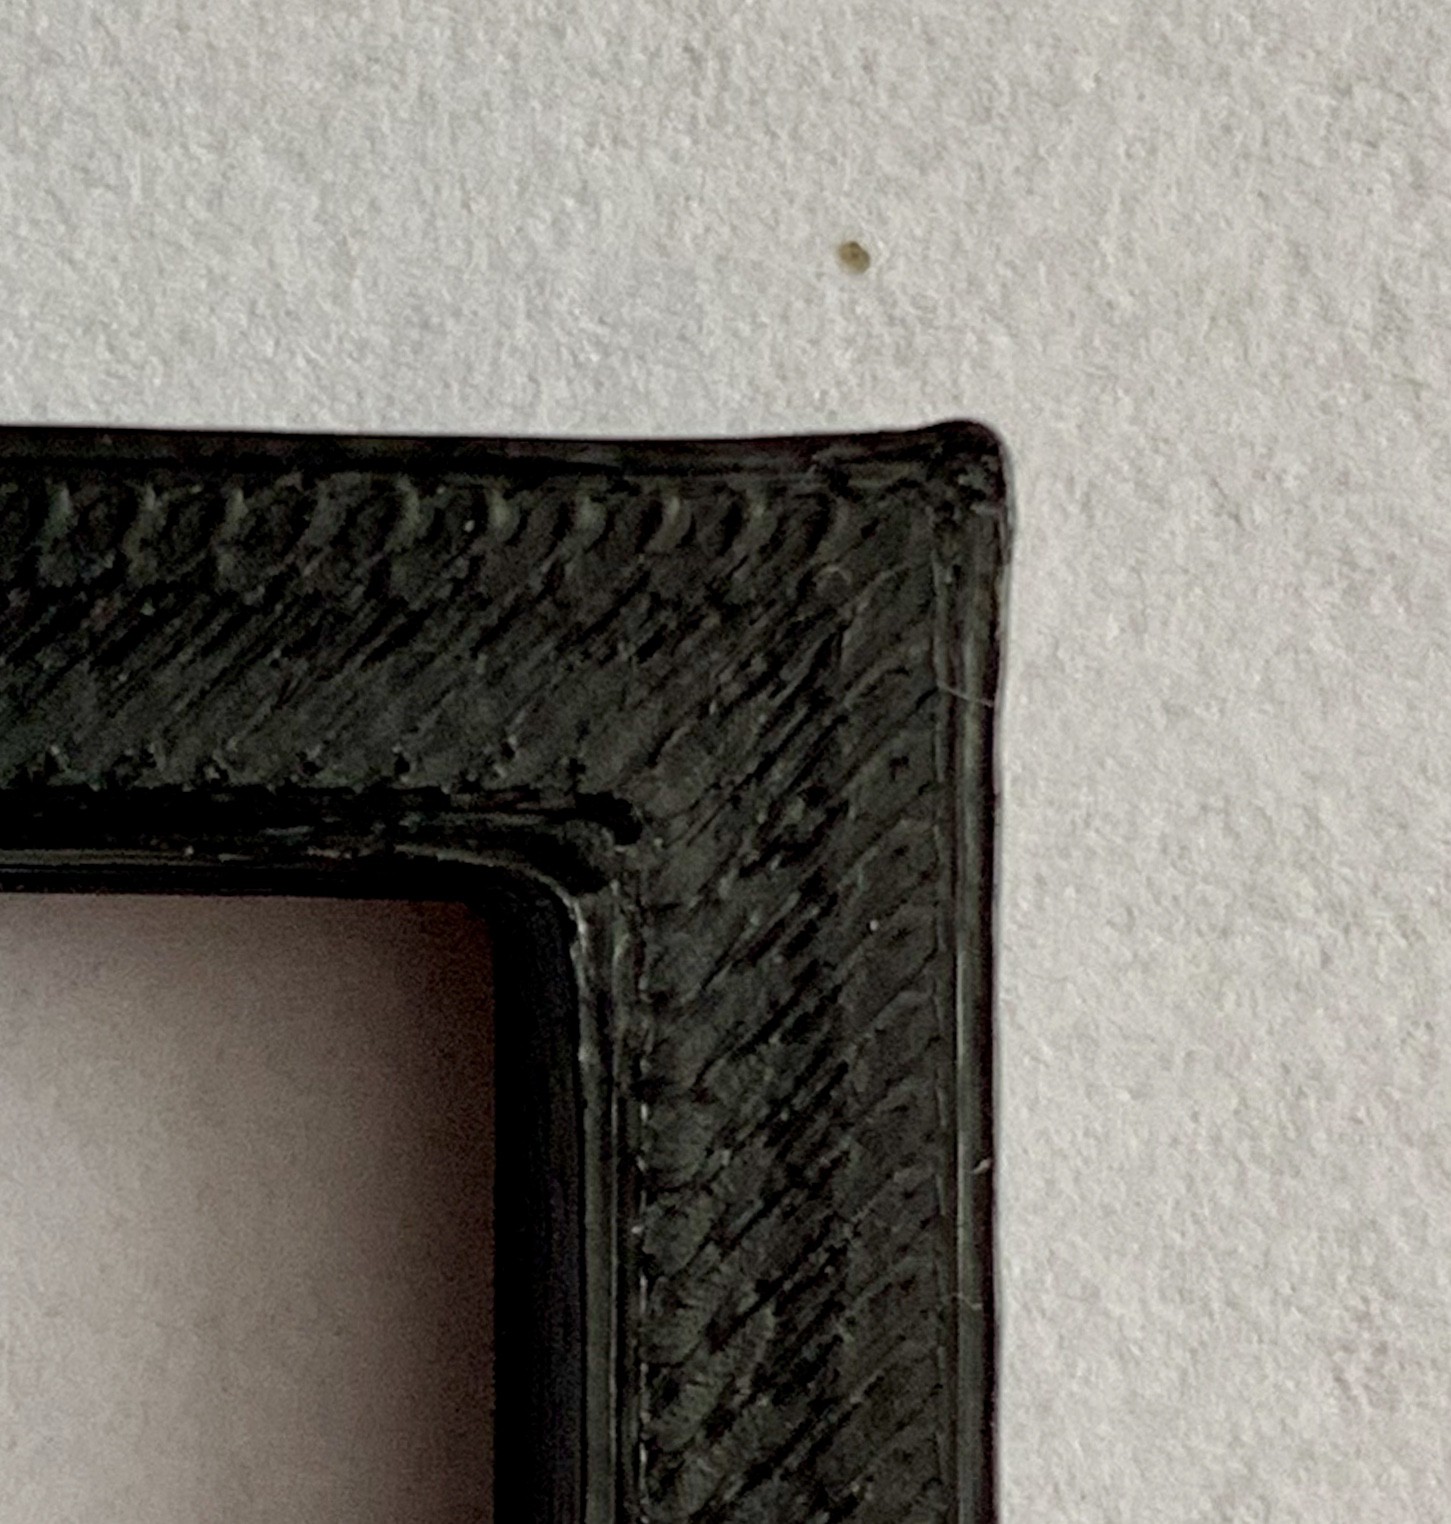
Advanced 0.05:
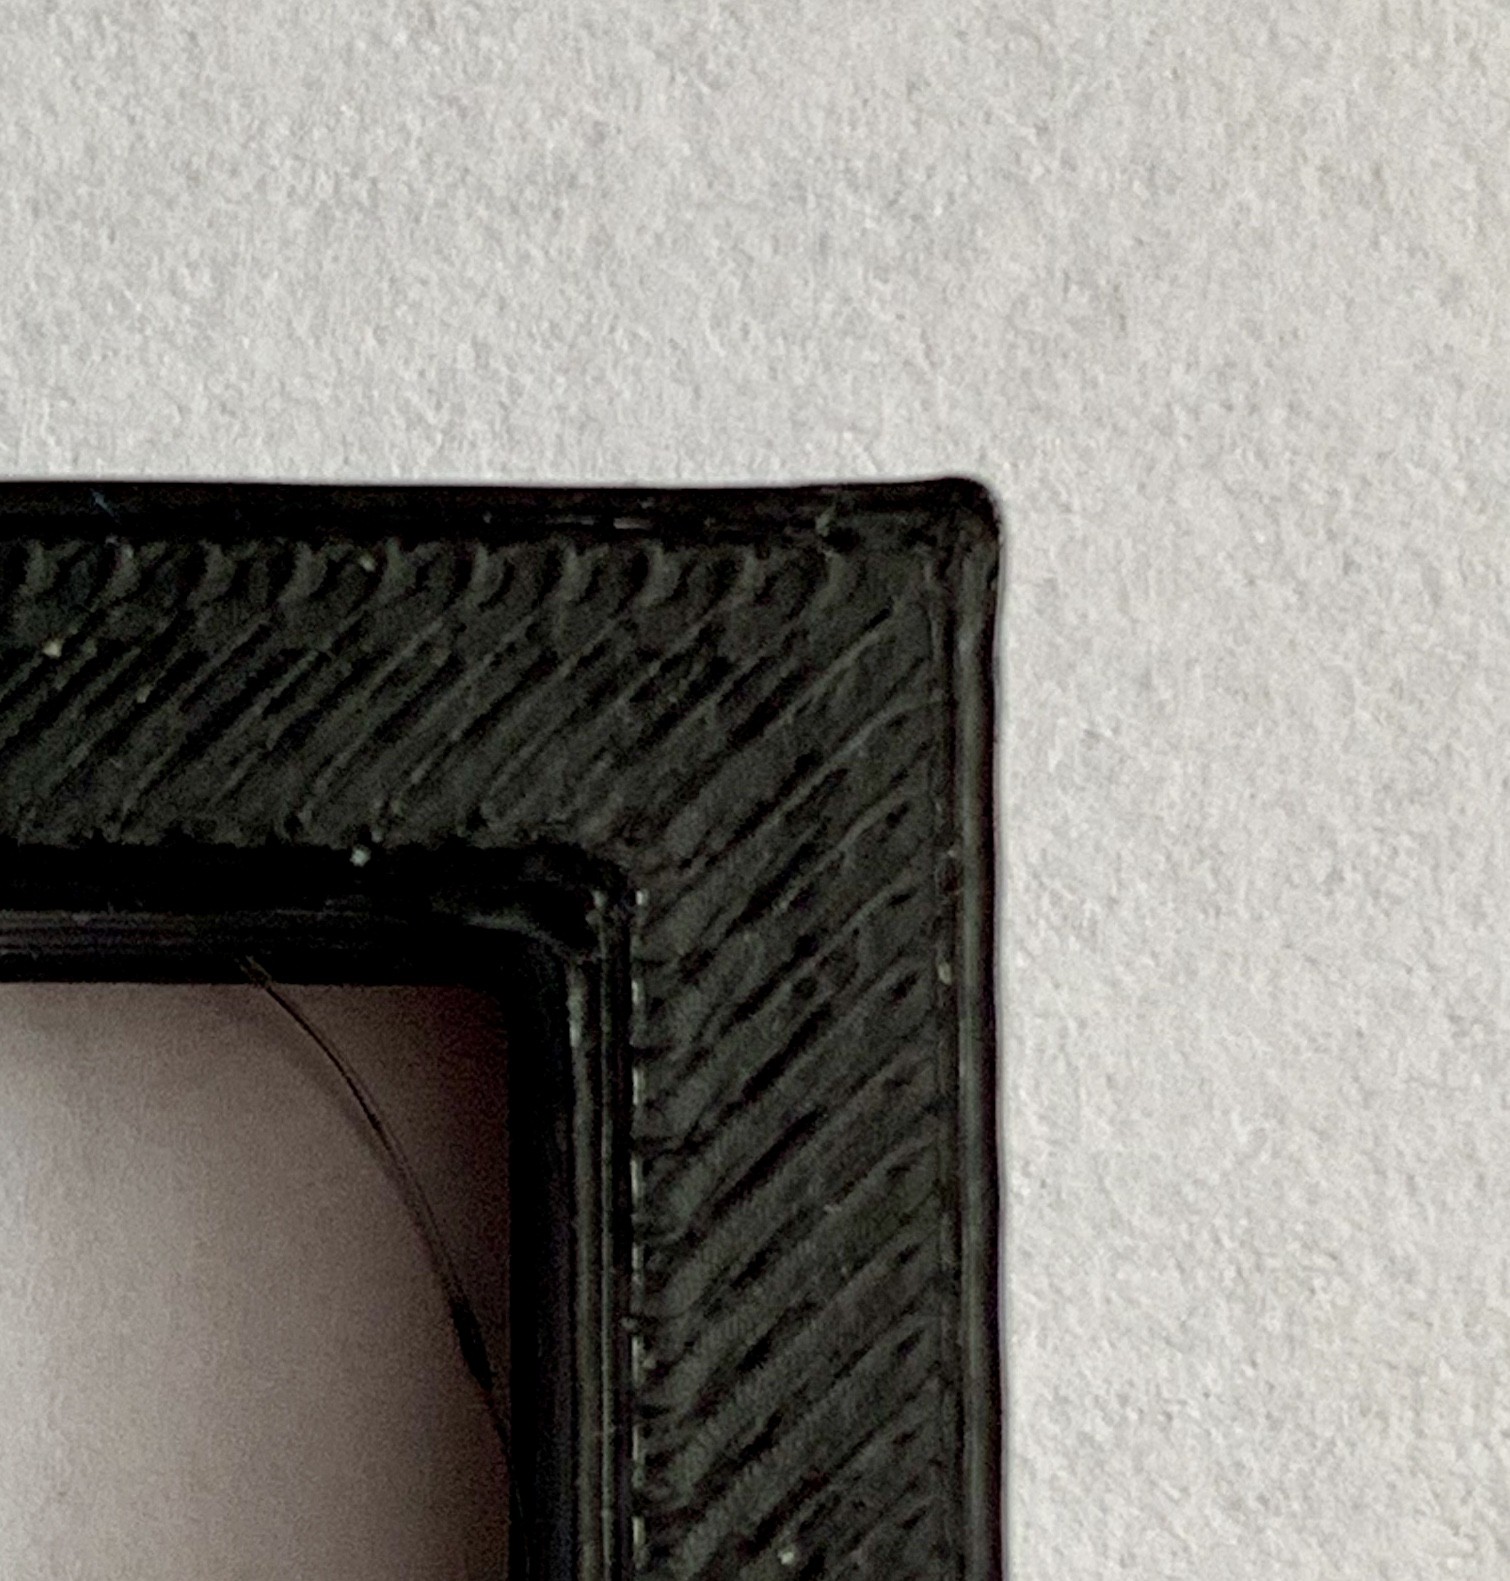
advanced 0.1:
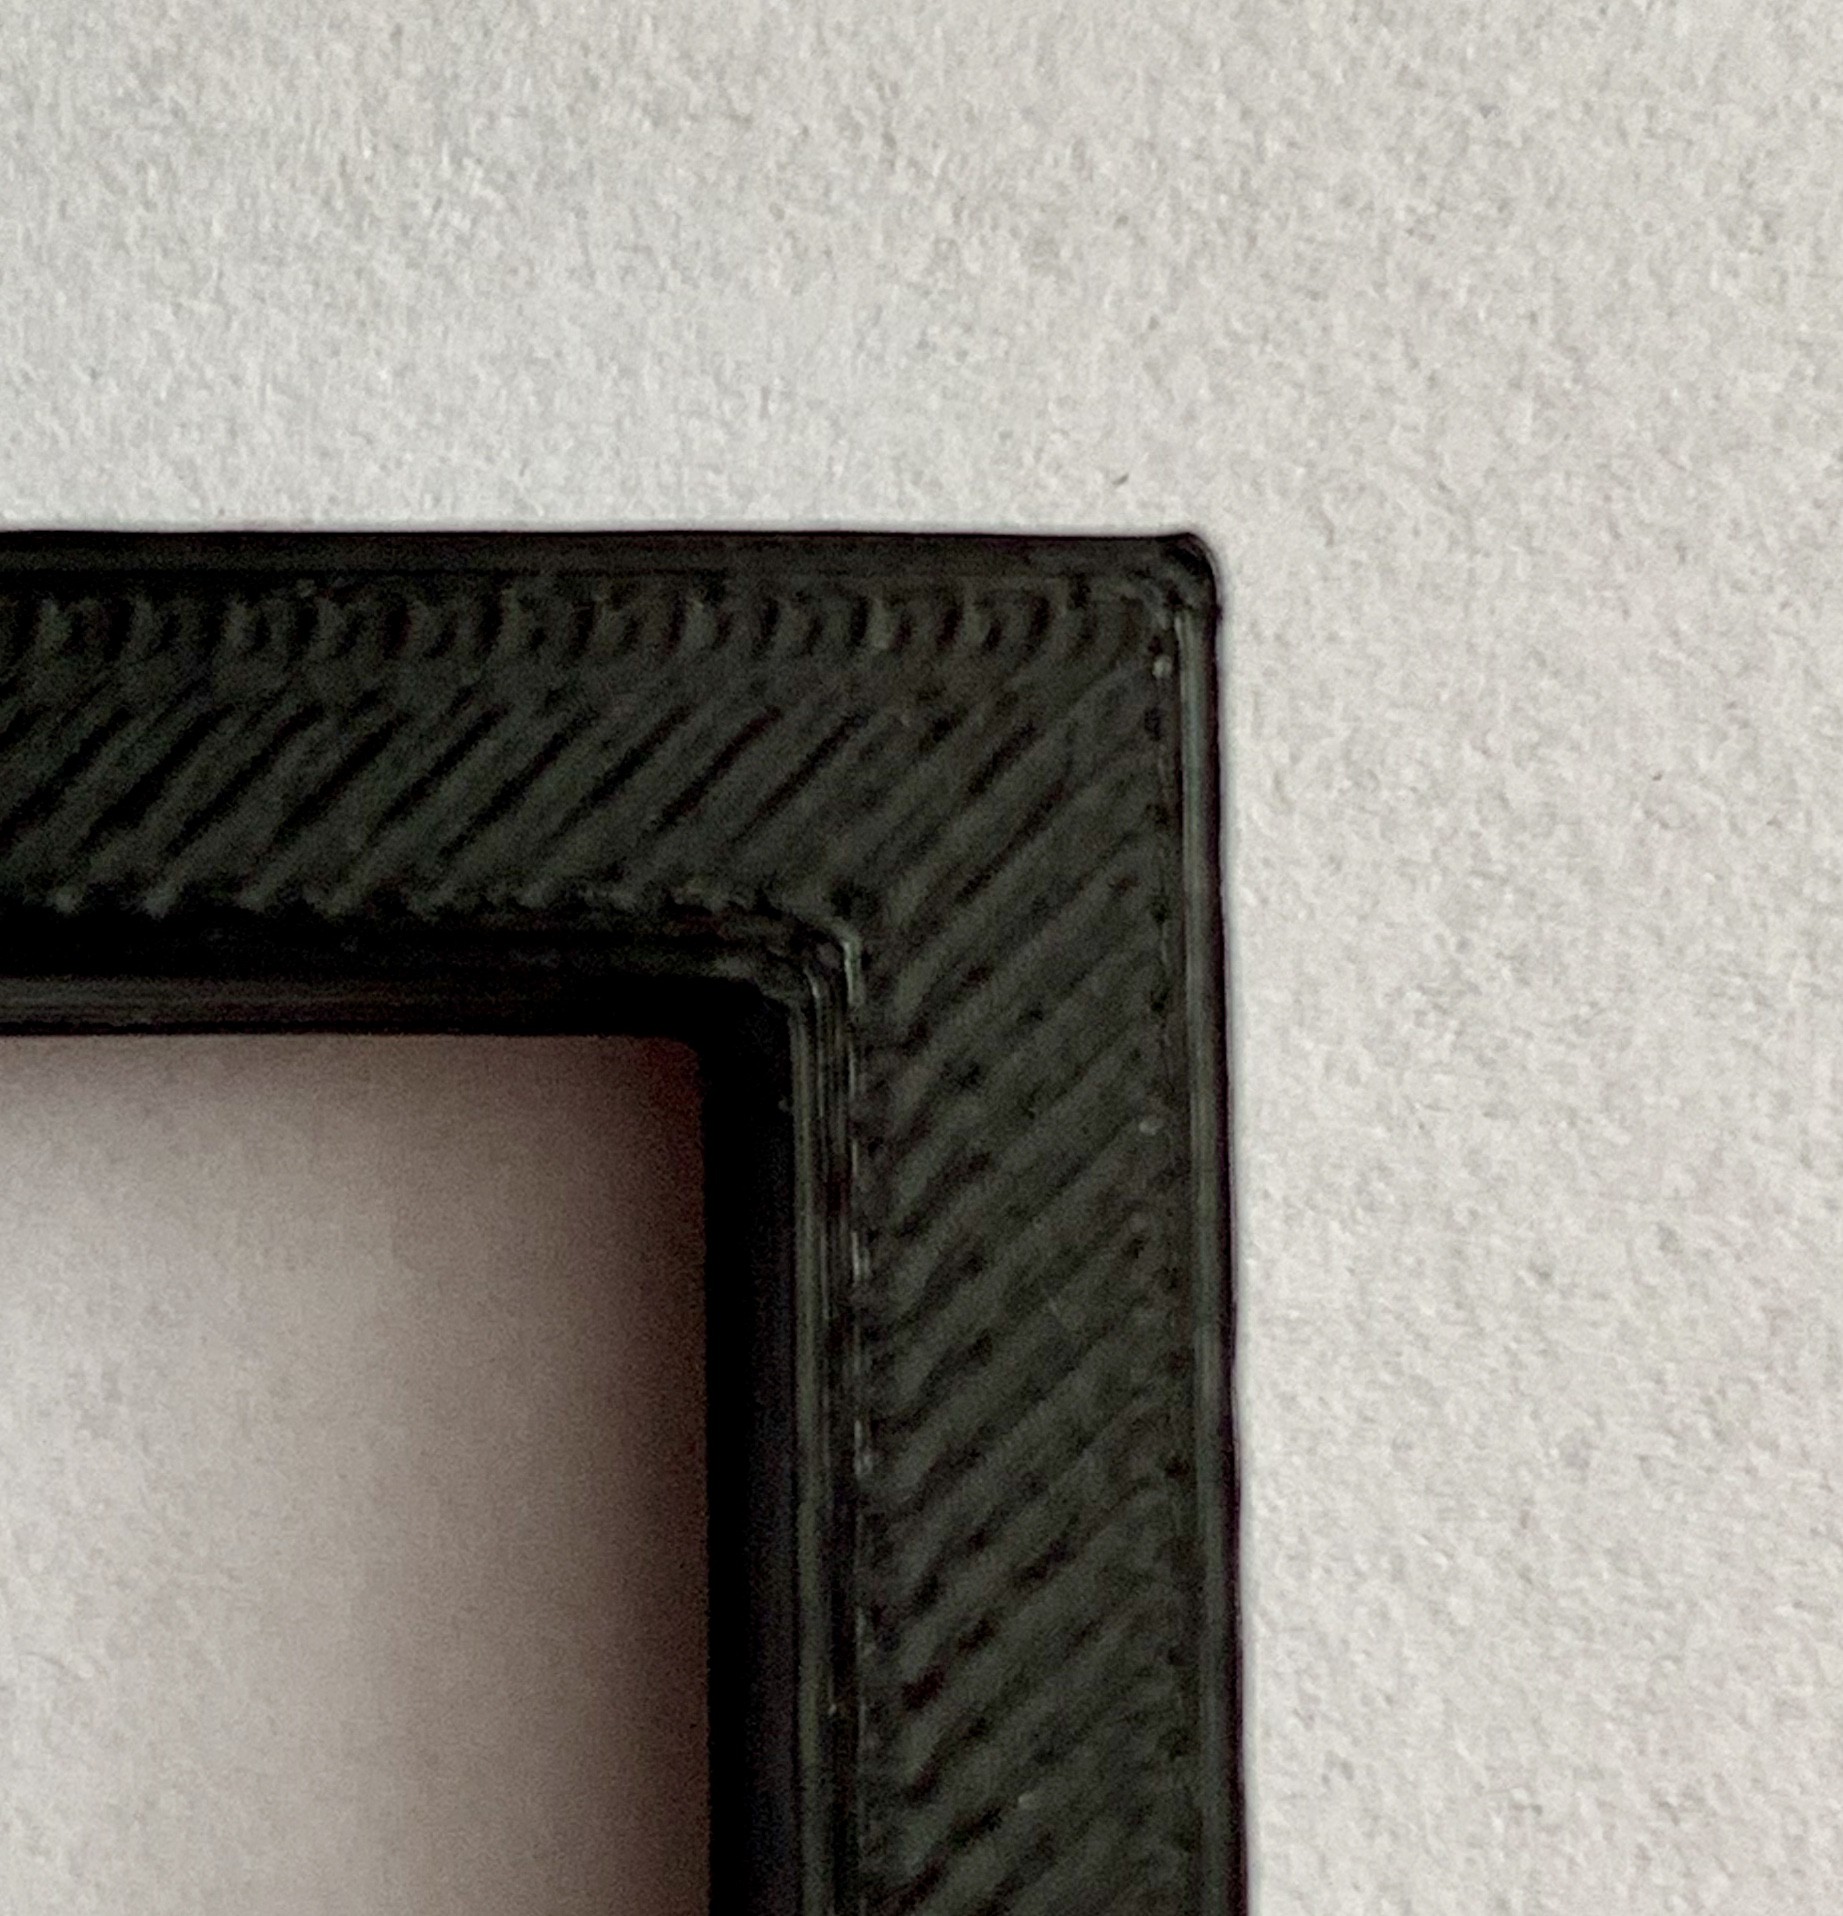
and the last setting that make the corner look bad again
advanced 0.15:
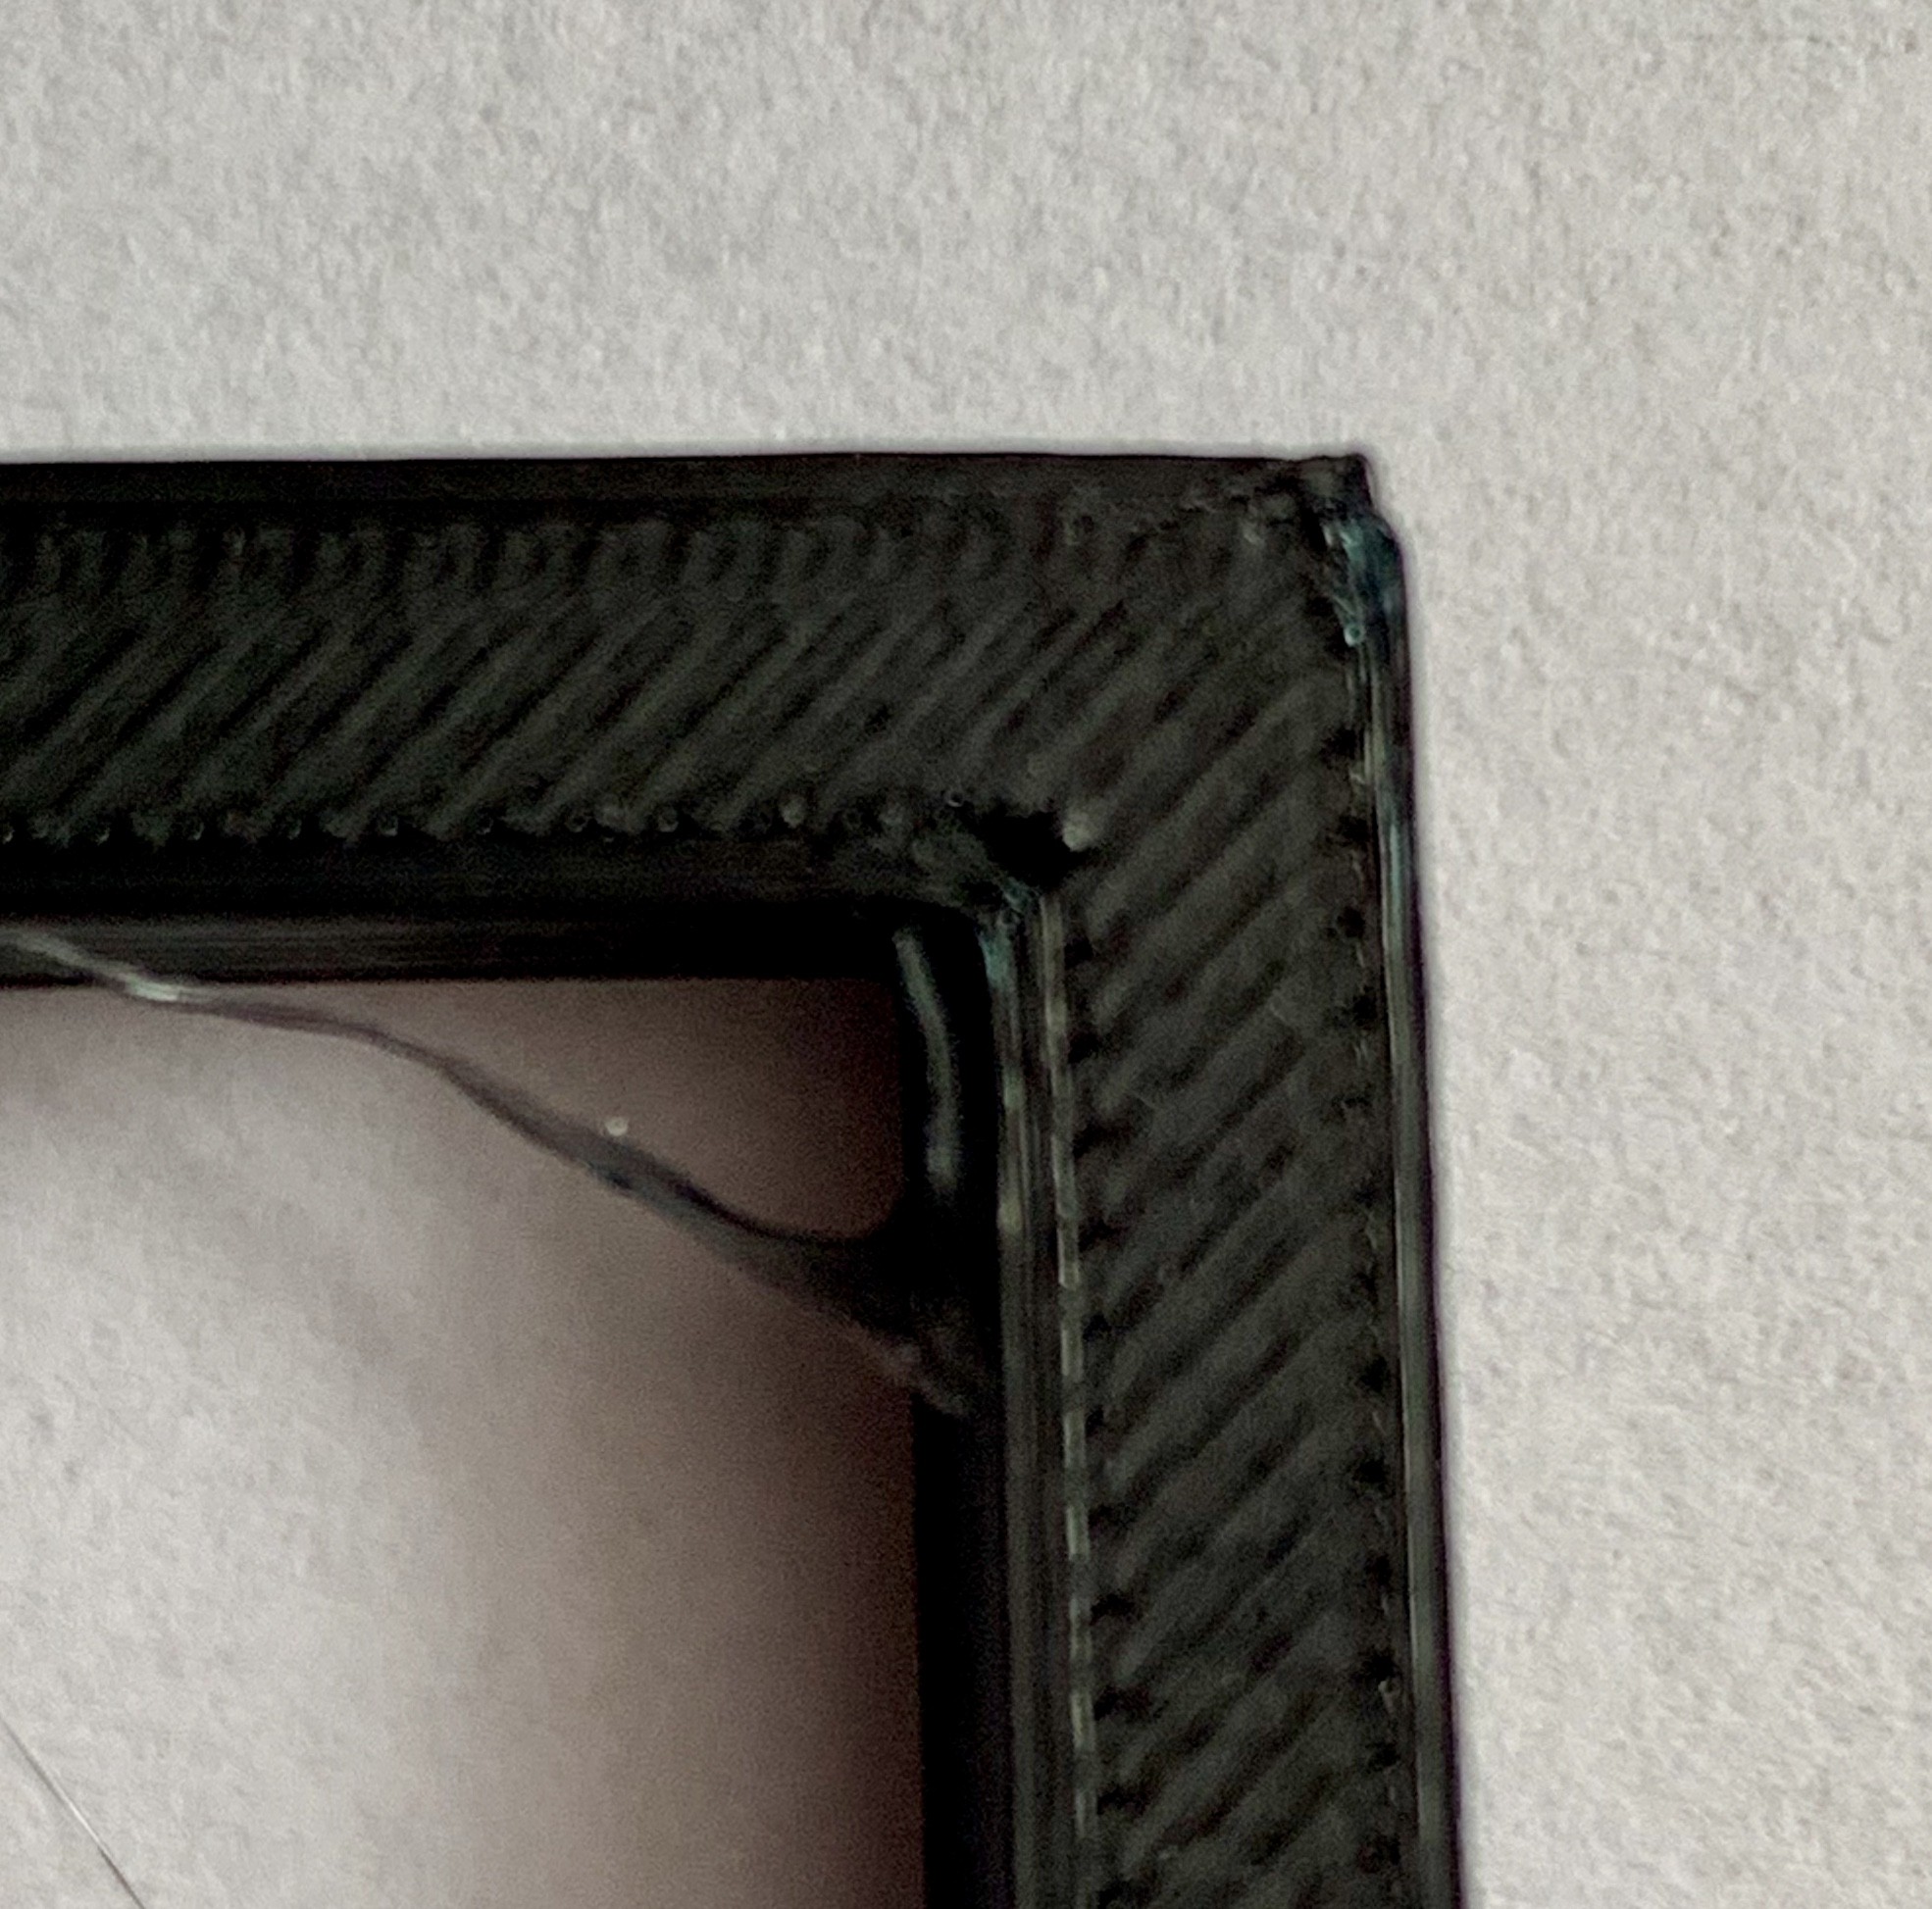
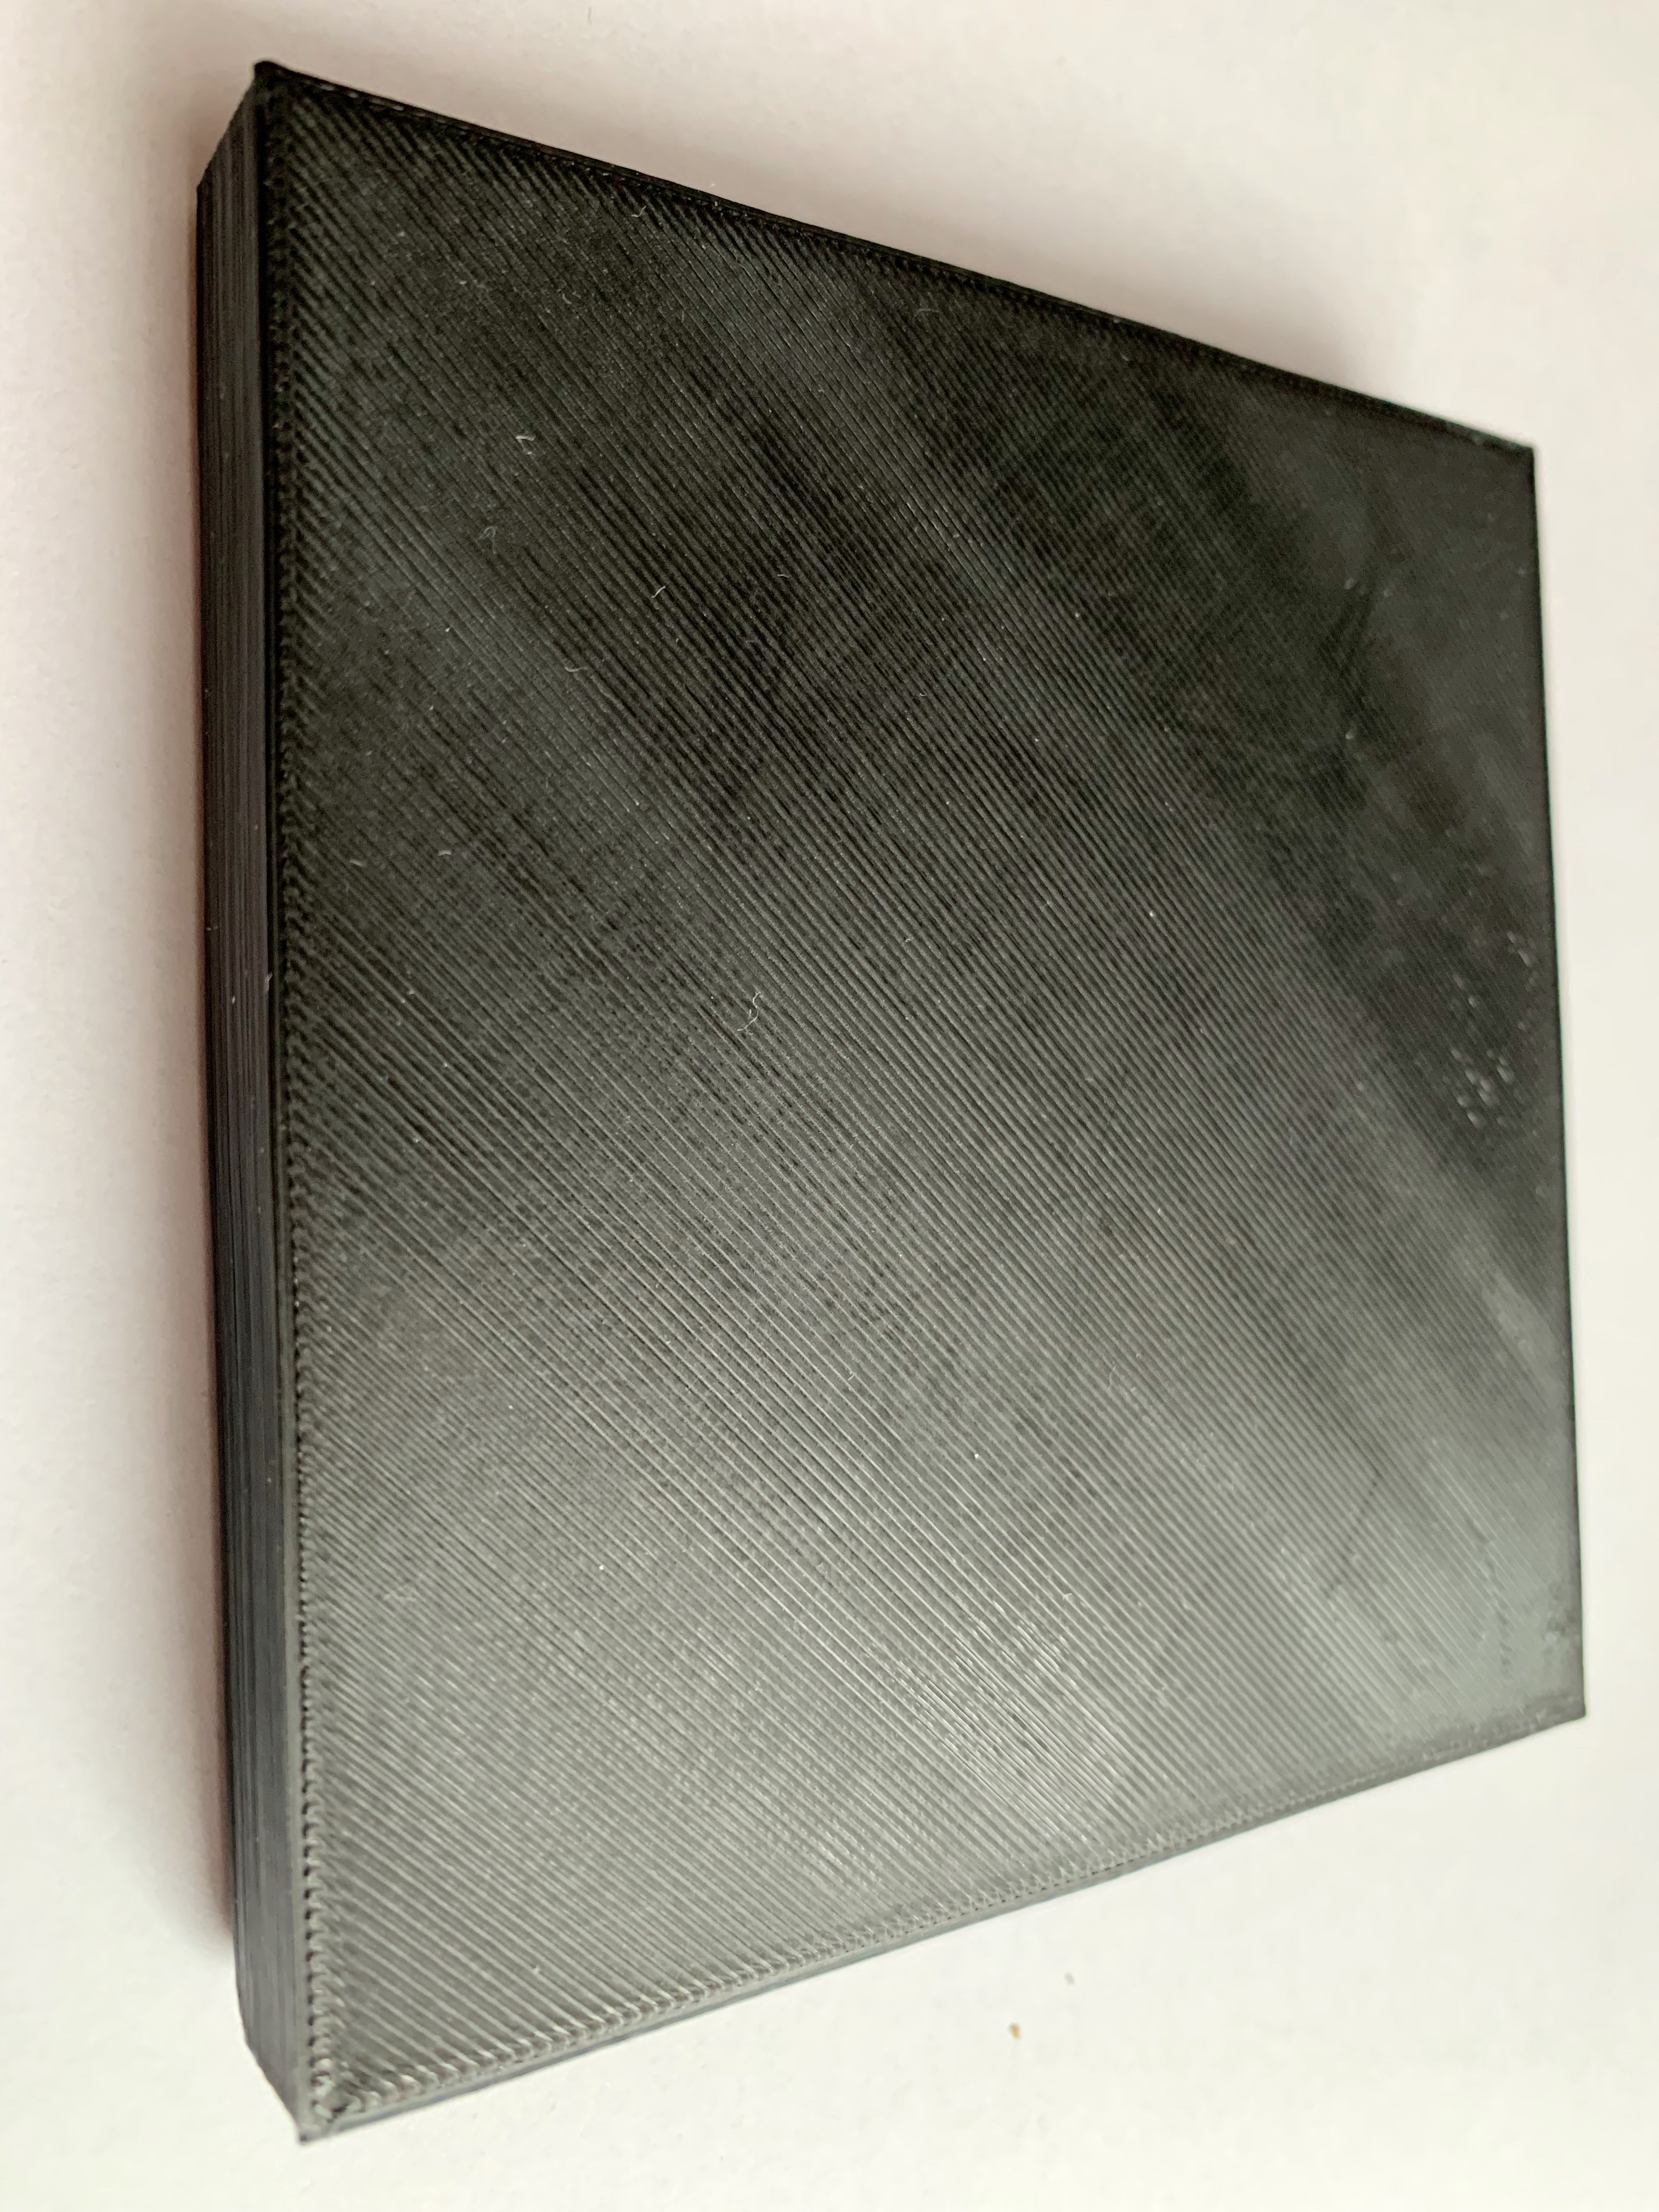
Next i wanted to test how it works infilling big parts. I've printed 100x100 square at 150mm/s with pressure advanced 0.1 and infill was fine but the corners was little under extruded. So i've changed the pressure advanced to 0.07 and it printer a part like this:
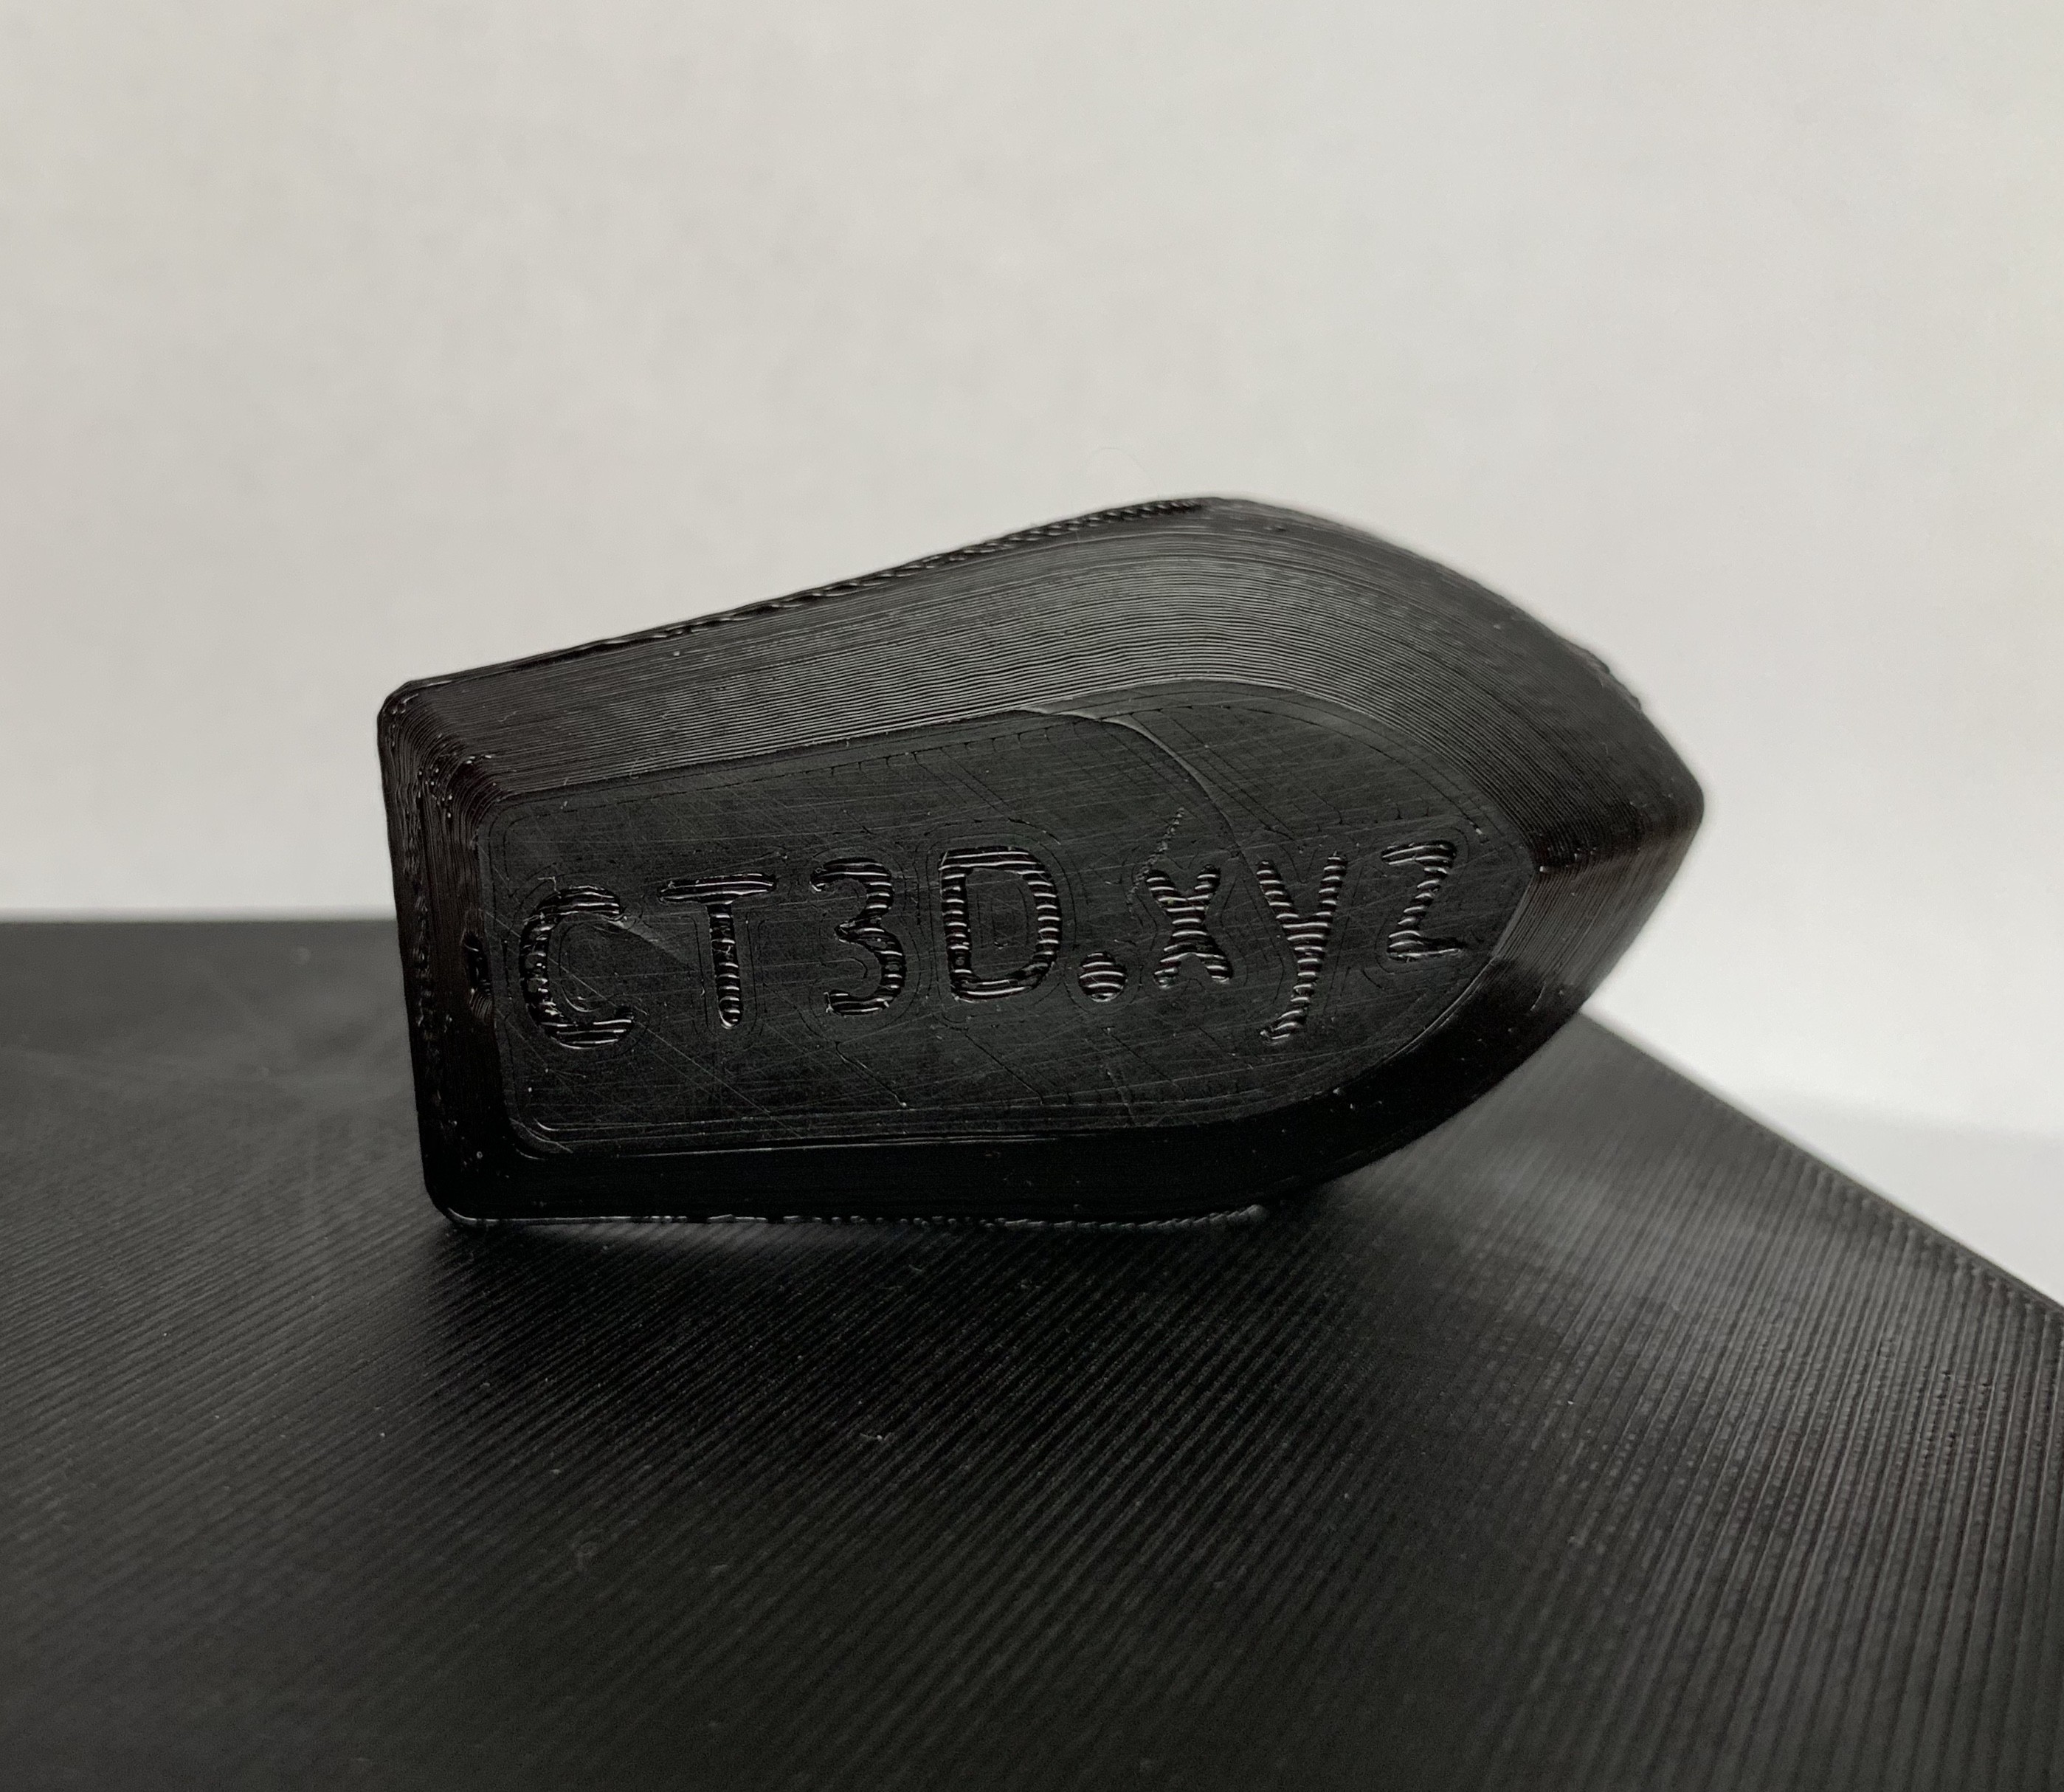
Then i printed a igus style linear bearing for 6mm shaft:

and finally the 3d benchy:
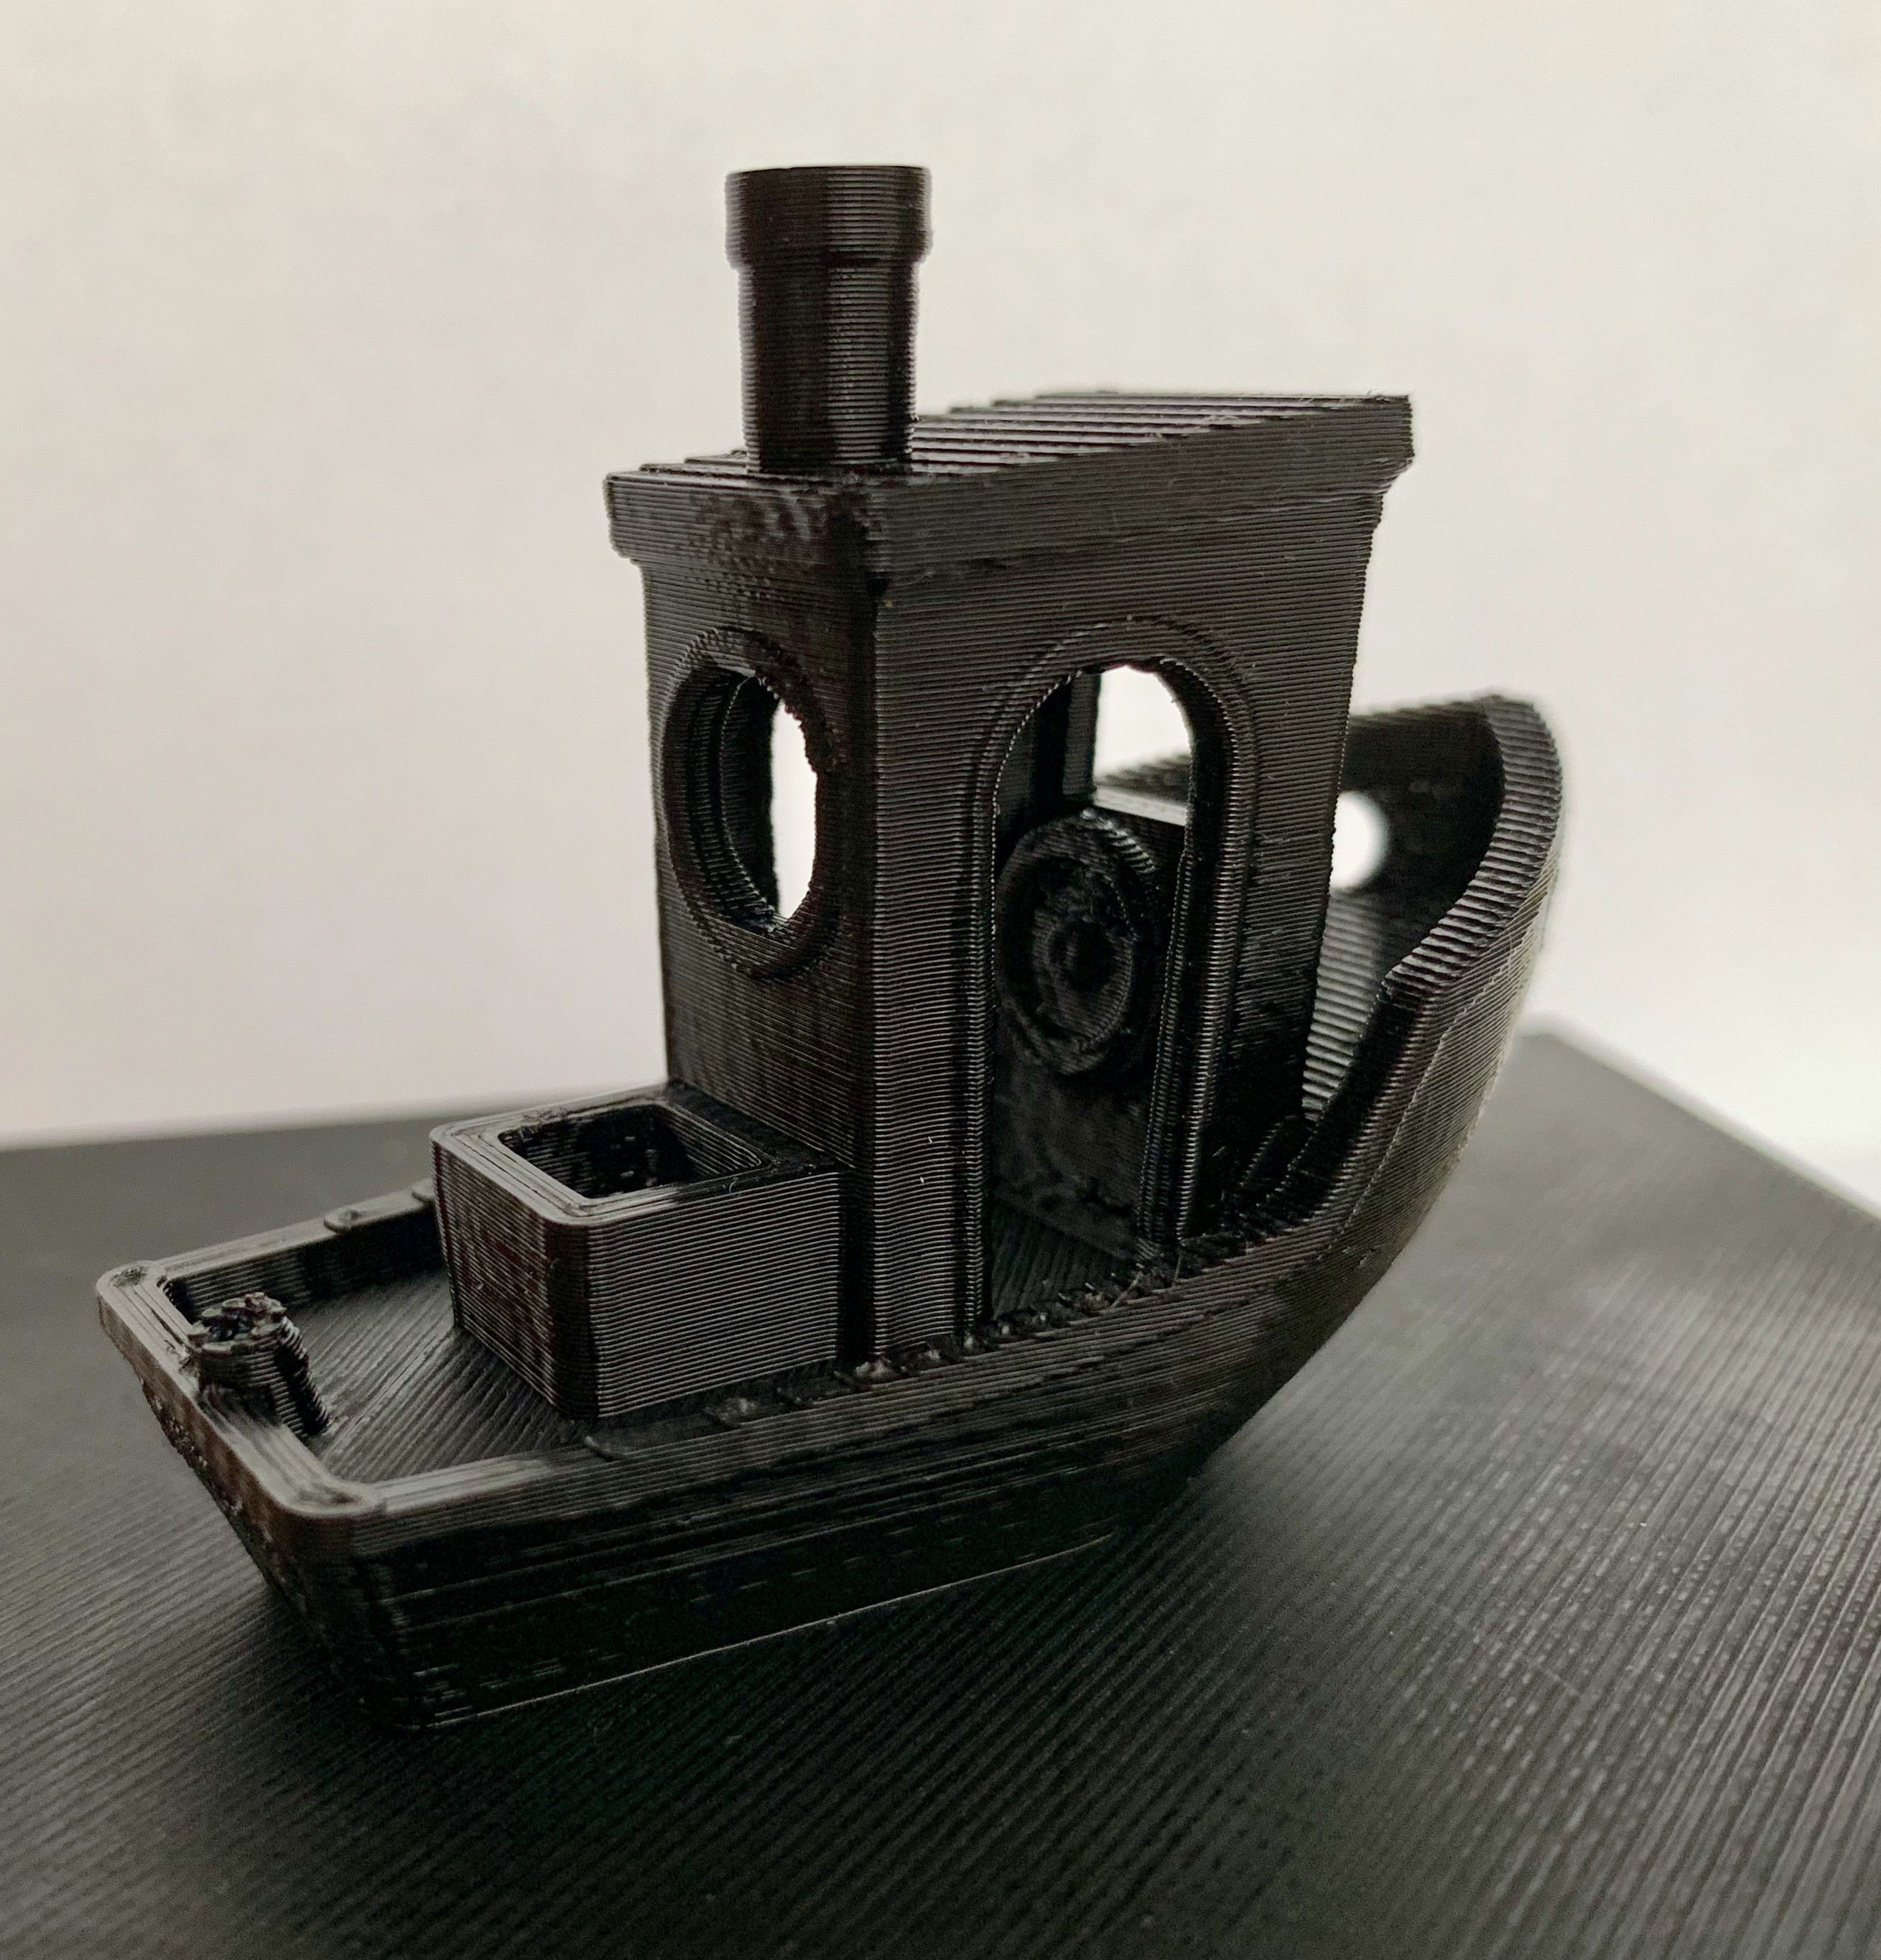


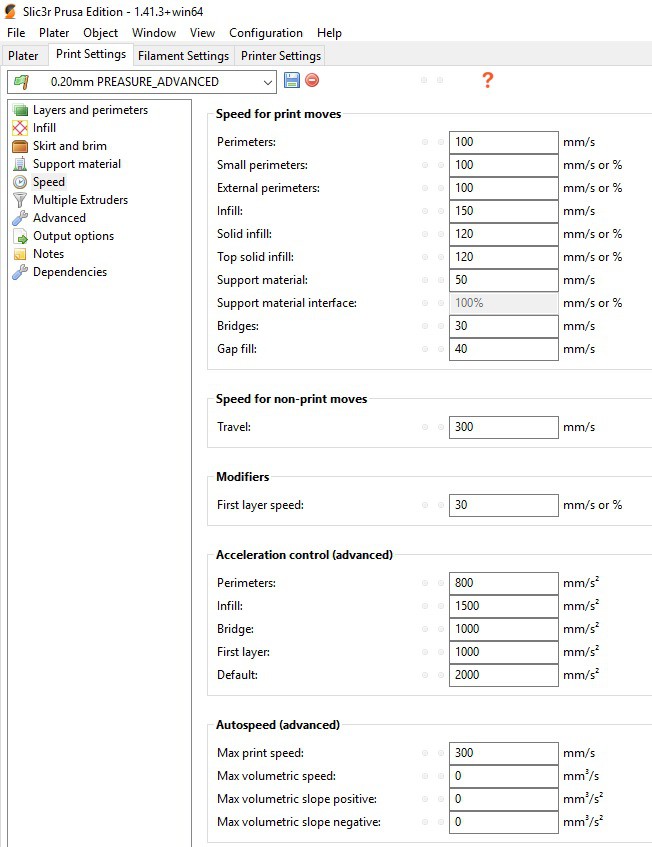
With pressure advanced i got almost no ooze and stringing. All printed with PET-G with slic3rPE and settings like this:
Discussions
Become a Hackaday.io Member
Create an account to leave a comment. Already have an account? Log In.