Close
0%
0%

DIY Night Vision Scope

Construct a night vision scope using military surplus parts and lenses salvaged from an old 35mm camera.

Similar projects worth following

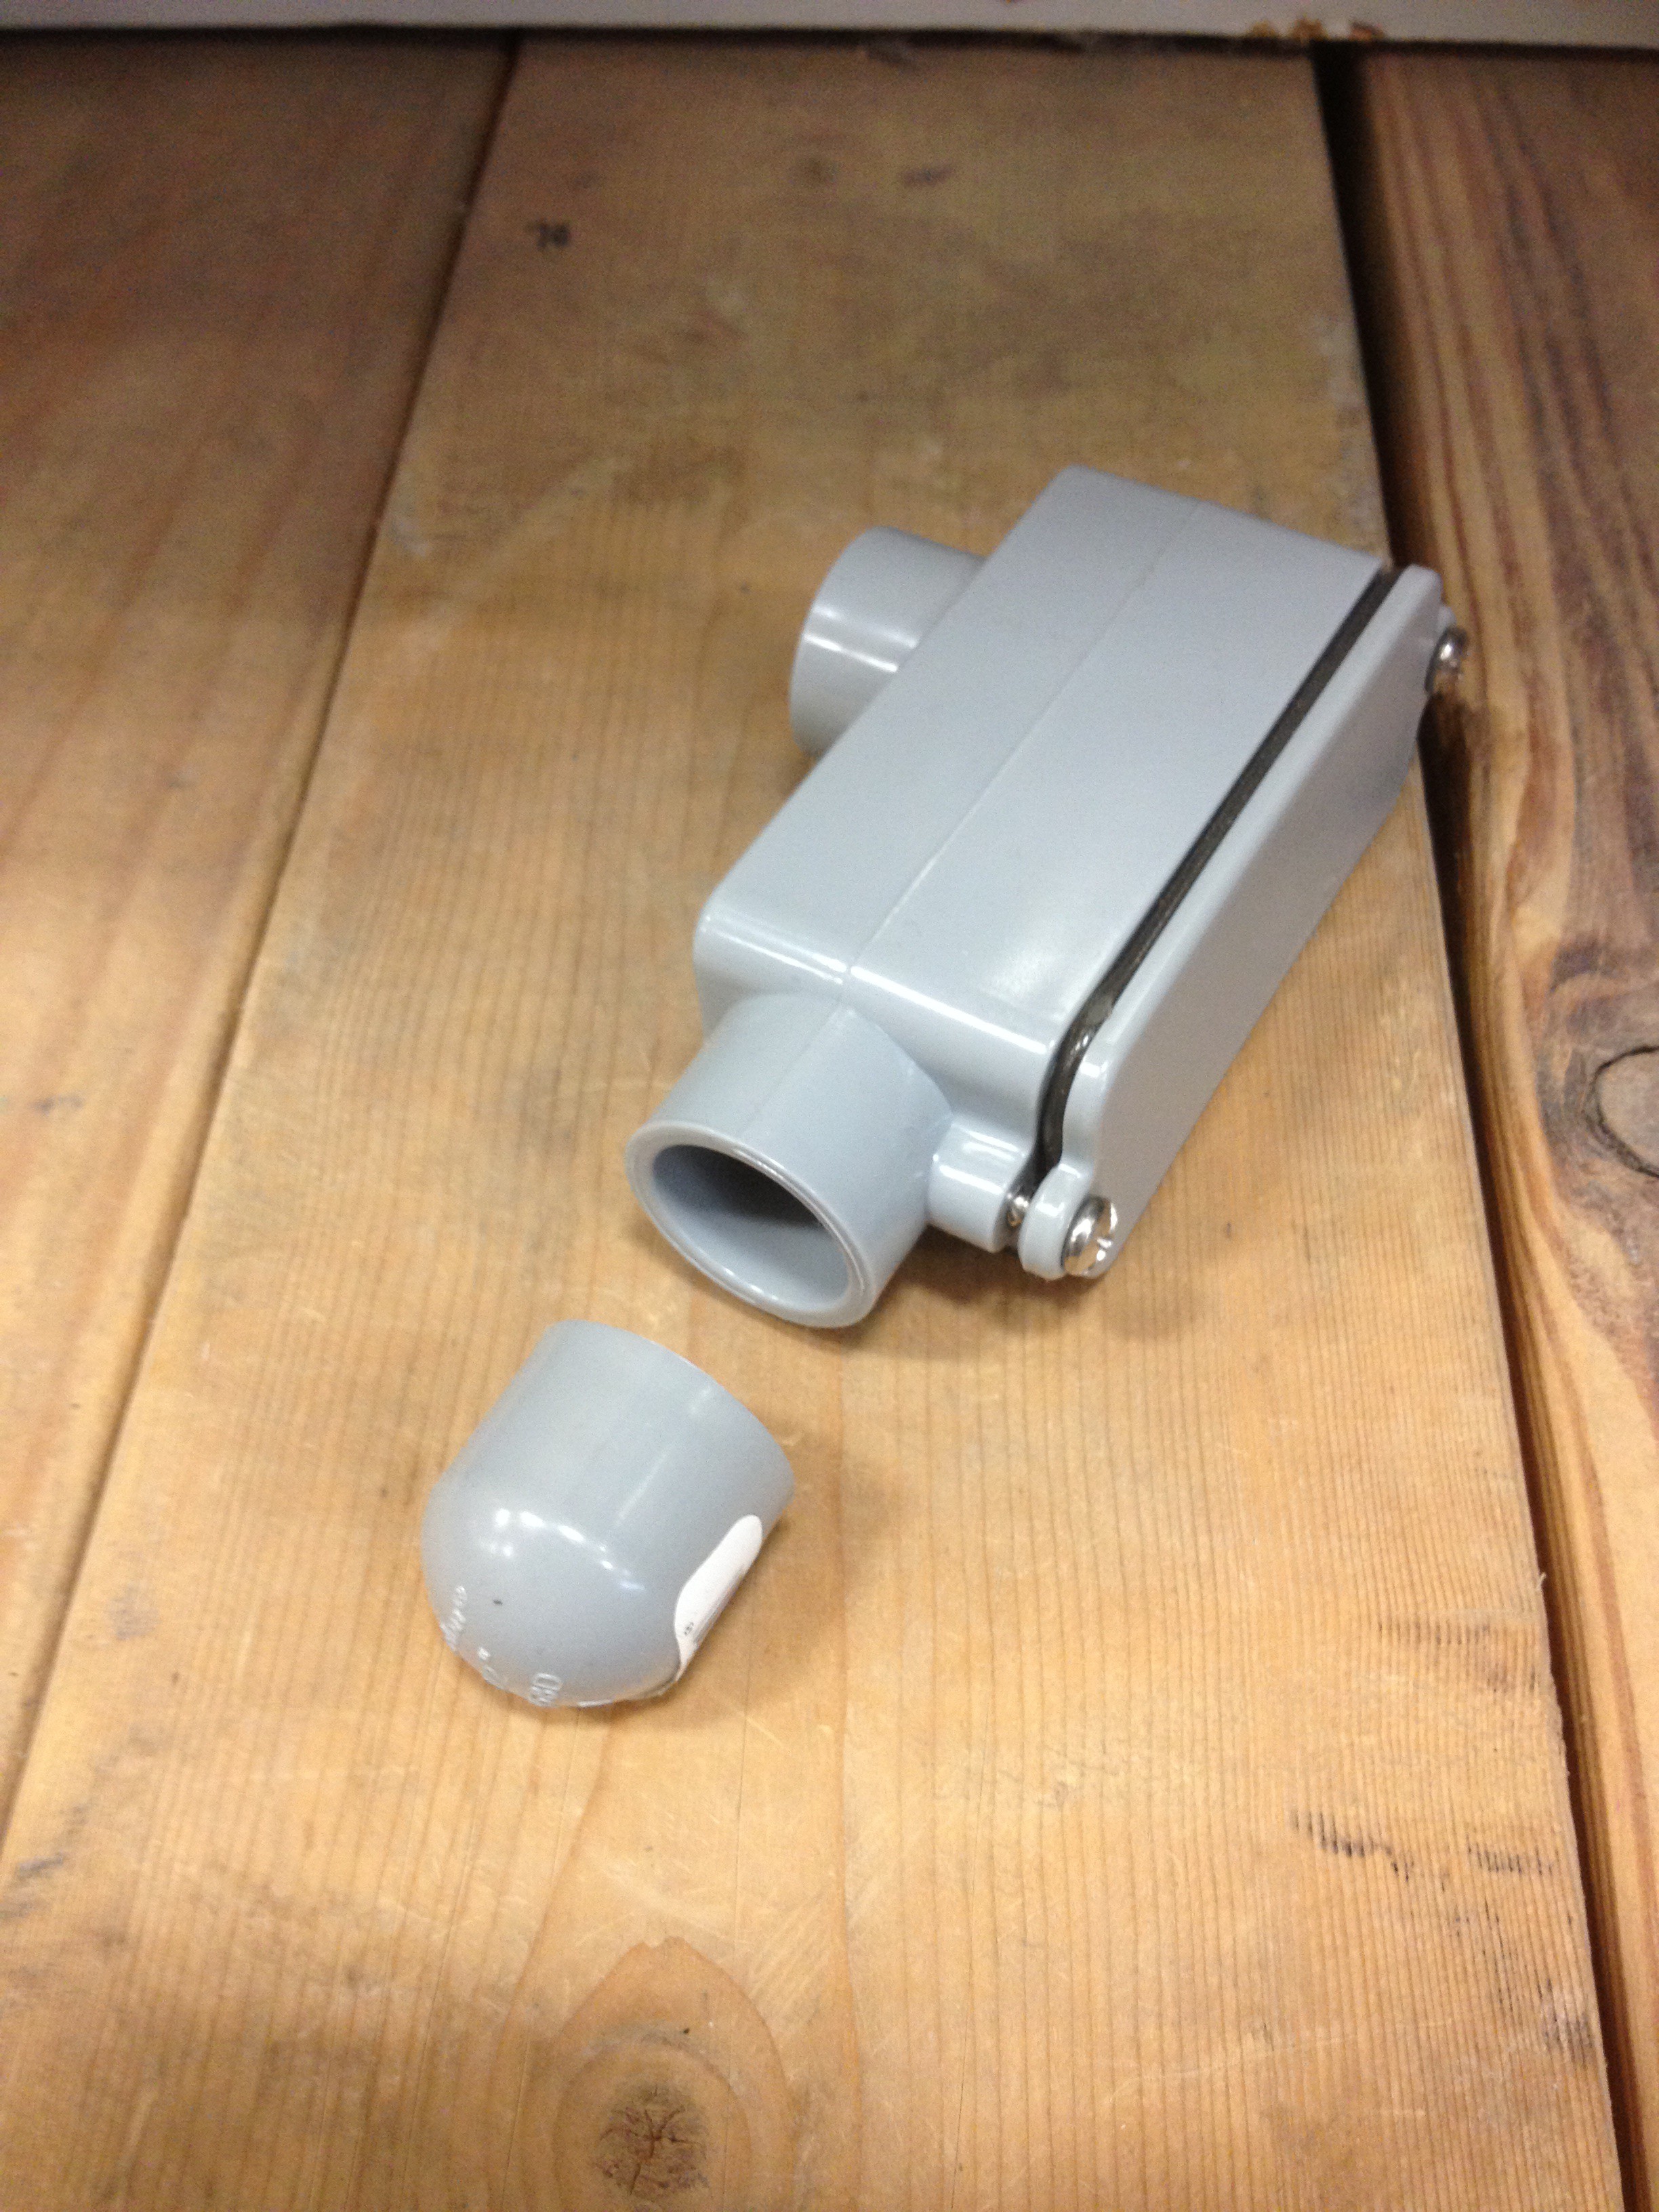
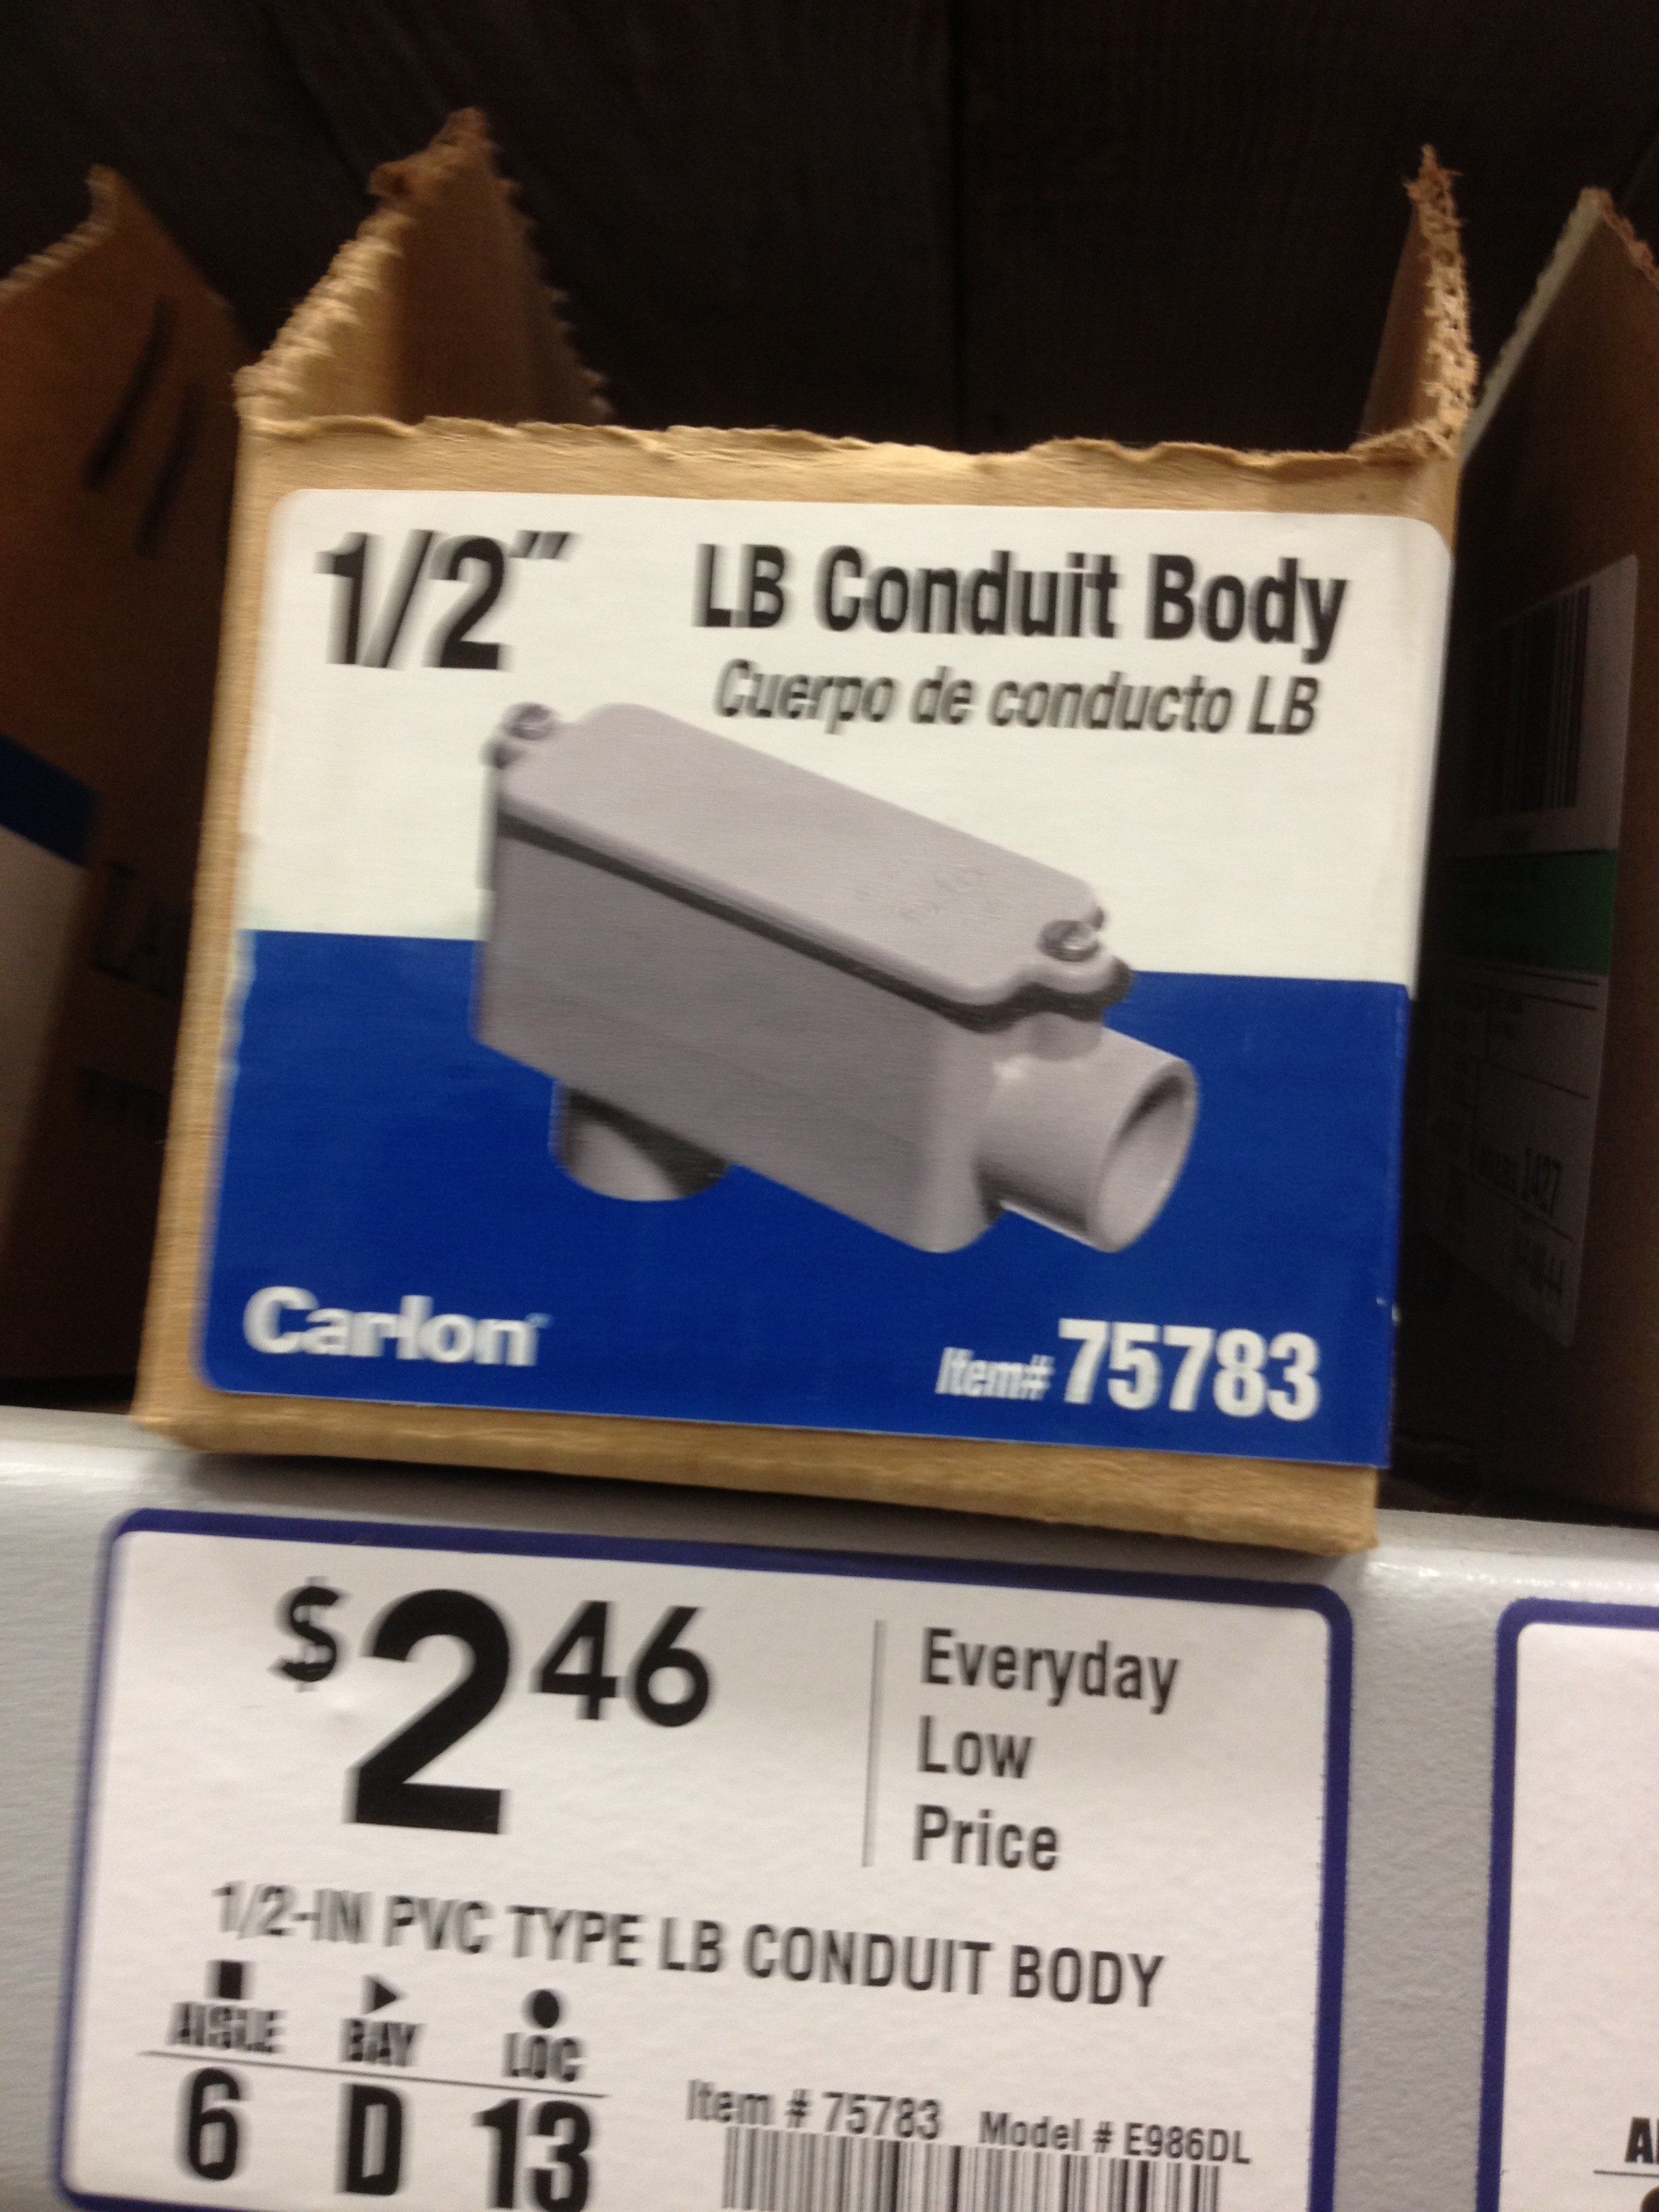
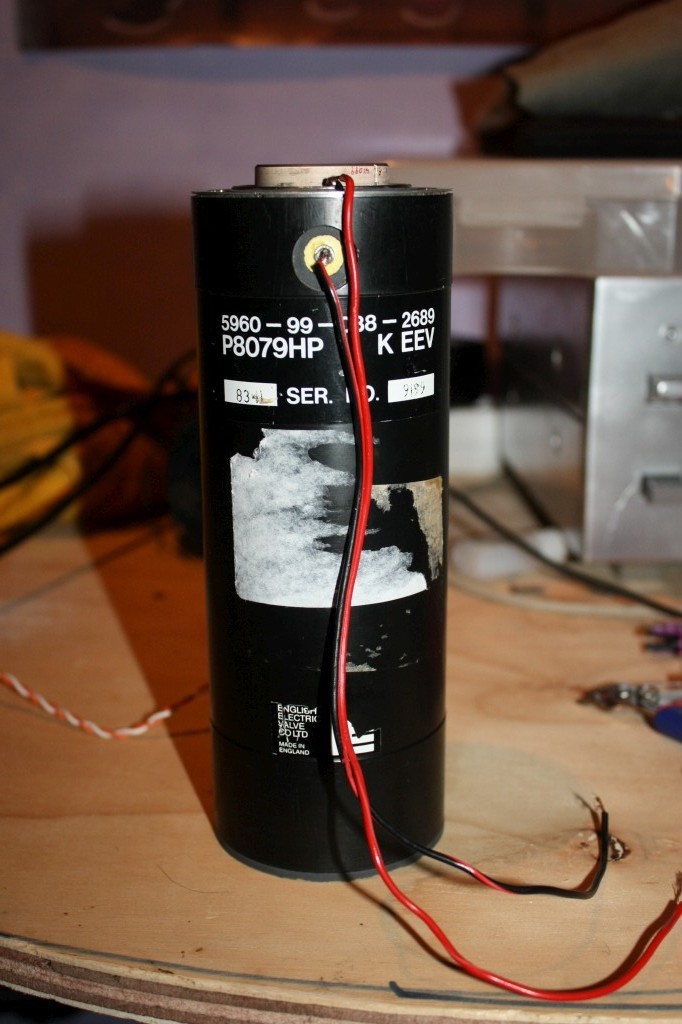
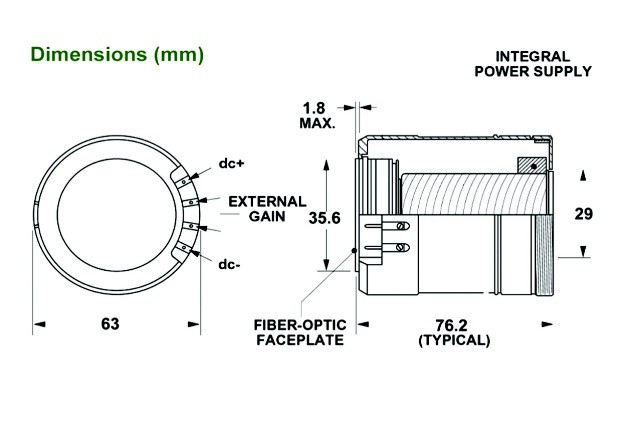
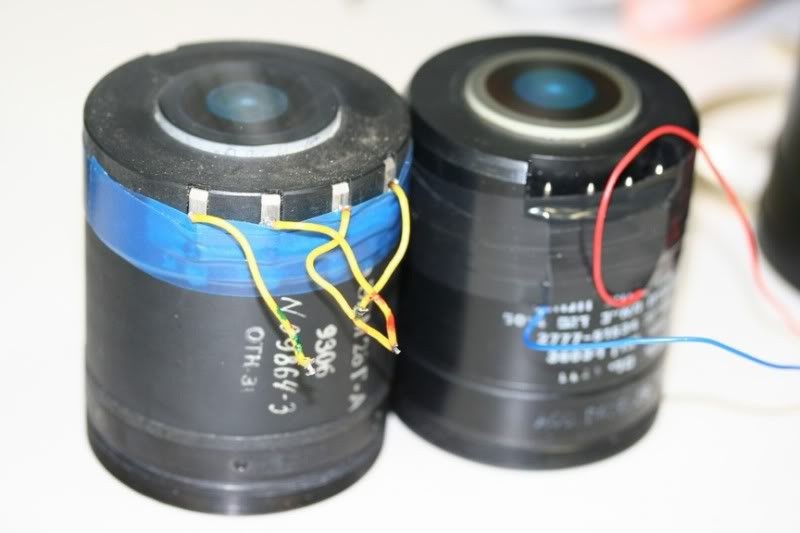
This is a real night vision (NV) scope. Infrared LED's are NOT required or needed for this scope to operate. Military surplus parts are available to create a generation 2 or 3 scope depending on your budget and luck sourcing parts. The scope in this build uses a generation 3 NV tube from an M1 tank.

  • 1 × 50mm lens Make sure it fits the 35mm film camera.. This will be your primary lens . It best approximates human vision and will give best results for general viewing.
  • 1 × Used 35mm film camera These can be purchased on eBay for $10-$20. Try and find one with lenses included.
  • 1 × Battery box for two AA batteries
  • 1 × Night Vision image intensifier/cascade tube. This will be your most expensive purchase. Gen 2 & 3 tubes are not cheap. So purchase wisely.. Be sure your NV tube is guaranteed to work without defect. . In a latter section I will share my sources.
  • 1 × On/Off switch. I used a toggle switch that glows green when circuit is hot.

View all 21 components

View all 5 project logs

  • 1
    Step 1

    SOURCING A NIGHT VISION TUBE

    I found this to be the most challenging step to this build. Though there are a fair number listed on Ebay, many had defects (scratches on the screen or portions of the tube burned out). Stay away from these. You will be much happier with the outcome.

    I suggest looking on web sites for military surplus venders. There are several in the UK that have tubes from British tanks that are in great shape. Many builders have had very successful outcomes using these. In fact most of the projects you will find on YouTube and the web utilize the British NV tube, P8079HP. I plan on using this tube on my next build. The cost is around $150 including shipping.

    The NV tube I used on this build is a MX9644. It was used in many U.S. military NV applications from rifle scopes to the M1 tank and Bradley through the 80's and 90's. it is still used in many civilian commercial applications. As I recall I found this tube on Ebay and spent about $100.

  • 2
    Step 2

    WIRING AND BENCH TESTING THE MX9644 AND P8079PH

    I have added a diagram that addresses the dimensions and wiring the MX9644.

    Upon receiving your NV tube  it is wise to power test the unit and determine wether it is functioning properly.

    THIS INITIAL TEST MUST BE DONE IN A DARKENED ROOM. Exposing these units to bright light while operating WILL damage them. This applies to both models. 

    Each unit operates off a xx volt DC current. On the MX9644 the ground is the furthest left pin while the hot is the furthest right. On the P8079HP the positive terminal is the brass washer located mid tube and the negative connection is located on the top of the unit next to the objective lens. As mentioned care must be taken when applying power to these units so as to not expose them to excessive light. In addition to darkening the room I would suggest covering the objective lens on the unit with a cloth.

    A positive test result will be a glowing green screen on one end of the NV tube.  A dark screen means you have a problem. When powered on and illuminated be sure to check for hot spots or dark areas on the green screen. This likely indicates that the NV tube has been damaged or is in the process of burning out. A slightly brighter circular area in the center of the screen is normal.

    NOTE: Be very careful not to get any finger prints or damage either end of your NV tube. The surfaces are fragile and scratch easily. Lens cleaner should be used sparingly. Any residue left on these surfaces will be visible on screen while in operation.

  • 3
    Step 3

    CONSTRUCTING THE NV TUBE BODY AND LENS MOUNTS

    TUBE BODY

    PVC pipe is a excellent material for this project. It is strong, easy to cut and easy to glue. Further, it will accept paint if properly primed. There are those that have access to metal working tools who have constructed metal bodies with very professional looking results. However, building a metal body is beyond the scope of this project.

View all 3 instructions

Enjoy this project?

Share

Discussions

Cheeky Monkees wrote 07/10/2014 at 14:15 point
Actually, the only components I used from the 35mm camera are the objective lenses. The NV tube has its own "green screen" to which I used a magnifying lense to enhance the image. Telescope eye pieces can be used as well as a Jewler's loop for this application. It's also possible to mount a camcorder focused on the green screen to record images.

  Are you sure? yes | no

Cheeky Monkees wrote 07/10/2014 at 14:08 point
Thank you for your interest! Sorry I've not told you more. Just got married an am trying to find time to get back to creating the build details on this scope. I promise I will address the details soon

  Are you sure? yes | no

Adam Fabio wrote 06/24/2014 at 06:08 point
Don't leave us hanging here Mr. Monkey! I see the 35 mm camera used as a viewfinder system, but how did you interface to that 3NV tube? (and how did you drive it)

  Are you sure? yes | no

Does this project spark your interest?

Become a member to follow this project and never miss any updates