Close
0%
0%

Quiz-o-matic wireless buzzers

Wireless buzzers for trivia nights using ESP8266

Similar projects worth following
I host trivia nights every once in a while at my university residence. I developed a desktop application that accepts mouse clicks for buzzer rounds a couple of years ago, and I thought it would be nice to have some dedicated hardware for buzzers as an upgrade.
This project uses NodeMCUs to communicate with a websocket server on my laptop to detect when a button has been pressed.

Design

Wireless protocol

I wanted a communication method with a decent range (~15m) so that the buzzers could talk to the PC from across the room. After some research into BLE, I realized the chips with the required range and ability to connect to multiple devices were too expensive (and fiddly to flash).

I decided on using WiFi with an ESP8266 for a few reasons:
1. It met the range requirements
2. I could repurpose the NodeMCUs for other projects
3. They're easy to program using the Arduino IDE

I had initially discarded RF since I was only aware of 433MHz chips without channel hopping. If 2 buzzers sent a message at the same time, the receiver could receive garbled data. Of course, I discovered the mutlichannel-supporting NRF24L01 only after the NodeMCUs had arrived.

My Windows desktop application already accepted mouse click input from multiple devices, so my initial thoughts were emulating a mouse HID device. Cursory googling indicated that it would be difficult to program from scratch, or to port libraries for. I ended up sending tiny messages over a websocket (to reduce latency compared to HTTP). A short button press indicates a 'buzz' and a long press >2s indicates team registration. There are more details on laptop-buzzer communication in the Buzzer code project log.


Power

The major problem is the power consumption that the chip takes. At the moment, I'm planning to power it with 4 AA batteries (it runs at 3.3V, and the onboard regulator has a 1.5V dropoff, so I need 3.3 V exactly or a minimum 4.8V). This seems excessive for a simple buzzer. If the batteries turn out to have too low a capacity, the NodeMCU's micro usb port is exposed as an alternate power source. If you have ideas about how to reduce power consumption while preserving low latency communication to the laptop, please leave a comment.

If I were to do the project again, I'd use a low power Arduino and the NRF24L01+. For WiFi-enabled projects, I would buy the Wemos D1 Mini for its smaller size.


Enclosure

I 3D printed a simple box enclosure (.stl files below) and button cap to forego the 2-week wait on ordering large arcade buttons from AliExpress. There is a status LED at the top and a switch to turn the whole circuit off when not in use. I haven't been able to get my hands on a multimeter yet to measure power consumption, so this hopefully lets the system run for several 15-minute buzzer rounds.

Check out the build process under Instructions.

Standard Tesselated Geometry - 306.23 kB - 05/07/2018 at 09:03

Download

Standard Tesselated Geometry - 322.15 kB - 05/07/2018 at 09:03

Download

Standard Tesselated Geometry - 180.75 kB - 05/07/2018 at 09:03

Download

buzzer.ino

NodeMCU code

ino - 6.04 kB - 05/07/2018 at 09:02

Download

  • 1
    Programming the NodeMCUs

    The writeups here are phrased more as project logs than directions for replication. I'm not using the logs section because I can't insert logs back in time to patch steps I forgot to document in the build process. Nevertheless, there should be enough detail here to make the buzzers yourself.

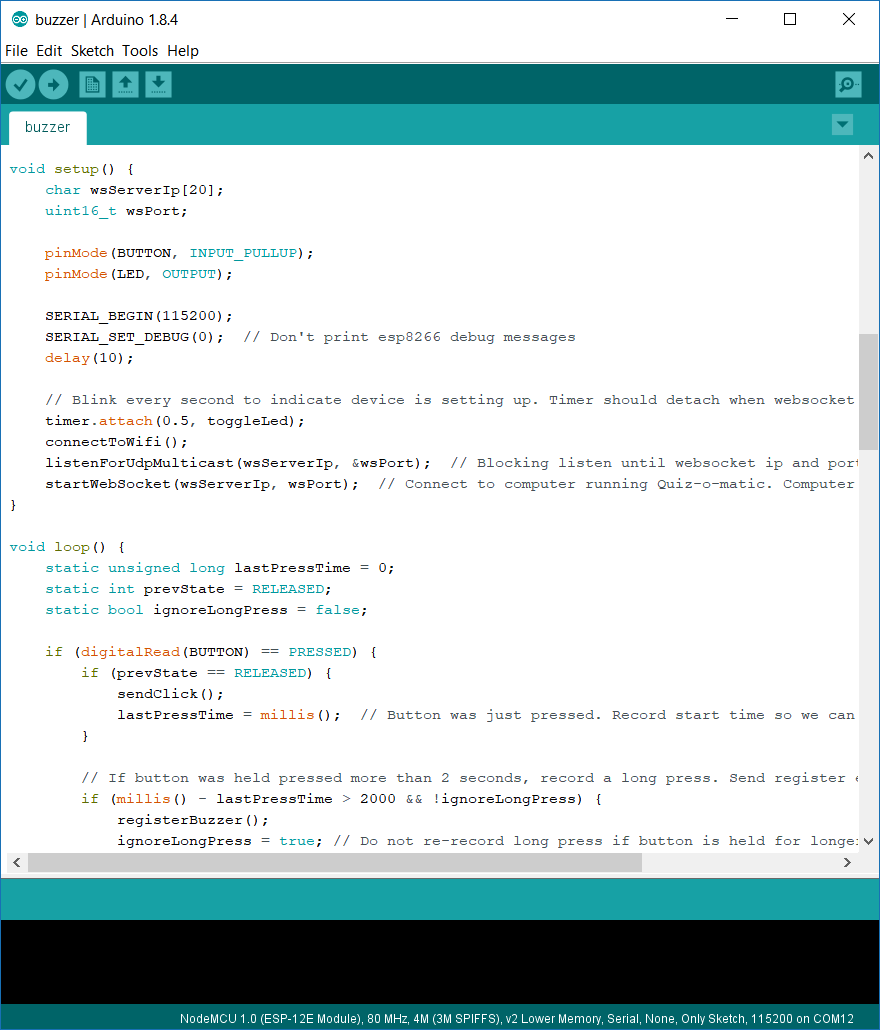
    The NodeMCUs arrived in about 14 days using AliExpress Standard shipping. Upon receiving them, I set up the Arduino IDE to be able to flash them using mainly this video tutorial. I read through this guide to get up to speed with its capabilities. The documentation and examples on github were quite clear. I also added the arduinoWebSockets library (Sketch > Include Library > Add .ZIP Library) so that the program could communicate with the desktop application I had previously coded over websockets. Websockets provide a persistent connection over TCP. Data sent over websockets theoretically has a lower latency than an HTTP request with the same payload, since a persistent connection is opened, though I haven't tested it for this application.

    My initial attempts to flash the NodeMCU were met with the error

    error: espcomm_open failed
    error: espcomm_upload_mem failed
    Some quick googling indicated that I had to enable flash mode on the board: hold the flash button, tap the reset button, and finally release the flash button.

  • 2
    Breadboarding

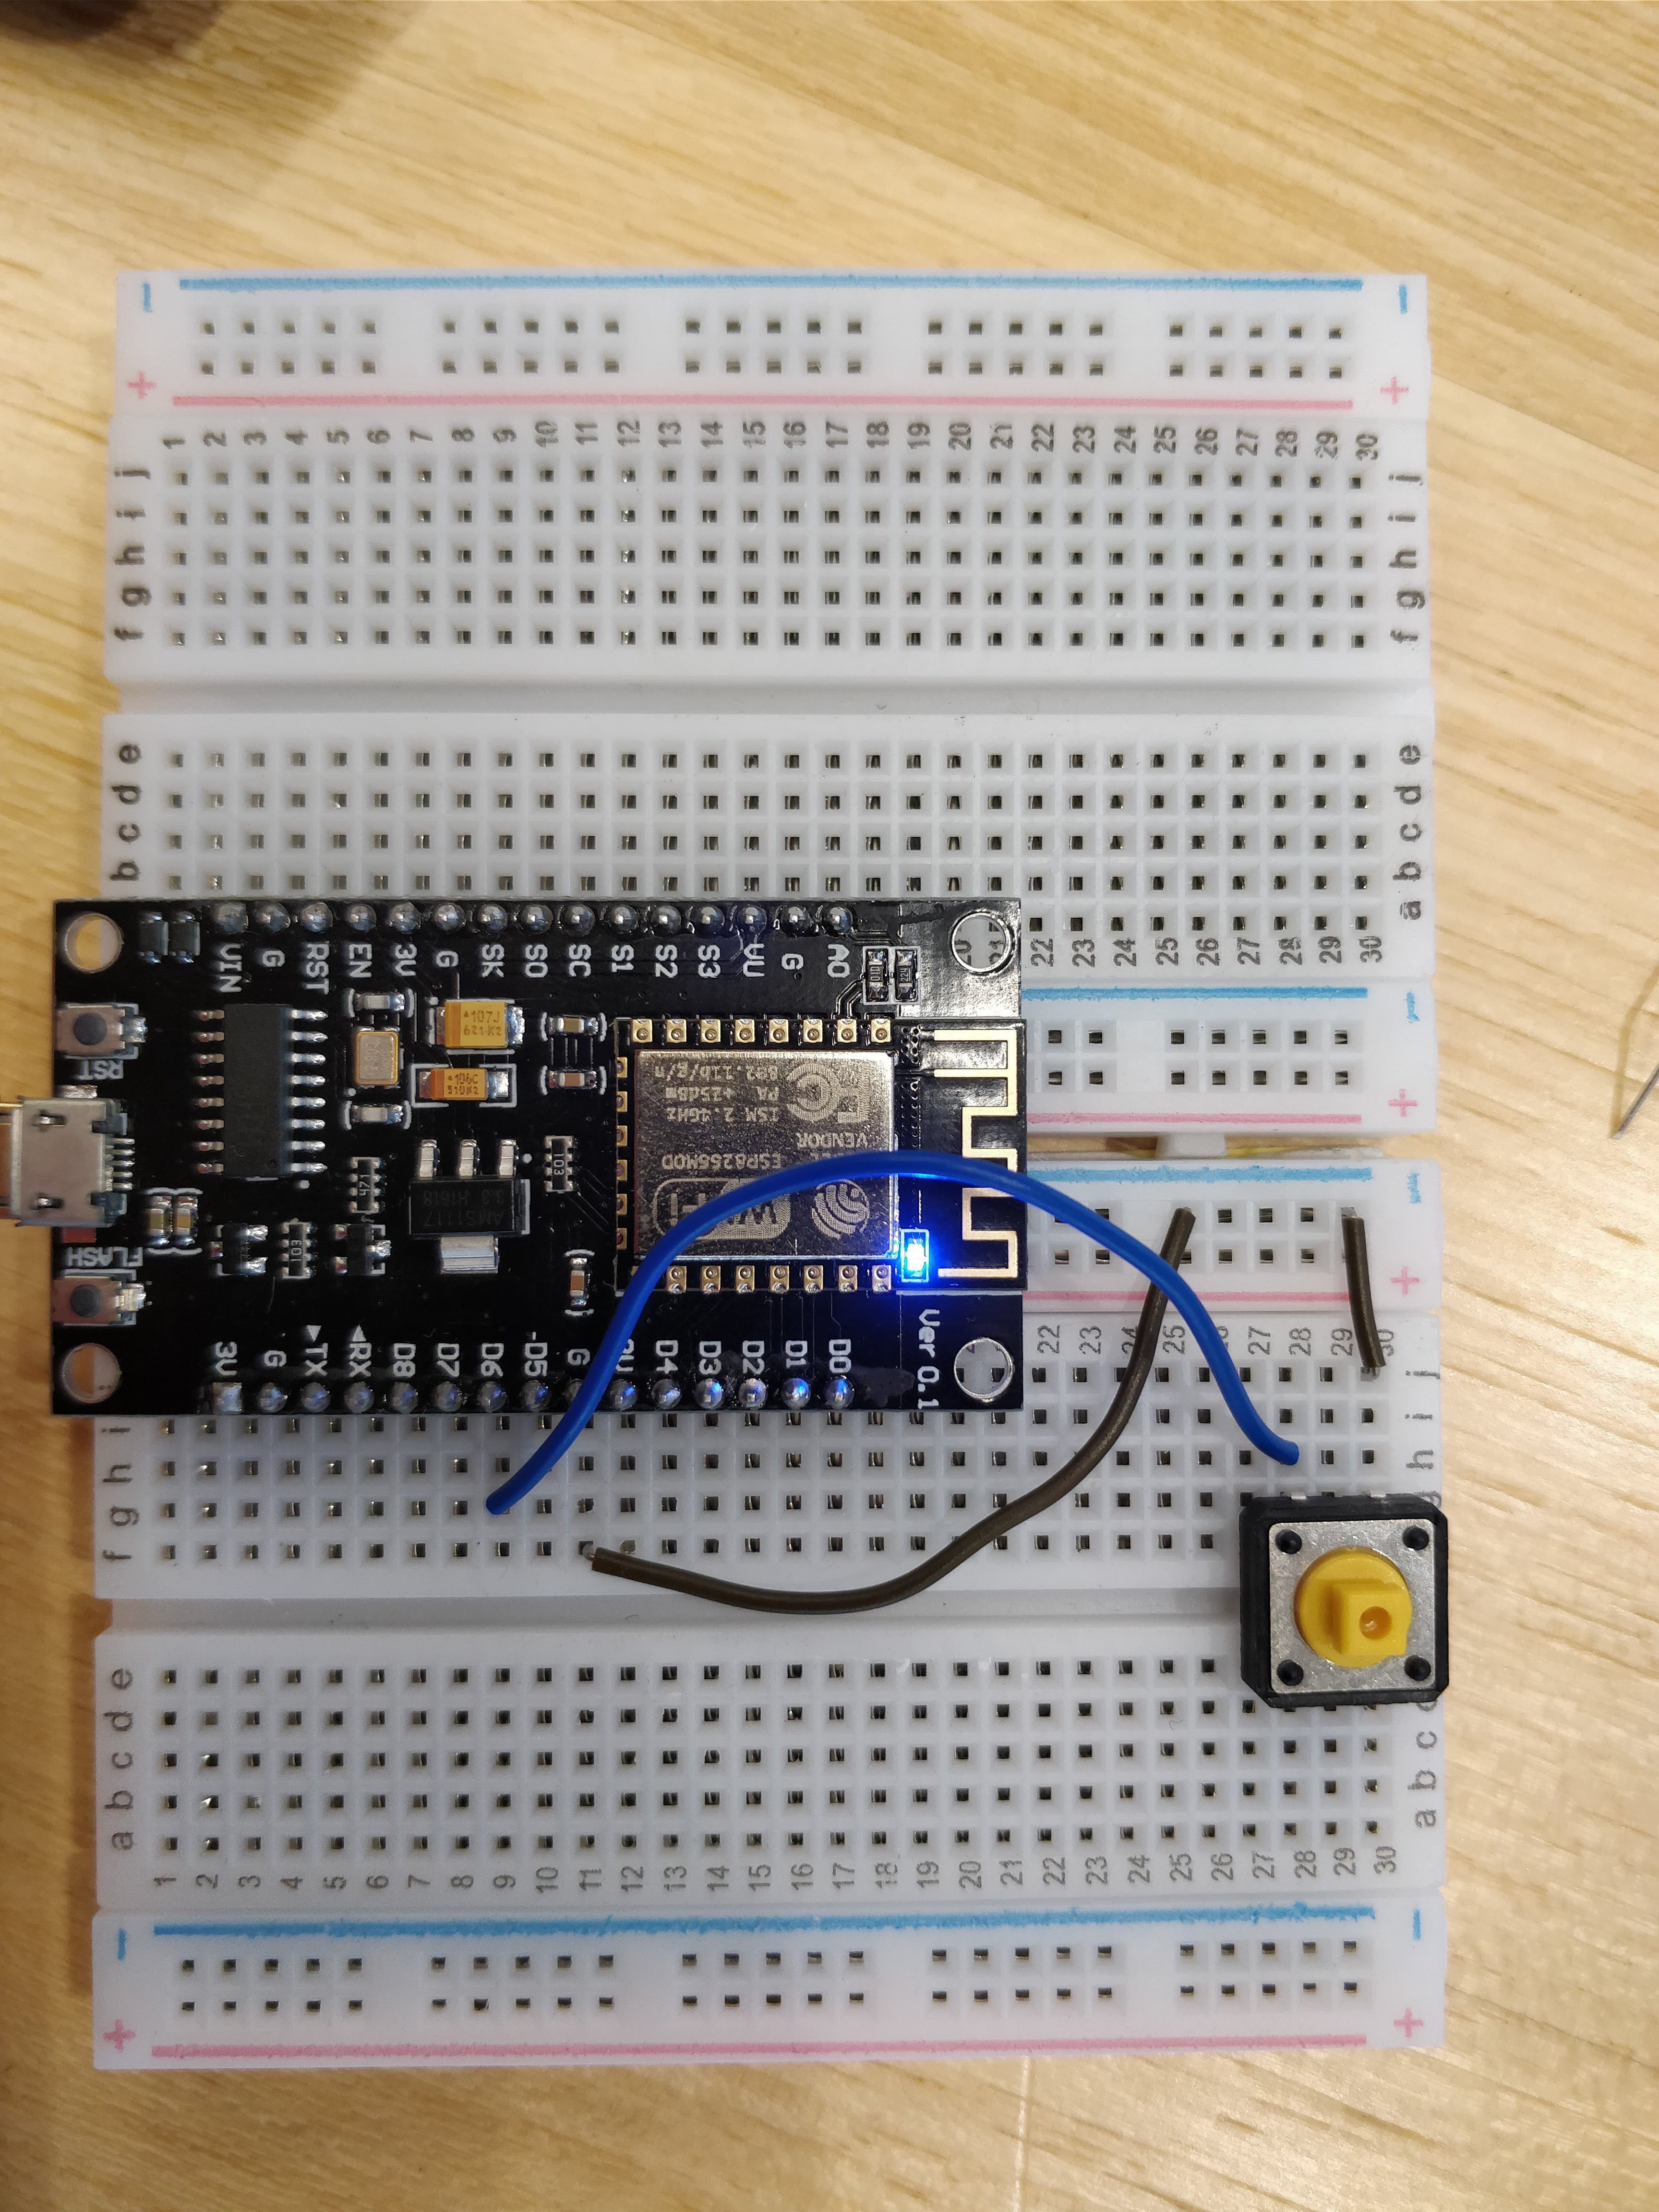
    Annoyingly the NodeMCU required 2 breadboards to mount. I hear that this a problem with v3, as v2 has a smaller form.

    The first problem was finding the laptop's IP address so that the board could talk to it. I looked into a few protocols for device discovery on a local network, including mDNS, UPnP and SSDP, but couldn't find a drop-in library for a C# application. Instead, the desktop program multicasts UDP packets every 2 seconds to advertise its IP address and the port of the websocket server (inside the packet contents). When the NodeMCU receives a signal, it connects to the websocket at the sender's IP address and the port specified. Any subsequent messages are sent over this persistent connection. Afthe NodeMCU connects to the websocket server, the LED on the board stops blinking to indicate successful setup. Note that the PC and board have to be on the same network for this work.

    A push button was connected to GPIO pin 12 (D6) and configured to use an internal pullup resistor. Using a pullup meant that the button pressed state was logic low and released state logic high.
    So that the board could recognize both short and long presses, I opted to use polling logic over interrupts. This method is easily extensible to record double clicks as well. While interrupts would allow the ESP8266 to sleep, this application is unable to take advantage of the low power modes since all of them disconnect from wifi. Reconnect time is on the order of seconds. And polling is easy to implement.
    While a typical mouse click only records a click after the button has been released, the buzzer records one as soon as the button is down, to reduce perceived latency. A long press is recorded if the button is held down for more than 2 seconds.

    My goal was sub-100ms latency from a 10m distance so that teams further away don't appear on the screen after teams close by that buzzed in later (wireless mice seemed to have this problem). Preliminary tests in a WiFi-congested environment indicate a round trip of ~60ms, well within the project constraints.

    See project files for the NodeMCU code, and the github repo for the desktop app code.

  • 3
    Designing the button cap

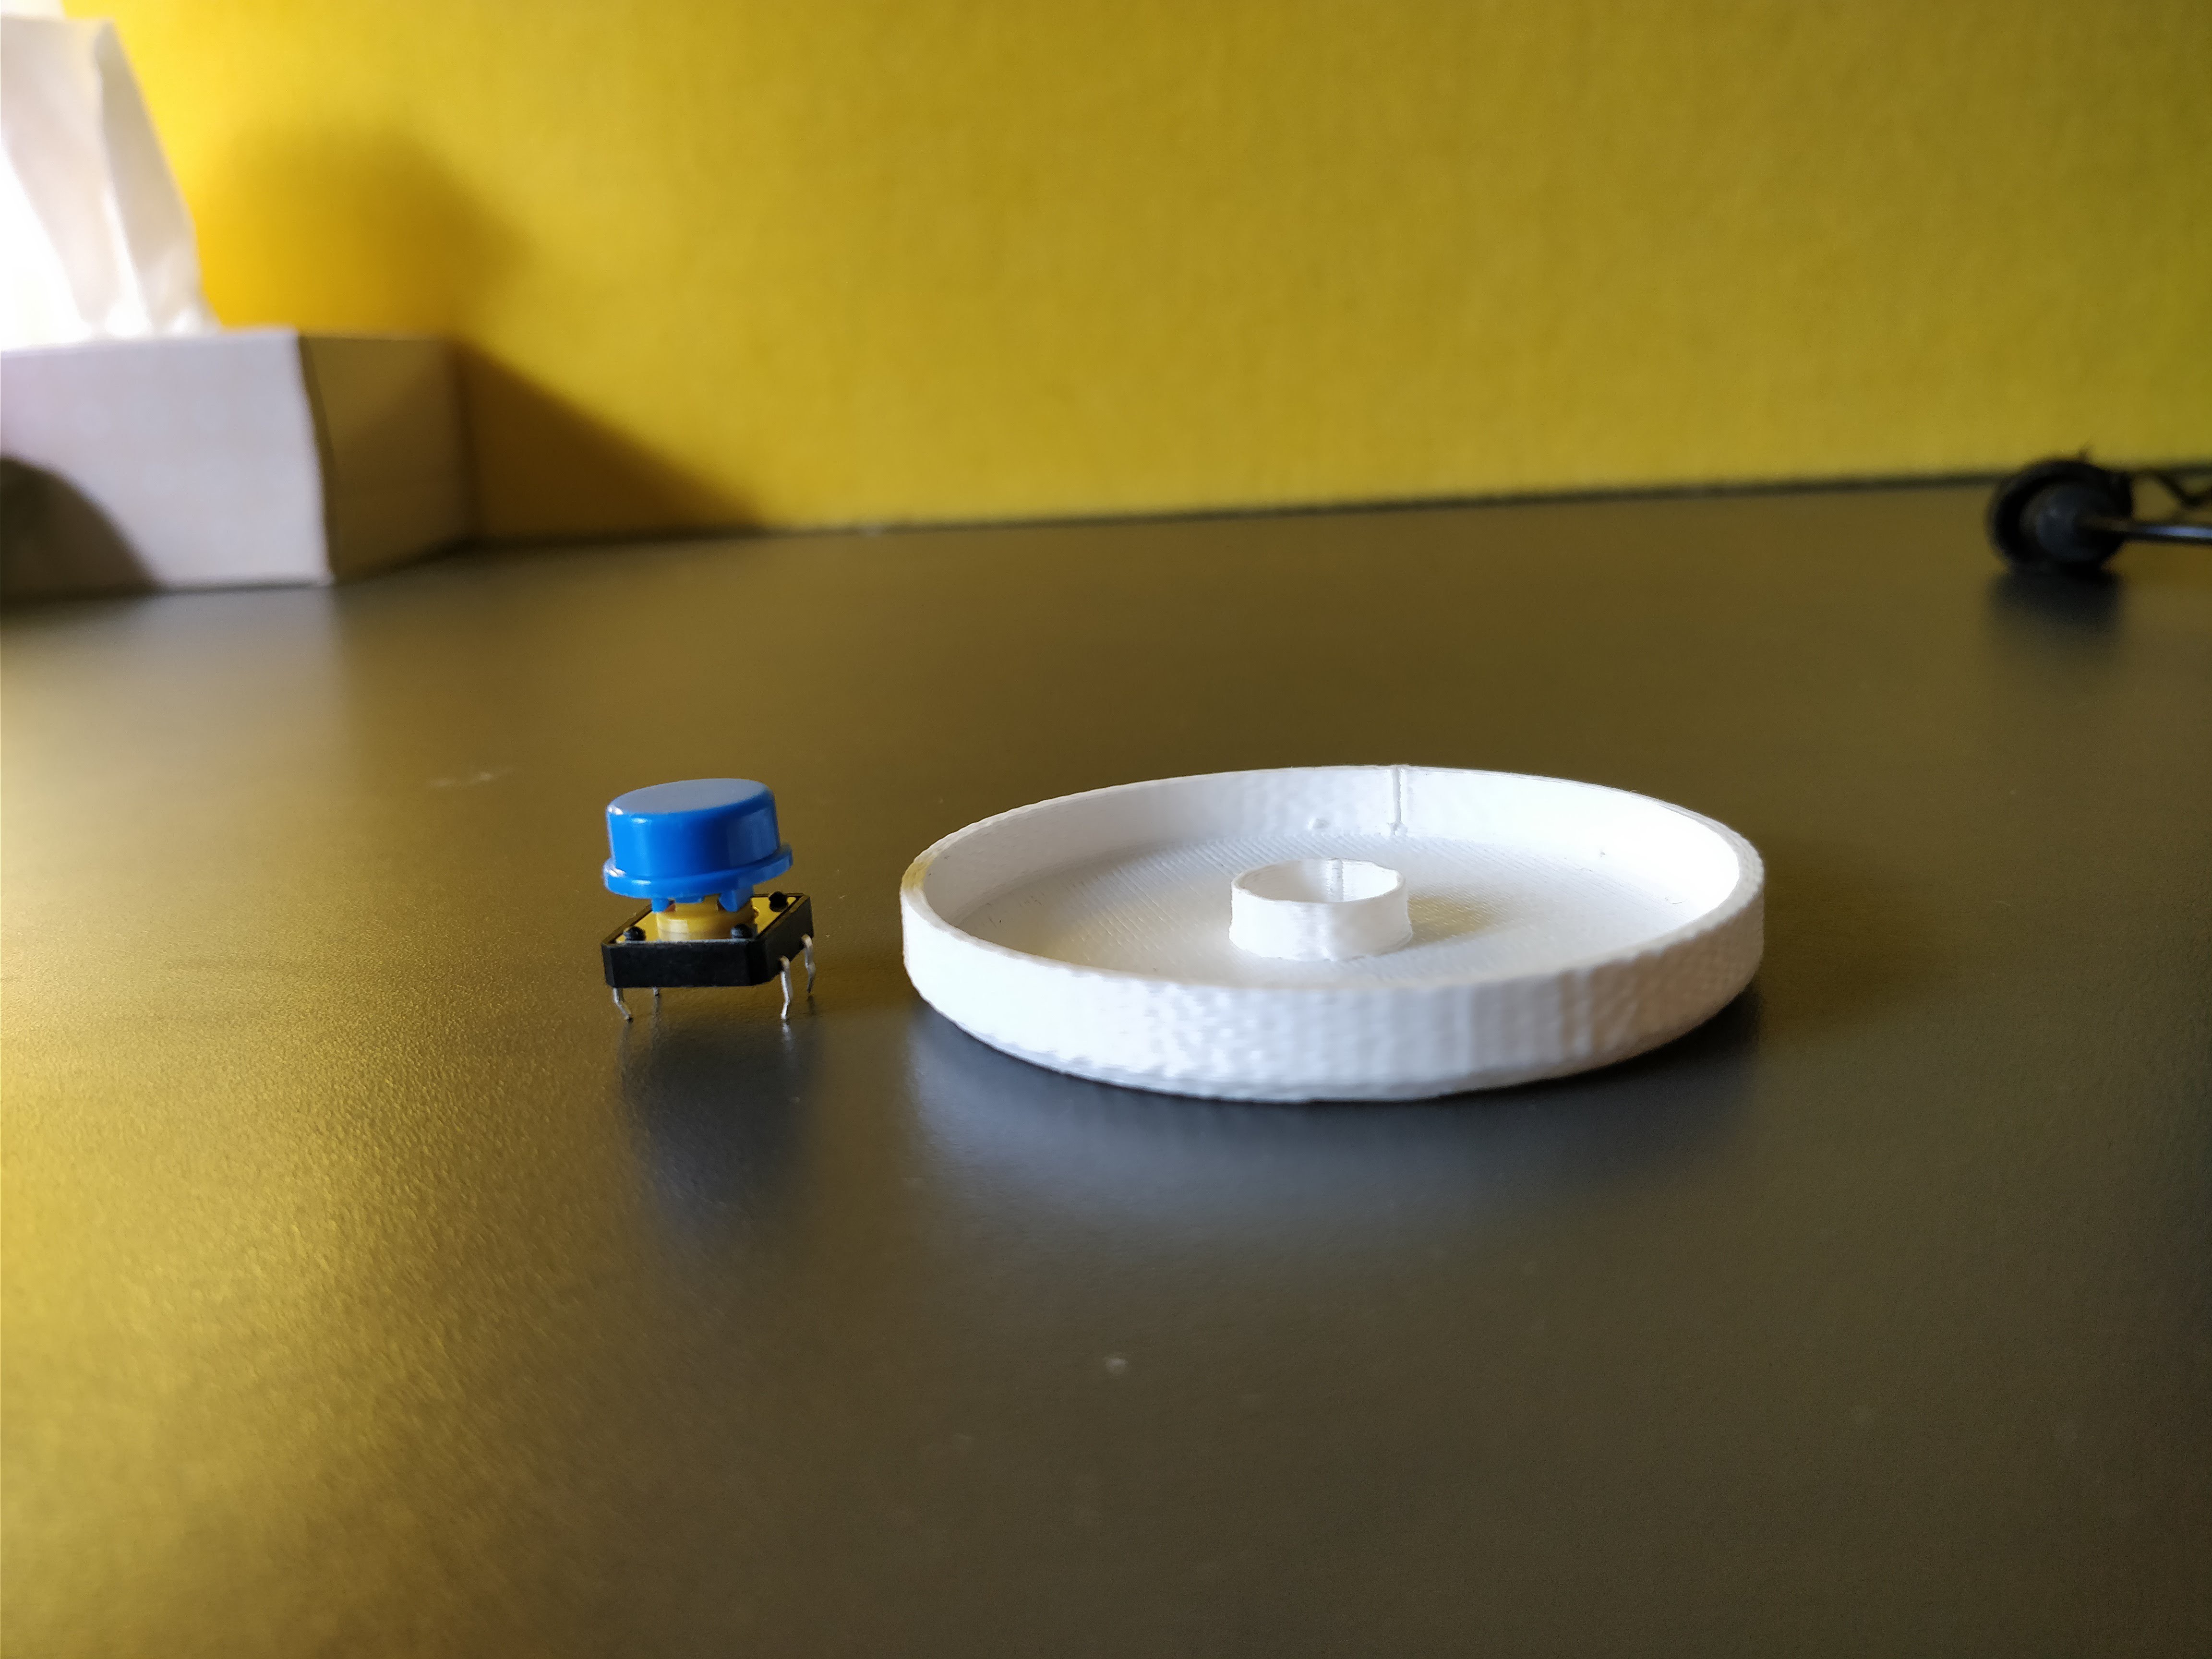
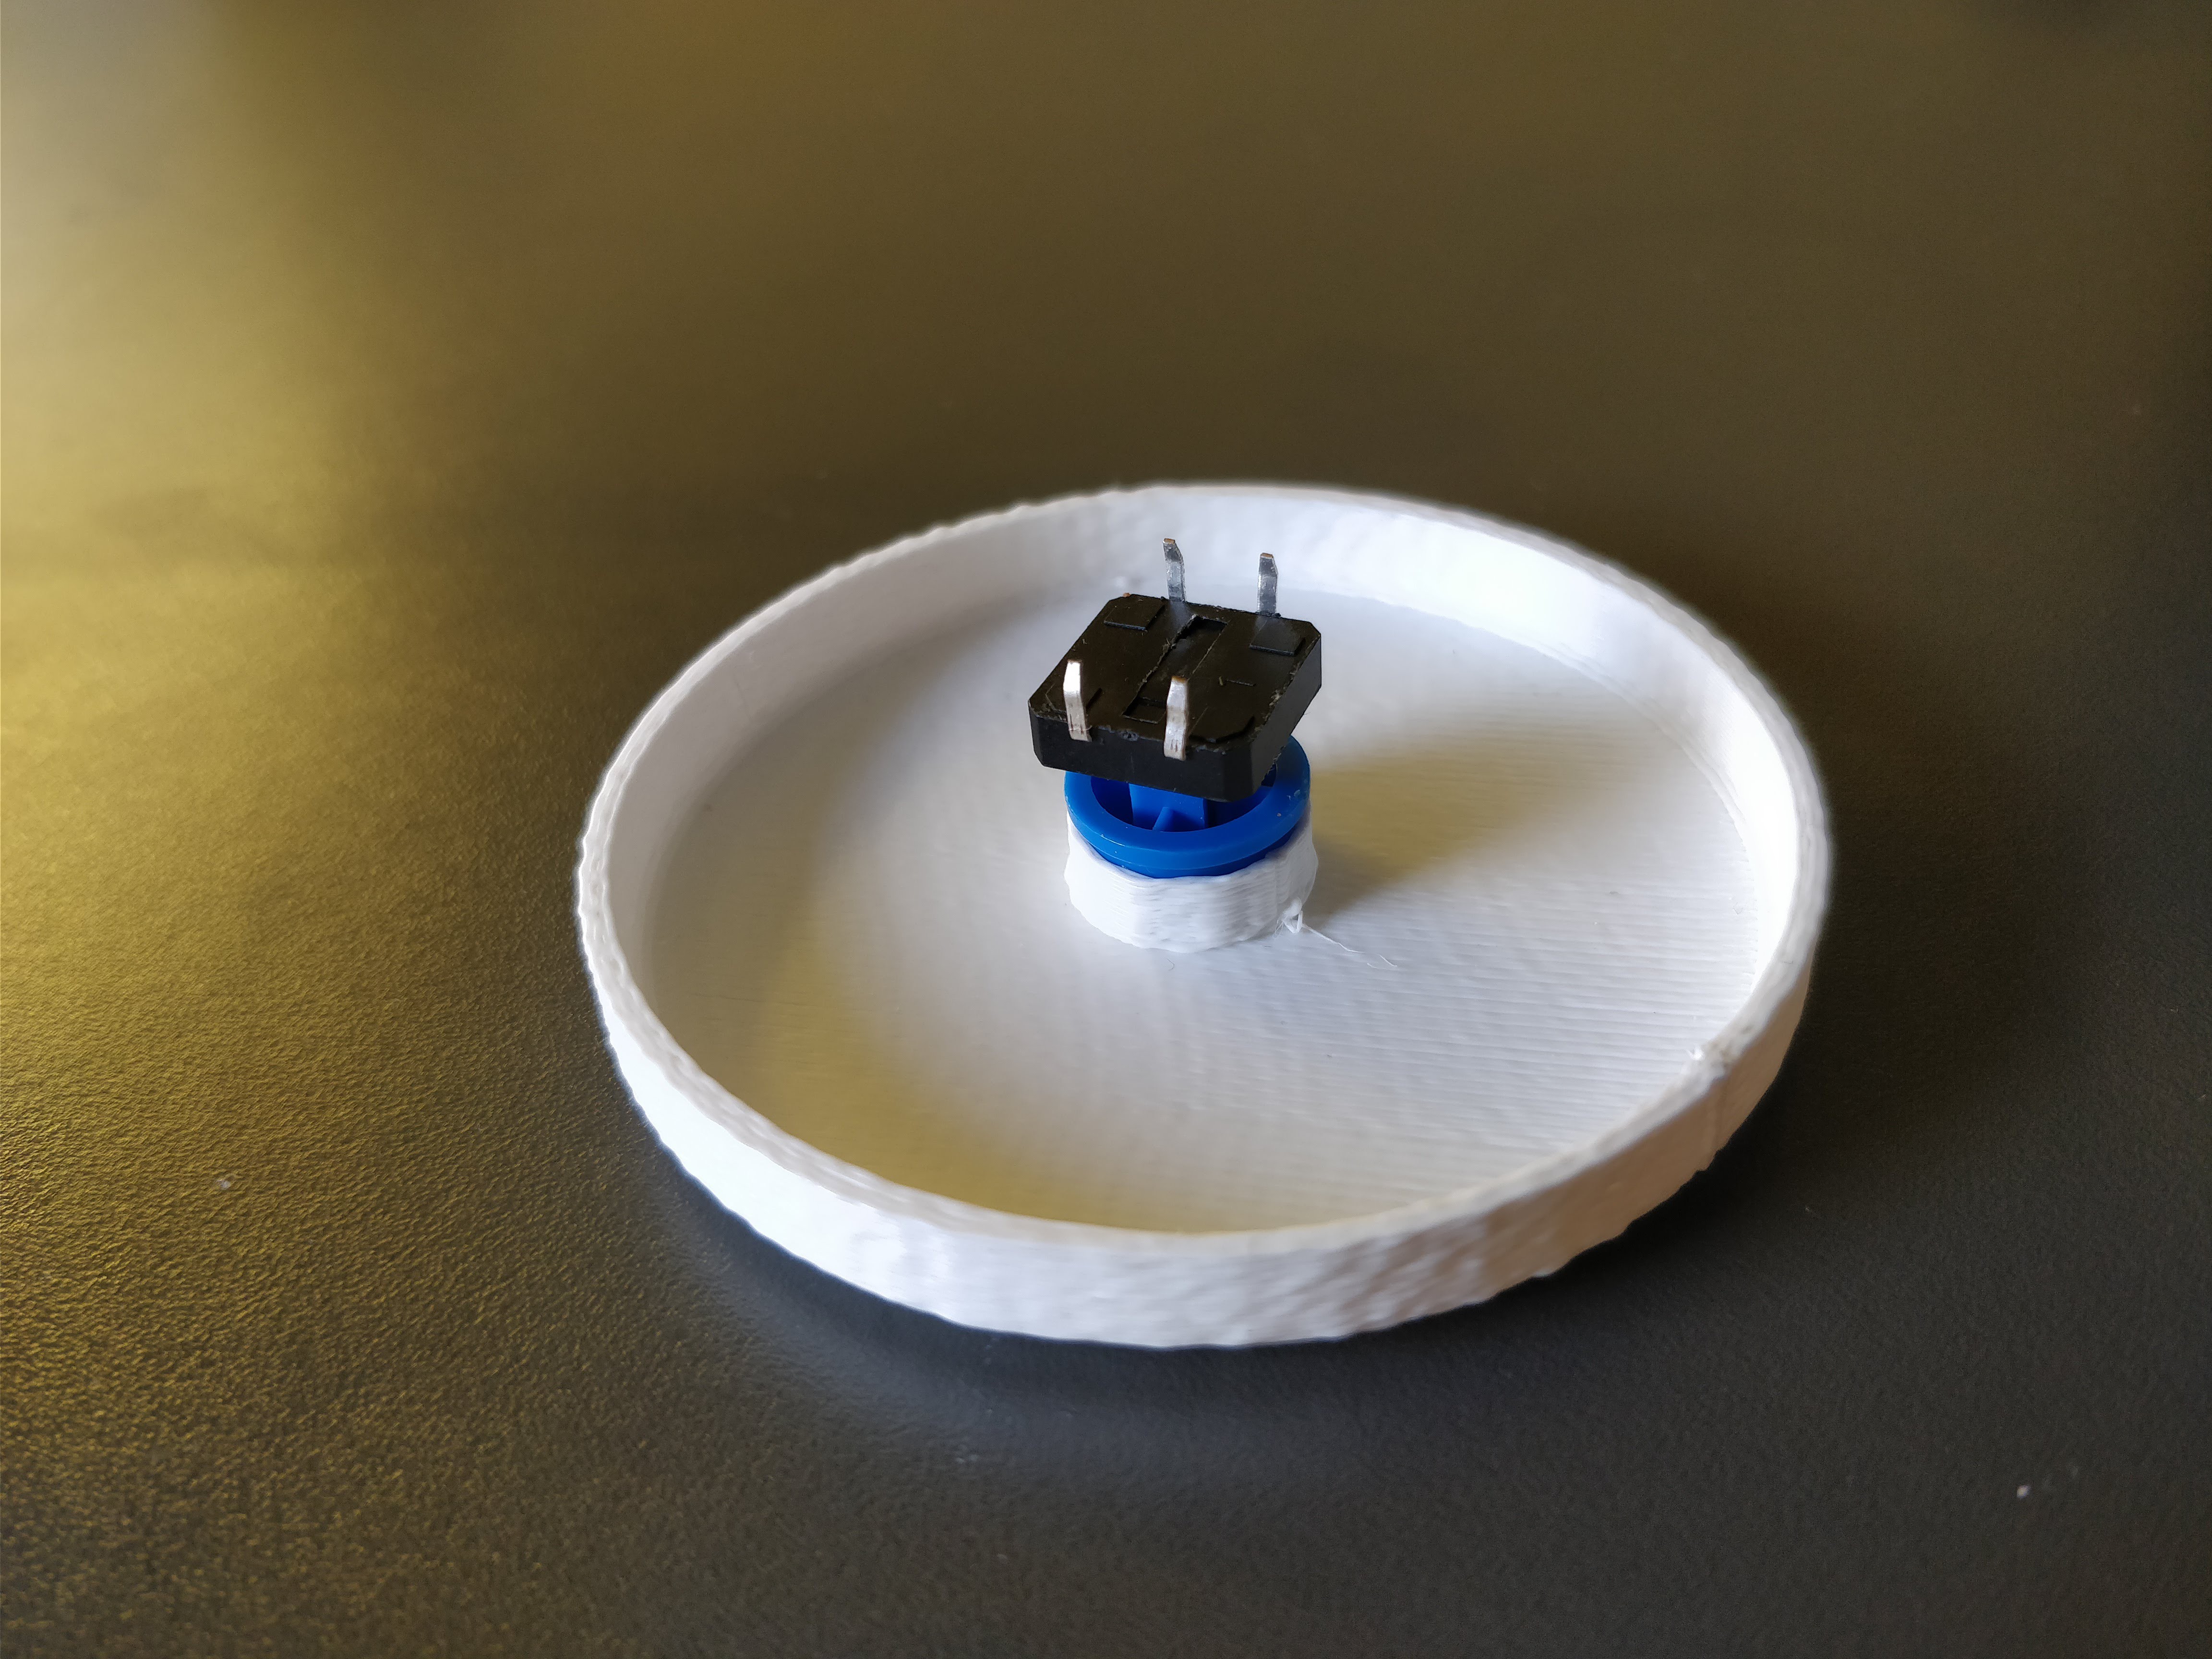
    An important part of the quiz experience is smashing the buzzer button when you figure out the answer. Typical 10mm diameter buttons weren't going to cut it because they're too small for the satisfaction. Sizeable arcade buttons weren't available cheap locally or online (except, of course, the trusted AliExpress). I didn't want to wait another 2 weeks for shipping, so I decided to 3D print a 60mm diameter button cap for a momentary push button I found in the lab.

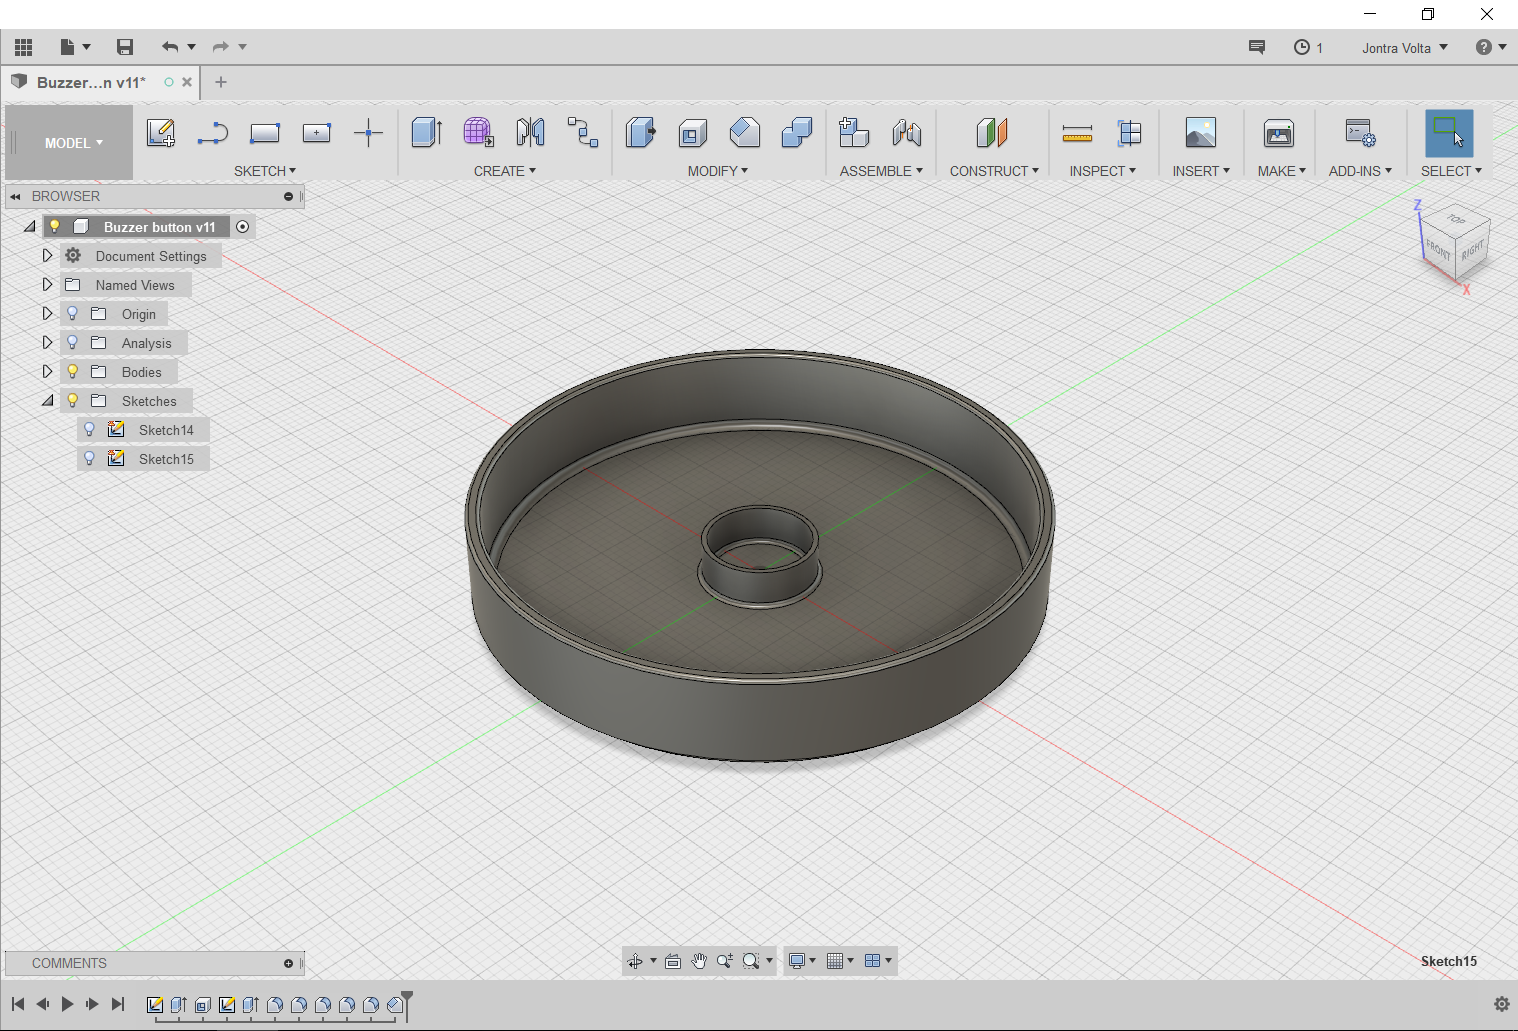
    It was my first time 3D printing using a Makerbot Replicator+ at the university. I read several articles on the excellent 3dhubs.com to understand how FDM printing worked, as well as techniques and common pitfalls. Modeling using Autodesk Fusion 360 was fairly easy to pick up using this tutorial and simply playing around. It took 2 prints to get the tolerance for the cylinder fit right (0.2mm greater than button diameter).
    There fillet at the base of the inner cylinder makes it a little less prone to tear off. The other fillets and chamfers are just for aesthetics :)


    In the first prototype the cap height was about 6 mm, whereas the final version is about 10 mm. This is due to changes in the lid design, which I will detail in the next step.

View all 10 instructions

Enjoy this project?

Share

Discussions

Similar Projects

Does this project spark your interest?

Become a member to follow this project and never miss any updates