Close
0%
0%

Automated mouse homecage two-bottle choice test

A homecage-fitted apparatus for automated, photobeam-based detection of licks in a two-bottle choice task.
*Note: see v2 for updates

Similar projects worth following
We wanted to measure how much mice were drinking of two separate liquids. We developed a simple device that does just that! Low-cost and Arduino-based, it's great for high throughput testing.

For an updated version with new features, see: https://hackaday.io/project/160388-automated-mouse-homecage-two-bottle-choice-test-v2

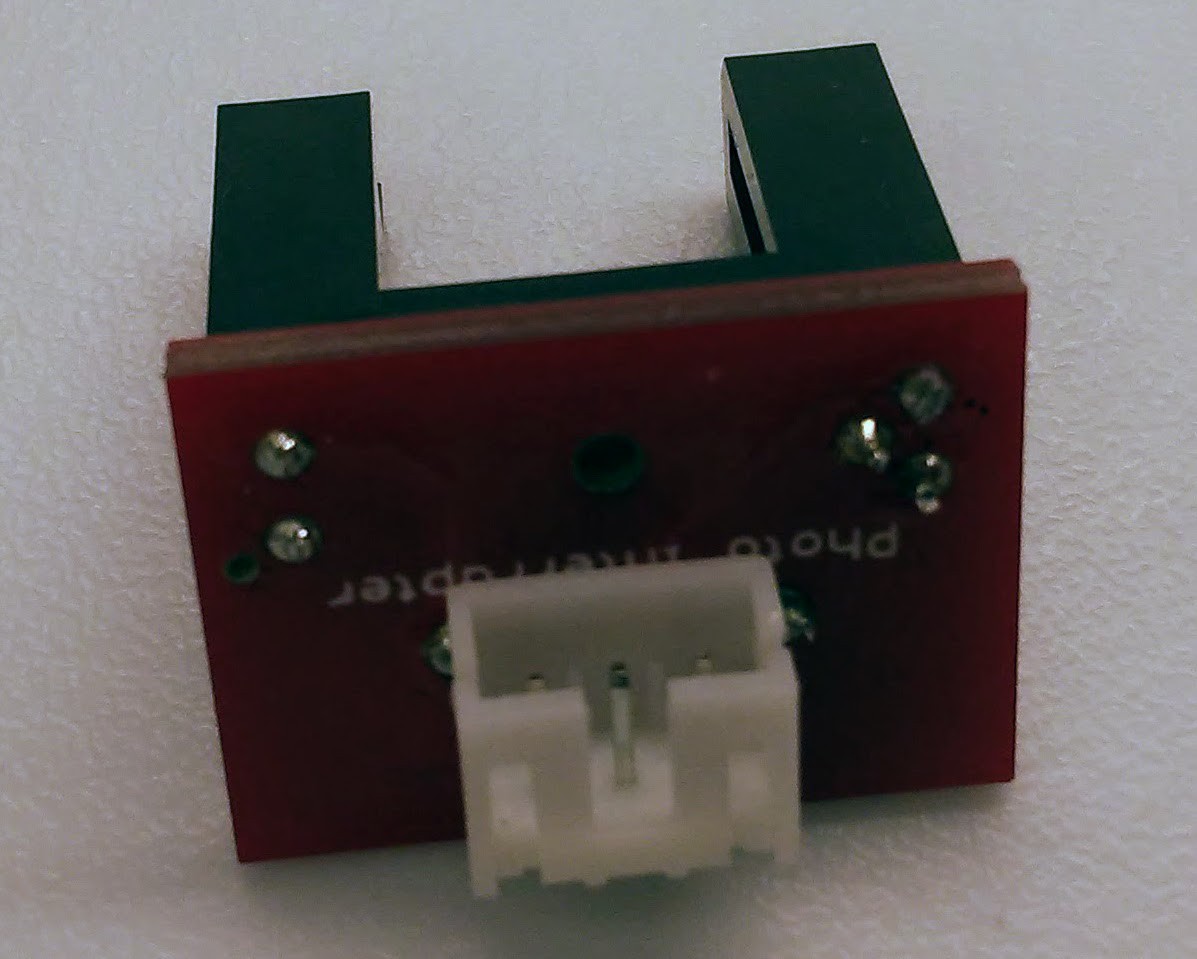
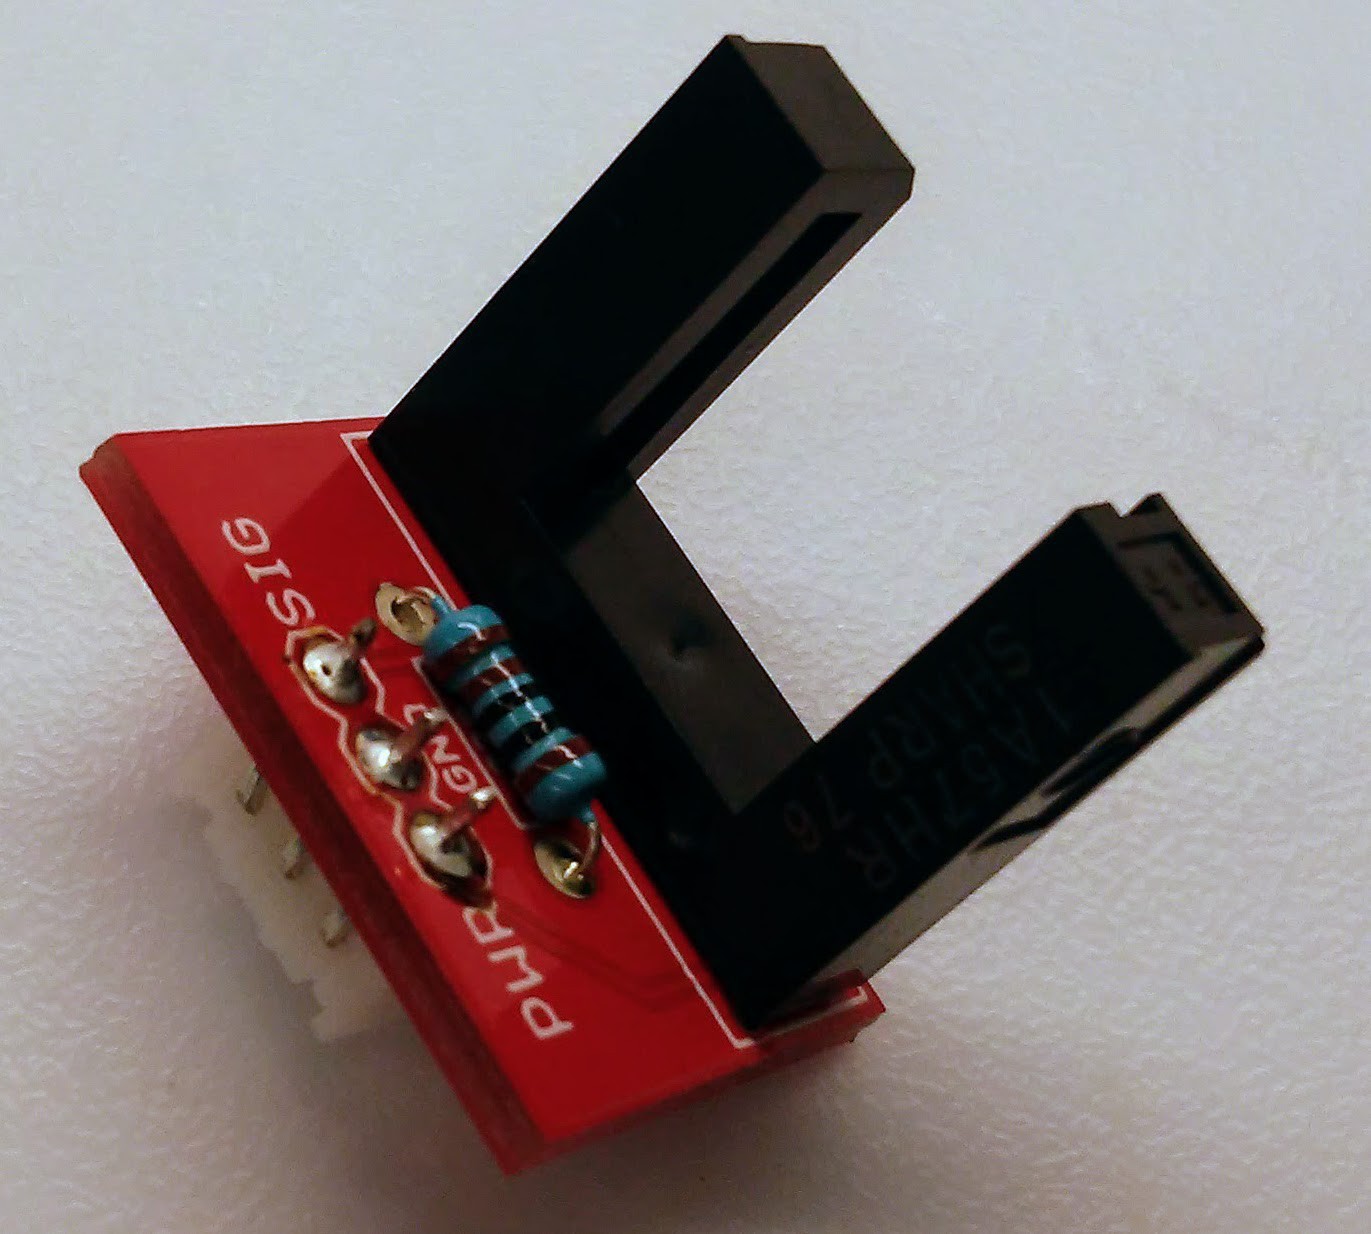
Several behavioral neuroscience paradigms require measurements of consumption of liquids in the homecage, i.e. sucrose preference task, oral self-administration.  Here, we present a low-cost, two-sipper apparatus that mounts on the inside of a standard mouse cage.  Interactions are detected using photointerrupters at the base of each sipper which are logged to an SD card using a standard Arduino.  Sippers are constructed from 15 mL conical tubes which allows additional volumetric measurements, the rest of the holding apparatus is 3D printed, and the apparatus is constructed with parts from Arduino and Sparkfun.

This is designed such that each set of 2 sippers uses its own Arduino and SD card.  With a bit of modification to the code one Arduino Uno can be programmed to log from 6 cages onto the same SD card.  Arduino compatible boards with more GPIOs (like Arduino Mega) can log from up to 56 sippers on one Arduino!

Hackaday_example lickometer data_180512.xlsx

An example of the raw data written to SD card - shows interaction time and number over 7 days

sheet - 4.92 MB - 05/13/2018 at 01:58

Download

Lickometer_Version_2sensors.ino

Code to flash to Arduino for logging lick detection onto SD card.

ino - 5.99 kB - 05/13/2018 at 01:08

Download

Standard Tesselated Geometry - 117.37 kB - 05/13/2018 at 01:03

Download

View all 11 components

View project log

  • 1
    Print the 3D part from STL file on project page
  • 2
    Prepare syringes

    Pull plunger out of 2 syringes and put aside.  Cut the top and bottom off the syringes with a razor blade (see photo).  Epoxy a valve into the ejection end of each one and let dry fully.

  • 3
    Put together 2 photo-interrupters

    Solder the PI into the Sparkfun breakout board, solder on a 1K resistor (the board says to use a 220Ohm resistor but we found 1K doesn't impair the function of the PI and consumes less power), and solder on the 3 pin JST connector. Be careful with the orientation of the connector, it's important!  Plug the wire into this 3 pin jack.

View all 7 instructions

Enjoy this project?

Share

Discussions

Similar Projects

Does this project spark your interest?

Become a member to follow this project and never miss any updates