 Moritz Kütt
Before connecting three detectors to the Arduino Nano, we made sure that one would work. Using the iRover HV Board/signal processor, connection is simple. The HV board uses 3.3V supply voltage to provide 500V for the Geiger-Mueller tube. It also does some basic signal processing, and outputs a clearly defined pulse (approx. 130µs long) per detected event. The output can directly be read at one of the digital input pins of the Nano.
The iRover HV Board has a header with three pins. It is not the same header as used on the Arduino or other boards, but ones that go under the name "Swiss Machine Pin" (or similar names like "swiss round machined pins" etc.). We simply solder three female headers to male jumper wires and stabilized it with shrink tube.
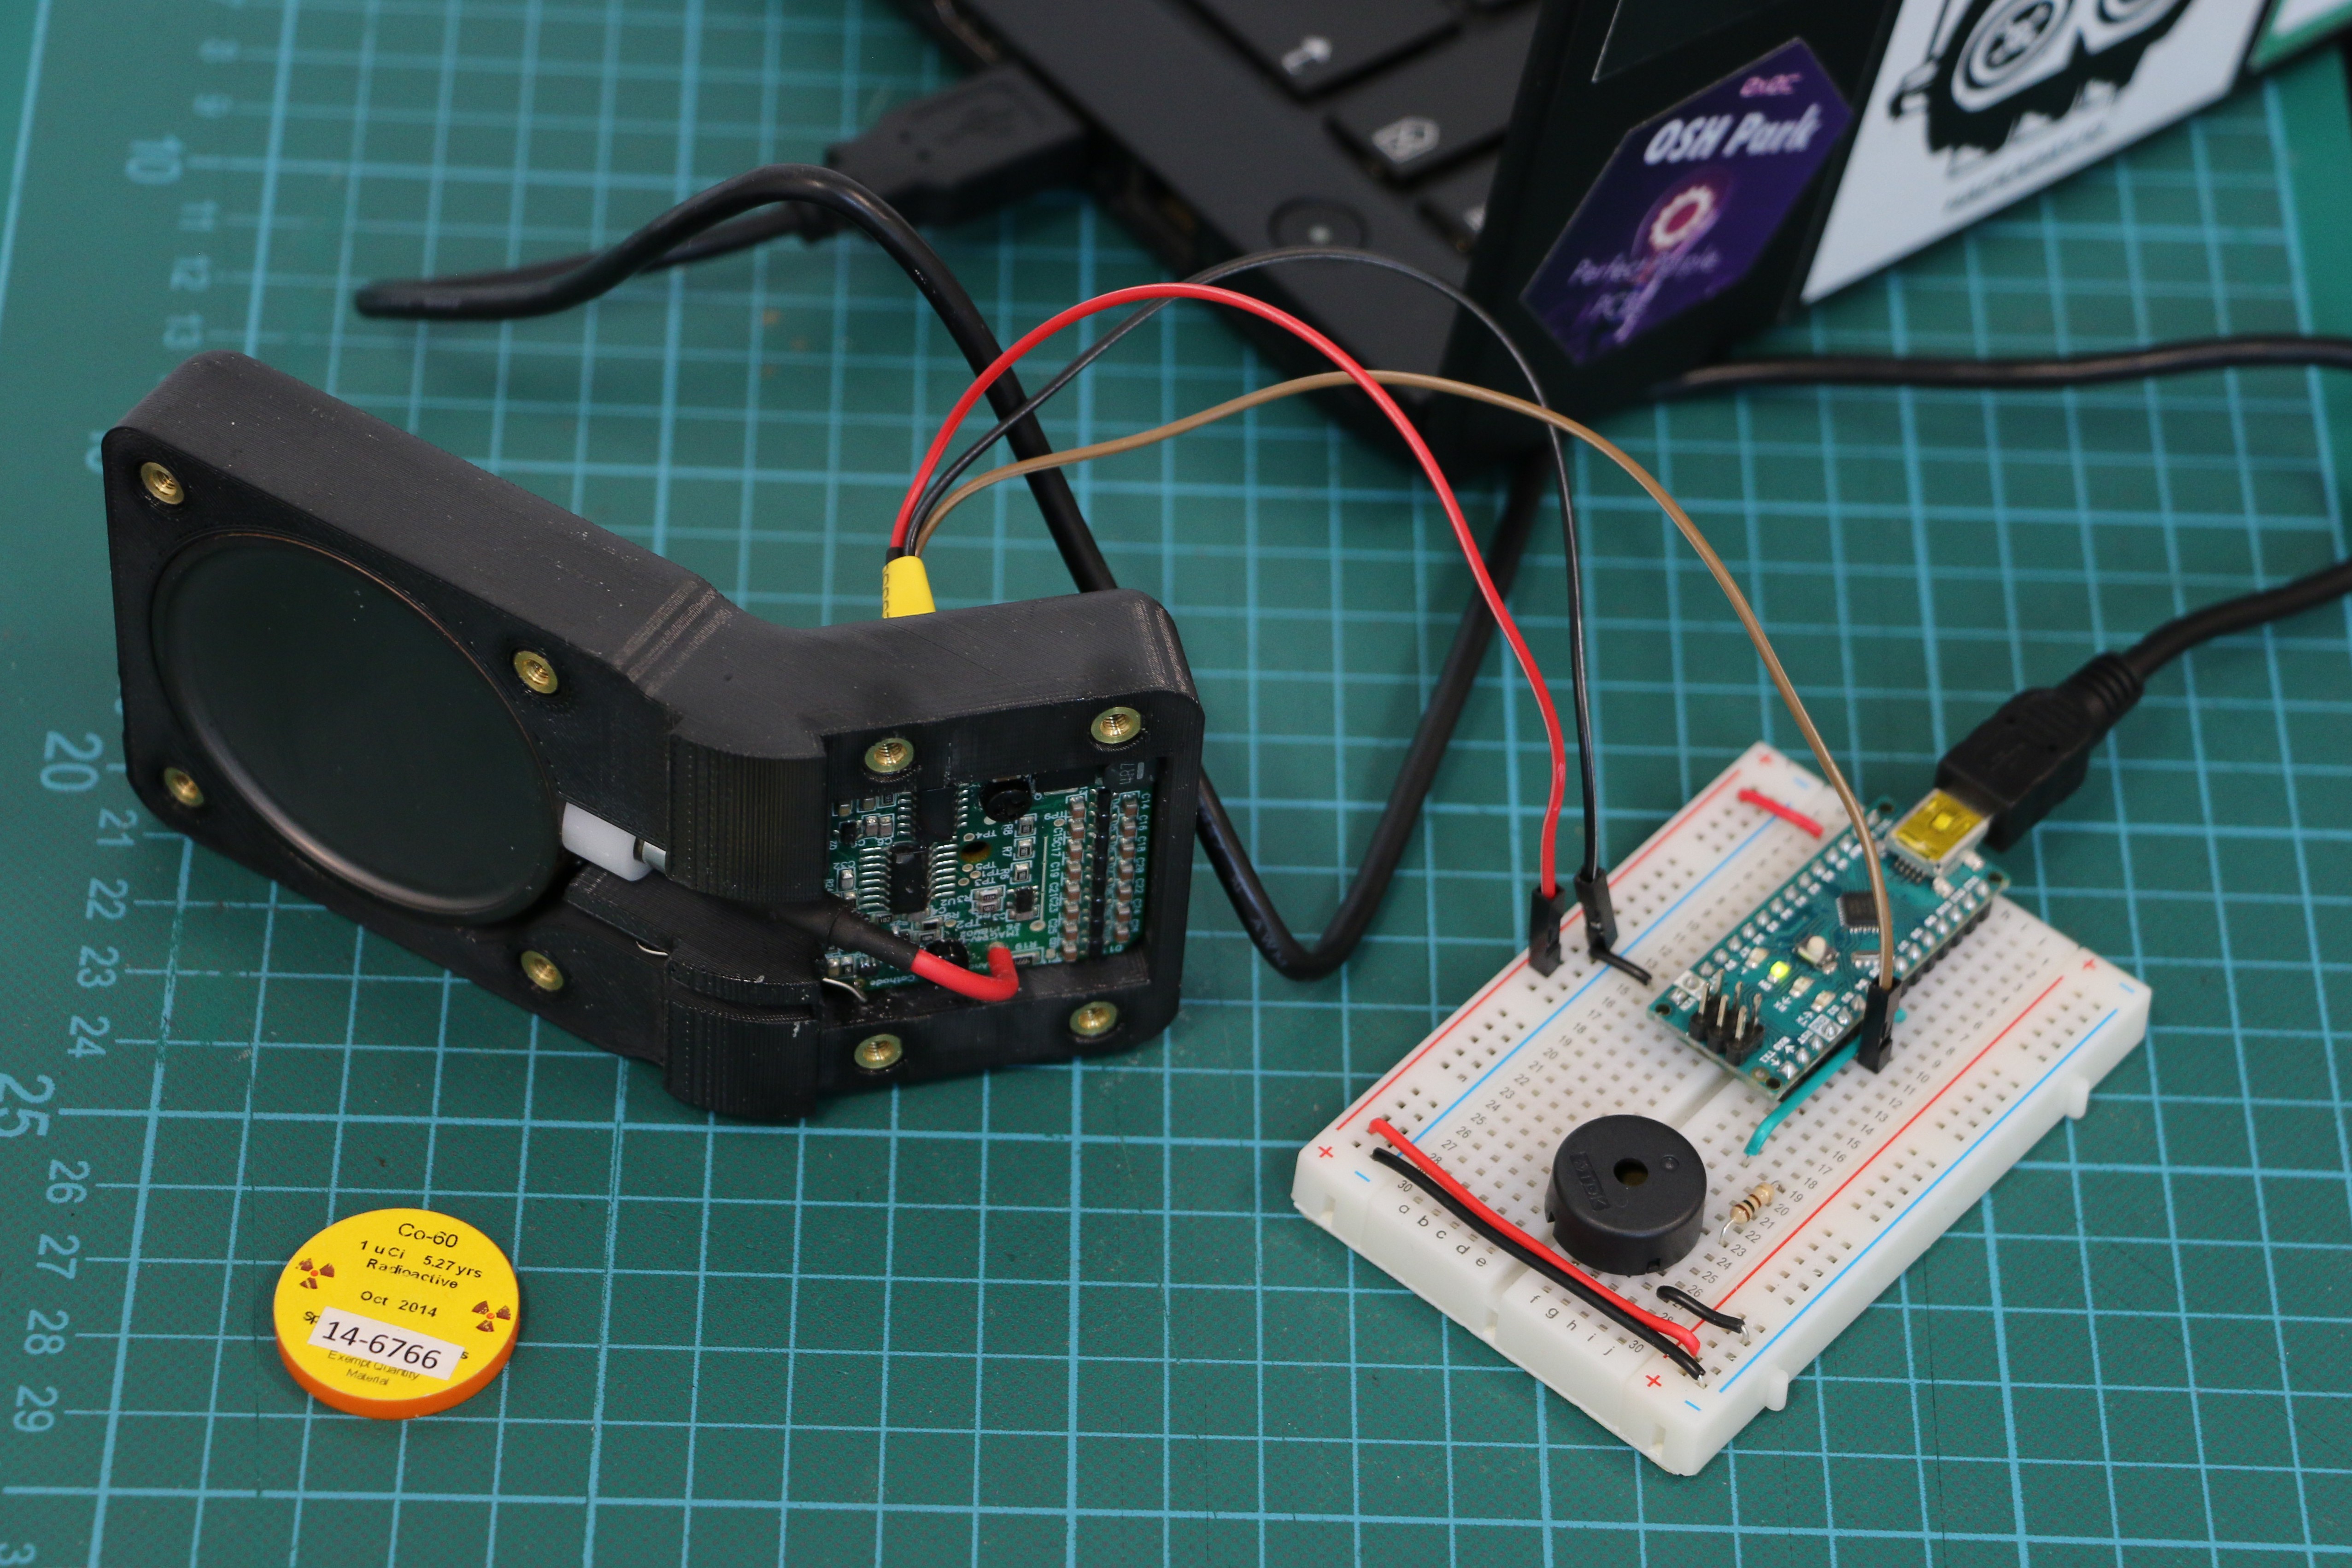
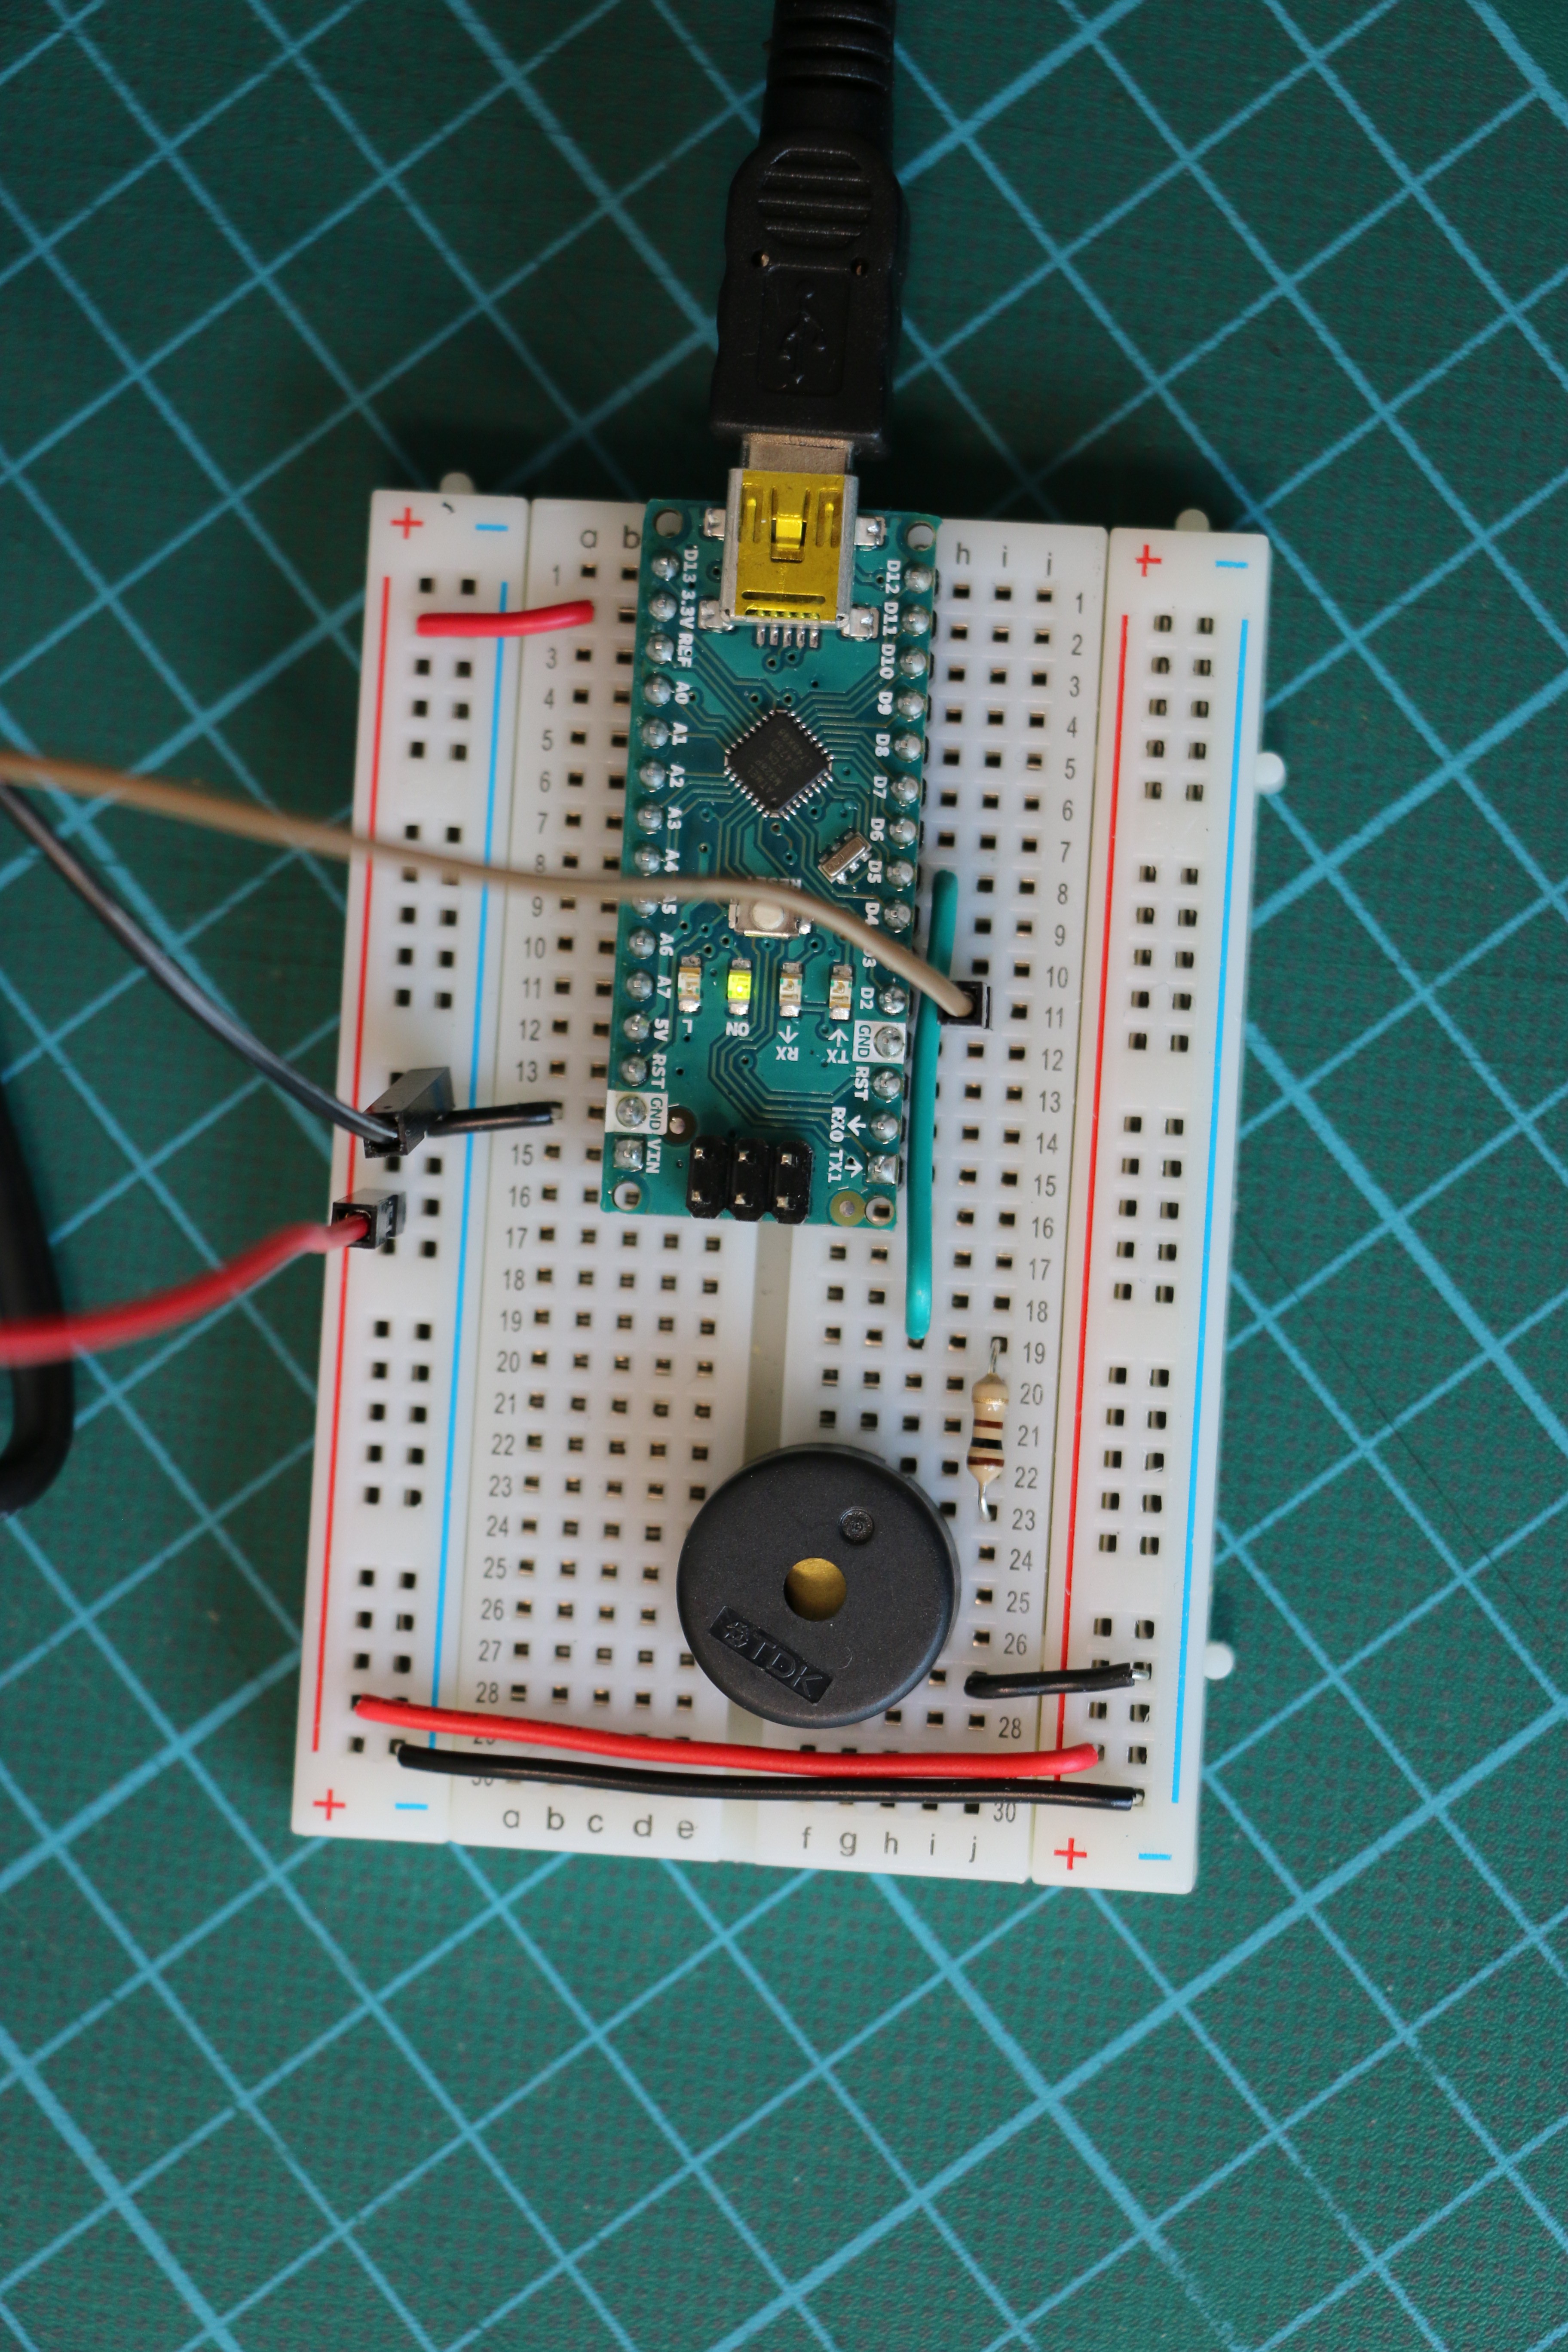
We added a small buzzer to the circuit that clicks for every event. This was very helpful for debugging - the closer you bring a test source, the higher the click rate. If you can't hear clicks, probably something is wrong, e.g. a loose cable. The buzzer is also driven by a digital I/O pin, with a 100 Ohm resistor between pin and buzzer to limit the current it can draw from the pin.
The code for this setup has not yet ROS compatibility, but just displays events on the serial output and clicks when an event happens. Here is the sketch:
#define DETECTIONDELAY 140  // in micro seconds

const int detectorPin = 2;
const int buzzerPin = 5;
unsigned long nextEvent = 0;

void setup() {
  Serial.begin(115200);
  delay(2000);
  Serial.println("GeigerROS");

  pinMode(detectorPin, INPUT);
  nextEvent = micros() + DETECTIONDELAY;
}

void loop(){
  if (digitalRead(detectorPin) == HIGH) {
    if(micros() > nextEvent) {
      nextEvent = micros() + DETECTIONDELAY;
      tone(buzzerPin, 1000, 2);
      Serial.print(micros());
      Serial.println(" µs: Event detected");
    }
  }
}
After we check if the input pin is 'high' we check if enough time has passed since the last event. We know that the pulses remain 'high' for about 130µs. So we just set a delay of 140µs to be on the safe side. The clicks are produced using the 'tone' function of the Arduino library.
Discussions
Become a Hackaday.io Member
Create an account to leave a comment. Already have an account? Log In.