 TG-Techie
in the detail I will discuss what needs to be done to complete this version of the project. more details to be posted soon.
physical construction:
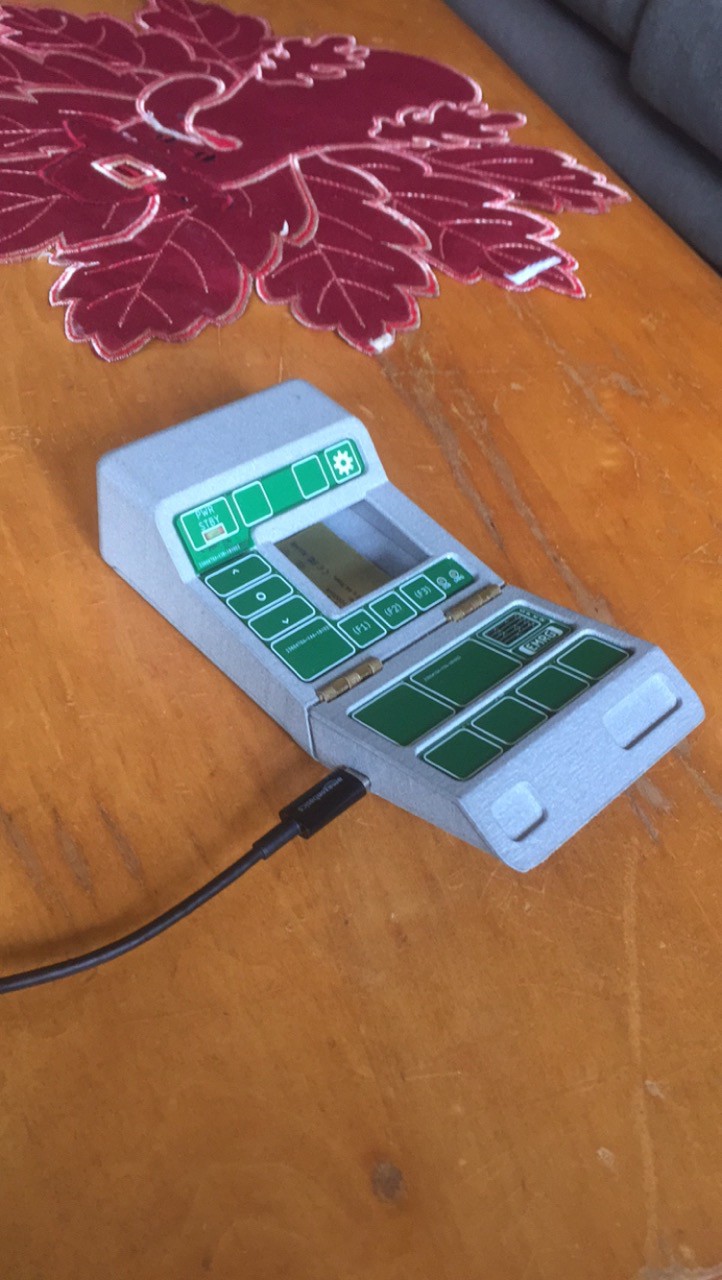
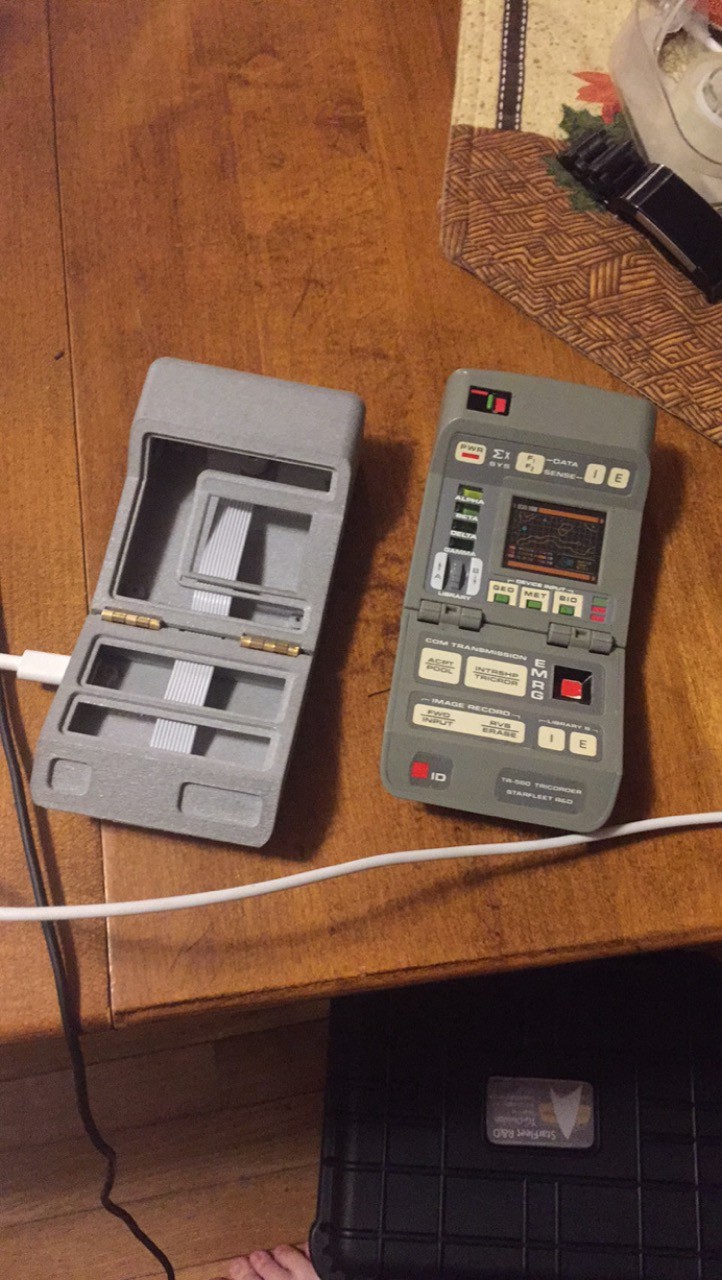
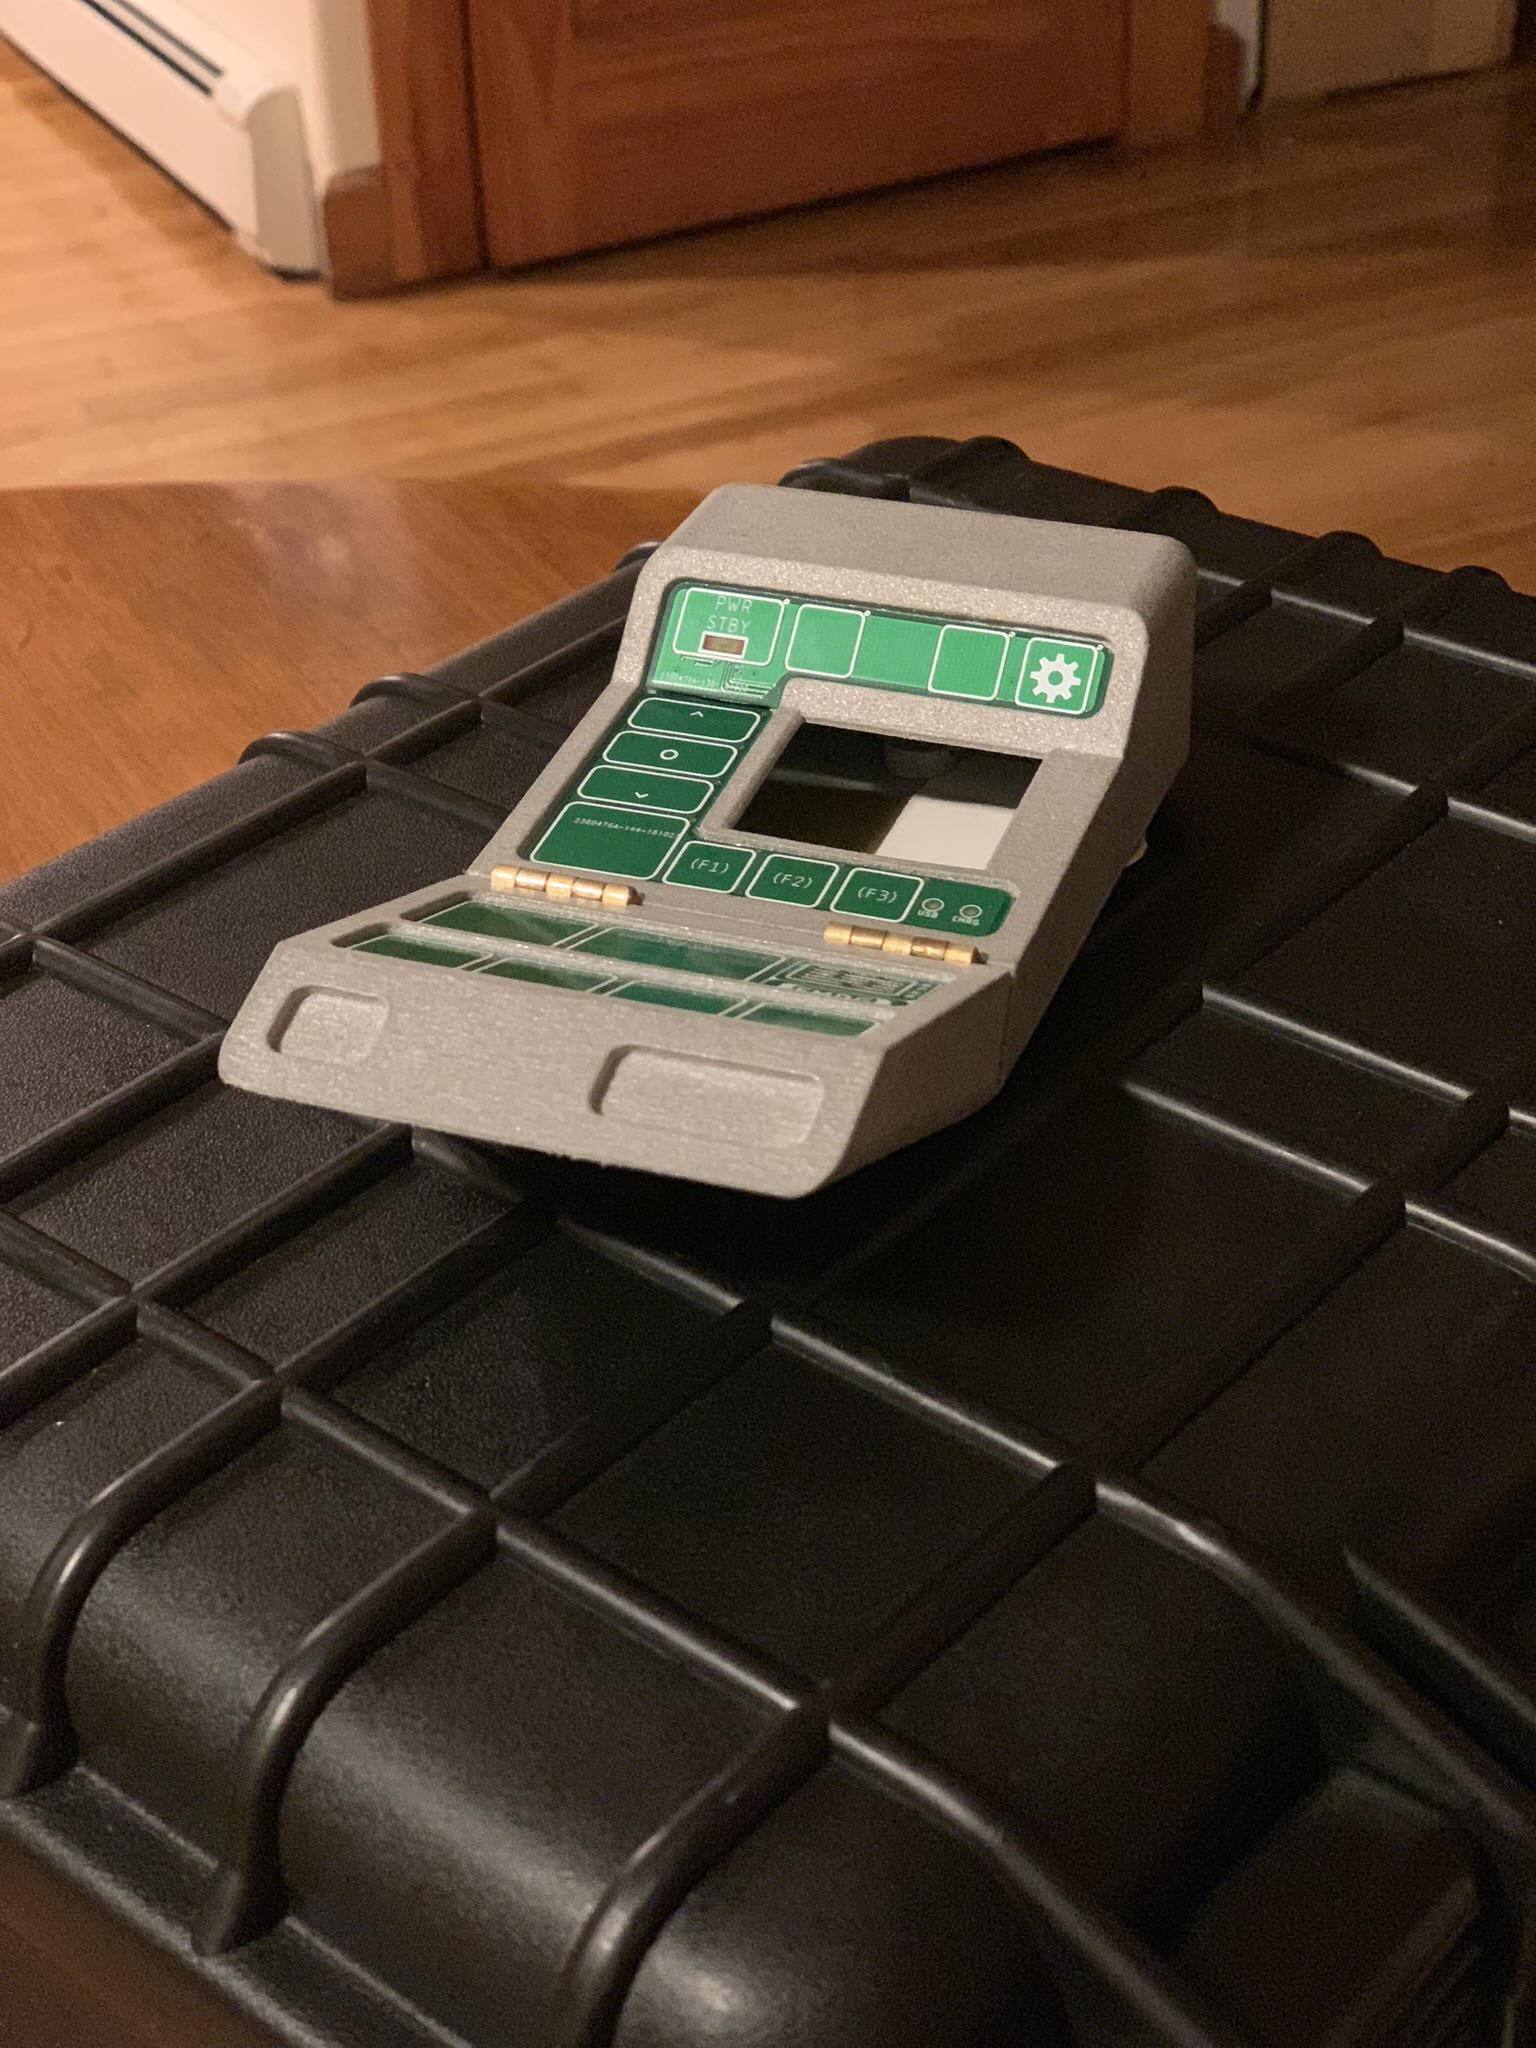
i have already made a stunt tricorder several years ago, here: https://www.thingiverse.com/thing:1739621, although it is the most acurate free version I can find online, it's still not as accurate as I know I am able to do. so i have re-cadded and made it in several pieces so as to make it easy to insert pcbs and assemble it with small seems. (hopefully.)
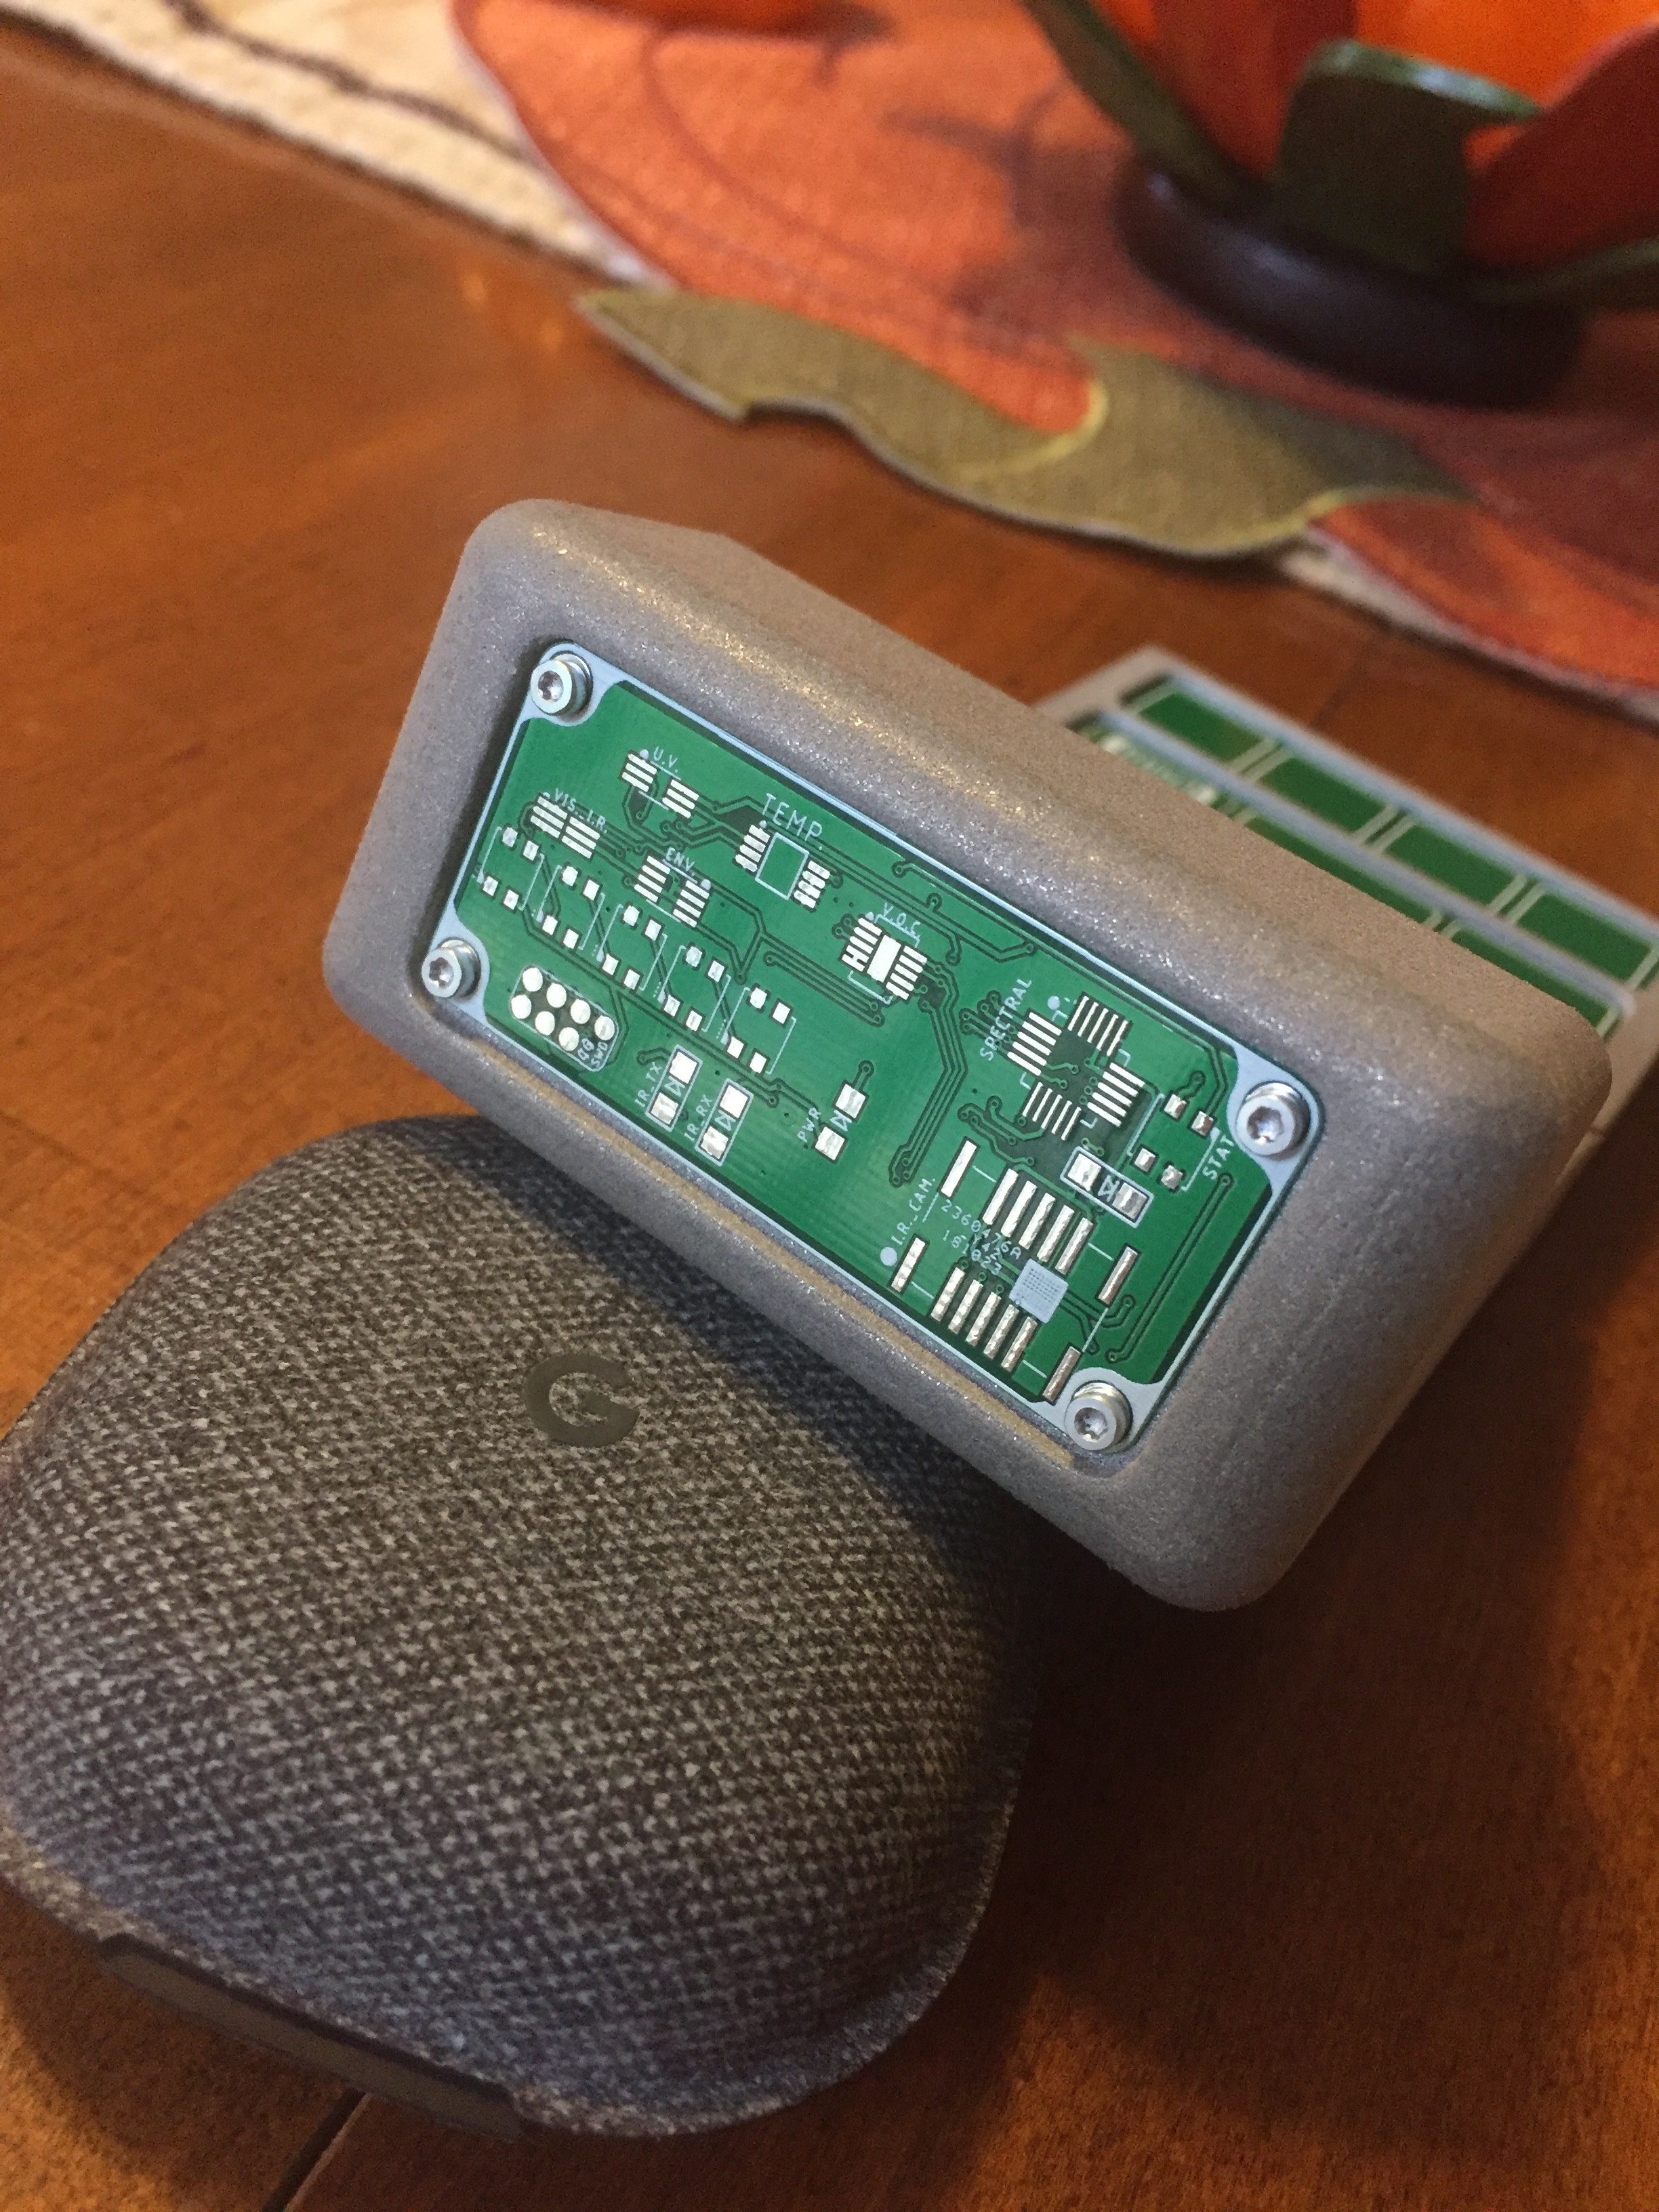
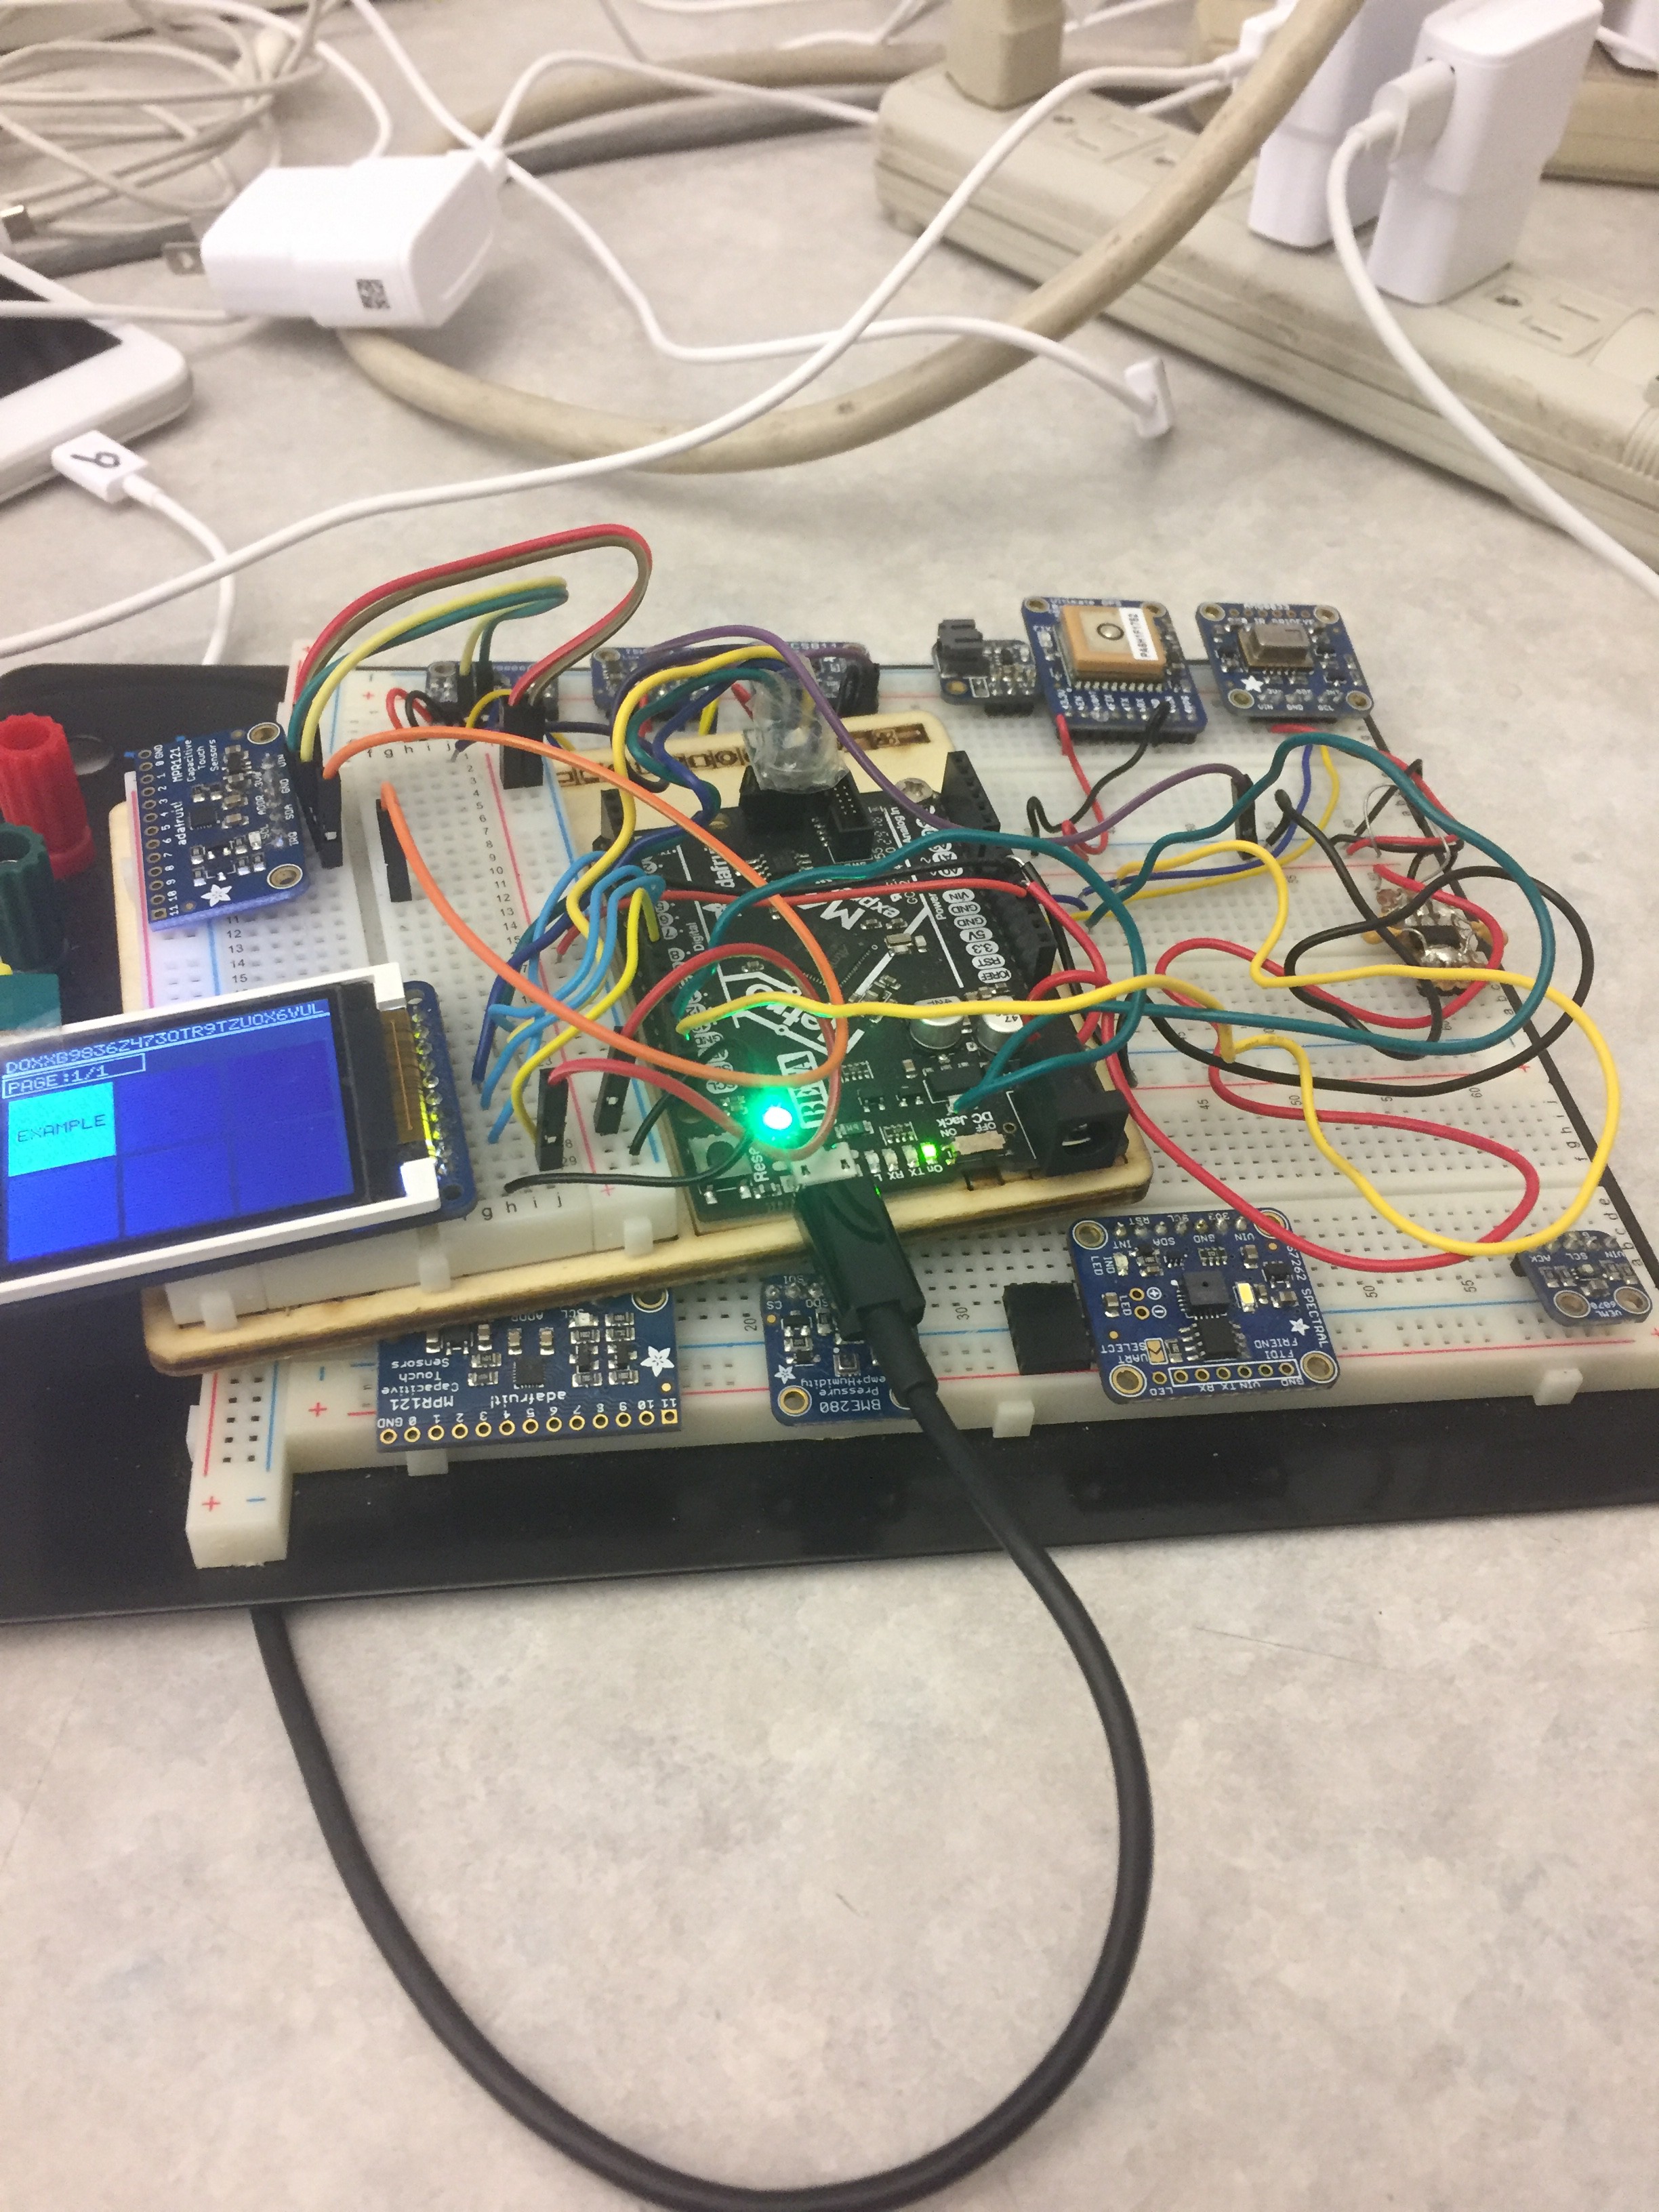
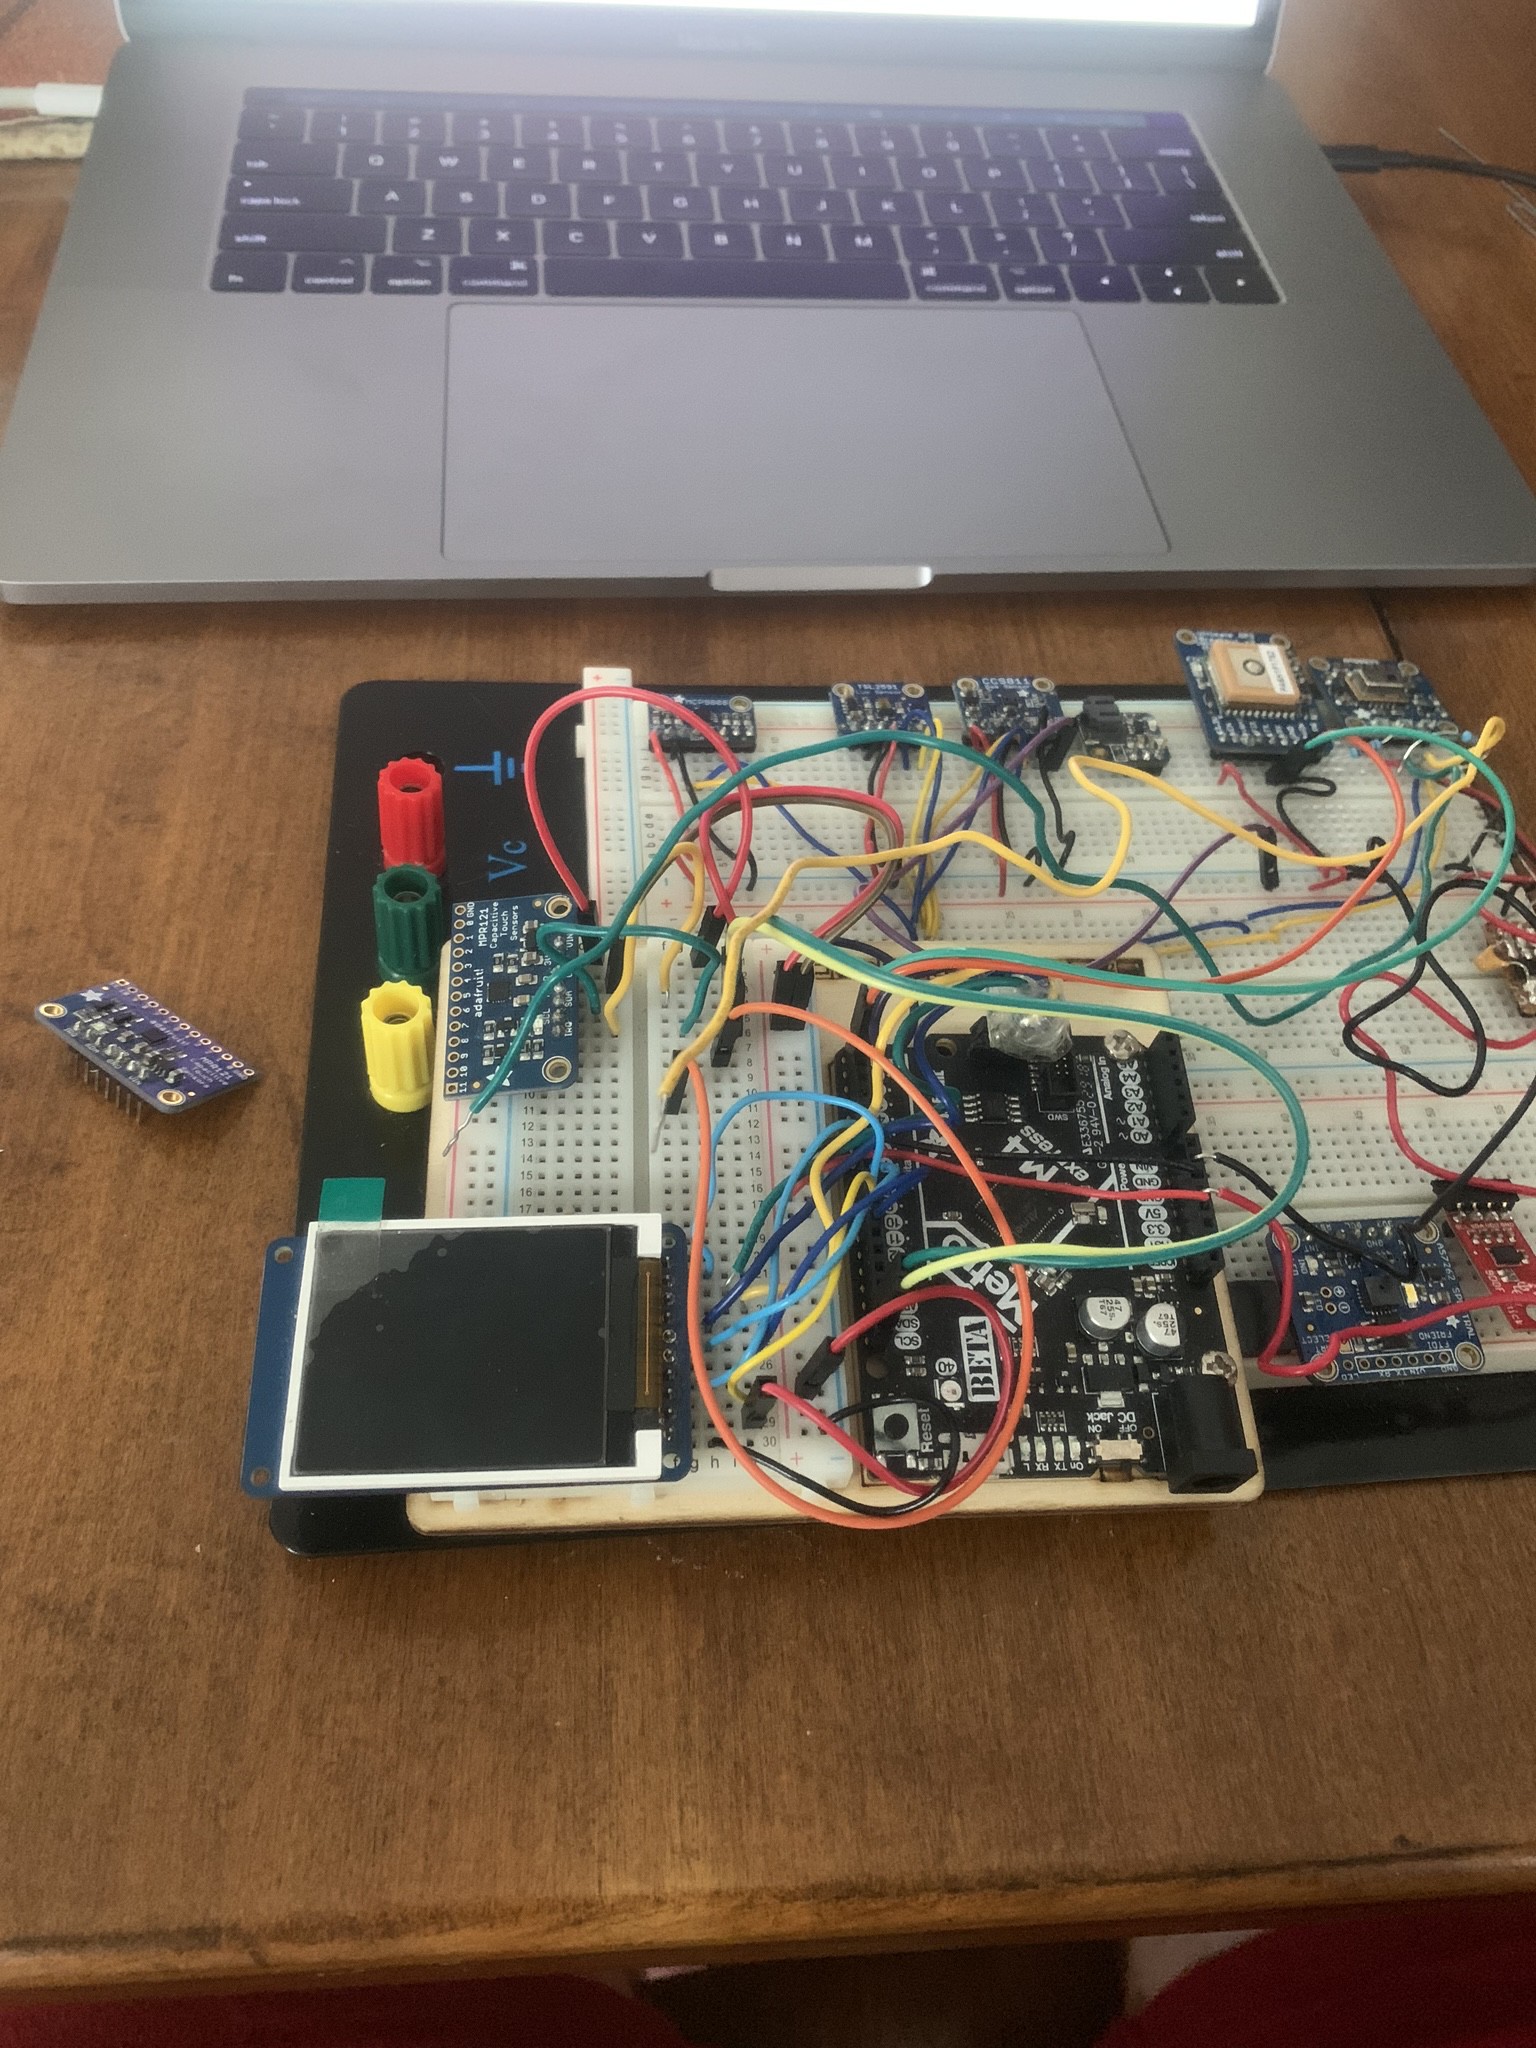
so during my time in eagle cad making the circuit pcbs I cadded the board sizes in tandem with the tricorder chassis.
any questions or want me to elaborate please feel free to comment.
more will be added here later


 Anderson Antunes
 Eric Wiiliam
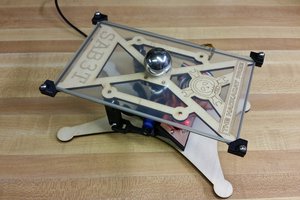
 Tim
Tim
 Mike
Mike
Hello! You have a really incredible looking unit. I was wondering if you had made any progress since your last update and you came up with the specific sensor types that you did?