 Kevin Kadooka
The 3D printed parts - the lens shroud and the lens flange - arrived last weekend. I'm very pleased with the quality of the prints from Shapeways. It was my first time using their HP Multijet material. I may never go back to white strong and flexible. Parts are very rigid, have a nice surface finish (with the process currently in beta), and don't have that "dusty" texture that WSF has.
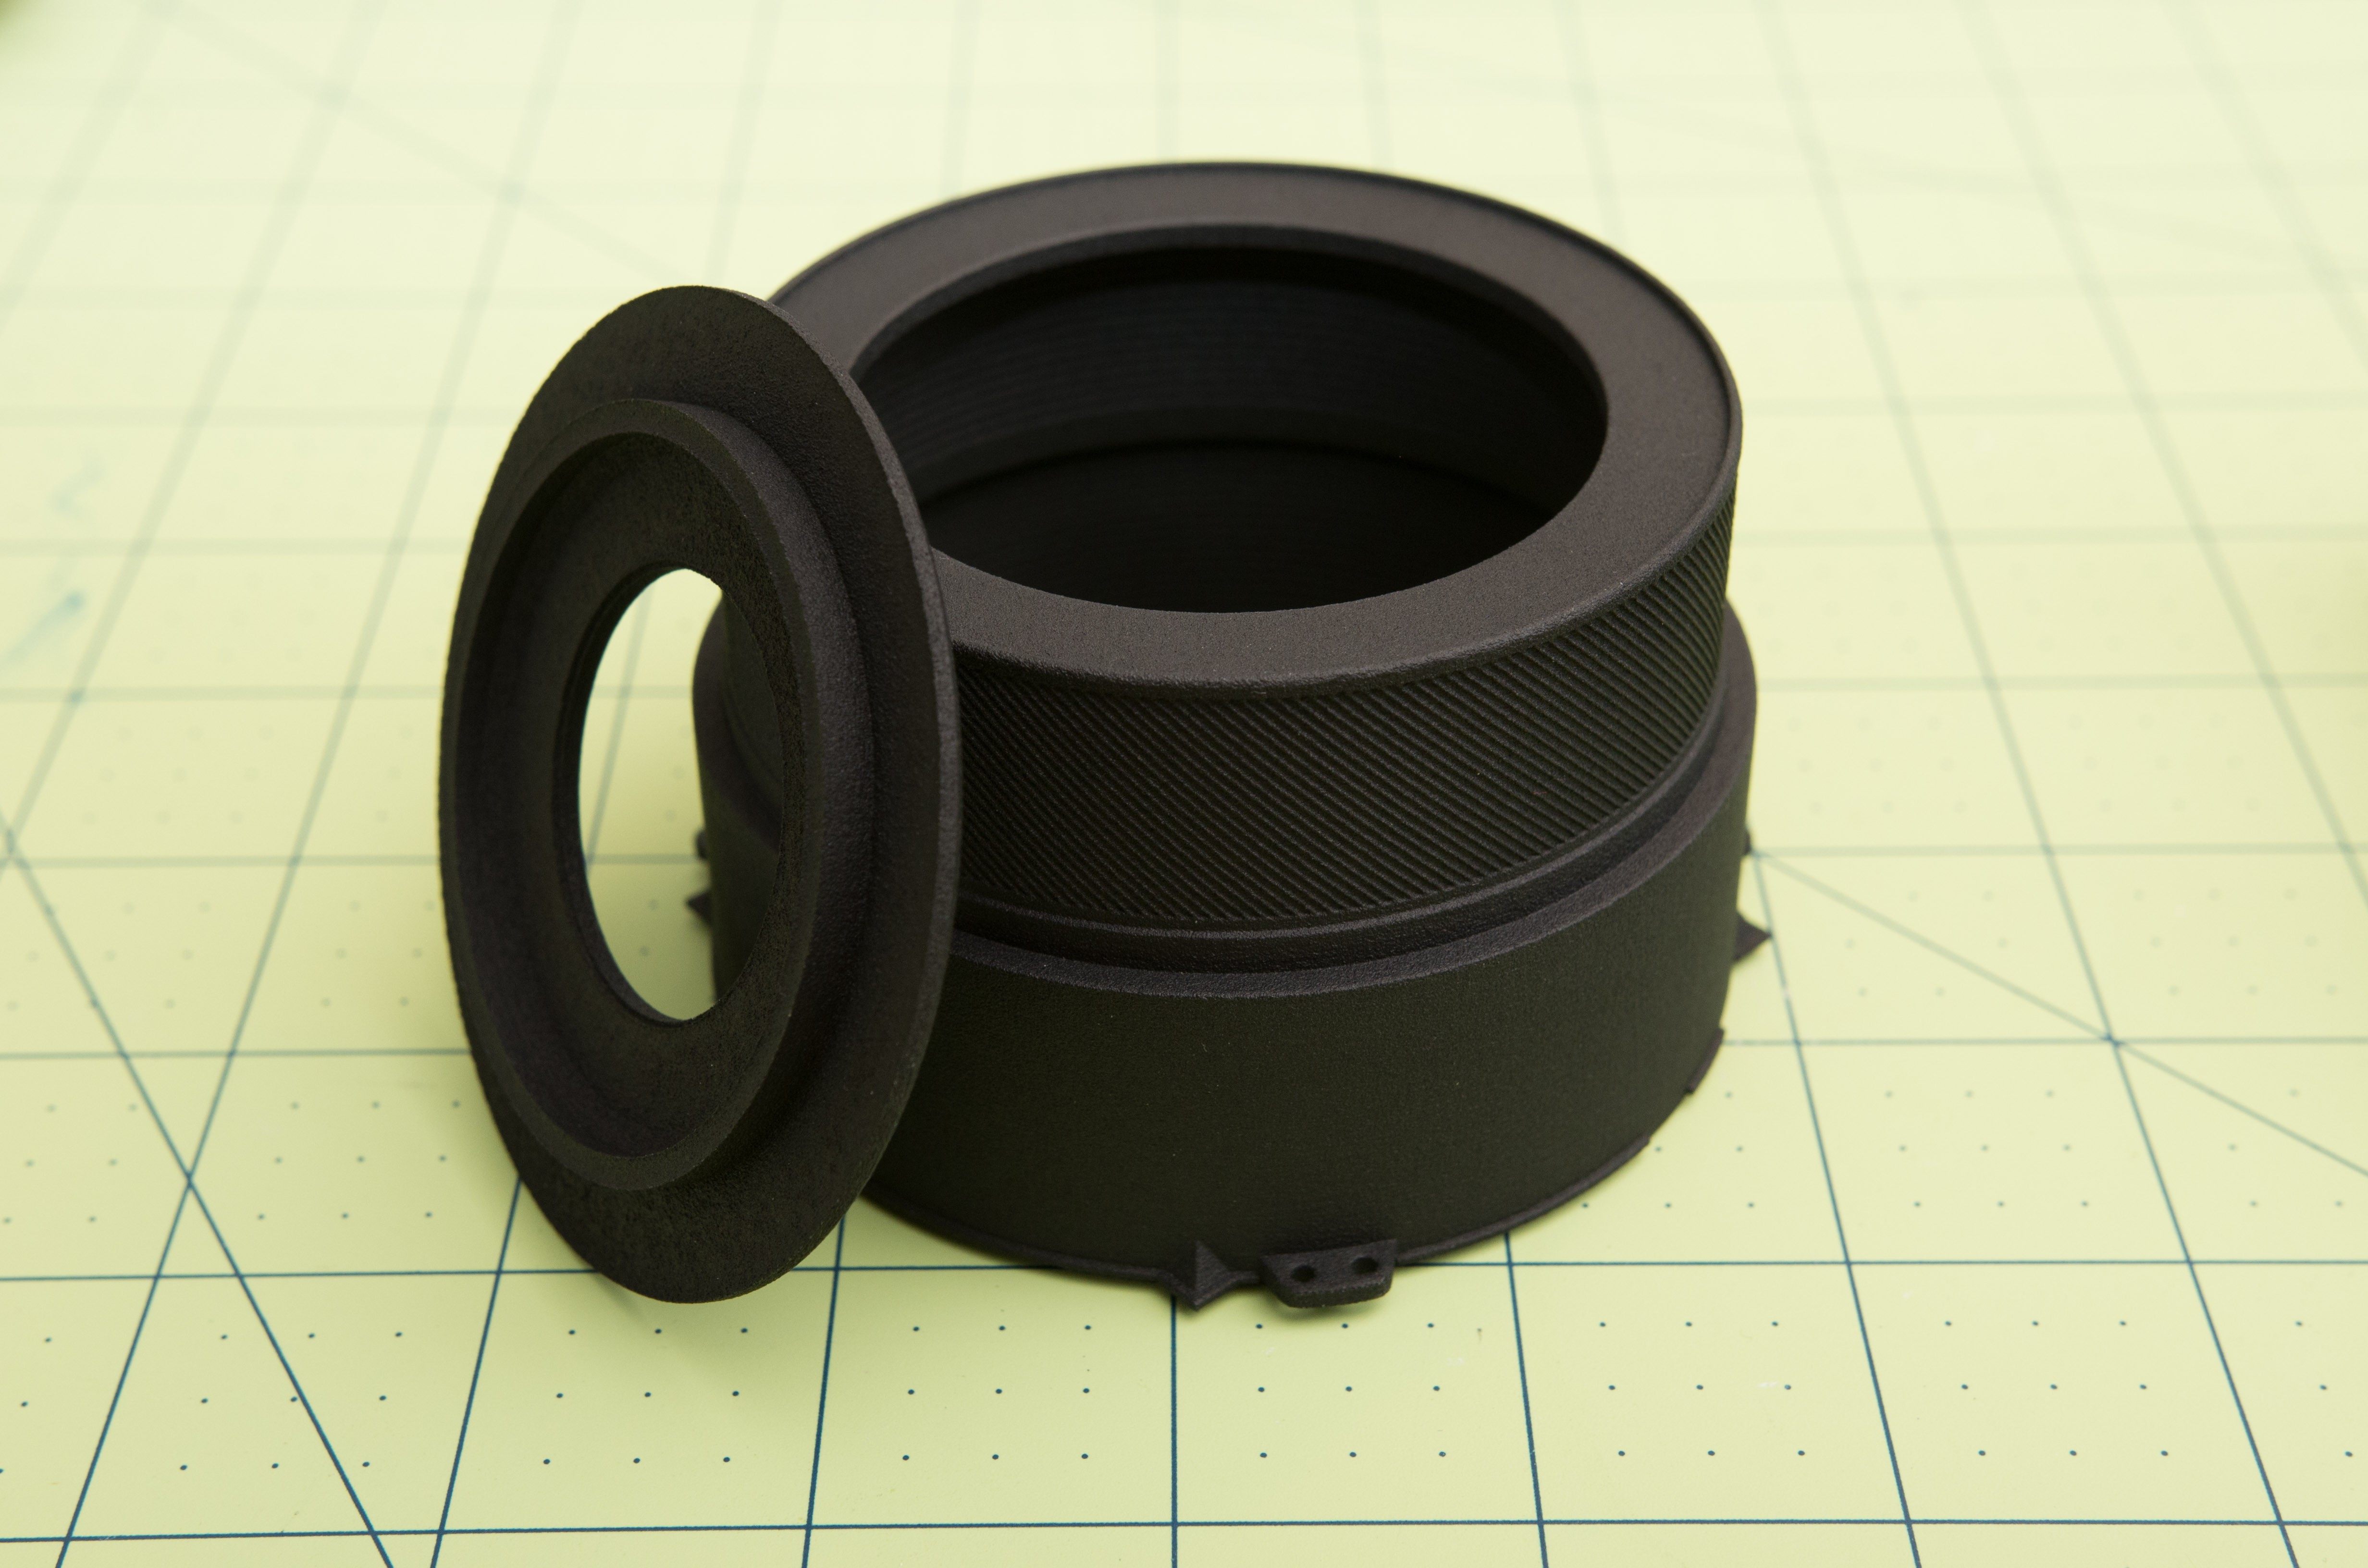
Look at the detail on the barrel! I wasn't sure how well it would be resolved in the print, but is very well defined.
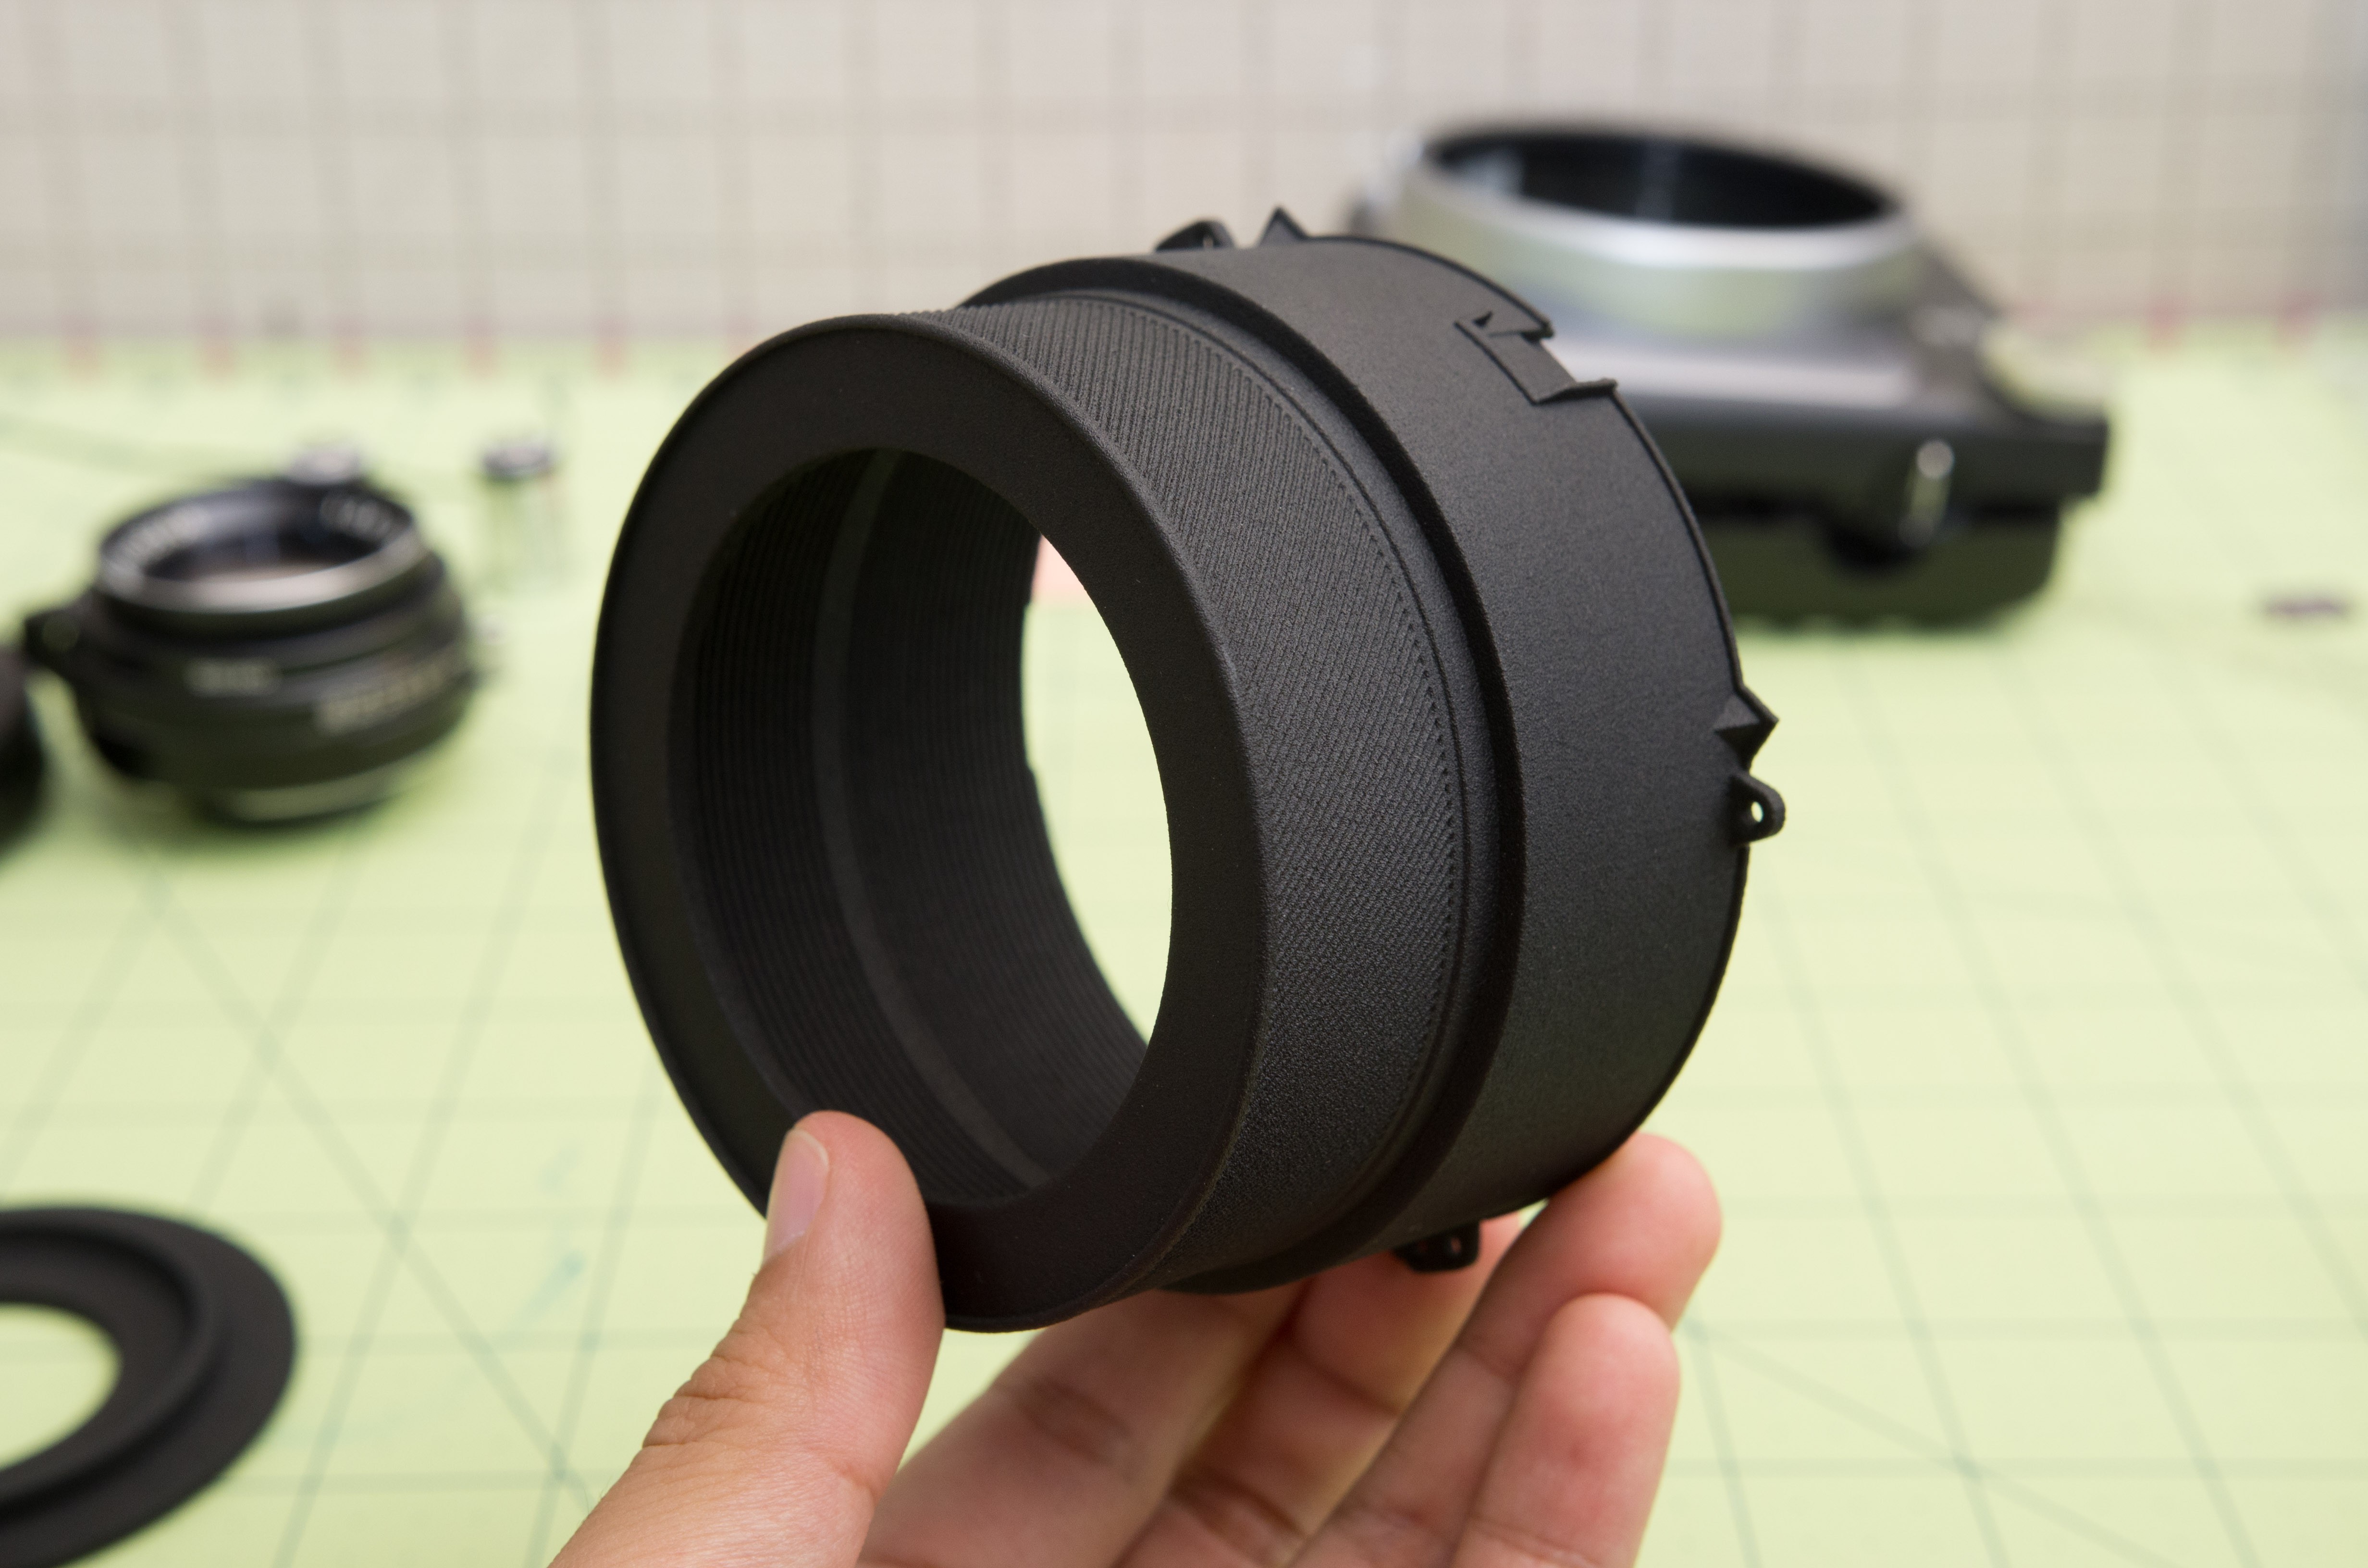
Okay, enough ogling. Now let's get to business. The lens flange screws down onto the main camera chassis using the same screws and attachment points as the original lens unit. There are a couple of minor issues with the current model which need correcting:
- The top flange where the ribbon connector from the lens unit was a little too long, preventing it from seating correctly. Easily shaved down with a knife.
- The shroud itself is about 2mm too long, which messes with the registration distance. I had to made some modifications to the lens flange to make things work.
- The flange near where the lens focus motor would go could use either an extra flange or light sealing foam to prevent light leaks. I oped for a piece of foam to seal the gap.
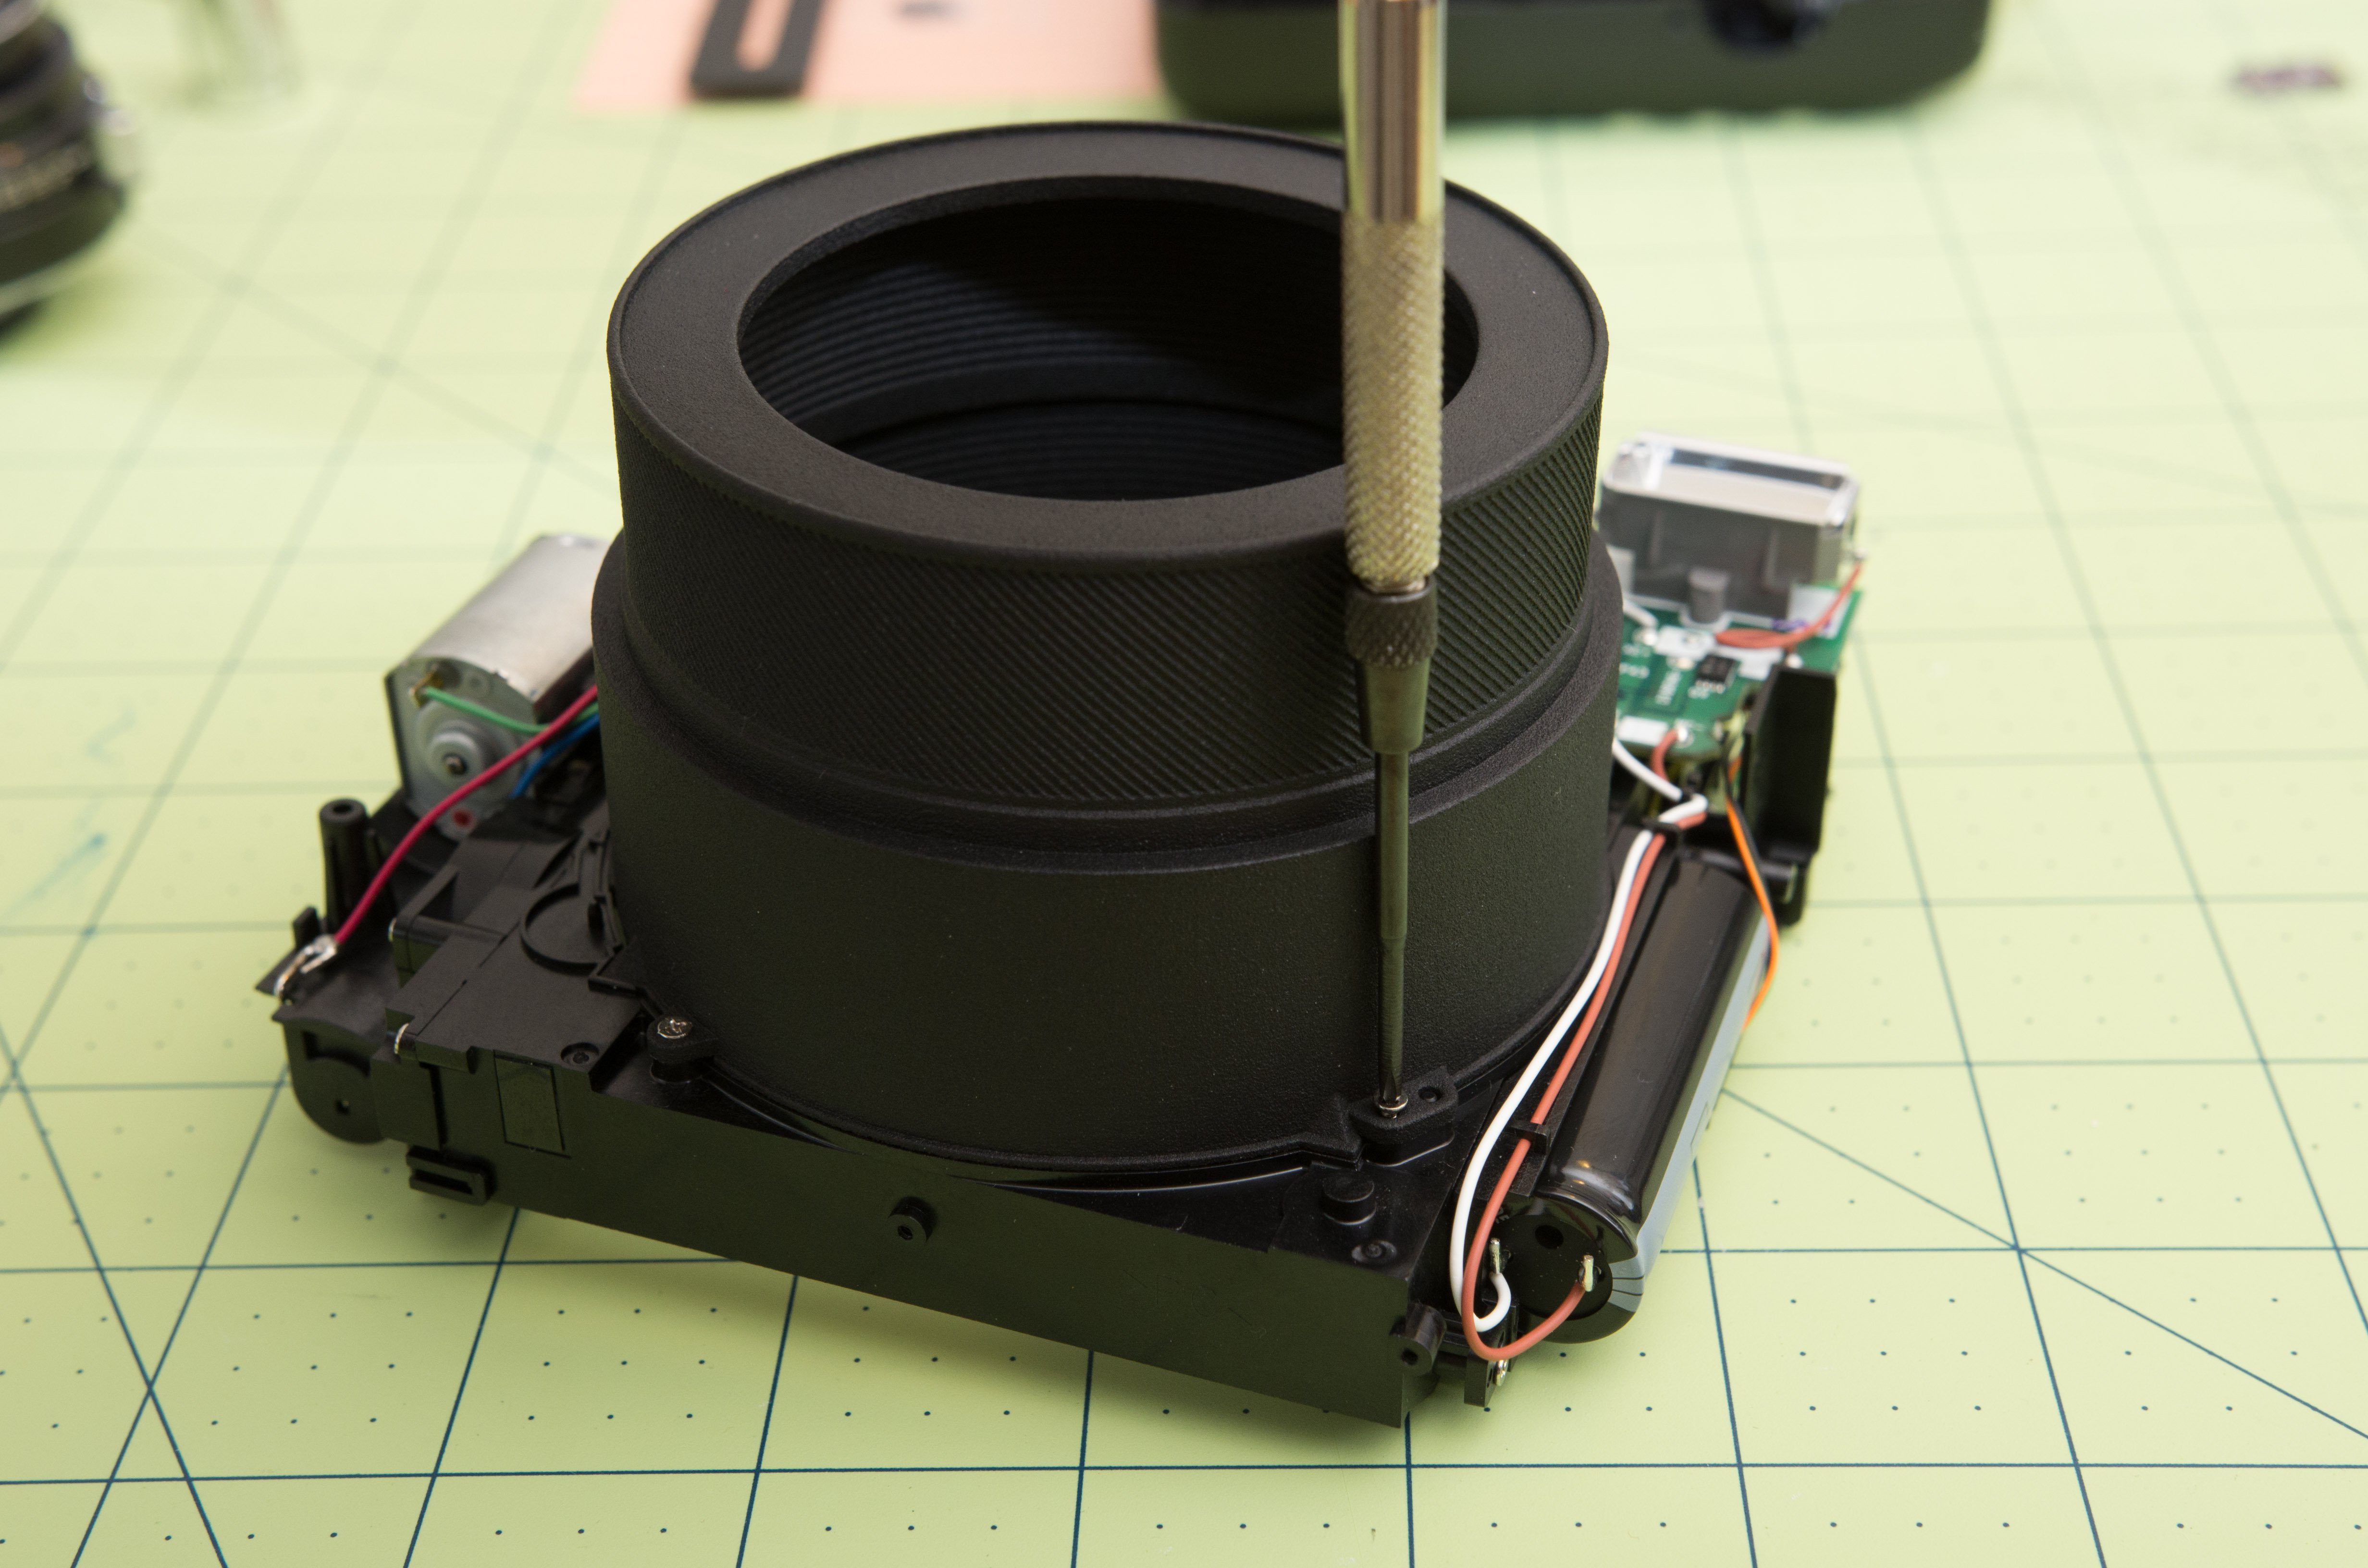
With the above modifications, the lens shroud fits pretty much seamlessly with the rest of the camera. The camera's original light seal (just a black plastic gasket) between the lens unit and camera shell is pretty wimpy. I ended up replacing this with light sealing foam, too.
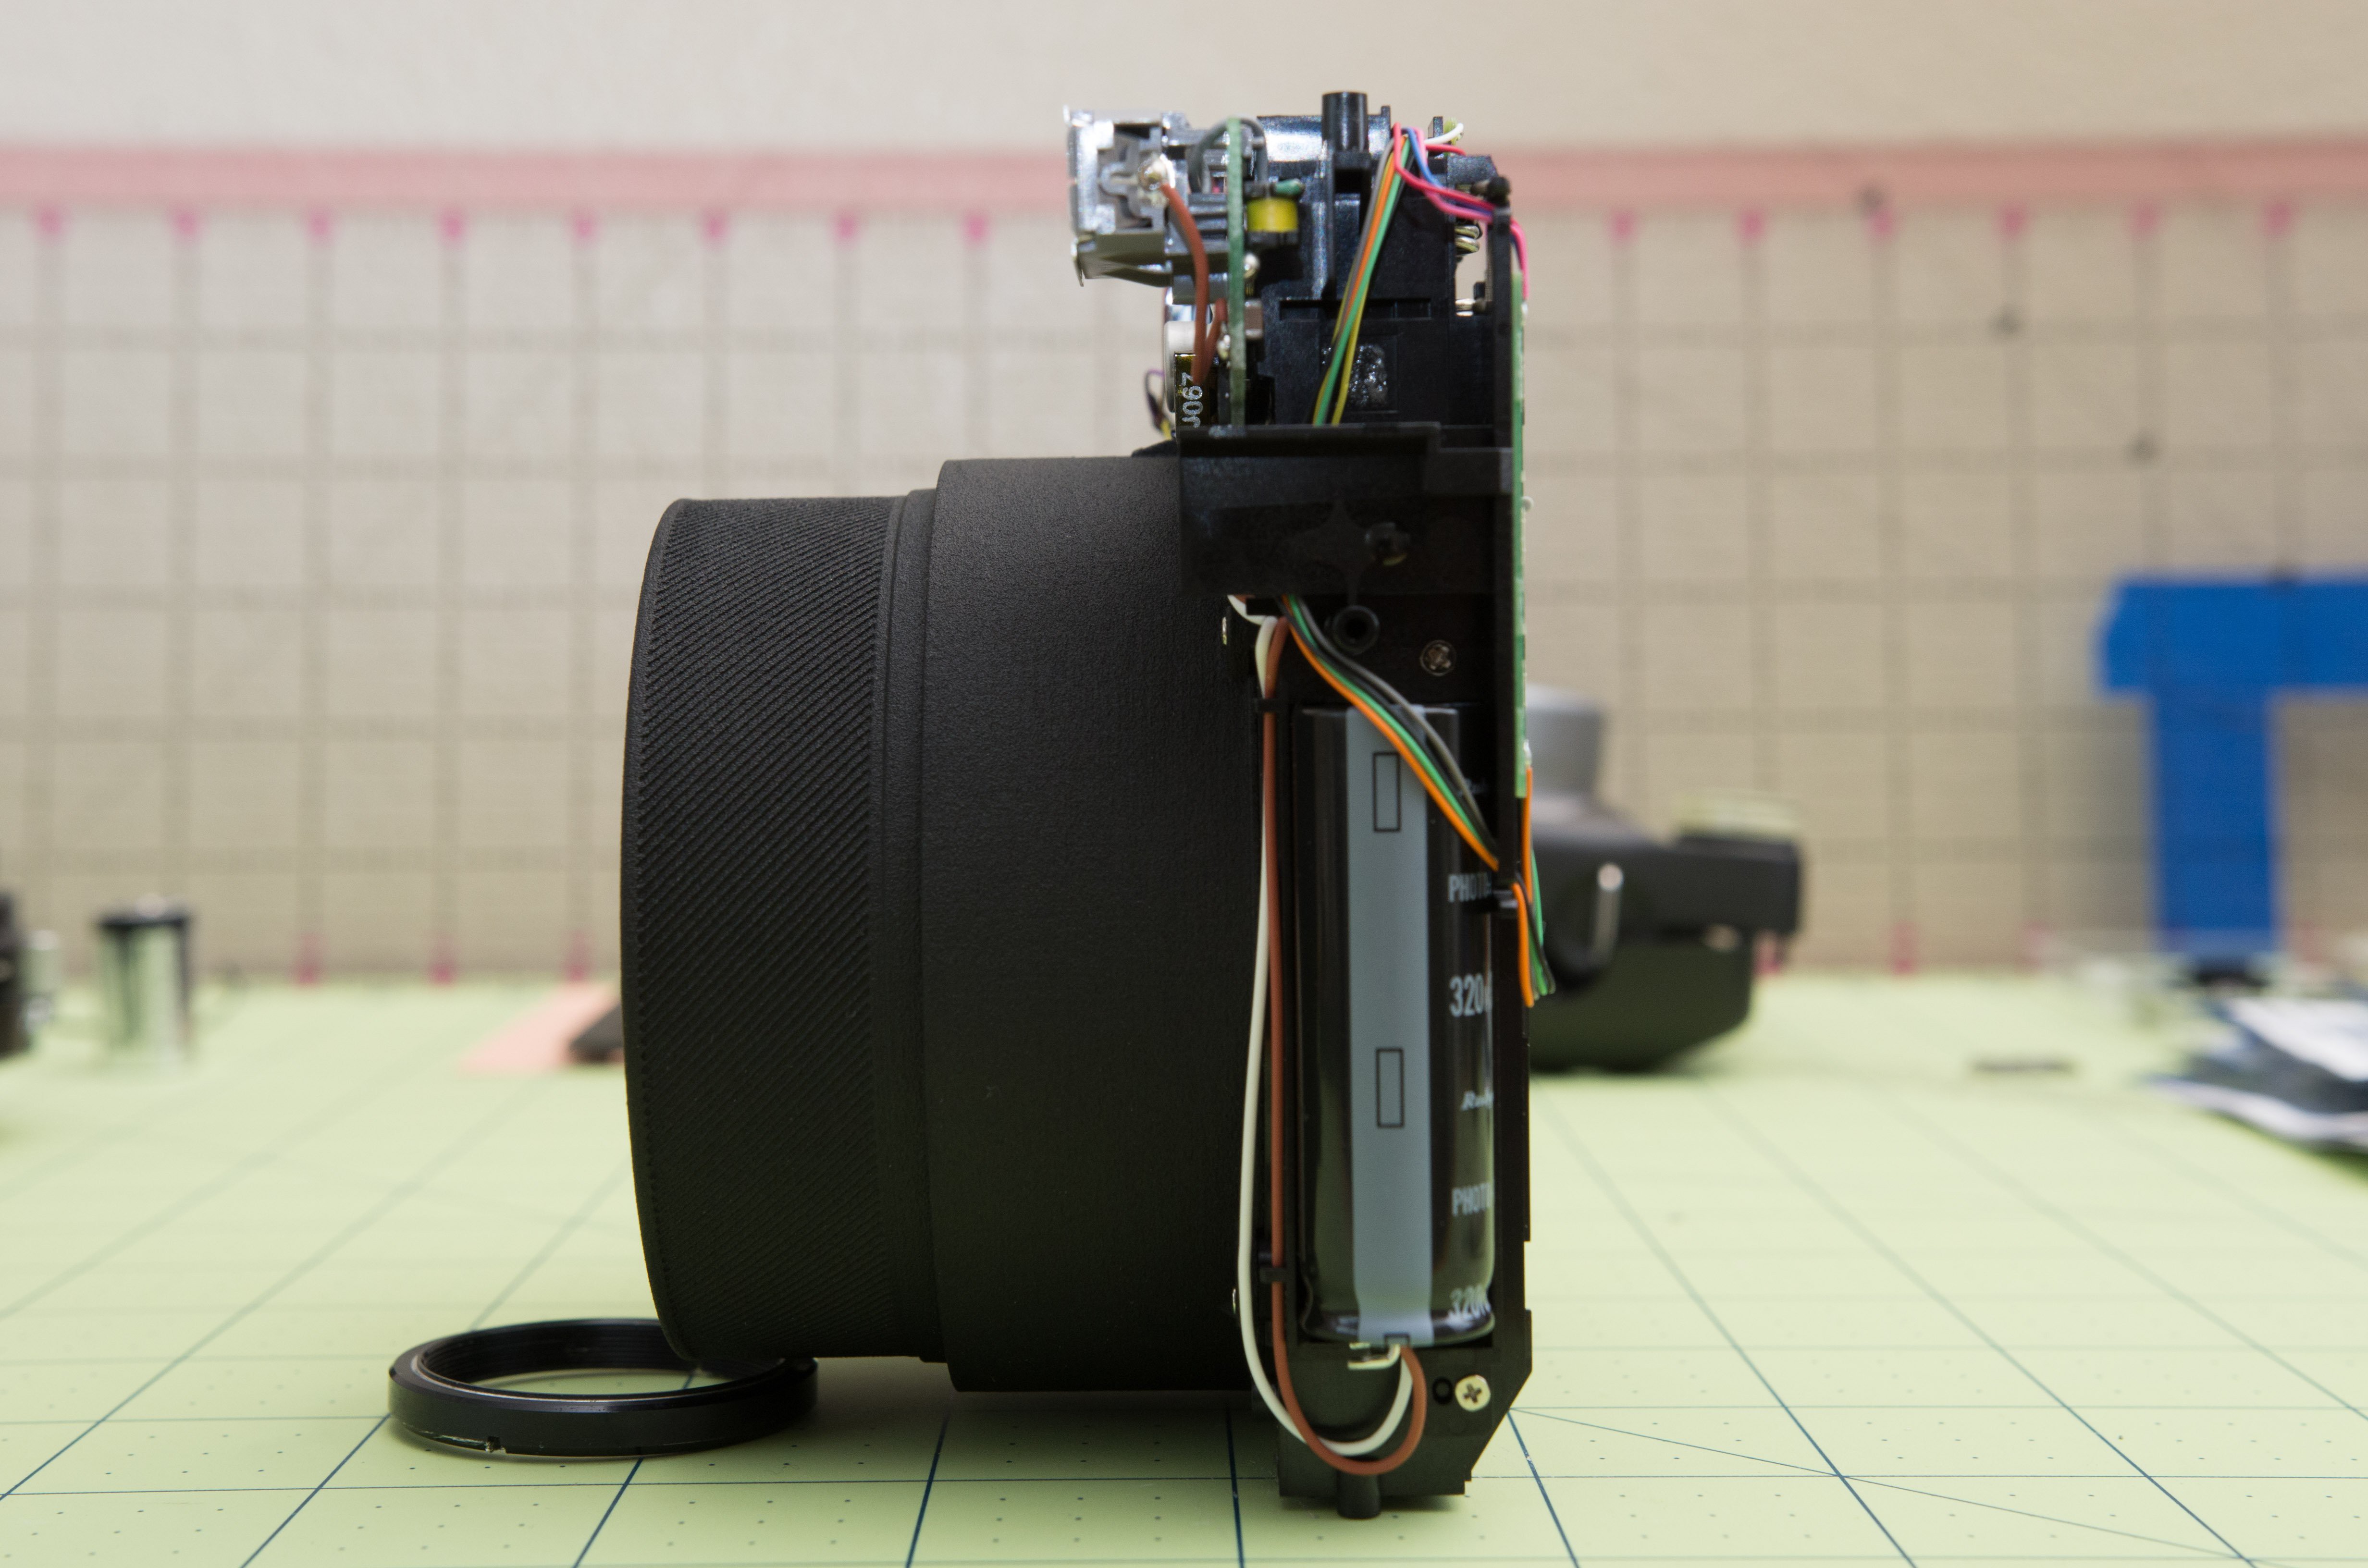
This is where I got a little fast and loose with the documentation; I forgot to take some pictures in between this step and the finished product. Basically after this point, the lens helicoid gets glued to the lens shroud, the lens flange gets glued to the helicoid, and the lens is attached to the flange. Then the whole thing is reassembled in the opposite steps as the first project update. And here's the result!
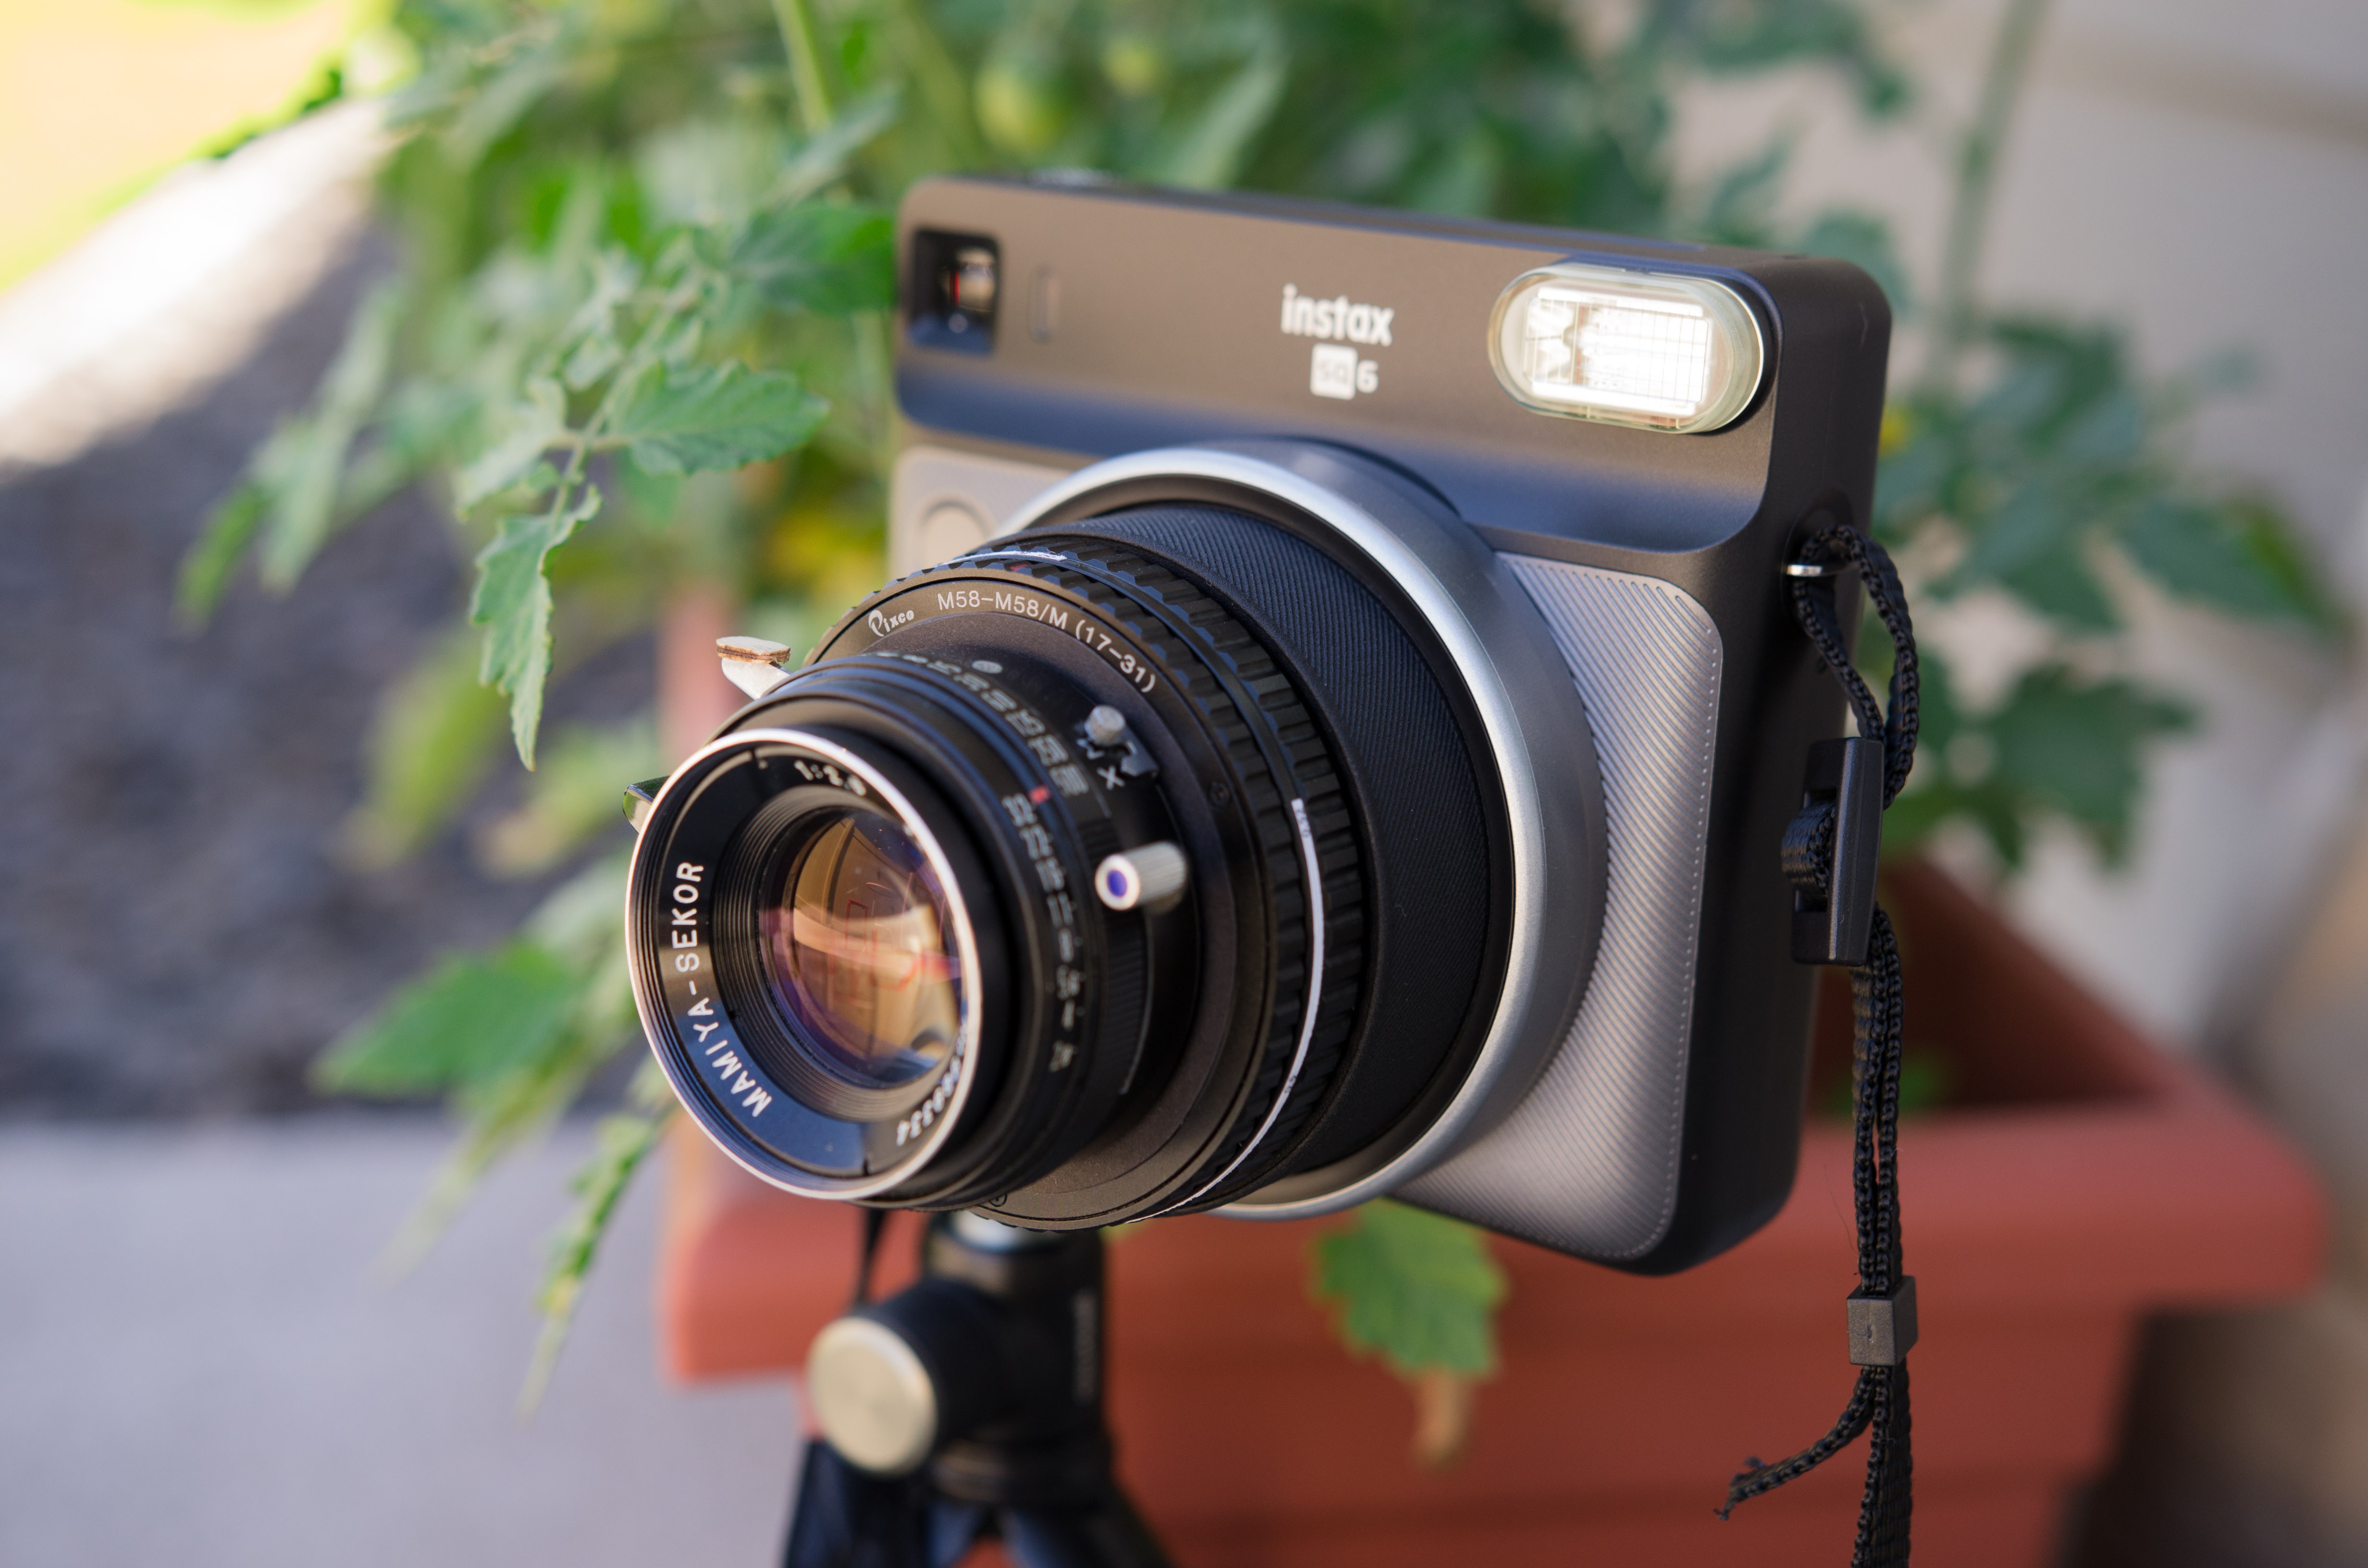
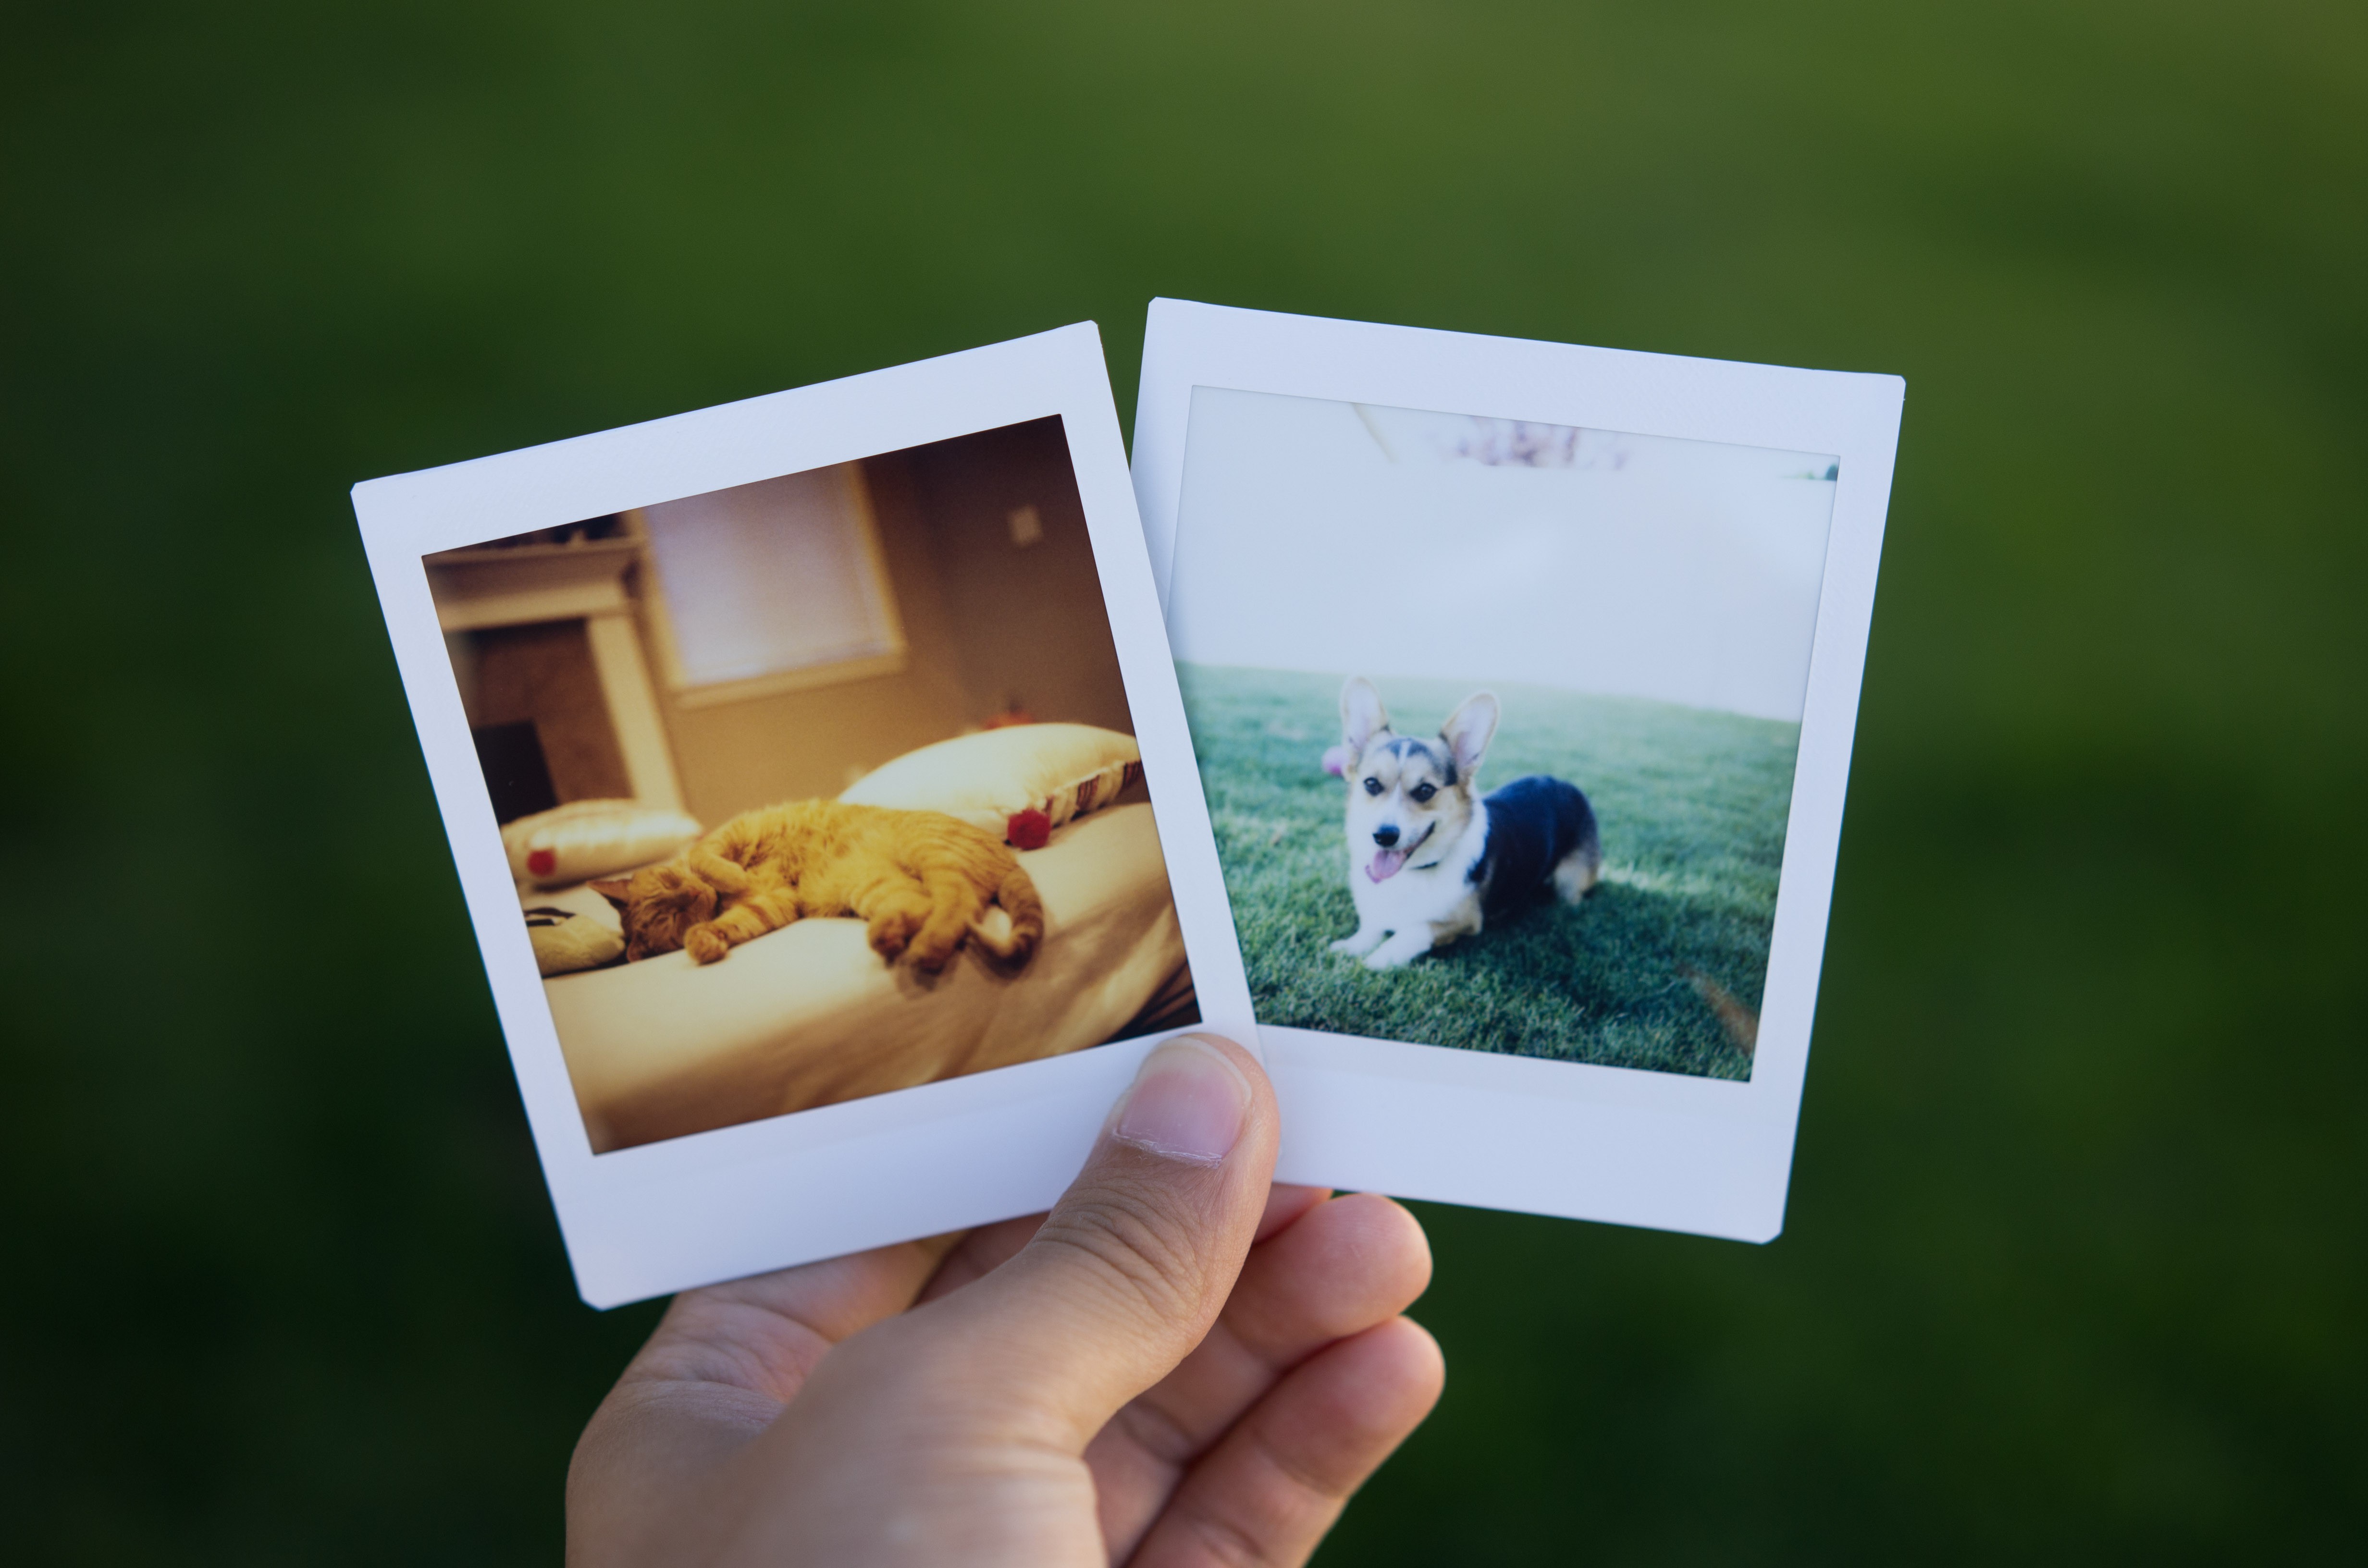
Some initial results, below. Scale focusing with this camera is a bit of a pain, but it can be done! The original lens on the SQ6 is little more than a toy, and having real glass helps do the Instax film justice. The ability to manually control focus, exposure, and depth of field makes shooting with the camera more of a challenge, but the first few photos I've taken have shown that it's worth the effort.
Discussions
Become a Hackaday.io Member
Create an account to leave a comment. Already have an account? Log In.
Wow, those printed parts look awesome. Reminds me of those "grippy" surfaces on some cameras. Would you mind sharing the price of the tube with us? Just to get an idea of how much such a print costs.
Are you sure? yes | no
If I recall correctly, about $55-65 USD. That's in the Shapeways "premium" plastic, the regular stuff will be about half of that.
Are you sure? yes | no
Thanks. That's not too shabby, really. It's good to have those service providers with all their options and qualities around. One couldn't produce such a high quality print at home easily!
Are you sure? yes | no