 Tim Wilkinson
With the thruster assembled, it's time to attach them to the frame. Each thruster slots into a shroud on the side of the frame and is glued into place using the Rigid resin.
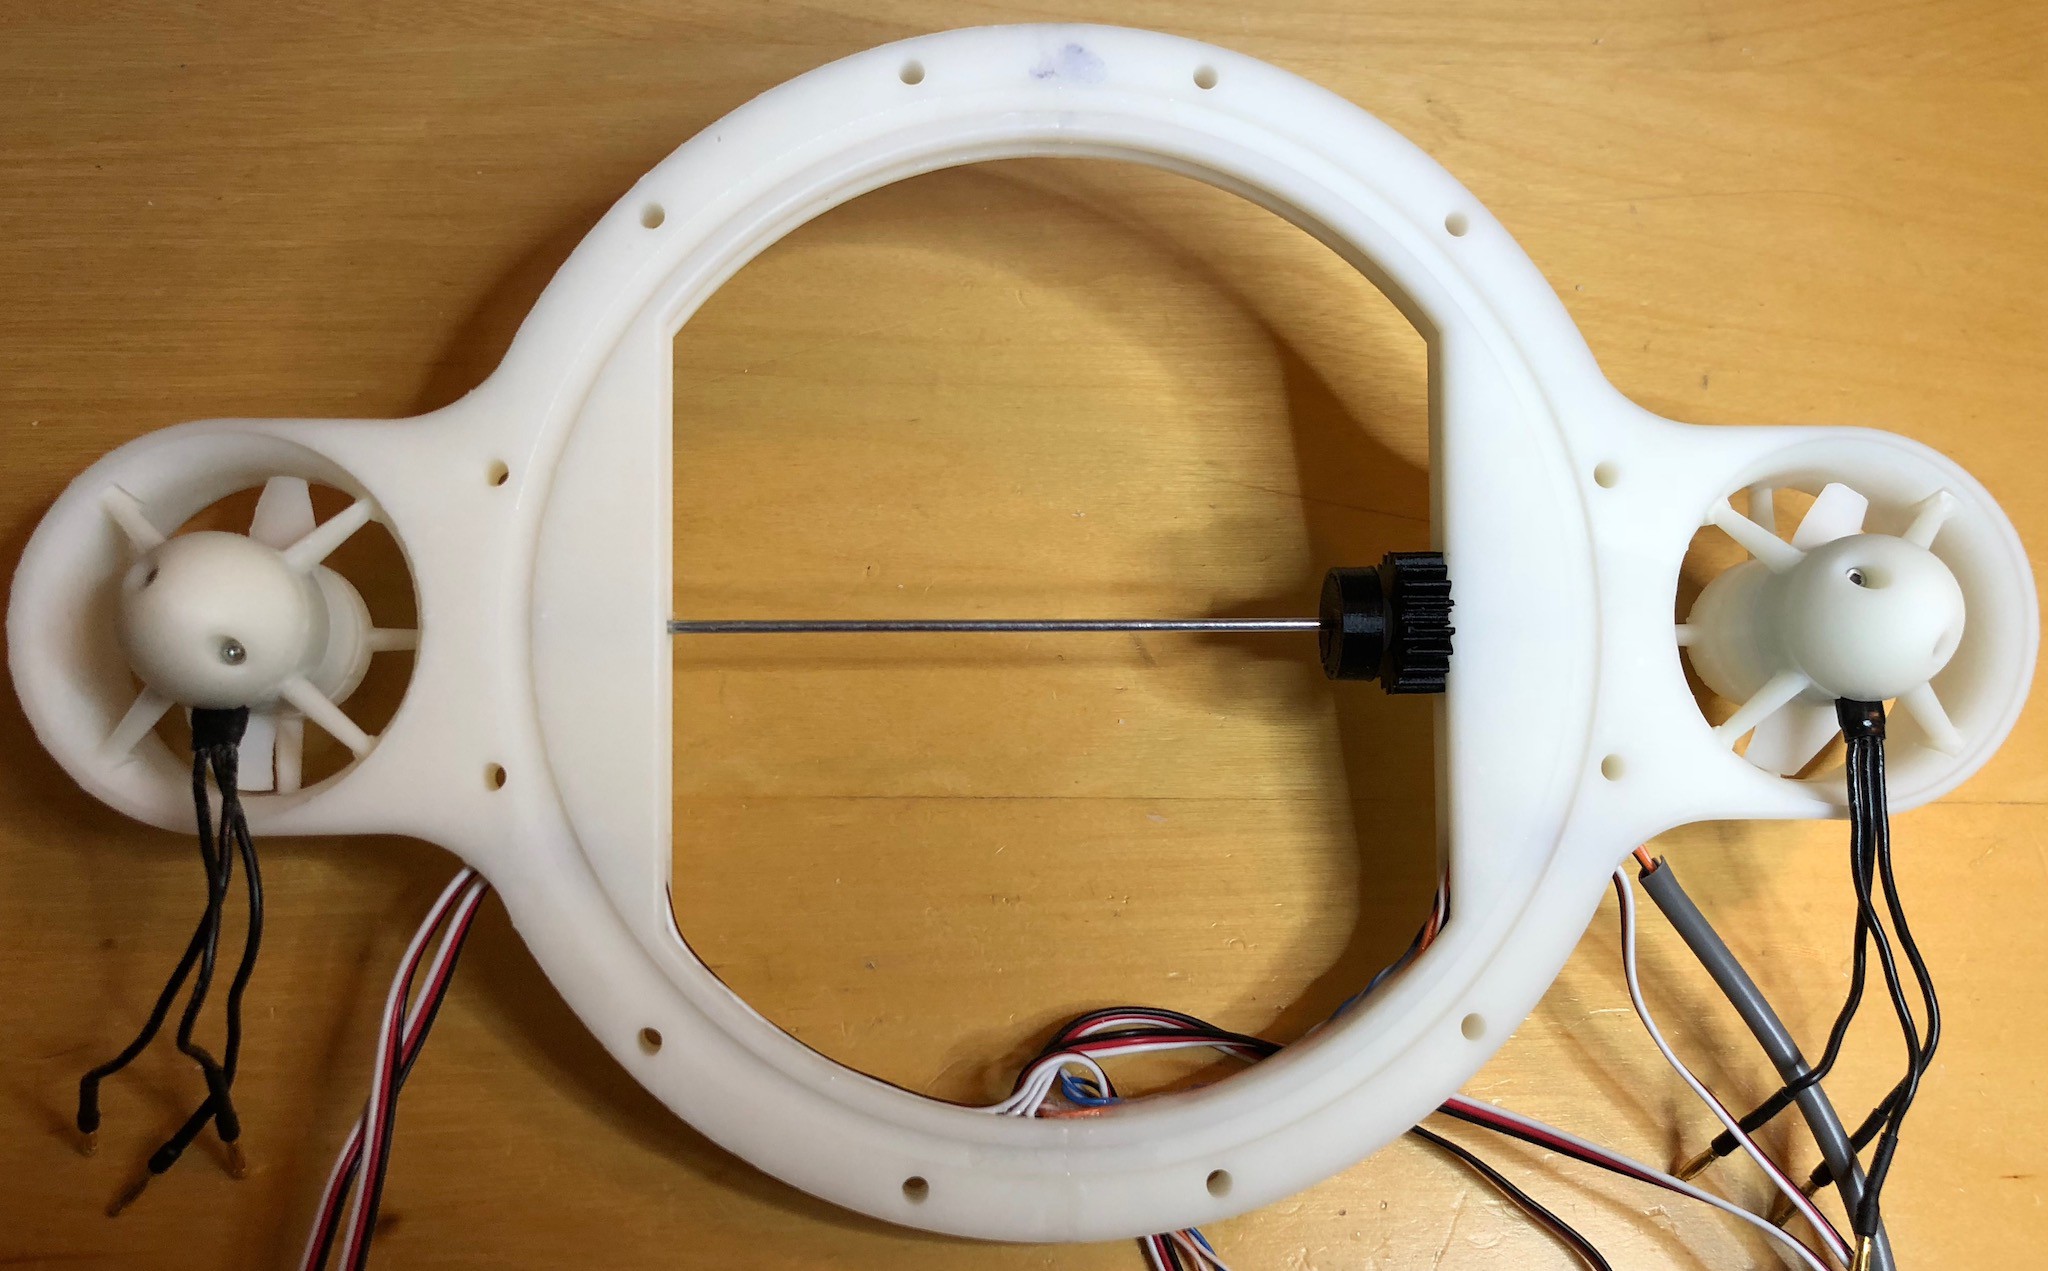
A little scalpel trimming was necessary to make sure the blades of the thruster don't collide with the shrouds (it was designed to be a snug fit which improves efficiency, but I guess things don't come out perfectly true even on the Form2 ... although very close).
Next the wiring was glued into place. The wiring enters at the side and is run around the inside of the frame to the middle (as you can see). My original idea was to feed the wires into the center "ball" from the edge (which is why the wiring enters near the central pivot) but this turned out to interfere with the frames rotation. If I print the frame again I will probably bring the wires directly in at the bottom.
Two sets of wires are brought in at each side. On the left (in the photo) are the wires to drive a thruster, and the wires to charge the battery/turn on the ROV. On the right are the wires for the other thruster, and the ethernet cable.
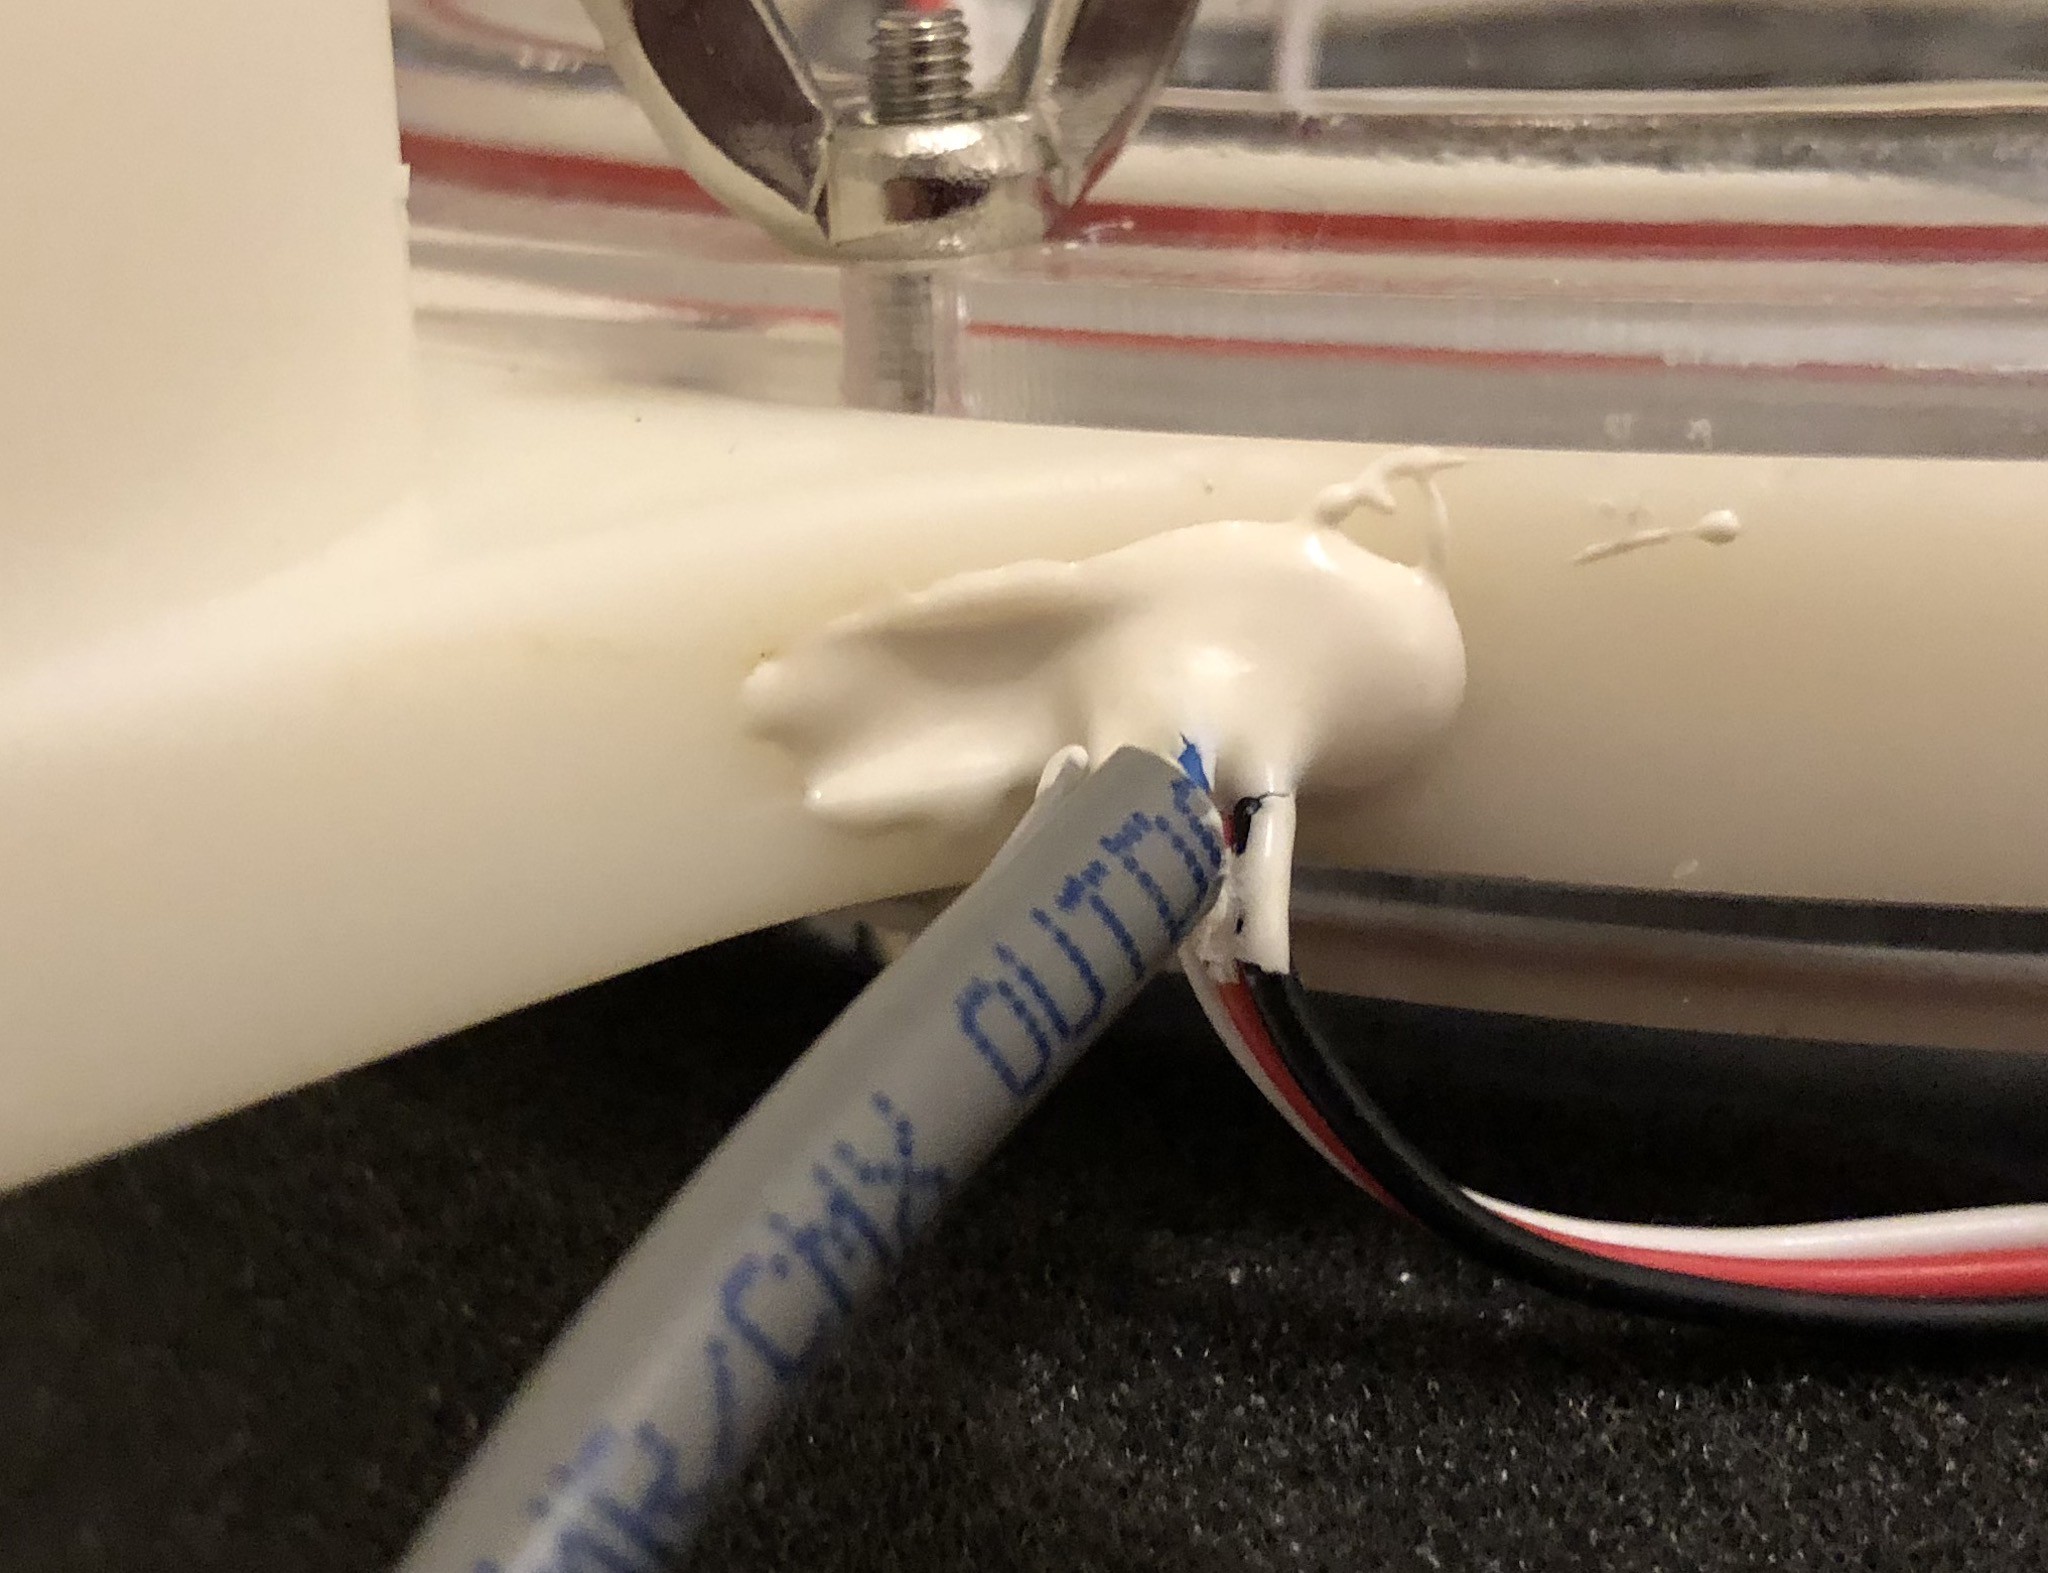
The wires are then potted using Marine Epoxy (https://smile.amazon.com/Loctite-1919324-0-85-Fluid-Syringe-1405604/dp/B00KH62K50).
Discussions
Become a Hackaday.io Member
Create an account to leave a comment. Already have an account? Log In.