 Lukas Fässler
This project has just reached another important milestone: The USB bootloader is up and running. This part of the project will enable the non-technical end user to easily and reliably update the firmware in the field.
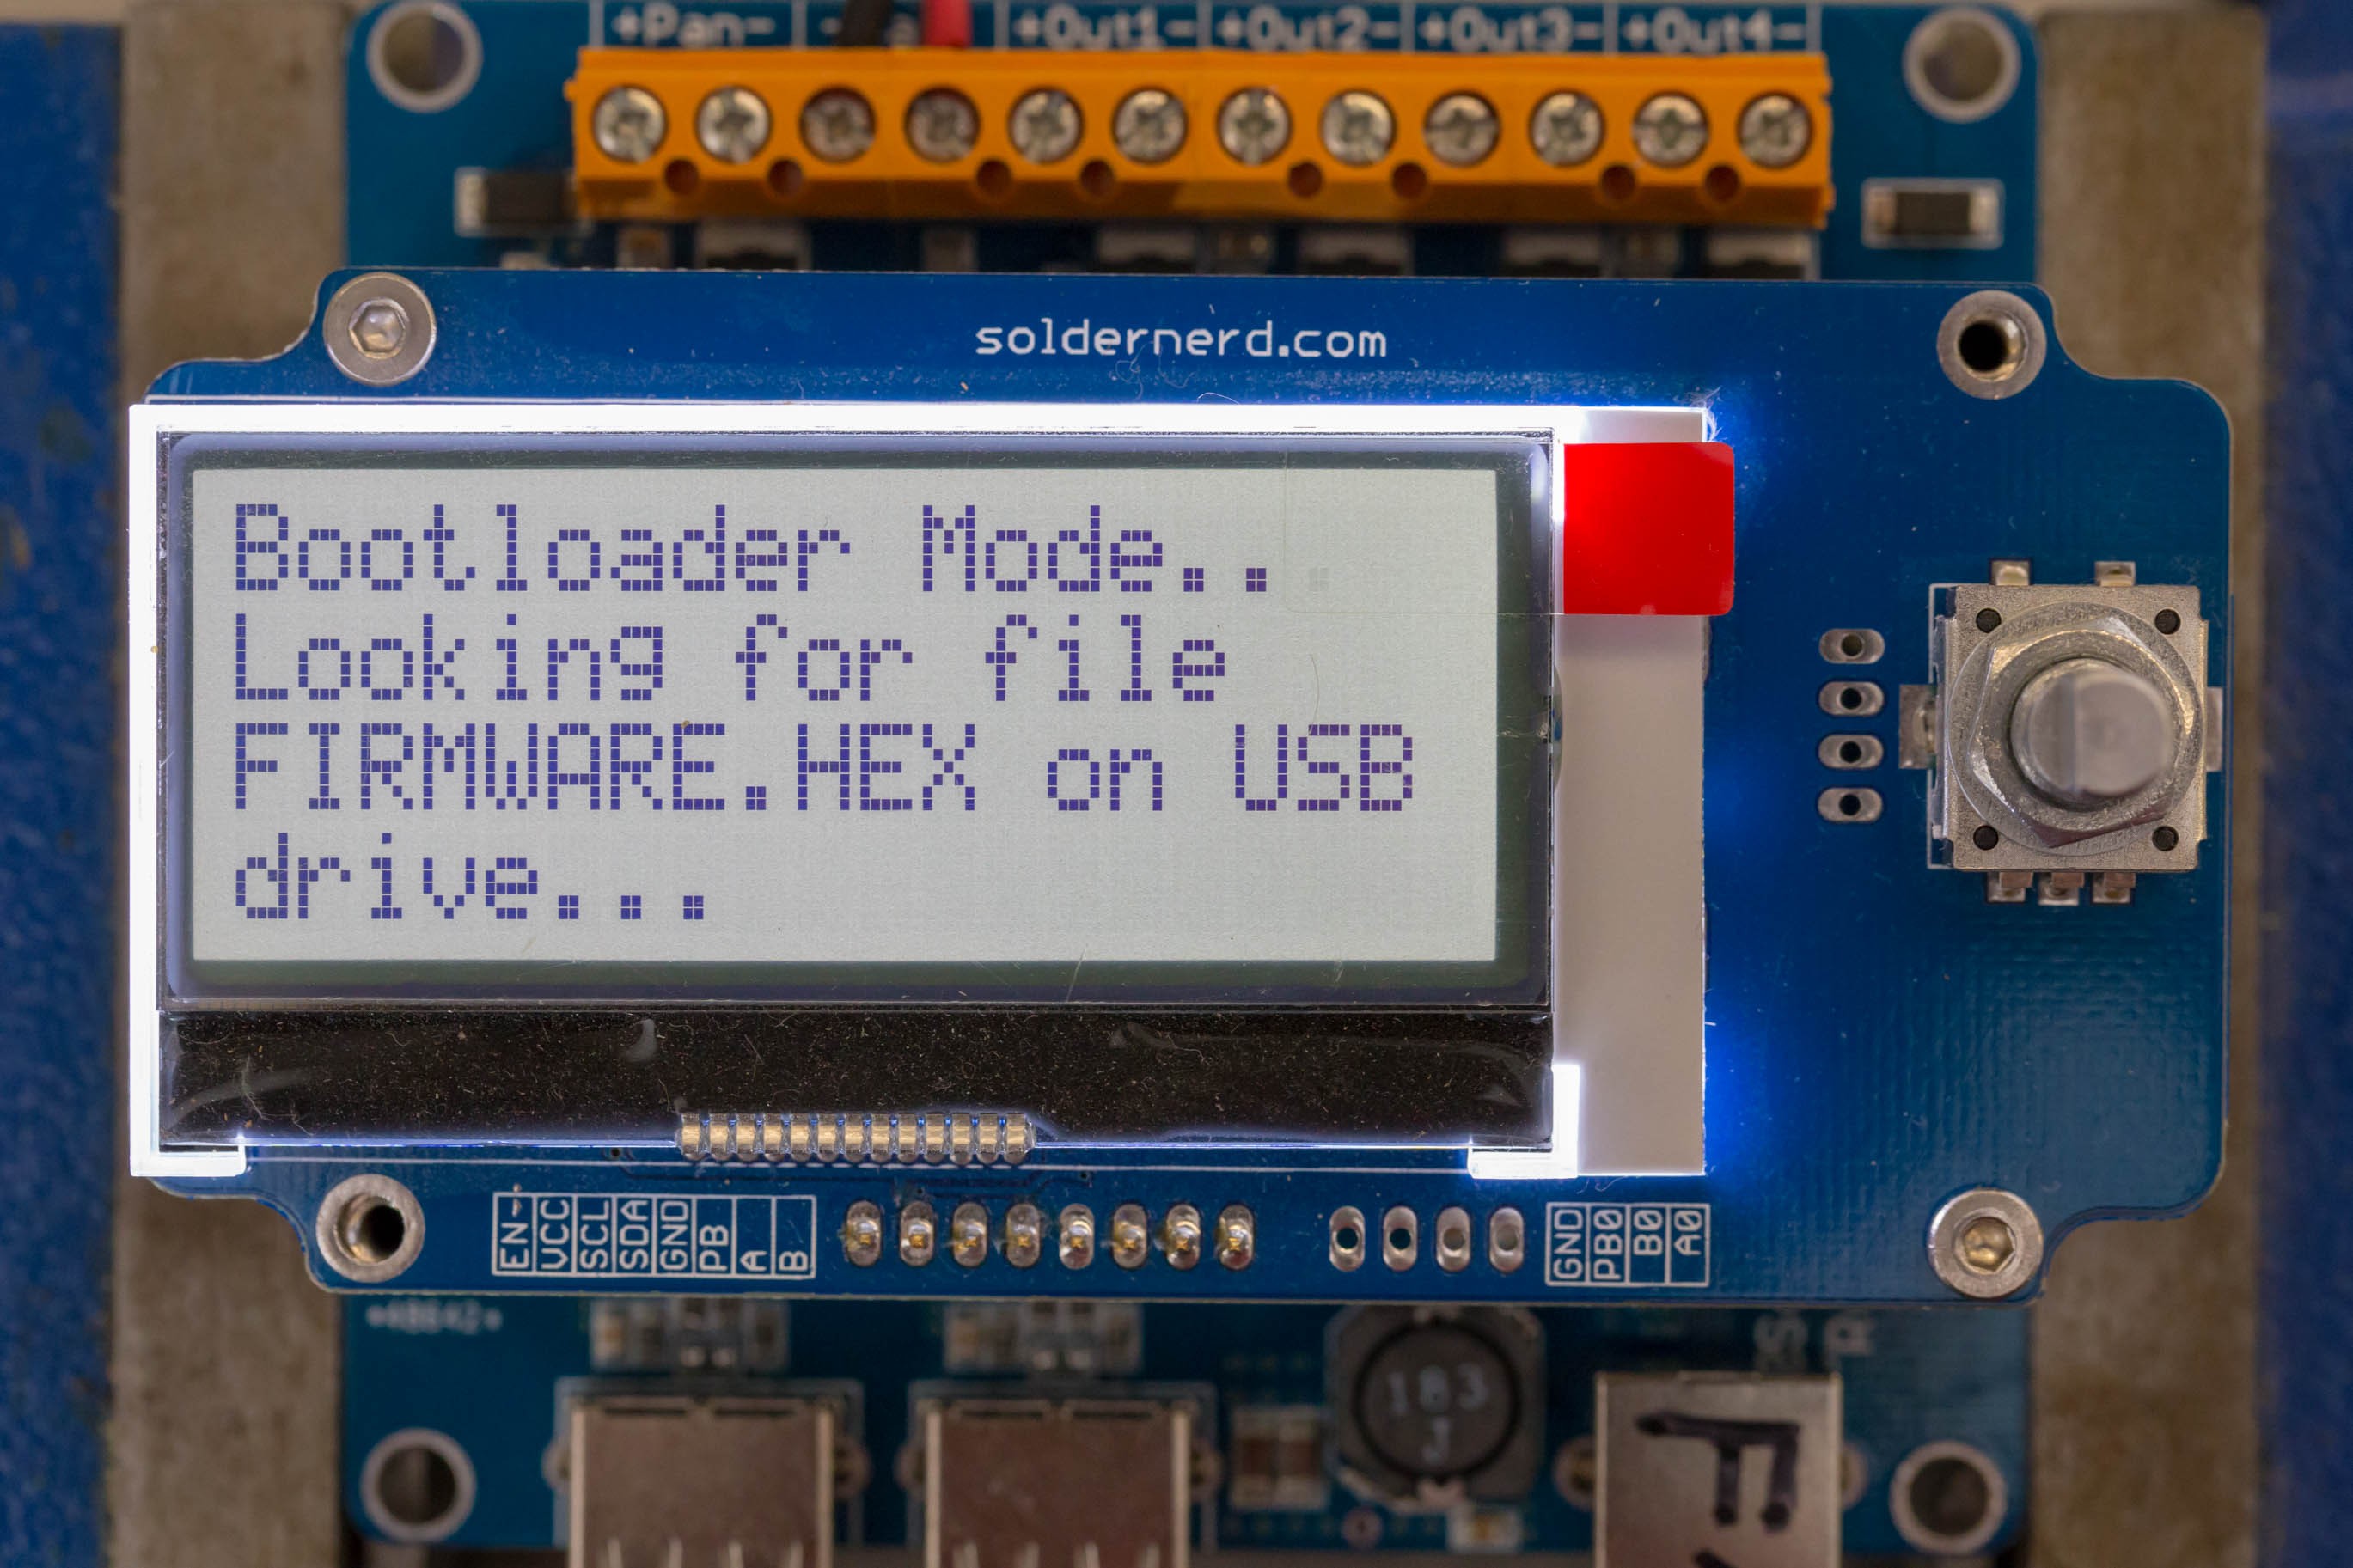
Unlike a USB HID (Human Interface Device) bootloader that requires some application to run on the host computer, this USB MSD (Mass Storage Device) bootloader requires absolutely nothing in terms of host software. It's entirely independent of the OS used. Windows, Linux, Mac, it all doesn't matter. As long as they can deal with a USB drive, they're good to go. Just copy the new software (in the form of an .hex file) to the Solar Charger drive and follow the instructions on the display.

It might even be that this bootloader is the world's first of its kind for the PIC18 platform. To be sure, this kind of bootloader has been around for years for more powerful 32-bit microcontrollers like ARM Cortex and the like. But in my online research I have been unable to find any other such project for the PIC18 family (or any other 8-bit microcontroller). So I had no choice than to write my own. If you know of any other implementation, please let me know.
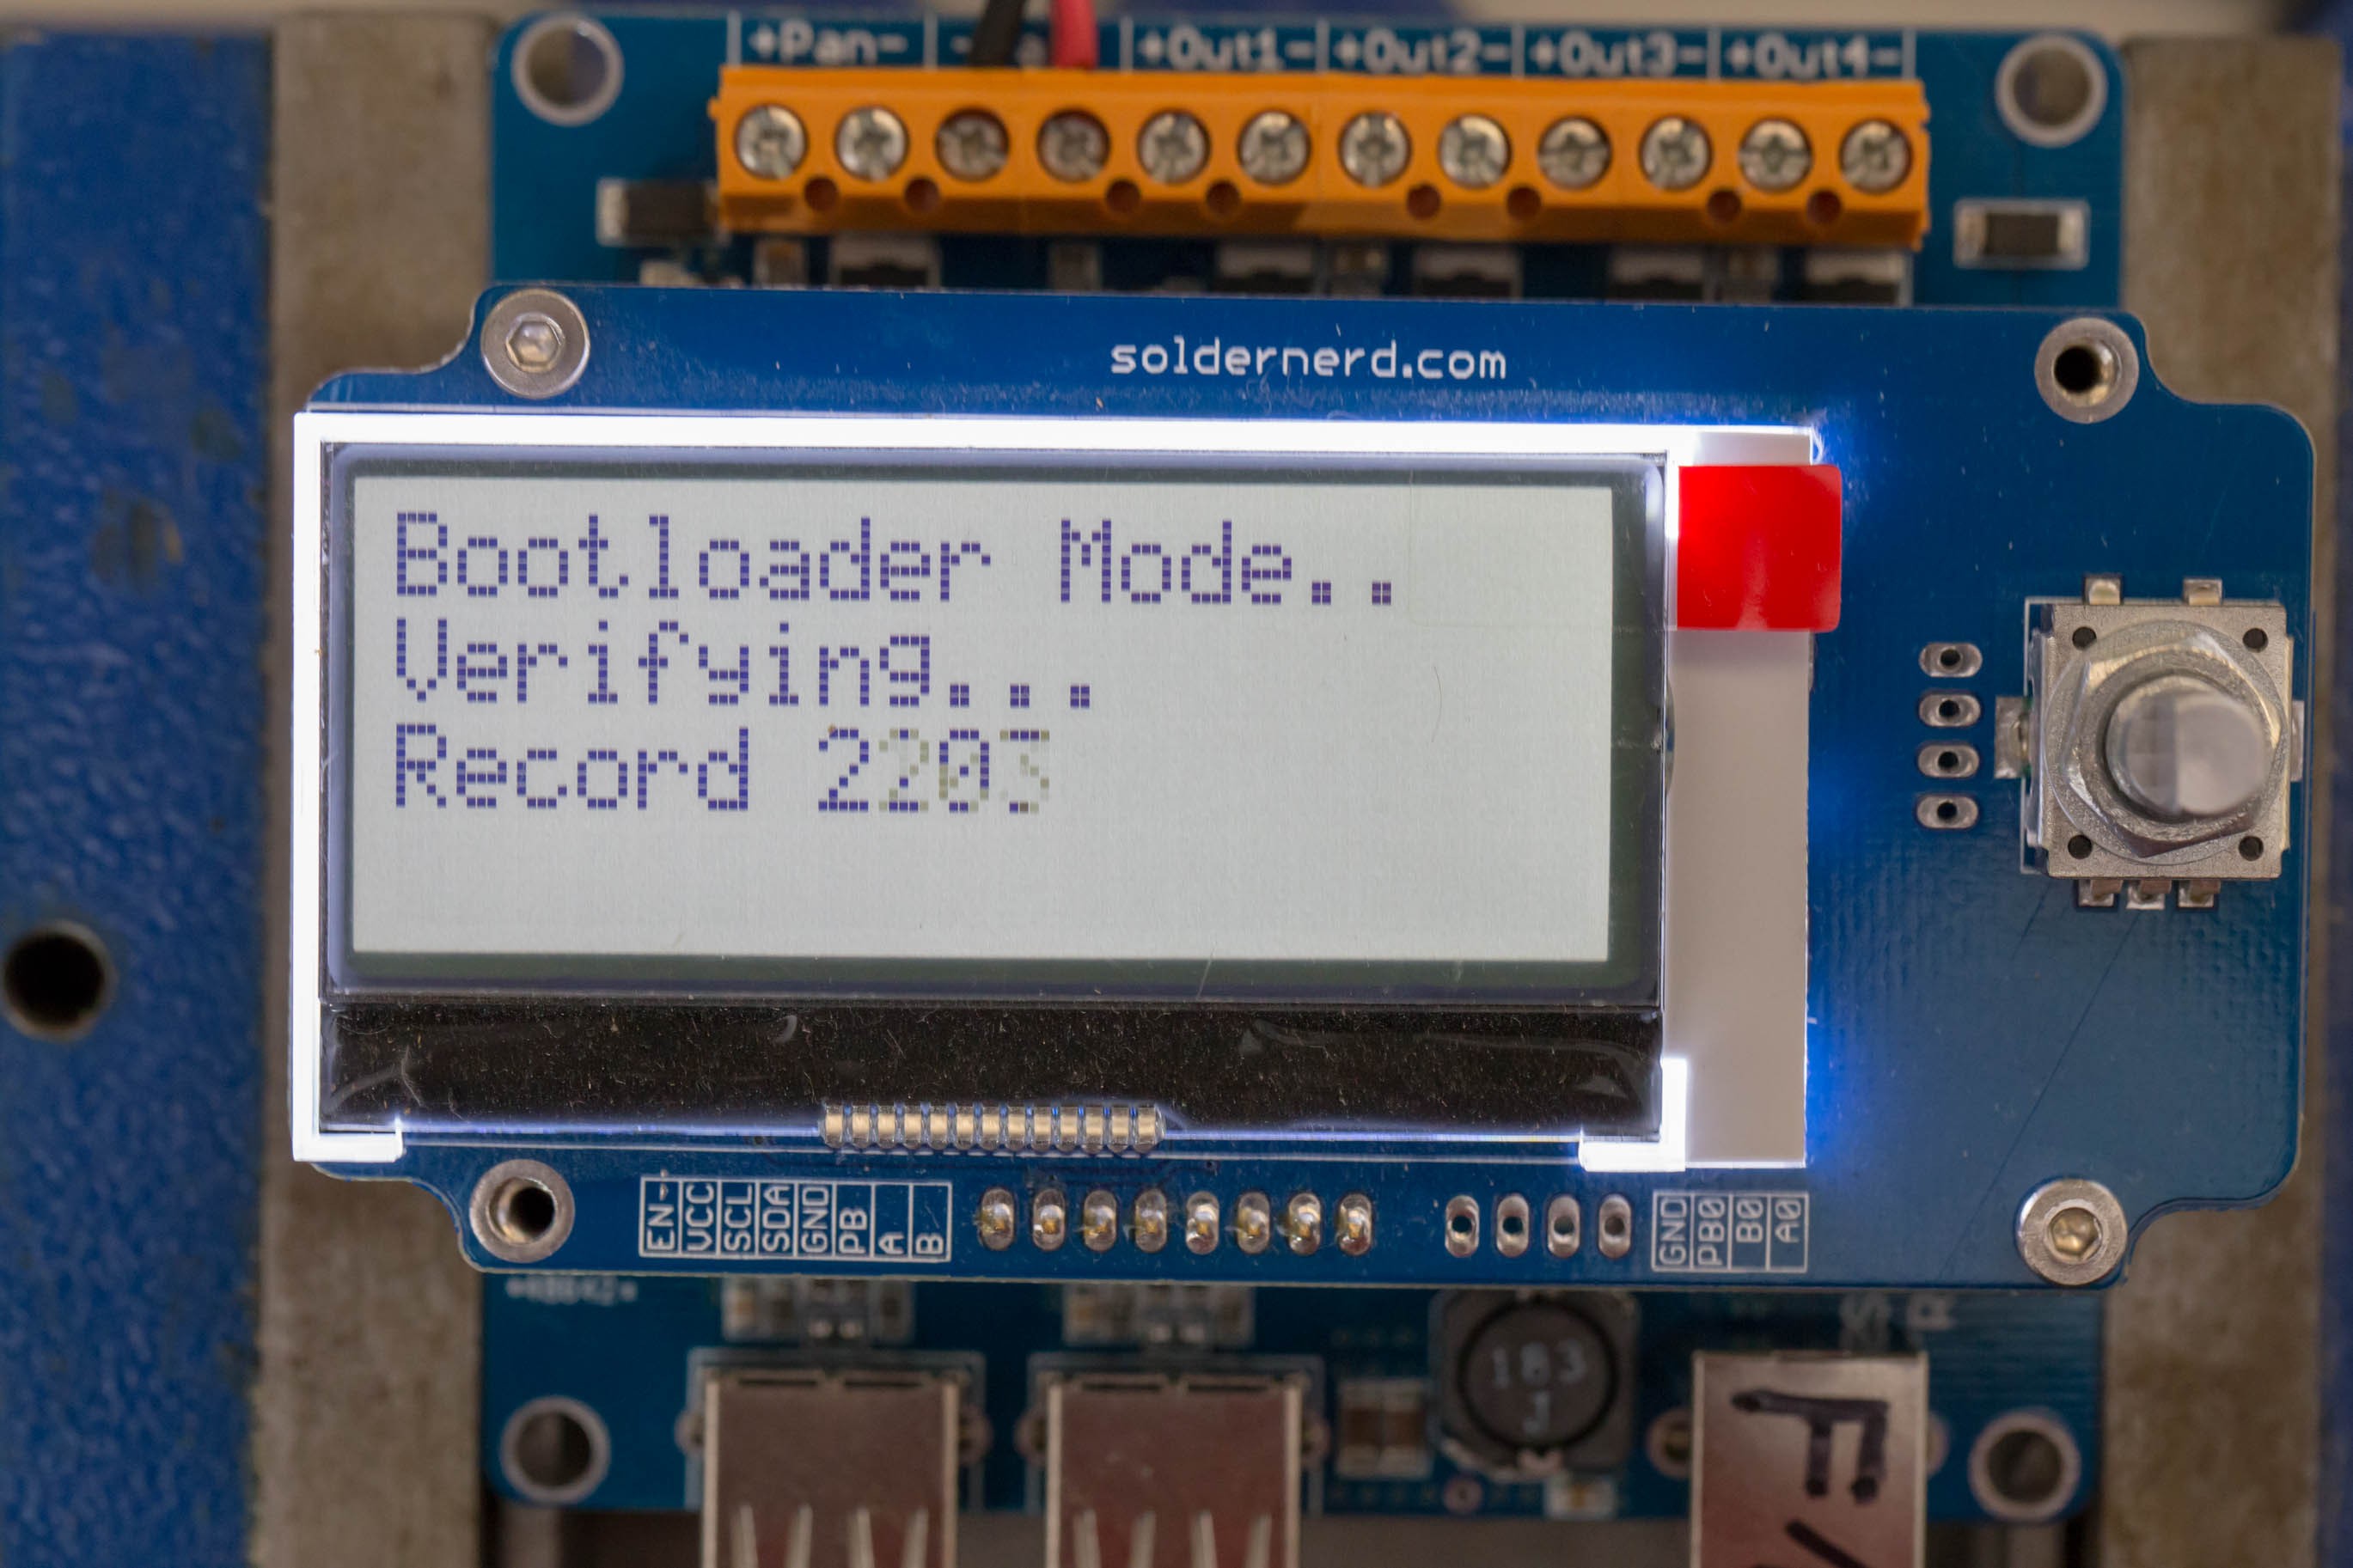
Once the file has been found and the user has pressed the button, the file is checked. If all those checks pass, we can be confident that we have a valid hex file. Of course, it doesn't tell us anything about the quality of that code, that's an other issue. But technically we should be fine.
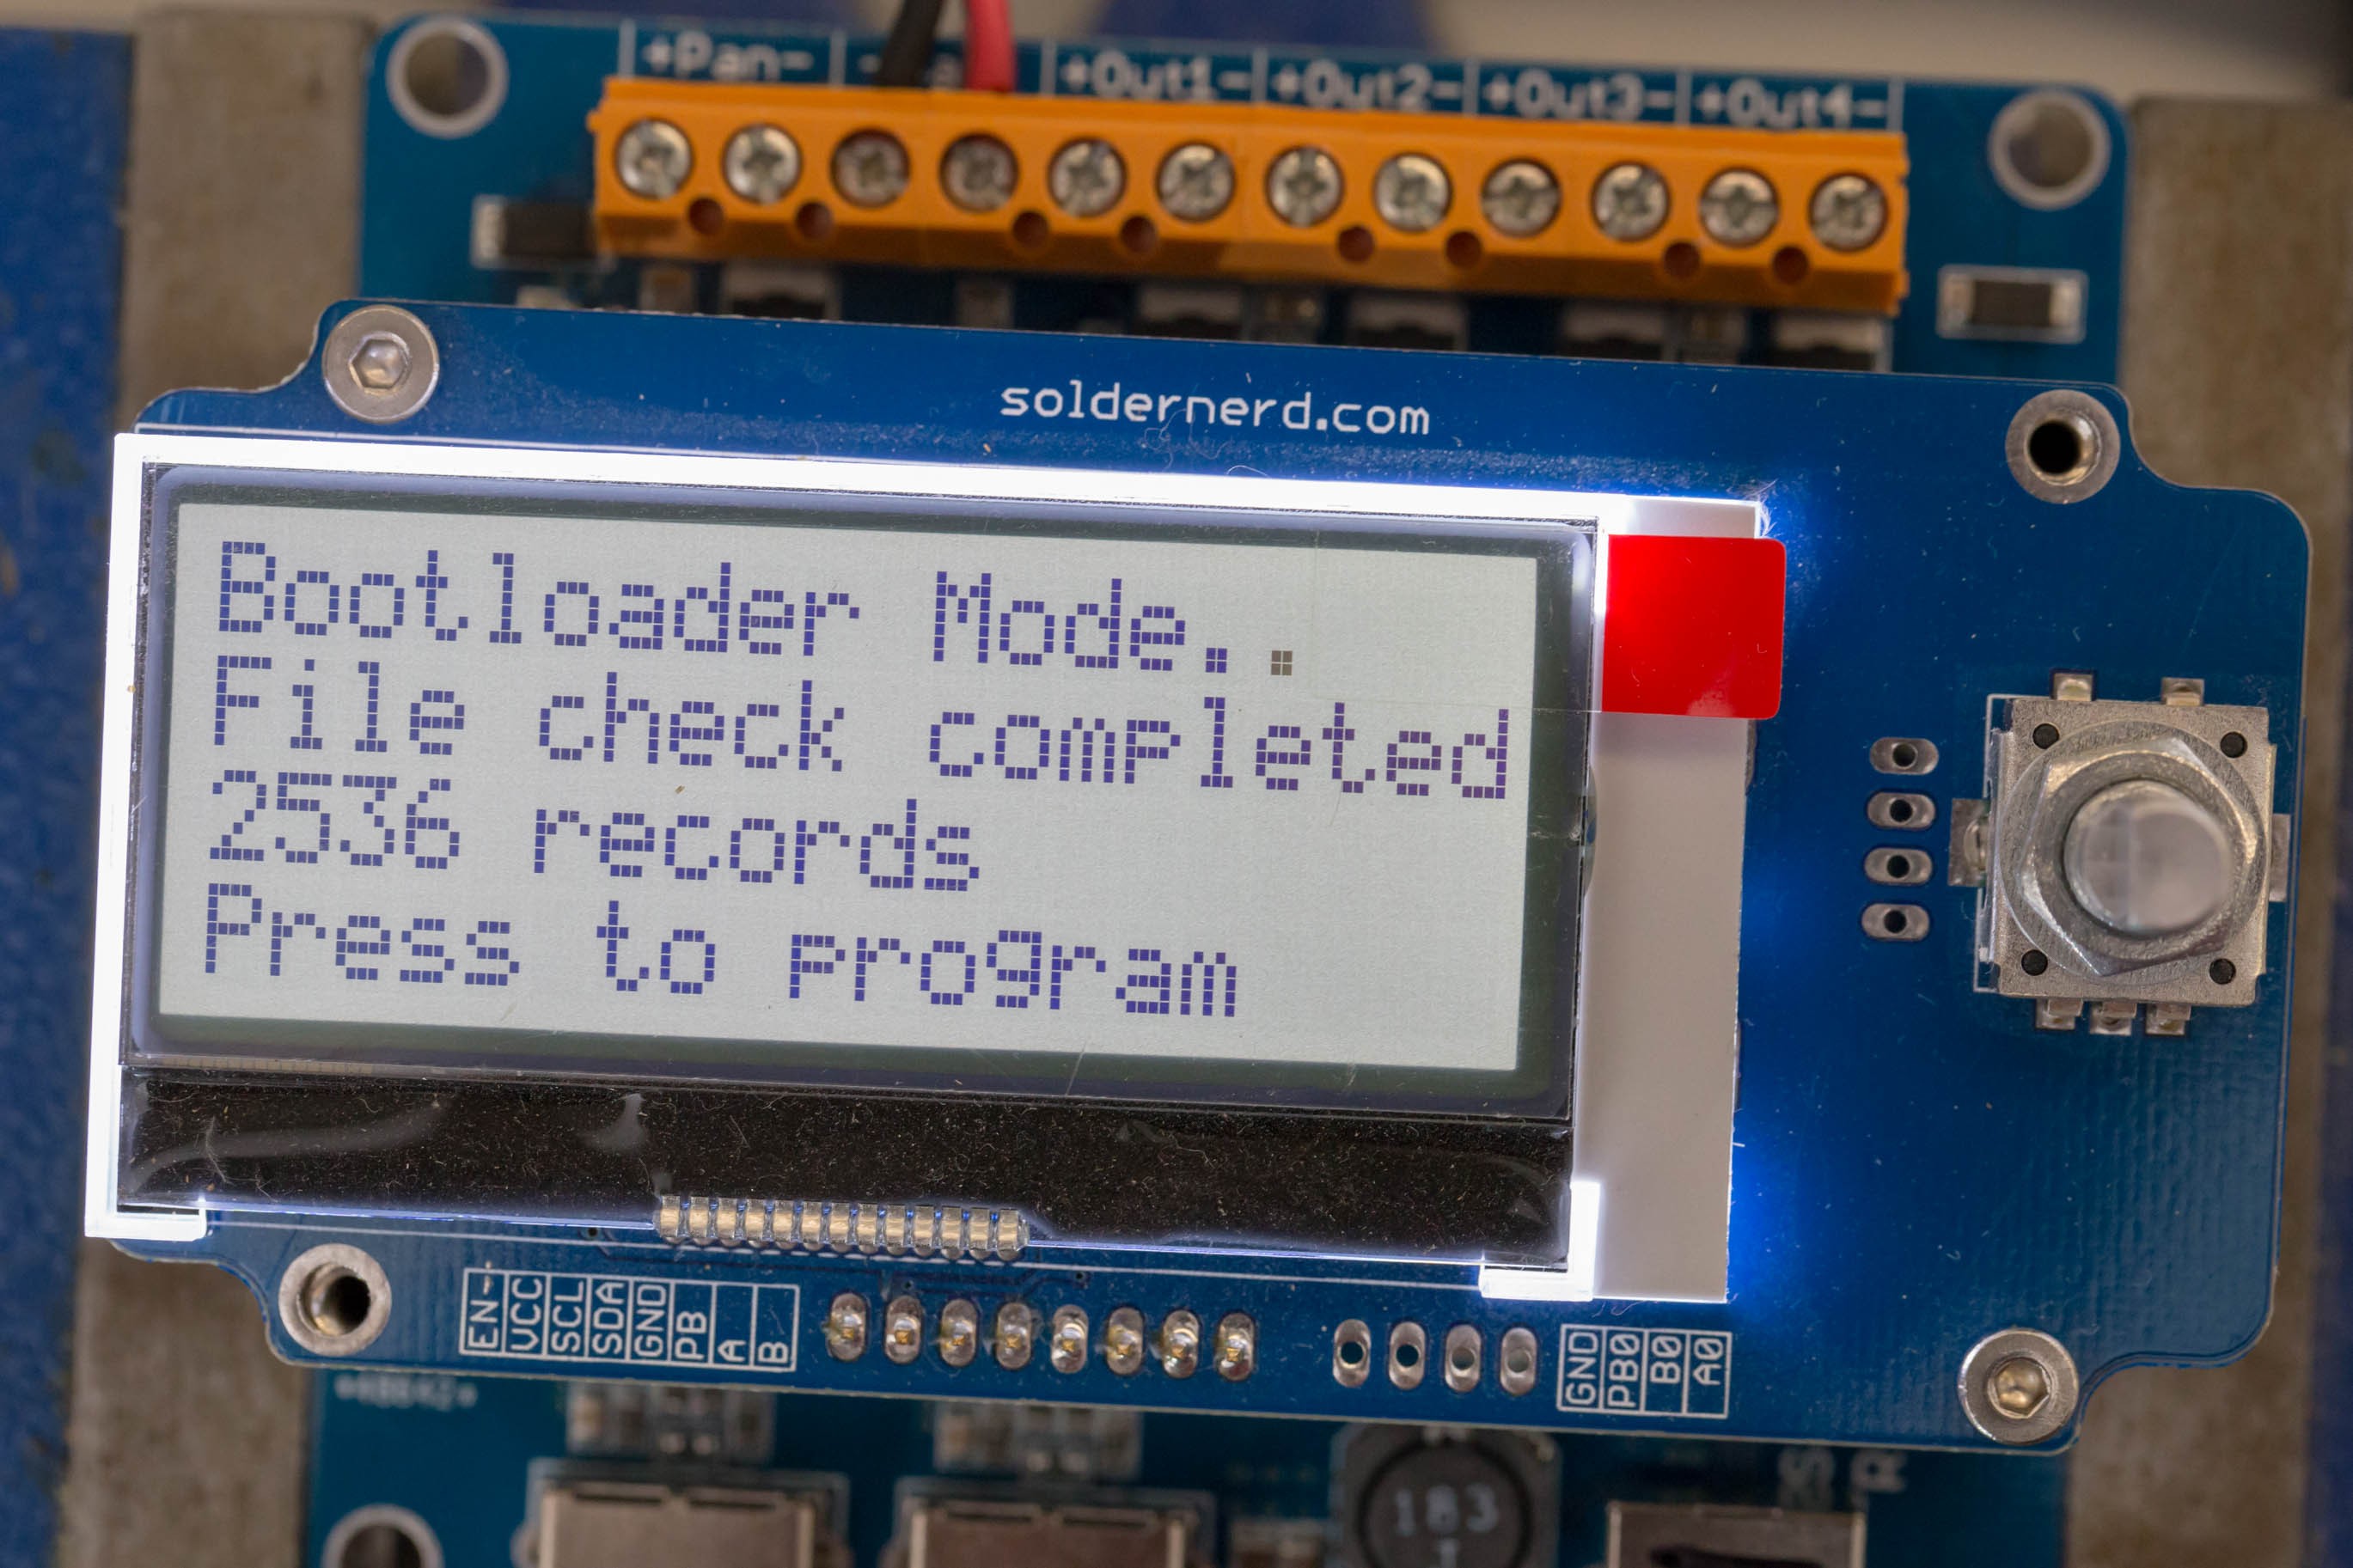
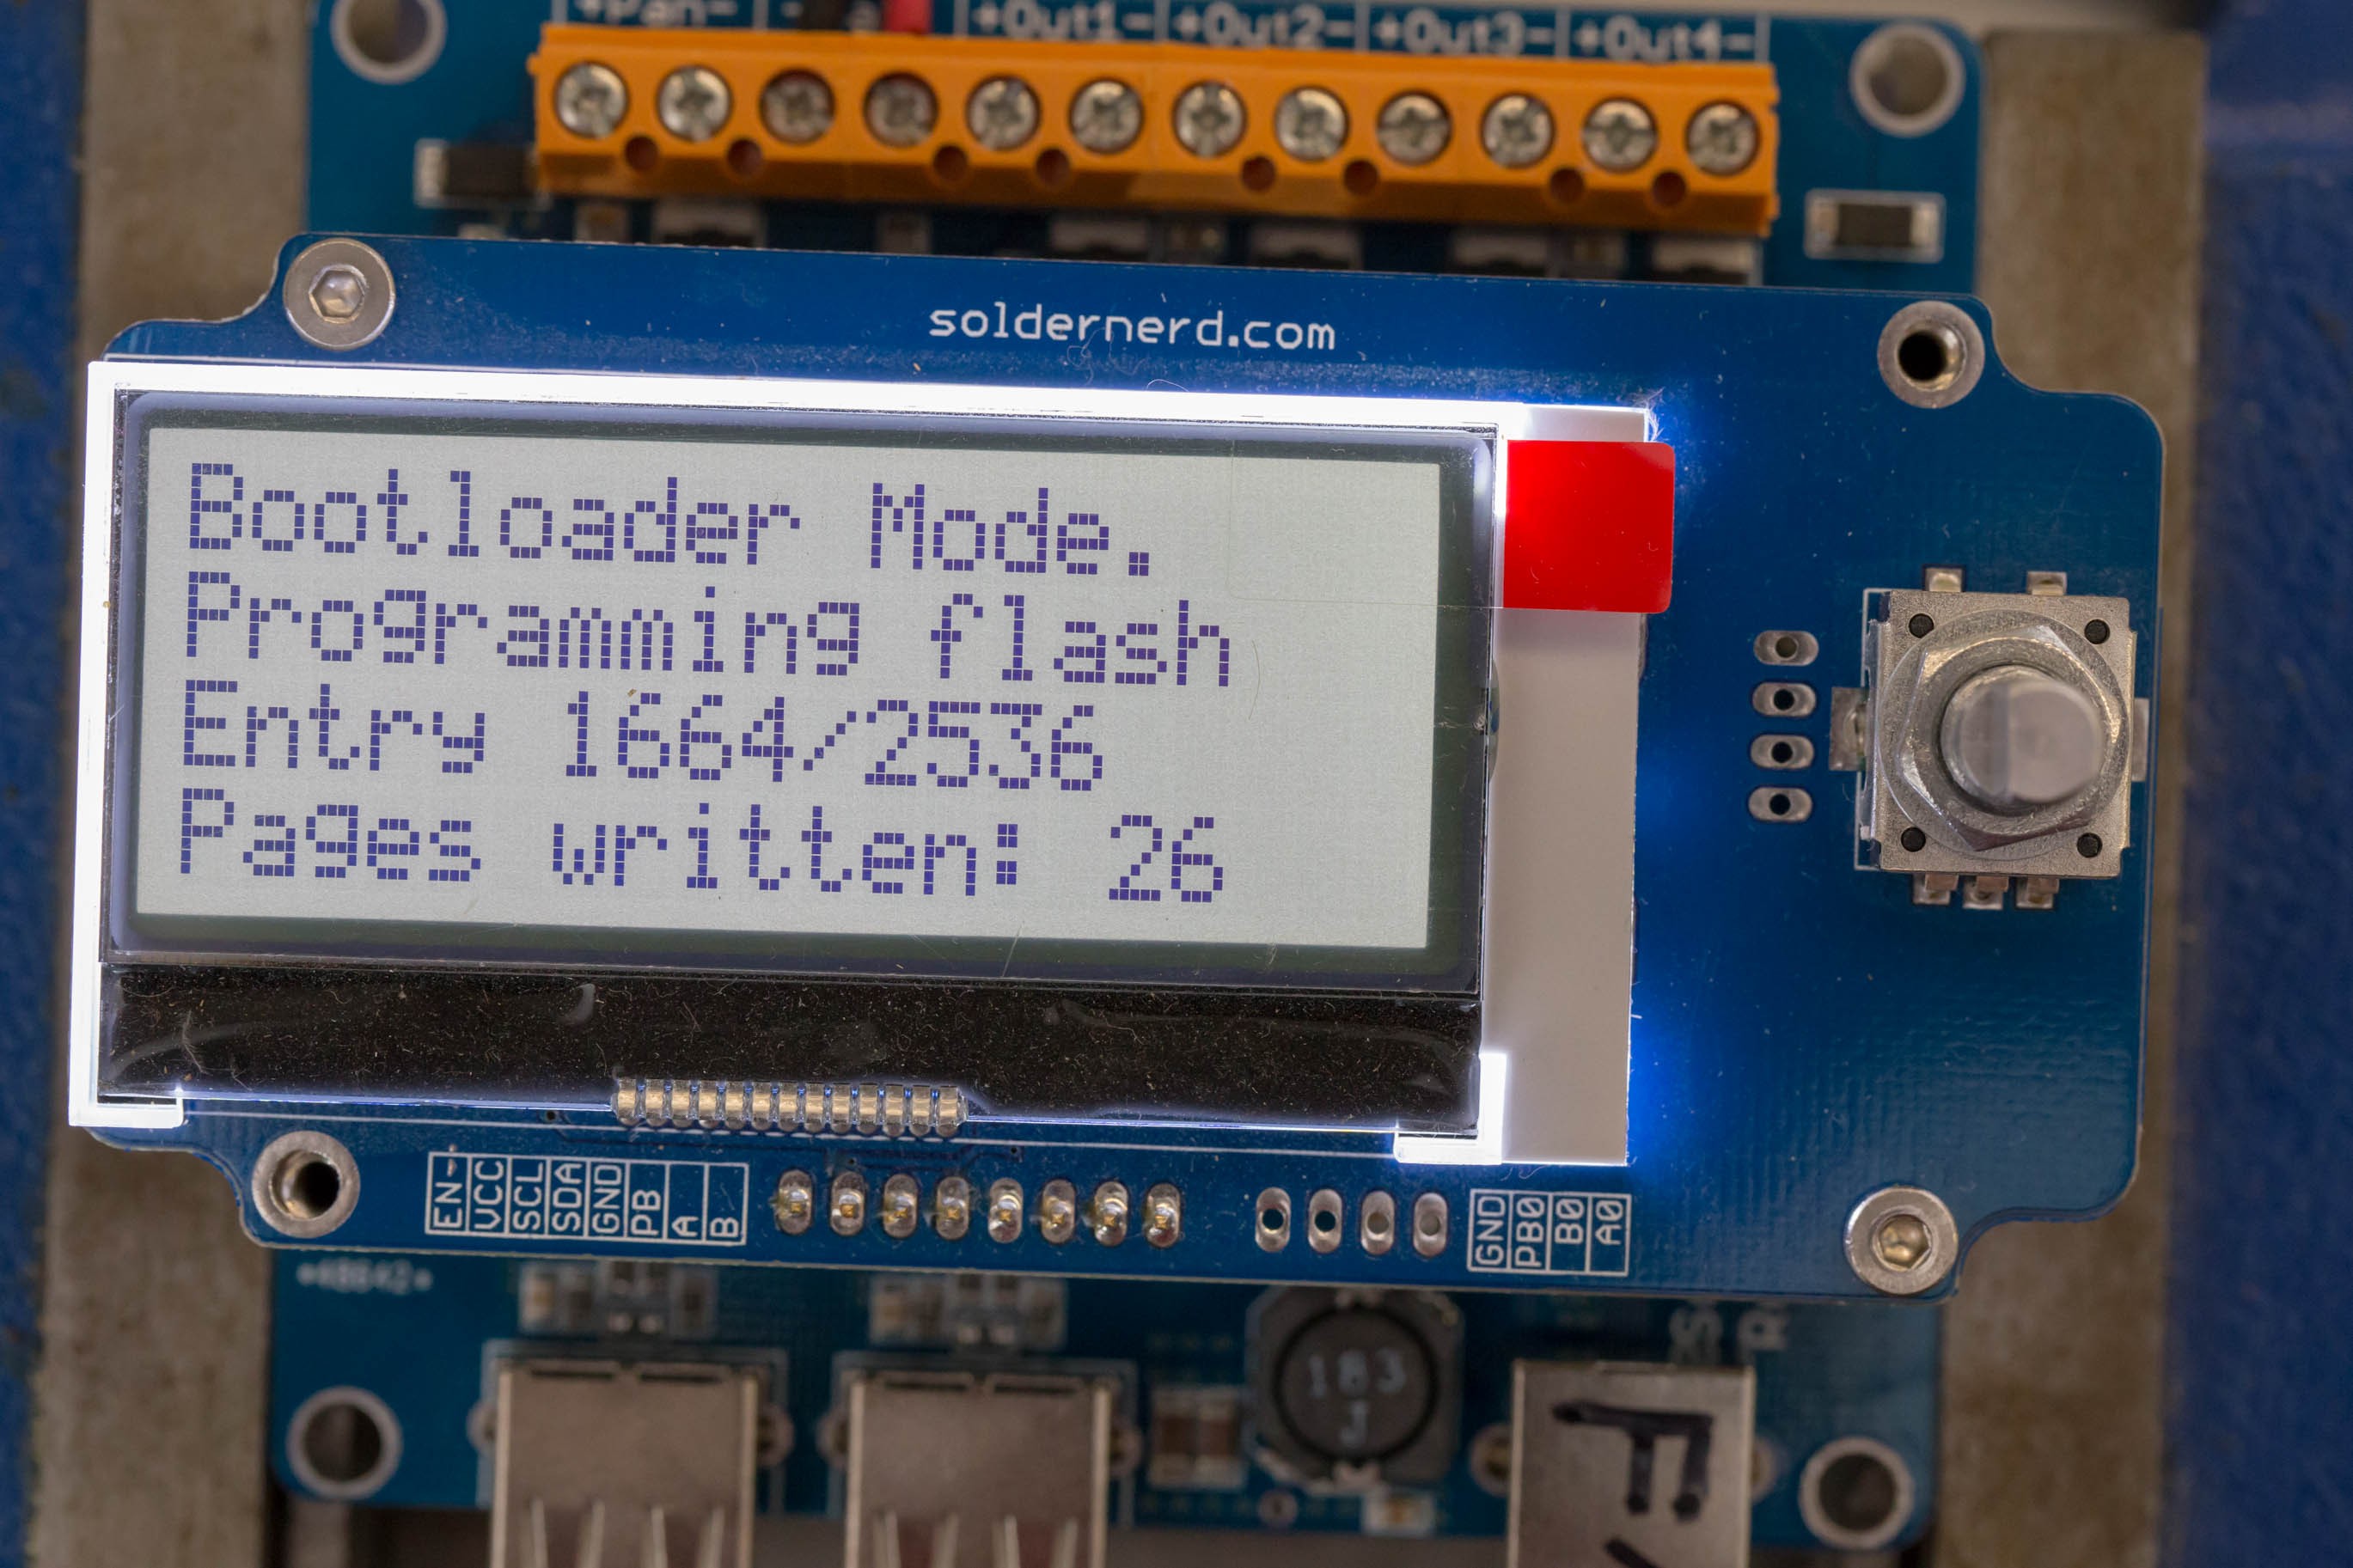
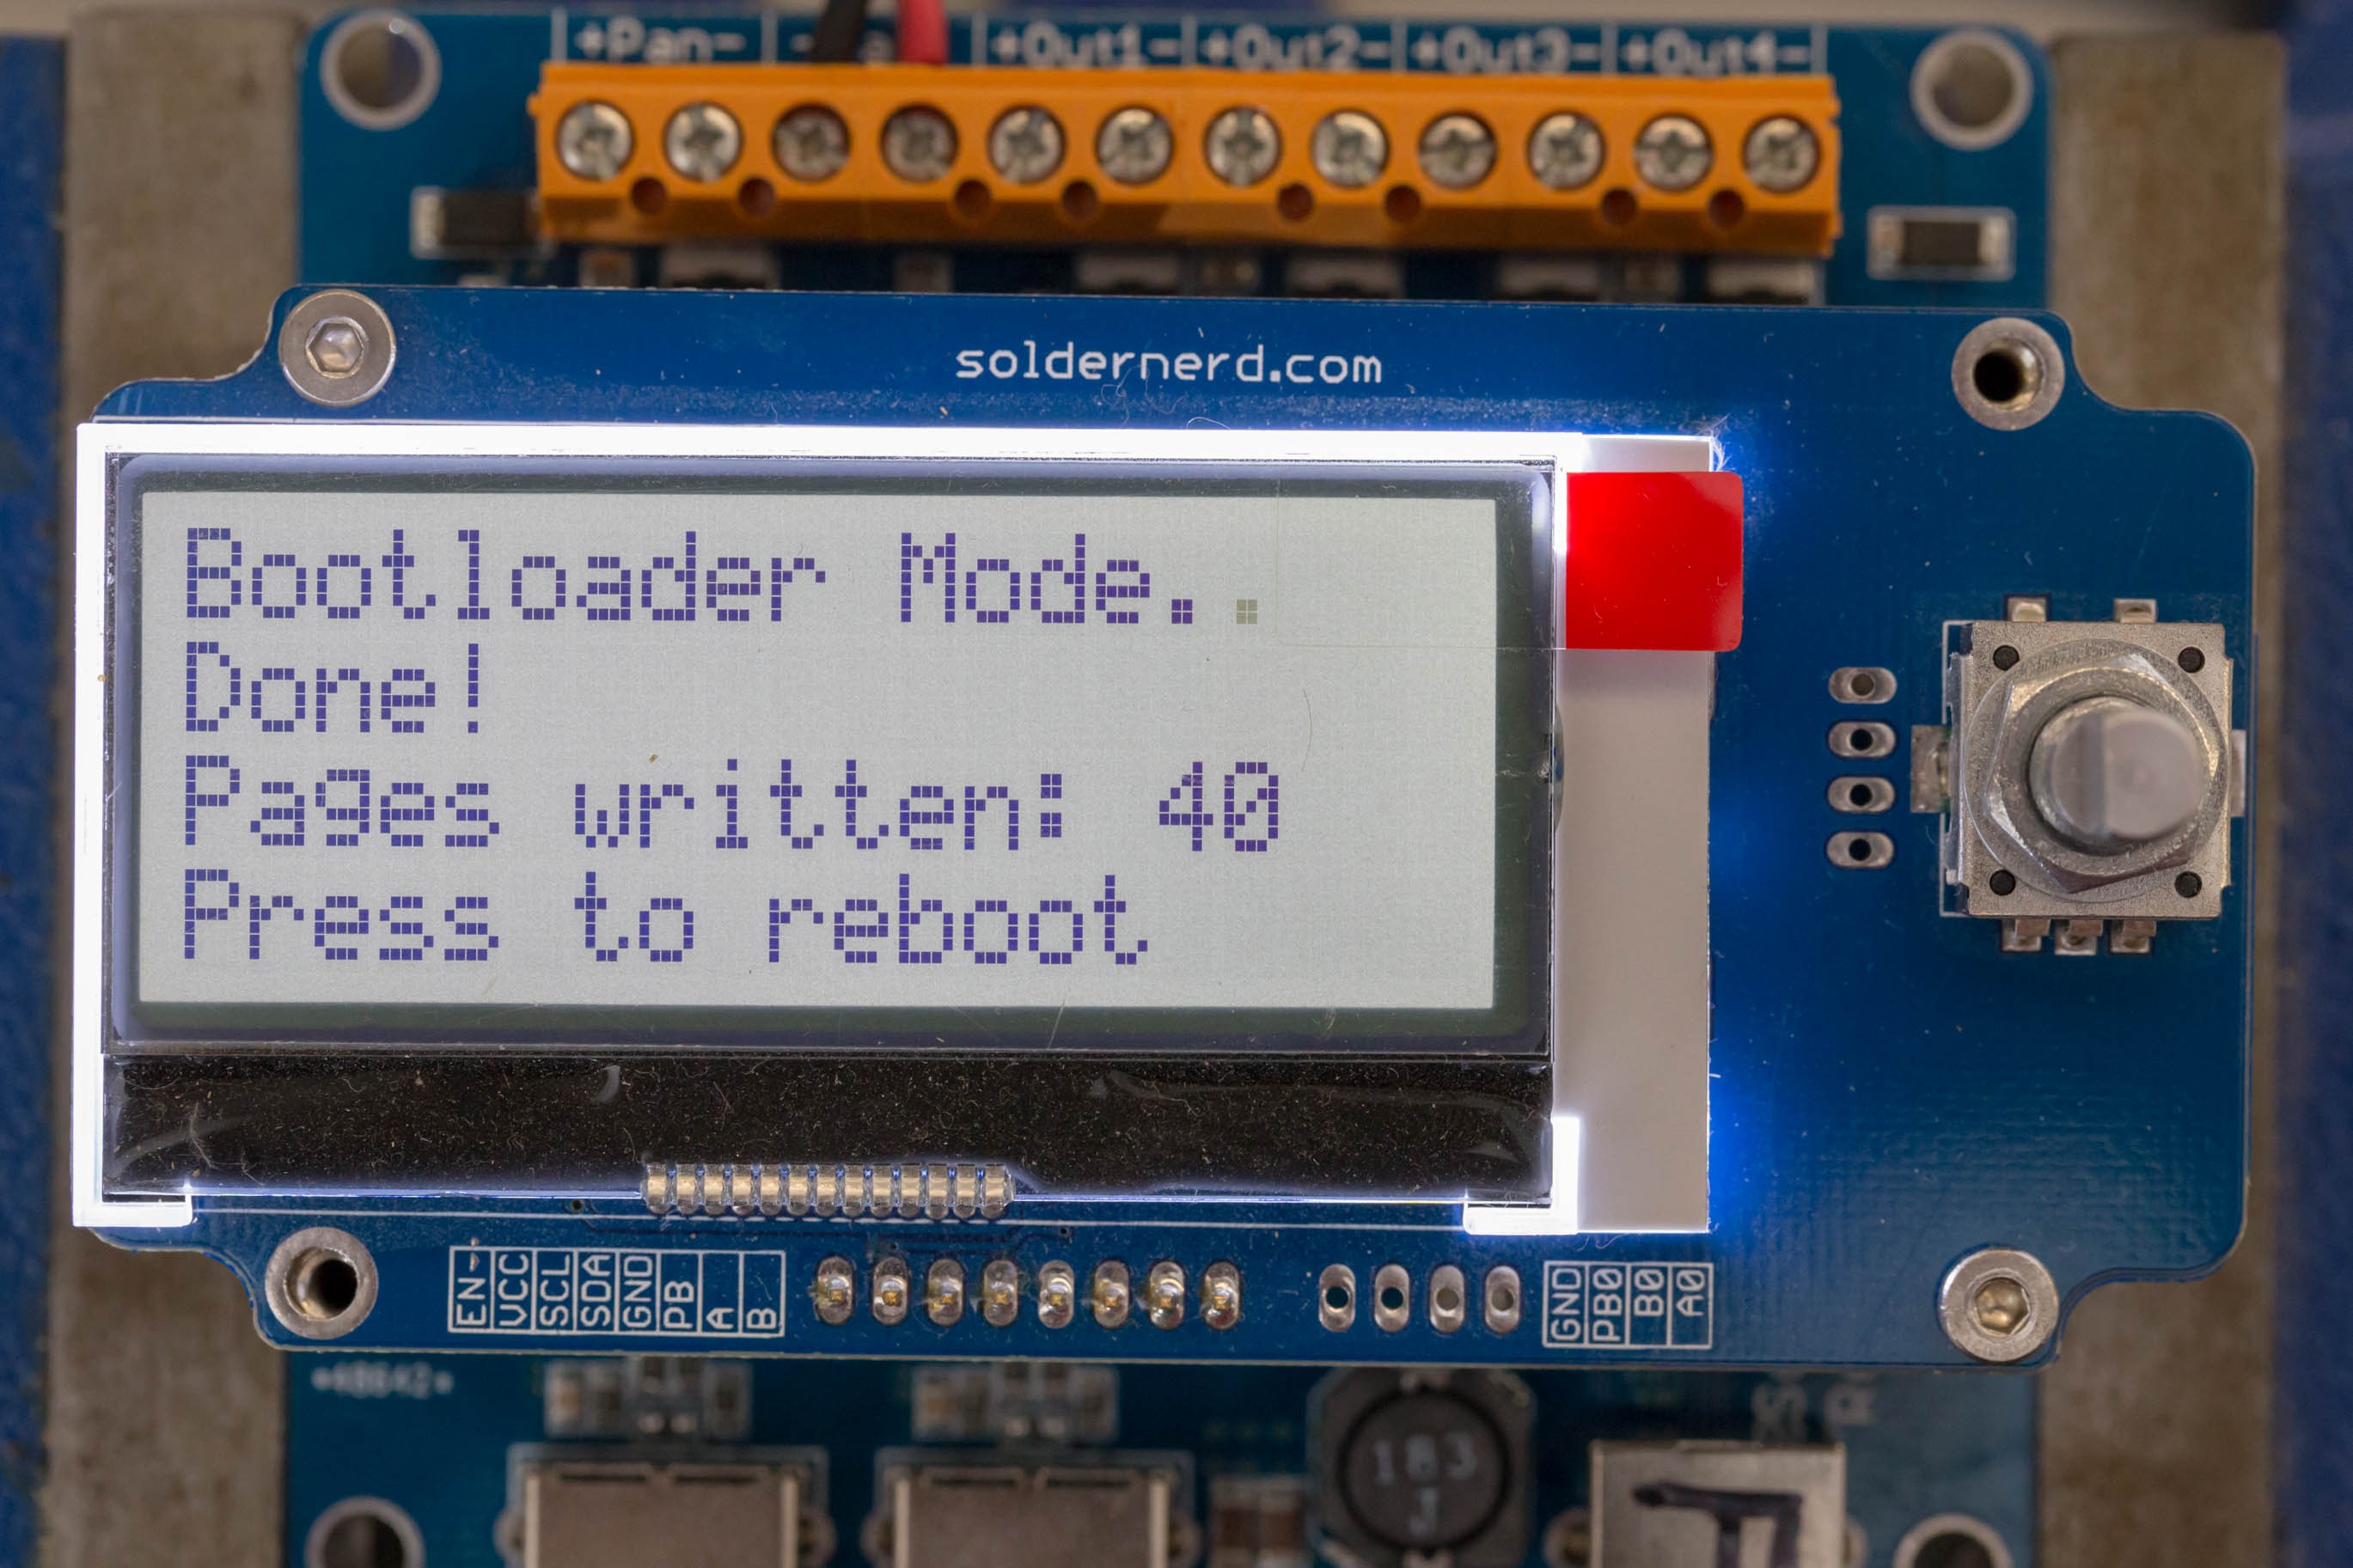
Once the checks have passed, the user is once again requested to press the push button to confirm that this file should be programmed onto the chip. While it's programming, it keeps displaying the current hex file entry it is processing to give the user an idea of the progress. It also keeps track of the number of flash pages it has written. One page corresponds to 1024 bytes on this architecture.
Once all the new code is flashed onto the chip, a message is displayed and the user is asked to once again press a key to re-boot the device into normal operating mode.
There are two different ways to enter bootloader mode. One is to press the push button at power-up. The other one consists in writing the value 0x94 (an arbitrarily chosen value) to the EEPROM address 0x100. In this case, the device will start up in bootloader mode no matter the state of the push button. The bootloader then overwrites this value (to 0x00) in order to start up normally next time.
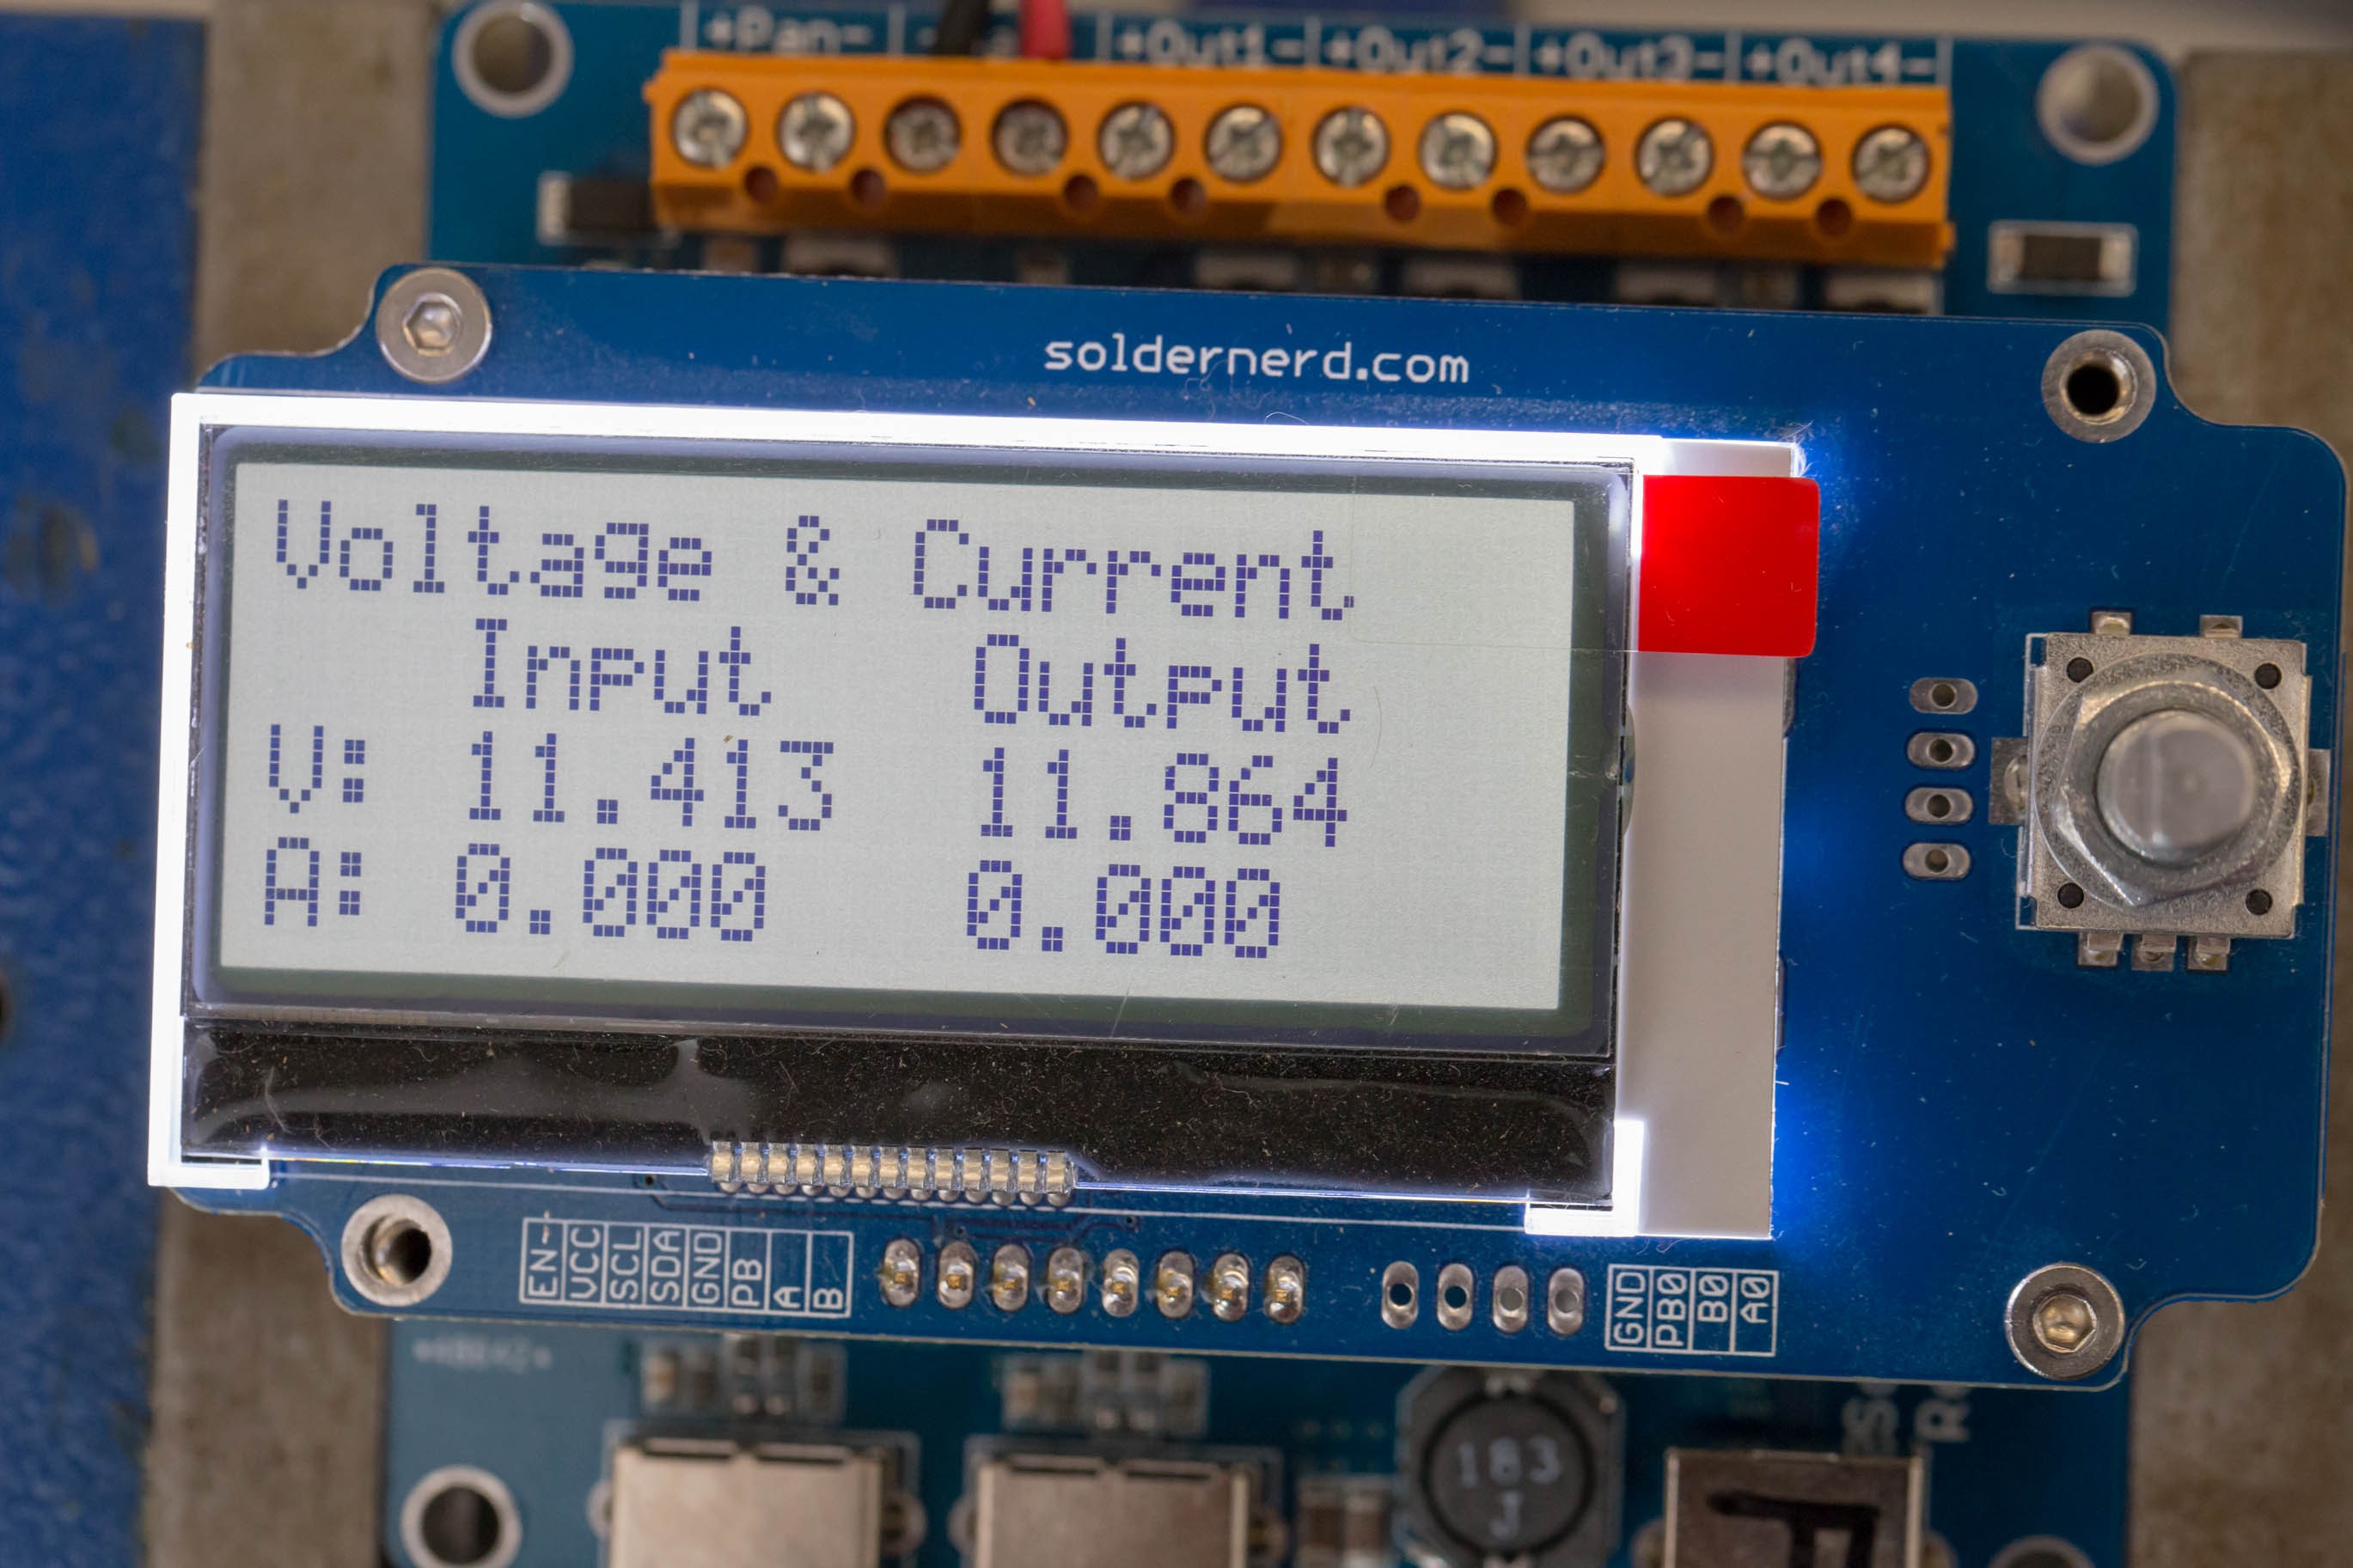
After the reboot, you should be greeted by the startup screen of the solar charger firmware as shown above.
Discussions
Become a Hackaday.io Member
Create an account to leave a comment. Already have an account? Log In.