 Rory
RoryIntroduction
As part of my electric mountain bike project, I needed a large lithium battery pack. Not finding anything in my budget I decided to make an 18650 battery pack to my own specifications.
Due to the voltage limitations of my speed controller, I required a battery pack of 12 series cells. I was looking for a capacity of at least 10Ah.
I did a lot of reading on various forums, Endless-Sphere in particular, about lithium battery type and construction (which opened my eyes to scary home-made battery packs). Initially the cheapest route seemed to be Hobbyking Multistar lithium polymer cells although these were reported to have vastly over rated specifications and would require regular balance charging.
I really wanted an 18650 battery pack but struggled for some time to find a good deal on the cells (particularly a deal where I could trust the seller). These cells are in everything, I couldn’t believe they could leave the factory for more than £1 each… After much searching I found the wholesale site of the reputable vape supplier Fogstar https://www.fogstar-wholesale.co.uk. Samsung 25R cells are currently available in quantities of 100 for £1.96+VAT per cell.
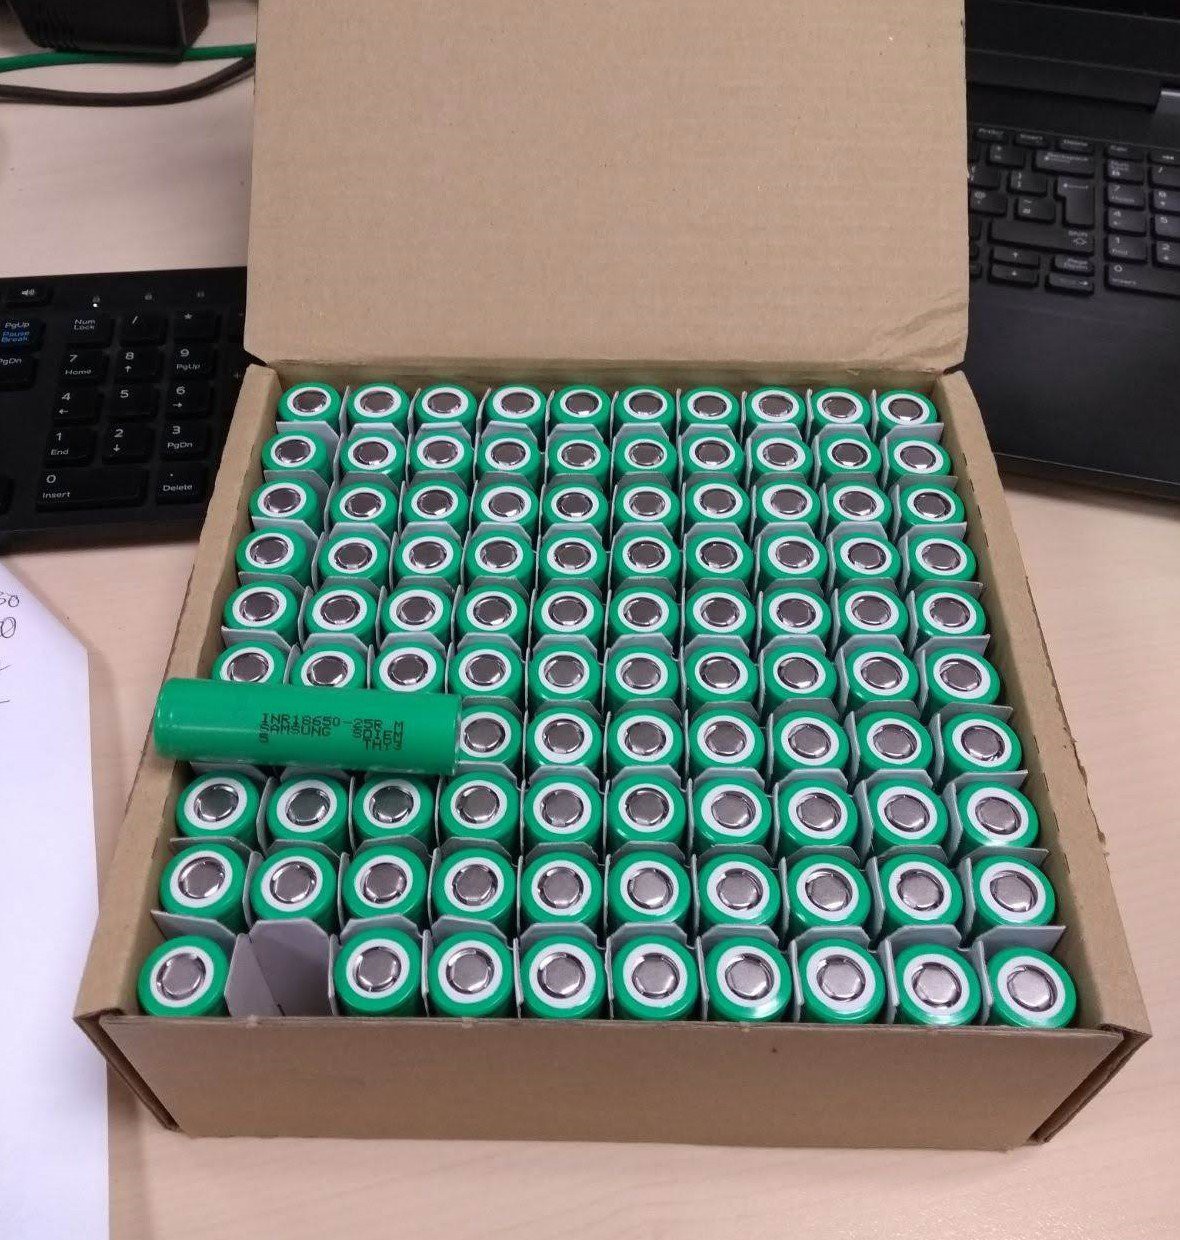 |
| Above: Samsung 25Rs supplied next day delivery from Fogstar. Would recommend. |
I settled on a 12 series 8 parallel construction, 96 cells totalling 20Ah. The total cost of the cells including VAT totalled £235.20. The equivalent capacity using hobyking multistar packs would have cost £274.94 if I could have ever found them in stock…
Less money for a better product, ideal, although obviously I had to build the battery pack from scratch.
Pack Design
I was planning to drain the pack hard so a ventilated construction would be required. I decided to use ‘18650 cell spaces’ which are plastic parts available in many different sizes which clip together to hold the cells and space them a few mm apart. The cell spacers can be trimmed with a hacksaw at the perimeter if you can’t find the exact size you need. Compatible dual row nickel strip is available to match the cell spacing which makes for a very neat solution. The nickel strip would be doubled up in some areas to ensure that there would always be 4 series nickel links between parallel groups.
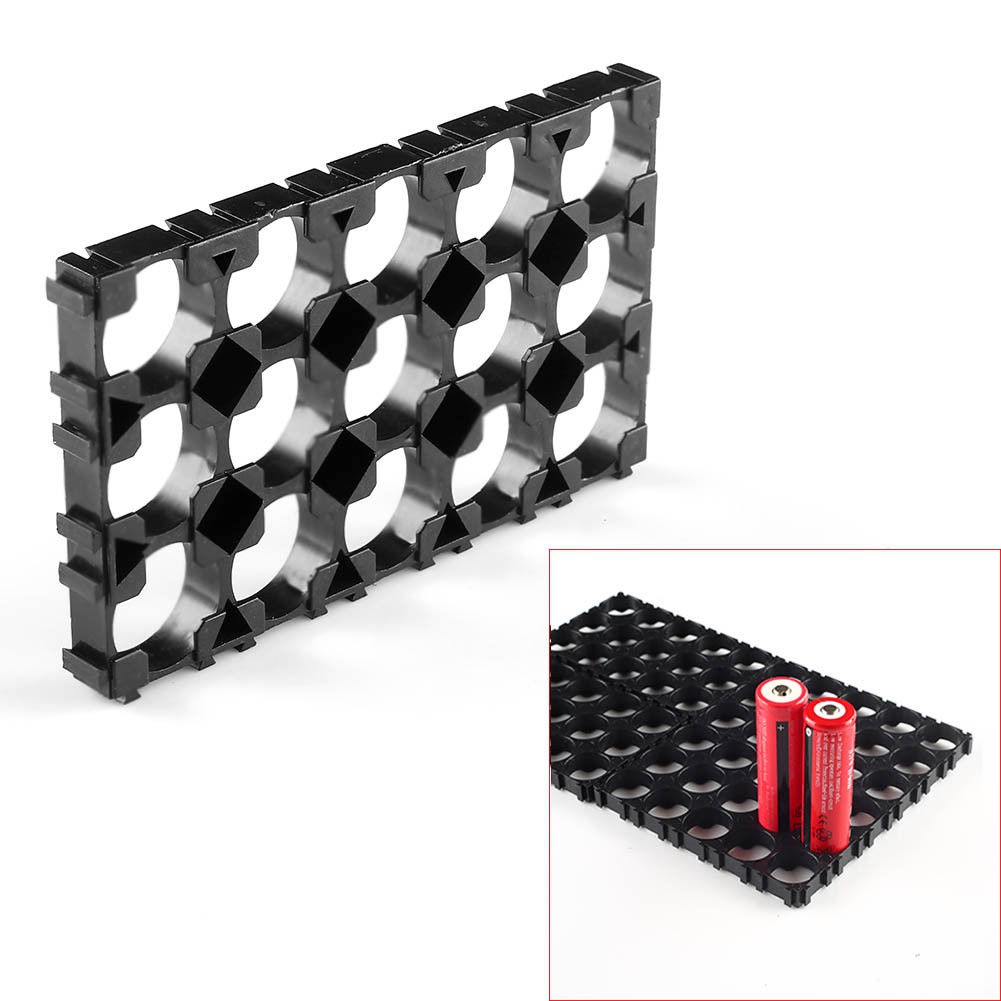 | 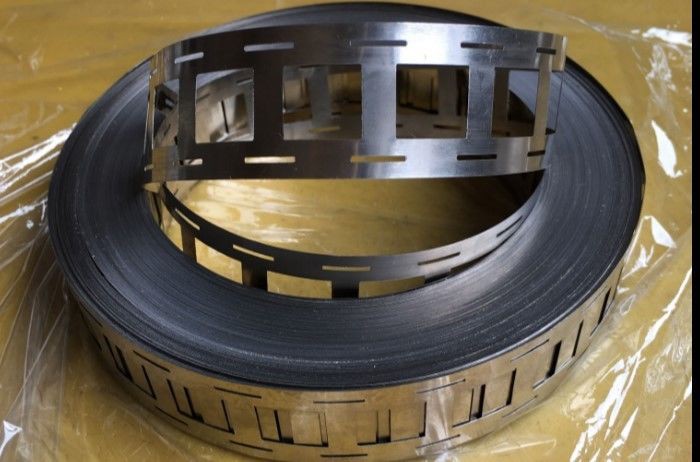 |
| Above: 18650 cell spacers | Above: Dual row nickle strip |
I made a spot welder powered by a 12V car battery. See my dedicated project page for furter info.
The battery pack would include JST plugs linked to each parallel group to allow each section to be monitored. The pack would include 1 x 13 pin connector to allow a cell monitoring/balancing board to be installed. It would also feature 2 x 7 pin JST connectors monitoring 6 cells each. This would allow me to connect a wide range of RC low battery alarms and voltage meters which are available very cheaply to check the condition of the pack.
The main power connector would be a RC style XT90 connector chosen for their small size sand insulating caps for the soldered connections. They can also be quickly pulled apart in an emergency.
The power cables would be 10AWG silicone insulated which is as large as the XT90 connectors can accommodate.
The pack would not be fused or have internal low battery protection. My speed controller has a programmable low battery cut-off and current limiting. Because the pack would normally be mounted in a rucksack, in the event of an electronics melt down or short, I could jump off the bike and the power cable would pull apart instantly. If the pack became damaged and shorted internally, a fuse would not help me anyway.
Some kind of breathable case would be made to protect the pack from damage.
Build
I built the battery pack in a couple of evenings. The cell spacers and dual row nickel strip made this process very easy because they made everything line up neatly. I threaded the balance cables through the centre of the pack before spot welding...
Read more »
 Quinn
Quinn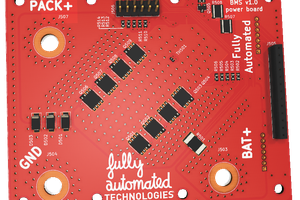
 Zoé
Zoé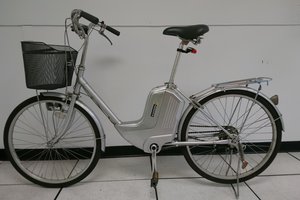
 Lucas Rangit MAGASWERAN
 Vitor de Miranda Henrique