 artbyphysicistkitty
For full instruction: https://www.hackster.io/kitty-yeung/
0%
0%
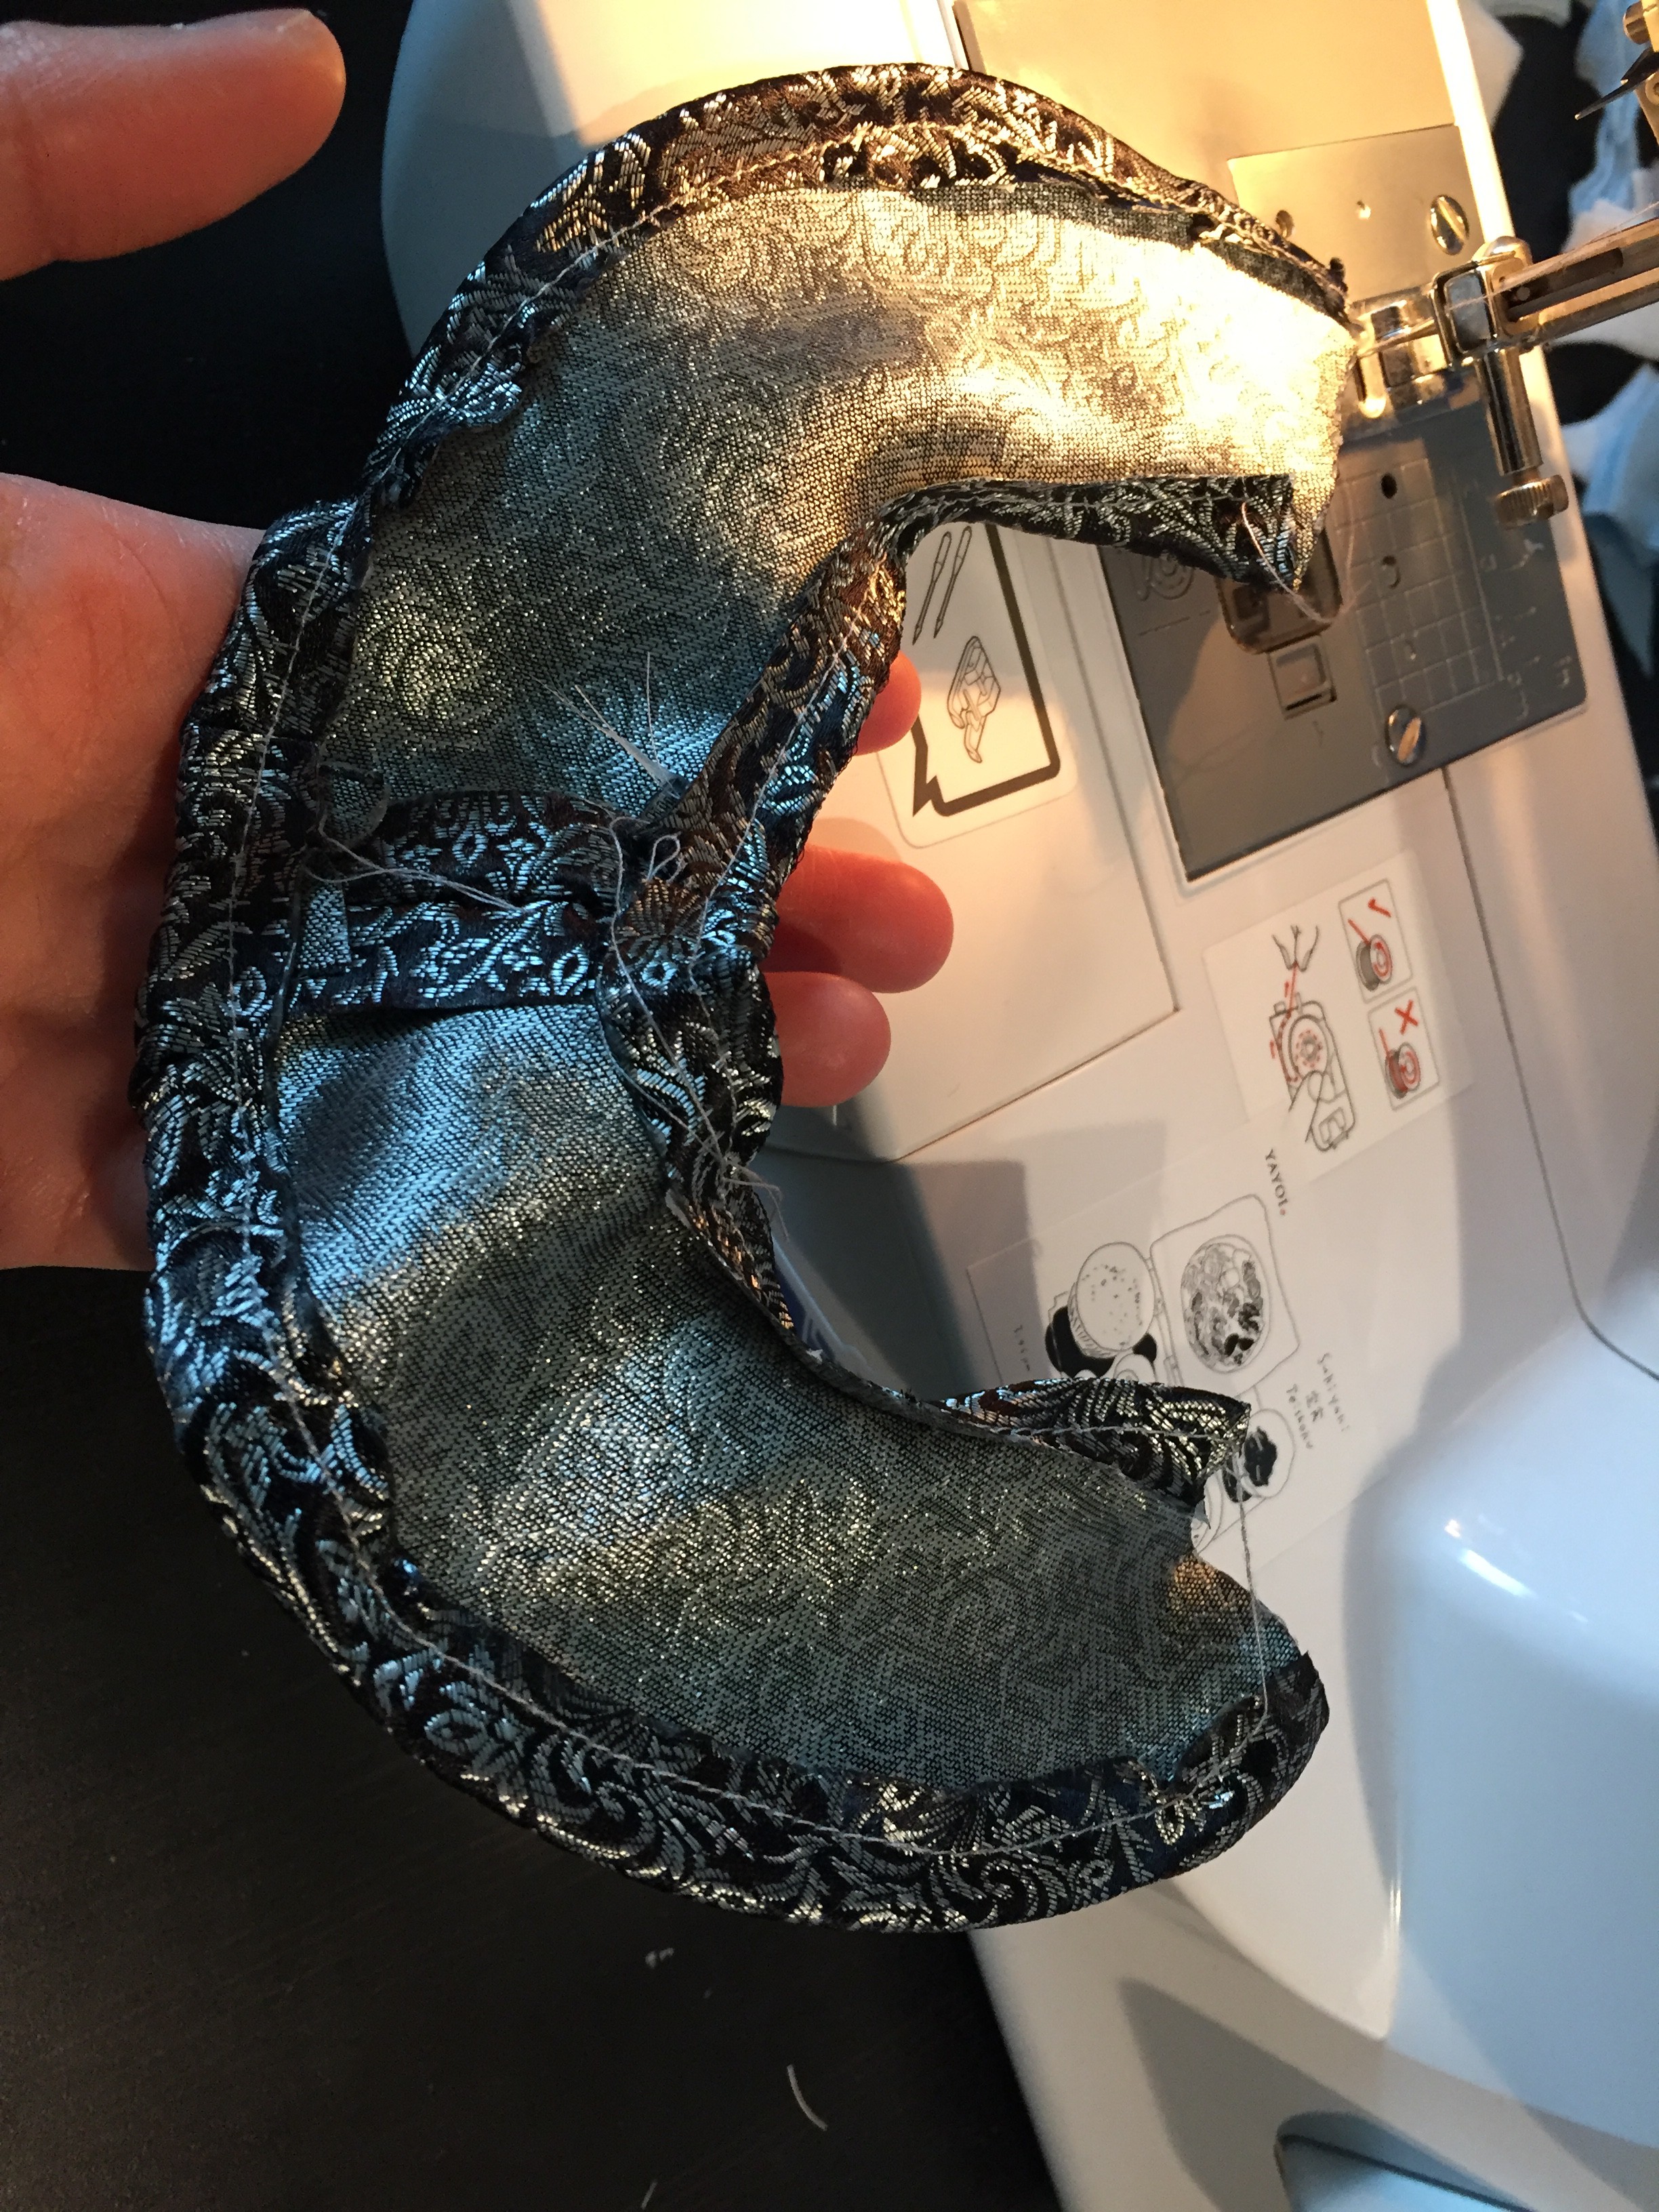
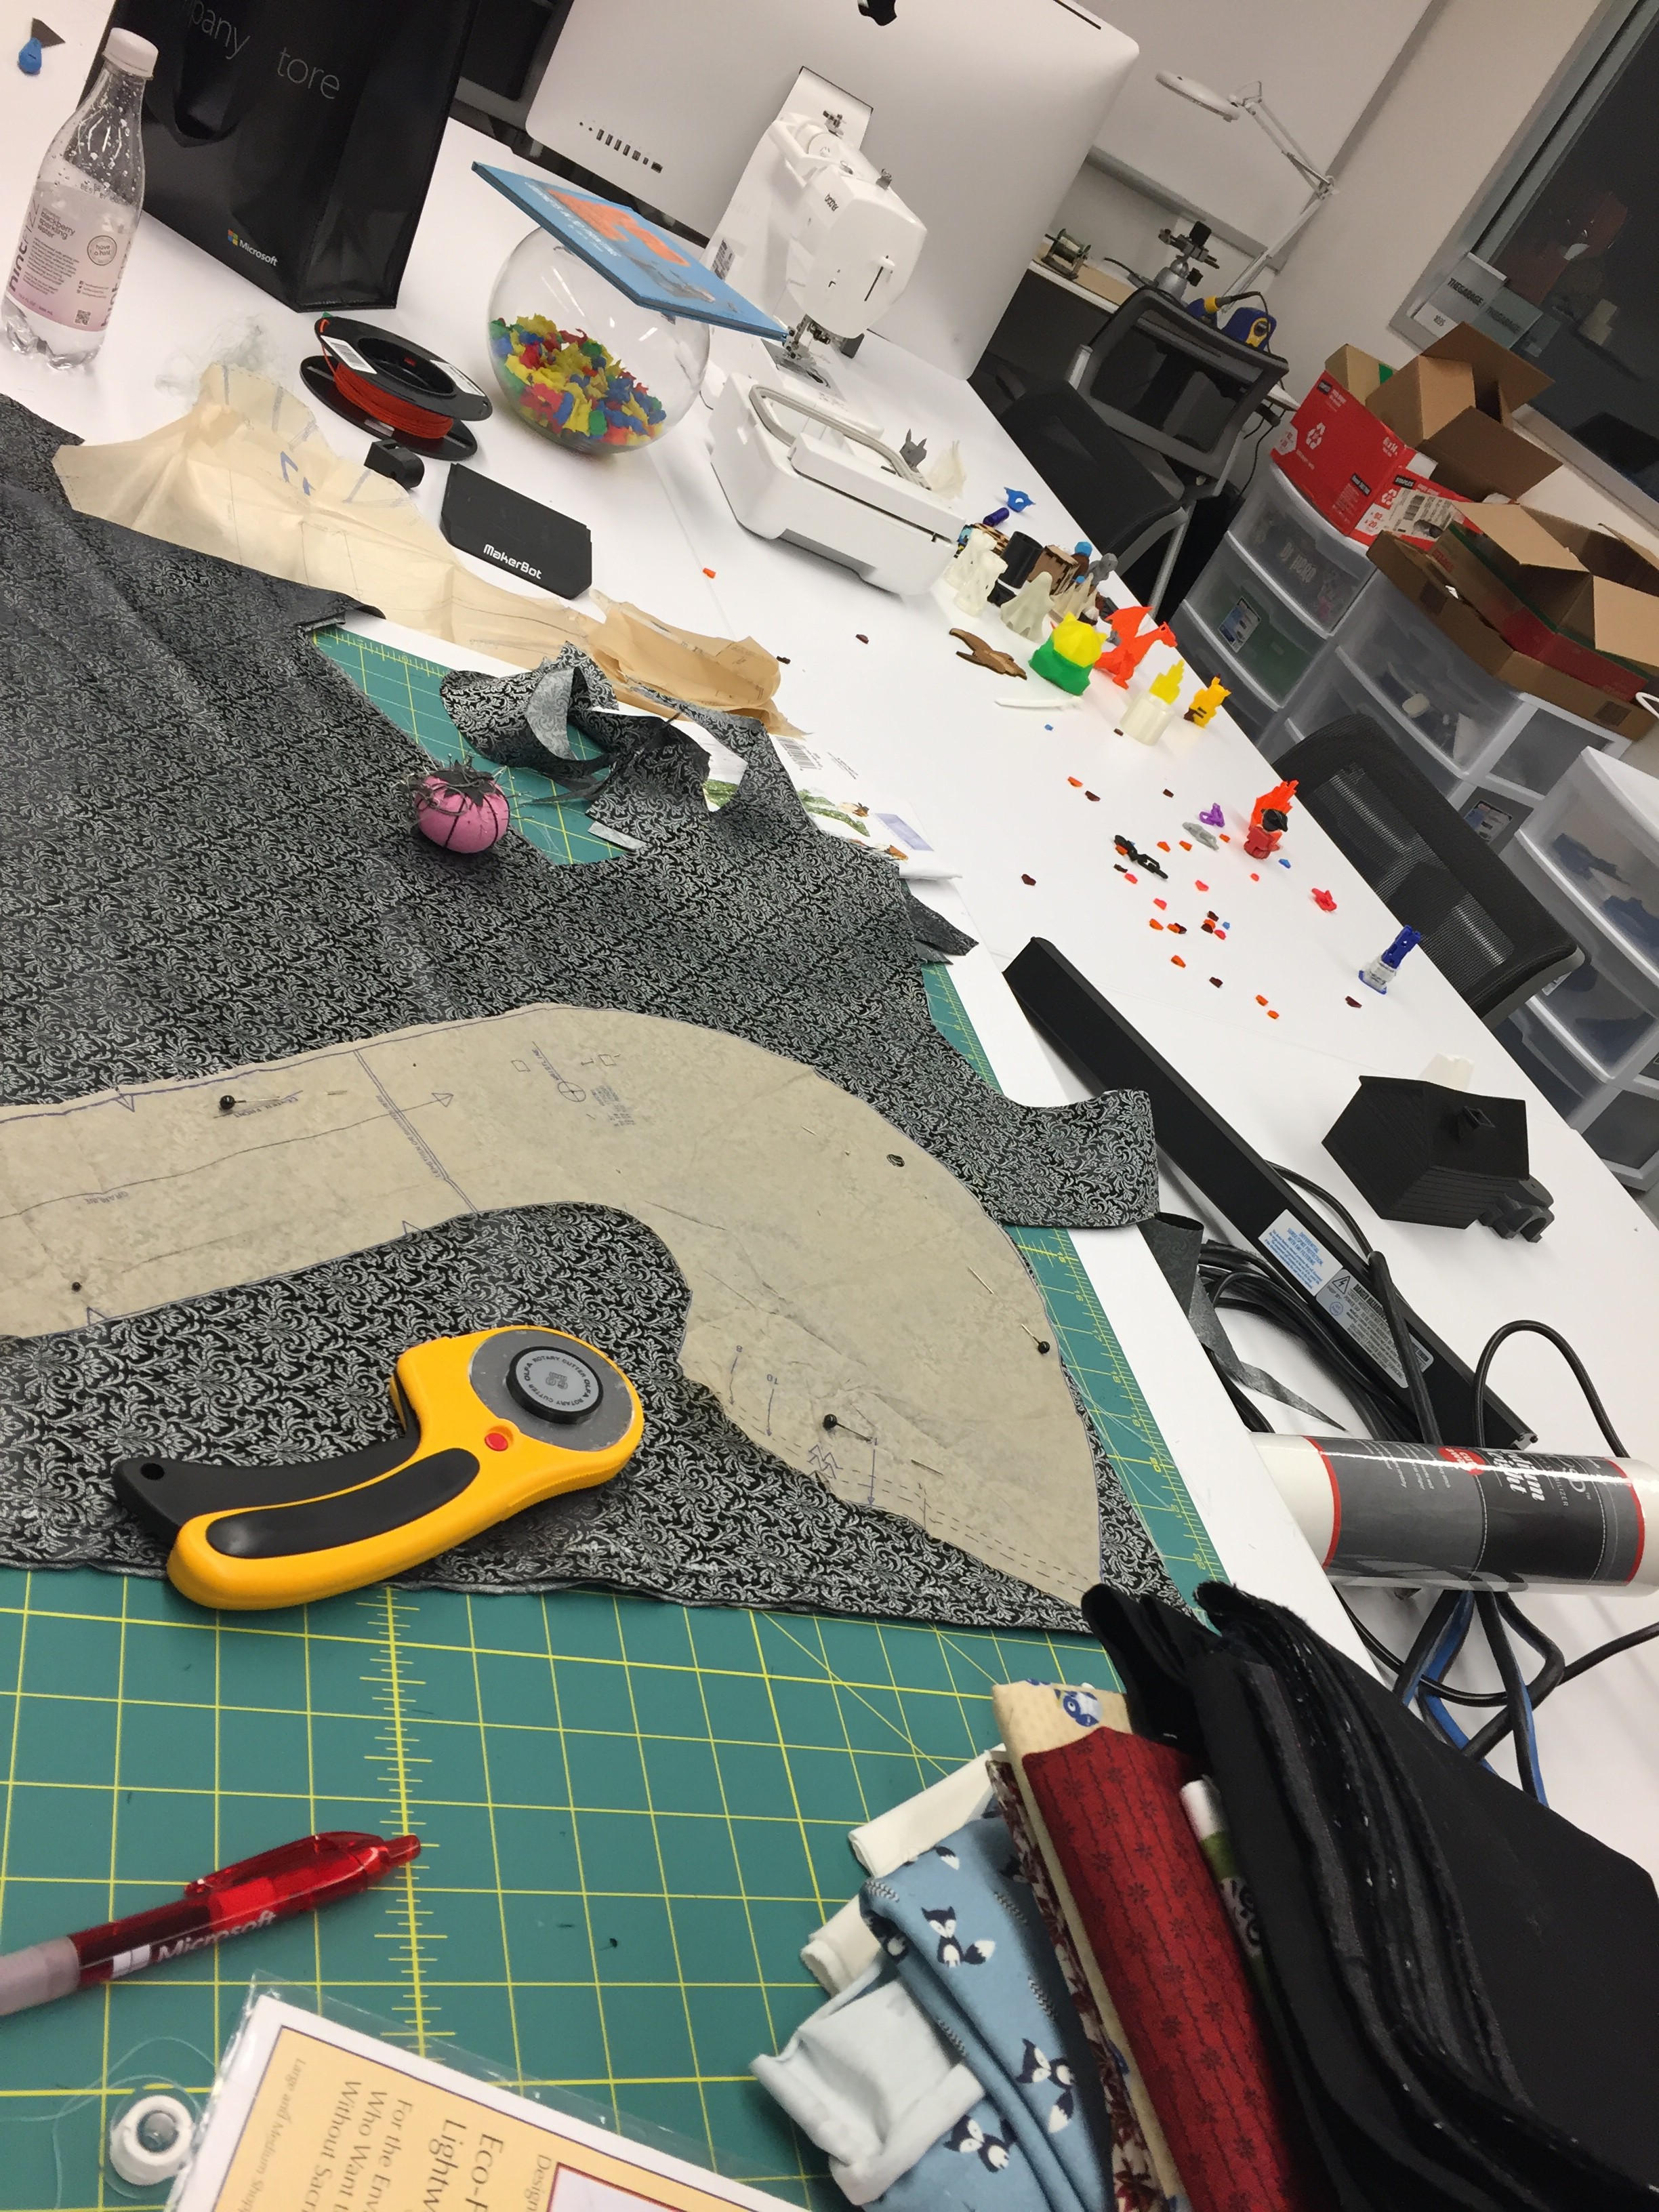
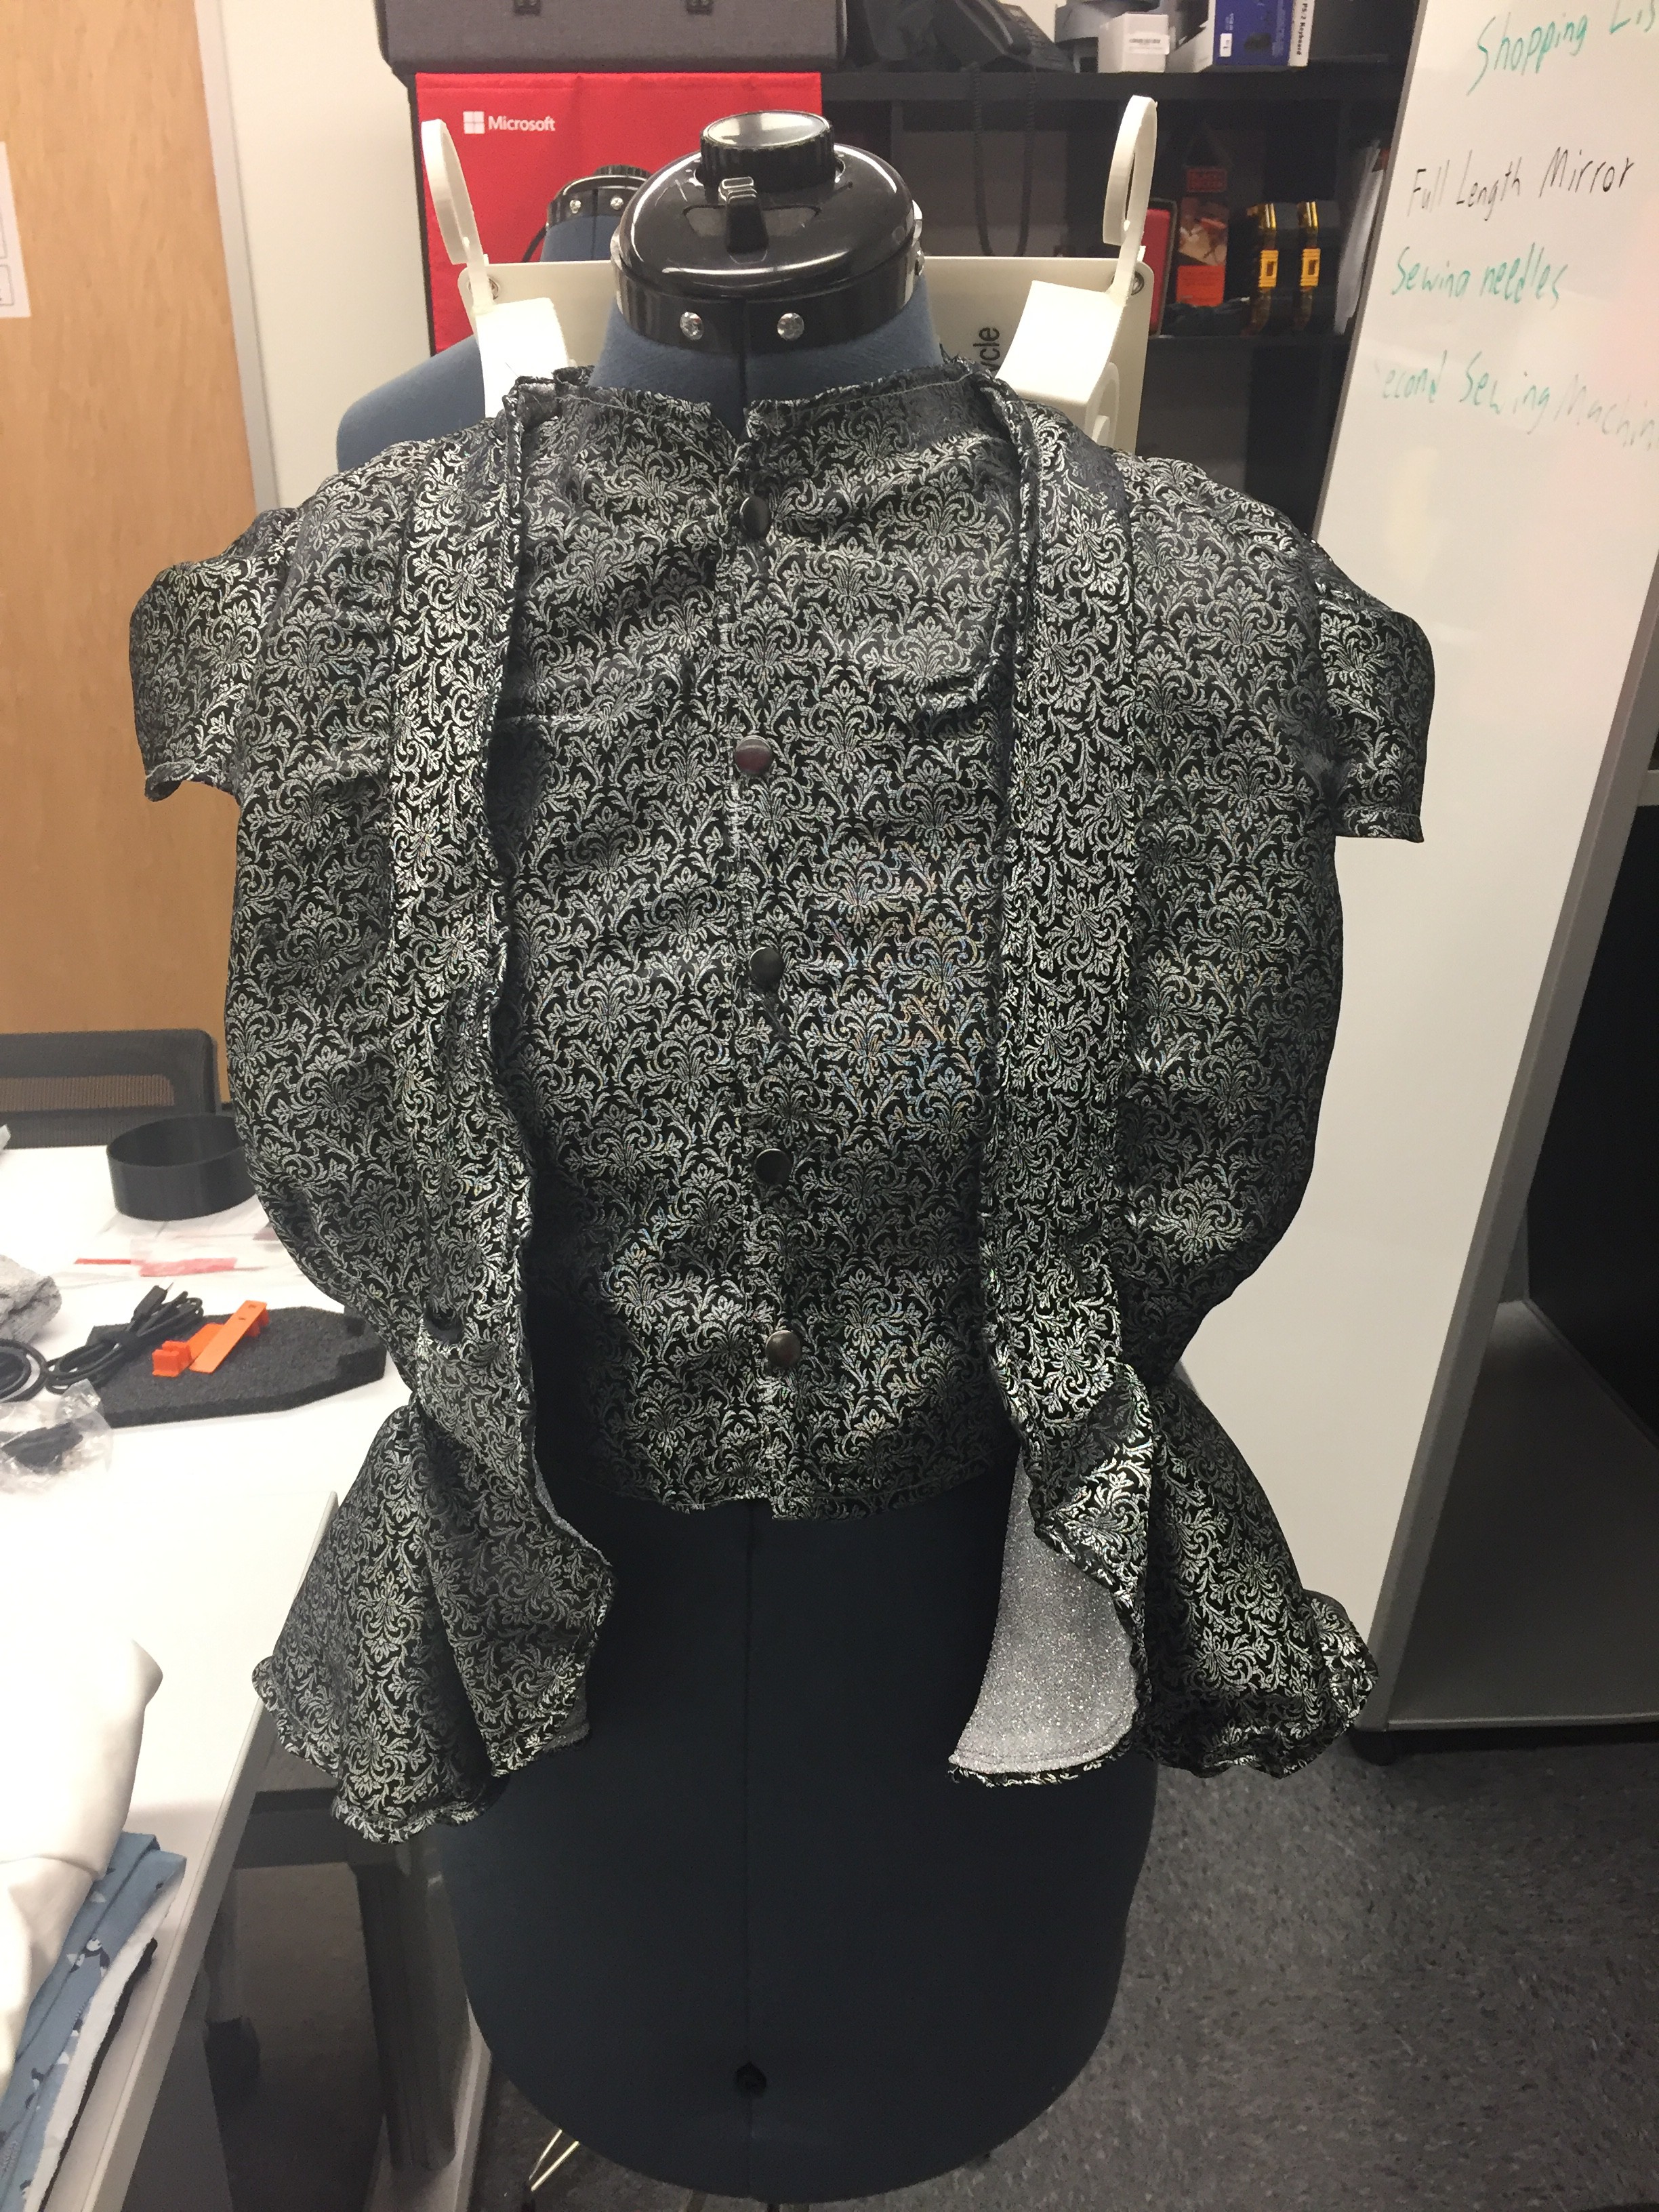
Solar-Powered Tech Fashion - SolarCycle&Microsoft
This outfit has a solar panel on the shoulder which can charge a 5V device, like a phone, a speaker, a portable charger, etc. through USB.
Become a Hackaday.io member
Already have an account? Log in.
Just one more thing
To make the experience fit your profile, pick a username and tell us what interests you.
Pick an awesome username
hackaday.io/
Your profile's URL: hackaday.io/username. Max 25 alphanumeric characters.
Pick a few interests
Projects that share your interests
People that share your interests
 Solarpad | 5 Watt Ultra-Lightweight USB Solar Charger System by Solarcycle


 Solarpad | 5 Watt Ultra-Lightweight USB Solar Charger System by Solarcycle
 The phone is in my pocket but you see no sign of it nor the USB cable.


 Lattice - 3D printed high fashion


 Christopher Tan
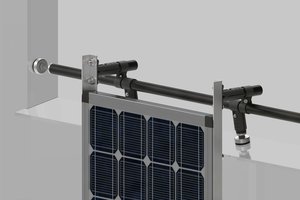
 Joris Wegner
 James Dietz
 Bram Peirs @ FW2W