Close
0%
0%

A better kitty light

Improving a cat shaped nightlight

Similar projects worth following
A few years ago my daughter received a cat shaped nightlight. The exterior is soft and cute, but it lights up in a manner that's more appropriate for a party than falling asleep. I'm modifying it to have color patterns that are better suited to bedtime.

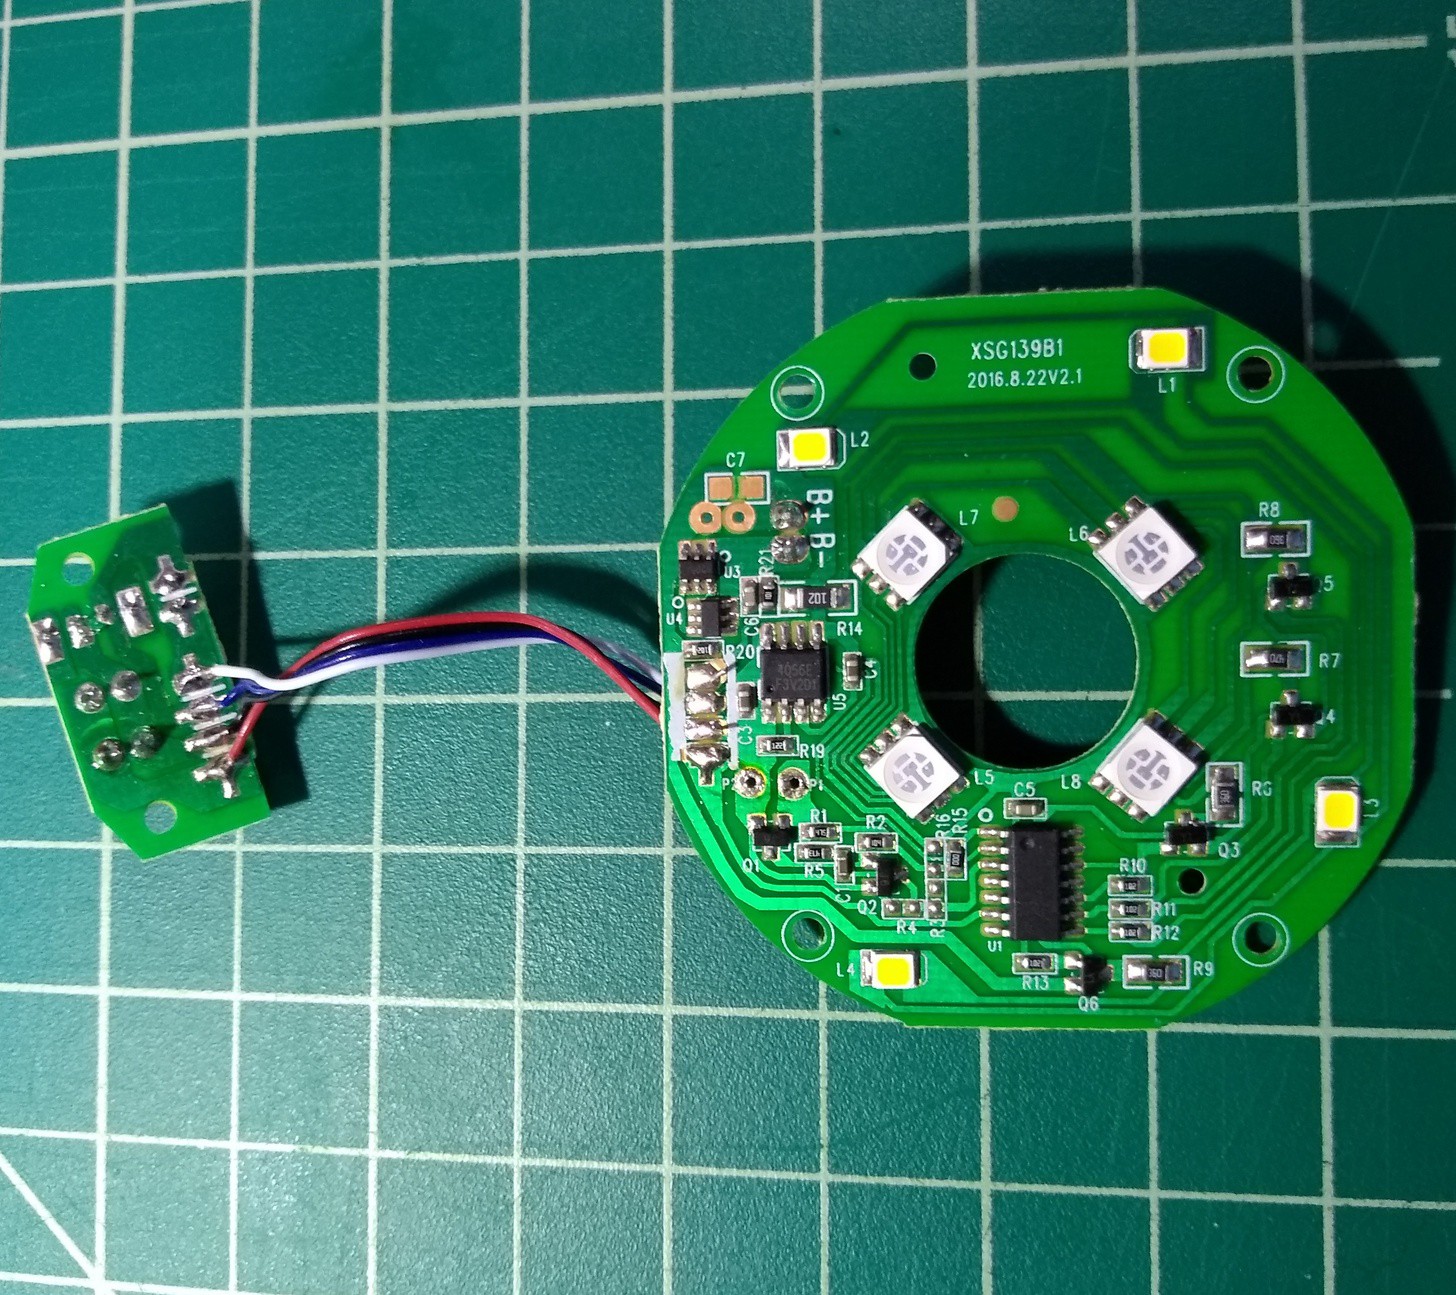
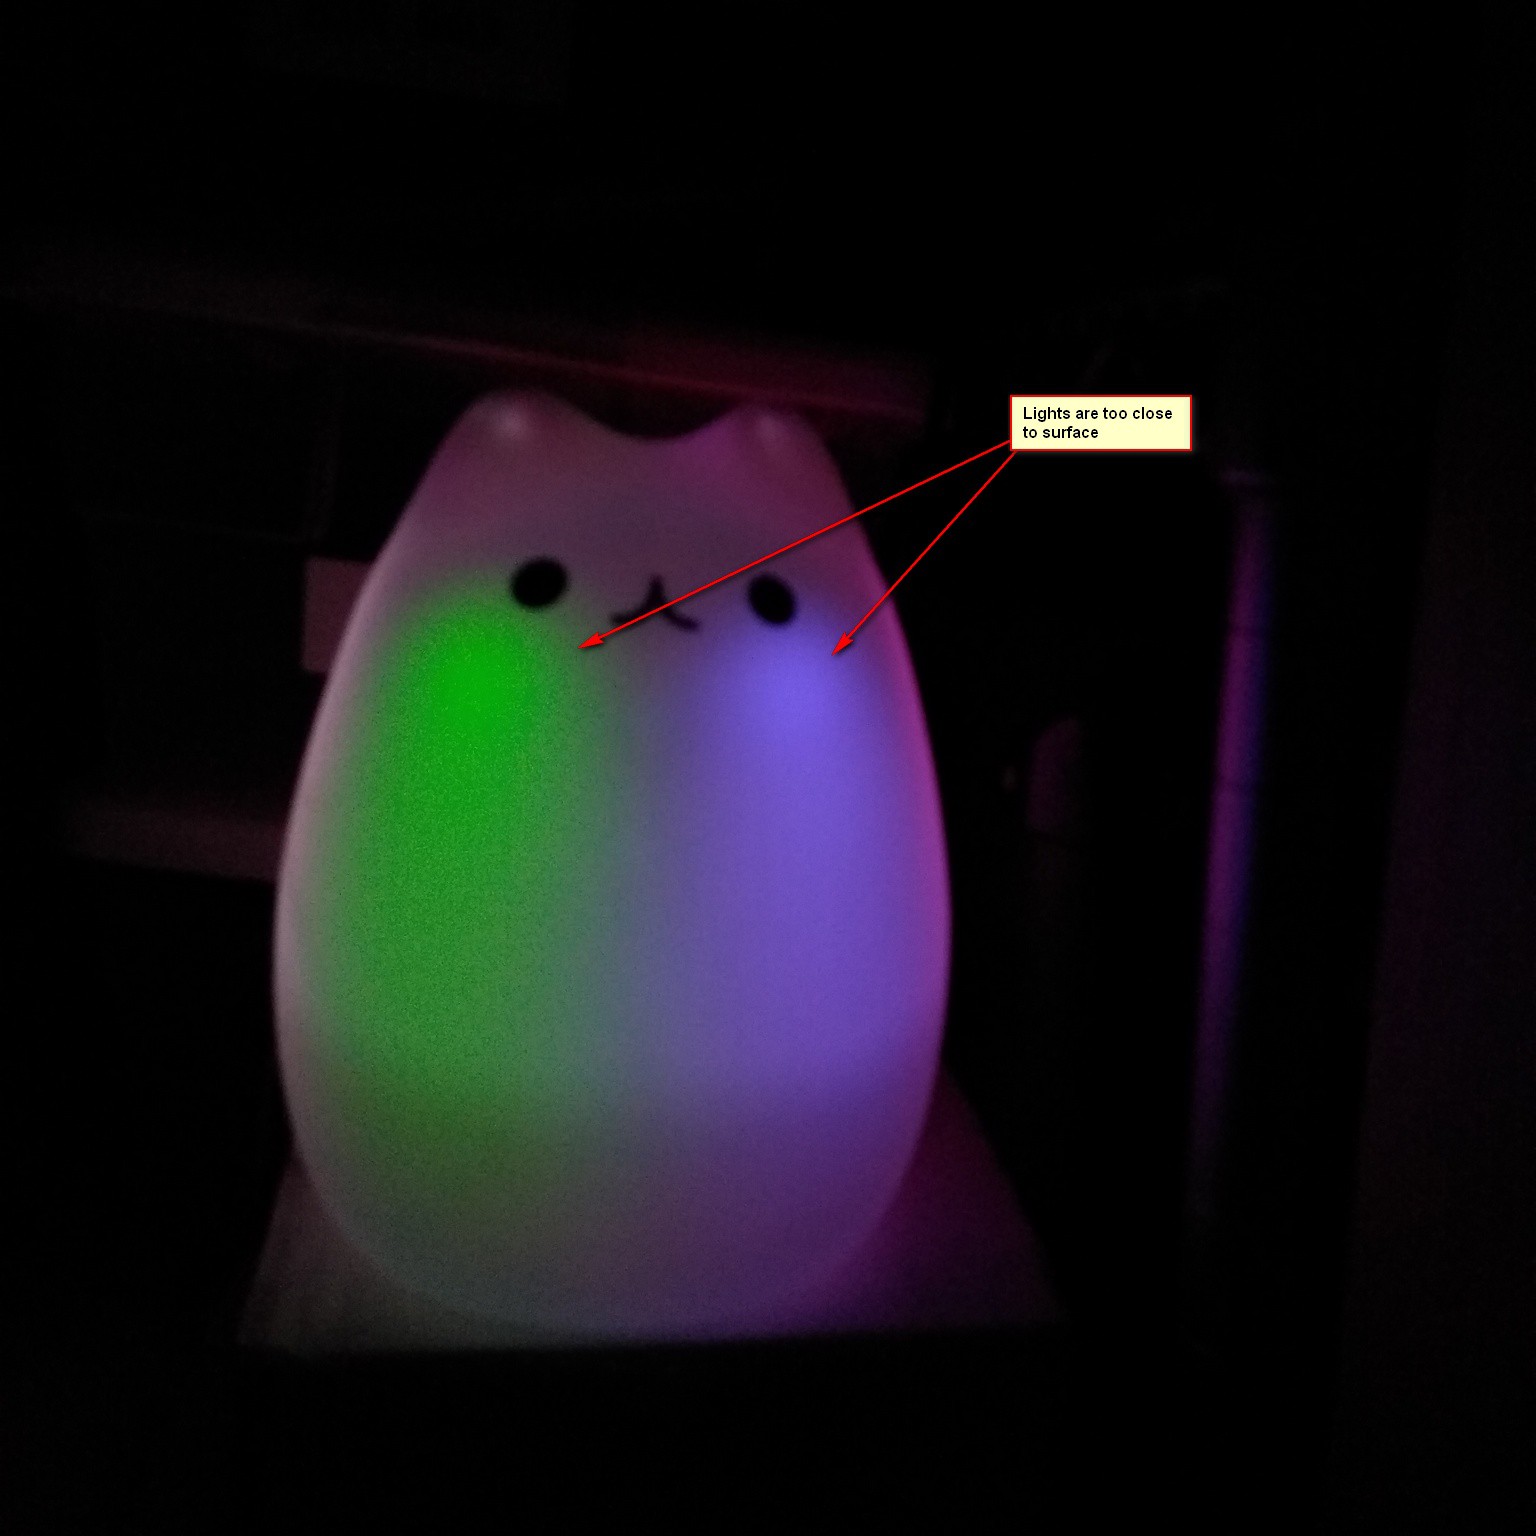
This cat shaped nightlight has an adorable exterior. However, the color change mode suddenly switches from color to color instead of smoothly blending. This makes the nightlight seem more like a party accessory than something to help my kid fall asleep. Worse, it's too easy to accidentally switch the lamp into color cycle mode when trying to turn it off.

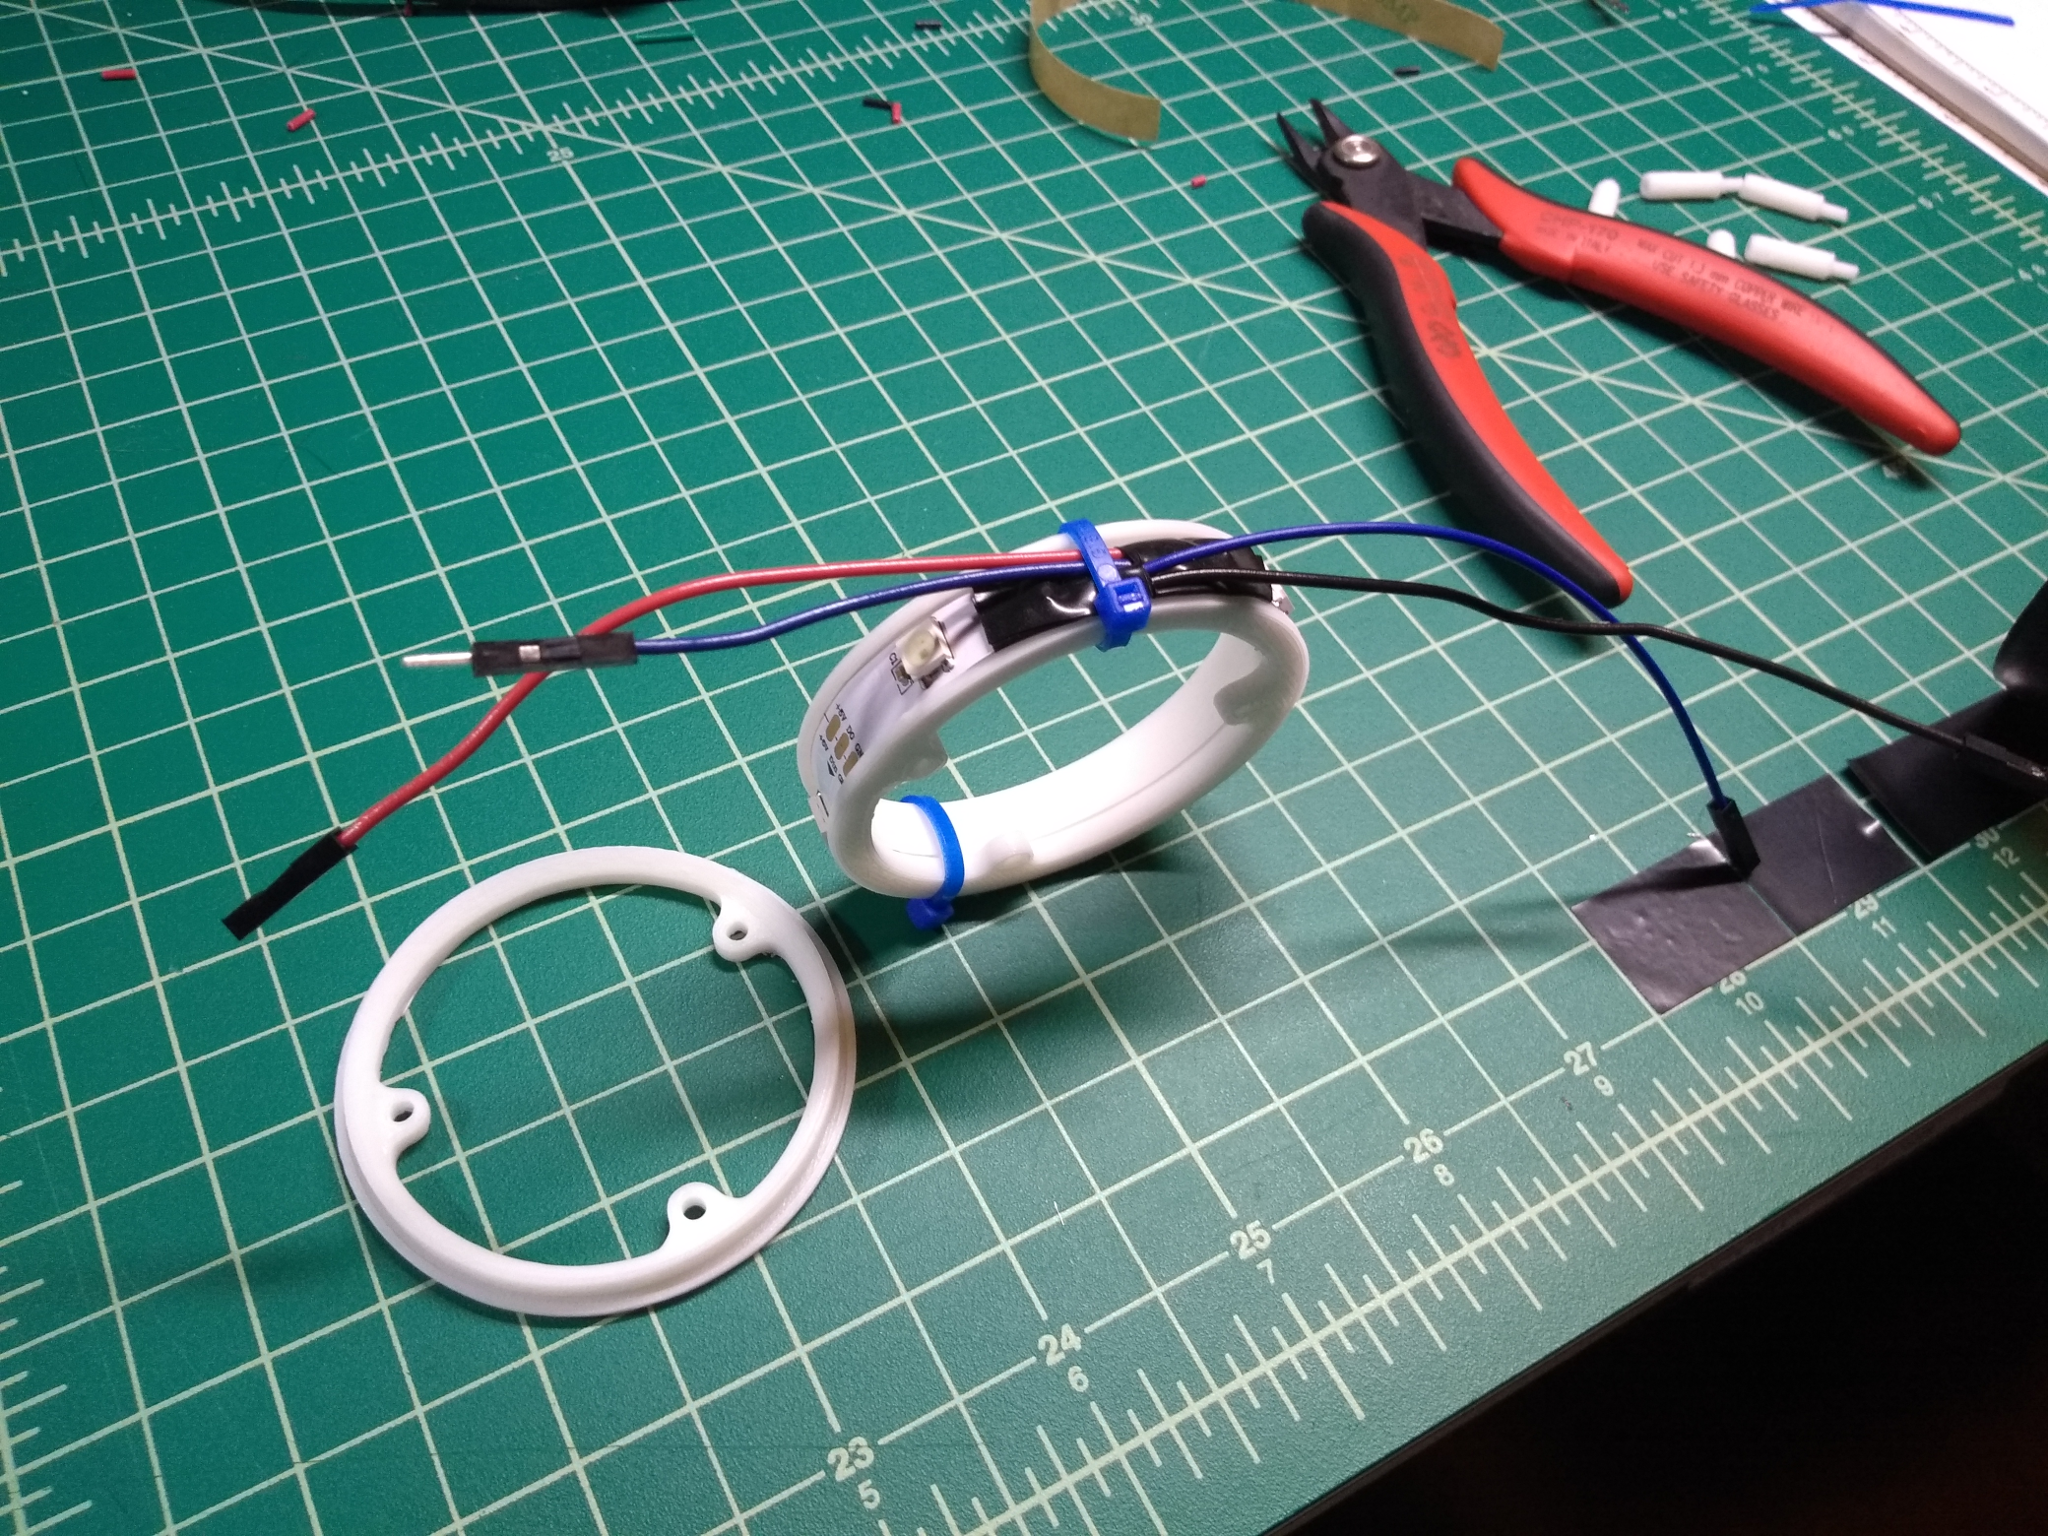
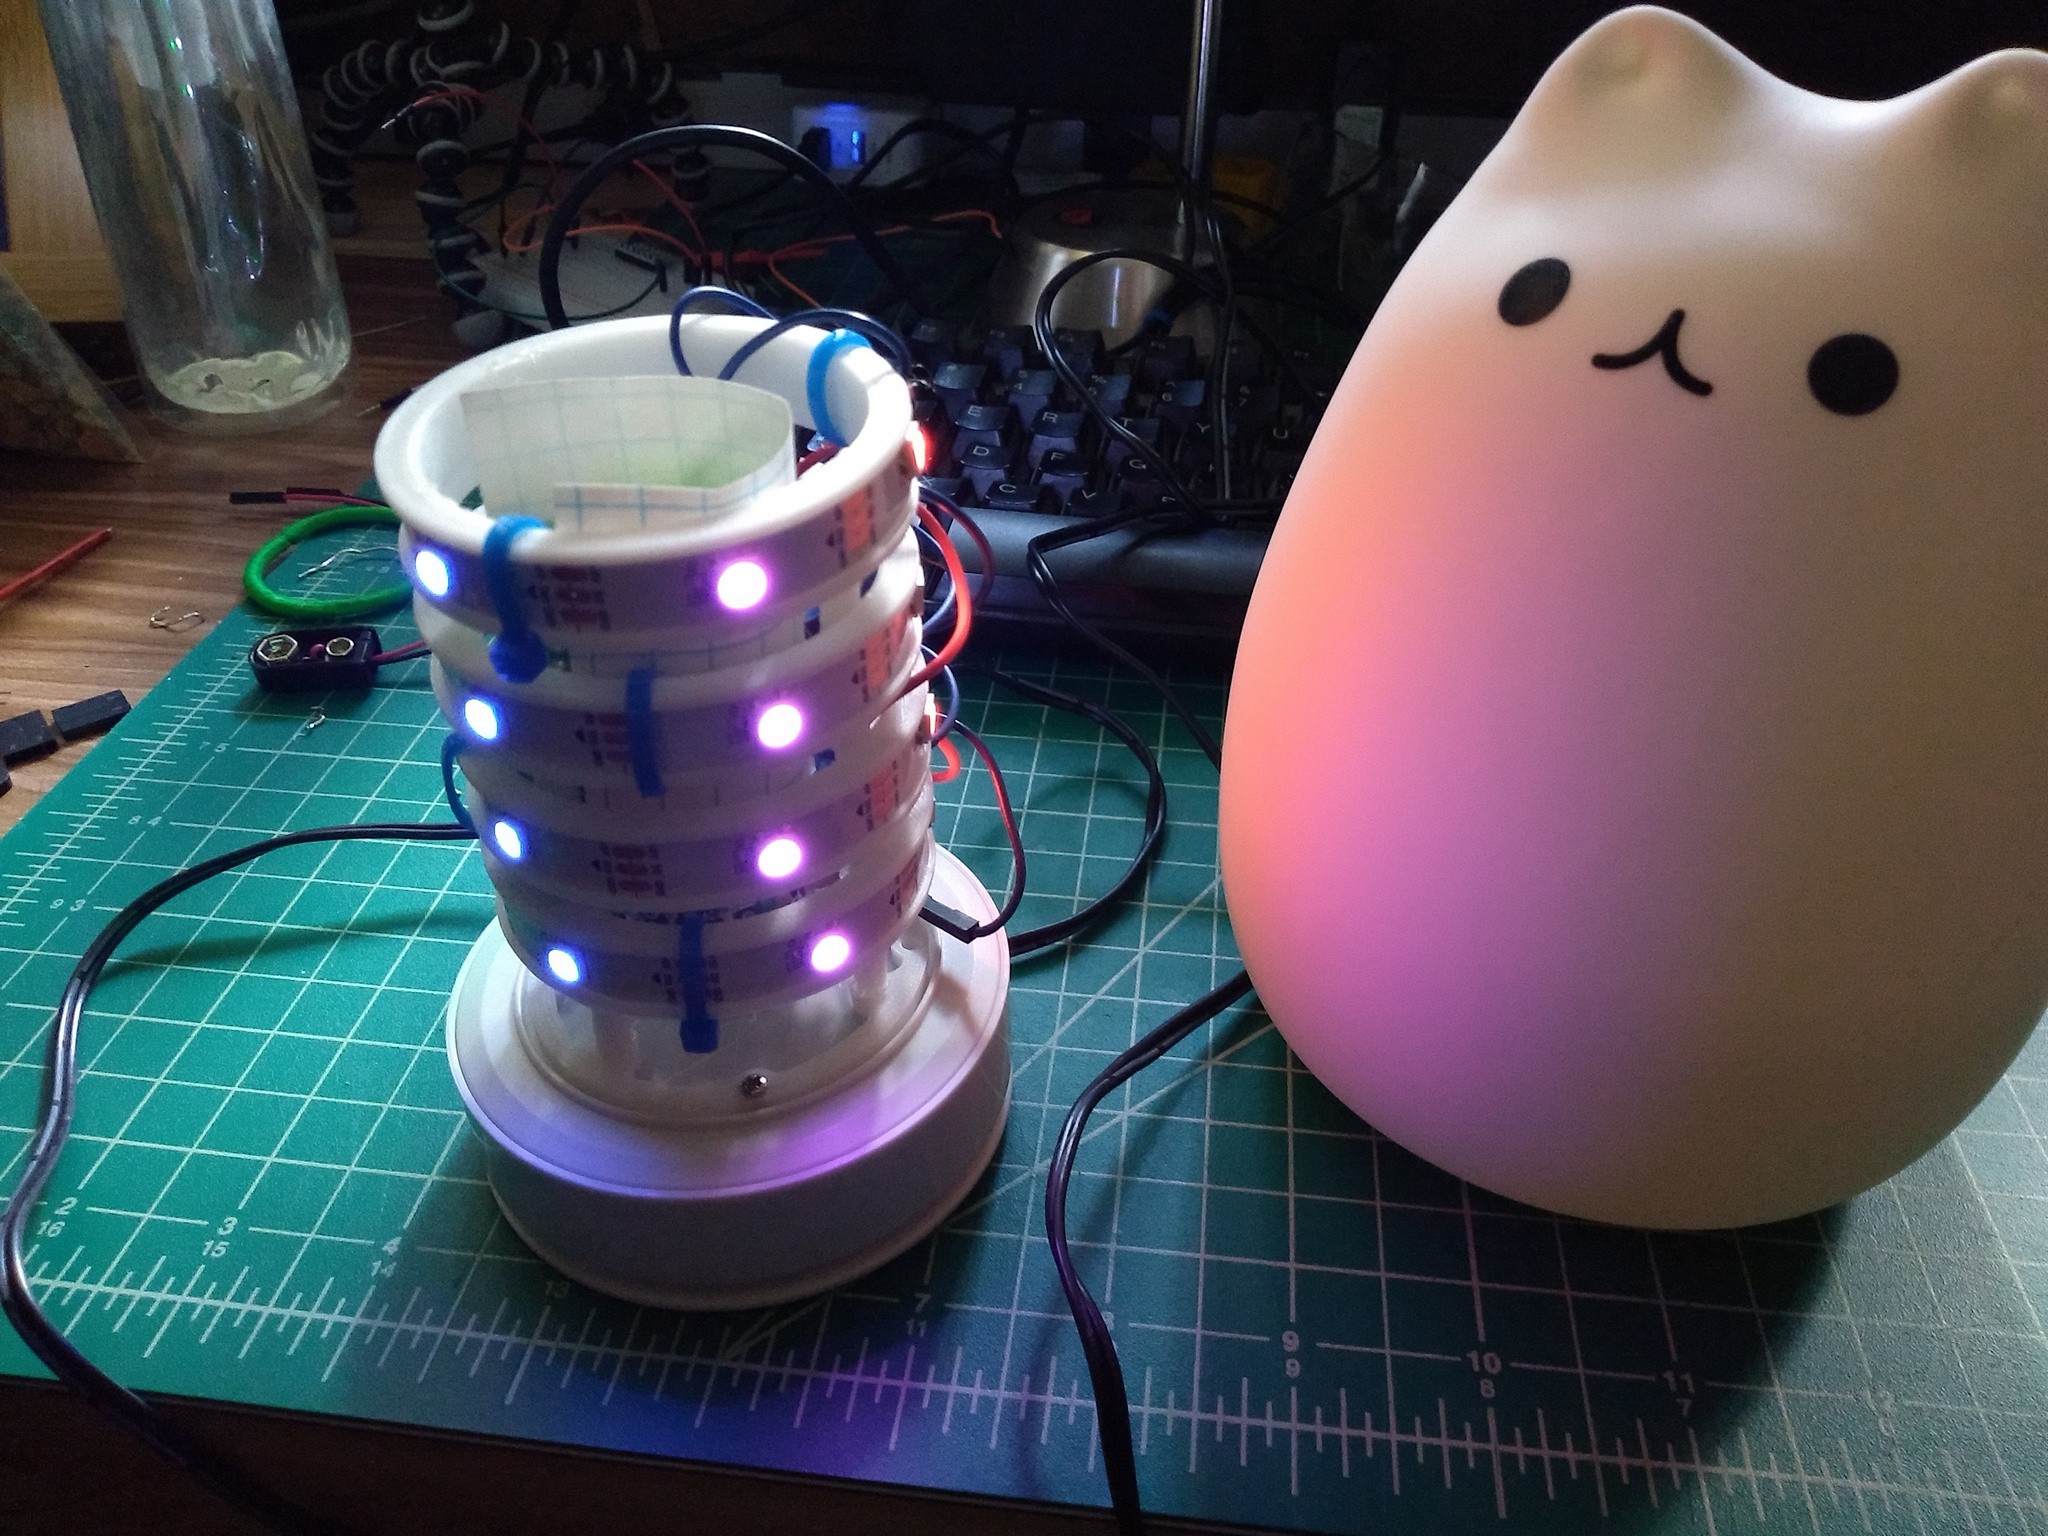
I'm updating the electronics with a small Arduino microcontroller and some strips of WS2812B LEDs. The software needs to have some pleasant color cycling modes as well as making it so that the lamp is more user friendly to use.

CatLight_rev1.zip

Initial design for 3d printable ring tower. Not a great design.

x-zip-compressed - 169.62 kB - 06/12/2018 at 00:57

Download

  • Getting Started

    Matthew Reeves06/12/2018 at 00:08 0 comments

    Inside the lamp there's a piezo sensor and a circuit board.

    That piezo sensor can definitely be salvaged. A better hacker than me could probably do something clever with the existing circuit board, but I'd rather just go ahead and do something easy.

    According to my documentation each WS2812B can draw 60mA of current. 4 rings of 5 can consume a max of 20*60mA = 1200 mA. That's a bit more than my Arduino Pro Micro can output, so I'll need some supplemental power.

    My initial idea is to build a tower of LED rings and then use those to light up the interior.

    The bottom ring is affixed via screws and each ring is stacked up with a series of pegs.

    This works. However, there are a few problems.

    • The status LEDs on the Arduino have a creepy reflection on the interior of the cat (the index card down the middle of the rings is to prevent that from happening)
    • The wiring is a bit of a mess
    • The pegs are too fragile (bottom row of pegs snapped during disassembly)
    • There seems to be a bad solder connection to the piezo sensor, but the assembly made it difficult/impossible to fix
    • The distance between the rings and the silicone cover isn't uniform. This leads to bright spots that look weird and uneven.

    On the bright side, the rings work pretty well. There's a retaining lip that holds the light strip in place and makes for easy assembly. I think I'll save those for some future project.

View project log

Enjoy this project?

Share

Discussions

Similar Projects

Does this project spark your interest?

Become a member to follow this project and never miss any updates