Close
0%
0%

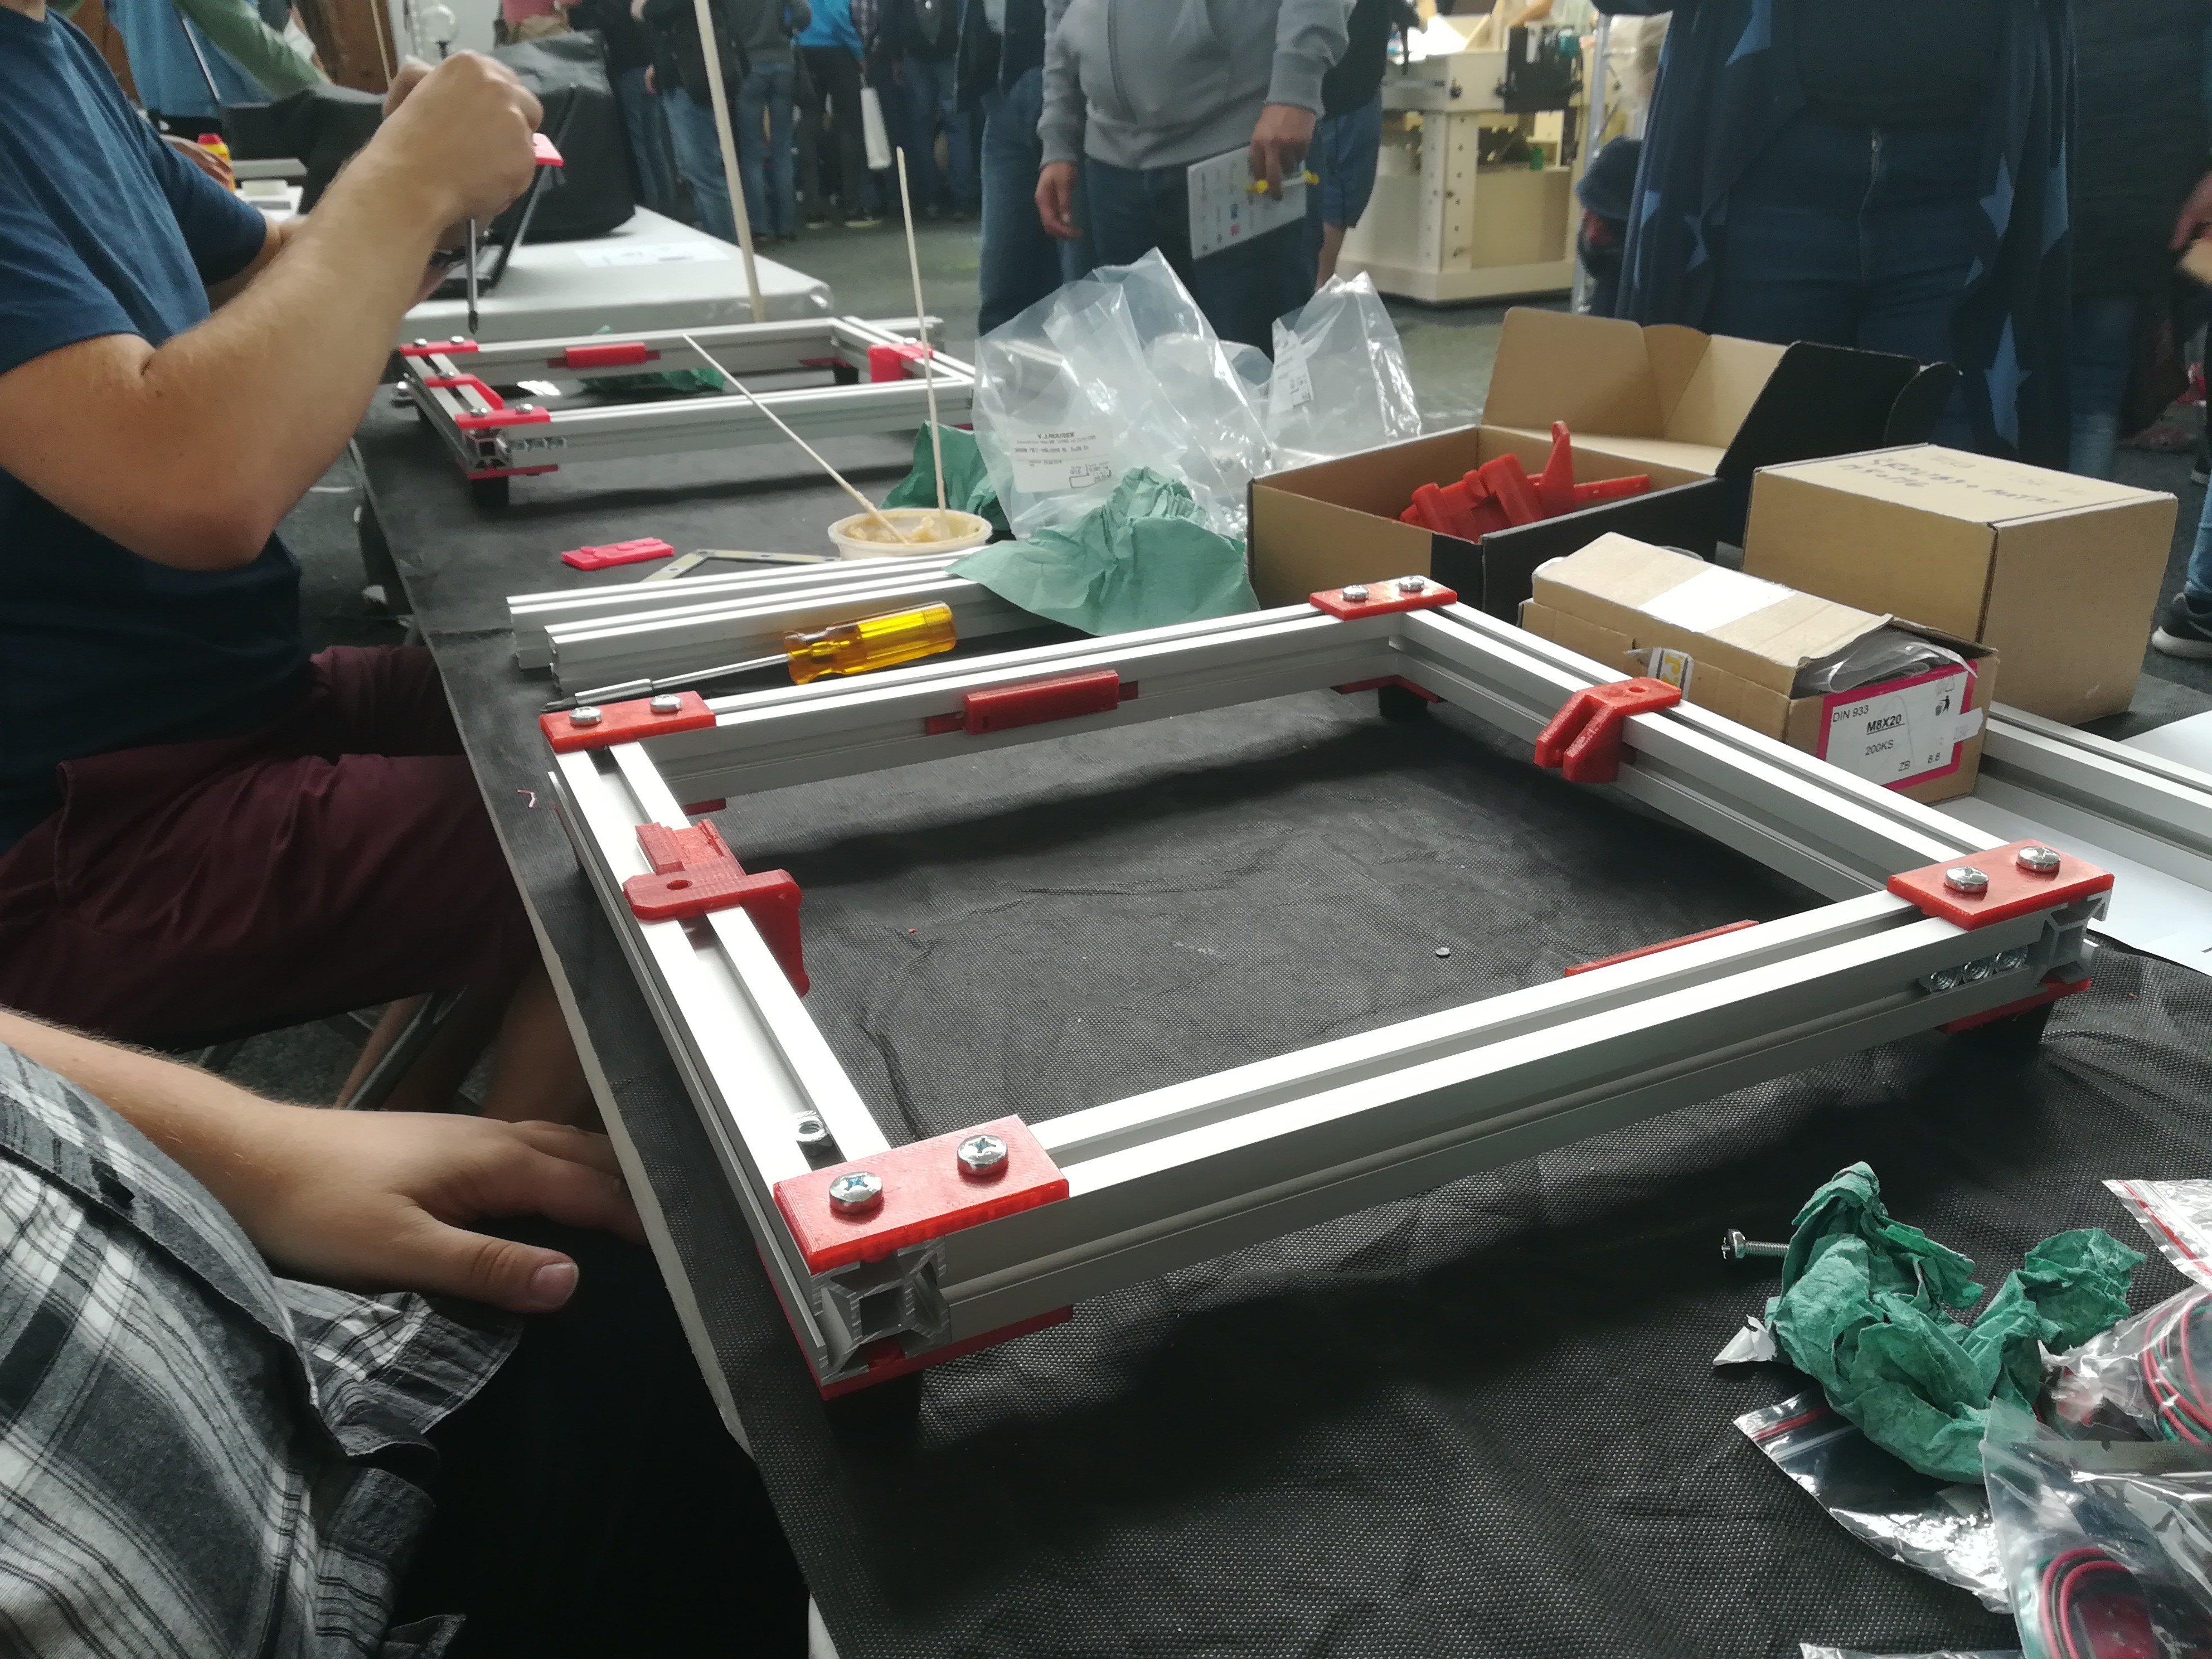
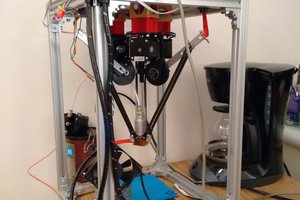
Veletiskárna - 3D Printer home made

Veletiskárna is a revolutionary new 3D print design, developed to allow entry-level users to build a high-performance 3D printer.

Public Chat
Similar projects worth following
Veletiskárna was designed and developed by Jiri Vele of the Czech Republic.
The development of the project was supported by PETMAT z.ú., with printing being one of the first 3D printers intentionally developed for use with recycled PET filament.

You caan contact us at petmatzu@gmail.com or at jiri.vele.jv@gmail.com

We are updating the Veletiskárna right now. We hope to share you the new model soon.

View project log

  • 1
    Slide the Y axe driver parts.

    Slide the Y belt holder part and his nut on the front frame.
    x1 Y belt holder printed part
    x1 screw M3x20mm
    x1 nut M3x2mm
    x1 screw M6x12mm
    x1 coller nut M6

    Set one motor on the Y beld holder printed part and slide the assemblage on the rear frame.
    x1 Motor
    x2 screws M3x12mm
    x1 screw M6x12mm
    x1 coller nut M6

  • 2
    Built the four feet of the Veletiskárna.

    Assemble the four feet.
    x4 Corner printed part
    x4 Rubber feet
    x8 coller nuts M6
    x8 screws M6x12mm
    x4 coller nuts M5
    x4 screws M5x20mm

    Don't make the mistake!

  • 3
    Slide the Y printed bearings.

    Use sandpaper and lubricating grease.
    x2 Y printed bearings
    x1 lubricating grease pot

    The bearings have to slice very easily.

    Then slice x3 M6 coller nuts at the oposite chanel from the bearings and x2 M6 coller nuts on the top. Like the picture.

    Now you can assemble the feet.

View all 12 instructions

Enjoy this project?

Share

Discussions

Similar Projects

Does this project spark your interest?

Become a member to follow this project and never miss any updates