In this Project, I am building an awesome gaming rig. It is not much different than building a regular PC, but there are few things that you have to keep in mind while choosing the best equipment. Let's build the best Gaming PC Step by Step.
Step 1: Tools
Gather all the tools you require while assembling the gaming PC.
Step 2: Open the Case
Unscrew all the Screws of the case to open both the sides of the case.
Step 3: Install the CPU
Firstly you have to remove the CPU from its plastic pack. Make sure you do not touch the gold pins on the bottom. Place the CPU cautiously using the arrow to line up. Then Slowly push the CPU firmly.
Step 4: Add the Heat sink
After the CPU installation, fix the heat sink right over the processor. You can also use Thermal Paste for CPU to keep your gaming PC cool.
Step 5: Install the RAM
Carefully unlock the clips on the RAM, and then install it on the appropriate slots. Gently push down from both the sides of the RAM, and then change the clips over the module.
Step 6: Attach the I/O Shield
You have noticed that your motherboard will come with a small metal piece that has to be fit over the ports on the motherboard. This goes in a rectangular hole in the back of the case. Simply snap it into place.
Step 7: Install the Motherboard
Put the motherboard in the case and slowly move it until it fits through the I/O shield
Step 8: Secure the Motherboard to the Case
There are screws with the case. the number of screws you required depends on your type of motherboard and case both. Read the respective manuals to learn more. It's a good idea to put all the screws together and after that you can tighten up all of them at once on to the PCB of the motherboard.
Step 9: Install the Graphics Card
Slide the Graphic card and remove the expansion slot covers on the back of the case and after that push it down into the slot on the motherboard until it fix firmly in to place.
Step 10: Installing the Hard Drive
Have you noticed the hard drive bracket, remove them. Place them on the back of your hard drive. Now Slowly slide bracket with the hard drive back into the drive bay.
Step 11: Install the Power Supply.
Step 12: Now you have to Attach the USB Cable
Step 13: Next is attach the HD audio cable
Attach the HD audio cable to the spot behind the RAM and Graphic Card.
Step 15: Connect Graphics Card Power Pins
Check, there will be a 6 pin PCi connector coming out of the power supply, this is the thing that powers up your graphic card. Few graphic card needs two of these types and some needs none.
Step 16: Connect PSU to Motherboard
Connect the 24 pin connector that powers the motherboard. connect it according to the spot.
Step 18: Plug CPU Power Pins In
There will be a CPU power pin. It should break into 2 parts for motherboard that only use one half.
Step 19: Heat sink Power
Next is to connect the heat sink power. you will find it coming from the heat sink itself.
Step 20: Attach Case Fans to Power
There will be a 3 pin for the case fan . Hook this into the appropriate spot. There will be another in the back that will need a 3-pin to molex adapter. Hook the adapter into the PSU and the other end to the 3 pin connector.
Step 21: Attach Hard Drive to Motherboard
Your motherboard comes with the cable of the SATA. Connect the one end of it to the hard drive and the second to the motherboard.
Step 22: Turn on PSU
we are already finished now all you have to do is to push the switch on of PSU
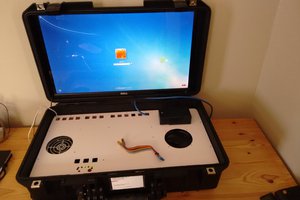
Step 23: Power On!
Press the power button on the case. and one more thing you still need to install the extra drivers and OS to make it perfectly working.
Also Check the Official Dell Company Guide as a useful resource so that you cannot miss anything,
 David Brown
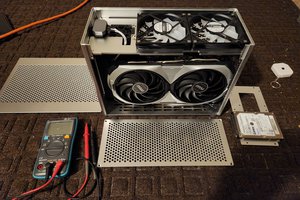
 samm928
 jacksonliam
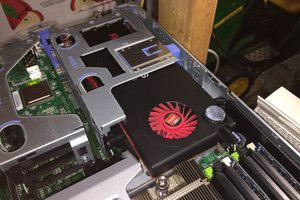
 Kevin H. Patterson