 David Lyon
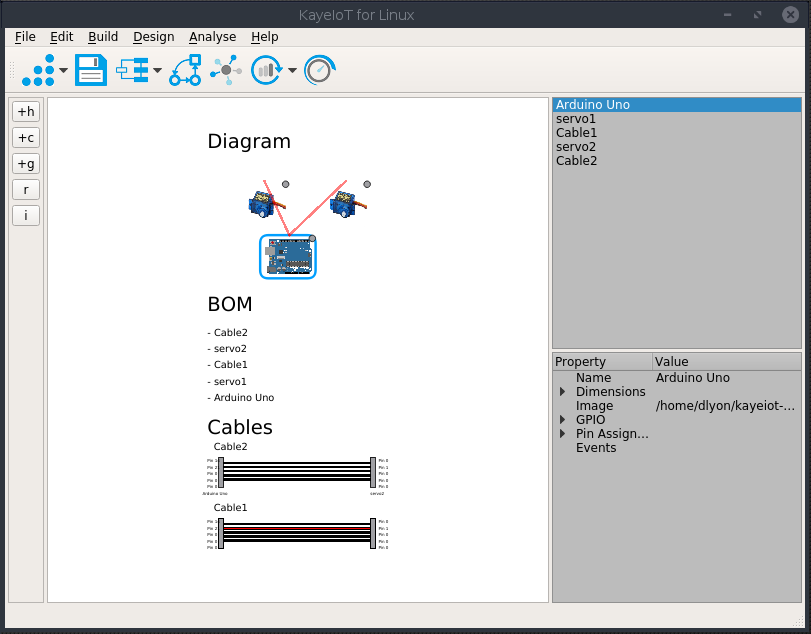
When I started working on Kayeiot, I didn't think it would have this particular feature. But I was trying really hard to impress the Competition Judges. And so the feature of being able to Diagram an Arduino Sketch by reading the Code was started.
If we all had a tool like this, it would make it so much easier to Document all our Arduino and IoT Projects.
Here is one of the Example Arduino projects that I found. It's location on Github is https://github.com/cranklin/Face-Tracking-Robot/blob/master/arduino/pan_tilt_serial/pan_tilt_serial.ino :
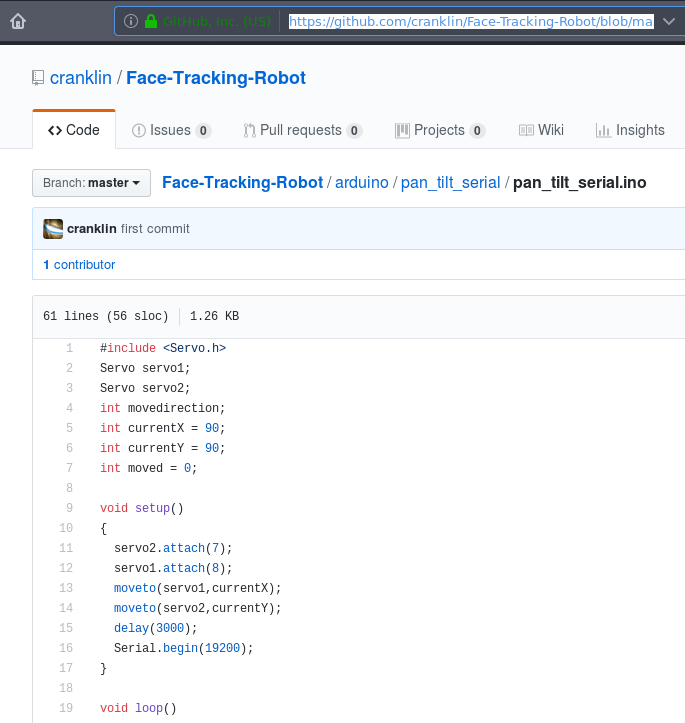
The first thing to do is to download it and there is some code for that.
After that is done we have our Arduino Sketch and now we wish to create a Diagram.
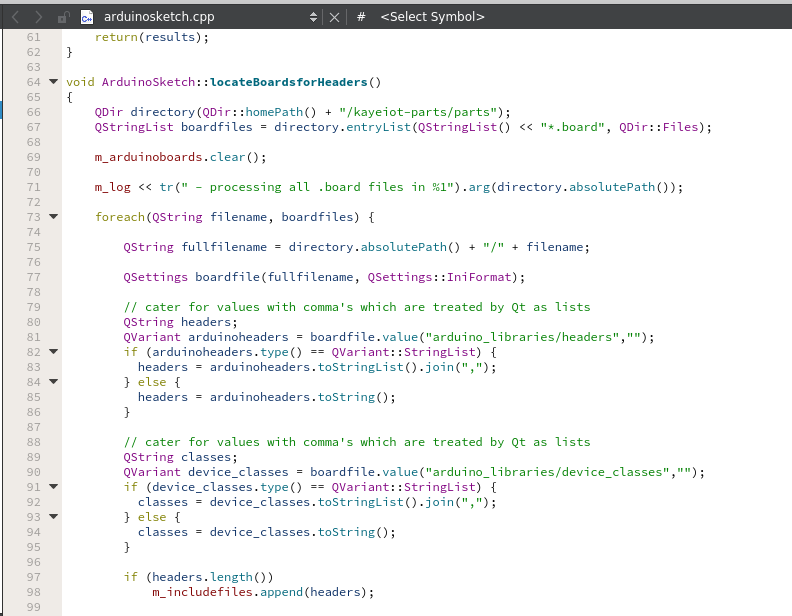
We will need to have some C++ Classes. We created a C++ called ArduinoSketch assigned to process our Arduino Sketches and extract the information out of the Arduino Sketches.
In the Class we then scan the code to look for what include files are mentioned in the .ino with this code:
There are lots of details required to create a Graph of an Arduino Sketch. Some of the details about parts will need to be kept in files that can be read sort of like you would in a database lookup.
We are just using a simple but Open Format .board files for each Part that we want to know about. There will be more about the format of a .board file but here is an example of the small-servo.board file that gives us all the information that we need for Servo's.
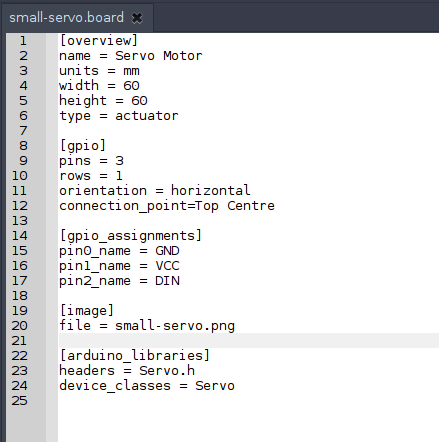
As you can see down the bottom, the #include file for the Servo in Arduino is #include <Servo.h> and the device C++ Class is Servo.
All the variable names are then read for each of the classes and added as Components to the BOM on the right hand side.
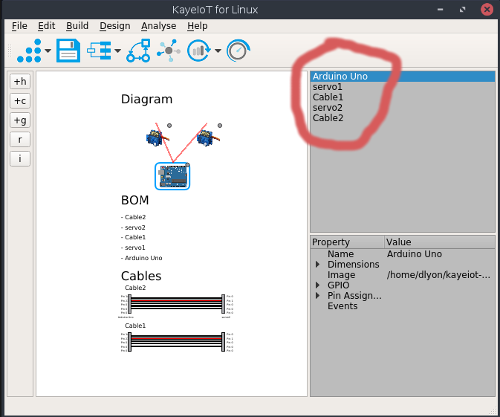
The end result is that we were able to import the Arduino sketch, determine all the classes, add cables to get the parts connected and print a report.
Here is the whole process from start to finish. It doesn't take too long, the main thing is to enter the URL of the Arduino Sketch from Github and make sure that all the .board files exist.
Here's the github link again if you missed it - https://github.com/clixx-io/kayeiot
Discussions
Become a Hackaday.io Member
Create an account to leave a comment. Already have an account? Log In.