 Robin Hartley
This project is based around two servos, held above the light switch with 3D prints I designed. The 3D prints actually use the screws that come with the lightswitch so you simply bolt it on top of the existing switch.
The 'brains' is an Arduino-compatible Pro Micro which controls the servos. It's powered by a 9V battery and uses a 5V voltage regulator to reduce the voltage to the correct level.
I was so pleased with this project I created my first project video for it:
One thing I found quite funny is that the sensitivity of the microphone (which triggers the switch on/off) can be so low that it basically triggers all the time. That's what happened in this video below... DIY strobe party!
I wrote up the lessons learned from the project and included circuit diagrams, code, bill of materials and 3D print files. Feel free to check it out: http://hartleyhacks.com/making/retrofit-light-switch-v2-a-success/
If you have any questions about this project I'd be delighted to answer them - it's quite quick to make, cheap and fun - what's not to like :D


 NextPCB
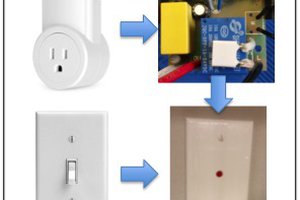
 Eric Moyer
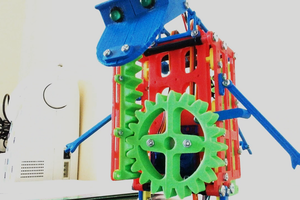
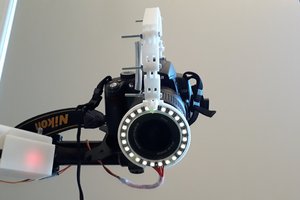
You could say you designed it for hospital or military use where redundancy is key? then you need a second arduinio/power source. Nice design, love fun useless stuff! (not a jab, much appreciated fun stuff)