 Mike Rigsby
"Mrs. Claus Smiling" is an easy to build interactive piece--you smile at her, she smiles back, even through a glass window. The Google AIY vision kit does the hard work.
When you assemble the Google AIY vision kit, the default software is a "joy detector." If you stand in front of the camera (up to 20 feet in decent lighting), the kit will detect a smile. The light on top of the kit is off when no faces are seen, blue when a face is detected and yellow when a smile is detected. A photoresistor placed on top of this light yields 5.4K with no face, 1.4K with a face detected and .5K with a smile detected. Your values will vary depending on the photoresistor and ambient lighting. I recommend enclosing the AIY detector in a box so that external lighting will not be a factor.
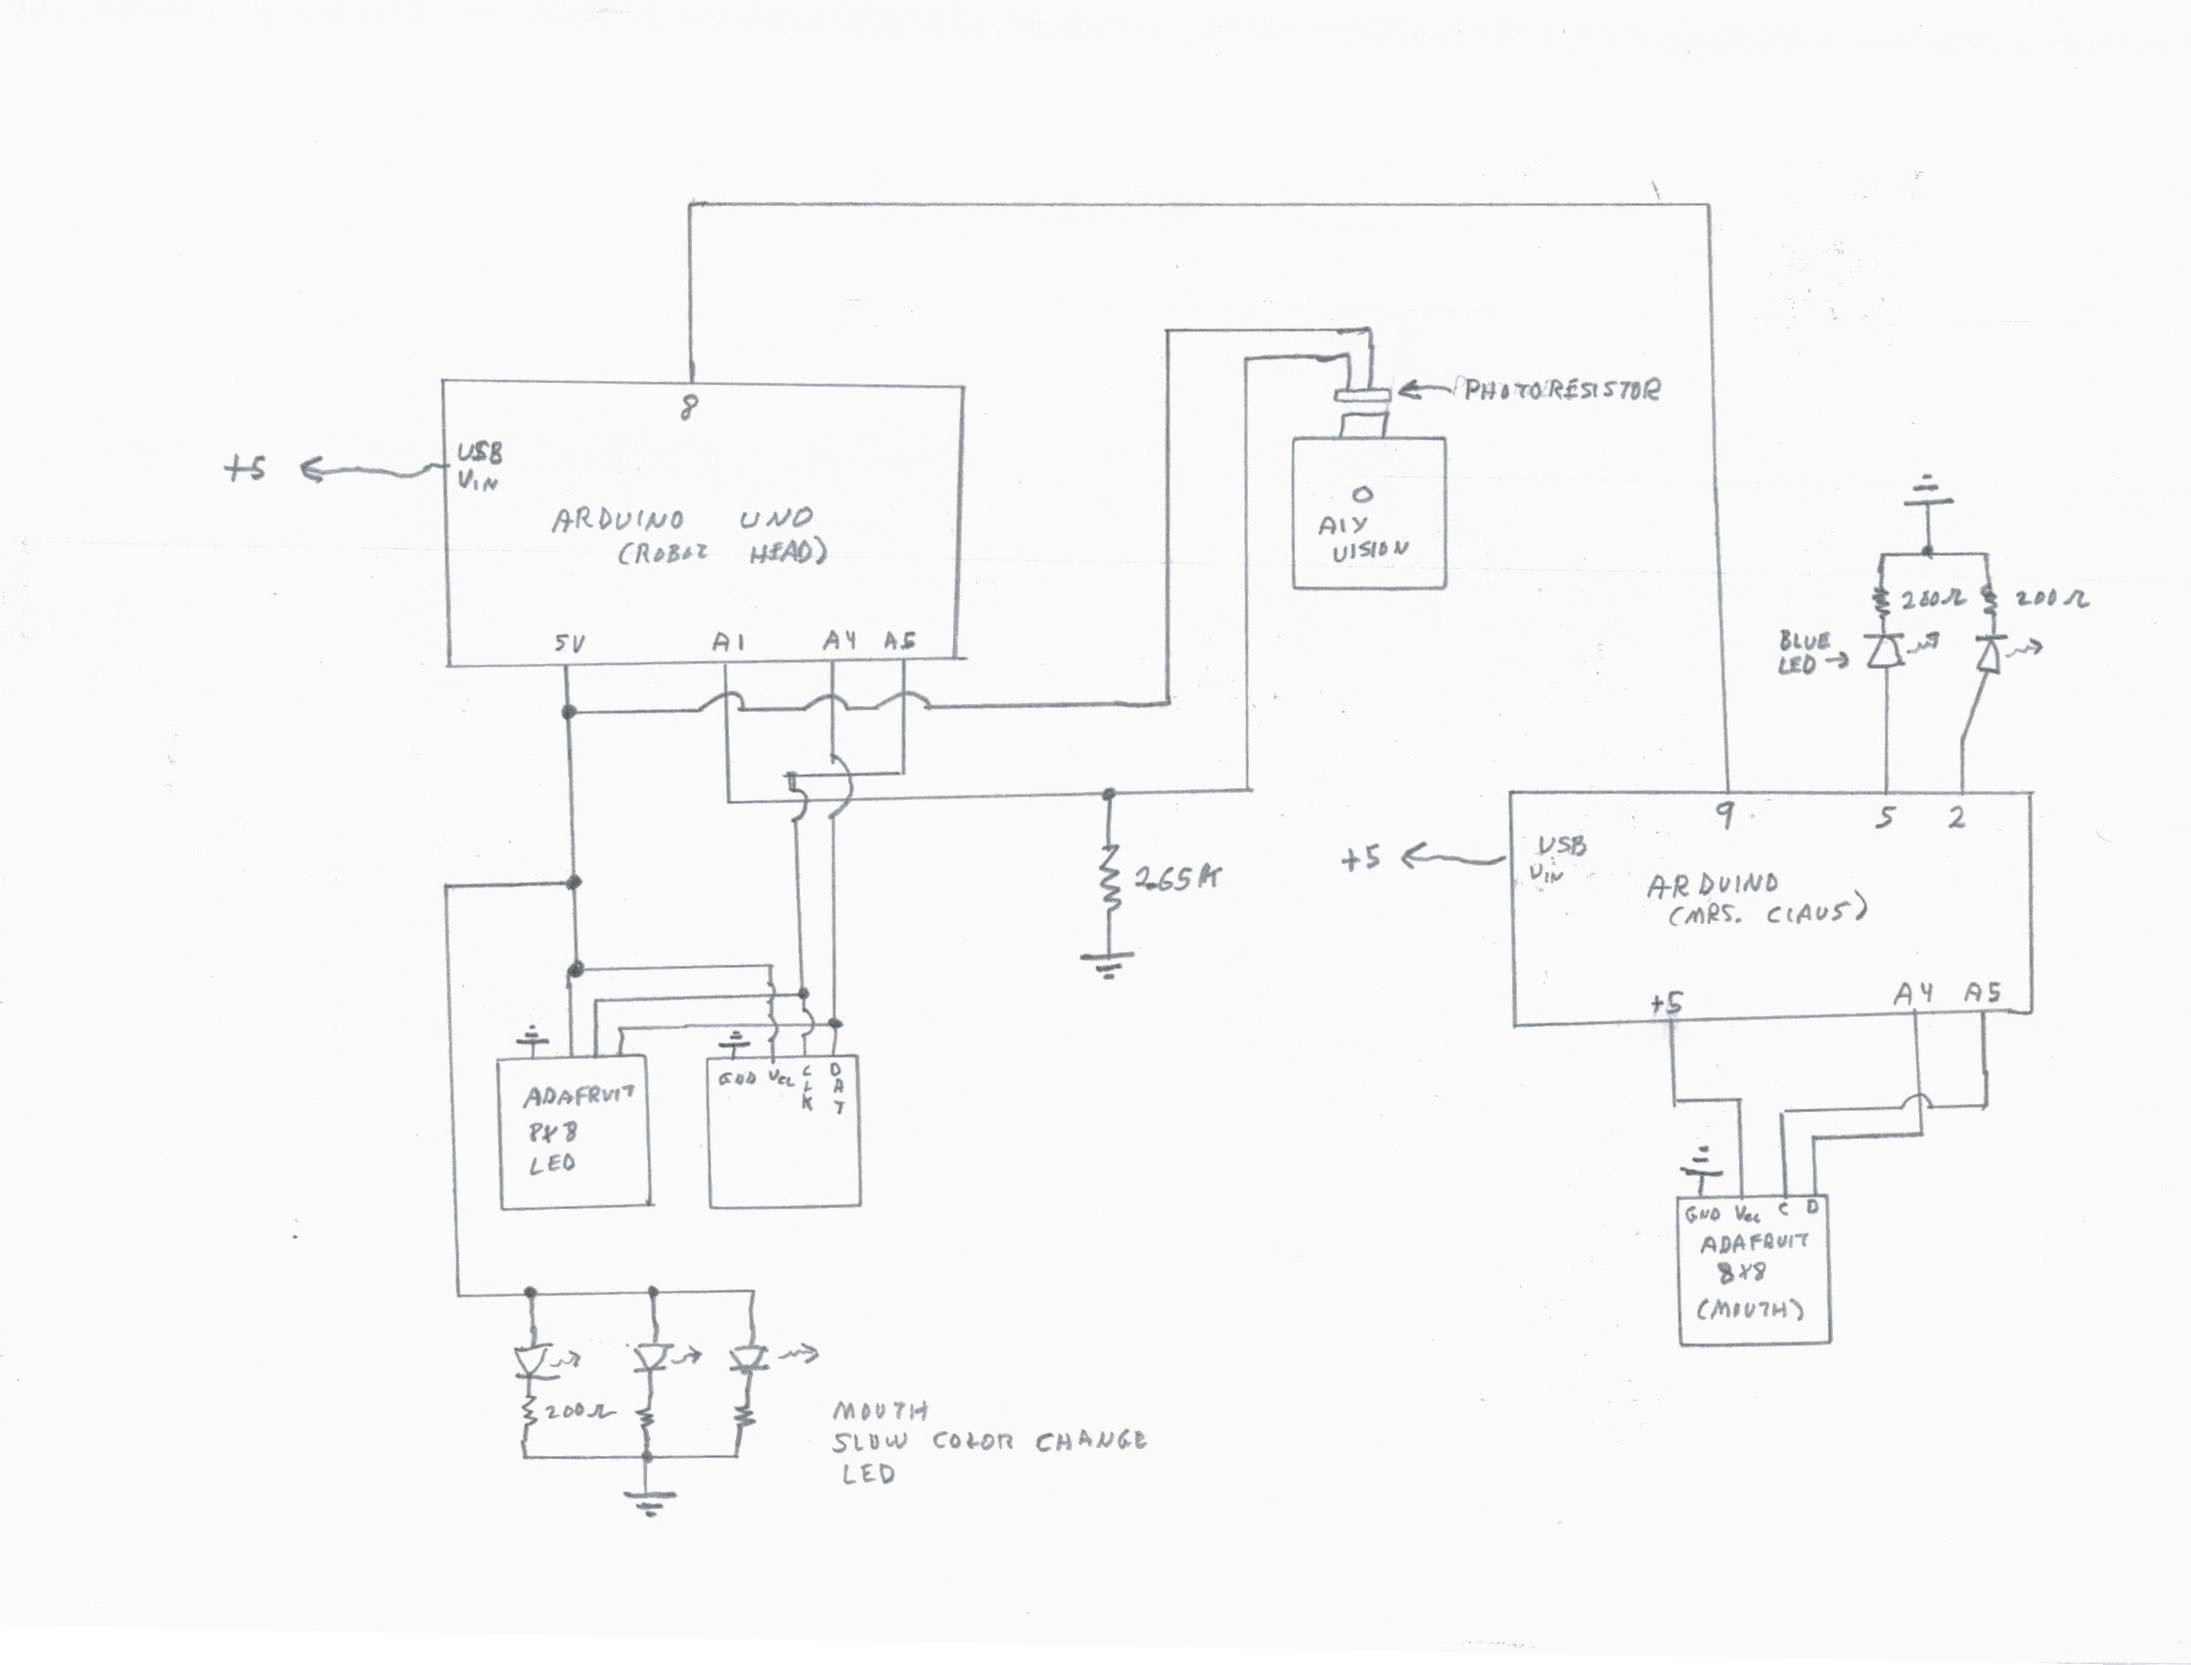
Here's the schematic for the system.
Mrs. Claus started as a drawing created by my wife, Annelle.
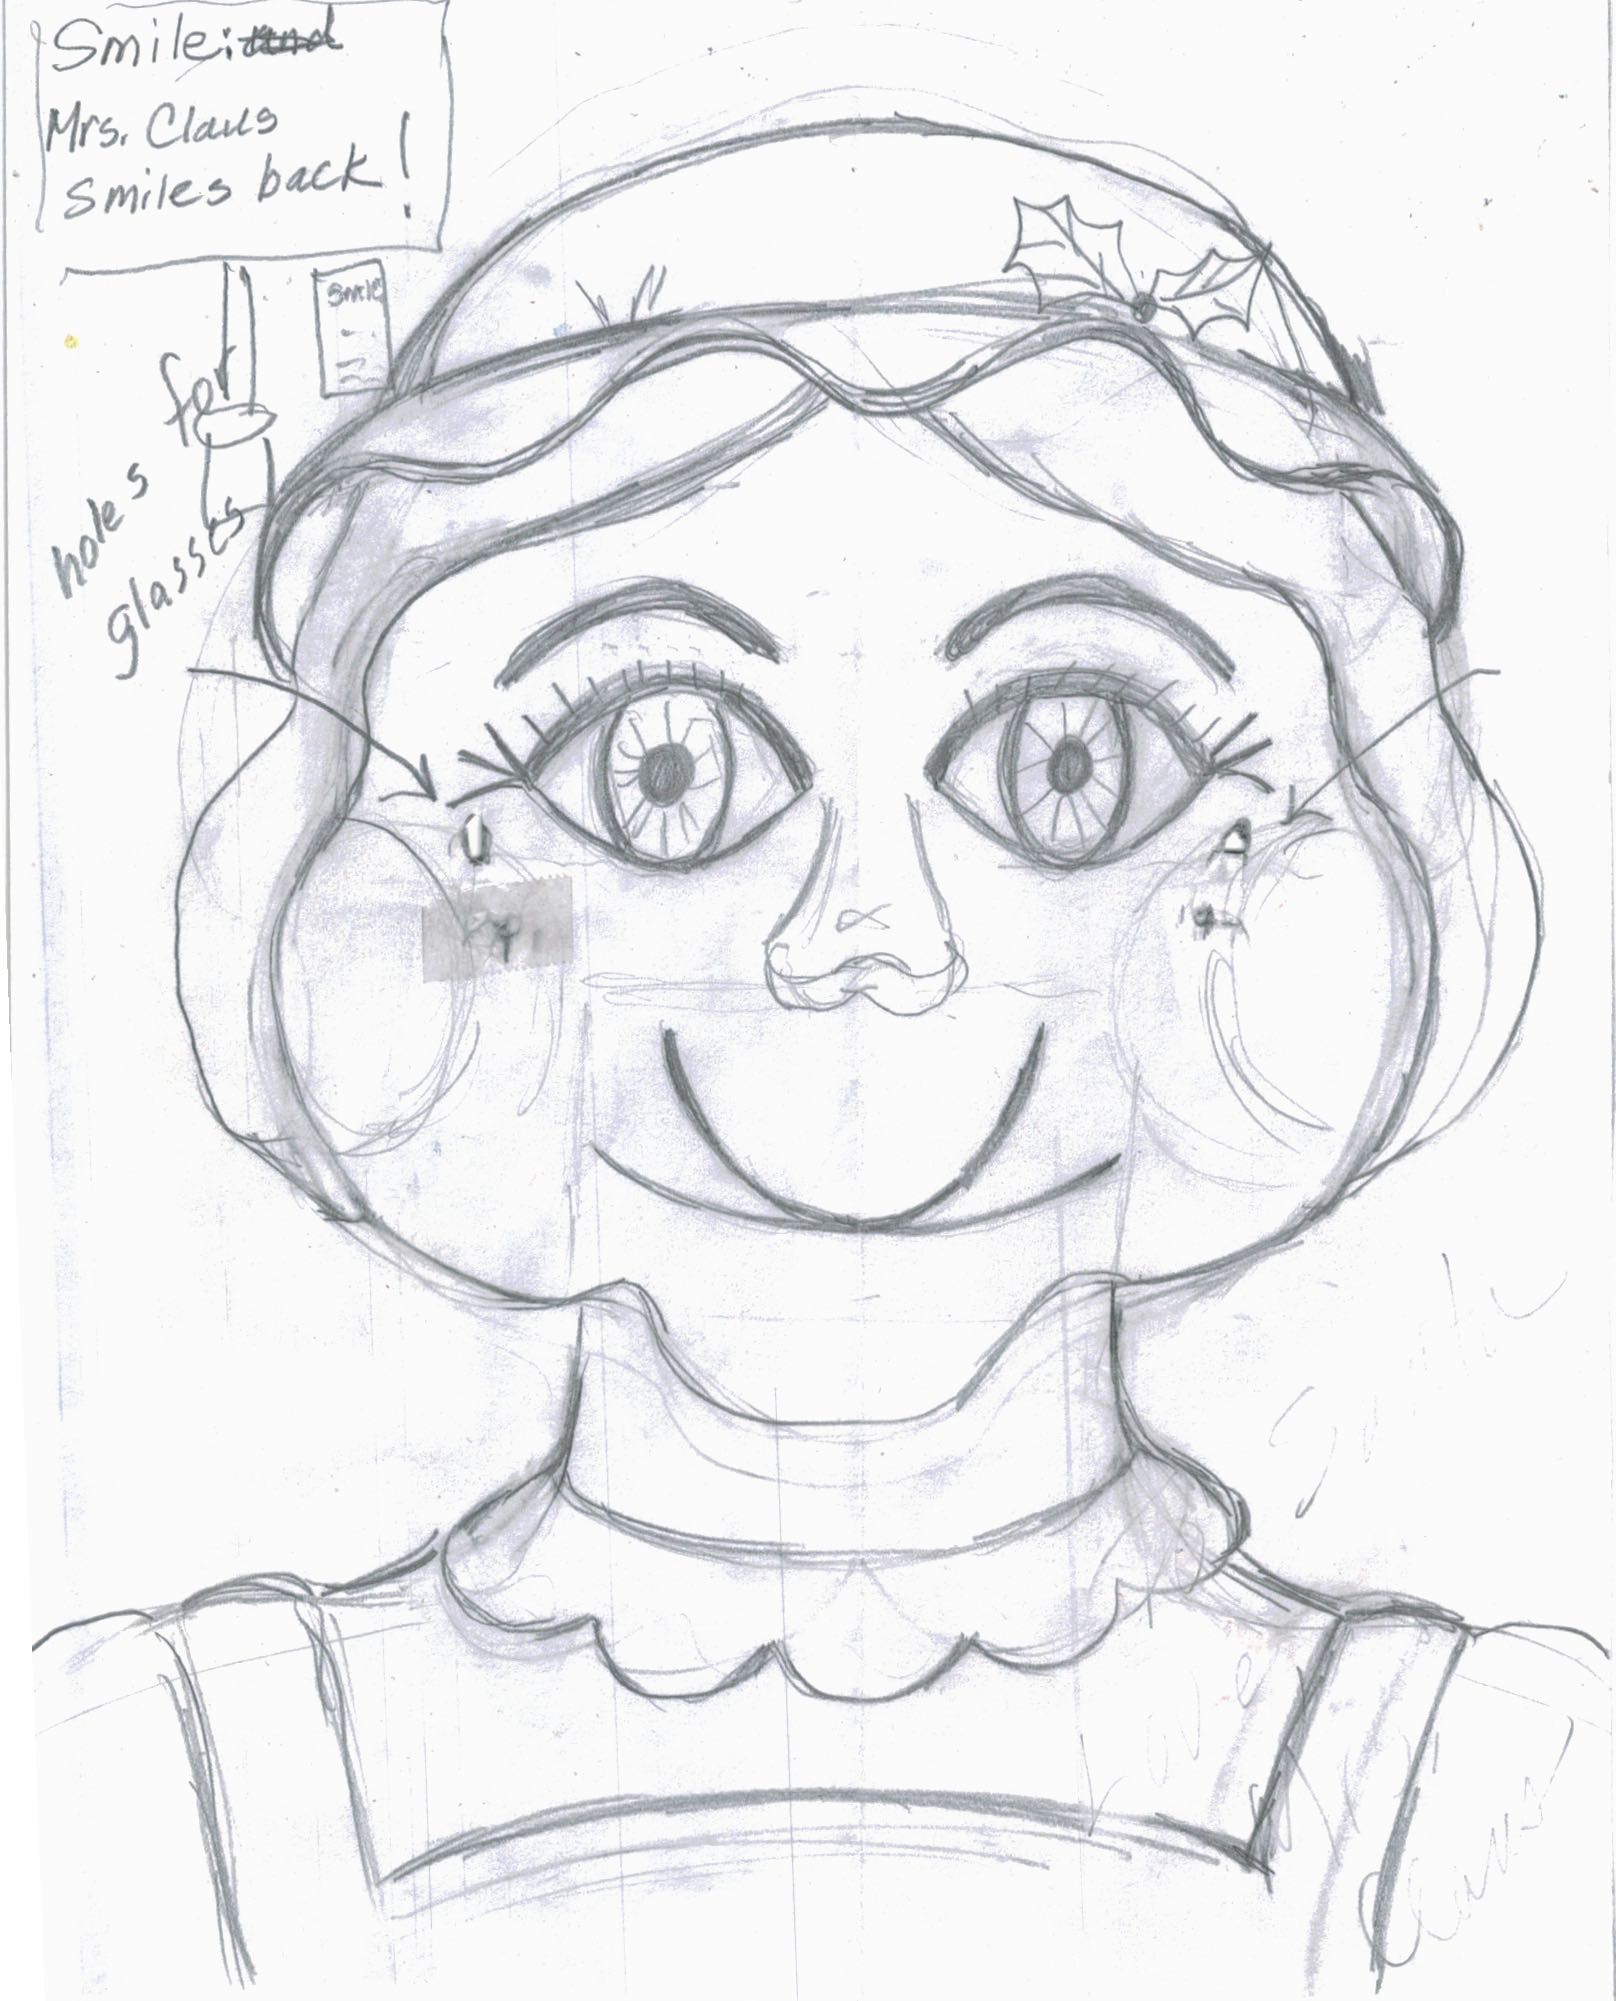
The head was formed in polymer clay, 3d scanned on a Makerbot Replicator, then imported into Tinkercad. In Tinkercad, a square hole was created for the mouth and two holes bored through for they eyeglasses. On the back side, two "led size' indentations were bored behind the eyes--to allow her beautiful blue eyes to show when she smiles.
A shadowbox was acquired from Amazon.com and a hole cut in the mounting fiberboard.
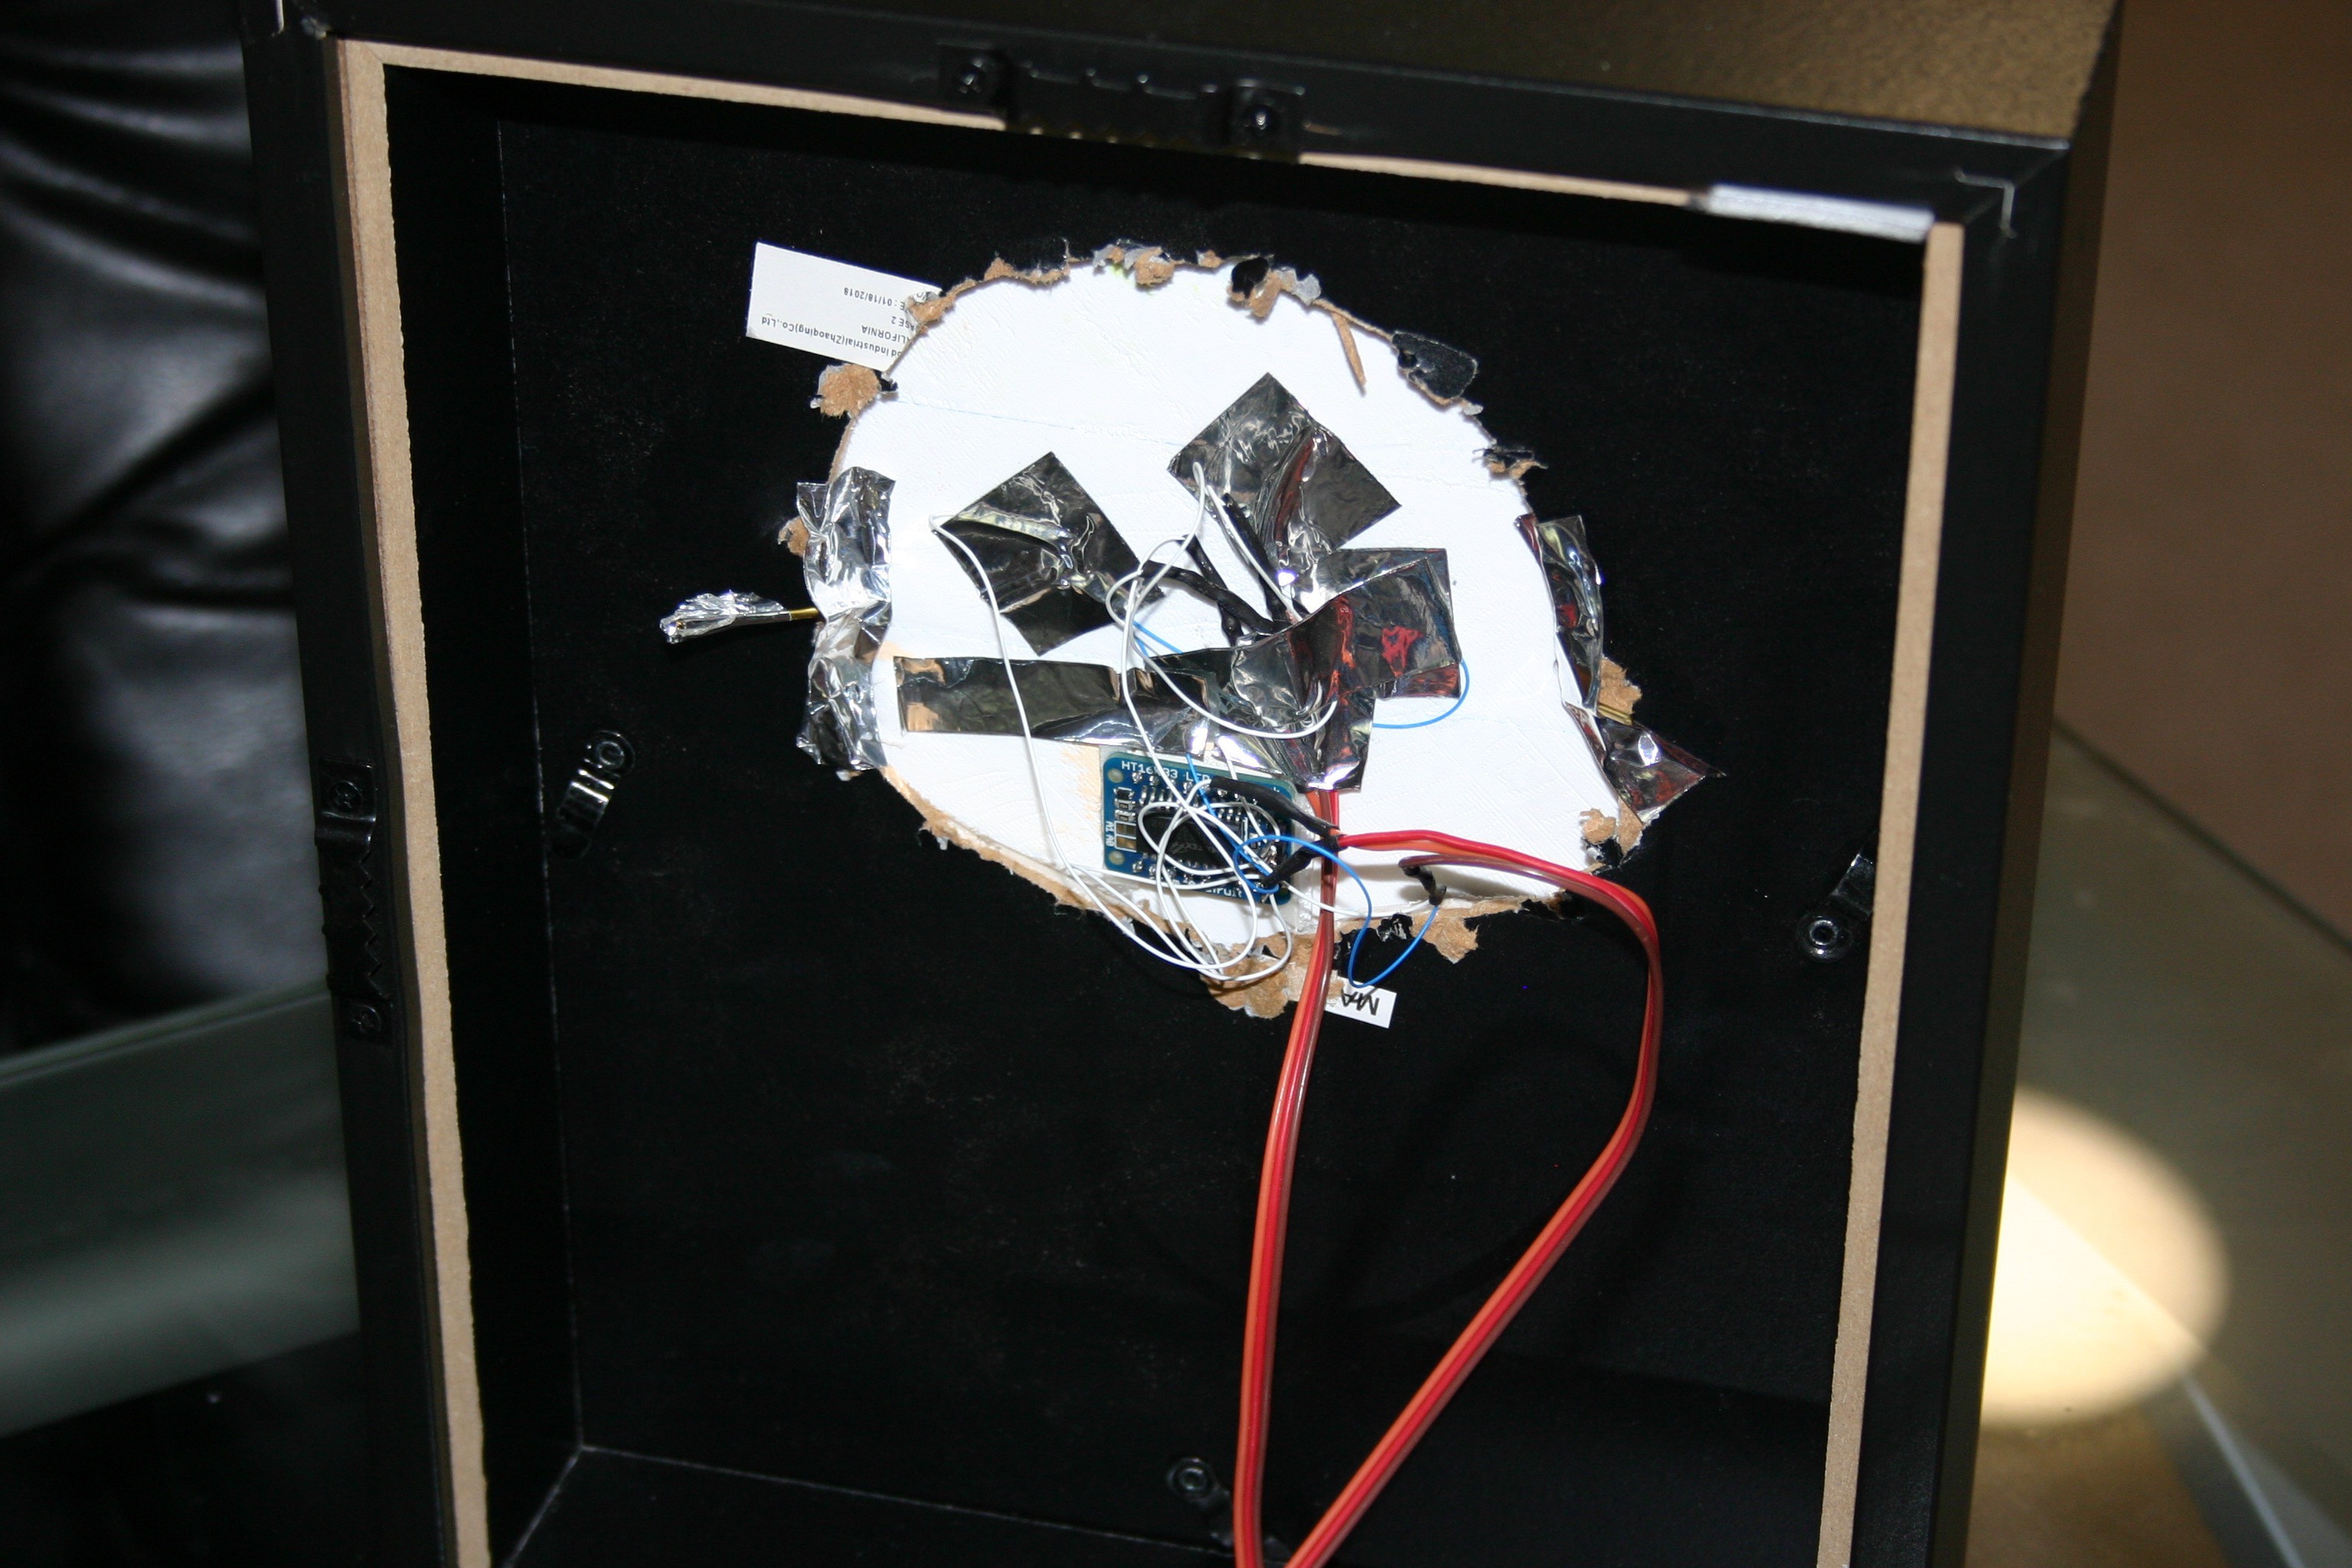
Her painted head was glued to the front of the fiberboard while eyes and mouth were duct taped to the rear. The collar and dress for Mrs. Claus were fashioned using polymer clay, then baked, painted and glued to the front.
The robot head which houses the AIY camera system was fashioned to look similar to "Robert the Robot's Head." Robert the Robot was a toy robot from the 1955 era.
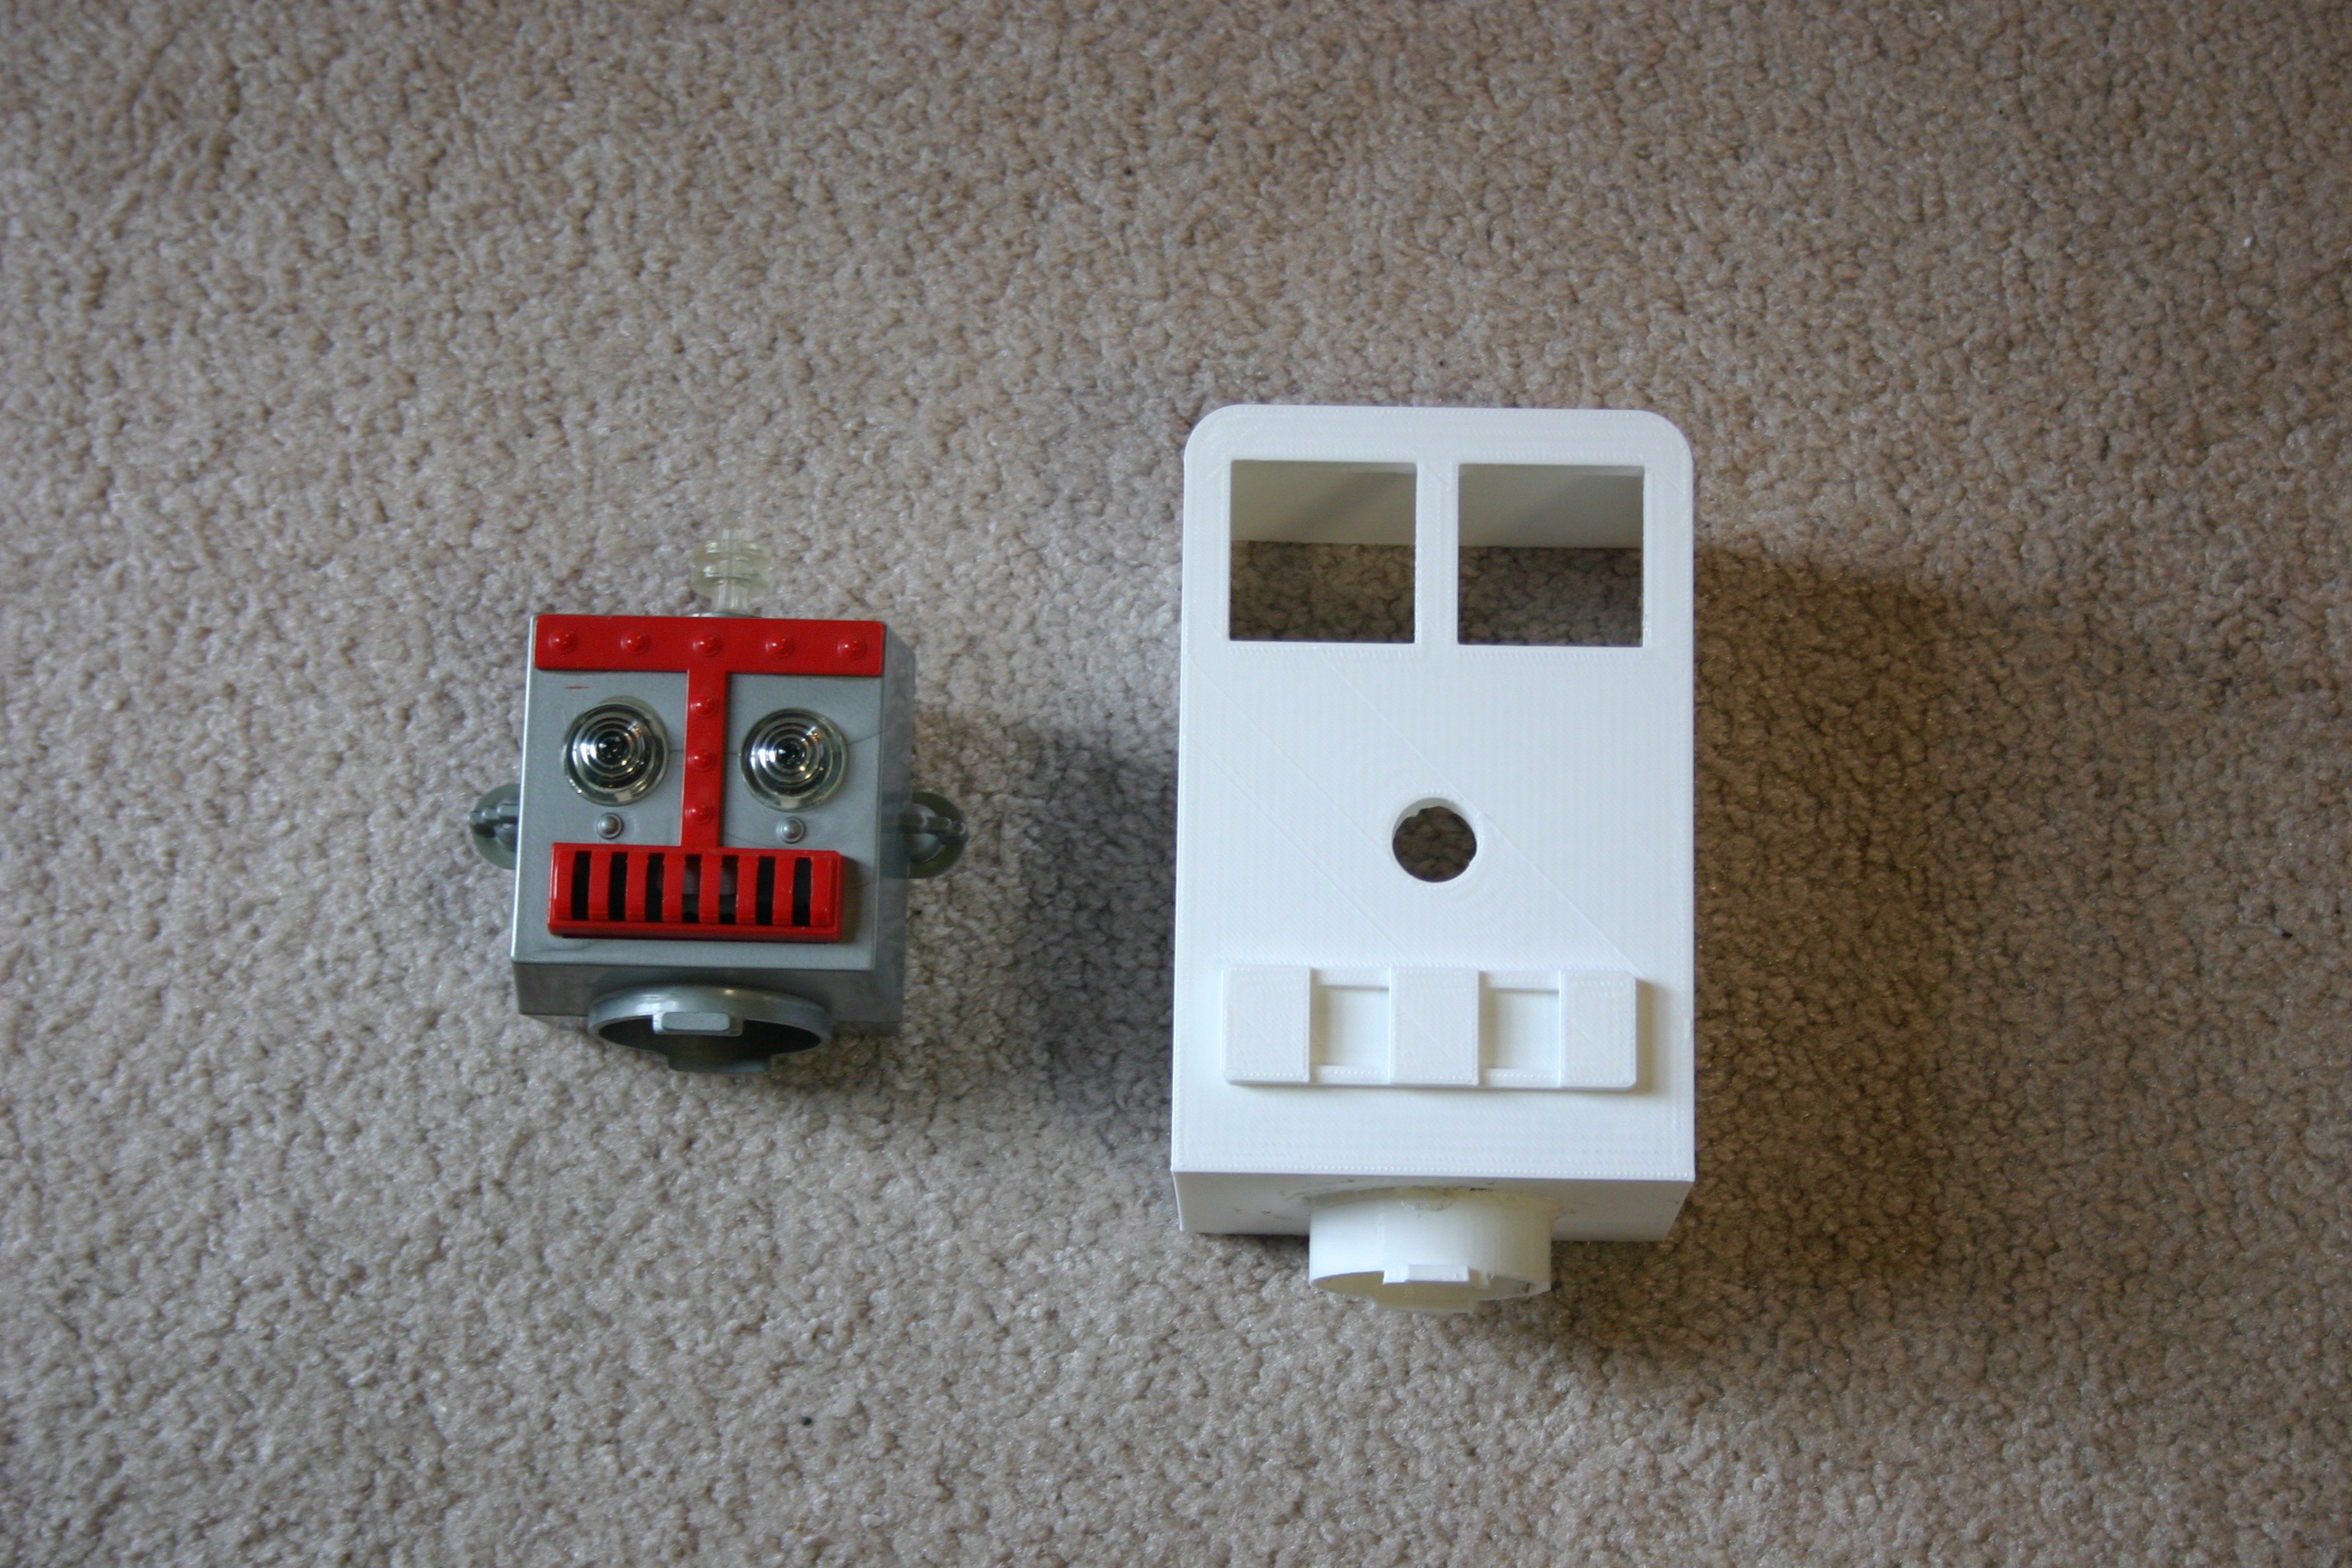
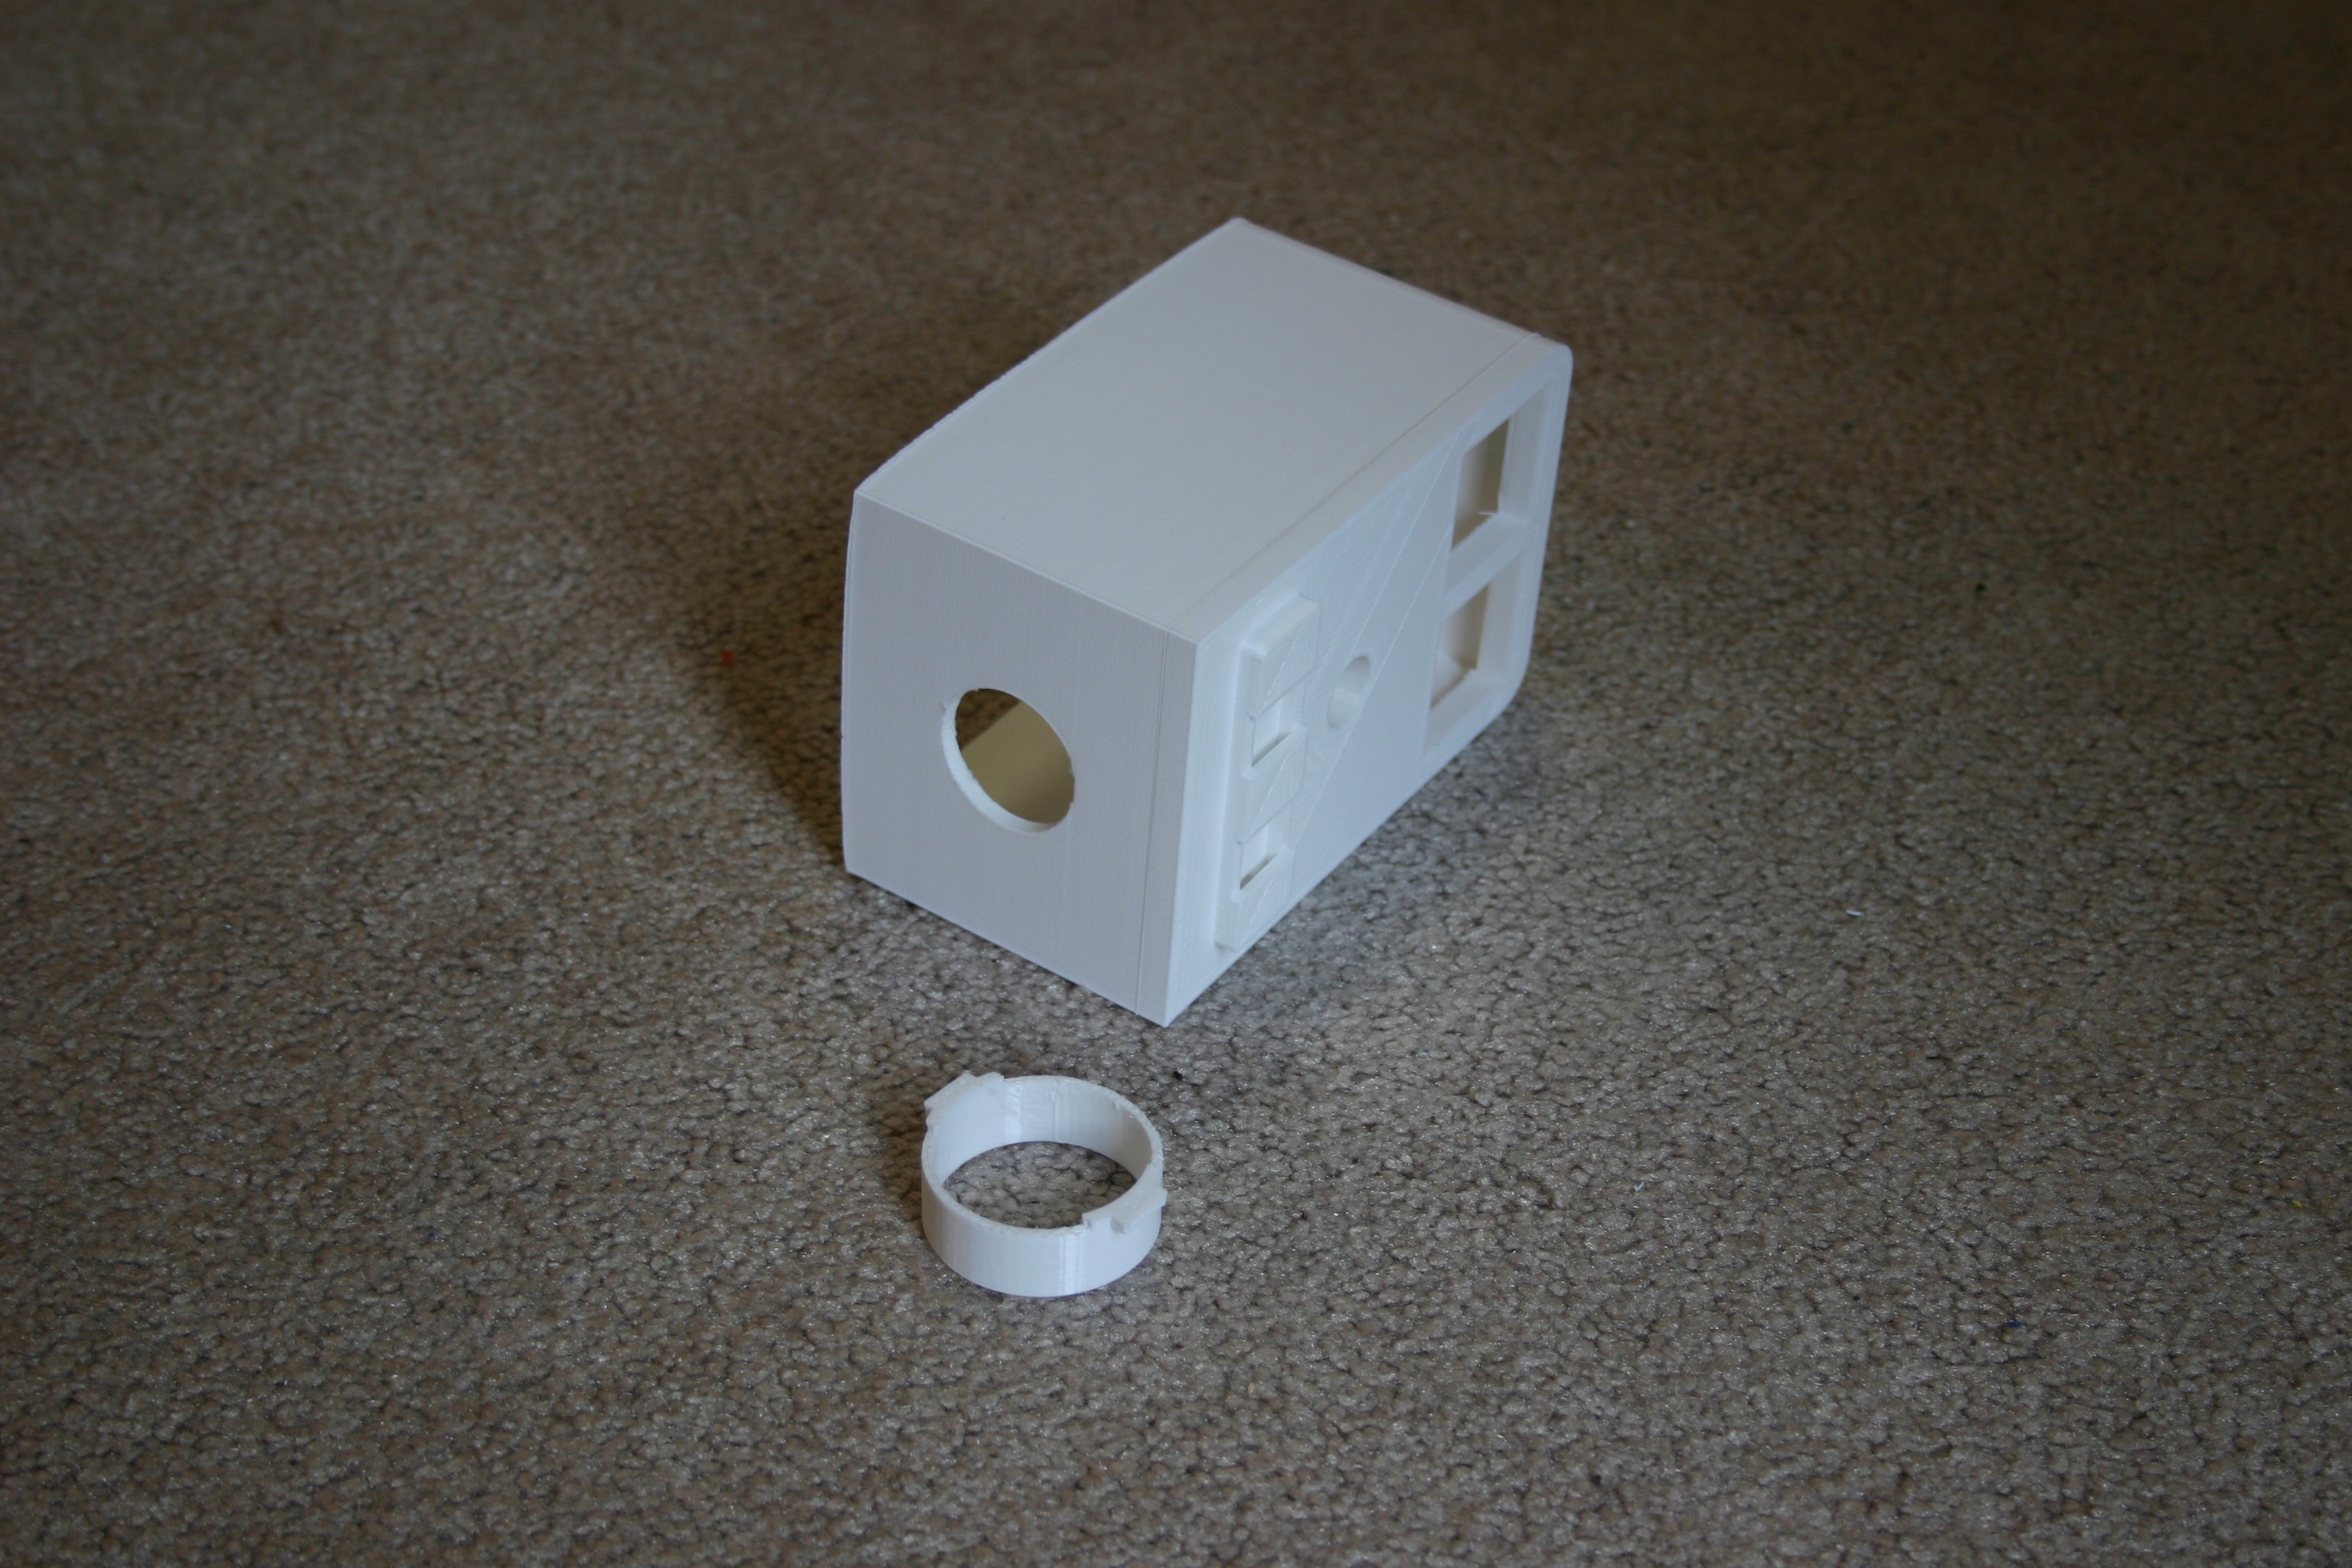
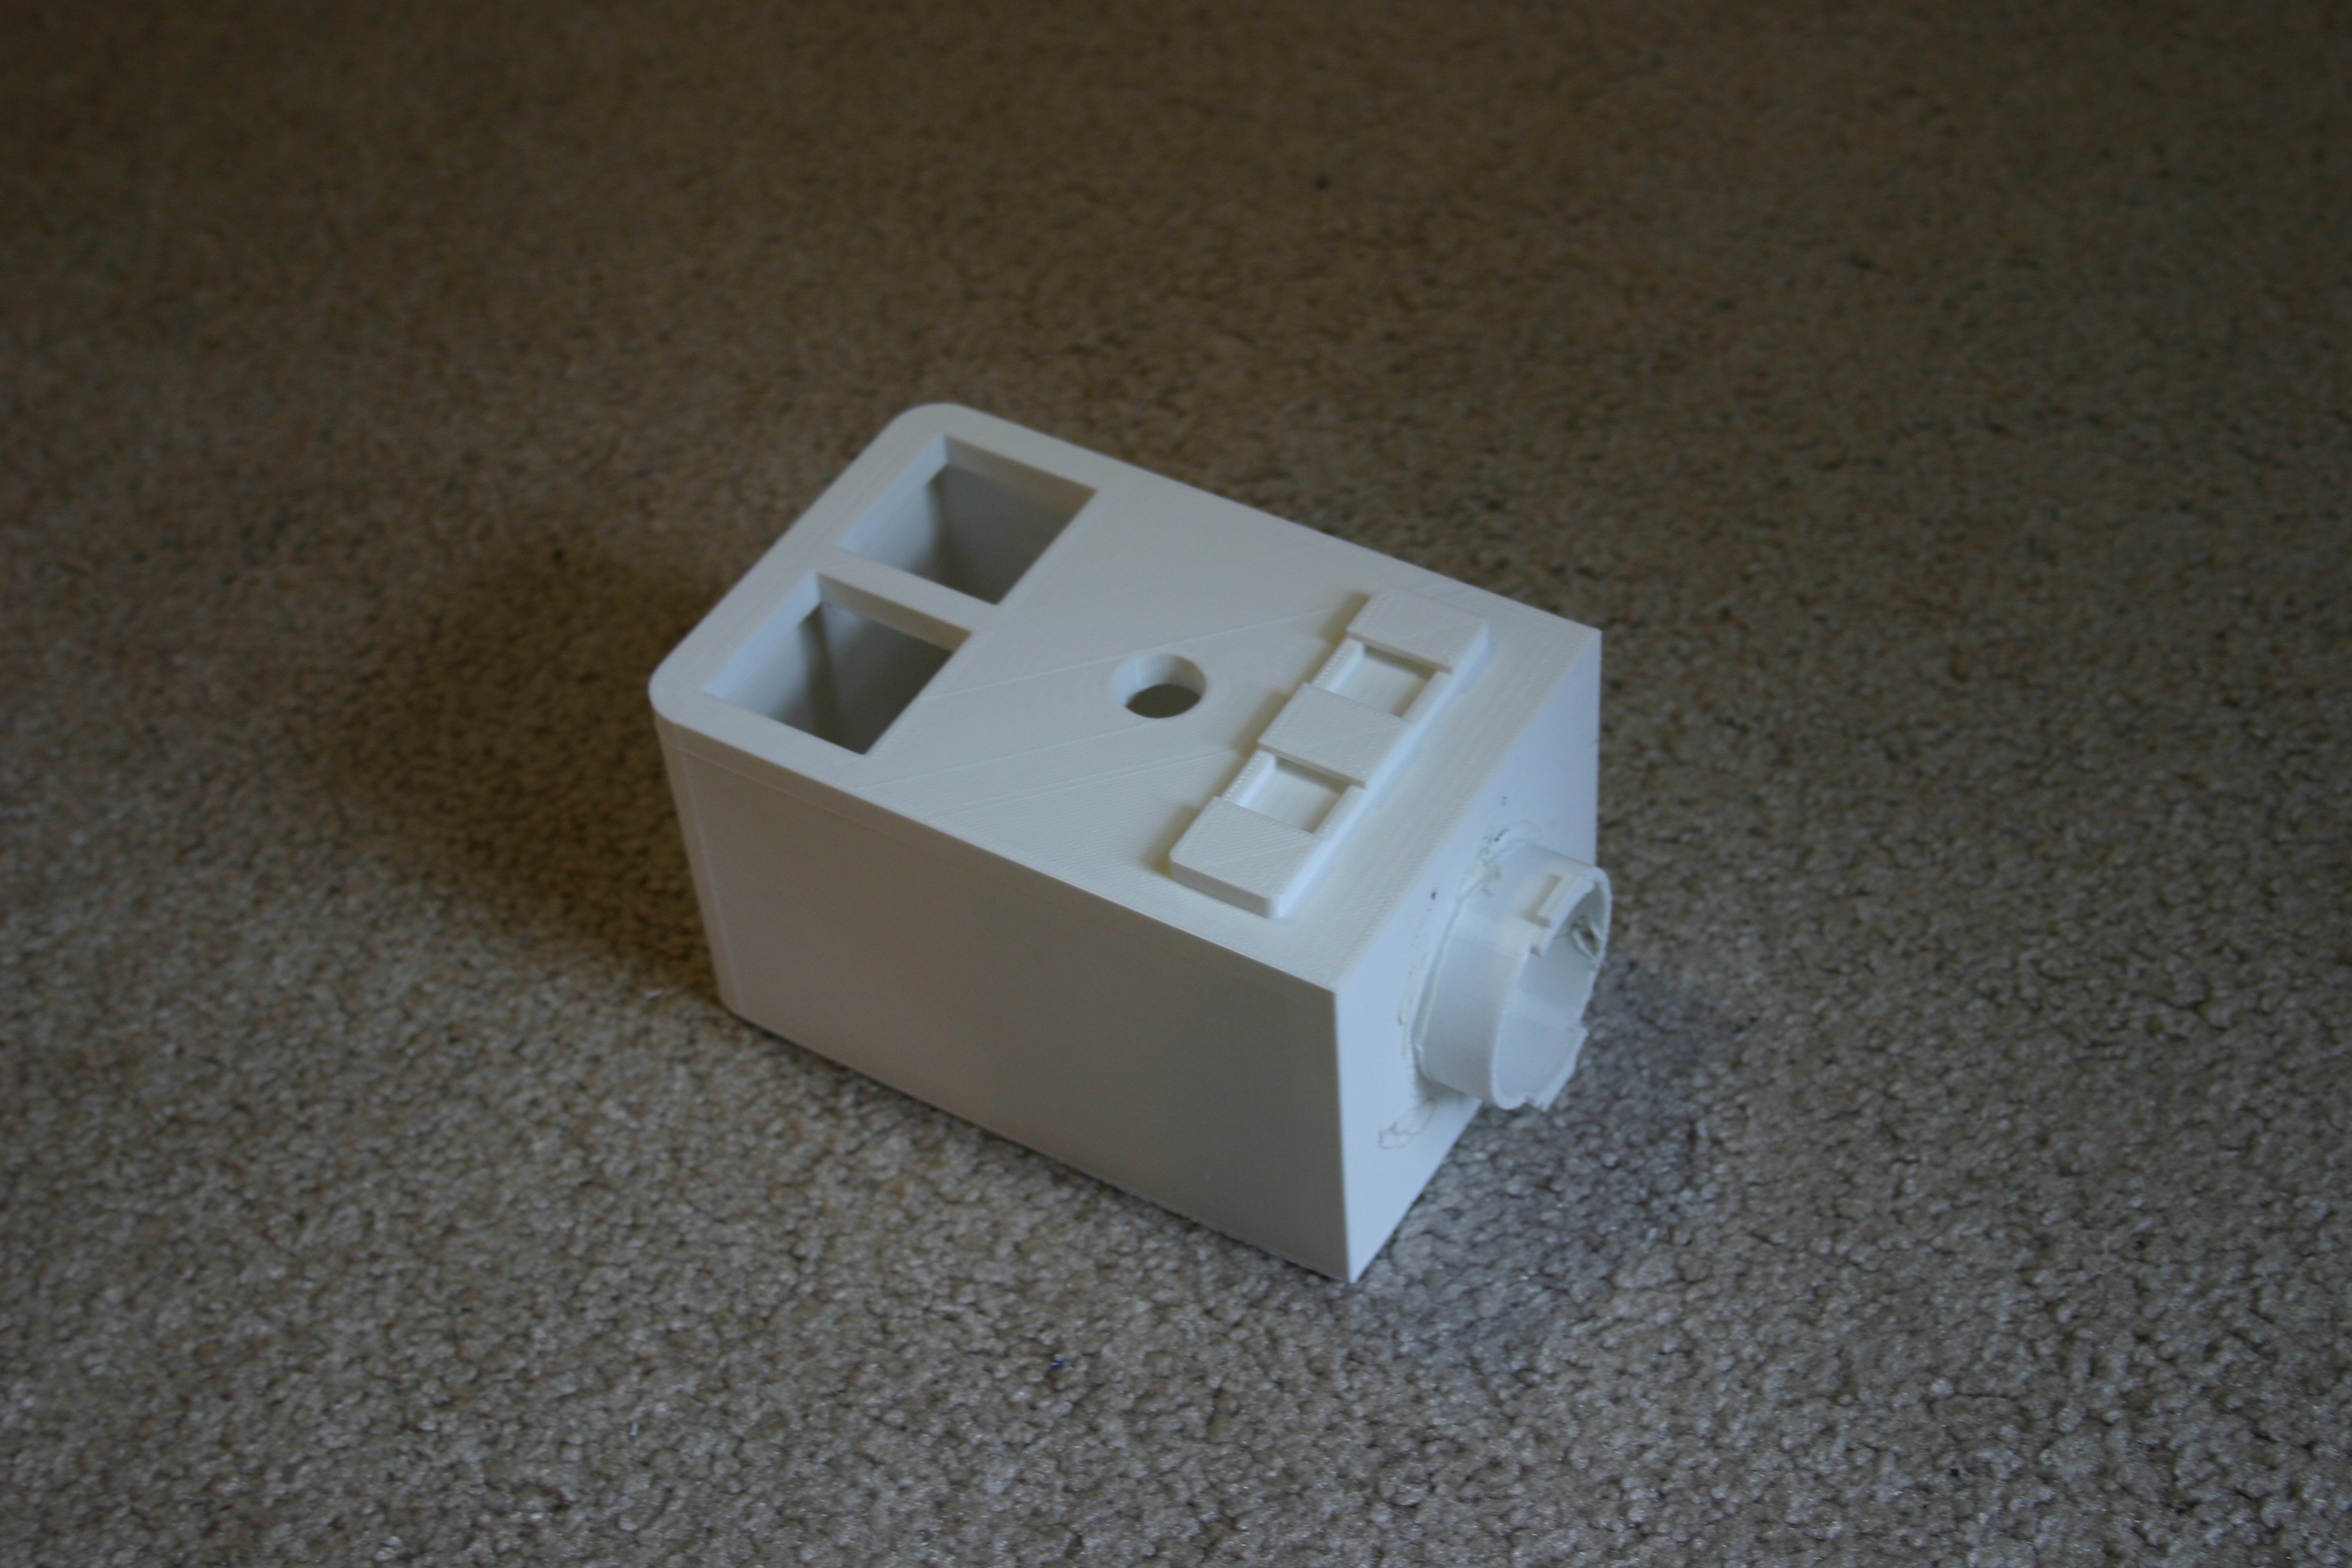
The nose houses the camera. Adafruit 8 x 8 blue 1.2" matrix squares were used for the eyes. Connecting multiple eyes (left and right) to the same I2C bus merely requires soldering a small jumper on the back of the matrix square, instructions here. The large head is formed using two pieces and they were melted together using a soldering iron.
Three color changing leds--slow change--were inserted in the mouth area and held in place using duct tape.
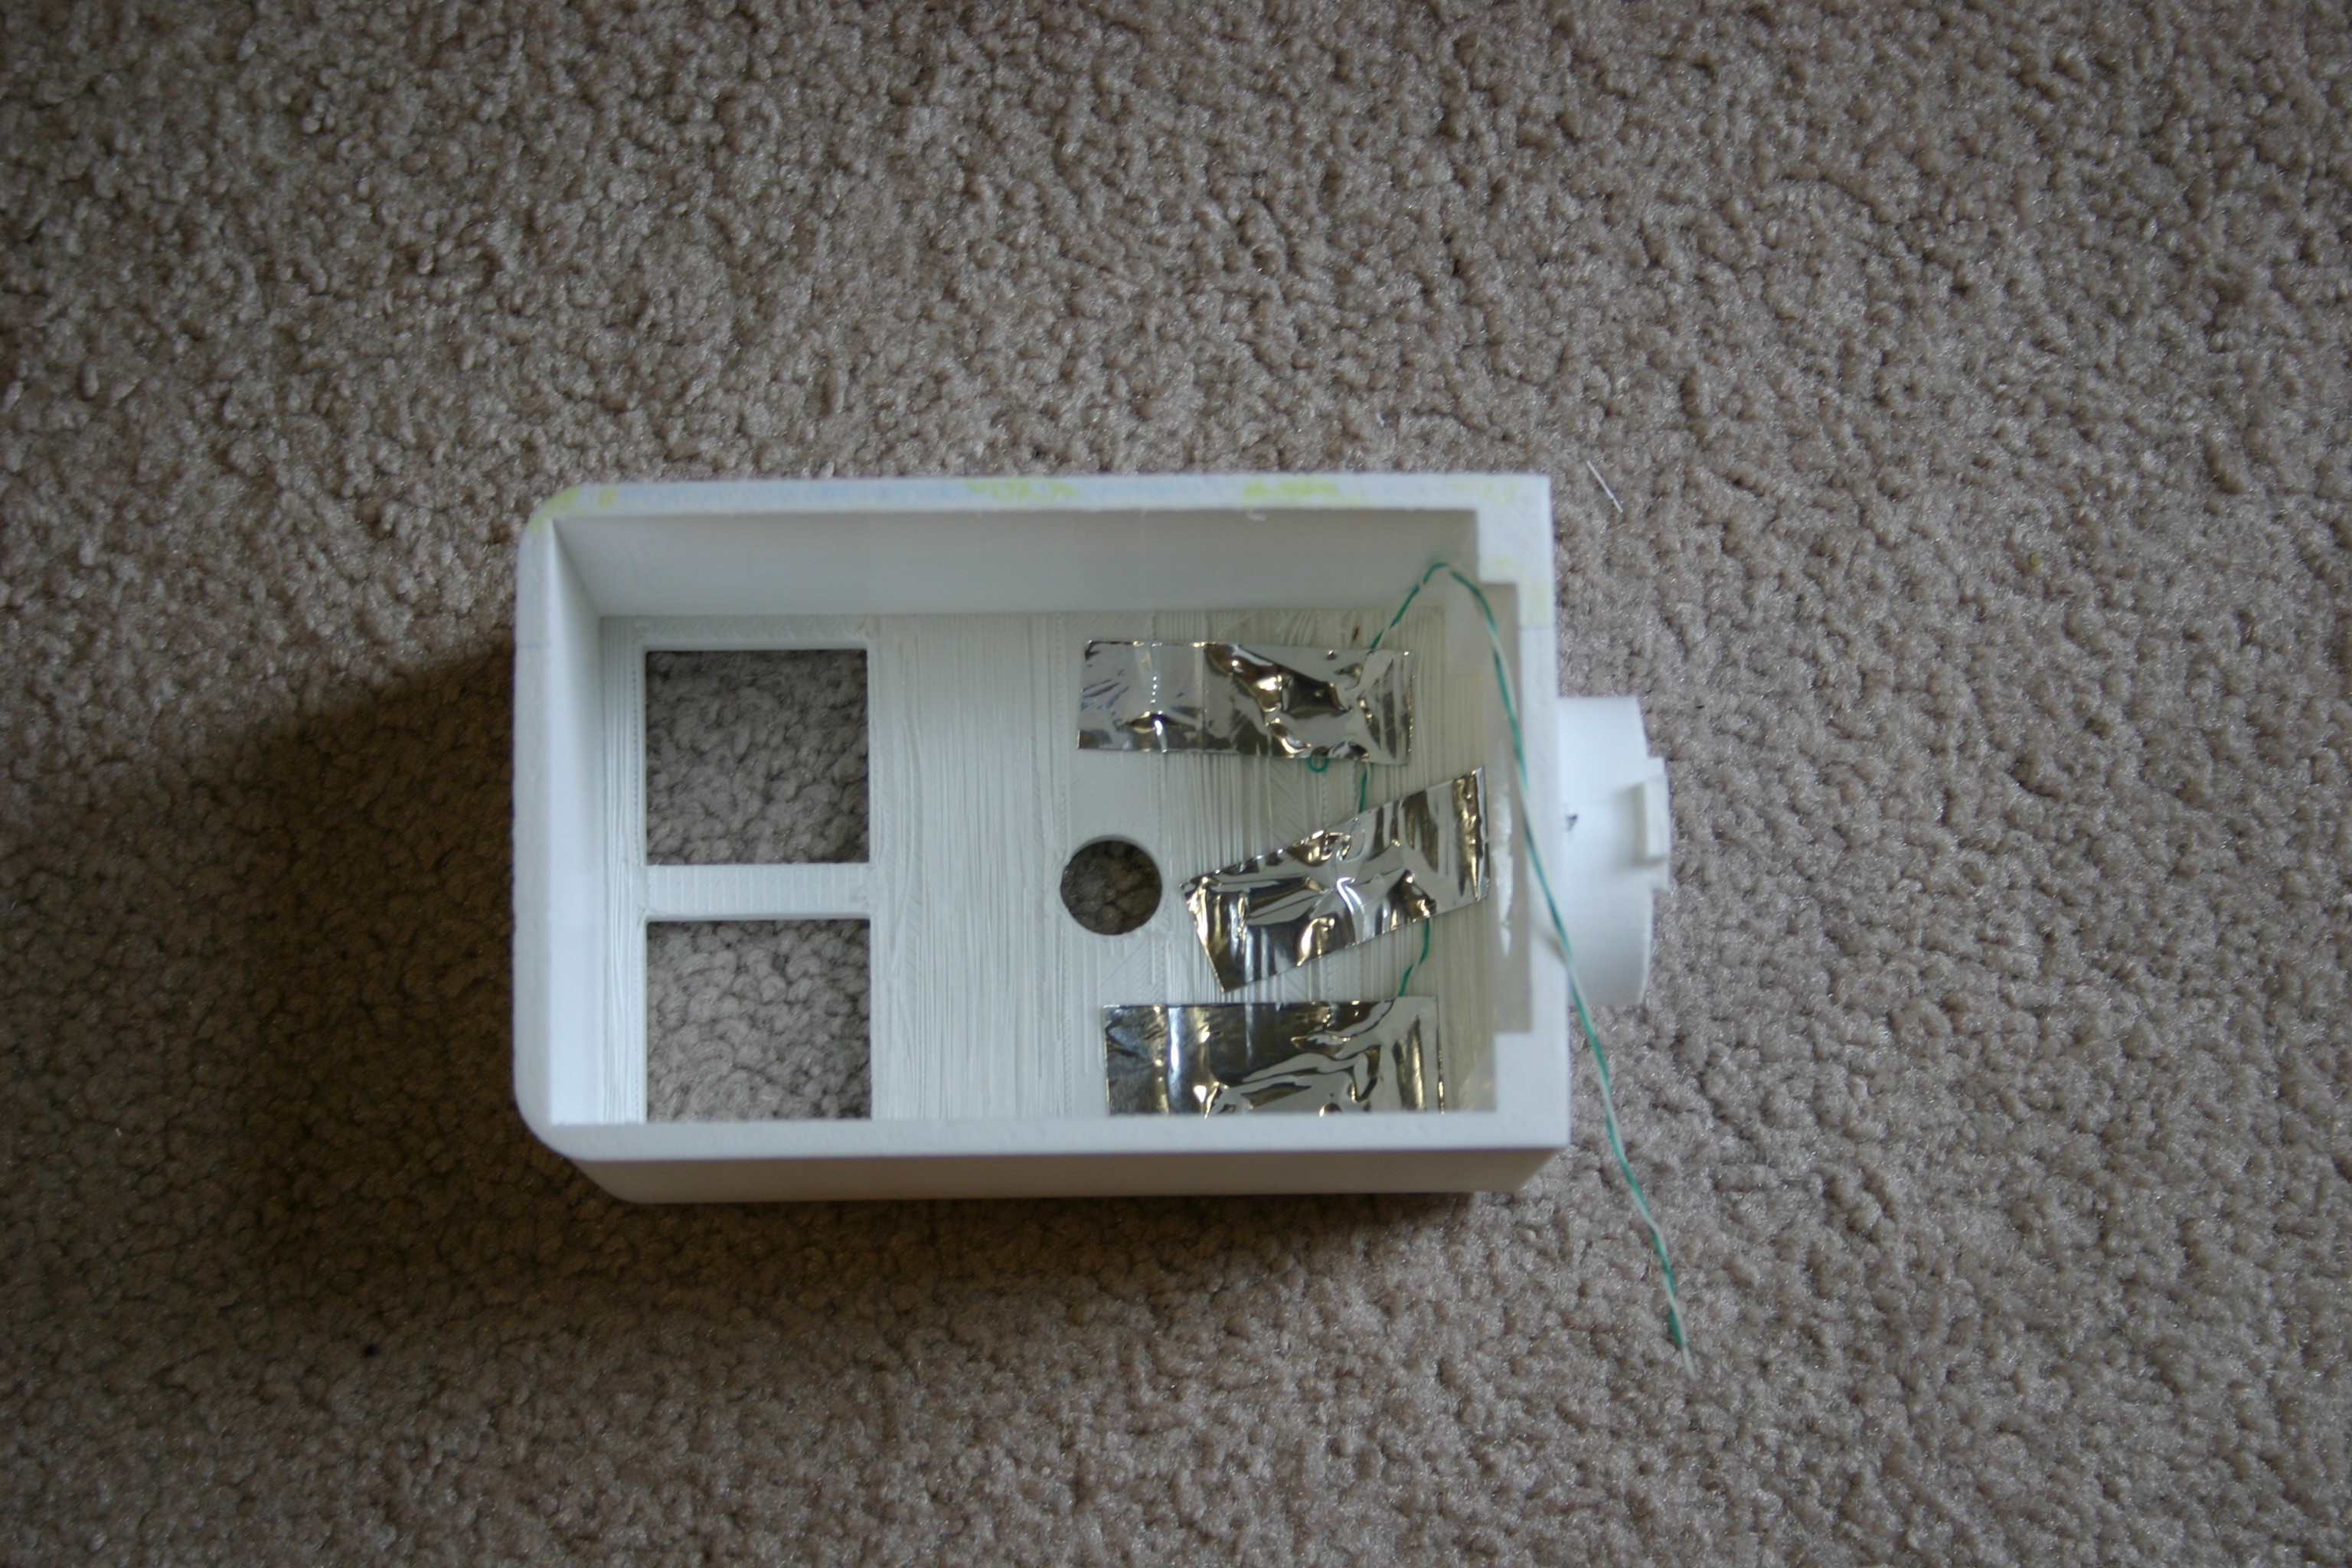
The eyes were then added.
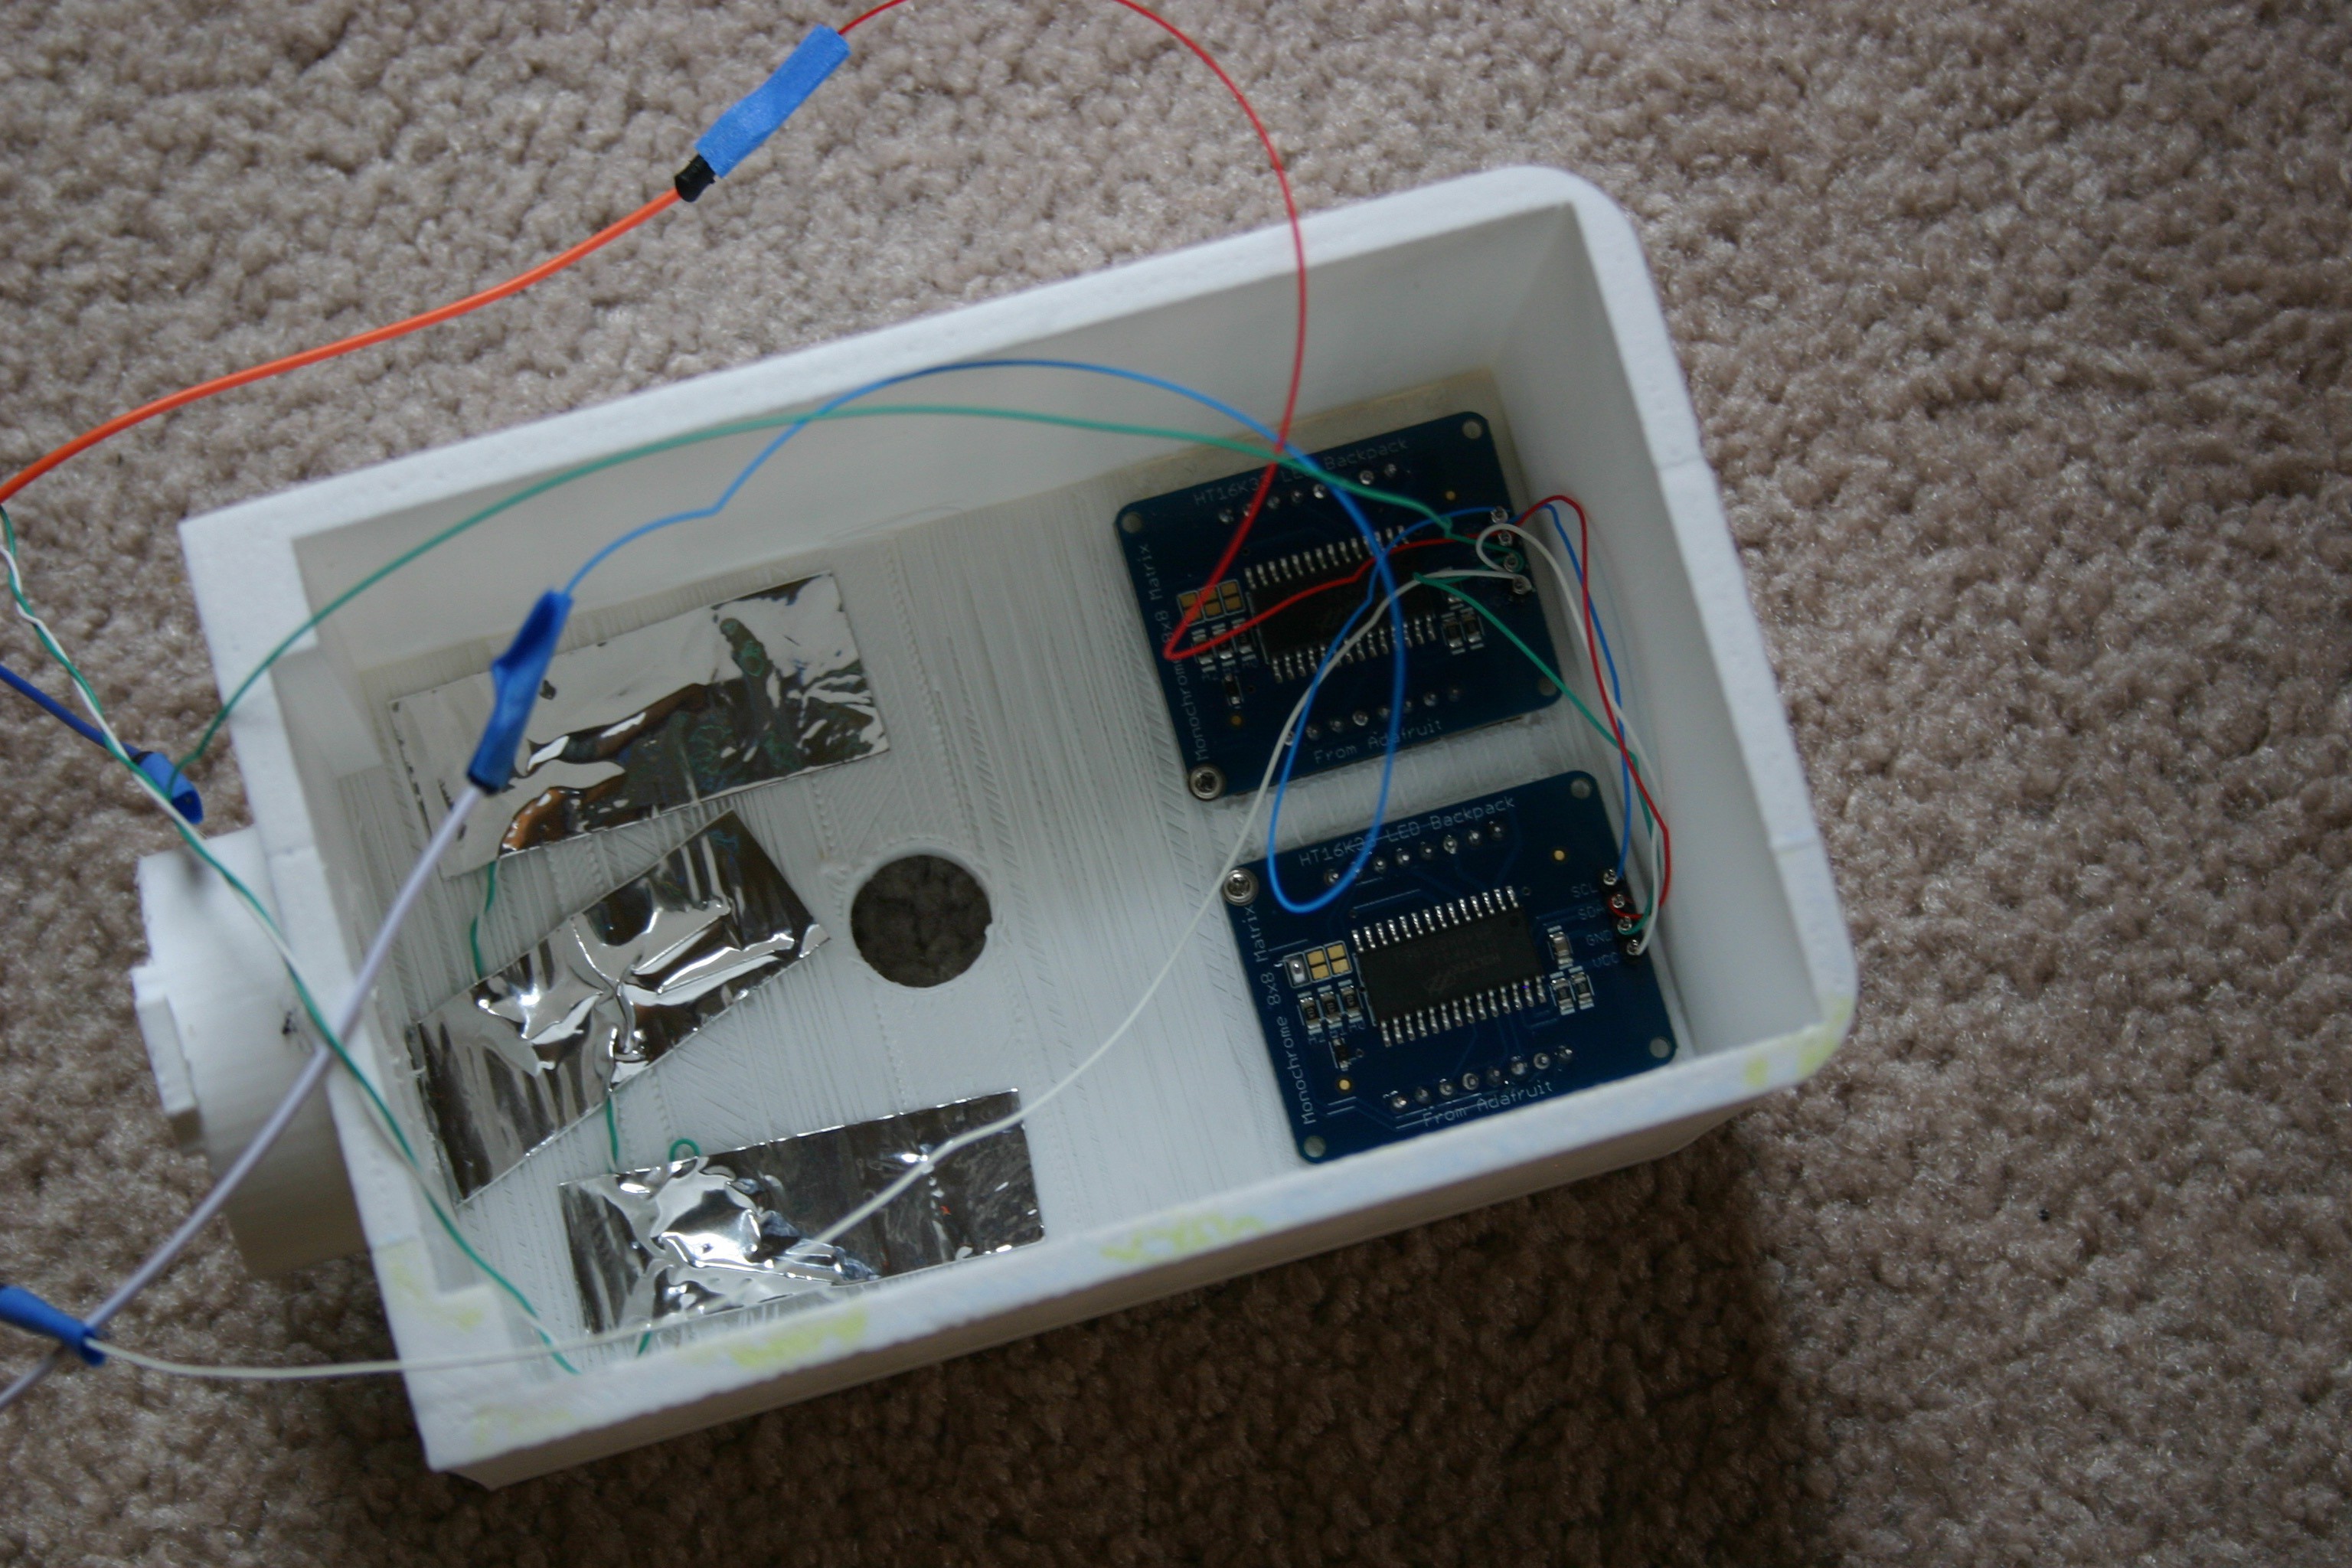
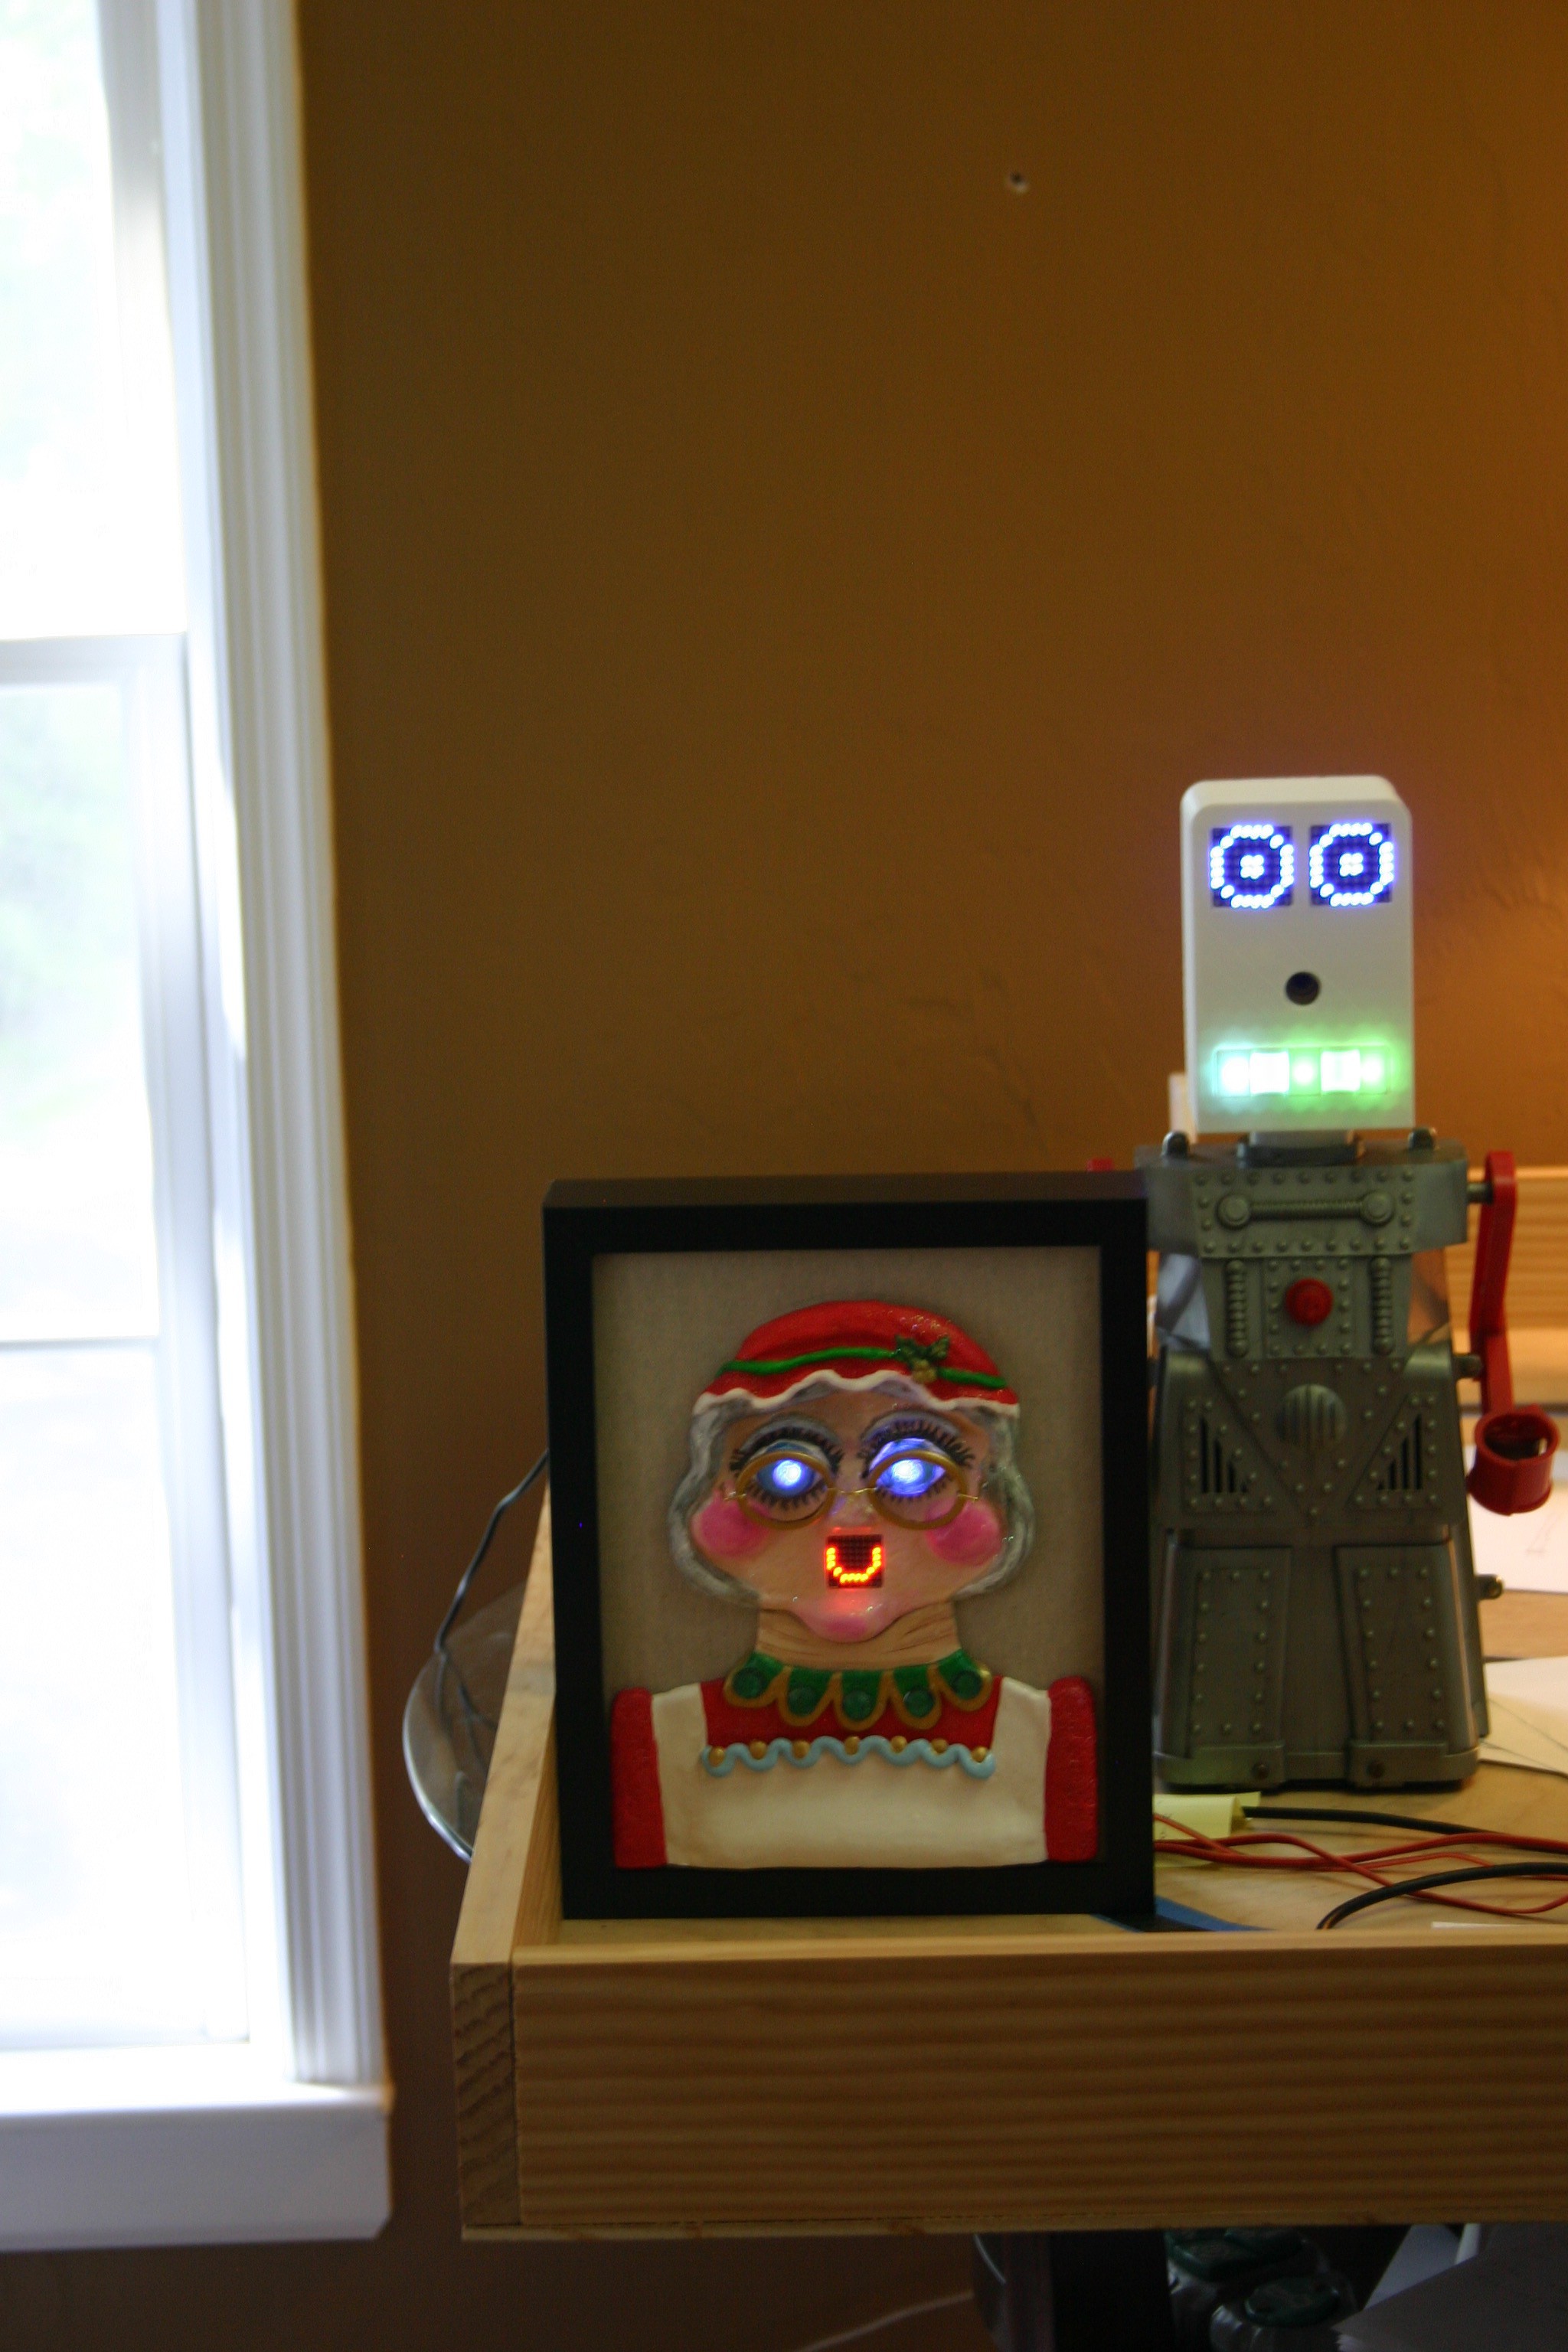
The AIY kit was placed inside the head and wires routed through the neck and robot body. The system in the display looks like this.
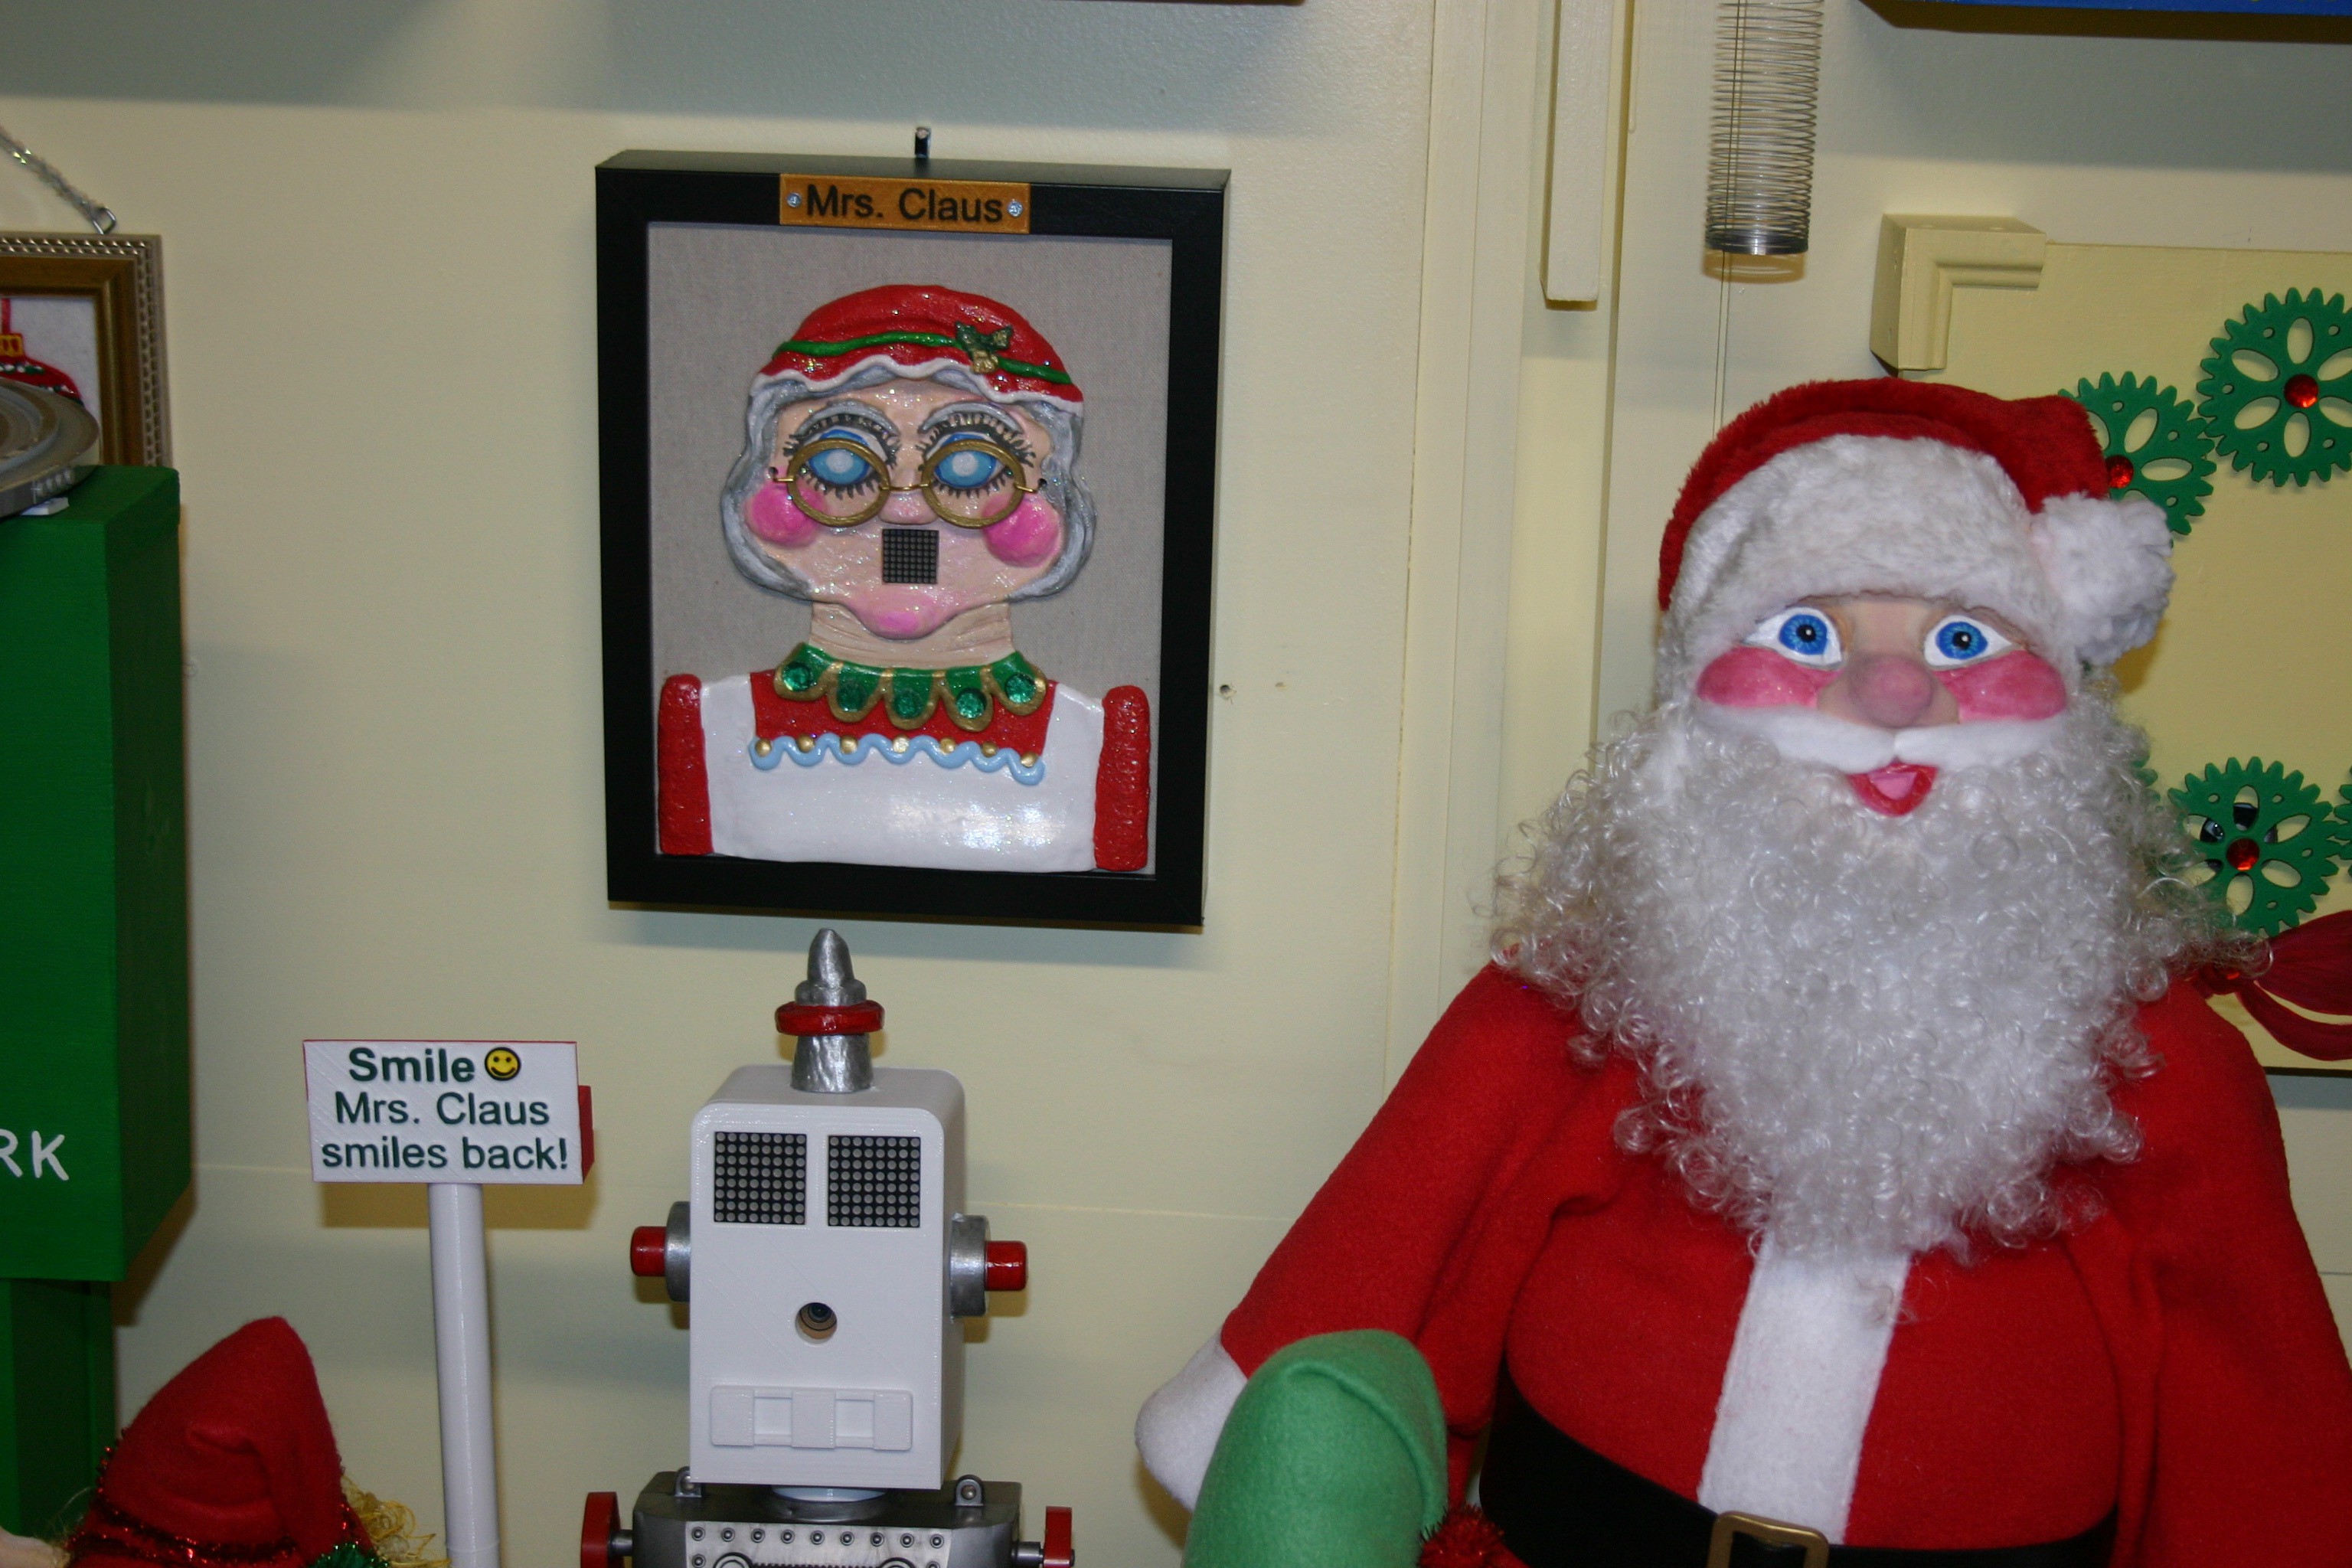
Here she is in operation.
Discussions
Become a Hackaday.io Member
Create an account to leave a comment. Already have an account? Log In.