 Lixie Labs
(Skip to 2:50 to see it in action!)
A Highly Specialized Pick & Place Machine
First, some prerequisites:
- Your board must fit within the print area, with about 3" to spare in each direction
- Your board must only have 1-2 BoM items
- Single-sided assembly only
- These items must not be rotated from their original position in the tape
- Your parts must be large enough to allow for easy pickup
- Parts must have pads large enough to allow for slight placement error
- You must sell enough boards to justify the calibration effort for this damn nightmare to work
Motivation
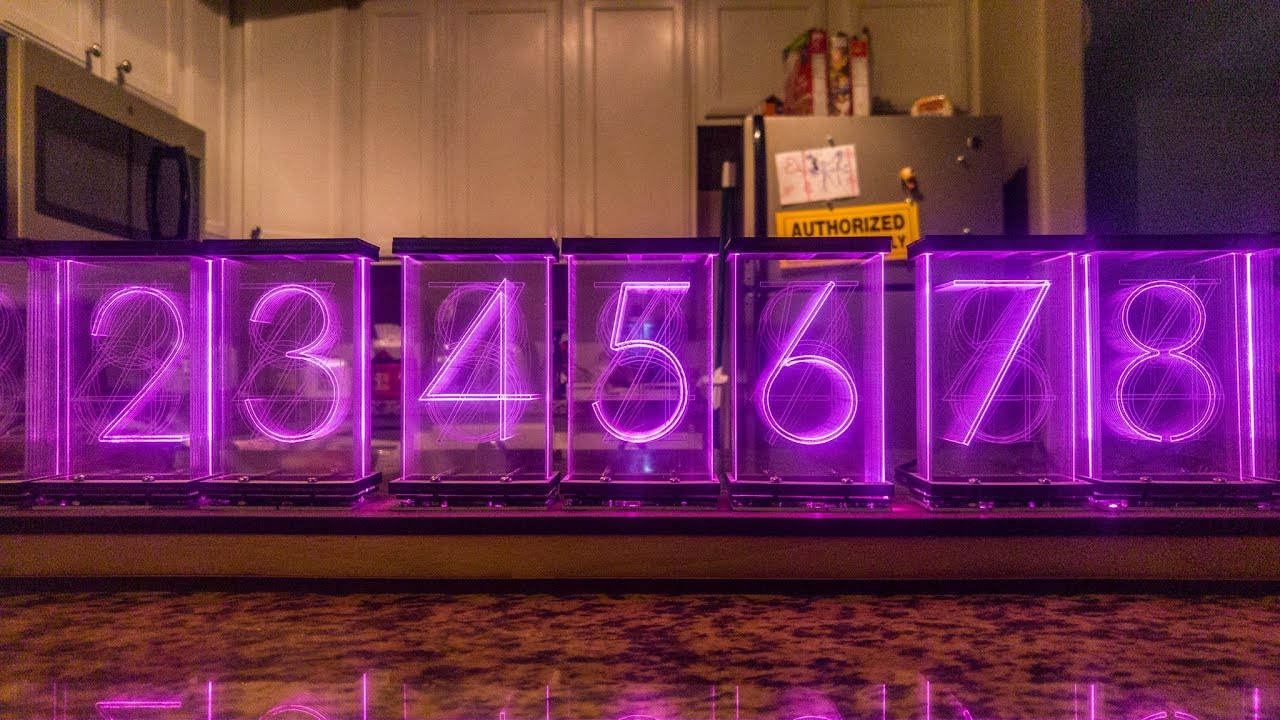
So yes, this is a HIGHLY specialized project! I have sold over 750 Lixie Displays on Tindie (An LED alternative to the gorgeous but expensive Nixie Tube tech of the past) in the past year, each with 20 WS2812B LEDs, each with four SMD pads to solder. That's a total of over 60,000 solder joints. Yikes! (Reflow to the rescue) As someone who has never hired a company for PCB assembly before, I was a bit nervous to make such large orders blindly and wanted to try automation for myself first.
How It Works

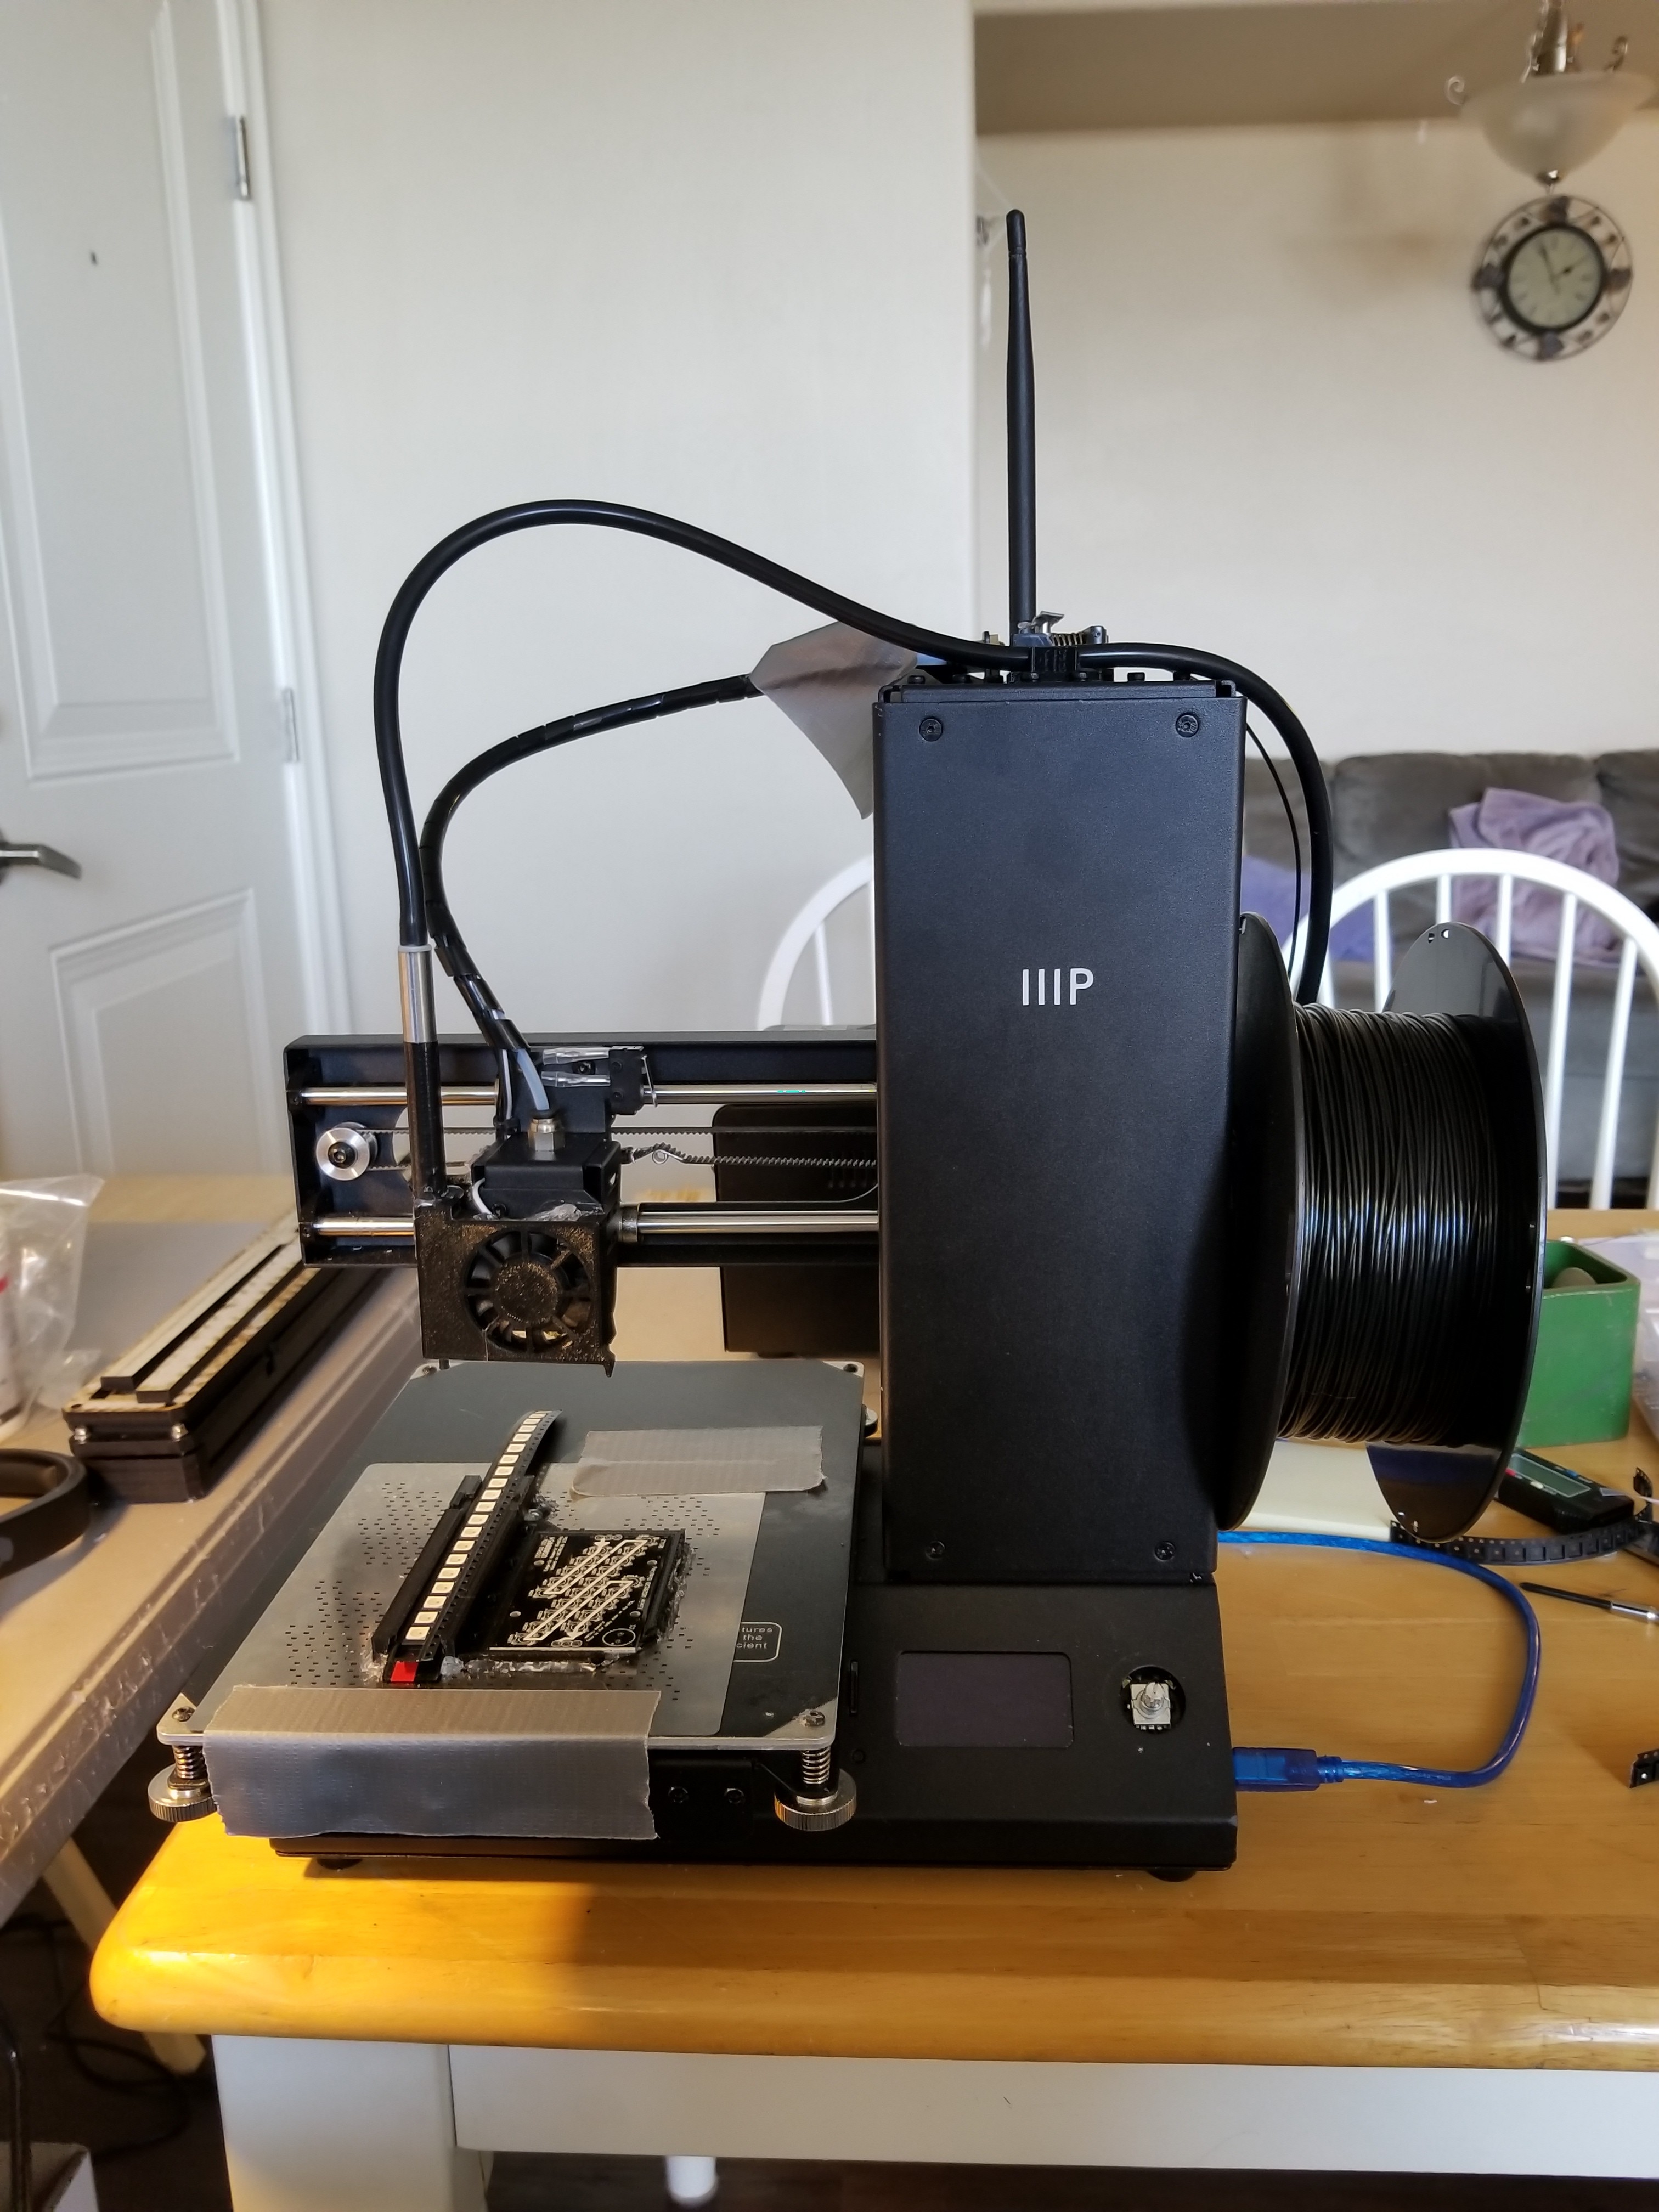
To build the machine, I first purchased a $150 Monoprice MP i3 Mini, (A rebadged Wanhao Duplicator i3 Mini) and familiarized myself with it and Cura, the freeware slicer software for it.
I'd used laser cutters in the past, so I was familiar with the concepts of steppers, homing, g-code, etc. However, this was my first 3D-printer. If I were to review it in one sentence:
It's a good "baby's first 3D printer" .
Without knowing any better, it works well enough, printing parts for engineering use such as clips, holders, mechanical adapters, etc. - but maybe not the best for printing anything decorative. PLA only, no heated bed, horrible rotary encoder to control it, and it uses a "Bowden style" extruder vs. a direct drive for pulling in plastic which can result in retraction issues. But I'm not printing much on it anyways, so that's fine!
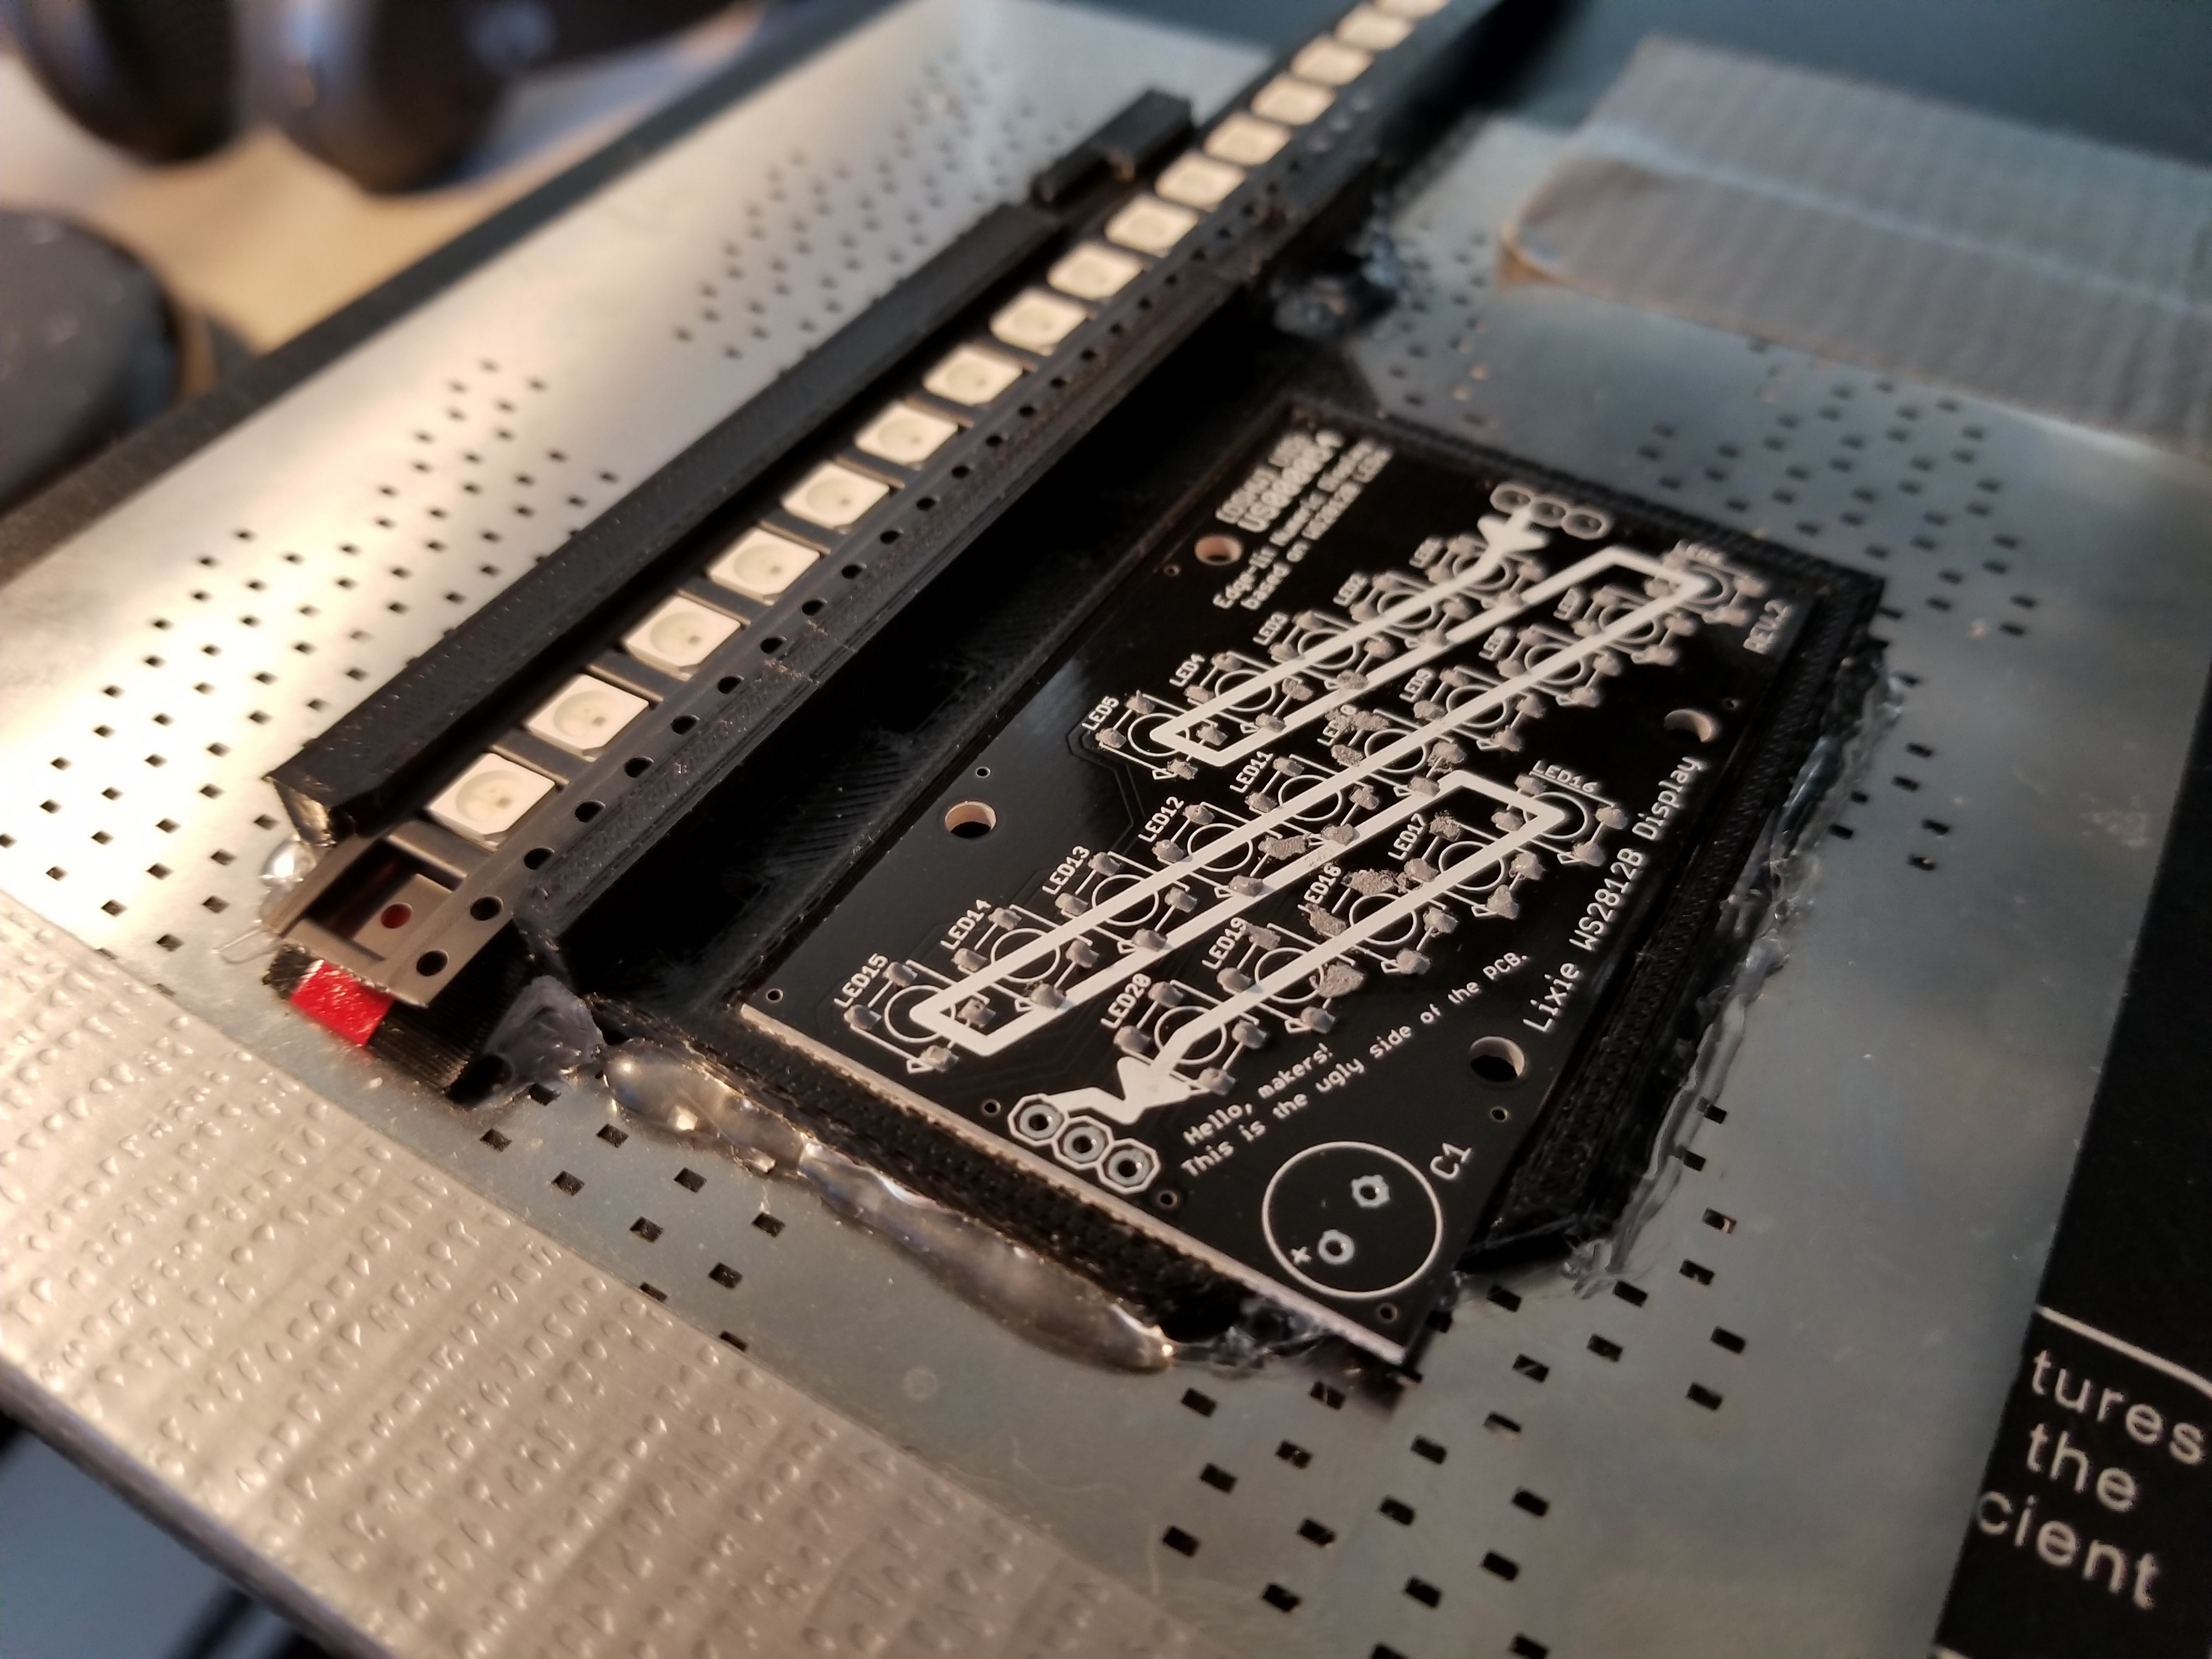
The PCB

The Lixie PCB is basically a glorified LED strip. Data comes in one side, feeds through all 20 LEDs, and comes out the other end to the next display. Because it essentially consists of only these LEDs, all facing the same direction, on a small SMD board, it's perfect for this hacky machine!
Parts To Print
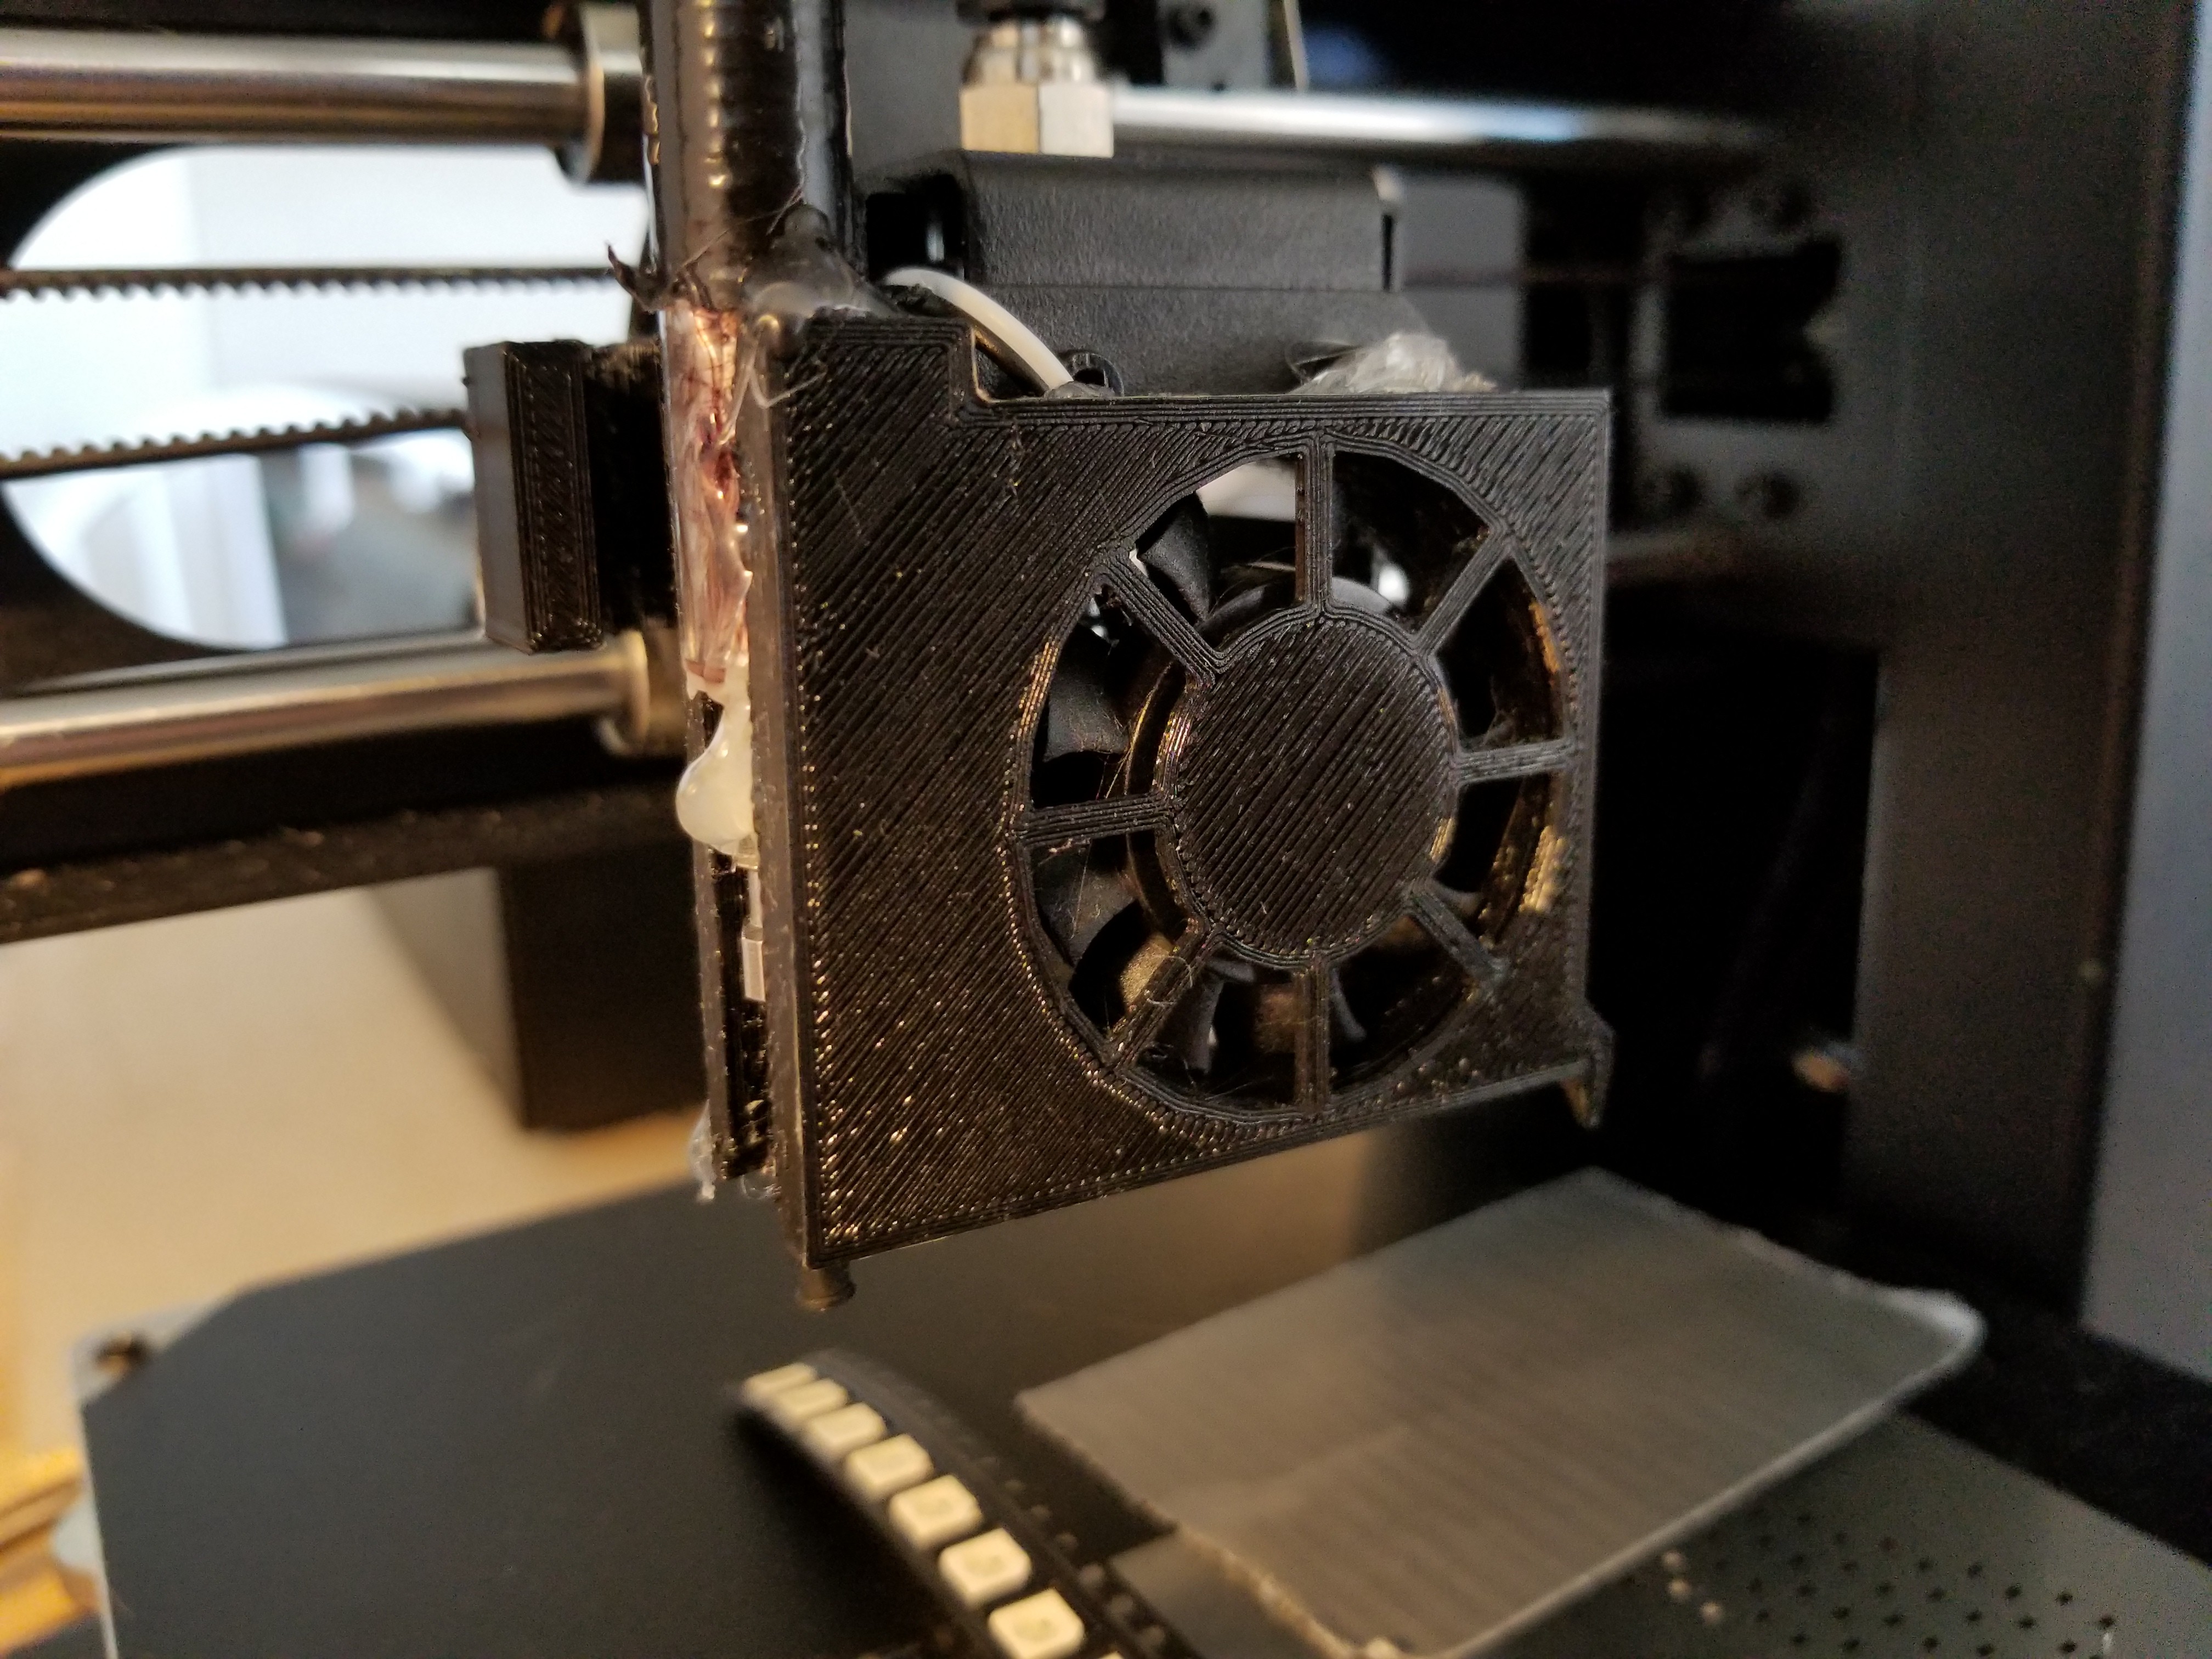
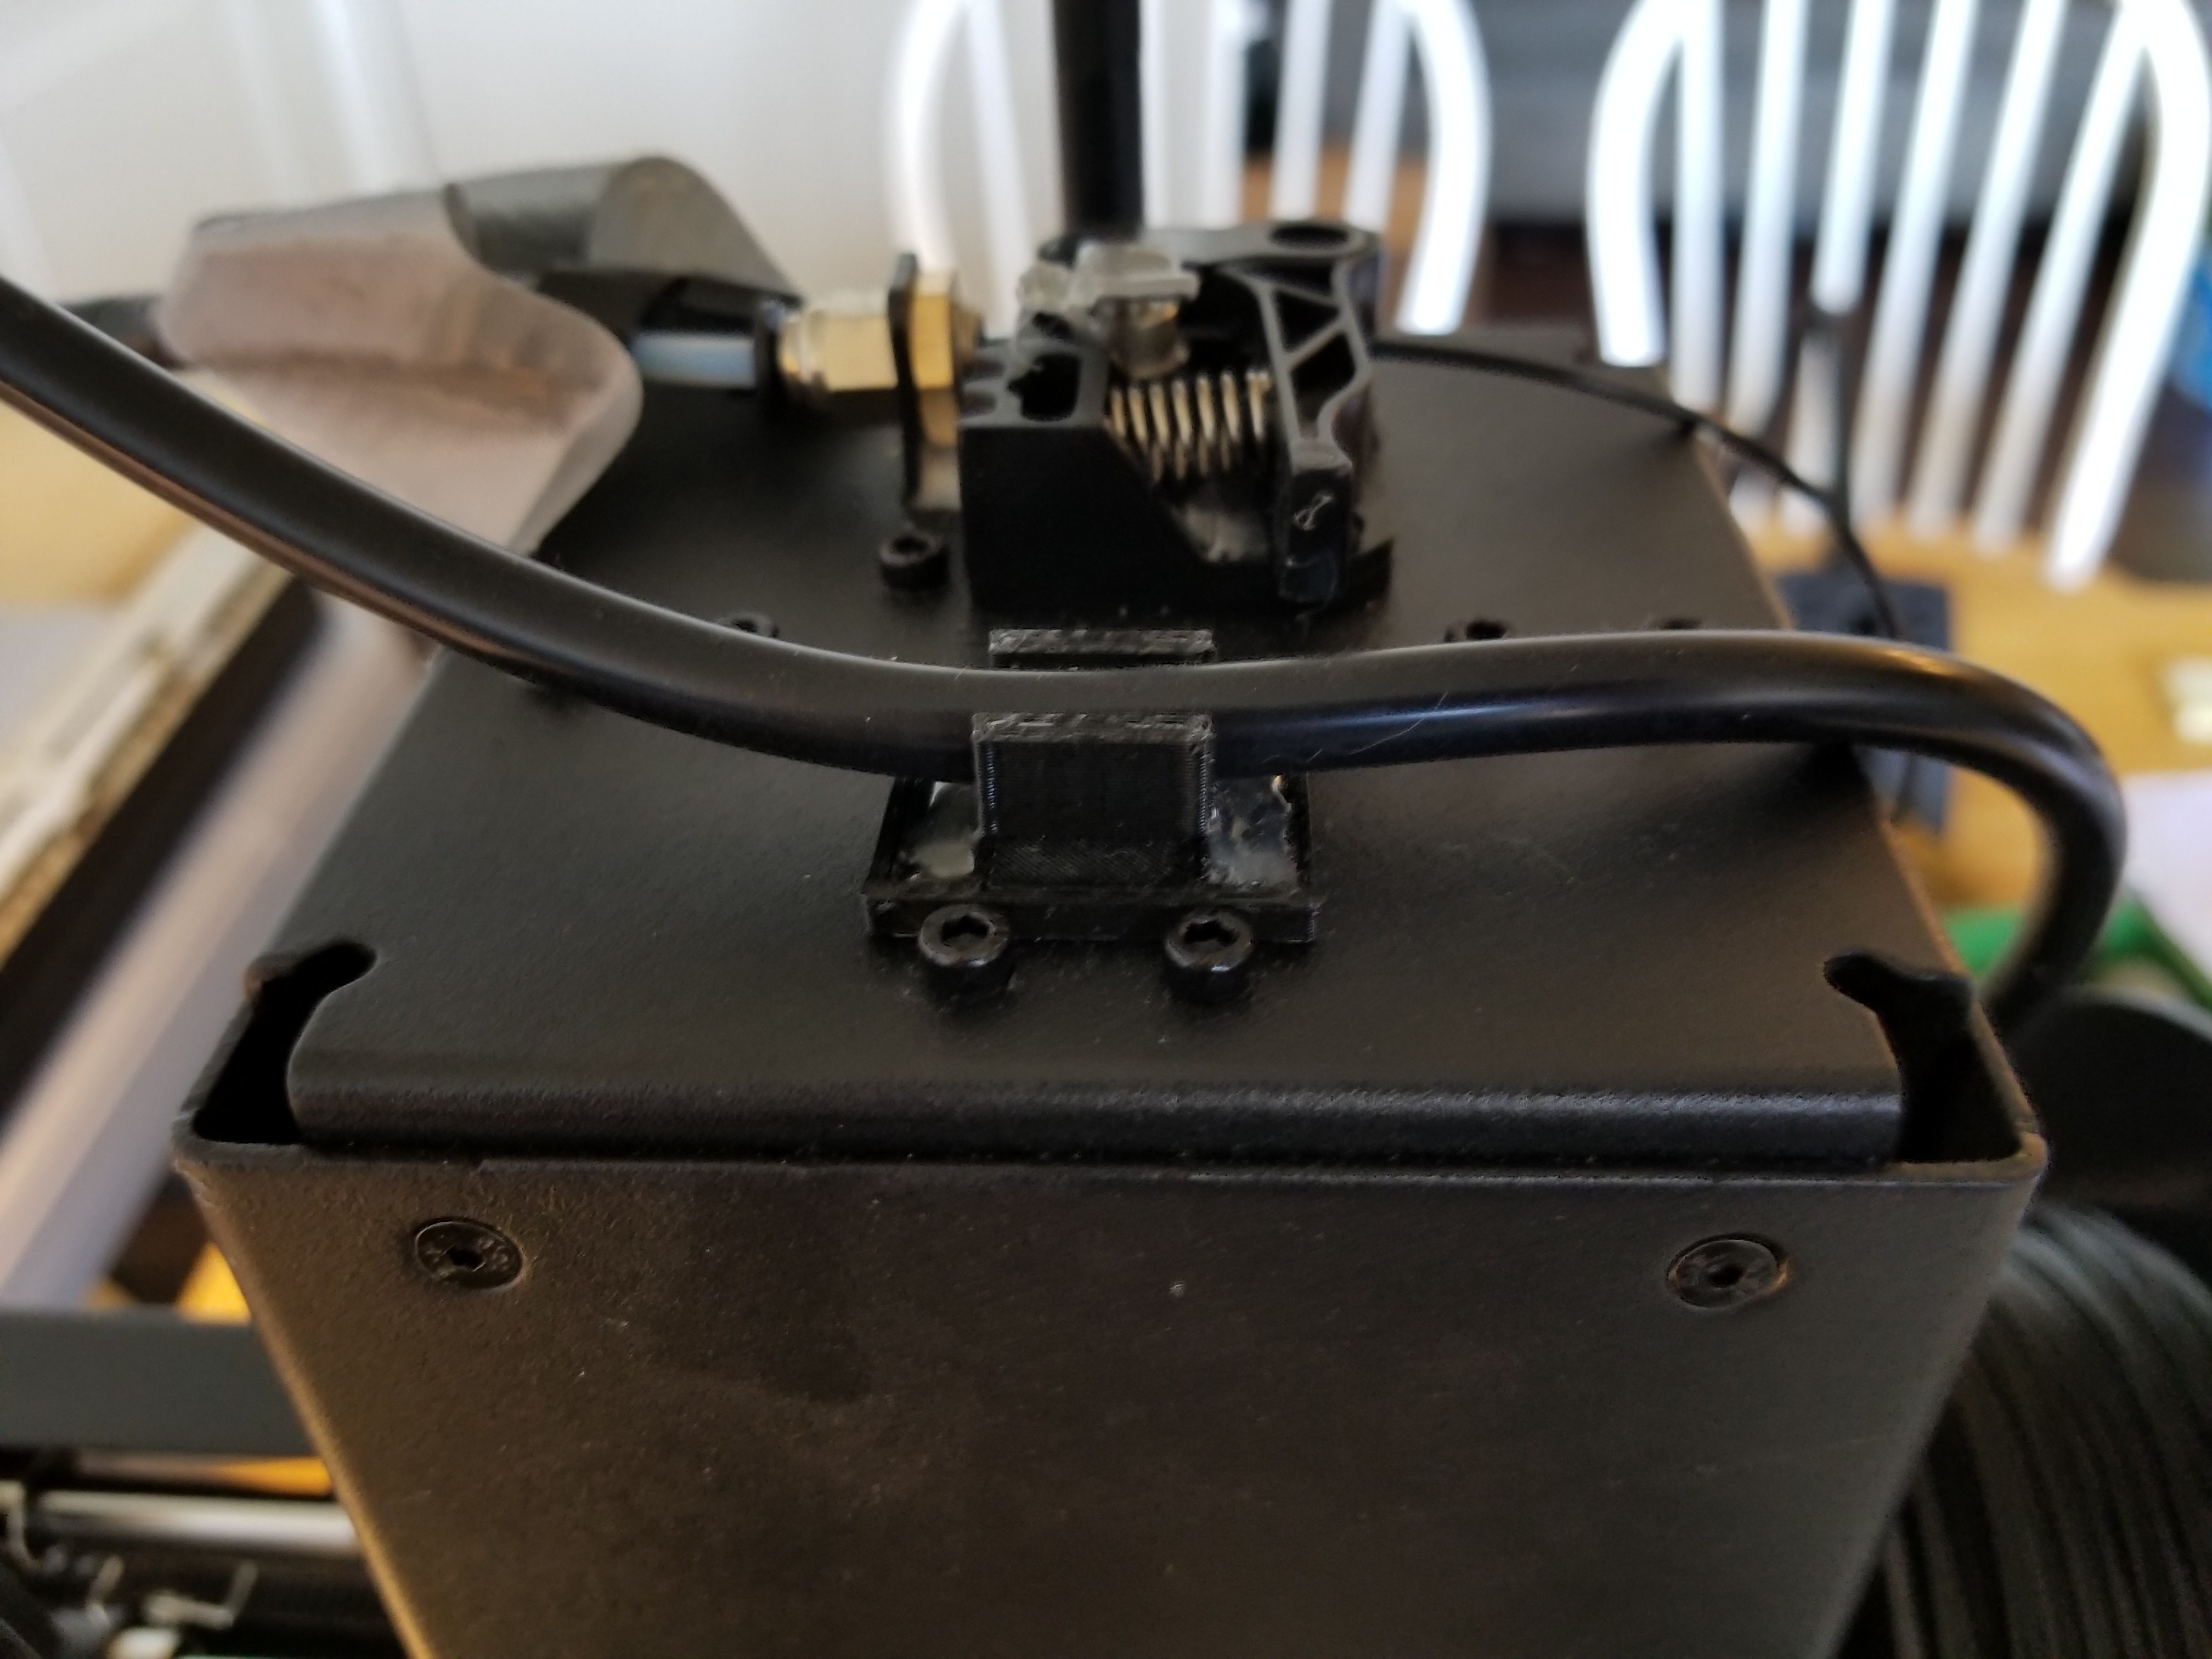
I 3D printed a few things - the 8mm part reel tray / board holder you see above, a suction tool holder to fit on the extrusion head, and a clip to hold the vacuum tube onto the top of the machine. TRIGGER WARNING - The finished project is ugly as hell. I didn't care if it was pretty, I just needed this one to work. There be mounds of hot glue ahead. Abandon hope all ye nit-picky who enter.
Another caveat of this machine is that it has no control over the suction for the placement head. The way it "lets go" of parts is hack of it's own: the solder paste the LEDs get pushed onto is grippier than the suction head, so a part can be lifted out of the tape, but cannot lifted off of the board it lands on by the weak suction.
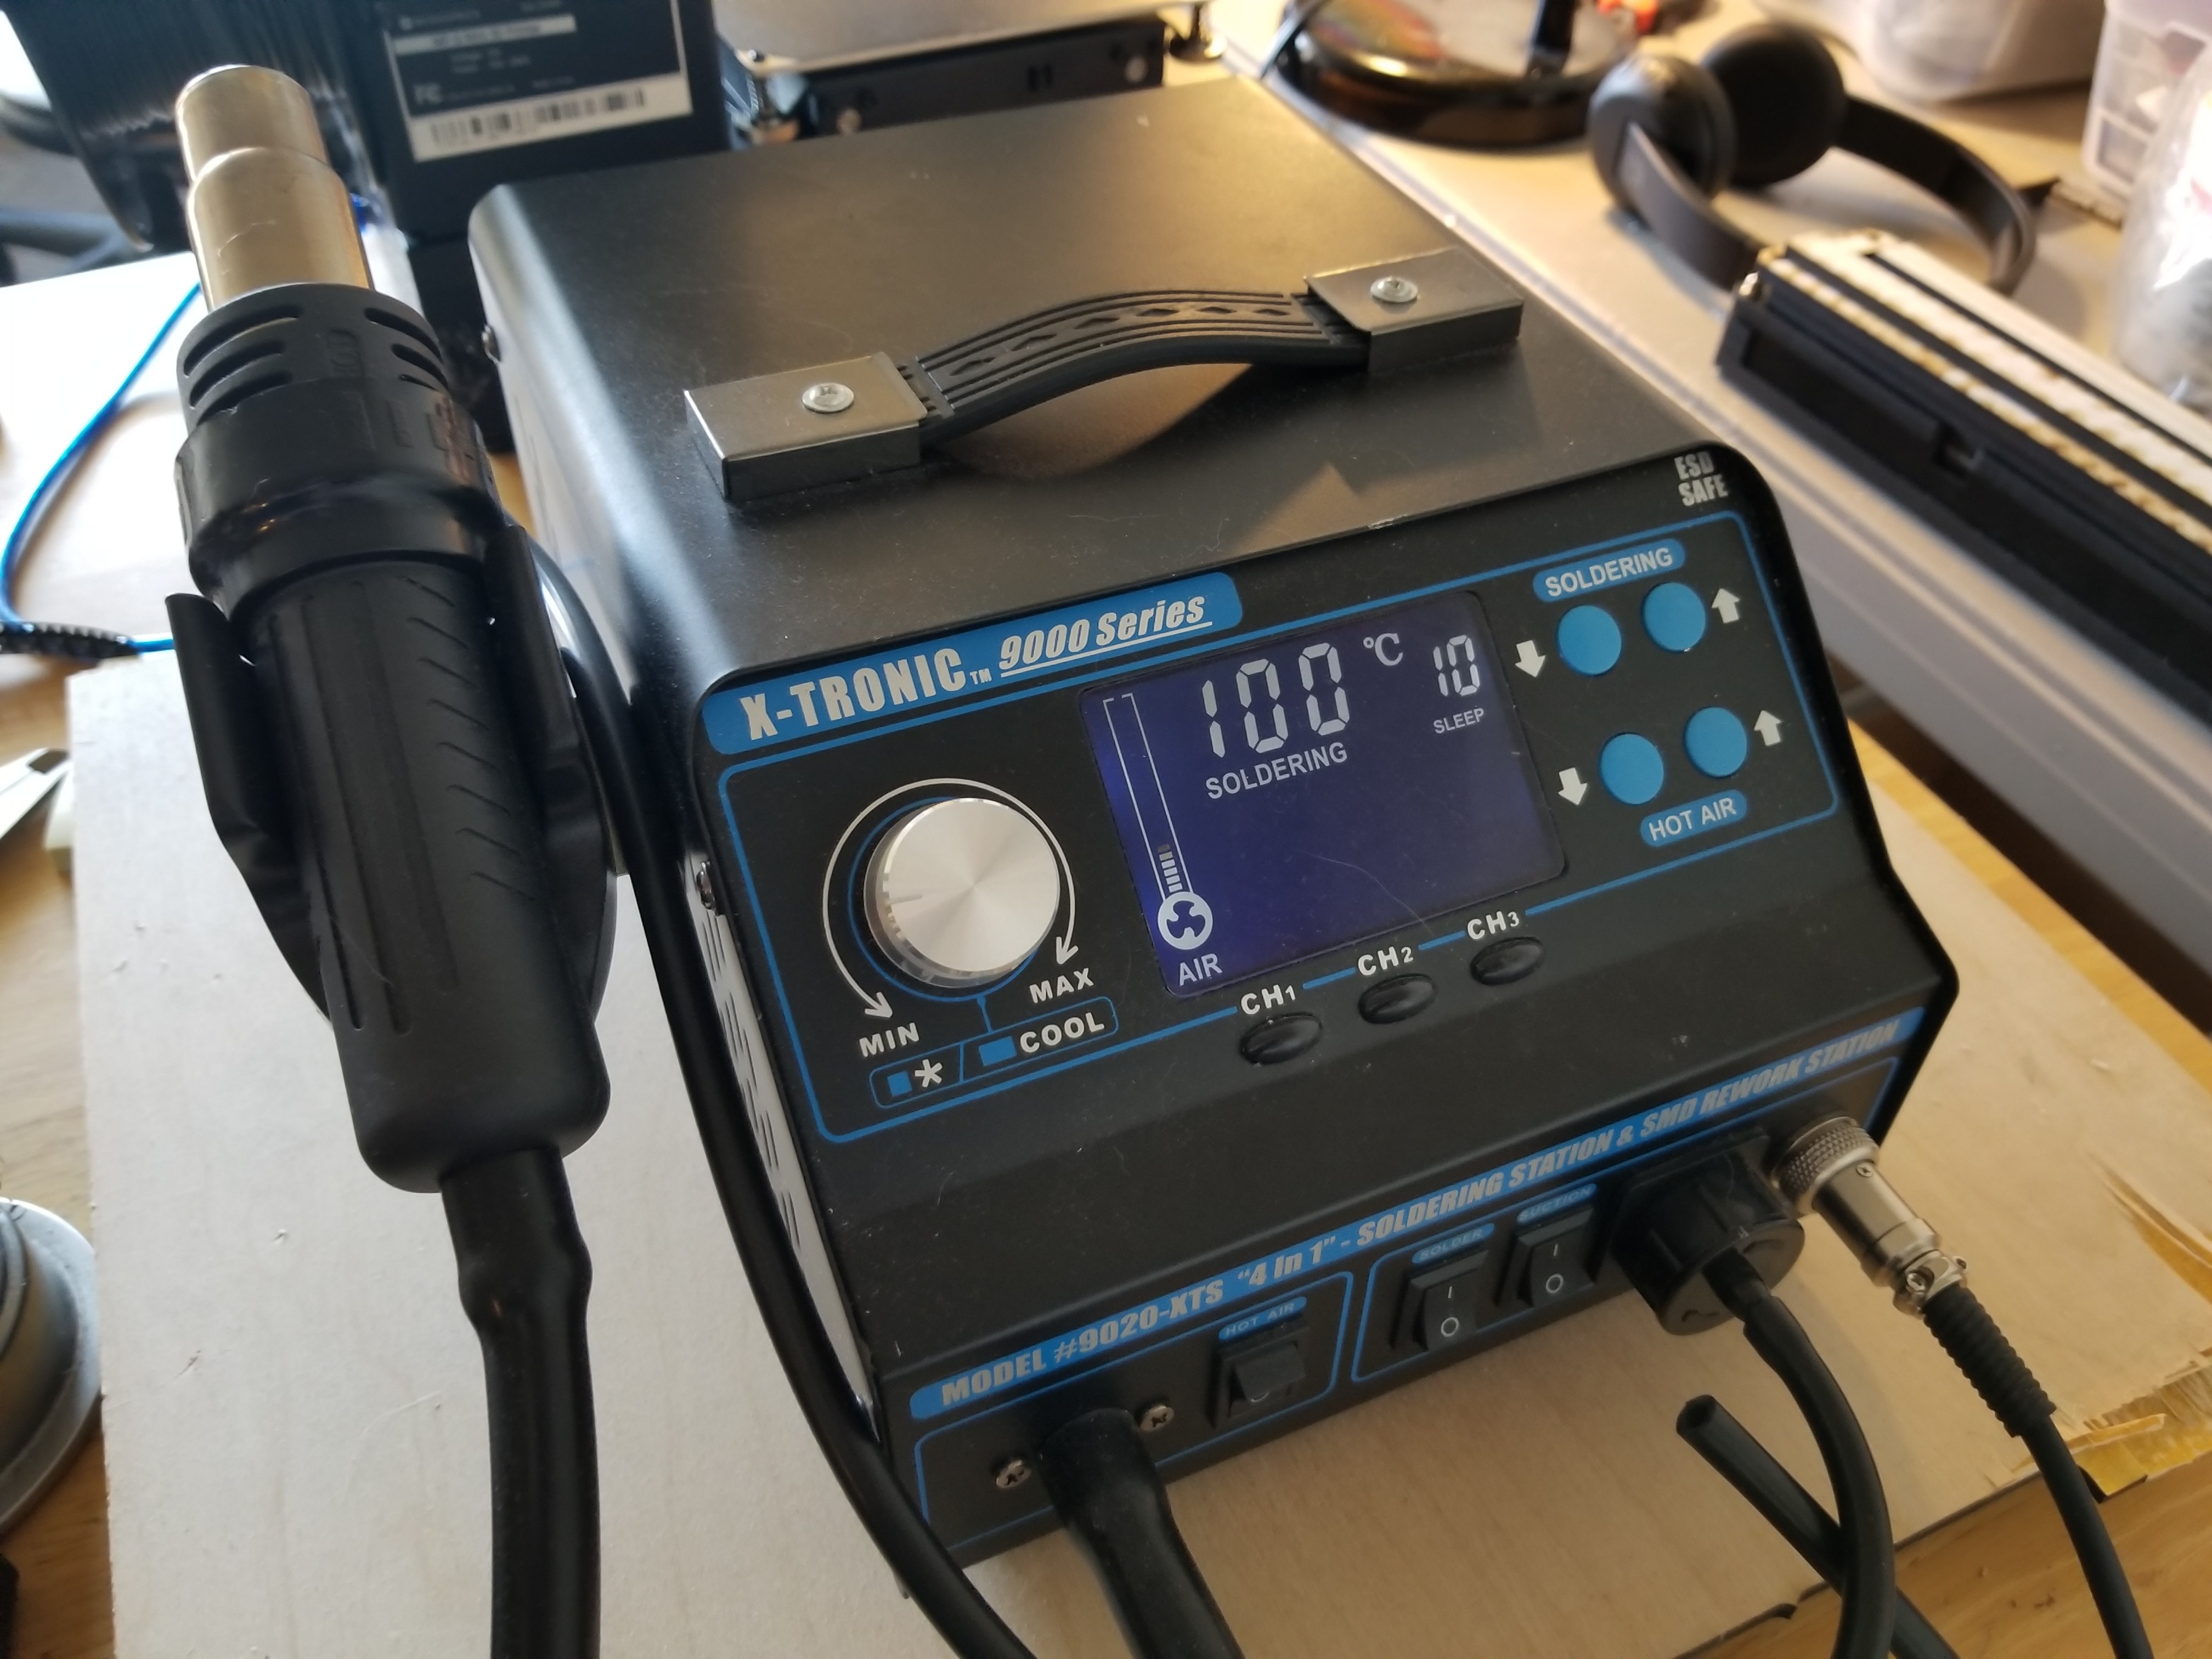
The vacuum pump I used for this was an X-Tronic 9020-KTS soldering station that included a vacuum pump for fume extraction and a manual suction placement tool for things like QFNs and such. WARNING #2: This station is no longer sold by X-Tronic, the hot-air gun has died on me, and it gets clogged with "flux dust" inside, even with the carbon filters they include. Just get yourself an aquarium pump and hack it for suction.
Because I wanted to continue using this printer normally when I'm not placing parts, every addition is modular and can be removed to allow it to return to it's 3D printing origins. The PCB jig is glued to an old solder-paste stencil which gets taped into a specific position on the print bed and the adapter to attach the suction head just friction-fits to the extruder fan.
However, there is one thing I hate about this printer that isn't a problem to a normal user - the bed is on screws and springs for bed-leveling, which can lead to it shifting to slightly different positions and messing up placement accuracy.
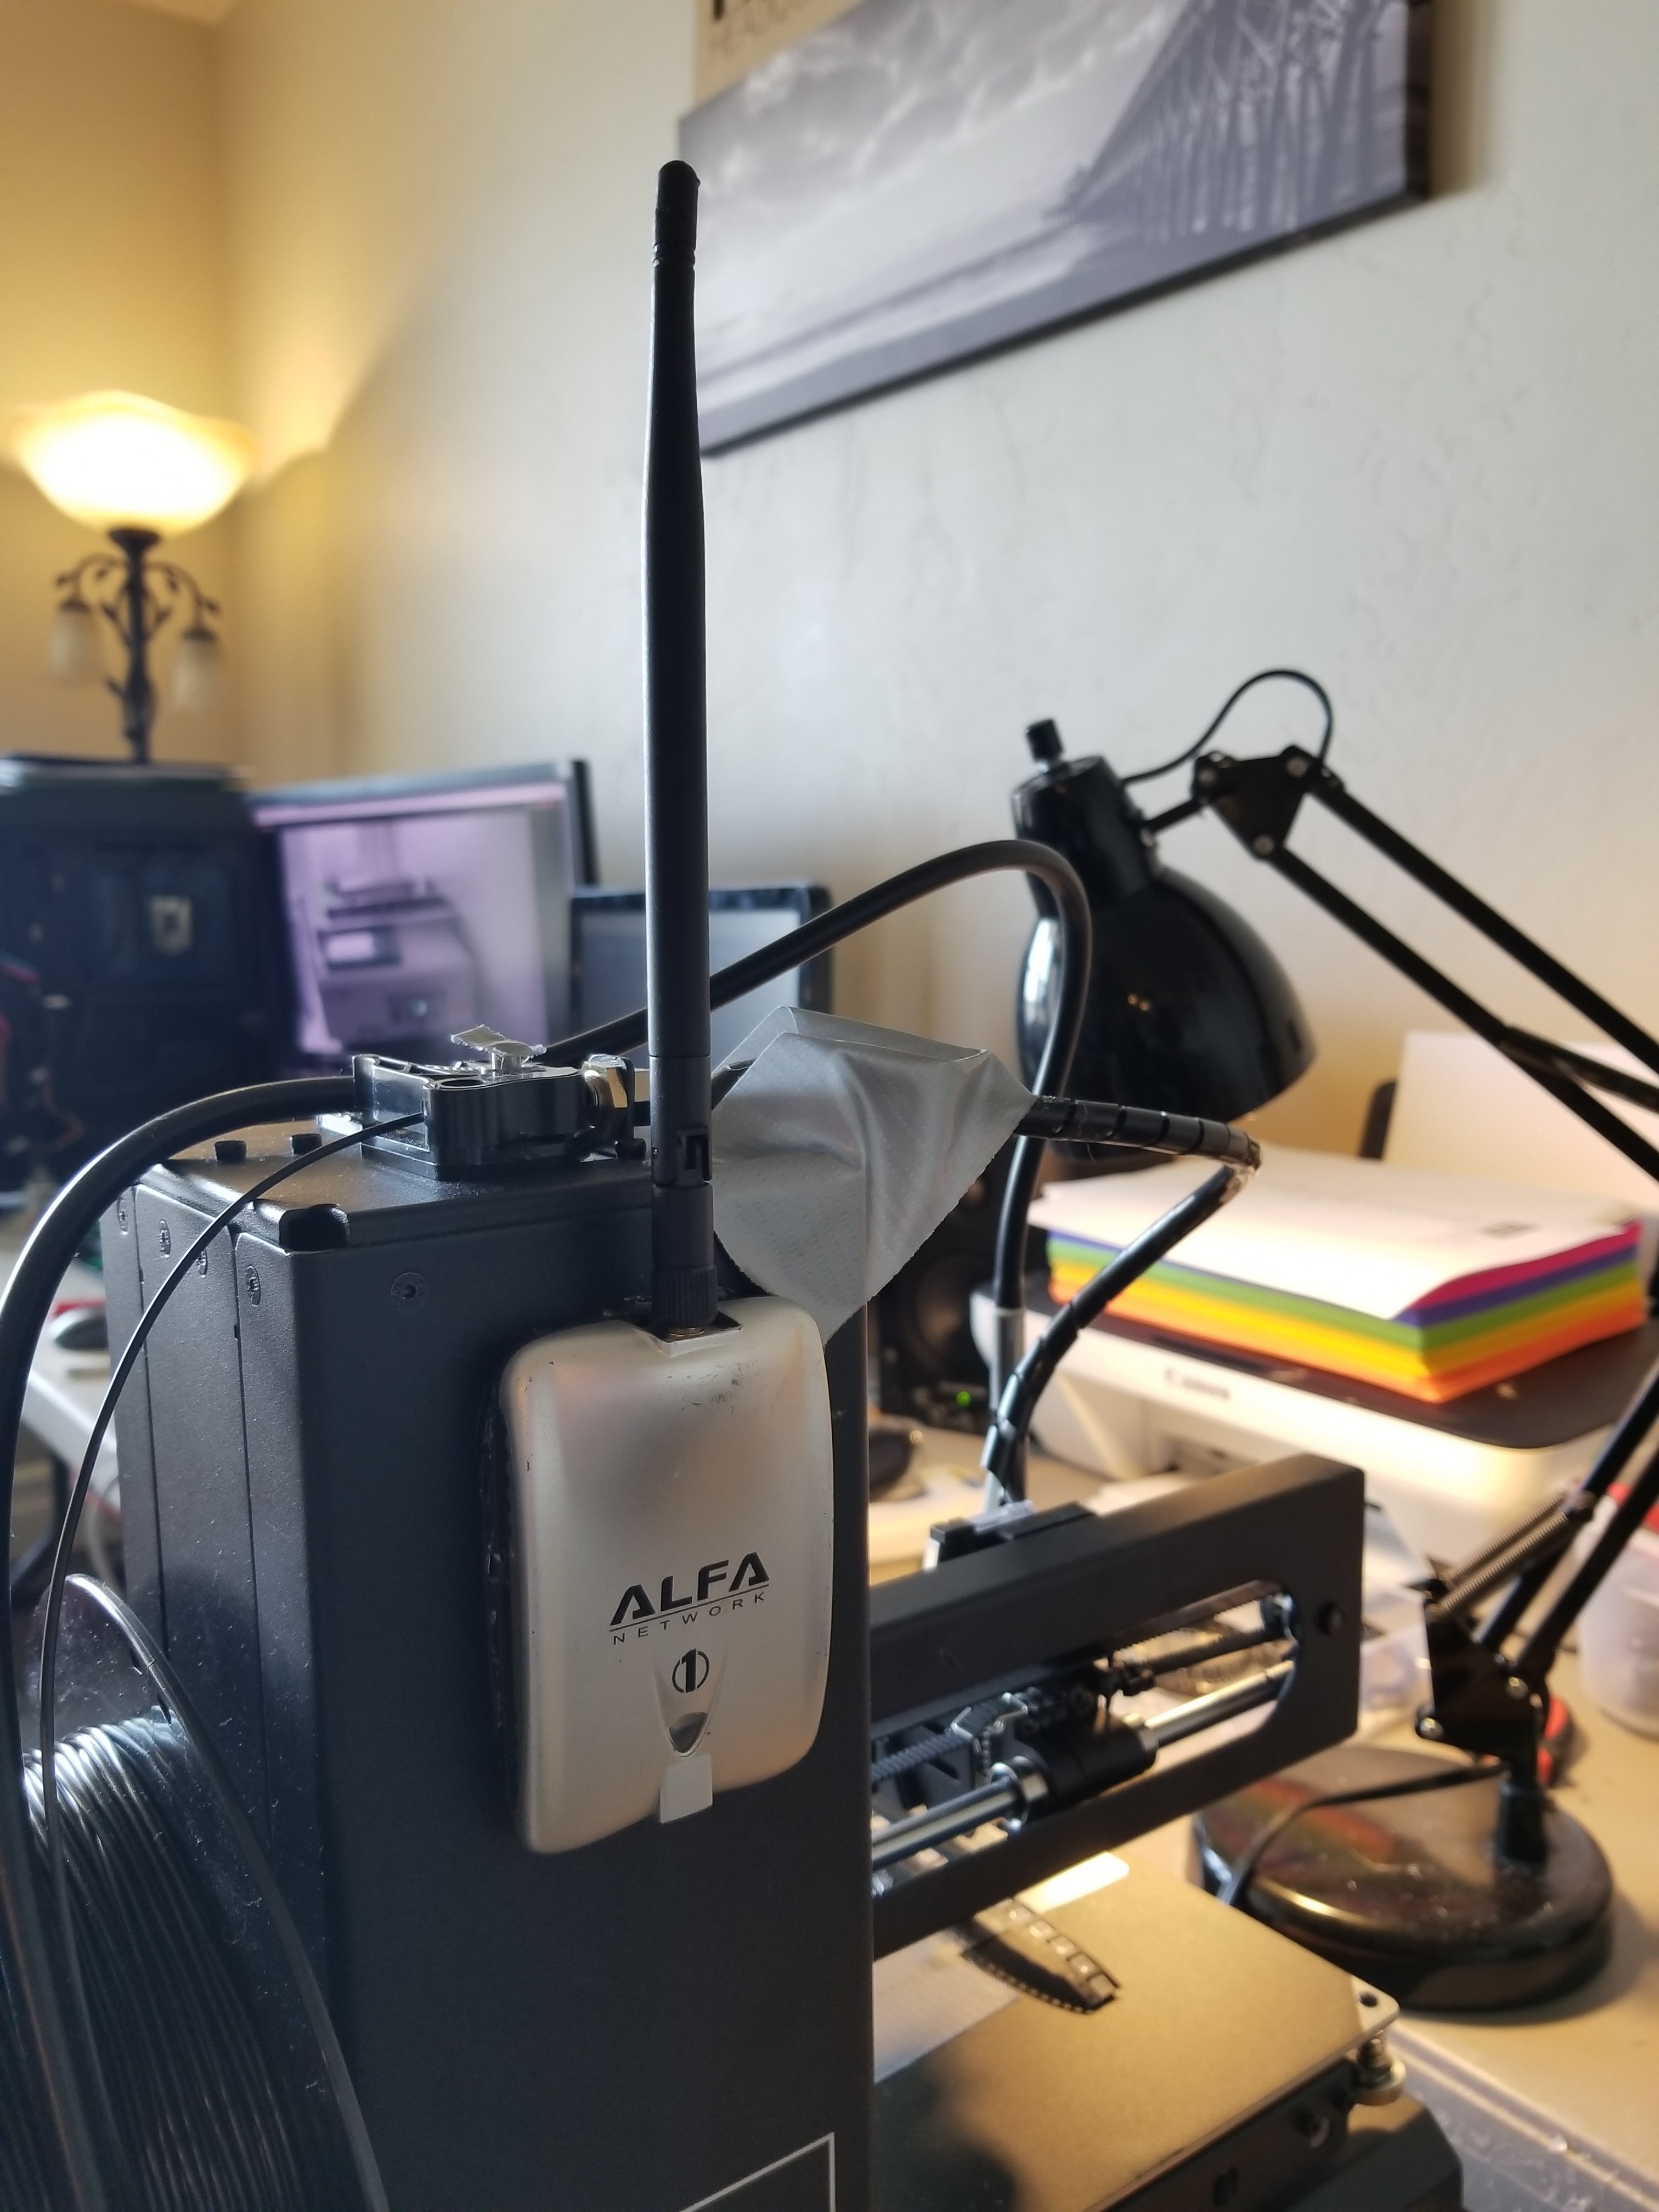
(Glued to the back is an Alfa AWUS036H WiFi card for occasional use with an Octoprint server. This card was barely getting used over the last decade... since I'm an adult now and can afford my own legitimate internet connection.)
The Alignment Hack
For $150, there are absolutely no frills to this pick and place machine. One MAJOR missing feature is vision-based alignment. There's no downward vision for fiducial marks, and no upward vision for aligning parts before placement. So what happens here is another trick: the printed suction head adapter has a pin which is used to advance the tape forwards into a known starting position. (Translation alignment) Next, the suction tool drops onto the LED, and drags diagonally across it to shove the LED into the top-right corner of the tray. (Rotation alignment) This is a quick and dirty solution to aligning a large SMD part for placement! Have a look at the video at the top of this post to see that process in action.
Manual G-Code
Following with the "no frills" theme, since there is no vision onboard, it just runs a manually written G-Code file that has the part positions baked in. No ULP for exporting Centroid data from Eagle or anything fancy, just trial and error on this one! This is why calibration is key - there is no feedback loop here.
Conclusion and Possible Improvements
In the end, even with the caveats, this machine saves my wife and I hours of manual placement time. Once it's calibrated for the day, you just hit GO and supervise placement - it's made the production of Lixie displays so much less daunting lately. It's not perfect, but it saves time and doesn't affect failure rates of our PCBs by any noticable amount so it's been great to have around.
As for improvements, I'm looking into creating a homemade feeder system that allows for continuous consumption of the LED reels, instead of short strips. This has proven difficult, since it would have to continuously remove the clear tape from the reel without shaking around too much, while also allowing the print bed to shift on it's Y-axis like many cheap printers.
Another improvement would be buying a real PNP machine. ;)