 |)3vice
I used this project to learn KiCad. Specifically I wanted to learn the workflow from Inkscape to KiCad for PCB art. I leveraged the Hardware Flair community, went through Getting to Blinky on Contextual Electronics, watched #badgelife live streams by AND!XOR and TwinkleTwinkie. I kept pushing forward and now I have something shitty to share, trade and talk about with fellow folks. I also want others to know why the #un1eet are important.
0%
0%
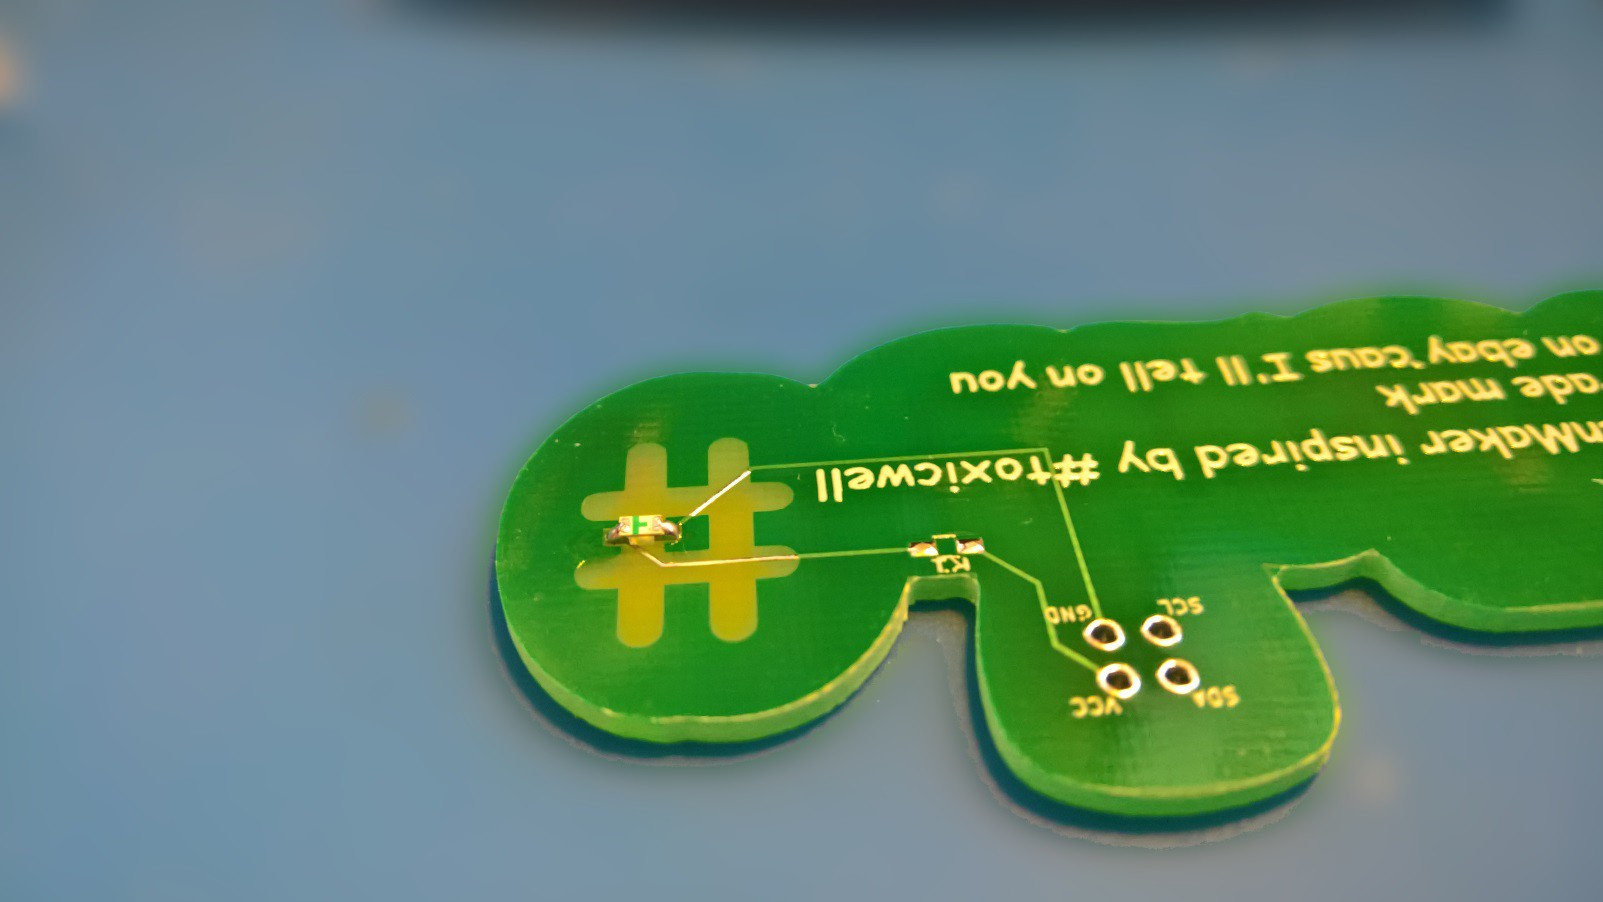
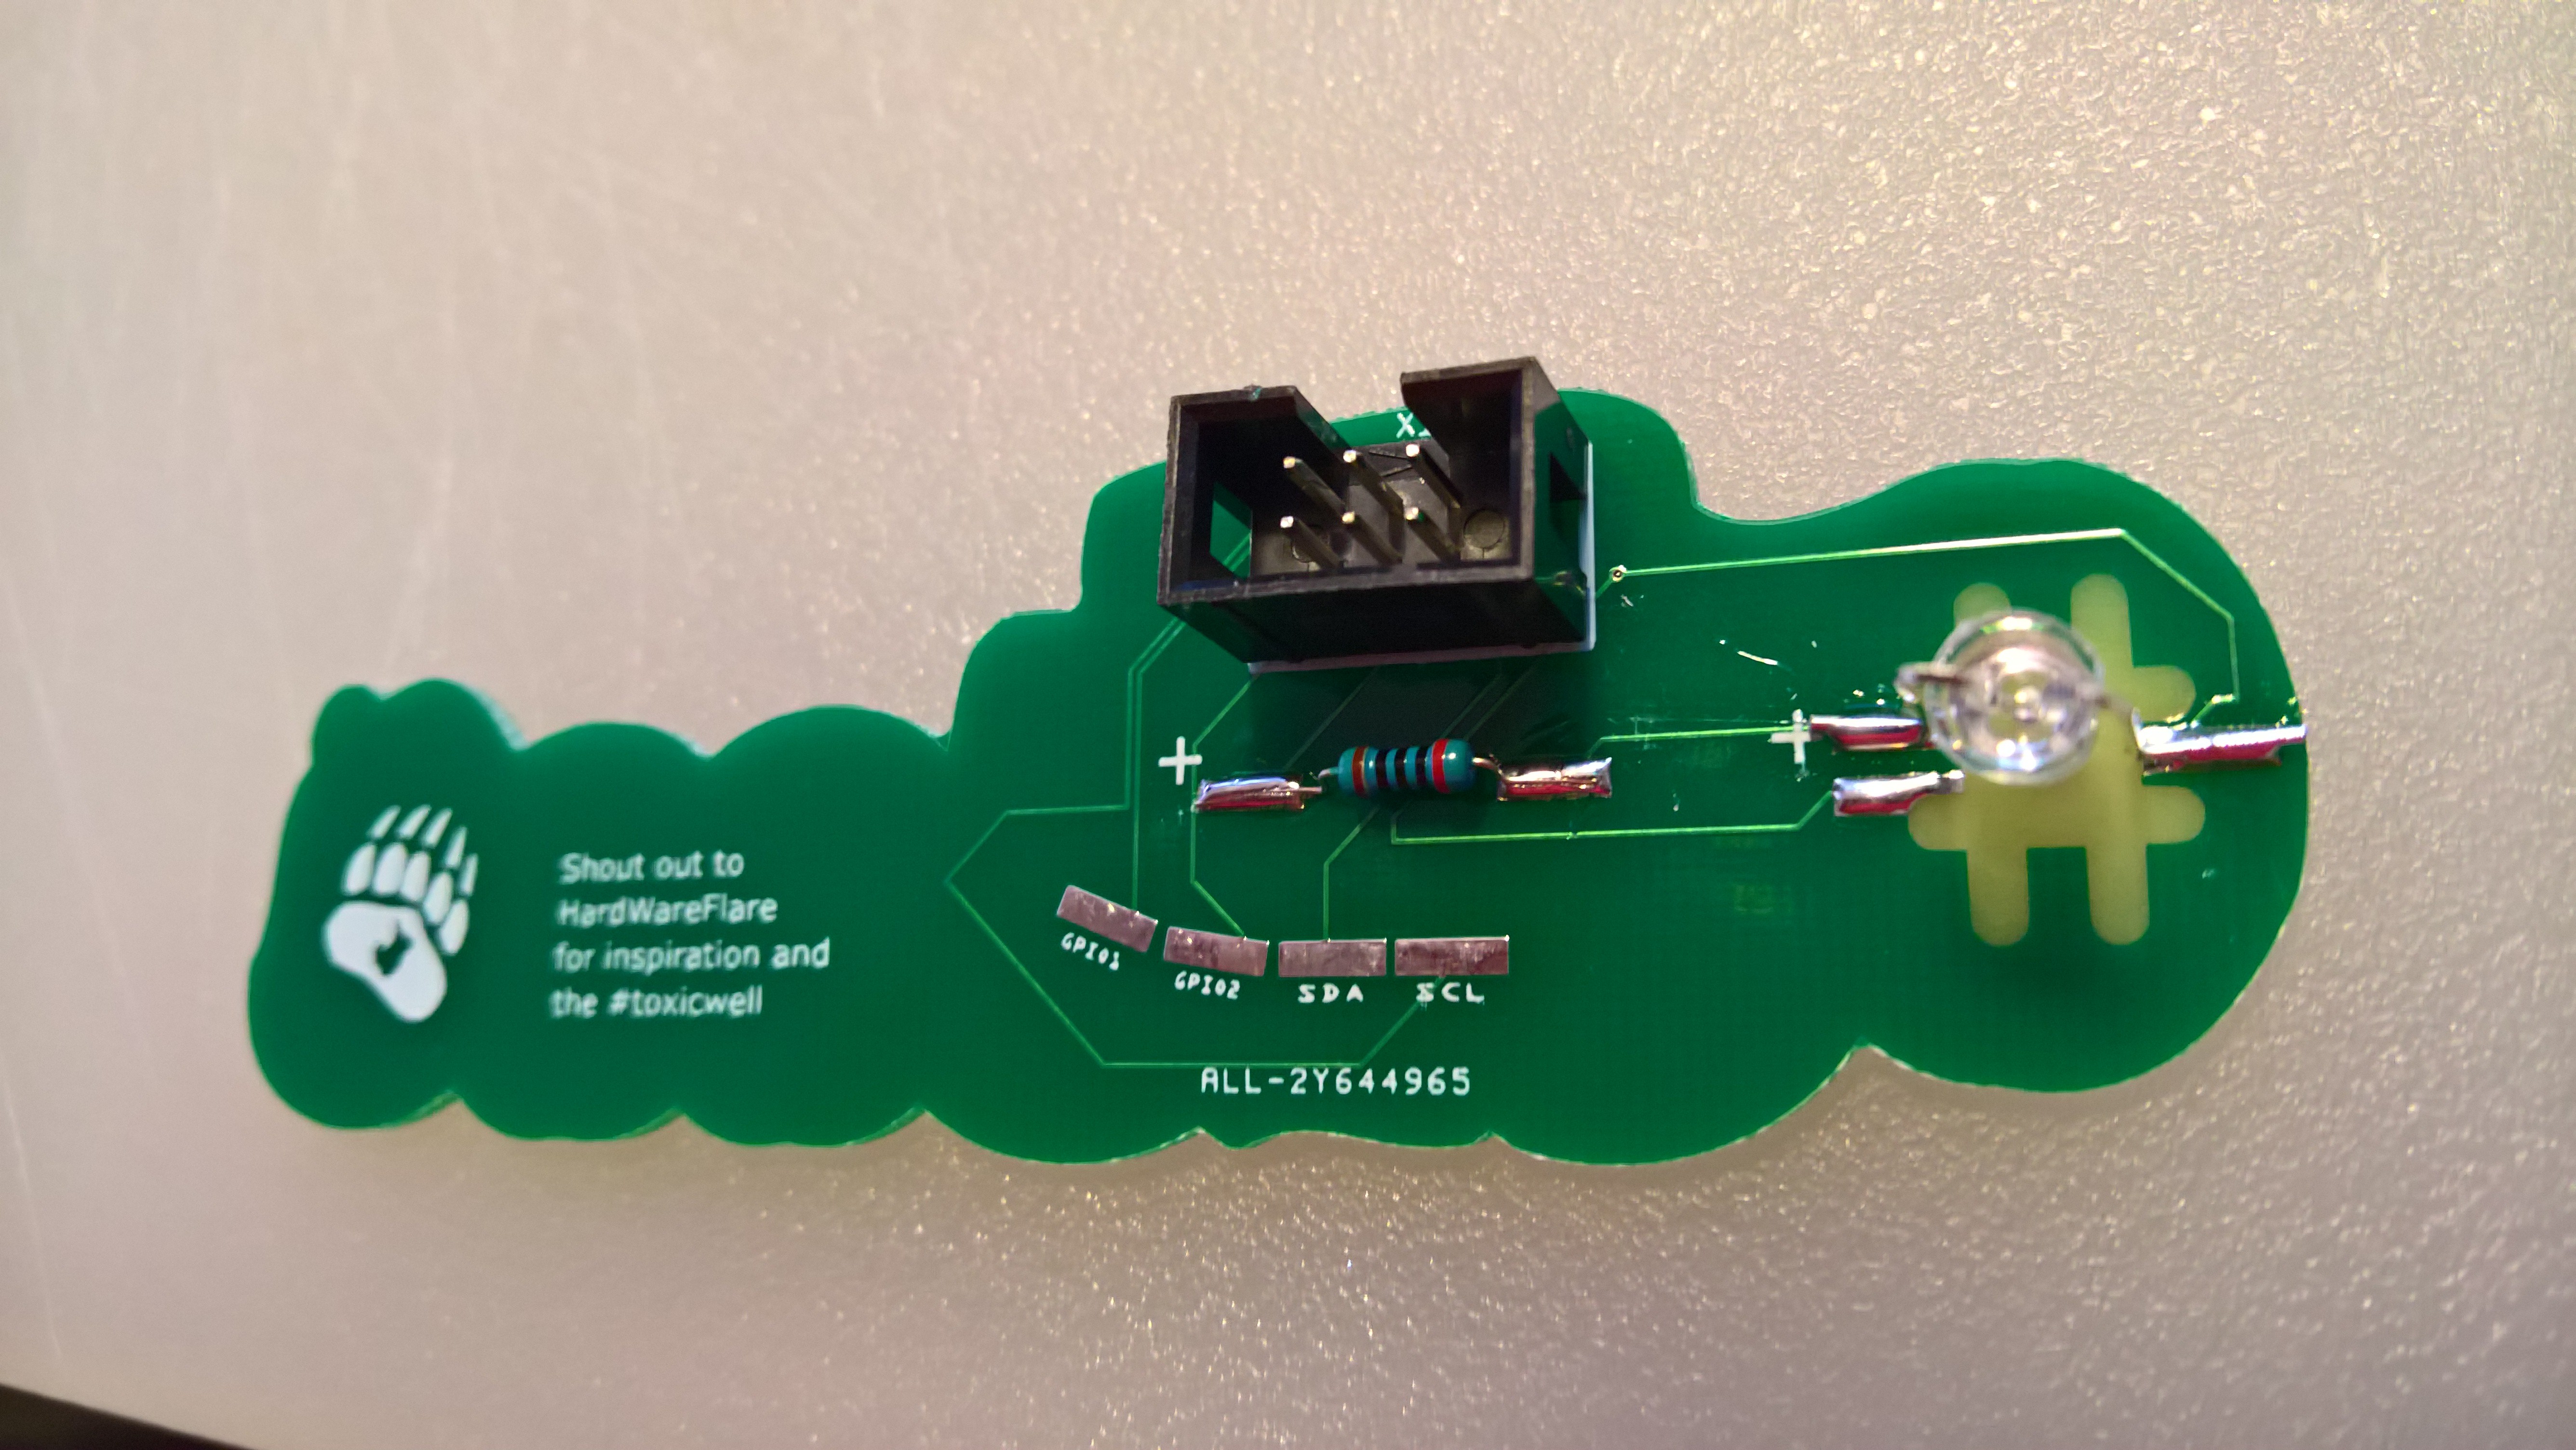
#un1eet Shitty Add On
an adventure into #badgelife SAO
Become a Hackaday.io member
Already have an account? Log in.
Just one more thing
To make the experience fit your profile, pick a username and tell us what interests you.
Pick an awesome username
hackaday.io/
Your profile's URL: hackaday.io/username. Max 25 alphanumeric characters.
Pick a few interests
Projects that share your interests
People that share your interests
 DIY GUY Chris

 Intelligent Minds